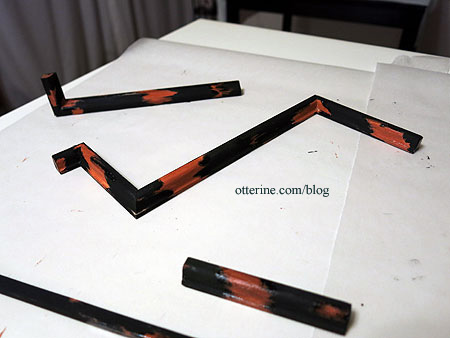
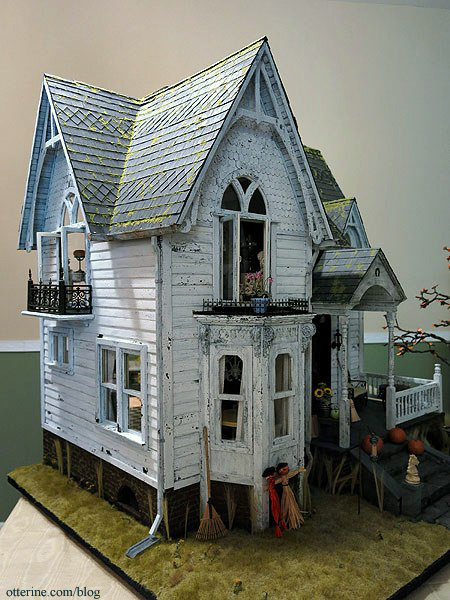
Finishing work on the gutters and downspouts. The original kit intended for only the left side to have a downspout yet there would be gutters all around the front.
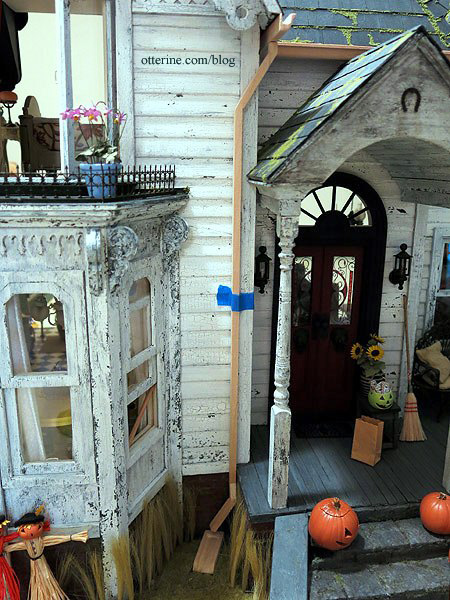
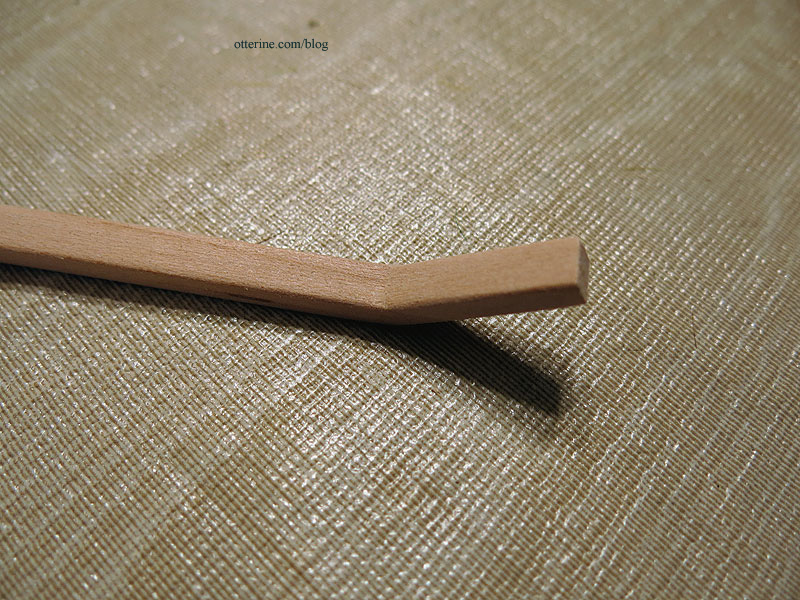
Well, that wouldn’t do! Water would be pouring over the sides all over the entryway and porch. The middle gutter required a diverted end to move away from the house and empty into the splash block.
I found a website with a flat bent downspout to help me figure out the shape I needed.
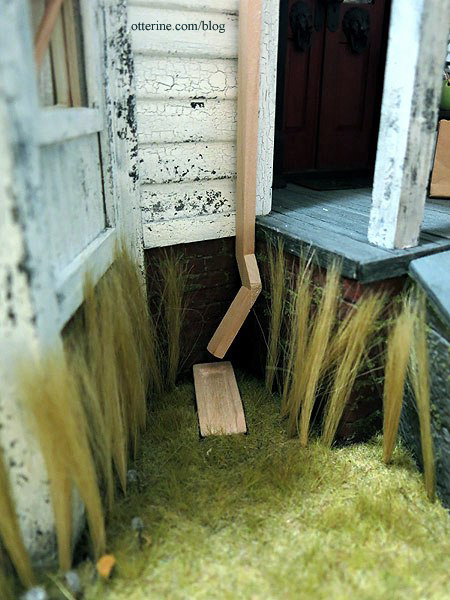
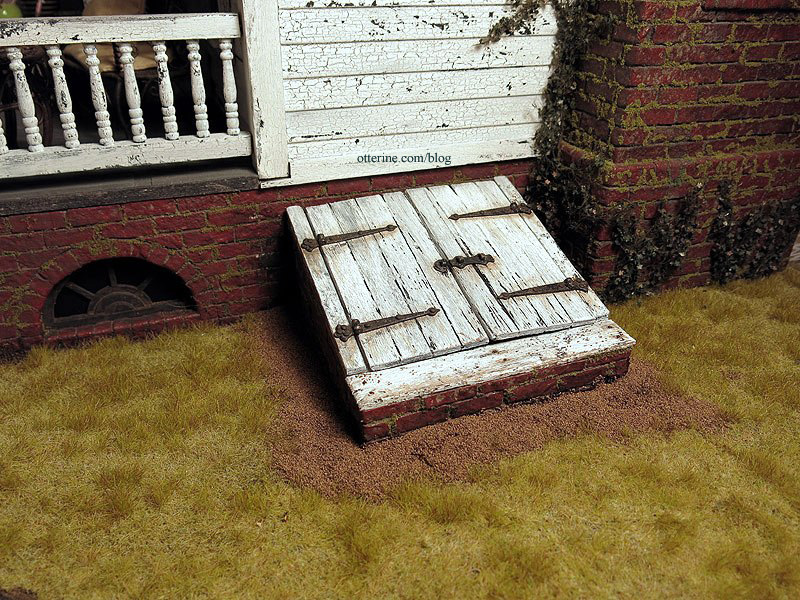
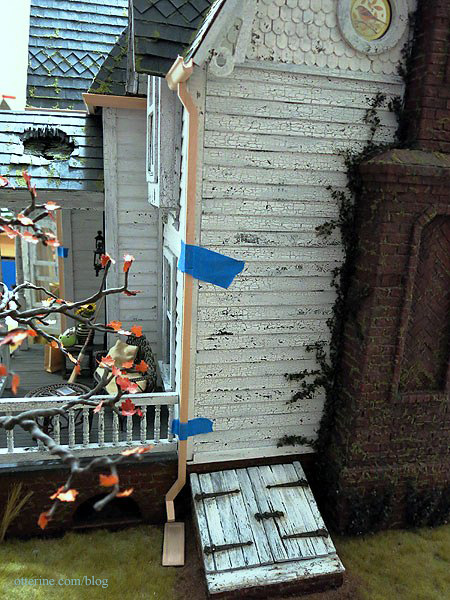
The last gutter required some demolition. The cellar doors had to be moved over about 3/4″ closer to the chimney. There was room, but it was a pain prying the assembly off the base. I built things securely. Anyway, I took no photos of the process since I worked fast to put it all back together. I glued some new dirt cover over the bare spots and then needed to wait for that glue to dry. I still have landscaping to finish besides, so it’s not much of a big deal, just a speed bump.
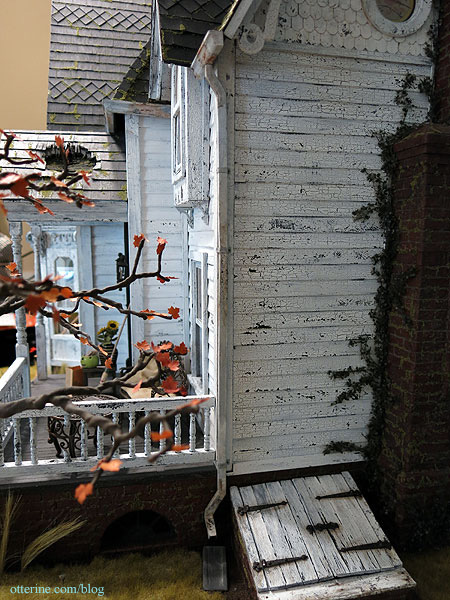
With the cellar doors moved, the final side downspout could be finished without looking like a wet noodle stuck to the wall. :]
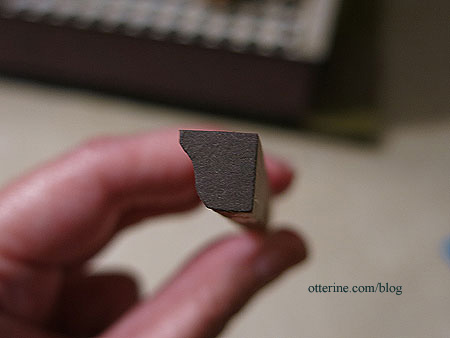
To make the end caps for the gutters, I added pieces of cardstock cut to shape.
I sanded the edges and turns of the downspouts to be more rounded.
To give them a bit of age, I first painted some spots Terra Cotta by Americana, followed by crackle medium. The rest of the pieces were painted black. They look like coral snakes! :D
When I painted white over the assemblies, the black paint toned down the brightness of the white overall, and the paint flaked where there was crackle medium.
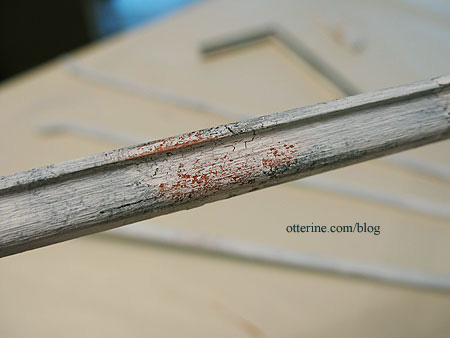
With a slight terracotta and brown wash, it became rusted flaked paint. :D
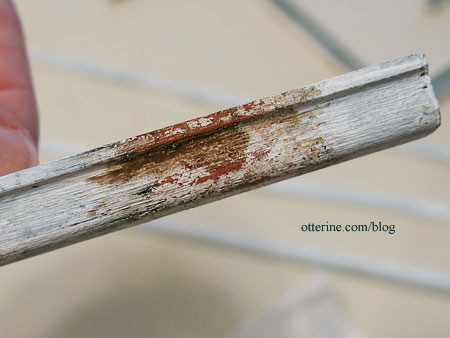
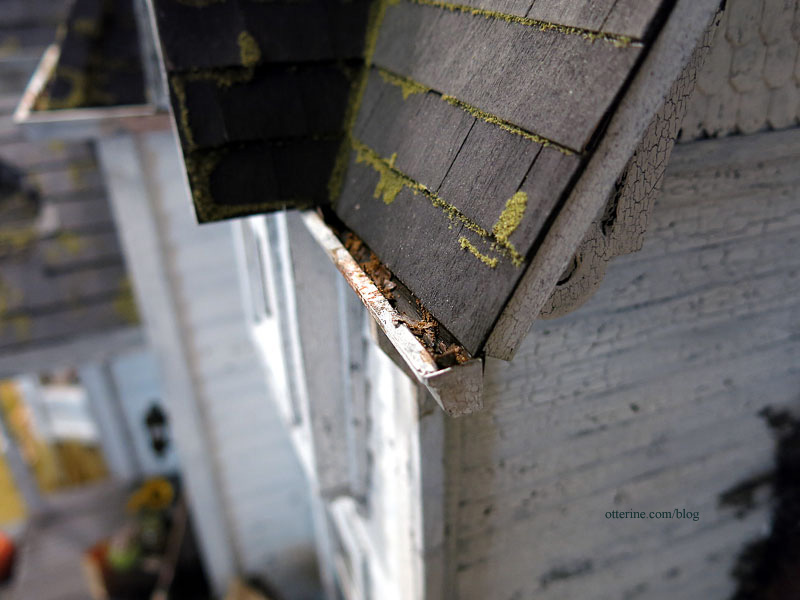
I added an aging wash to the whole thing and then dirtied up the inner track since these are old gutters. I painted some scraps of paper with the leftover paint washes and let them dry.
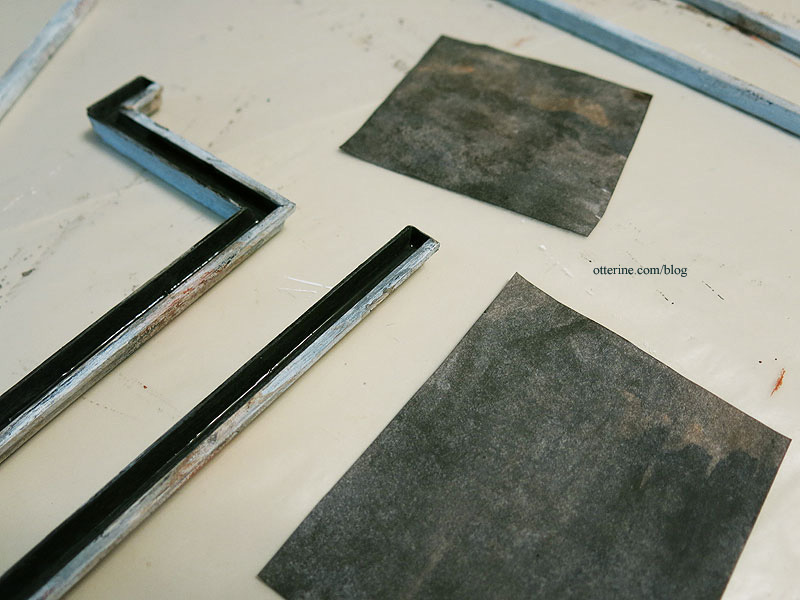
I punched as many maple leaves as I could from the scraps.
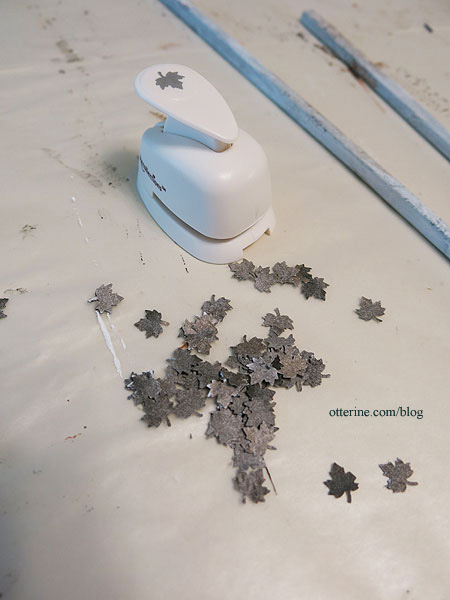
I smashed the leaves and glued them into the track, some sticking out over the top edge.
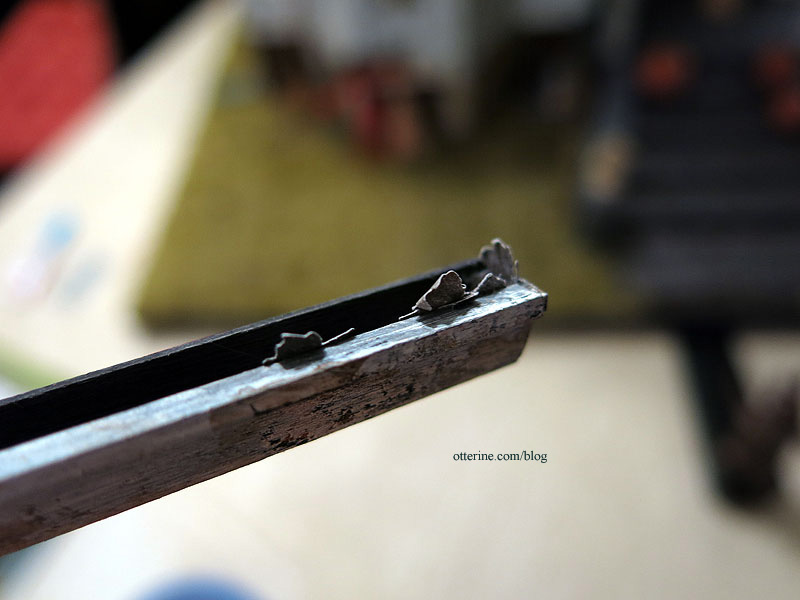
I glued in some moss material besides.

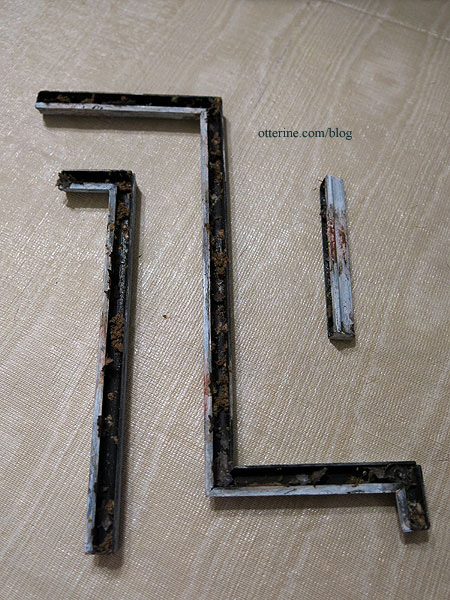
I then added a final brown wash. Voilà! Good and dirty gutters. :D
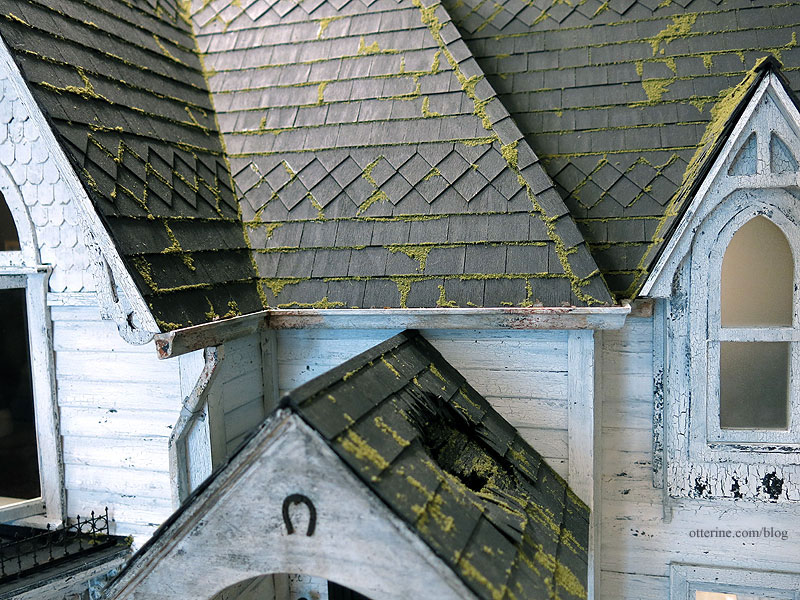
I glued the assemblies to the house, and the downspouts helped hold the gutters in place while the glue dried.
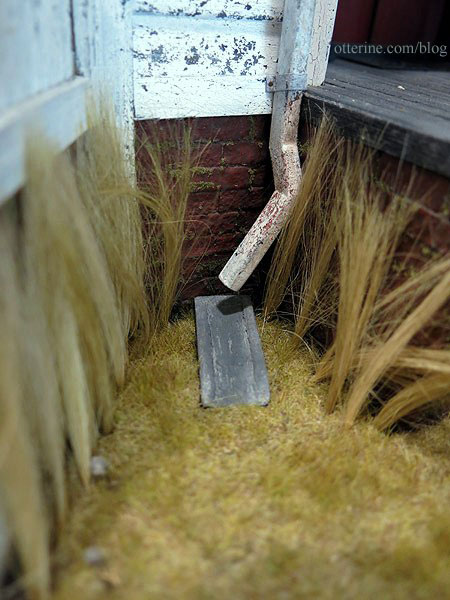
The bottom ends of the downspouts aren’t easily seen, but I did paint them black to give the illusion of being hollow.
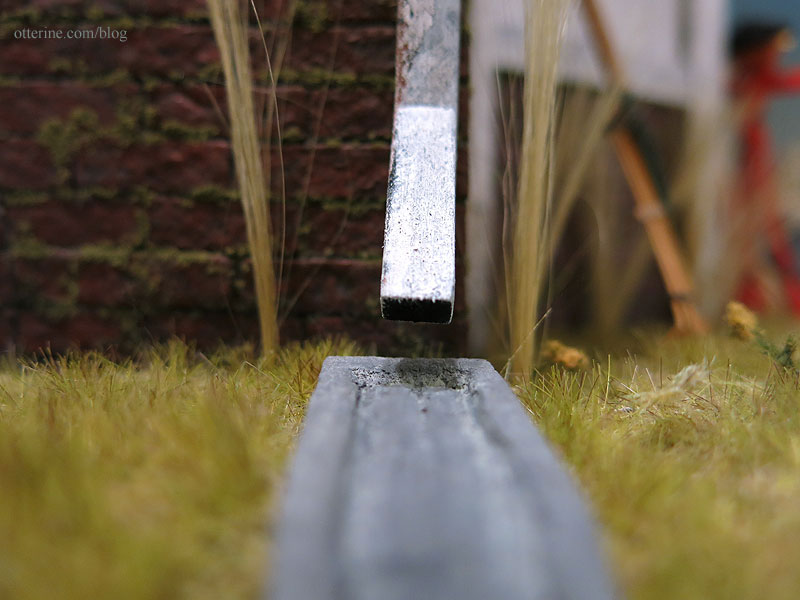
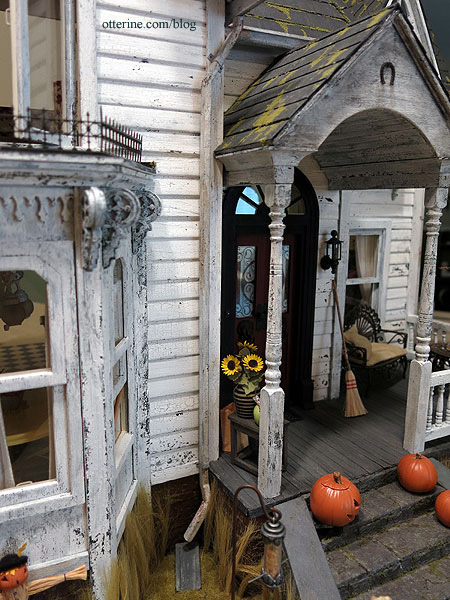
I painted the splash blocks to look like concrete.
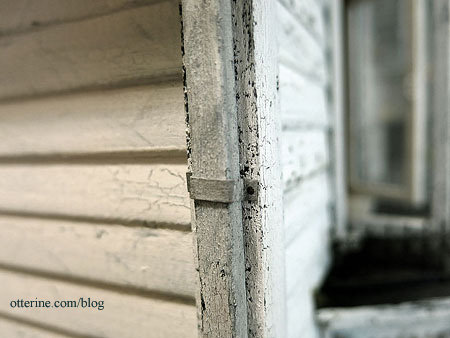
The straps are cardstock. I cut them long so I would be able to work with them during the final fitting.
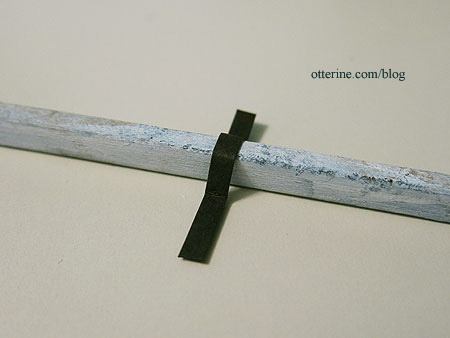
I painted the paper with a grey wash and then glued them in place. The nails are just painted dots. The straps are mostly decorative since the downspouts are glued in place.
It really adds that little something, no?
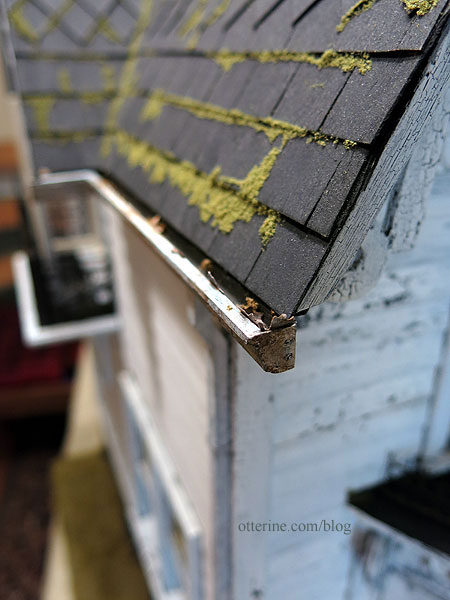
Grandma has no leaf screens, so looks like she’ll need some yearly help getting these cleaned up. :D
Left assembly.
Middle assembly.
Right assembly.
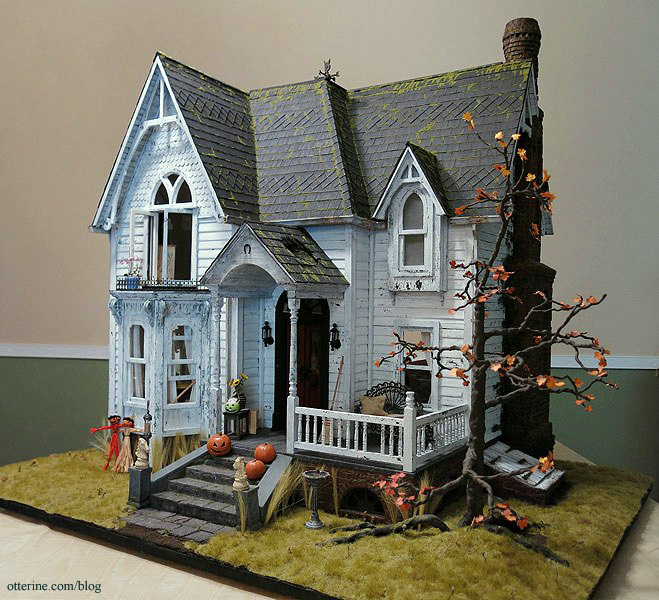
Almost done with the exterior! Hooray! :D