Continuing work on the fireplace. I’ve had this pin for quite a long time. It’s one of my favorite pieces of jewelry. I haven’t worn it in some time, so it needs to be cleaned!

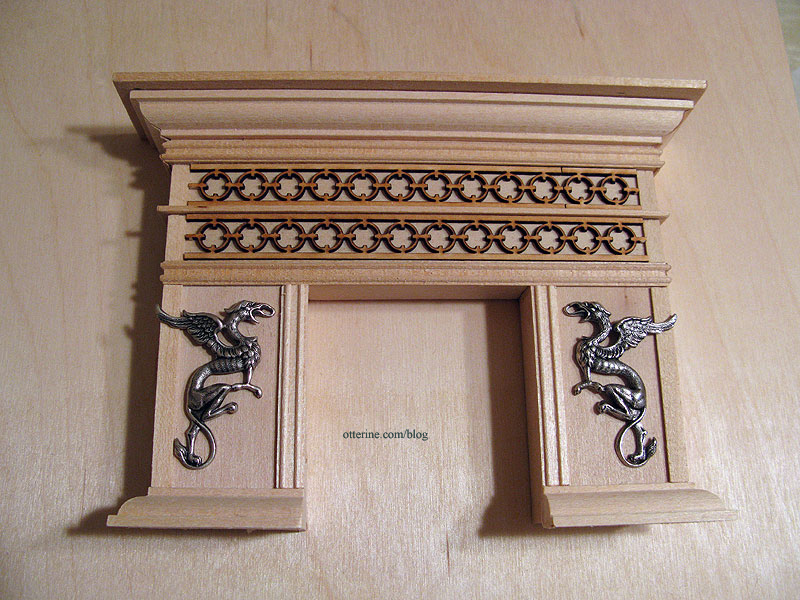
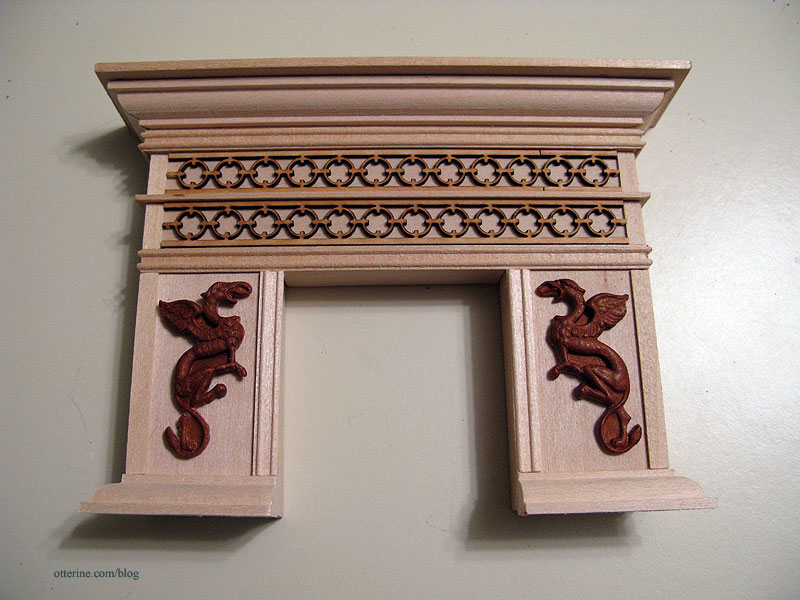
When I made the parlor fireplace, I left the two flat panels open for added designs. I really wanted to cast griffins for the areas, but as you can see, my griffin faces only one way.
I figured I might be able to find griffin earrings or pendants in mirror image in a style I liked well enough, but I never though I’d find the same griffins! They are larger than my original pin, though.
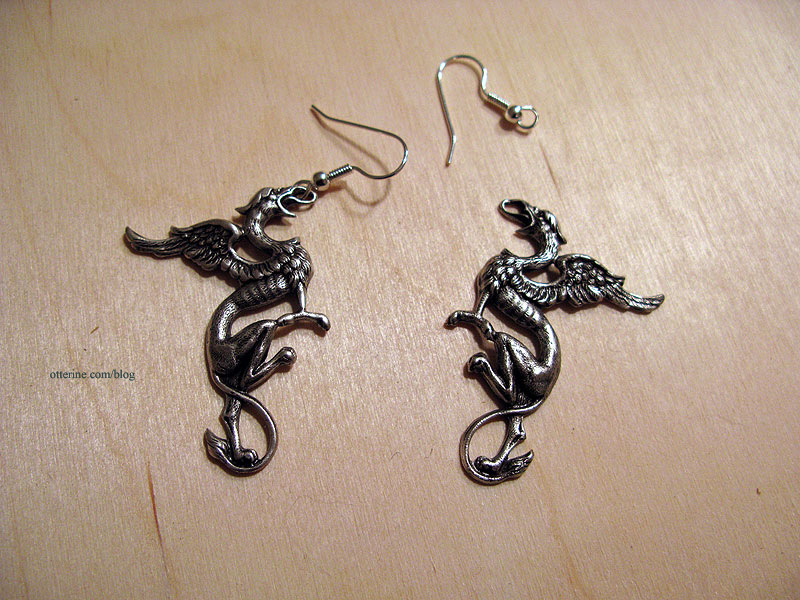
The only issue with the griffins was the fact that the wings were too big, so I planned to clip the long ends on my cast pieces. I didn’t think it would detract from the design.
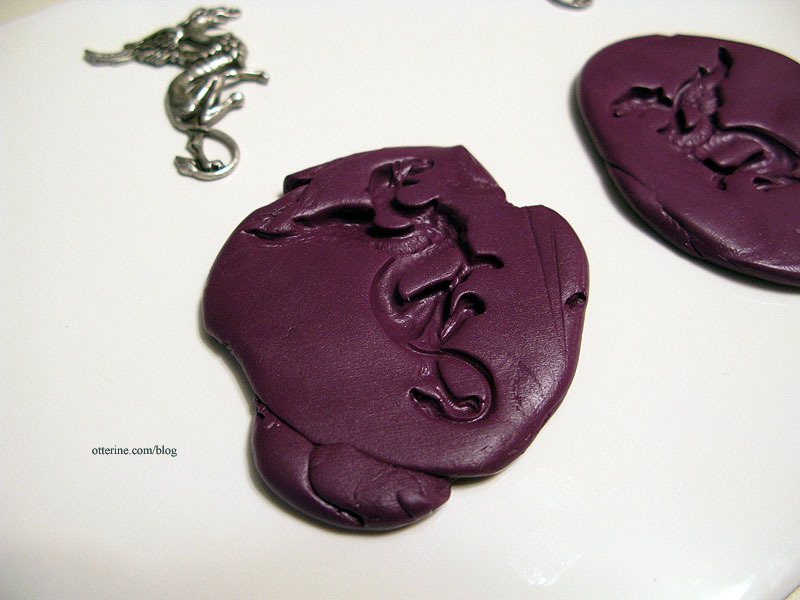
Using EasyMold silicone putty, I made molds of the griffins after carefully removing the earring wires. EasyMold is a two-part putty that you mix together. I tell you, this stuff feels weird!
You press your original item into the mixed putty, which hardens in about 20 minutes, to make the mold. I pressed the griffins in with a board since they are thin and flat in areas. It made for a more uniform placement in the putty.
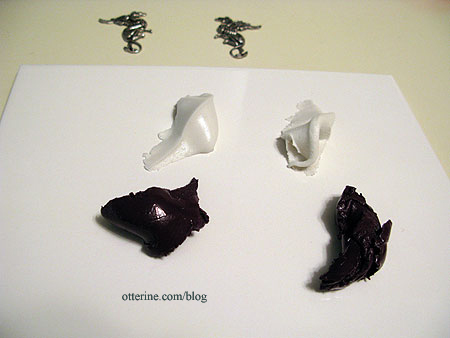
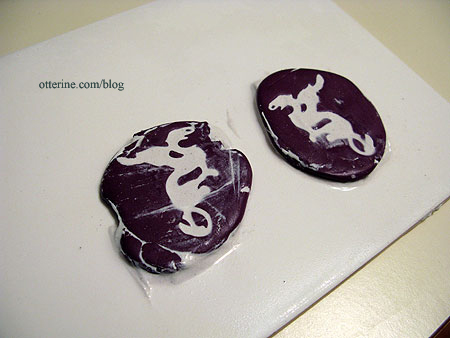
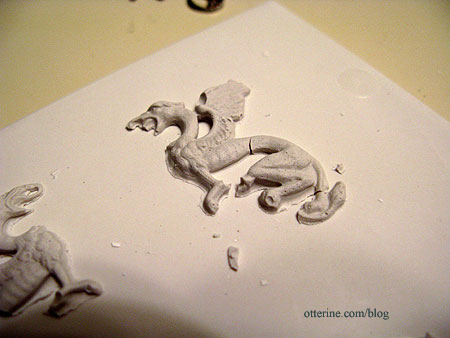
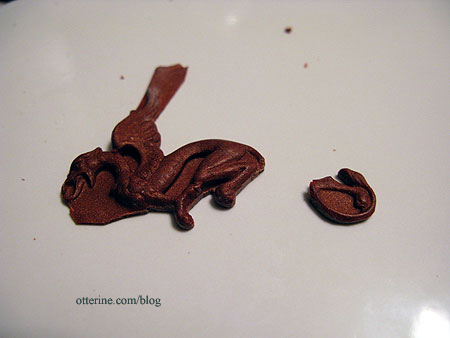
I then had to let the mold cure for 24 hours before making casts using DAP plaster of paris. Plaster is one of the few materials that requires you wait to use the mold. I had doubts that this was the proper material since the griffins are so delicate, but I gave it a try anyway. I wiped away the excess and let them set the required time. (Note: this was before I had experience with casting resin.)
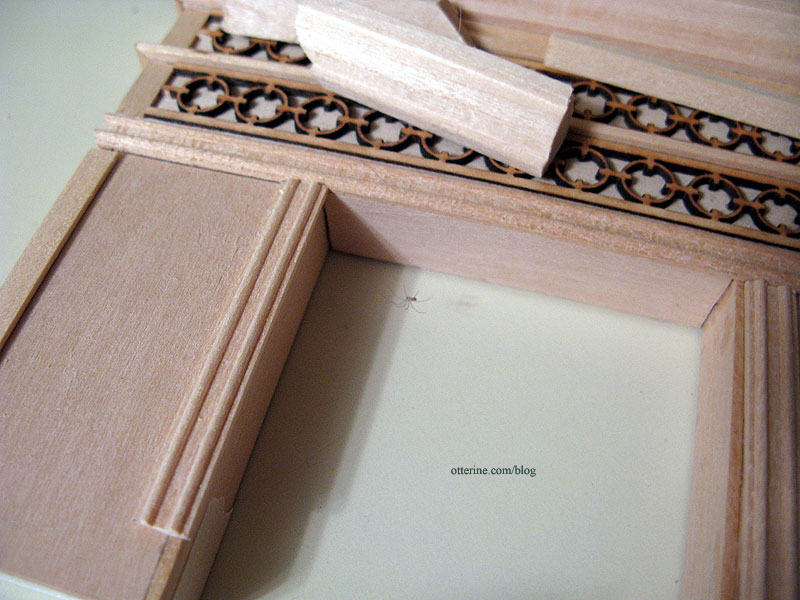
While I was waiting, I noticed something amiss…a tiny spider in my fireplace. Apparently I’m not working on the fireplace fast enough. :D Do you suppose in 1:12 scale, it’d be like a giant wolf spider hanging in there?! =shudder=
Once the time was up, I released them from the molds to find my suspicions were correct. The griffins are just too thin and fine for the plaster to work. The pieces broke, but it was nice to see the amount of detail the silicone mold had captured.
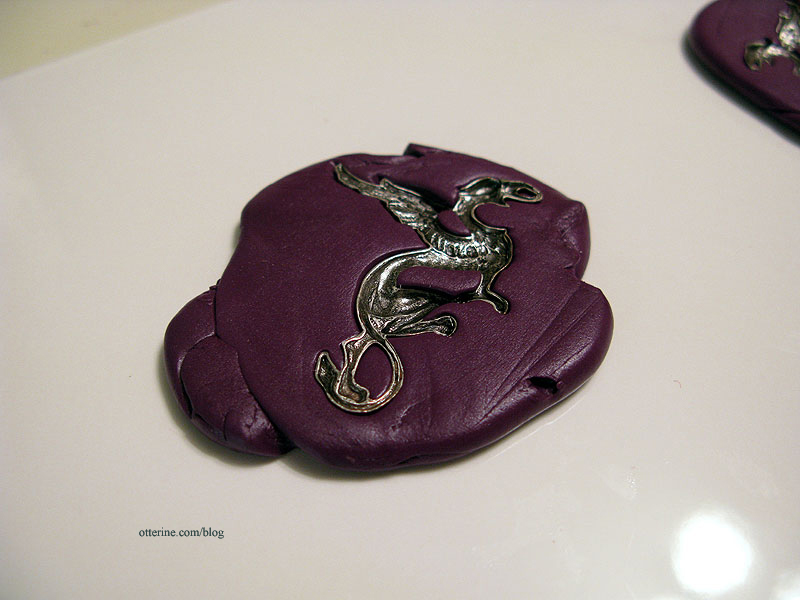
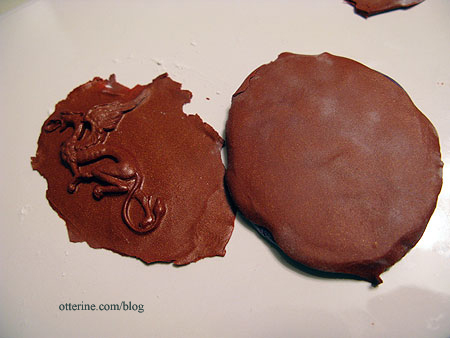
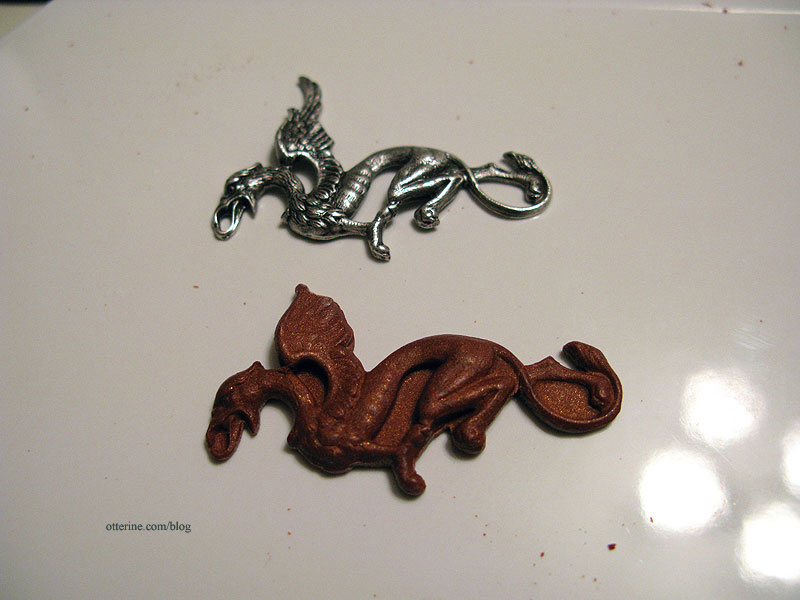
My second material was Pardo jewelry clay – pretty much just metallic polymer clay – in Tiger’s Eye, a coppery brown. I used this mainly because it was soft and the project I originally bought it for never came to fruition.
I pressed the clay into the mold and had planned to bake the clay while still in the molds. You can do that with these silicone molds, which I think is awesome. I put a bit of powder on the flat back and rolled with a rolling pin. One of the griffins came out of the mold during this process, and it was so well formed that I decided to just bake it out of the mold. I thought about cutting away the excess while the clay was pliable but I didn’t want to risk marring the design.
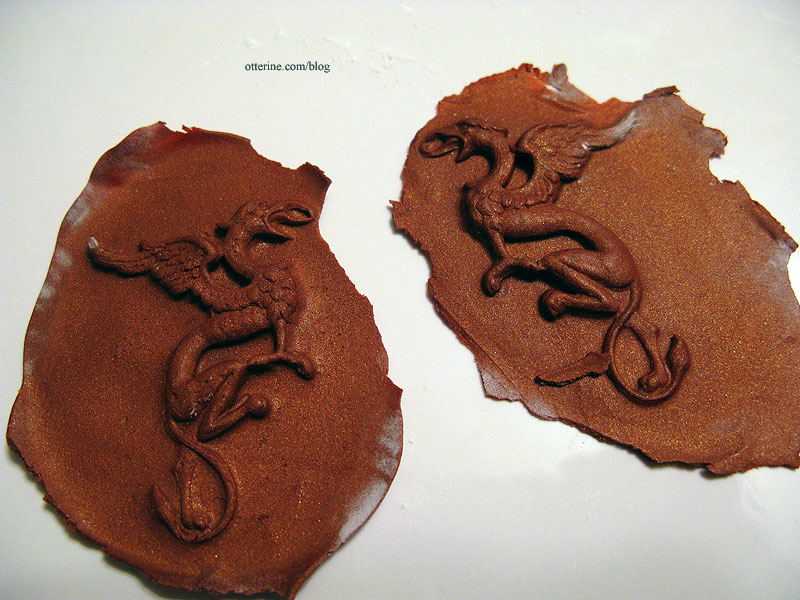
They turned out well.
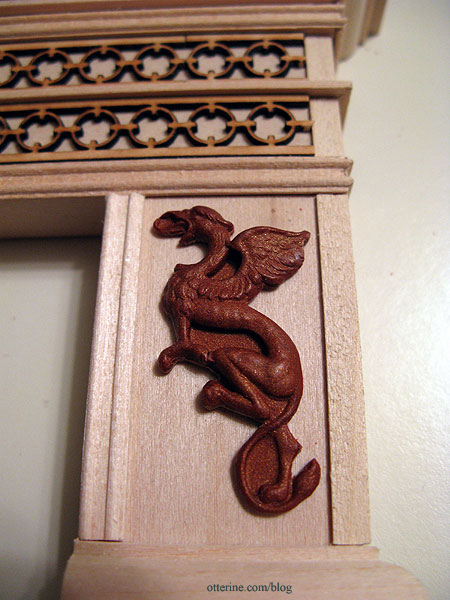
But, then I had to cut the excess off with an X-Acto knife. This was not easy, and I did end up with a few breaks.
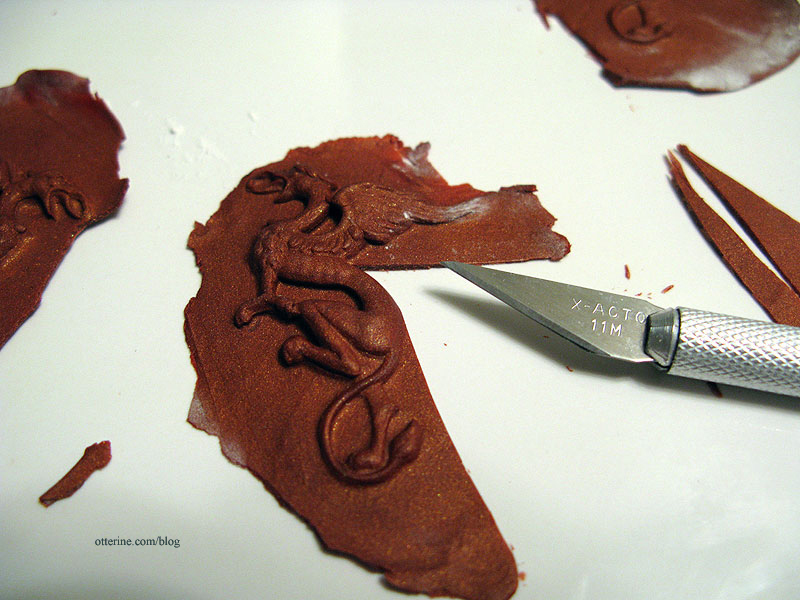
I think they turned out remarkably well, though, and I plan to use these as is.
One griffin doesn’t have the same fine detail as the other (a flaw of the original silver pieces), so they do look a bit different from one another.
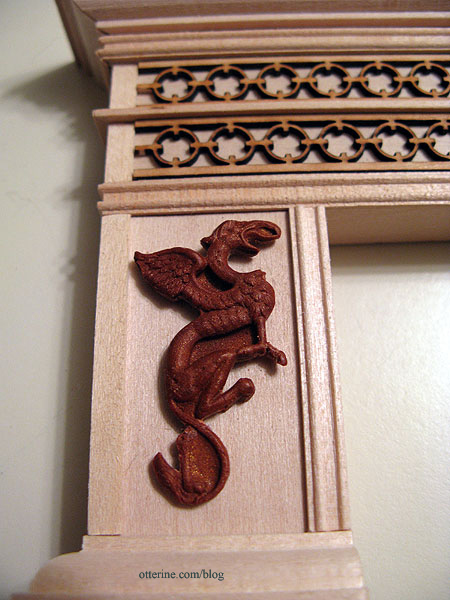
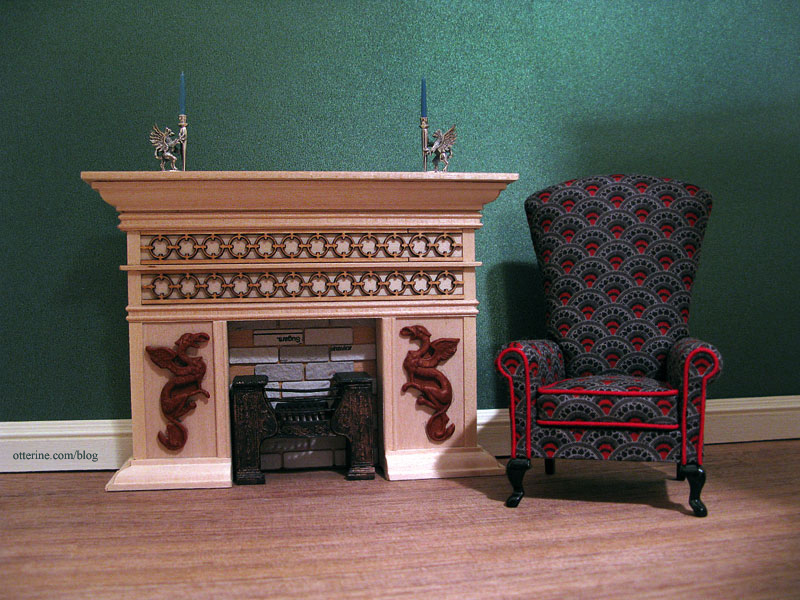
Once the whole thing is assembled and painted, I doubt these minor issues will even show anymore. Besides, a couple of imperfections on an old fireplace would hardly be out of the norm.
Nothing says spooky like adding a pair of mystical creatures!
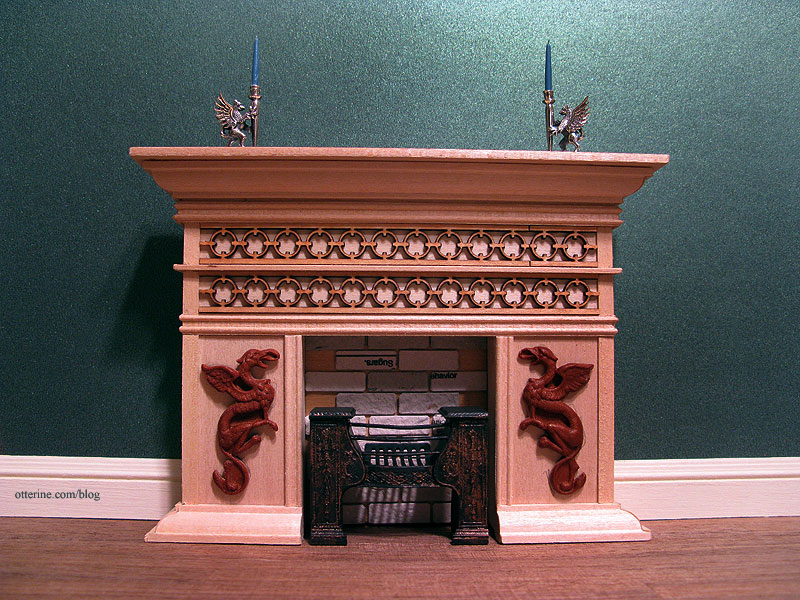
Accessories include griffin candlesticks by Don Henry, The Chair by Kris at 1 Inch Minis and the Phoenix parlour hob grate I put together and painted.