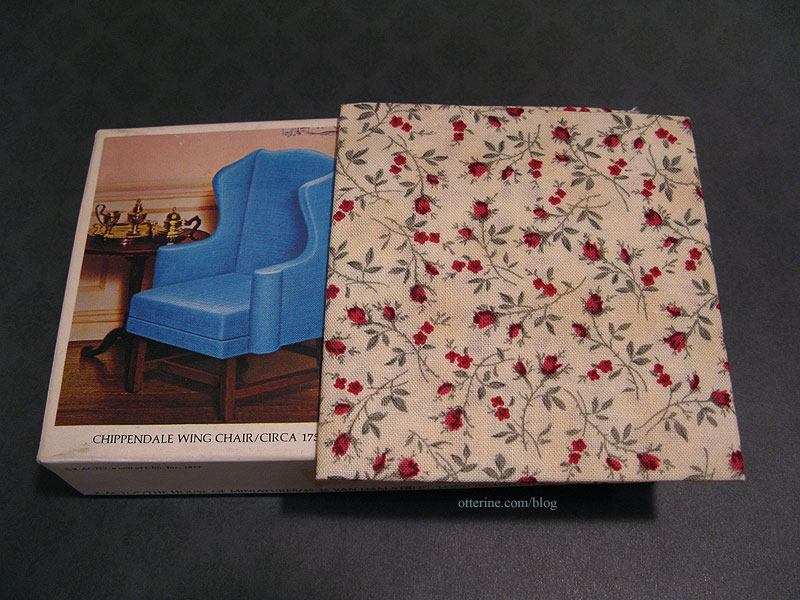
I’ve been shopping for a comfy chair for the bedroom, something light in color with a tall back. I had an ah-ha moment when I remembered I had a House of Miniatures Chippendale Wing Chair kit. This was part of a miniatures lot I bought, though I never thought I would end up using this kit.
I bought this fabric some time ago, too (don’t recall from where – likely a local mini show). I love the fabric, but it’s not my usual style…it’s rather vintage. Perfect!
So, I’m going to give it a shot. If it ends up being a disaster, it can always go in the attic. Of course, an old wobbly, threadbare chair would fit so well in the Heritage.
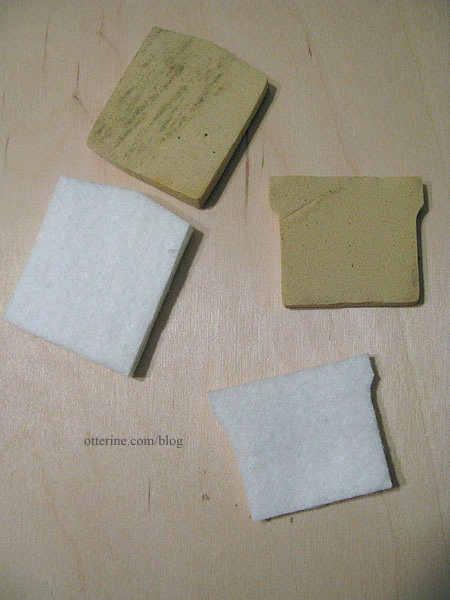
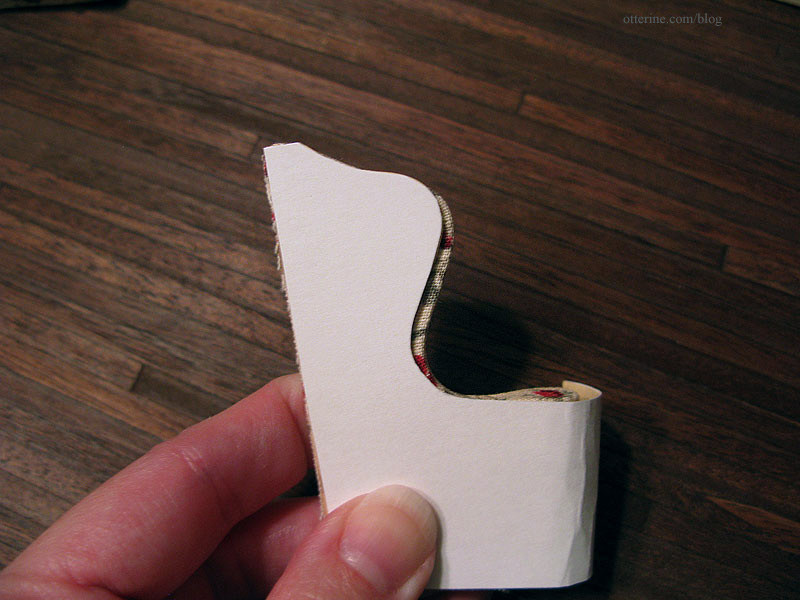
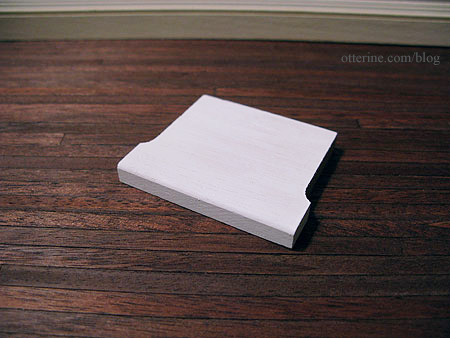
The kit was in near perfect condition, but I needed to make some adjustments. First, the card supplied with the kit is manila-folder type cardstock. It was in usable condition, but it made the fabric appear more yellow when placed underneath. I wanted the chair to be more of a true ivory like the original fabric.
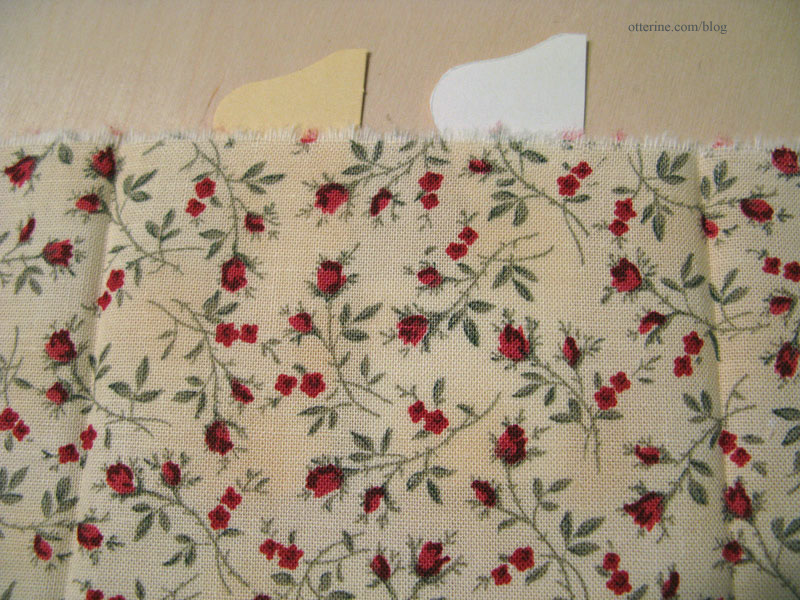
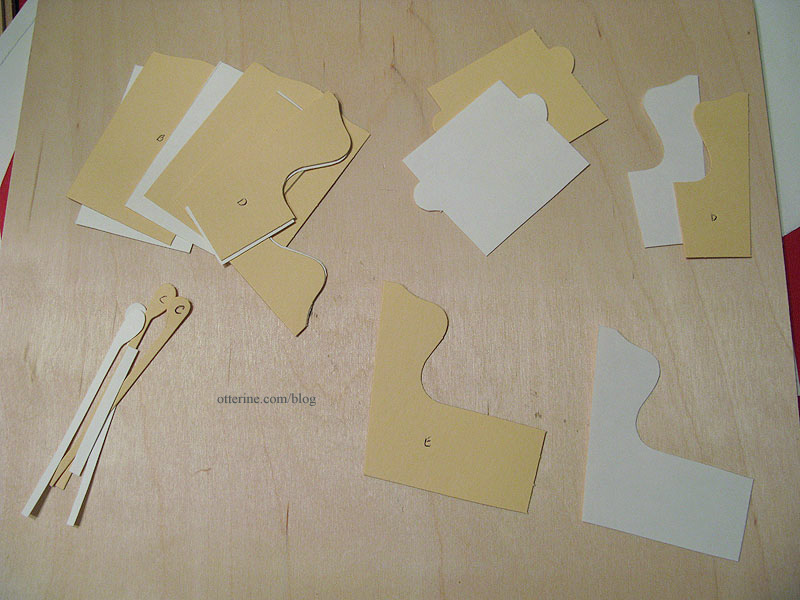
I cut new pieces from some thin white cardboard. It was so thin, I decided to just glue it to the original pattern pieces and use them together. Here they are before gluing.
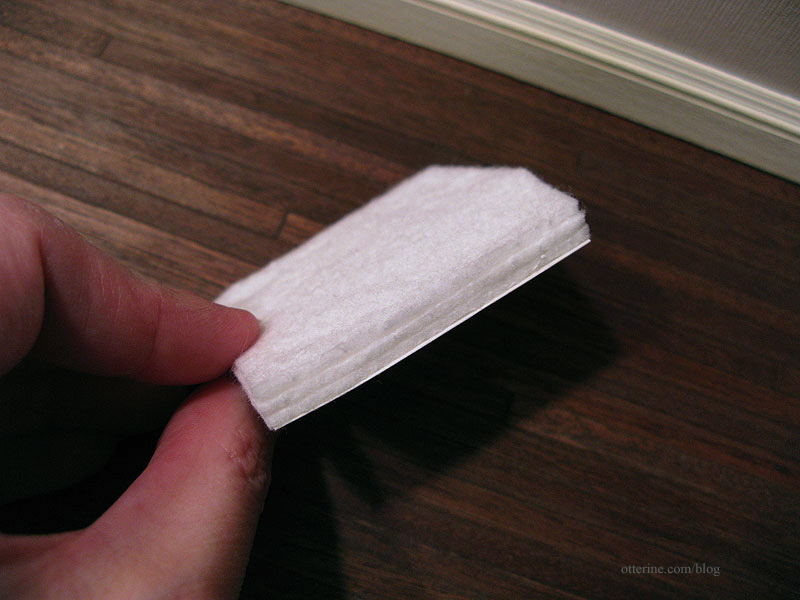
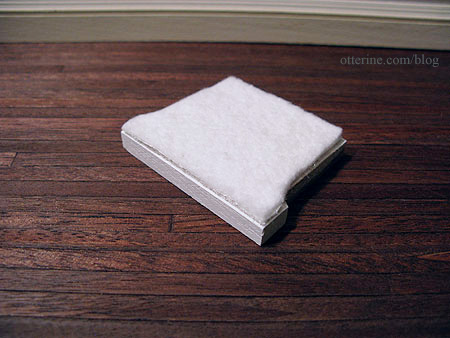
The foam inserts were in better condition than I had expected, but I still didn’t want to risk using them. They were starting to degrade and would probably break down completely over time. I cut layers of millinery batting to replace these foam pieces.
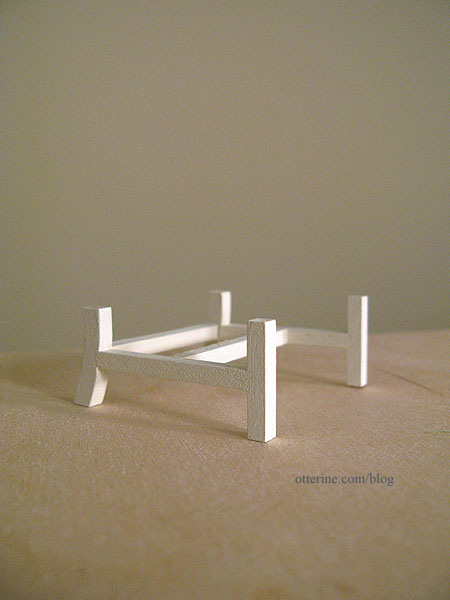
I painted the wood foundation Tapioca by Folk Art. I think it will complement the fabric well. I also didn’t want the legs to be lost in a dark room and make the chair seem like it was floating in air. :D
I found the instructions for this kit to be well thought out and adequately descriptive. The illustrations were helpful and made putting the chair together relatively simple. I just followed step by step, and the chair came to life.
Let’s not confuse matters and say it was easy, but simple in the straightforward approach the assembly follows. I did make a few modifications to the directions, and these might not make sense unless you are making this exact kit. I would not have thought to do these things if I hadn’t made the Millie August sofa kit previously. I am so glad I ran into that kit. It taught me a lot of tips and tricks for upholstering mini furniture. Unless otherwise noted, I followed the directions exactly.
In Step 3, the rounded moldings were longer than the chair sides. I glued them so the tops were flush and then sanded the excess from the bottom once the glue was dry. This might not be an issue for all kits.
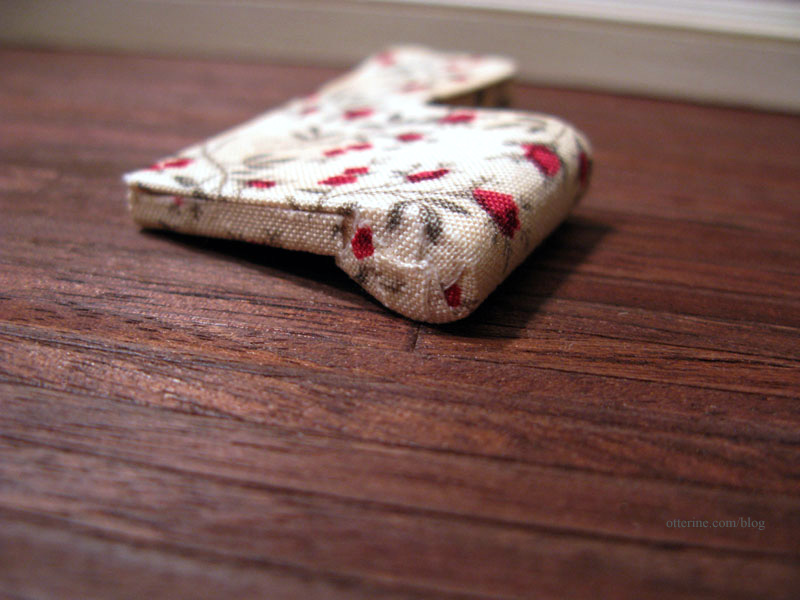
In Step 8, you are to wrap the fabric around the card piece, including the bottom and back edges. I left these loose and wrapped only the curved front edge. I then glued the card to the side and wrapped the back and bottom edges around the wood, cutting flush with the opposite side. Otherwise, I would risk the fabric pieces not matching up with the back and seat coverings added later, therefore leaving gaps. (Doing this actually saved the piece in the end.)
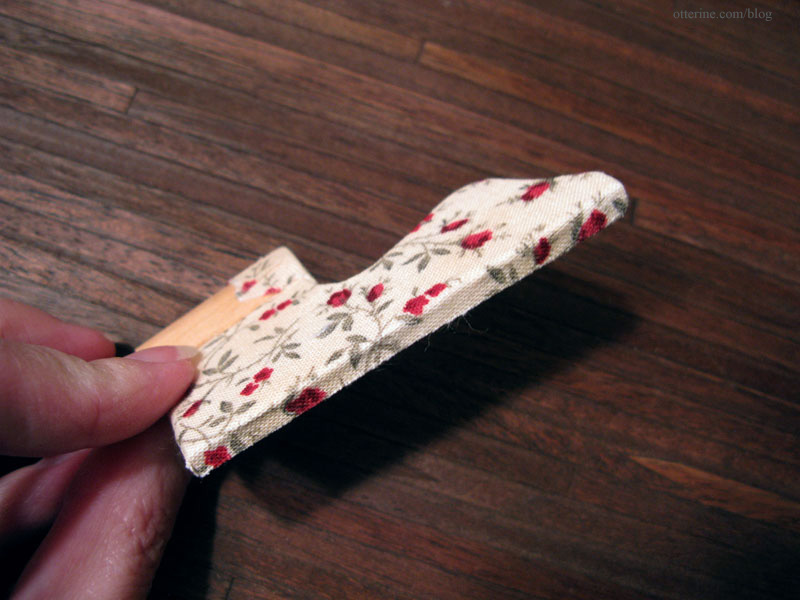
In Step 9, I wrapped all edges of the card except those around the bottom of the rolled edge.
I again wrapped these ends under the wood on the bottom. (This did end up being a little bulky in the end, but I would have had gaps without doing it so it was worth it.)
Any gaps along the back or bottom edges for Step 9 won’t matter since these are joined on the inside with the back and seat to form the chair.
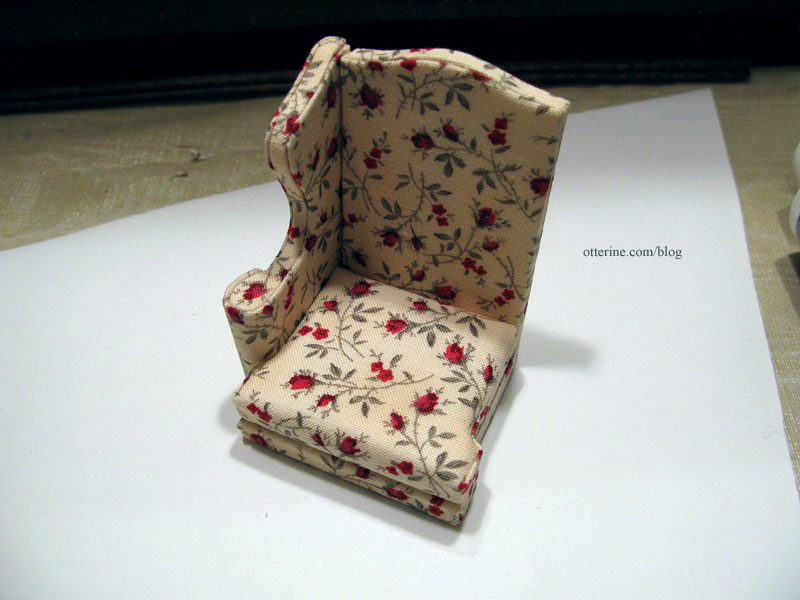
I did plan having roses centered on the arm rests, but I left the pattern random for the rest of the chair. :]
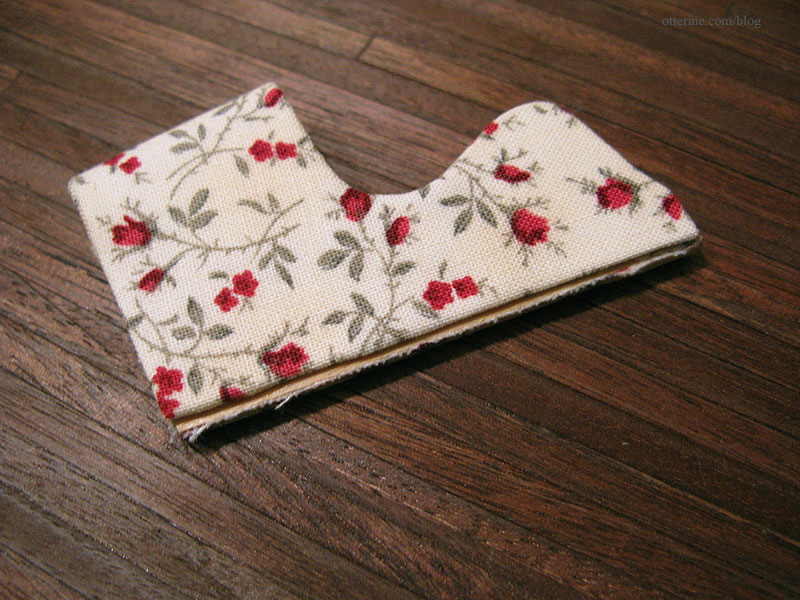
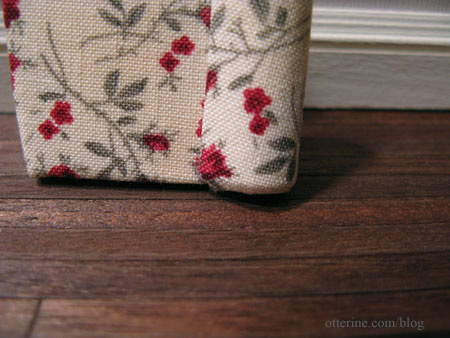
I will point out that you may need to cut new card pieces. A couple of the pieces were shorter than needed. I had to cut completely new pieces for D and E in Steps 8 and 9 for the second of the side assemblies, even though the first side worked perfectly with the original card pieces. Here you can see just how off the original piece E was around the front curve.
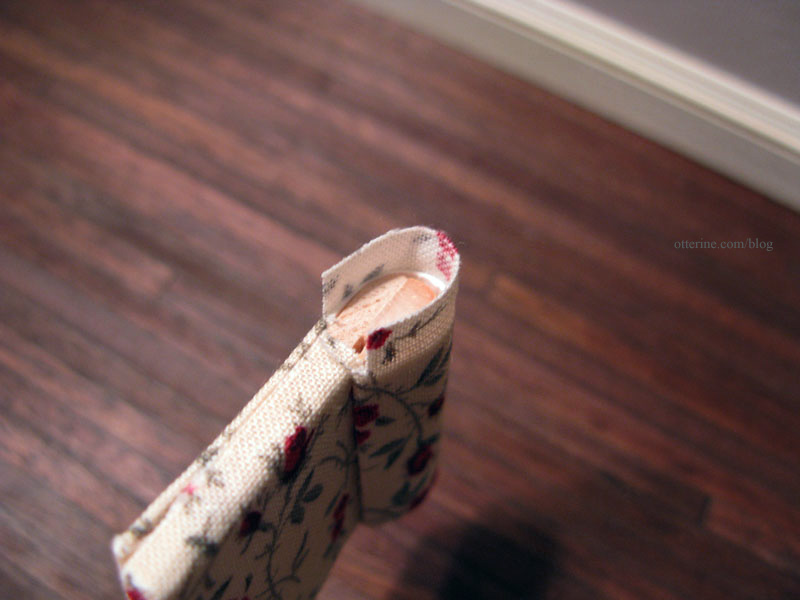
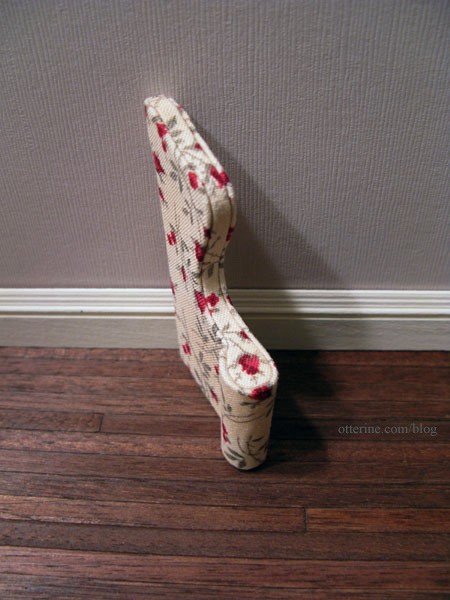
The patterns aren’t very precise, especially after you’ve added fabric in previous steps. Depending on the lightness of your fabric any shortness around the edges may show. Here you can see a little of the wood underneath at the bottom of the rolled edge. This should end up looking like nothing more than a shadow and not be obvious in the end.
I should add, too, that the white card I added to the kit card pieces to make the color of the fabric truer did not interfere with the assembly of the chair. It might have resulted in slightly thicker “piping” around the pieces, but it still looks in scale. If you add anything, though, it has to be very thin or take over for the kit supplied card in like thickness.
In Step 12, I painted the chair base (piece 52) white before adding the fabric. Otherwise, the fabric would have appeared darker on this piece due to being over bare wood instead of white card or white batting.
Also, since I wasn’t using the more rigid foam for the back cushion, I cut an extra piece of card for the back of the millinery batting layers to make it easier to cover with fabric.
In Step 13, I painted the edges of the seat cushion white for the same reason I had done so for the chair base.
In Step 14, for the actual assembly of the fabric covered pieces, I glued the back to the seat as indicated. I then glued on one side, but this is where I deviated from the instructions. I glued in the seat cushion next.
I then glued in the back cushion and slathered on the glue.
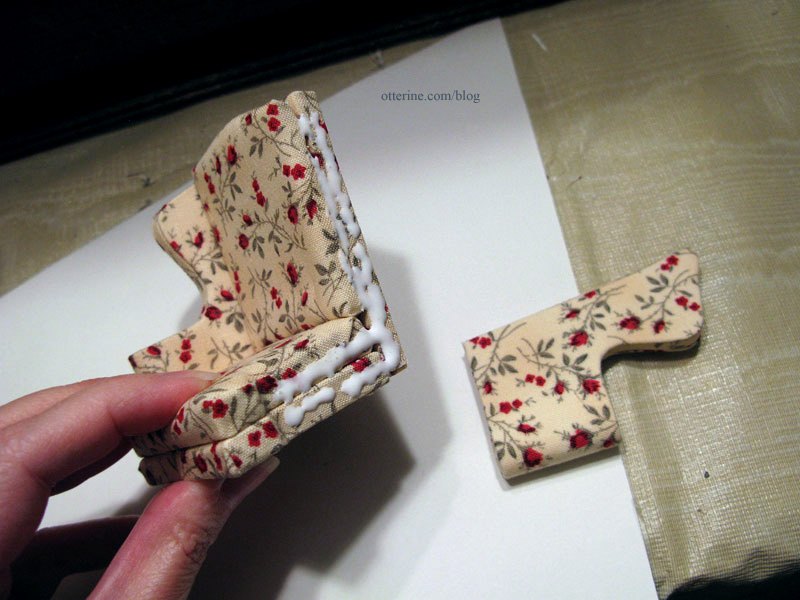
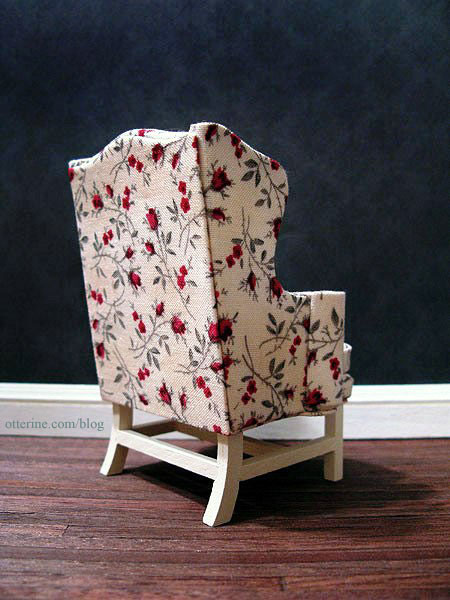
I then glued on the other side. This ensured a good, solid fit for all the pieces instead of waiting until the end to try to make adjustments. One happy accident: using millinery batting instead of a solid foam piece for the back cushion resulted in a delightfully saggy back to the chair. It looks like it has been well-loved all these years. :D
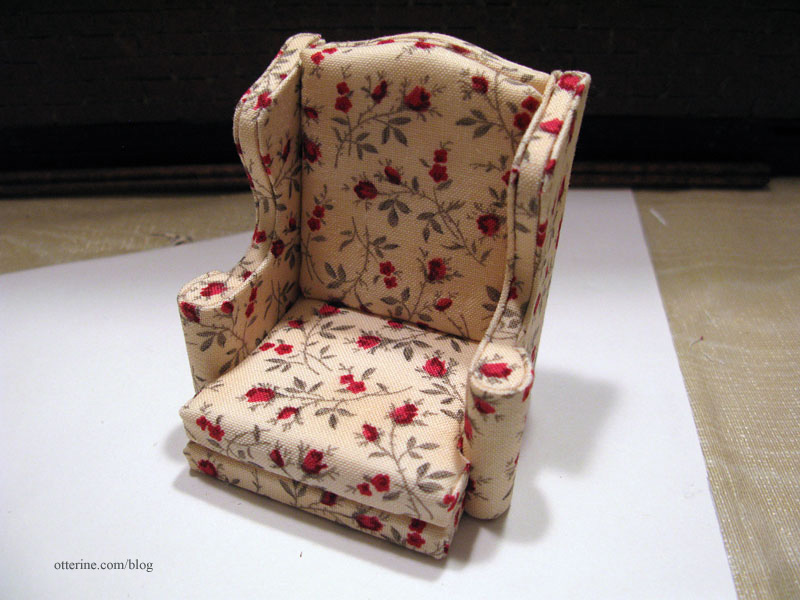
The Tapioca paint on the foundation ended up being a little too light when paired with the fabric, so I added a coat of warmer yellow. I mixed the paint on the fly to coordinate, and I’ll never be able to replicate it.
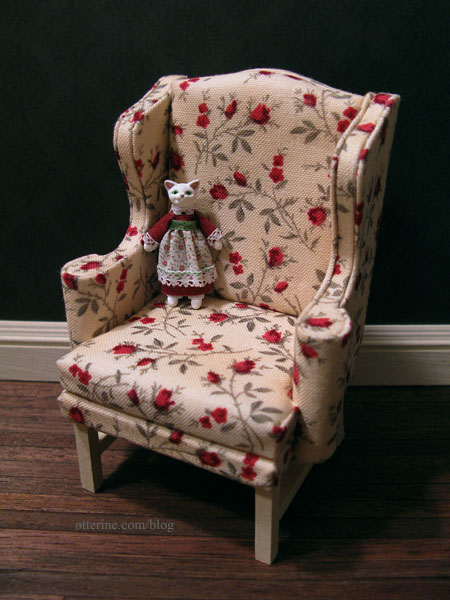
I think the chair turned out very well and I’m so pleased with it. I think using patterned fabric helps hide any inconsistencies that the solid blue fabric included with the kit would have accentuated.
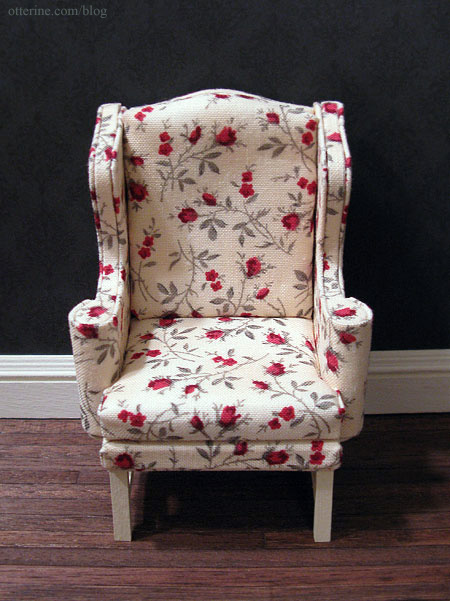
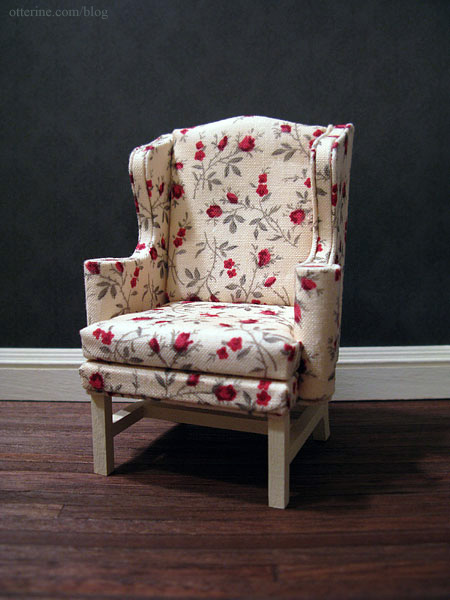
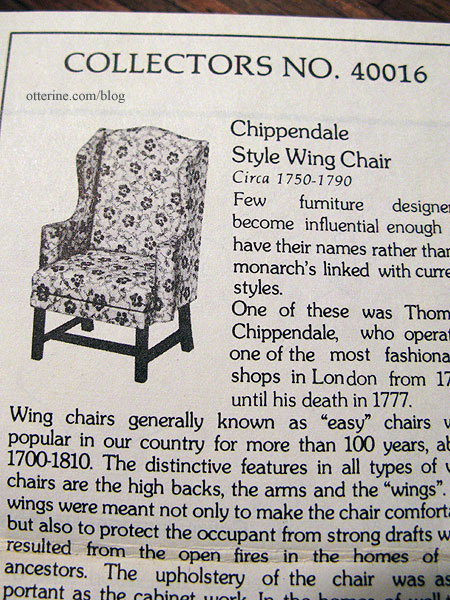
In fact, I love the fabric I used. It’s just the sort of feminine touch I was after. The piece I used was 11″ x 11″ and, with careful planning, I had just enough. If you use a fabric with a pattern that needs to be matched, you might need a larger piece. Interestingly, the black and white photo shown on the instruction sheet shows a similar floral pattern.
If I were to to this kit again, I would change out the simplistic base. It’s fine enough in the bedroom since it sits in a corner where the bed blocks the view of the base.
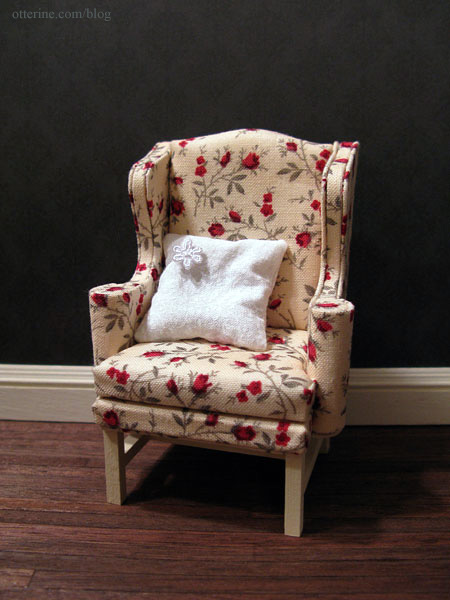
I’ve added one of my white patterned pillows with lace flower detailing. It was the only one I had on hand that coordinated well. A red one might be nice, too.
Considering I didn’t think I’d ever end up using this kit (it was included in a lot I bought), I might be inclined to pick up another if I find a good deal. :] It really is a classic design that can be so many things depending on the fabric. Ophelia loves it.
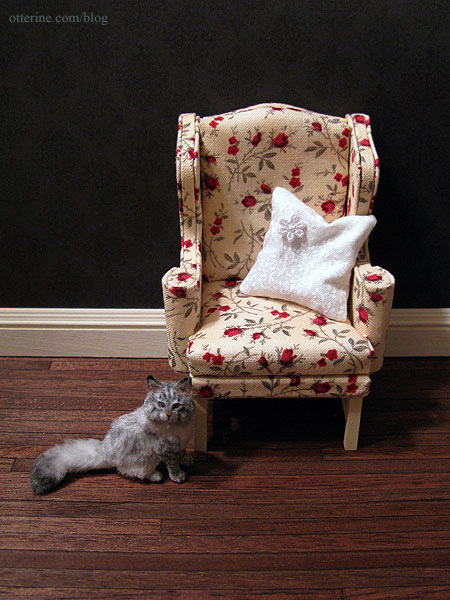
Miss Kitty loves it, too. :D