
I’m mulling over the idea of using vintage newspaper to line the attic in the same manner as the attic in Baslow Ranch.
But, I also like the look of exposed wood in an old attic regardless of the energy inefficiency. Since I know what a newspaper covered attic would look like, I decided to try a wood slat attic. I can always cover it if I don’t like it, or do a combination of the two. :D
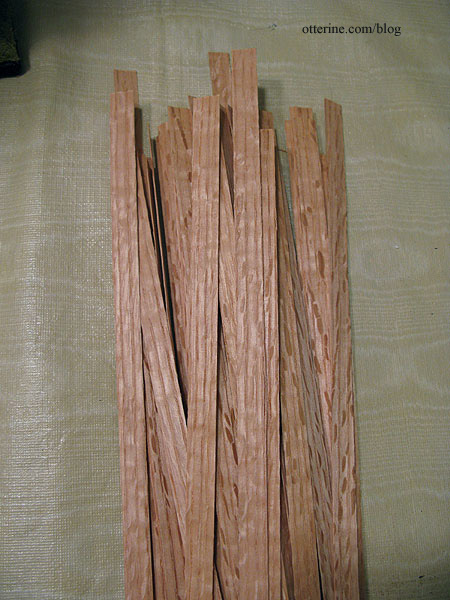
I used Dura-Craft wood flooring strips for the roof boards. These are pieces from both the old lost Dura-Craft kit and the Heritage.
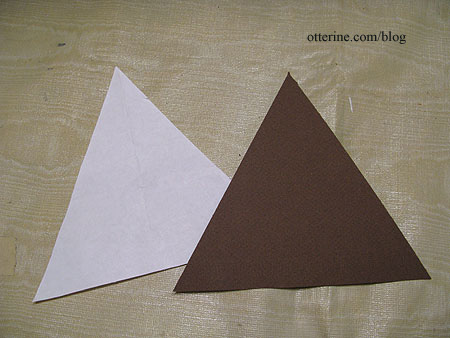
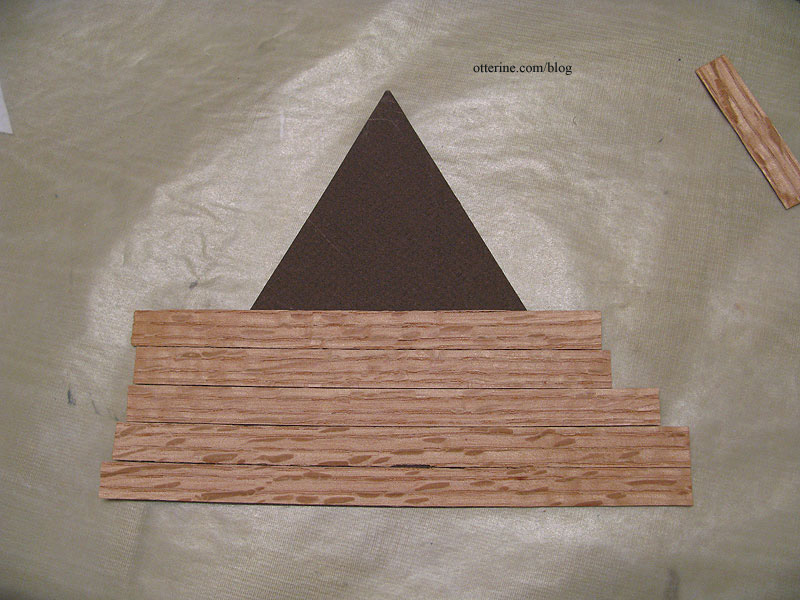
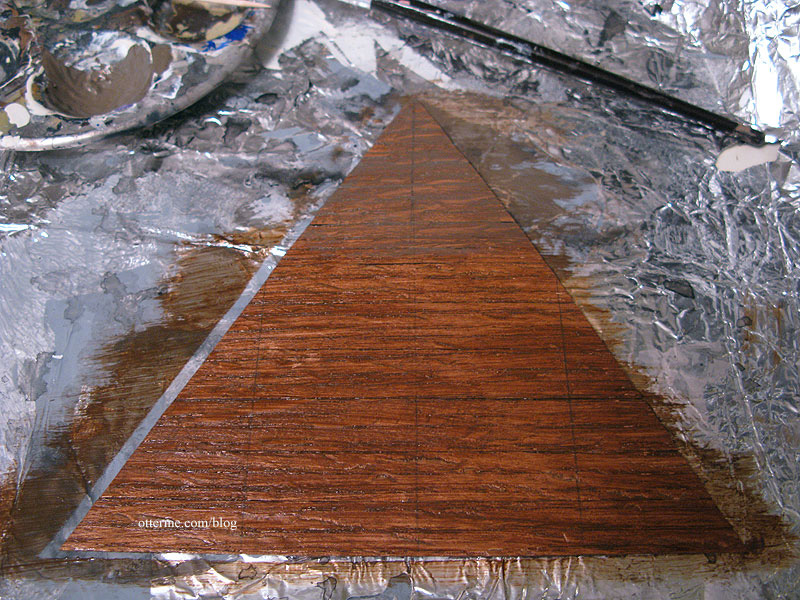
I started with the three gables that are roughly the same size and shape, because they are the smallest and simplest pieces. If I didn’t like the result, I wouldn’t have wasted much time. I made a regular paper template of the side gable and then made the final template from dark brown paper in case it showed through.
I glued wood strips to the back of the template, leaving them long.
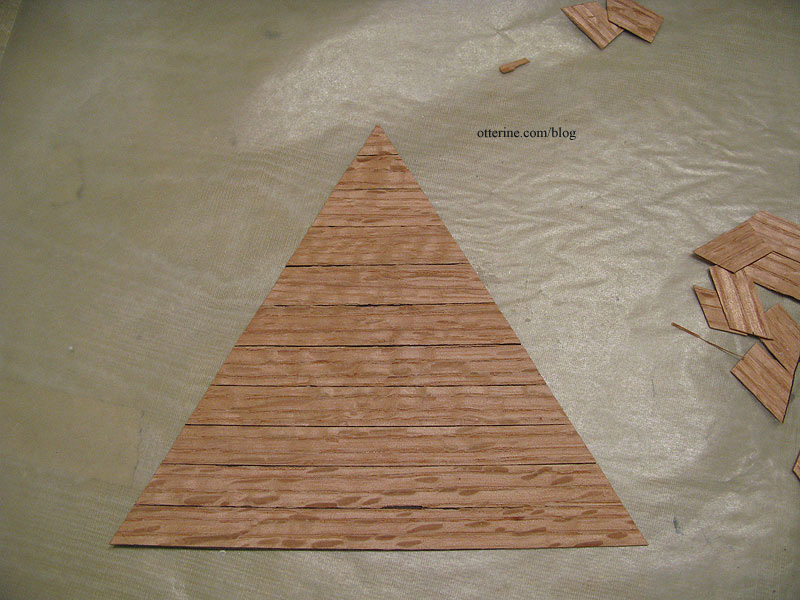
I then cut around the template.
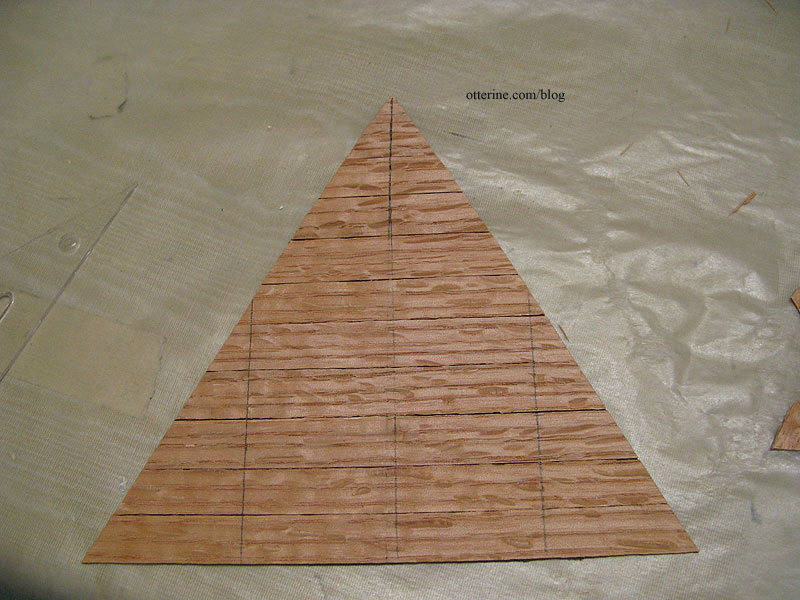
I checked the fit and then marked the visual center and the location of the two side supports.
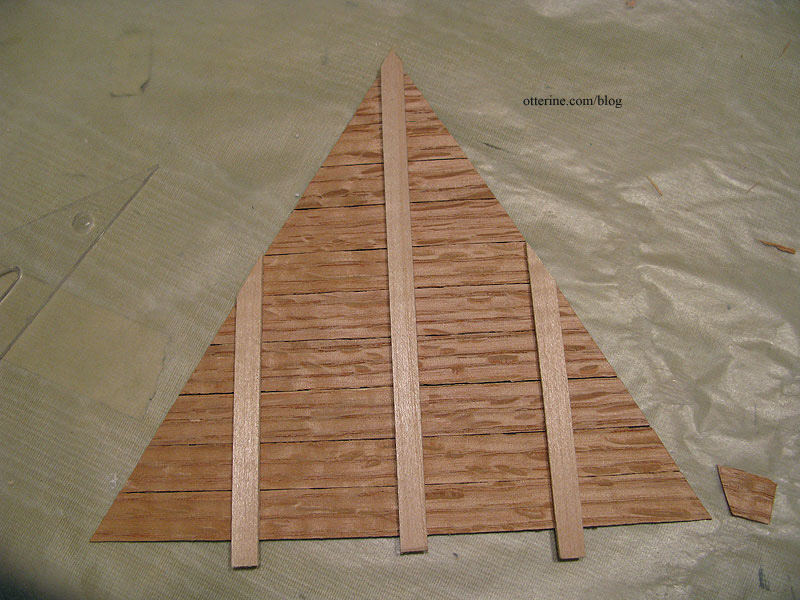
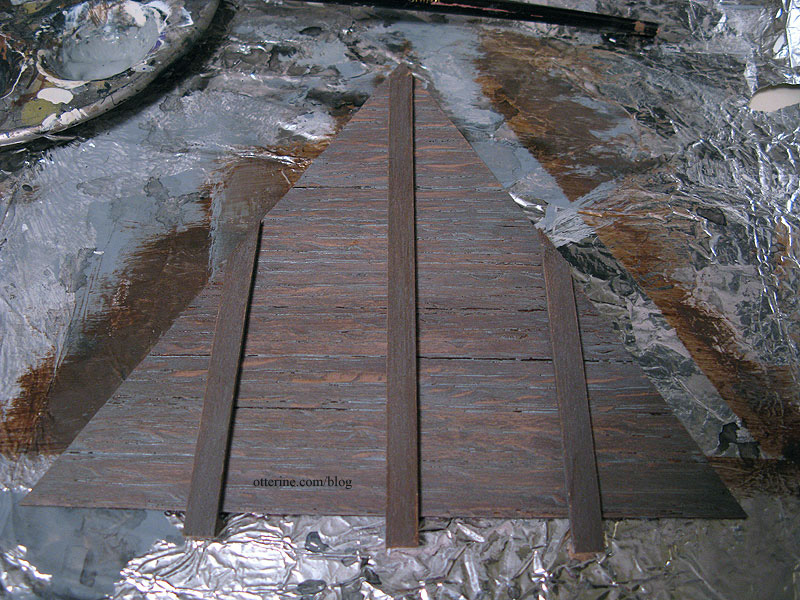
I cut rafters from 1/16″ x 1/4″ strip wood. If this were an actual roof, the rafters wouldn’t be flat, but I wanted mainly the look of an attic more than an architectural model.
I decided to add color before installation in case I needed to press the boards flat as they dried. I stained the wood by mixing Staining Antiquing Medium with Asphaltum, both by Americana. It was a rich color I will definitely keep in mind for future use, but it was too new and warm for an old attic. I added a stain of Staining Antiquing Medium mixed with Neutral Grey by Americana. It toned down the brown.
But, it wasn’t “dusty” enough, so I added a third stain of Staining Antiquing Medium mixed with Slate Grey by Americana. Very nice! Of course, I had to add this grey layer to the support boards I had primed brown previously.
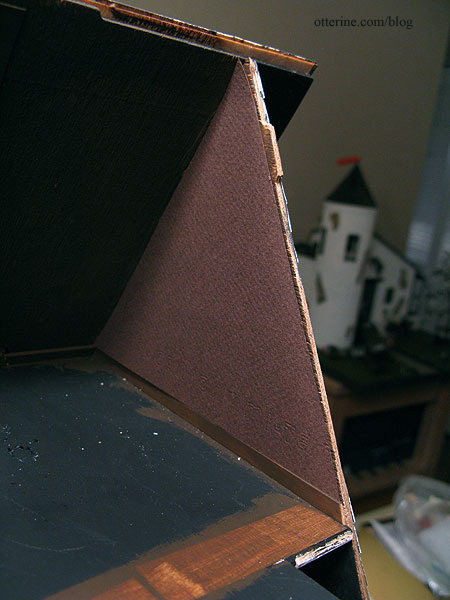
Once dry, I checked the fit again and then glued the main piece in place. I won’t glue in the rafters until I get the rest of the walls done and the floor installed, but I propped them up with mini hold wax.
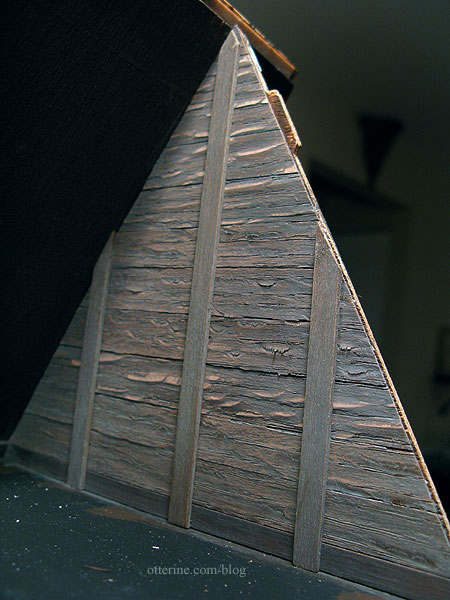
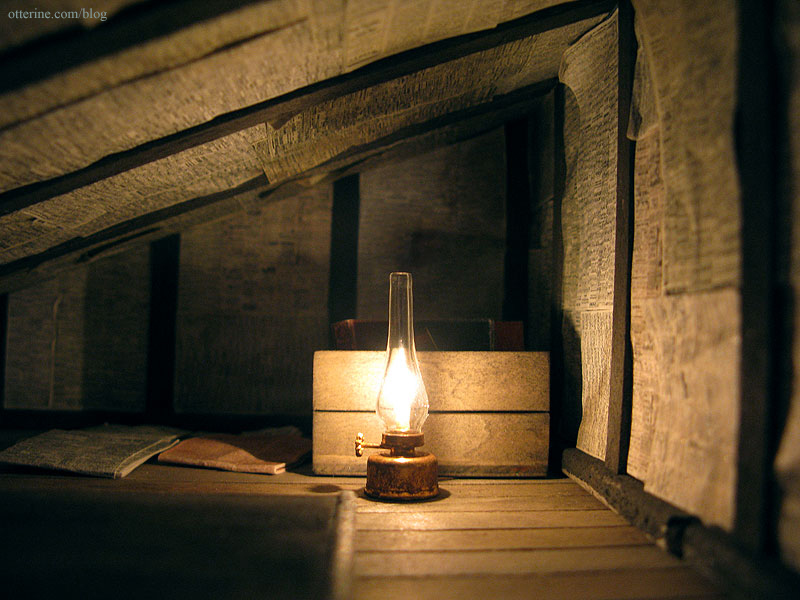
I absolutely love the way this looks! I didn’t sand the boards or the rafter pieces, and I think that really solidifies the rough-hewn look. Hooray!


