
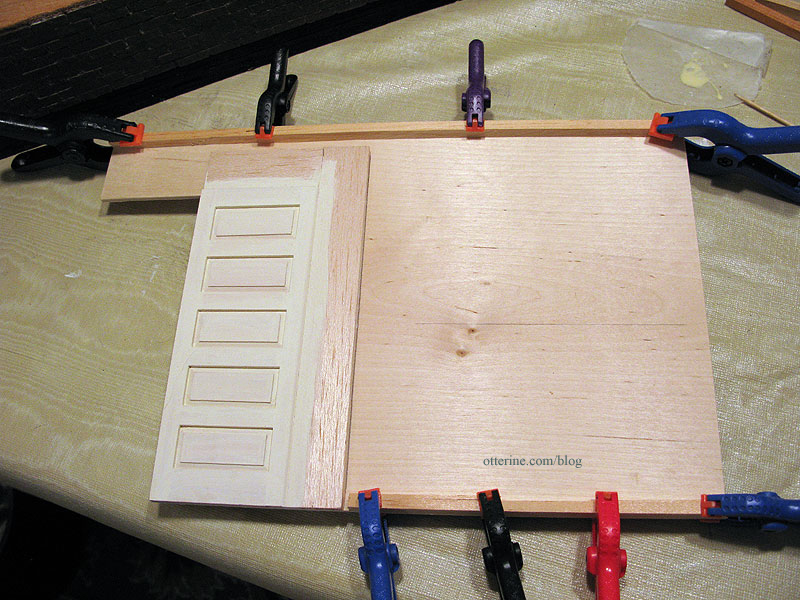
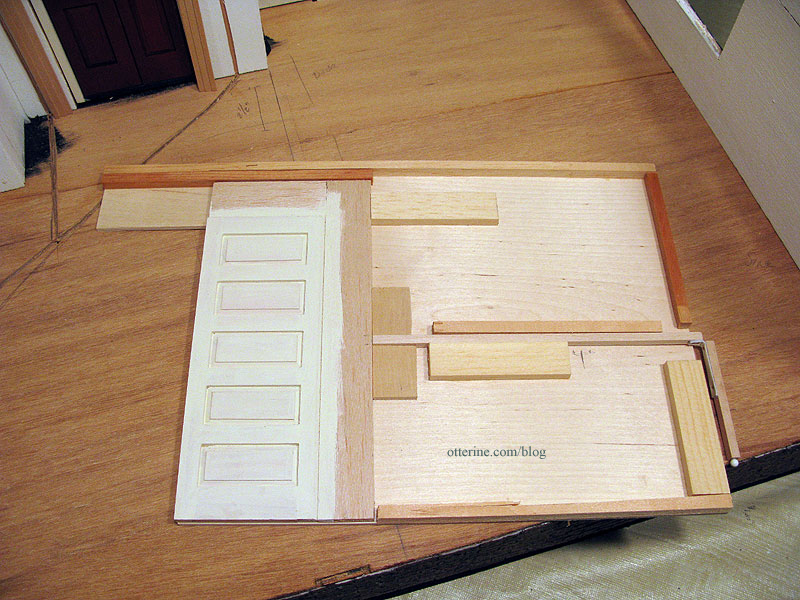
Continuing work on the pocket door. I decided to use 1/4″ thick wood for the inner connectors and pocket door mechanism instead of foam core board, using wood glue to create an especially strong bond. The reason for this is that the wall will serve as a structural wall and I want to cut down on the amount of give and warping it might have. Unlike Kathie’s tab and slot house example, this wall just sits inside the house and will be glued at contact points only, so I need a straight, strong wall.
I asked Kathie what she would have done differently, and she said she wished she had built in a way to open and close the door from the outside, like a string. As it is, she has to reach in to show that it works, and that requires the removal of furniture.
That got me thinking! How about a lever that comes out of an opening in the back of the pocket door wall. You would push the door closed and pull it open like a pop-up book. The lever itself could be hinged to lay flat when the door is open.
I added a piece of 3/16″ strip wood cut to the distance between the edge of the door assembly and the open back when the pocket door is open, with a little to spare. I added block supports to the end where the lever attaches to the door assembly to strengthen the connection.
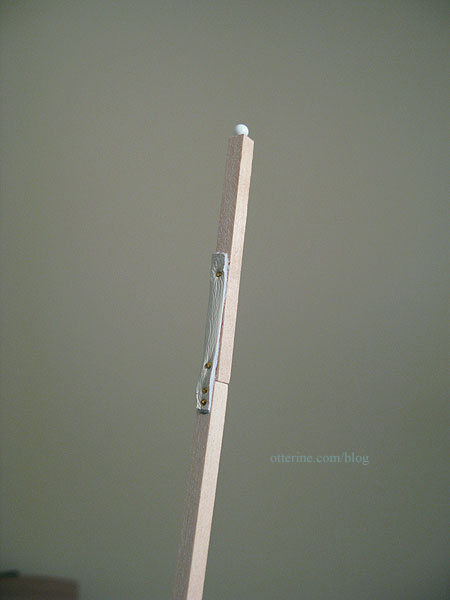
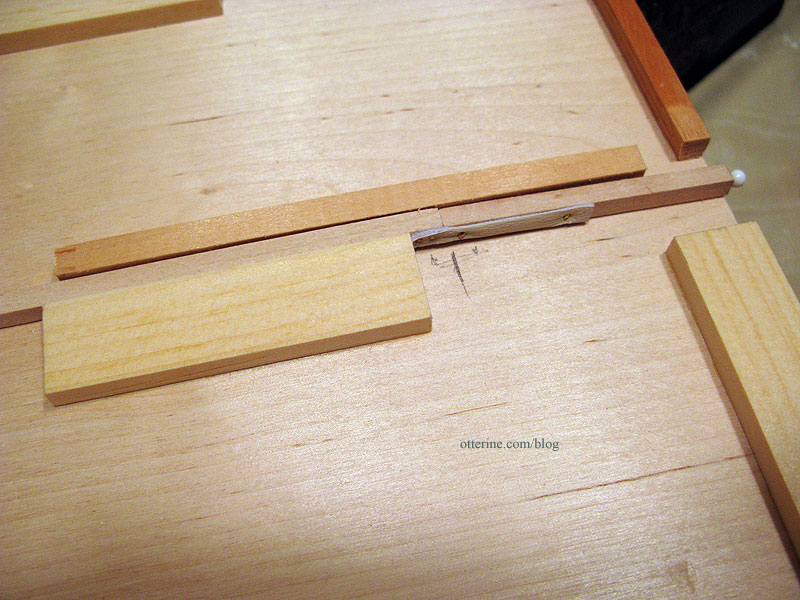
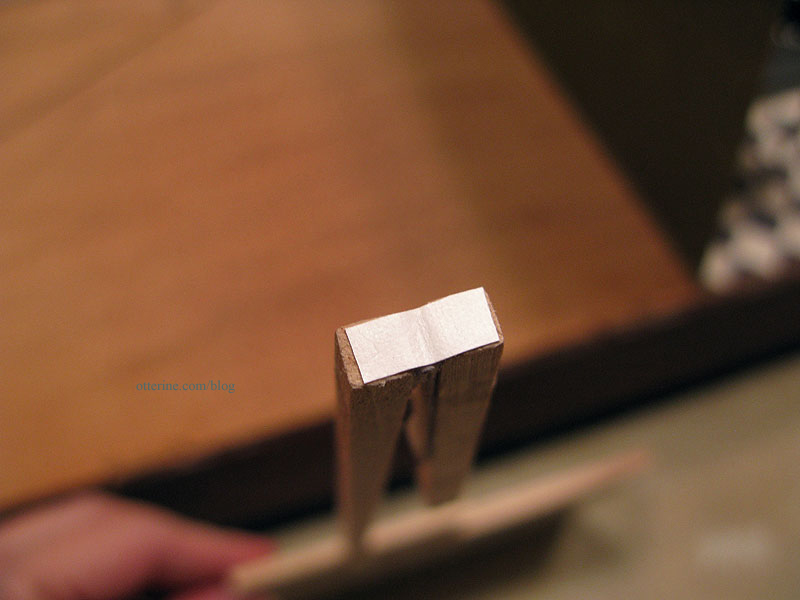
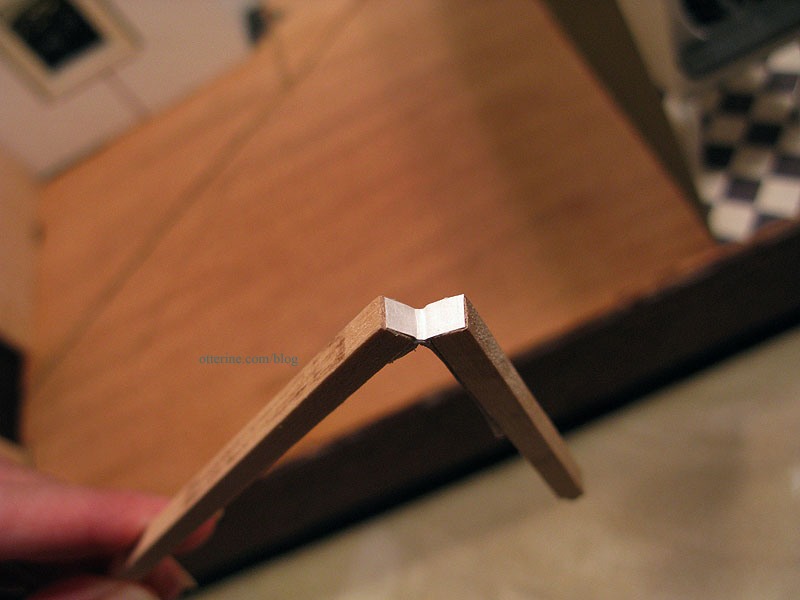
I added a hinge at the end of the lever and added more 3/16″ strip wood cut to the amount needed to make up the difference when the pocket door is closed. Even though there are tiny hinges on the market, I opted for a leather hinge instead. It’s flexible and won’t be damaged with some turning and bending the way a tiny metal hinge might be over time. I used brass brads for additional security after gluing the leather in place. To finish the lever, I added a sewing pin glued into the end.
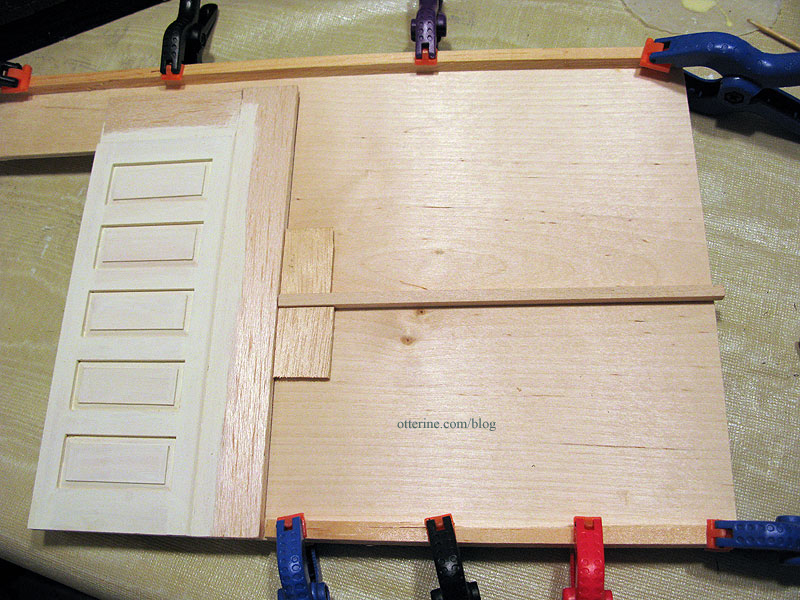
I used scrap bits of 1/4″ thick wood to create a channel for the door lever, a guide above the door and a stop to keep the door from going too far back into the wall when open. I also finished off the back with 1/4″ thick wood, leaving a larger opening than necessary for the lever. I will cover the back of this wall with a single piece of wood in the end, so these pieces are merely structural and not meant to serve as a clean finish for the back edge of this wall. Before final assembly, I’ll add some more 1/4″ thick wood scraps in the open areas to make sure the parlor wall has enough surface to bond to.
Here are the inner workings with the door closed…
And with the door open…
A close up of the hinge in place.
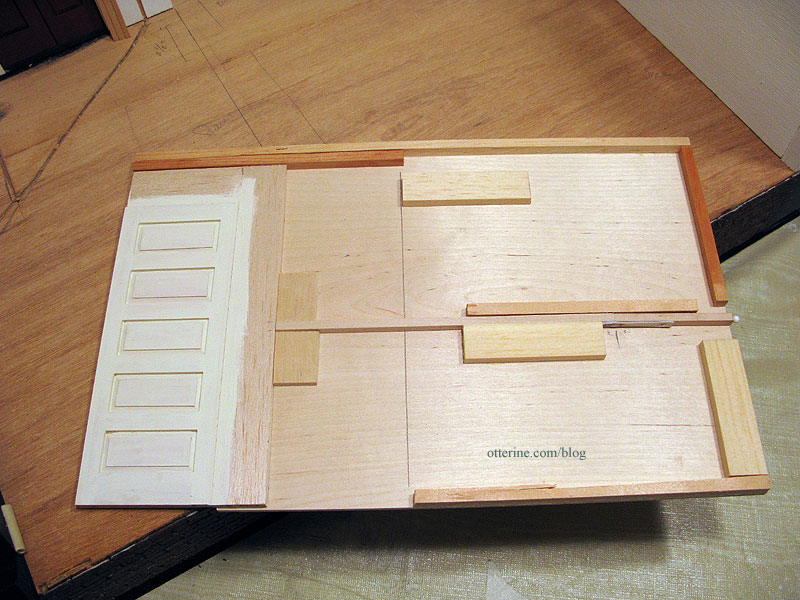
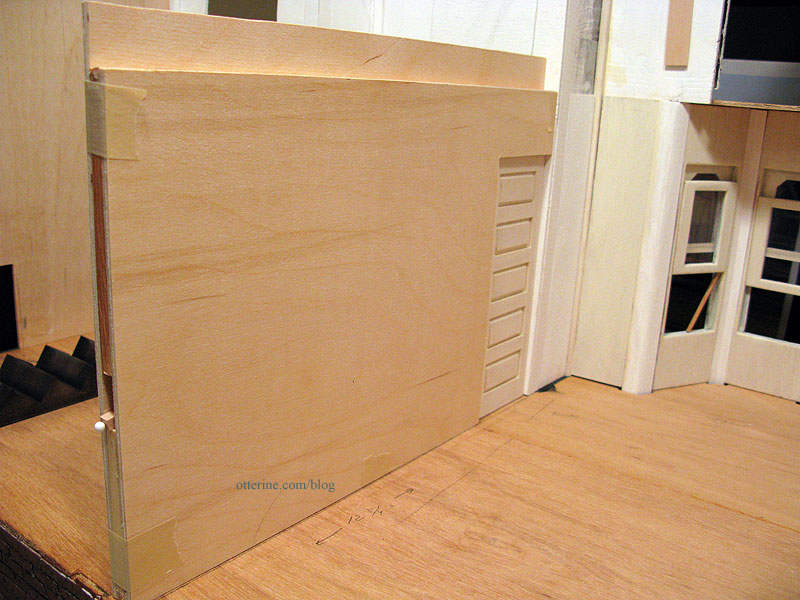
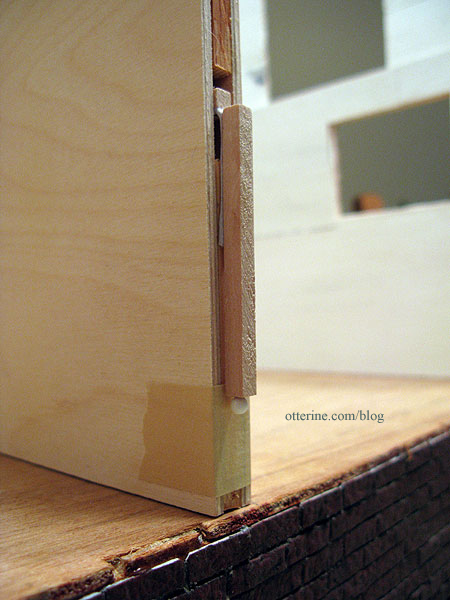
I taped the parlor wall to the assembly and set it in place. The mechanism needs to be treated gently, but it works! :D
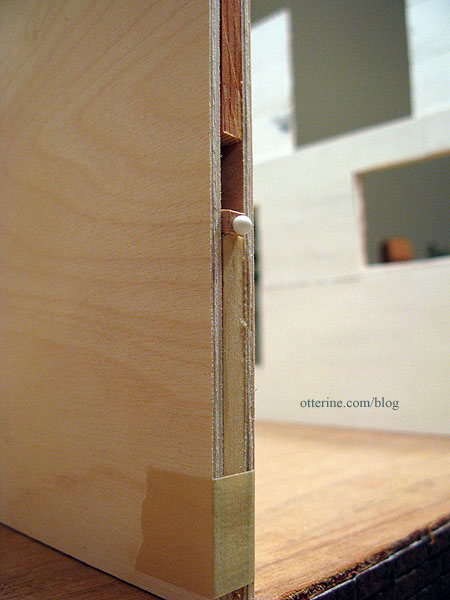
Here is the lever pushed in for the door closed, with the head of the pin showing. It is angled down for now since there is no finishing wood to keep it propped up.
Here is the lever pulled out for the open door, with the hinge allowing the lever to sit flat against the back of the wall. I need to paint the lever, prime the walls and finish the door before I can glue the wall together permanently, but I am so pleased it works!
Fran sent me a suggestion for reinforcing the pocket door hinge: adding a piece of Tyvek to the inner part of the hinge. Tyvek is the strong, waxy paper that tear proof envelopes are made from, and since I work in an office, it is a daily material for me. I snipped a corner from a FedEx envelope and cut a tiny piece for the hinge.
Once glued in place, it keeps the hinge from twisting as it had been doing with the leather on only the one side. And, it’s so thin it doesn’t interfere with the hinge when the lever is straightened. Excellent idea, Fran! Thank you!
Part 3 here.


