
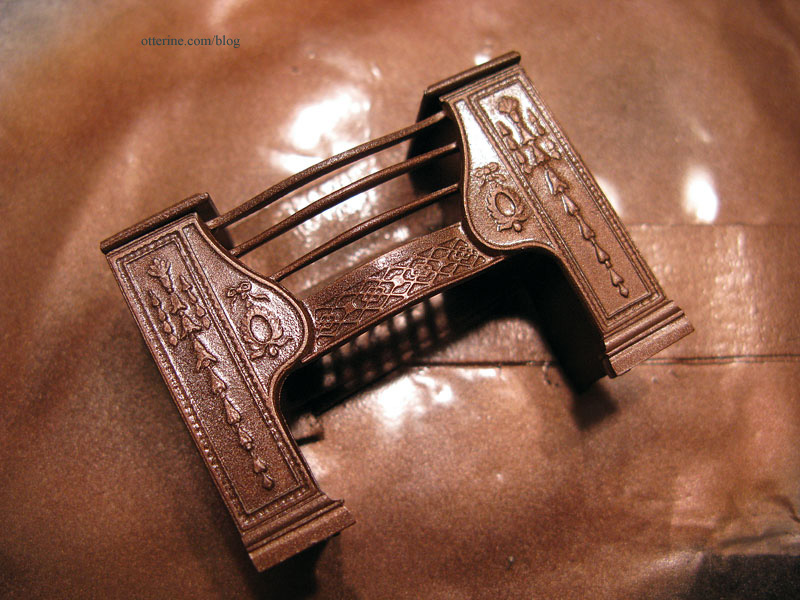
I started with the Parlour Hob Grate kit. This was my first time working with a Phoenix Model kit, though I had heard of them and had seen many other miniaturists make wonderful things from them. I have to tell you, this kit went together in about five minutes! :D I used Quick Grip glue and it held very well. (Note: I now recommend epoxy for metal kits for longevity and stability.)
I spray painted the grate Burnished Copper Metal by Rustoleum, first the back and underside, then the front and top.
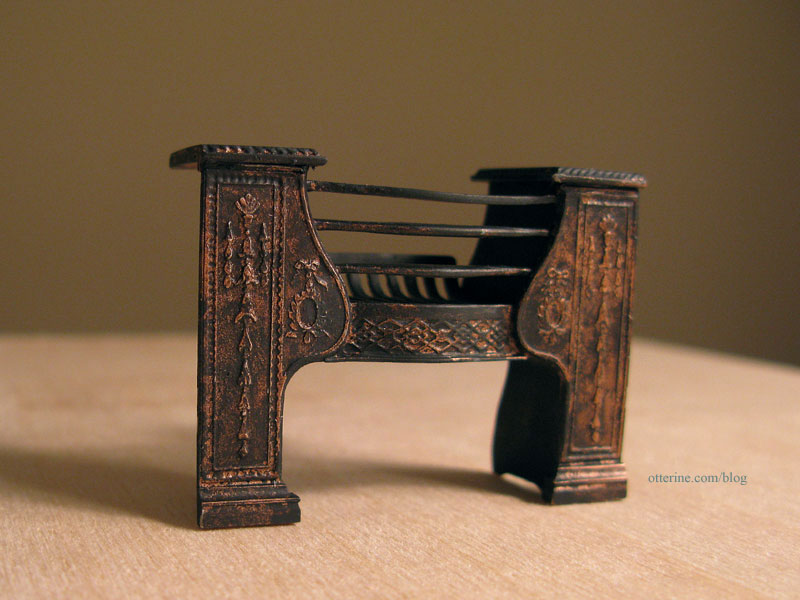
Once that was dry, I was able to wipe on layers of black and grey acrylic to get the aged look I wanted. Perhaps a shame to dirty it up so bad since it looks so pretty in the copper, but a shiny new parlor grate just won’t do in an old house. Maybe I’ll need to make another of these and leave it shiny, beautiful copper. :D
My main inspiration fireplace is this beautiful Lawbre fireplace. Even if I could afford the splurge, this piece would be too big for the parlor. So, I set out to make an interpretation of it from bass wood with a few changes in mind. I used some of this 1/2″ Alle trim from Heritage Laser Works. It’s similar to the circle link design of the original.

I’m not a huge fan of the rope detailing on the original, so I substituted other trims for that portion of the design. I made my fireplace shorter than the original and eliminated the portions of the base that angled toward the opening.
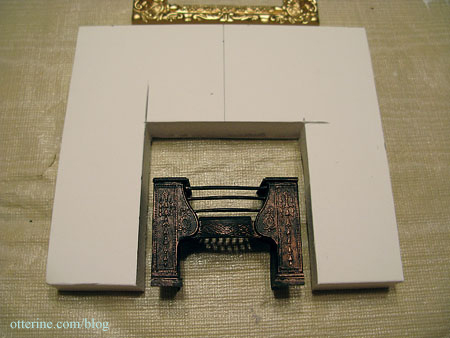
I built the structure in layers, since that seemed the easiest approach using the materials I had on hand. I started with a basic 1/2″ foam core board base with outer measurements are 4 7/8″ wide by 4 1/4″ tall.
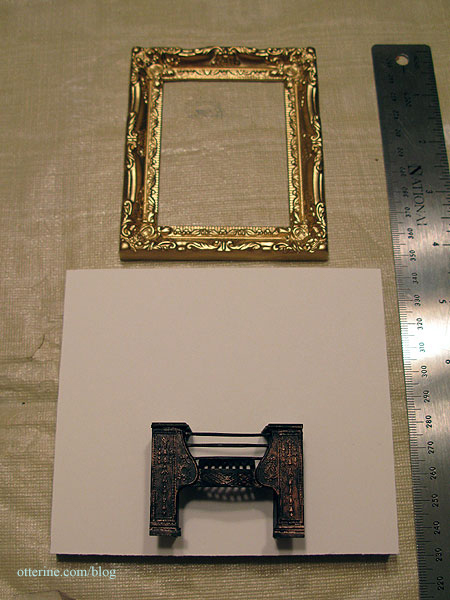
In order to figure out the size of the fireplace opening, I lined up the various trims I planned to use in order to measure accurately.
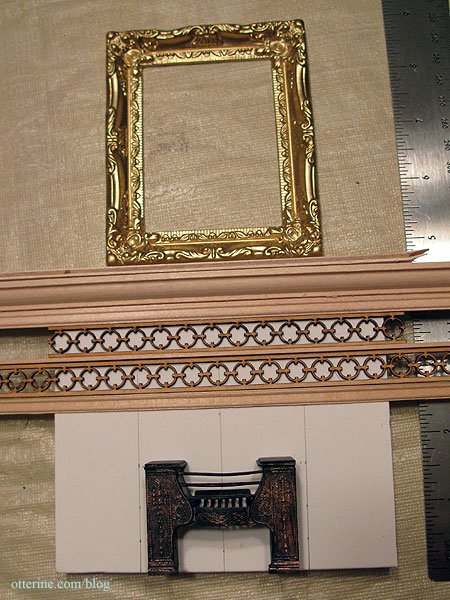
I ended up with an opening 2 3/8″ square.
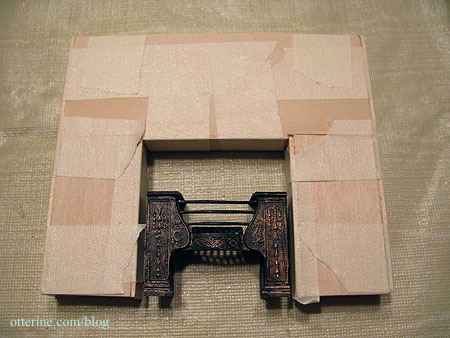
I then covered the foam core board frame with 1/16″ thick basswood on the sides and then the front.
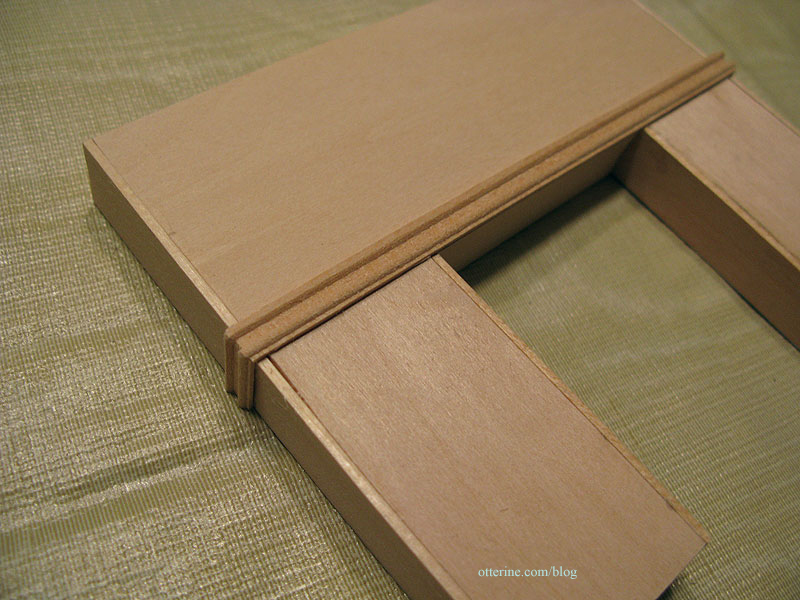
To build the top, I started with 1/4″ decorative trim, lining it up with the fireplace opening and using mitre cuts to wrap it around the sides.
I glued on two rows of the circle link trim separated by 1/16″ x 1/8″ strip wood glued in place on its short edge. I used mitre cuts on the strip wood but the circle trim is cut straight and nestled inside 3/16″ wide corner trim since there wasn’t a good match in the circle pattern at the sides.
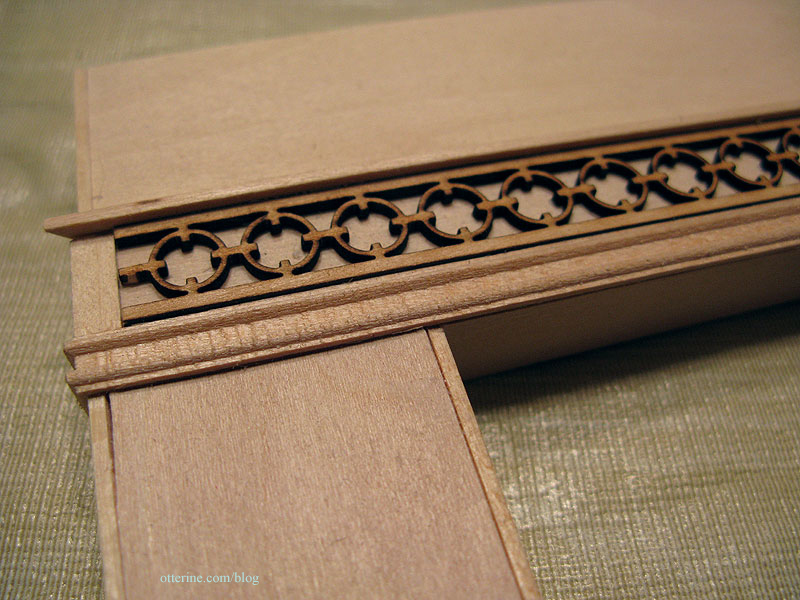
I added a layer of 1/16″ thick basswood to build up the surface above the circle trim. I used scraps since it wouldn’t show anyway.
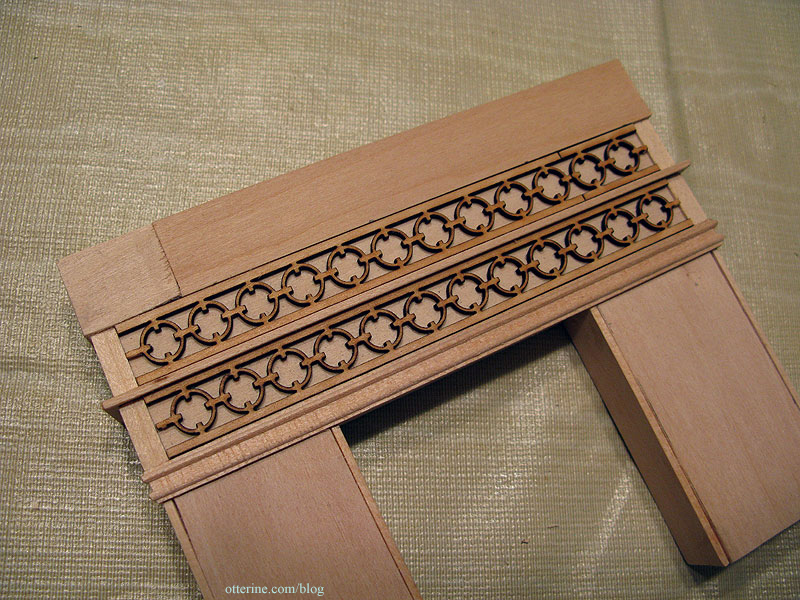
Over that, I added a row of the same decorative trim that I had used below the circle trim. I then used 3/8″ routed trim to build up the top and topped it all off with a 3/32″ thick bass wood mantle (I left the mantle separate for now until I decide on a finish).
I added the front base detail to the lower edges on either side using the routed trim, though I still have the sides left to cut. On the sides of the fireplace opening, I used the same 1/4″ trim as I had on the upper portion. On either outside edge, I added the 3/16″ corner trim.
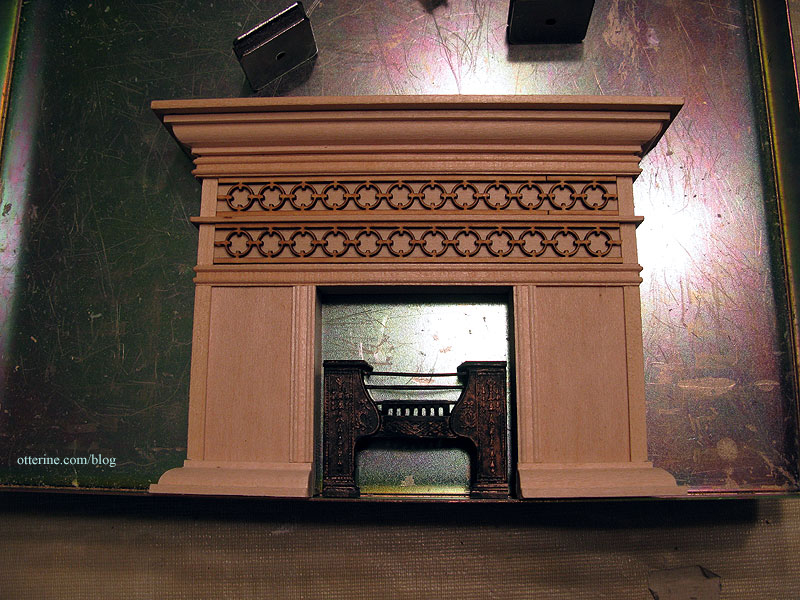
I won’t be adding the circle trim in the open areas like the original. I have other ideas. :D
I also need to think about finishing. I have a few ideas for stone and marble colorations. In the meantime, I can move on with the new parlor wall and finish the fireplace later. I’ll need a firebox soon, though. I wonder if I have any egg carton bricks around here anywhere. Ha ha! ;]


