I had a different idea for a railing assembly I needed for the build, but that idea was a fast disaster. It required too many extremely precise cuts, and I just didn’t have time for that. The materials were giving me fits, so I abandoned it after an hour. On to Plan B, which I love!!!

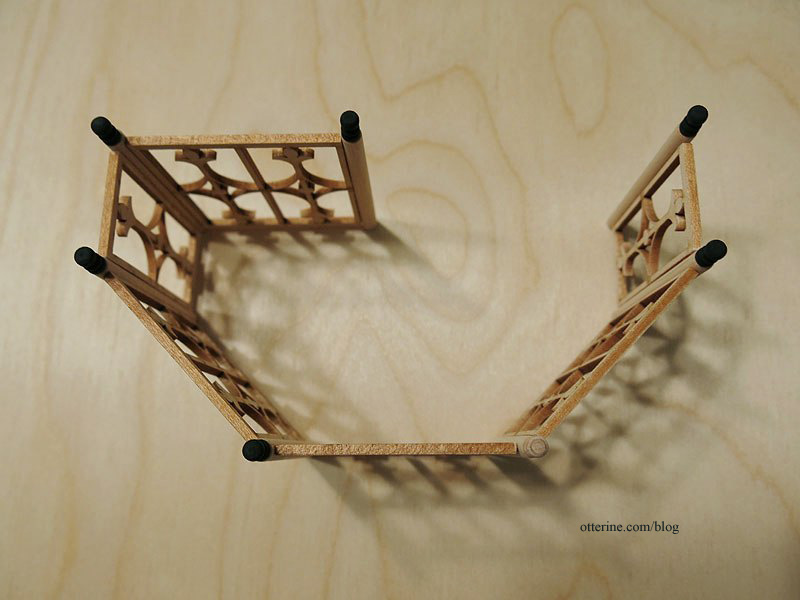
I had two laser cut railings from Laser Tech in my stash of materials. The repeat on these is roughly one inch, which was exactly what I needed. I had just enough materials to complete the railing. Happy accident.

I cut 2 5/8″ high posts from 3/16″ Woodsies dowels and topped each one with a detail trimmed from spindles by Tiny Turnings.

The reason six of them are black in because these six posts are replacements for the initial posts that were sprayed black. The entire railing will be black.
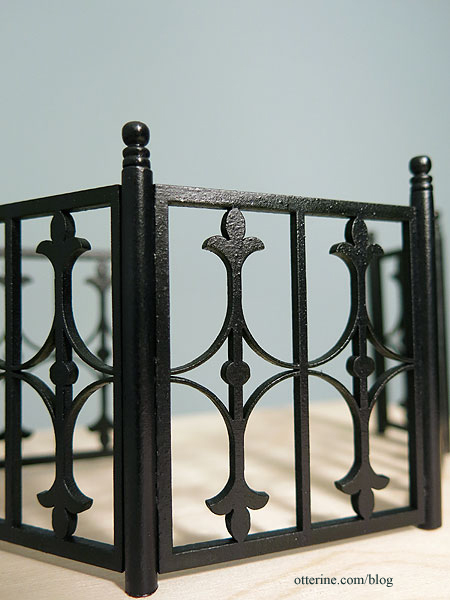
I sprayed the railing flat black followed by Minwax Polycrylic Semi-Gloss spray sealer.

It now has a wonderful wrought iron texture.