
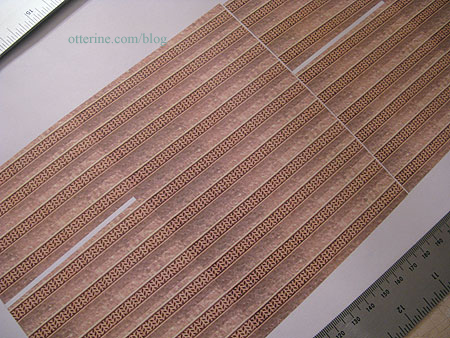
When doing wood flooring in miniature, I love using pre-made wood sheets. They are quick and easy to use, which to me makes up for their cost. I also think they look wonderful once finished and installed.
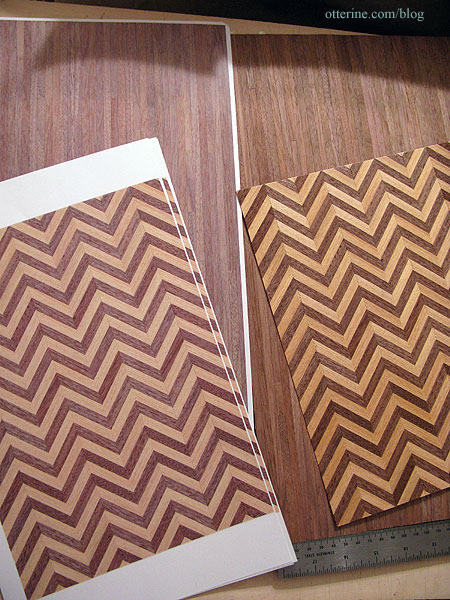
For the parlor, I wanted to make a fancier floor. I picked up two herringbone wood flooring sheets to use with the regular walnut flooring. Since I wasn’t entirely sure what I wanted to do or how things would look, I made color copies of the flooring sheets that I could cut, tape and rearrange until I figured out a good layout. I could then use the copies as a guide for cutting the real deal.
Keep in mind, the coloration of the color copies is off. I plan to stain the actual wood darker so the pattern will be more subtle than it looks in these photos. There will also be a rug for the middle of the parlor.
I’ve decided to use Houseworks narrow doors upstairs to have a more open foyer. That gives me a very precise measurement as to where the stairs need to be. This will still allow for trim around the pocket door.
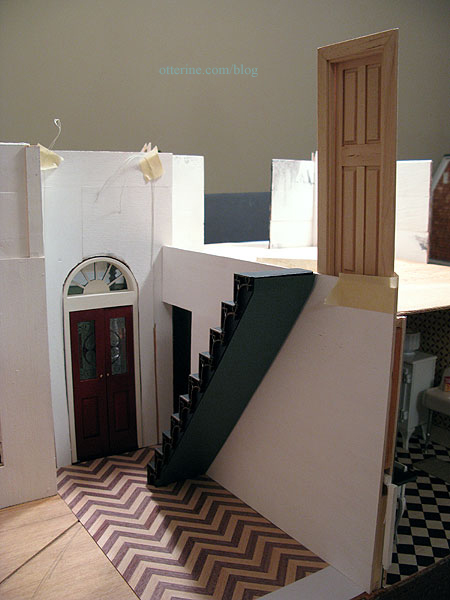
I started with the herringbone placement first since that is the main element of the floor. I taped pieces together to cover the entire area.
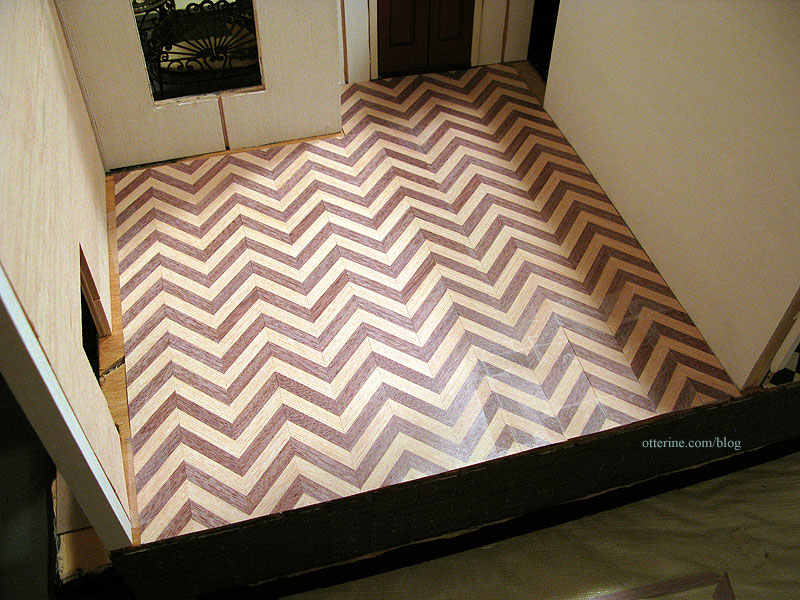
I put the wallpaper in place to see the overall look, and as I expected the herringbone is a little much all by itself.
So, I continued with my original plan, adding a plain wood border around the room as well as the area under the stairs. Already better!
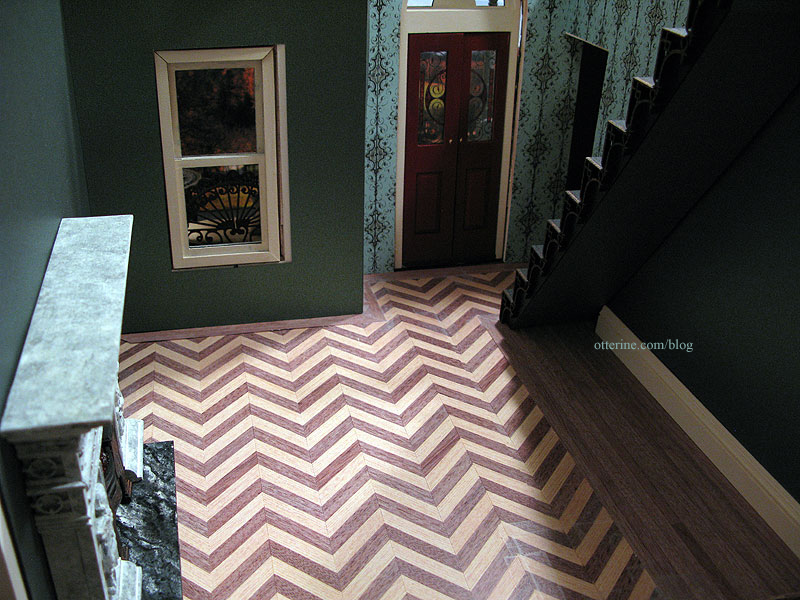
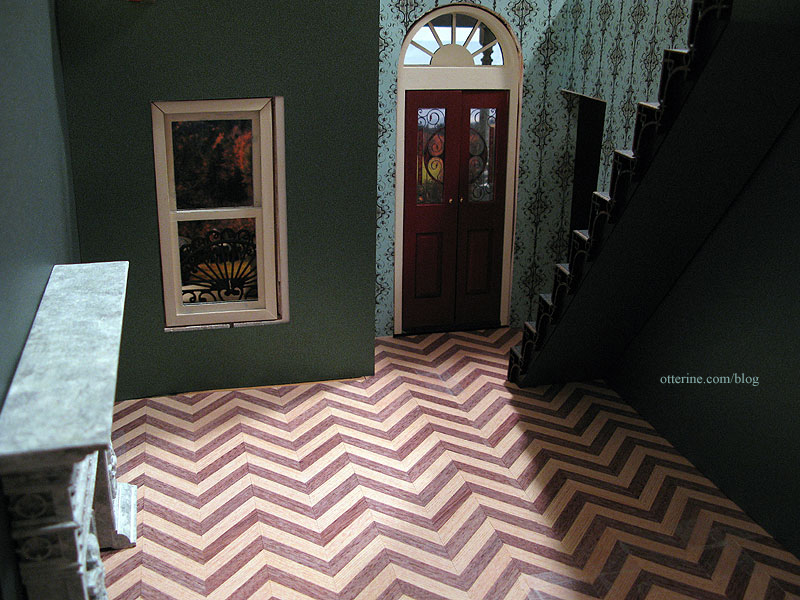
I’ve borrowed the marble hearth from the Newport and continued the border around it. I didn’t continue all the way around since I’ll need to make a hearth for the Heritage fireplace first. This just gives me a rough idea of how it will look. I then put in the furniture to see how it all looks together.
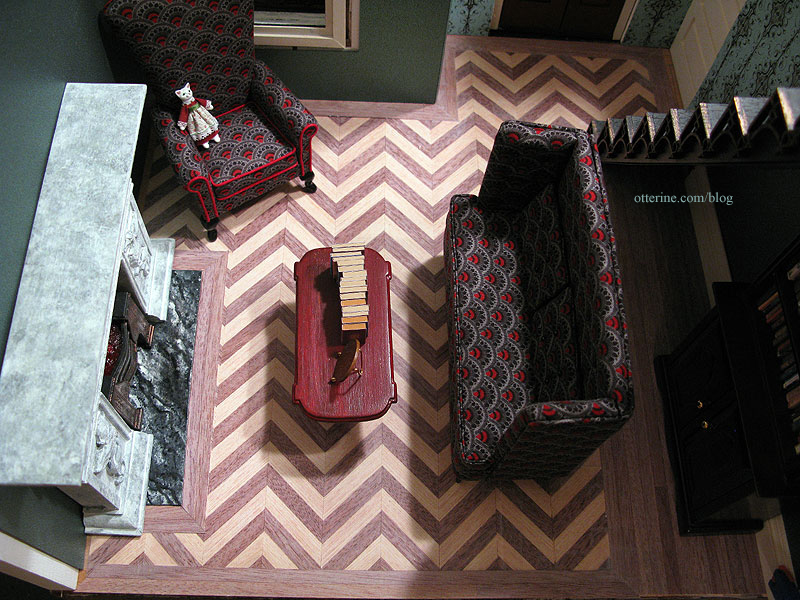
I love the way it looks in mockup, but I want to see how it will look with a thin inlay border between the outer border and the middle herringbone pattern before I make my final decision on a layout.
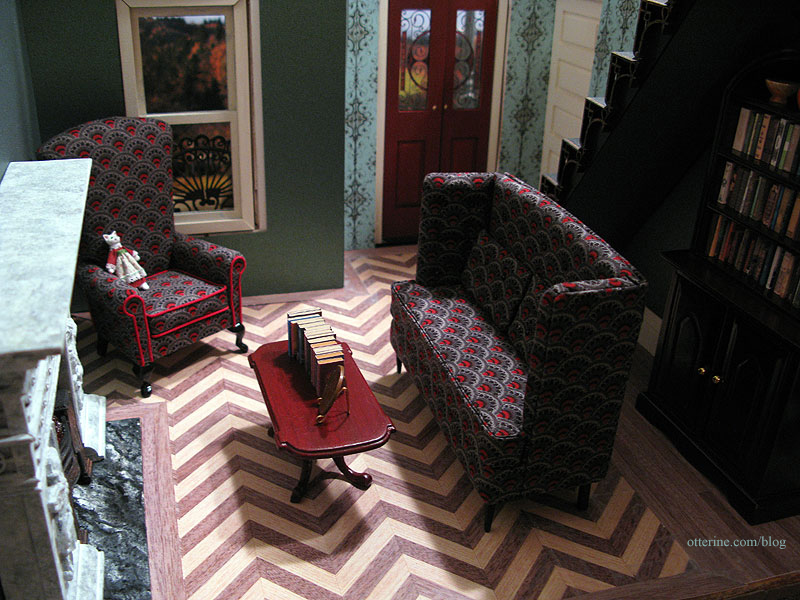
To figure out what type of marquetry border to add between the plain wood border and the herringbone center, I printed out paper copies from the internet and put it on my existing paper mockup before ordering. I copied the image, duplicated it and printed a sheet of them.
I cut and taped them into place on my parlor floor paper mockup.
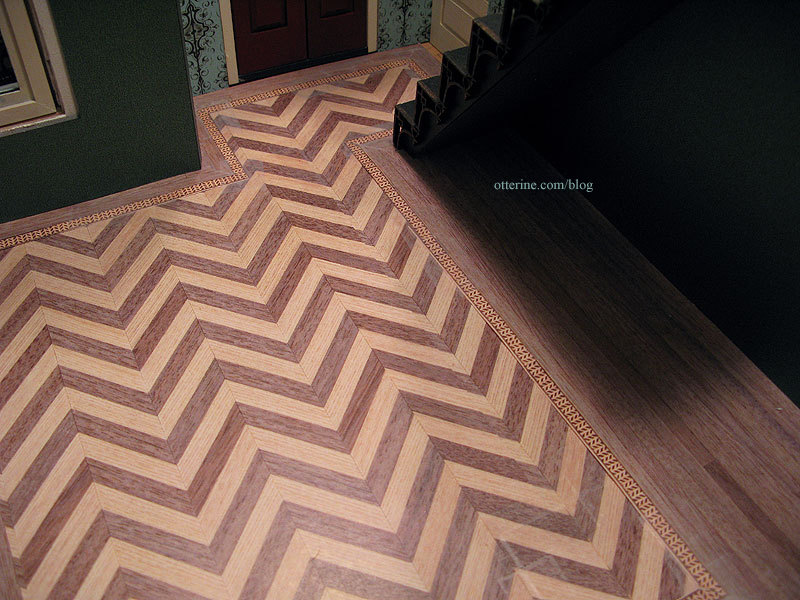
I chose this 1/4″ wide border because it has its own herringbone pattern. I think it’s unique and does a wonderful job of reflecting both the plain border and the center pattern.
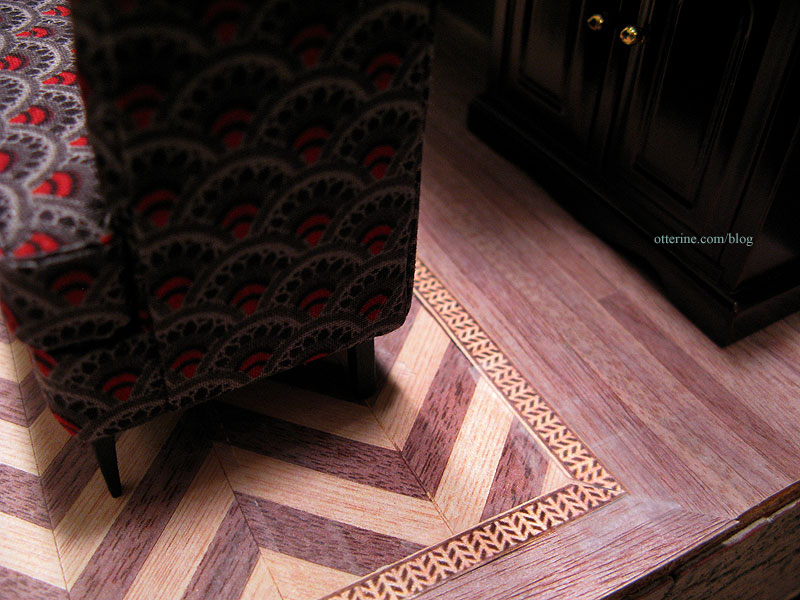
I think it adds just the right amount of detail. I didn’t add the marquetry border mockup to the fireplace wall since I was already convinced. :D
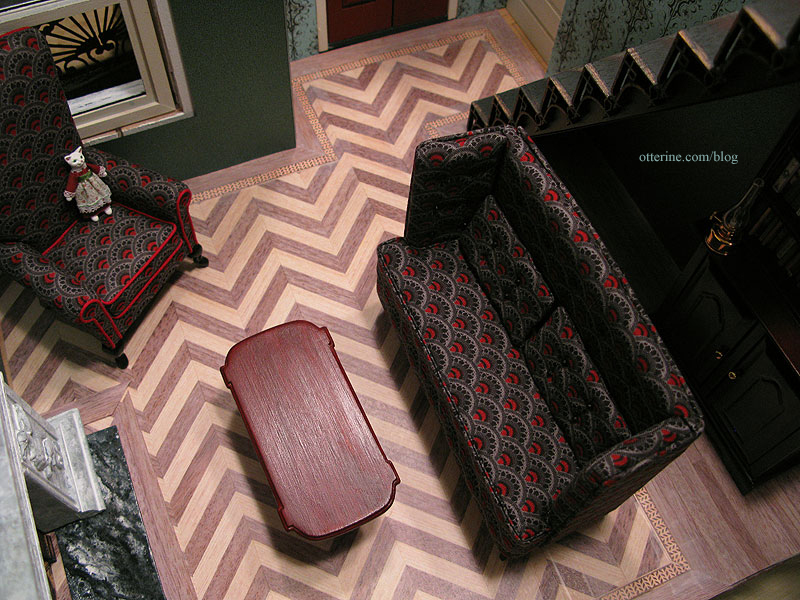
I love it! Now I just have to wait for the supplies to arrive.


