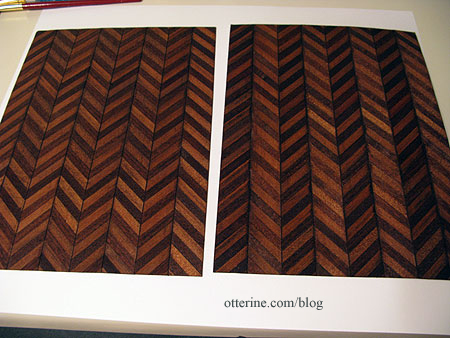
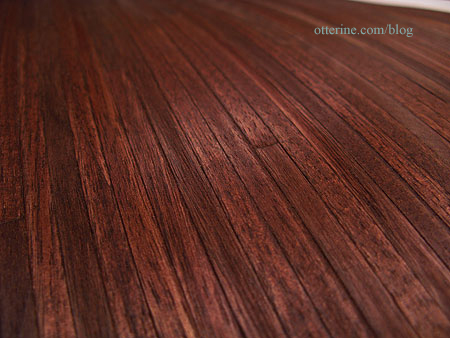
Continuing work on the fancy parlor floor. I accidentally got some glue on the herringbone wood surface when I was gluing it to the bristol paper backing. I sanded the area lightly and got a wonderful sheen. So, I decided to sand the entire surface of the herringbone and plain wood sheets in the same manner before starting the fancy parlor floor. A happy accident. :D I doubt I will seal the wood further since the stain I used said it also seals, and I don’t want too high of a gloss for my old house.
I placed my paper mockup floor in the room again and marked the areas for the fireplace and hearth. I thought this might help for reference later on.
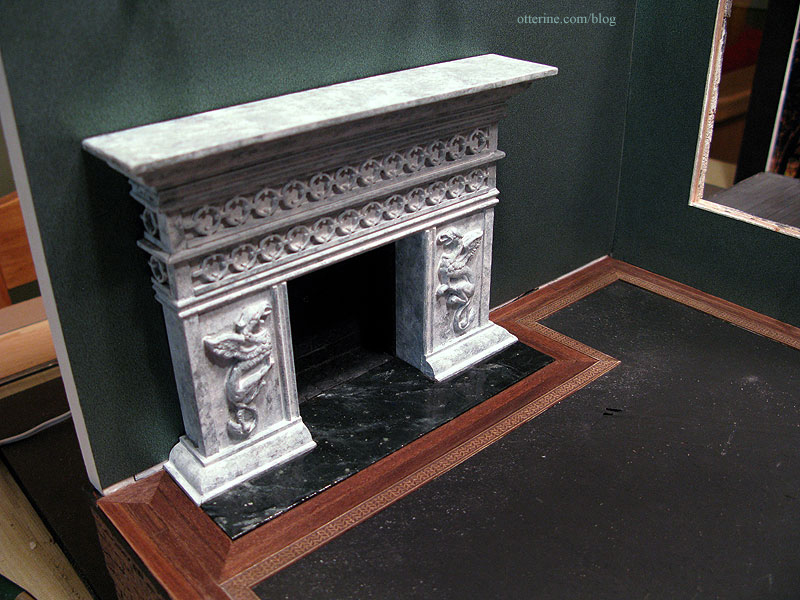
Since the floor pattern will flow around the hearth, I glued the firebox, fireplace and hearth permanently into place.
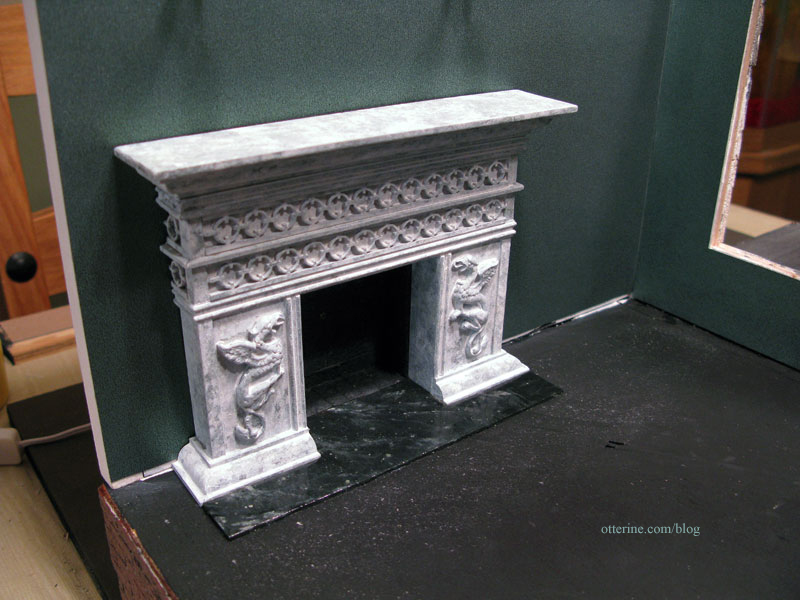
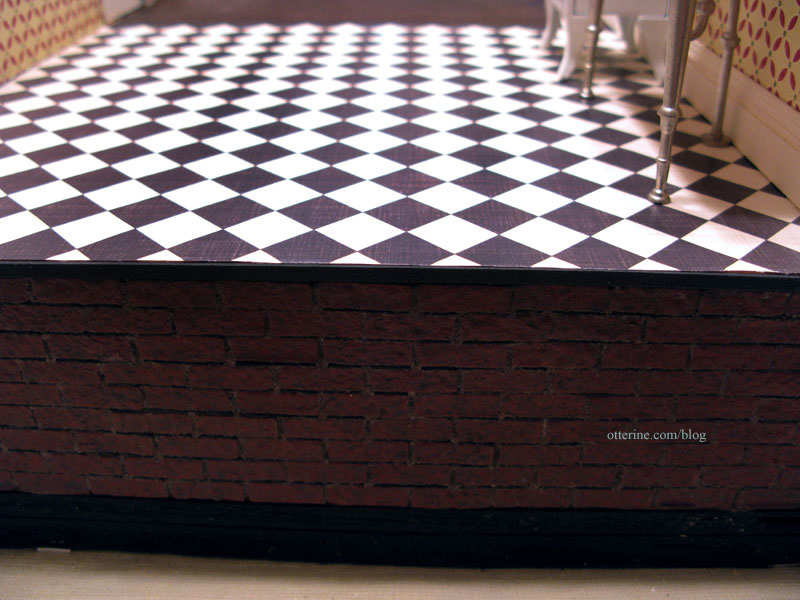
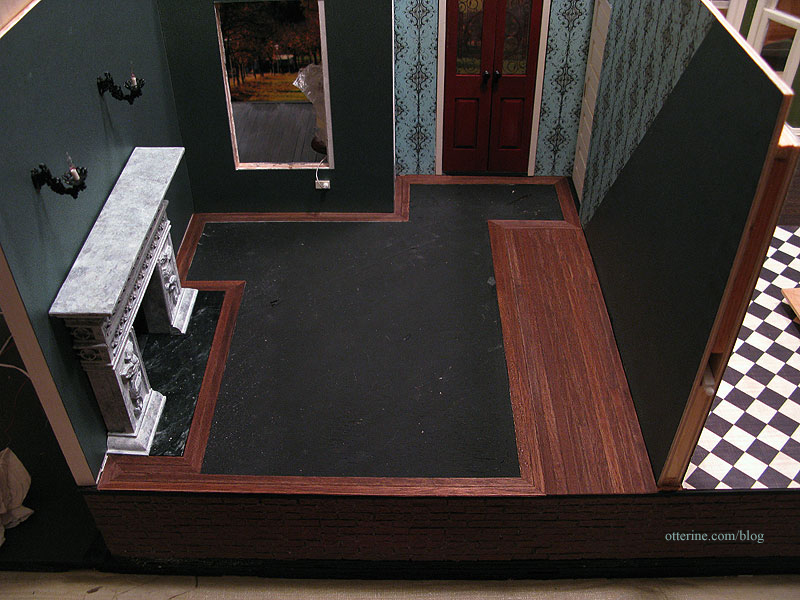
I also finished the back edge of the foundation. I opted for a long strip of bass wood painted black since I thought this would blend well with the dark floors in both the parlor and the kitchen as well as the brick foundation and not create a stark white outline across the bottom.
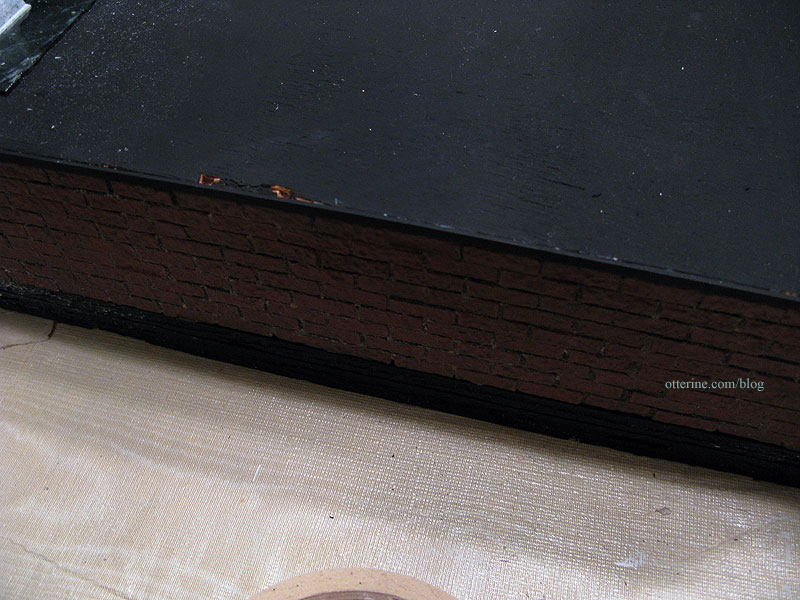
You might have noticed that I didn’t add moss to the foundation toward the back of the house. I omitted the moss here since the interior is decidedly less rundown than the exterior so I thought it matched the visual style better, and I wanted to keep the amount of moss accidentally blown into the interior of the house to a minimum.
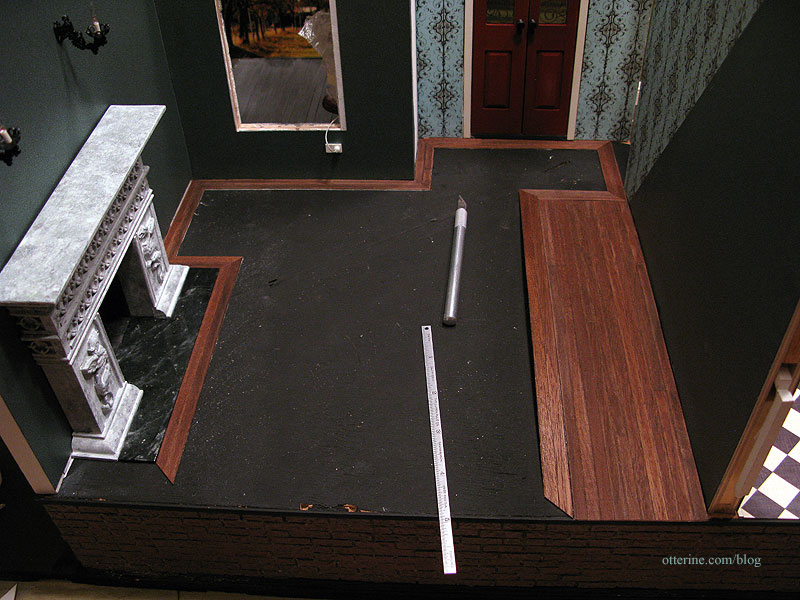
Starting with the plain border around the room, I cut strips that were two boards wide from the flooring sheet previously stained. Since one area builds out from the placement of the previous one, I glued the pieces down as I went. I used Aleene’s Quick Dry glue with some supplemental dots of super glue gel.
In another “chicken or the egg” moment, I decided to leave the stairs out while finishing the floor. I didn’t think the added thickness of the flooring would negatively impact fitting the stairs for two reasons. First, if the second floor balcony is to have the same flooring as the parlor and entryway, the thickness of the flooring on the upper floor will make up for the bit the stairs are raised from the first floor. Second, I really wanted to keep the ability to weight the flooring down as I worked on it. Having the stairs glued in place would make that much more difficult. I did make sure there would be enough room for the narrow door at the top of the stairs by measuring where the stairs should end on the first floor.
I added the plain flooring block to the area behind where the stairs will be and continued the border around it.
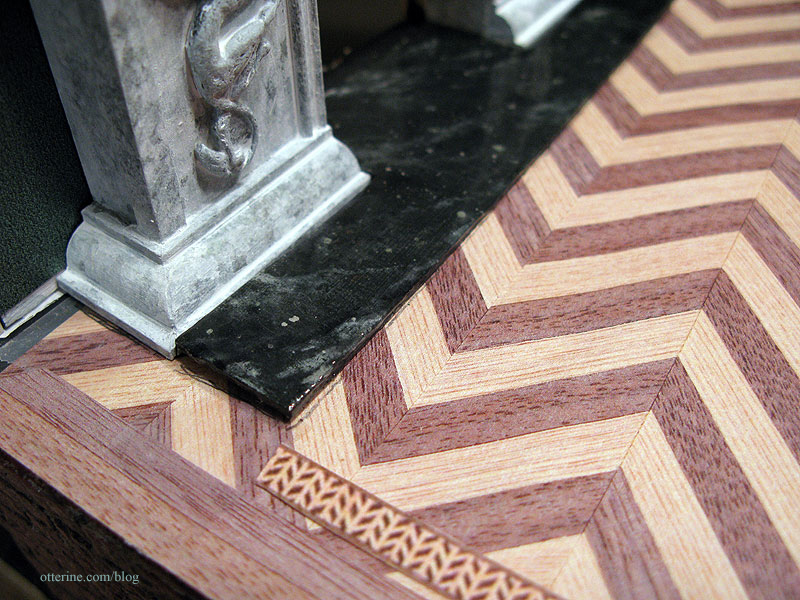
Even though the fireplace and hearth aren’t square I needed to make sure the inner edges of the plain border were, so I used triangle as a guide.
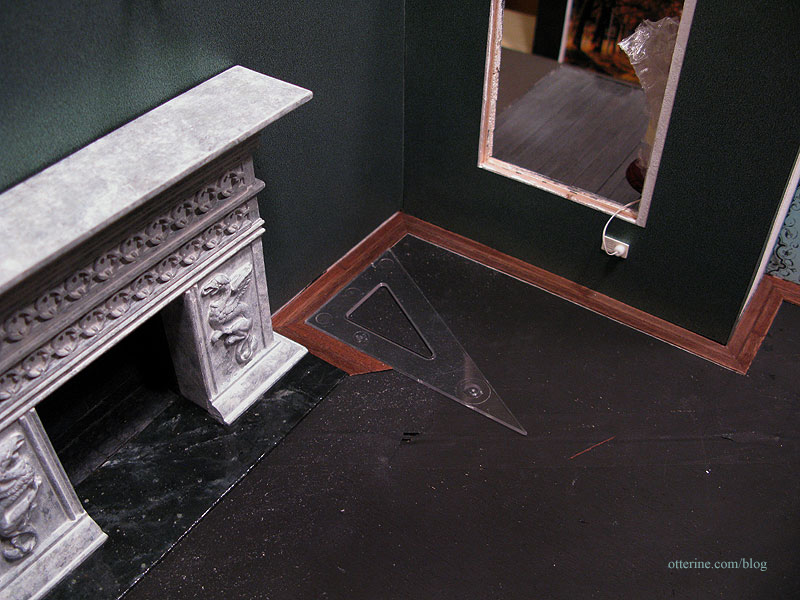
I’m not going to take credit for it, but the hearth sits exactly 4 board widths from the back edge. I won’t be able to continue the herringbone pattern here, but the even number of boards makes for a clean finish and an interesting detail.

Overall, I’ve been elated with the results so far.
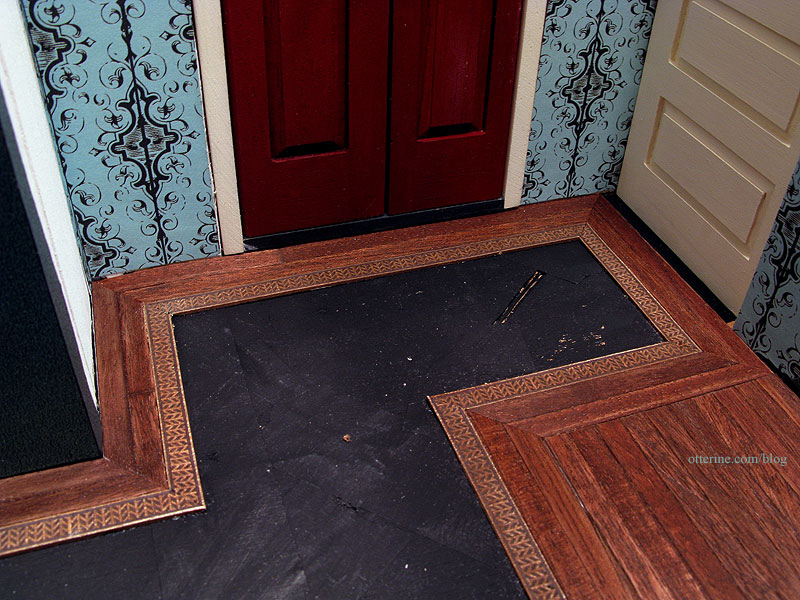
After completing the plain wood border, I added the marquetry border.

I really love the way this floor is turning out. :D
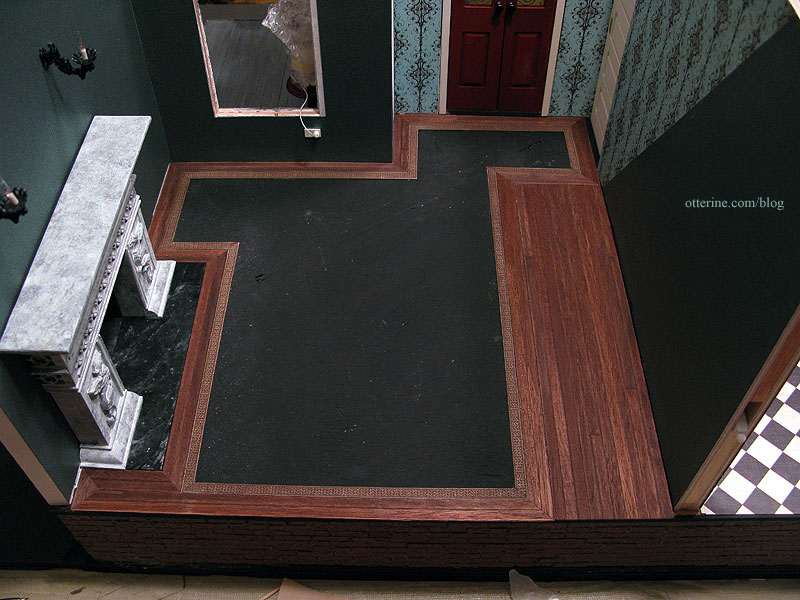
It frames the hearth so well.
I’ll be using plain wood flooring to finish the threshold under the pocket door, between the parlor and kitchen.
I’ve also glued the flooring sheets to the bristol paper to bulk up their thickness, leaving them under magazines until I am ready to use them, need to make sure they bond well and lay flat.