I finally have all the supplies I need to make the parlor floor a reality. The marquetry border I am using is from eBay seller great-instruments and was advertised as being for guitar making. It is thicker than the flooring sheets, so I will need to build up the floor sheets to use with the marquetry strips.
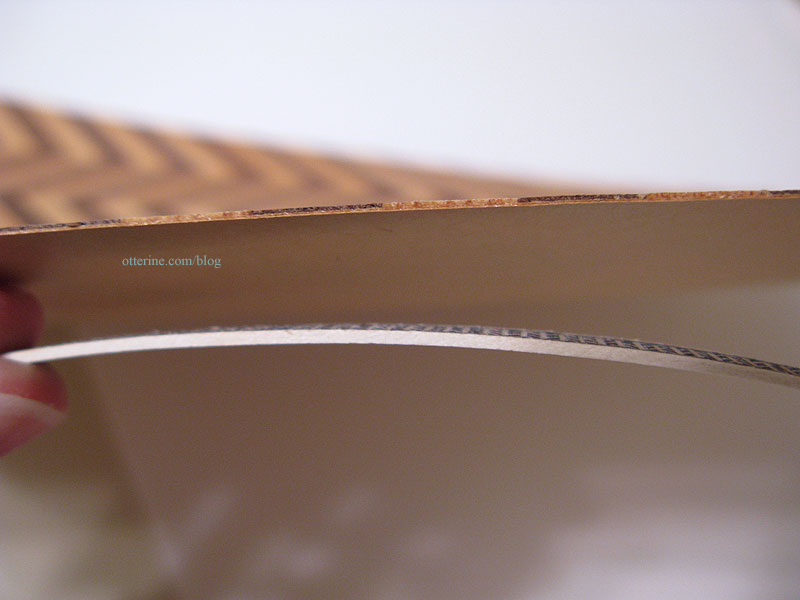
Bristol paper is 1/64″ thick and should do the trick as an underlayer for the wood sheets. I’ll work on that portion later.
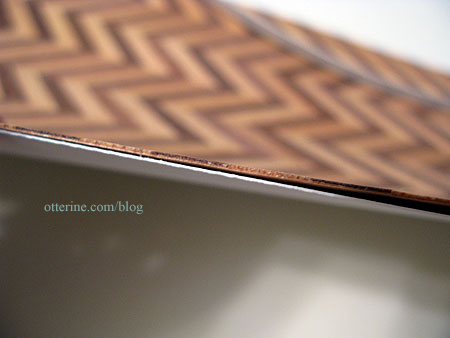
This is will allow for a completely flush surface for the floor.
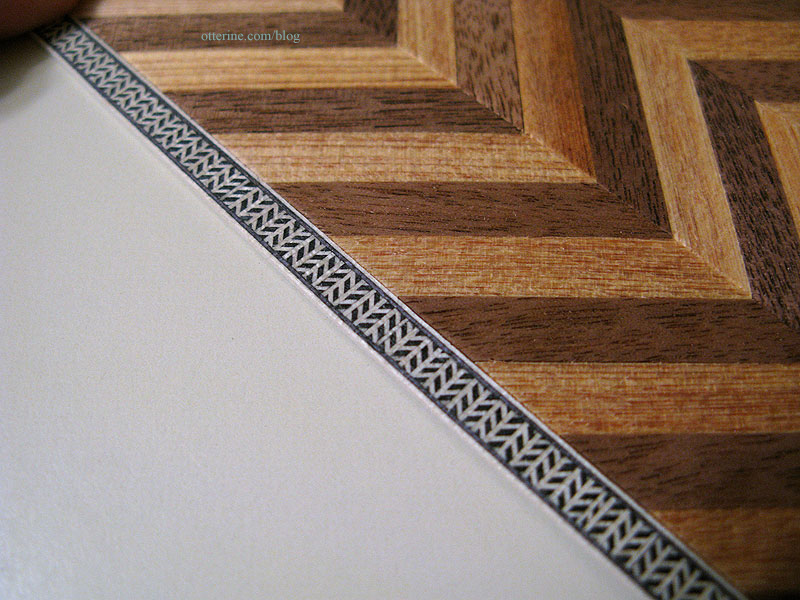
I usually finish my flooring before installation, so I decided to do that in this case as well even though I will be piecing it all together afterward. I just wanted to make sure I could get the coloration I was looking for before spending the time putting it all together. I also worried about getting glue on the wood surfaces which would make it harder to stain once in place.
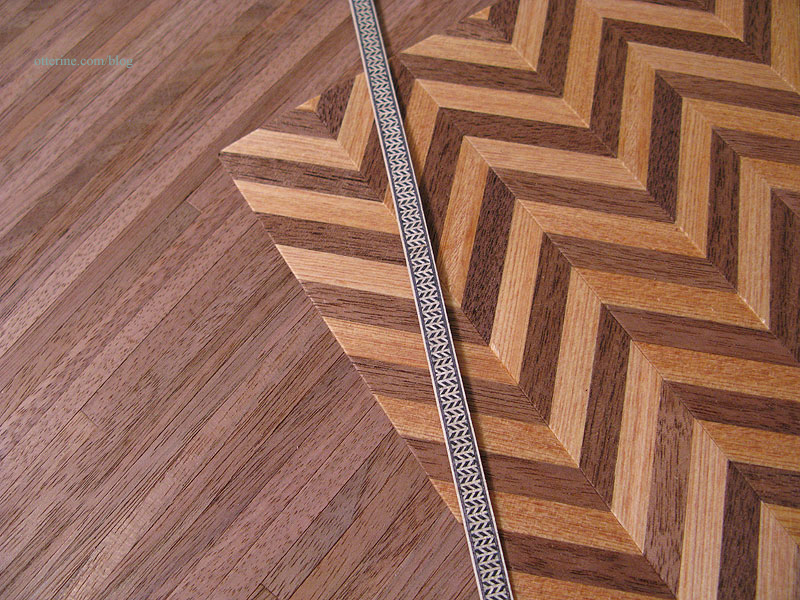
Here are the three materials in their original states. I bought the herringbone sheets from Green Gables Dollhouse and the walnut flooring at a local mini show. These are pretty common and can be readily found from online resources.
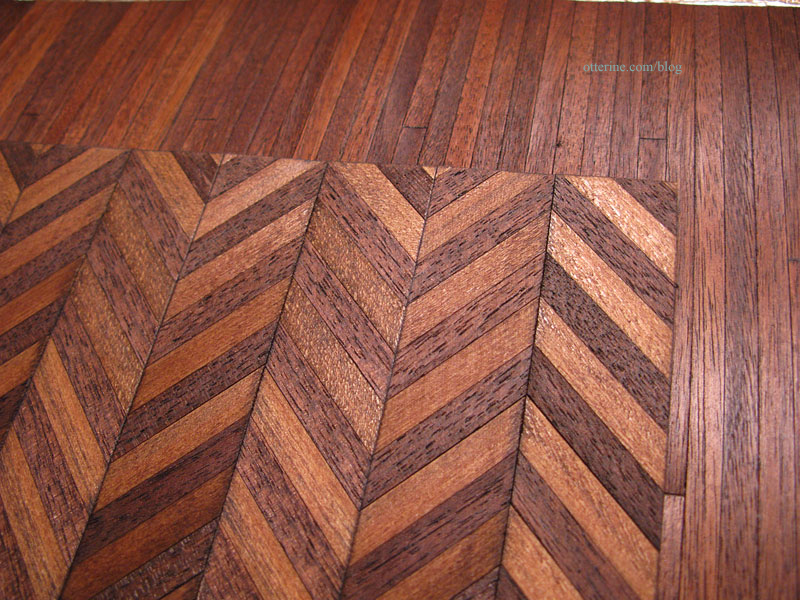
I started with the herringbone pieces first since that makes up the largest area and will set the overall tone of the room. I sanded the sheets thoroughly and then applied Minwax oil based stain in English Chestnut.
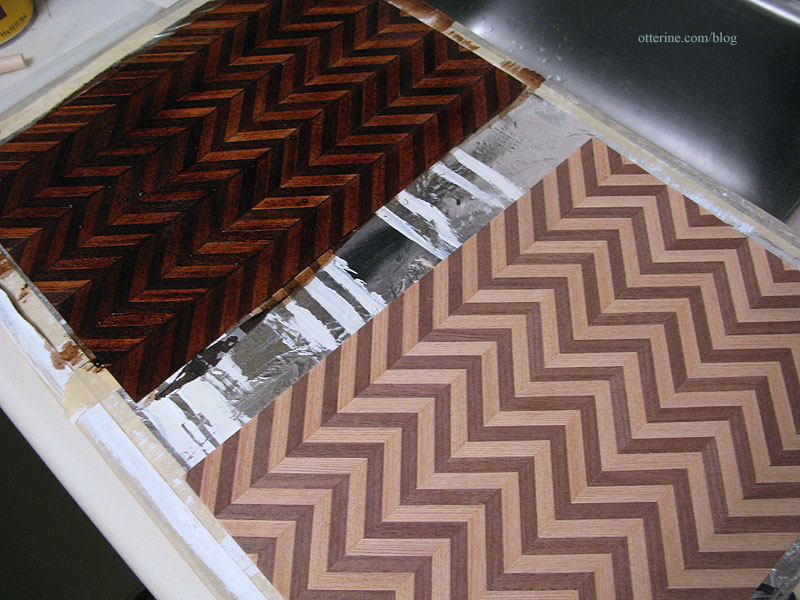
Wow, is this ever a lovely color!
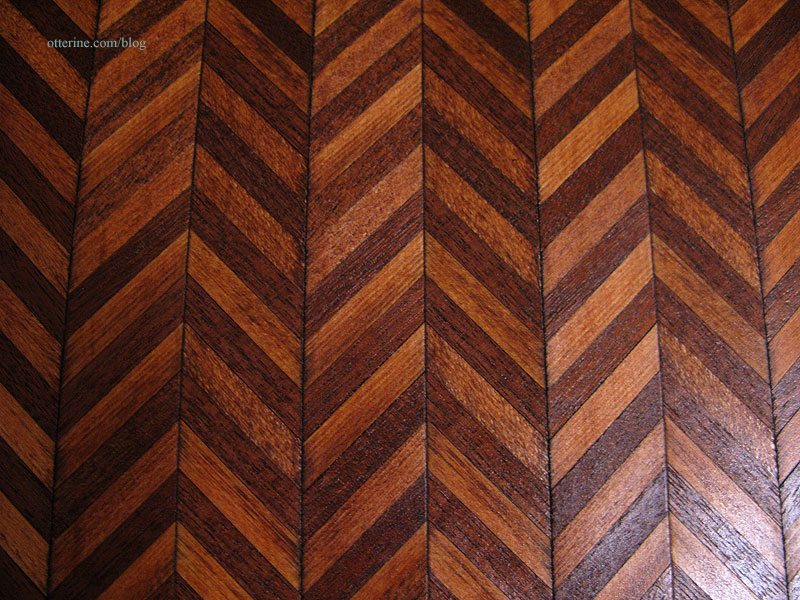
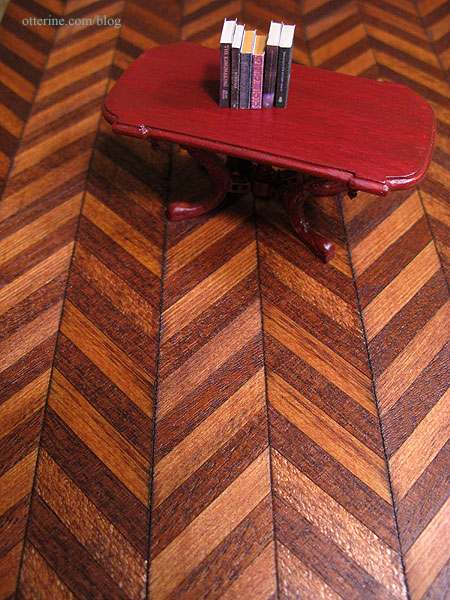
I think it is going to look fabulous with the furnishings, though I’ll need to recheck it after letting it dry completely just in case the color changes as it dries.
Using the same Minwax English Chestnut as I did for the herringbone portion of the parlor floor, I stained the walnut flooring sheet to coordinate. Even though I will be cutting strips out, I made a full sheet to have consistent coloration. I can always use the leftovers for the balcony on the second floor.
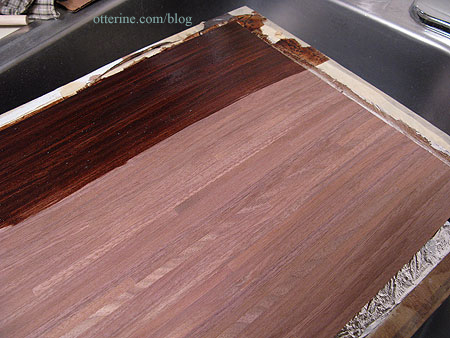
Again, it turned out beautifully.
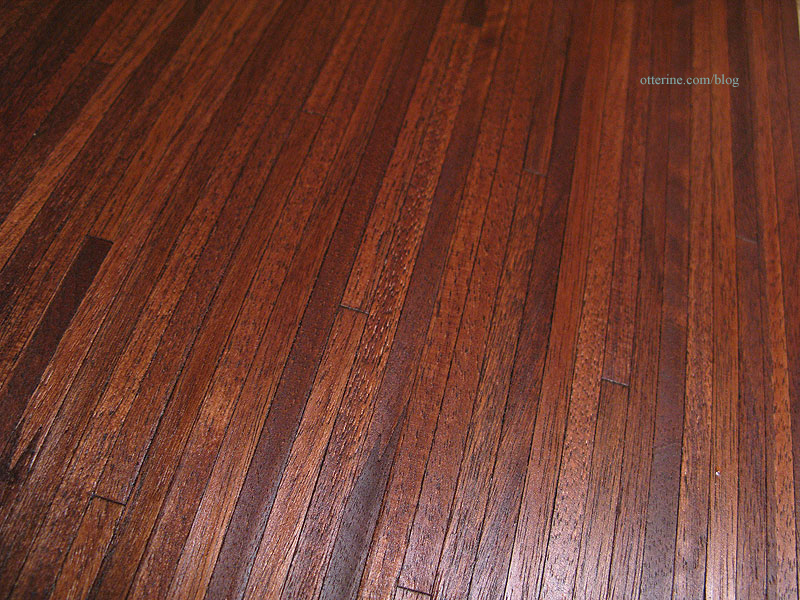
It will be the perfect frame for the herringbone center.
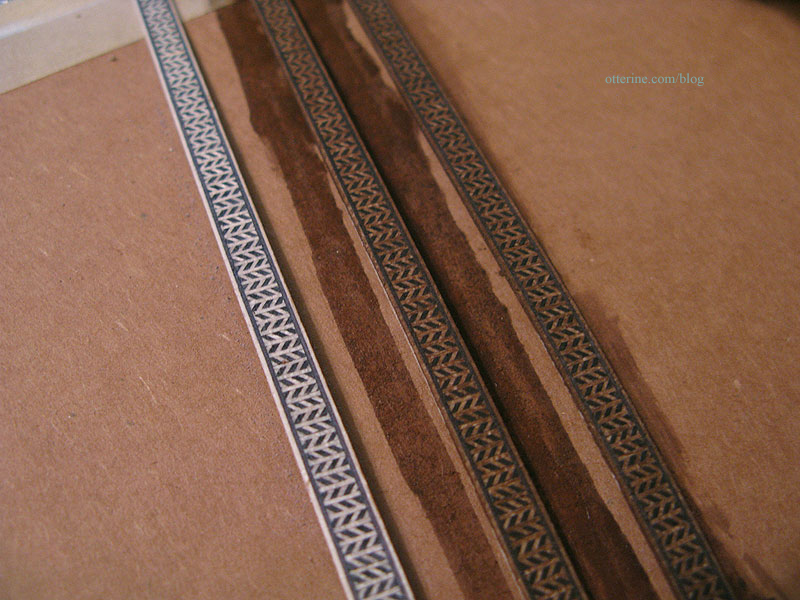
The next step in the floor finishing was staining the guitar marquetry. I wasn’t sure if the stain would take to it the same way as the flooring sheets, so I started with a small sample at the end using Minwax English Chestnut. It was too dark and lost all the beautiful marquetry detail. The original was too light, so I next tried IKEA antique stain. It warmed the color but wasn’t dark enough. So, I next tried an acrylic paint wash using Real Brown by Folk Art. It was a much better match.
Here are the results left to right.
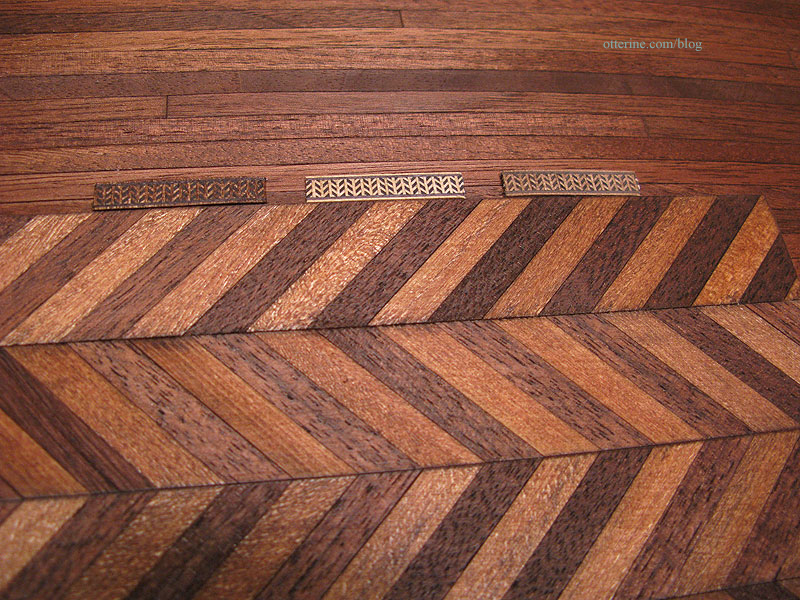
The Real Brown warmed the marquetry without losing the detail. I like how some portions took more of the pigment; it makes it look like an old floor. :D
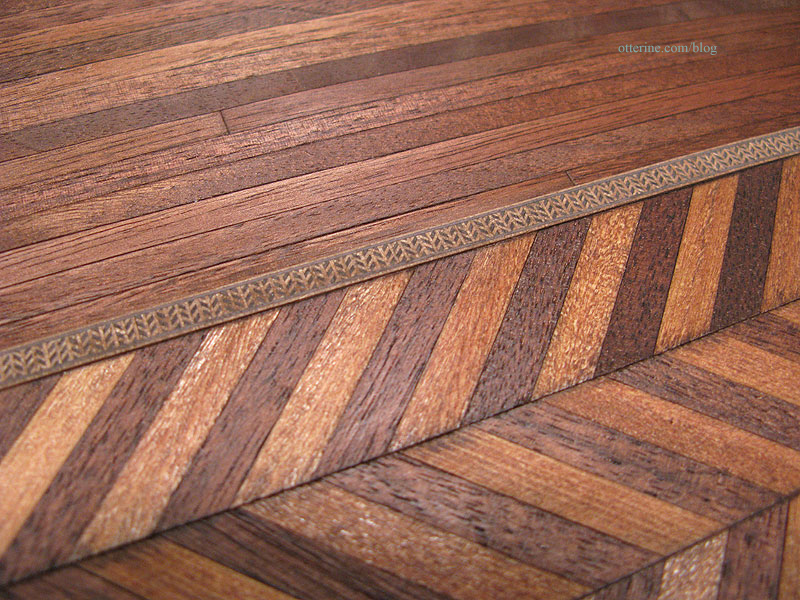
I bought three marquetry strips each 25″ in length and ended up using the paint was on all three (minus the small test portions I had cut). I again wanted consistent coloration and any leftovers could be used on the balcony on the second floor. It would be a nice way to tie in the floor upstairs with the fancy floor downstairs.
Now I just need to let it all dry while I finish the prep work in the parlor.


