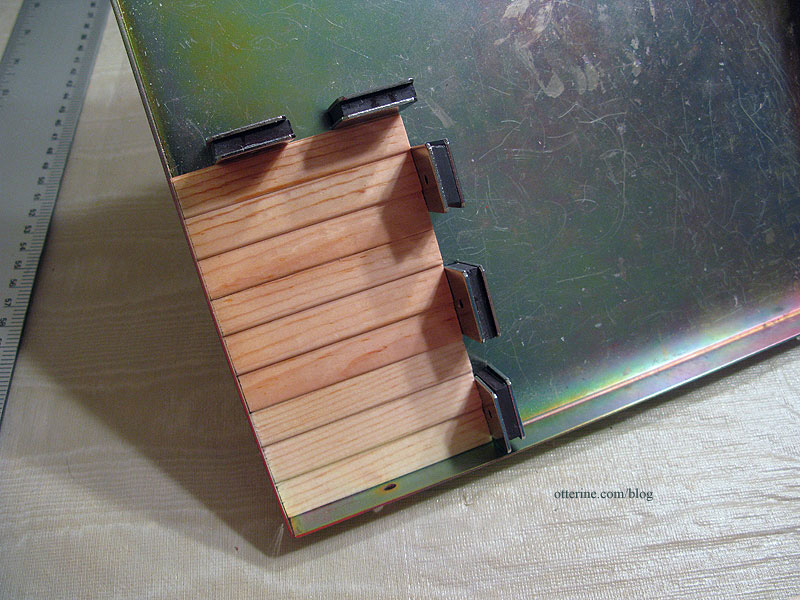
Construction has begun! I knew from experience that the walls would need to be assembled from milled siding pieces. I also expected the pieces to be rough and uneven. Interestingly, though, they went together pretty well. I used my Micromark gluing jig to assemble the pieces that would fit inside it, which worked for all but the two 15″ long pieces.
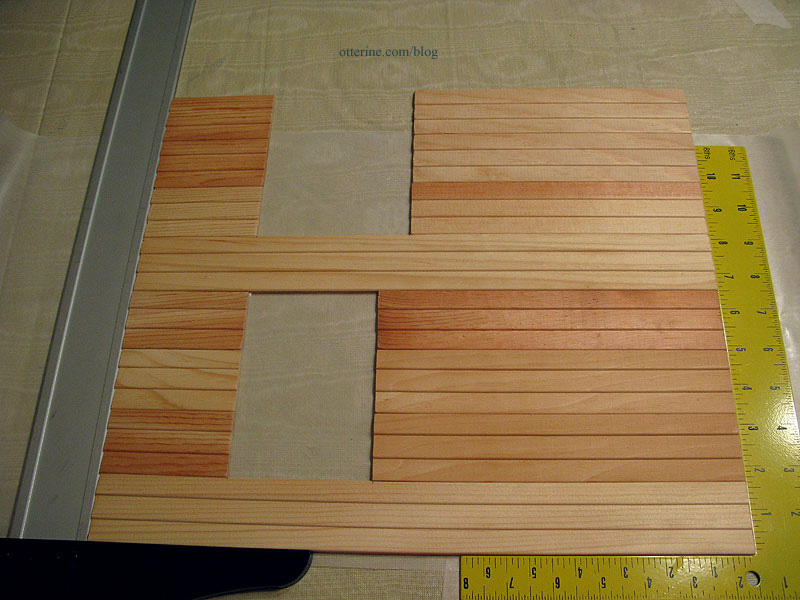
Once those assemblies were reasonably dry, I attached them to the longer boards.
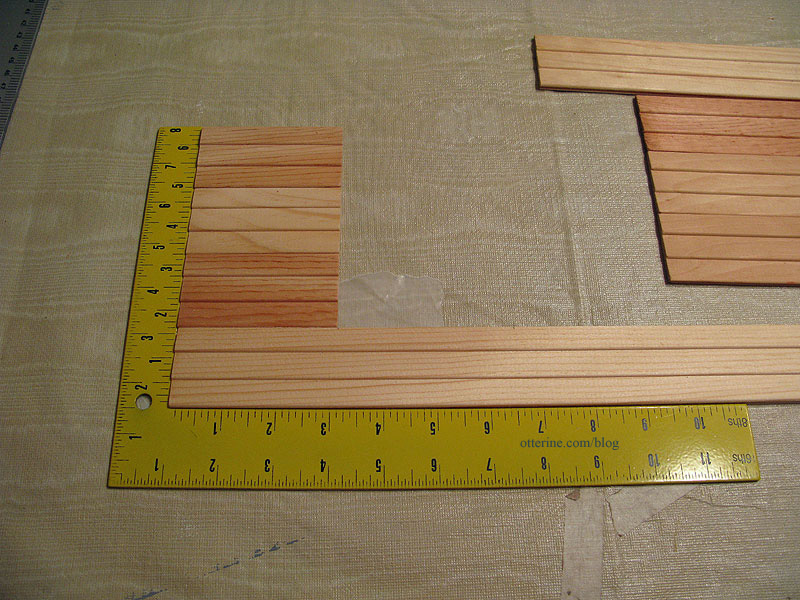
And, of course, I’ve already made changes to the layout. I flipped the pieces on the bottom of the left-hand side wall so that both windows are toward the back. I also decided not to replace the broken pieces and used them as is. I think it will lend itself well to aging the exterior.
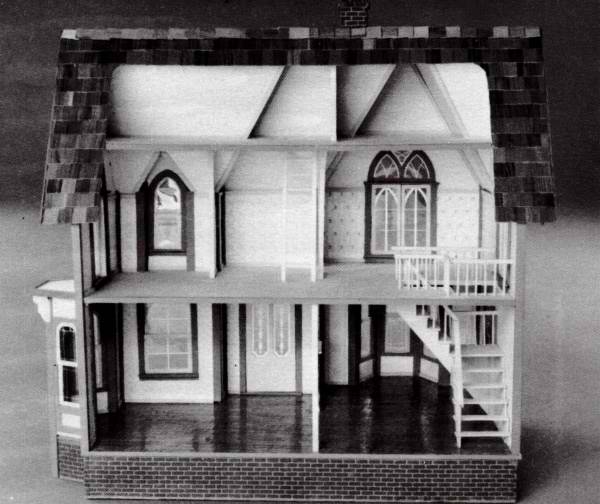
I won’t be using the stairs included with the kit; the layout takes up too much space on the second floor and obscures the view of the front bay window.