I knocked out two pages of instructions for the Datsun 240ZG this weekend! This isn’t all of the work I completed from those pages, but this is the main piece in progress.
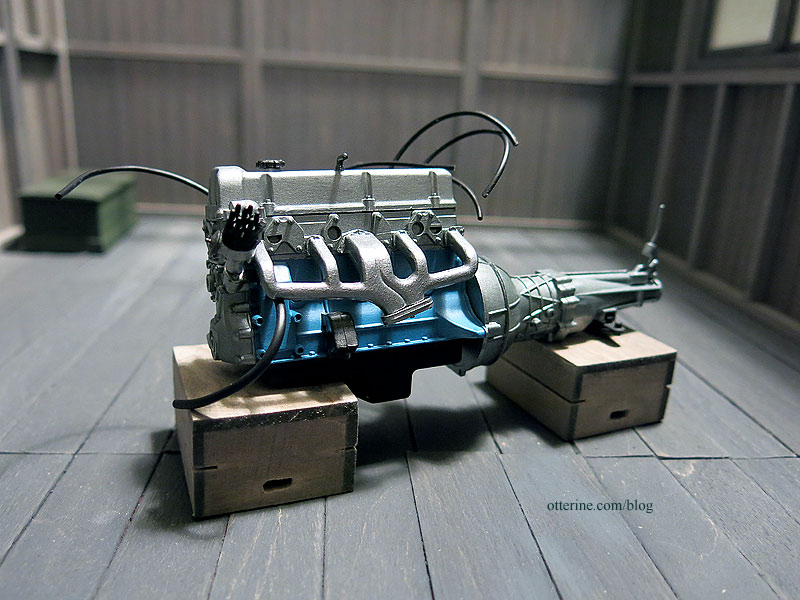
I’ve looked at some real life engine photos for color but I’ve mostly followed the instructions. Fine detailing, aging and grime will come later.
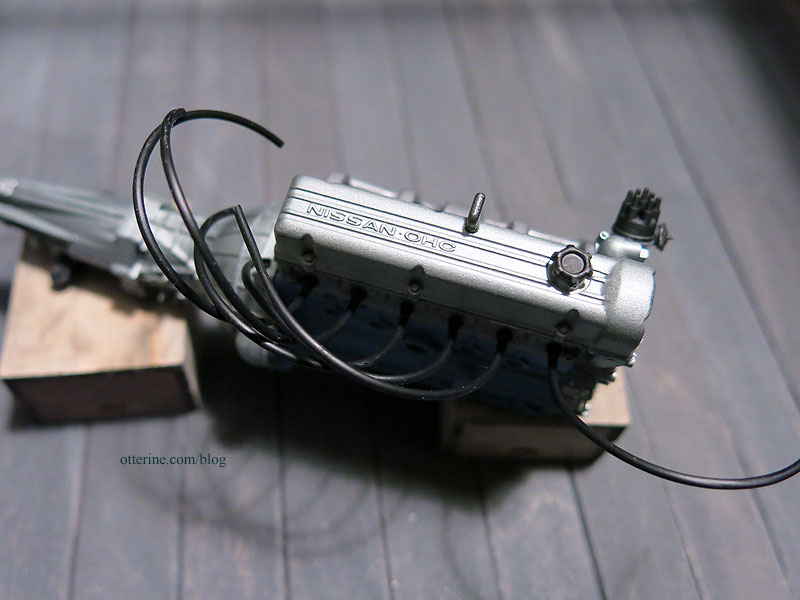
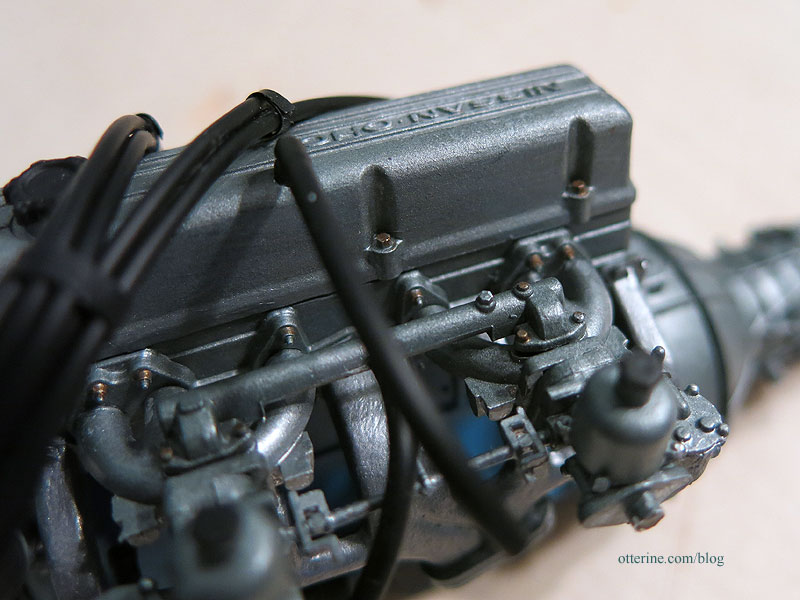
It’s coming together nicely. I added some painted detailing in the way of bronze nuts and bolts. Making nuts and bolts a different color can add realism with a minimal amount of work. I also used electrical tape to group the spark plug wires together.
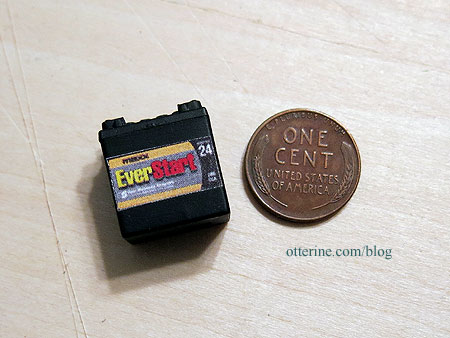
I printed up some labels and decals. Yes, I filled out the “Battery Finder” form to get the right label for a replacement battery. :D I haven’t finished painting the detailing on the battery or other engine parts just yet.
There are two for the air cleaner (love that Hugger Orange by Model Masters). I found the replica images online. I printed one of the air cleaner labels and the VIN plate (not shown) on Avery silver labels. The material gives it just enough sheen.
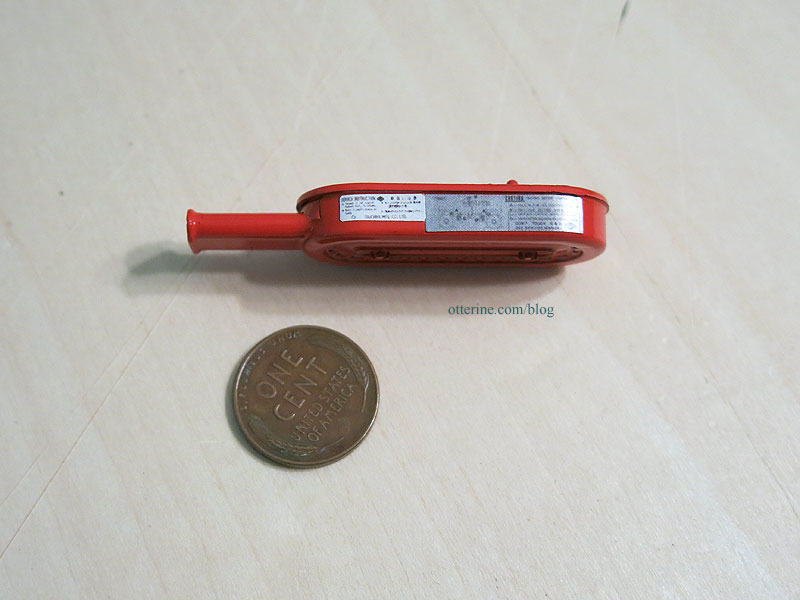
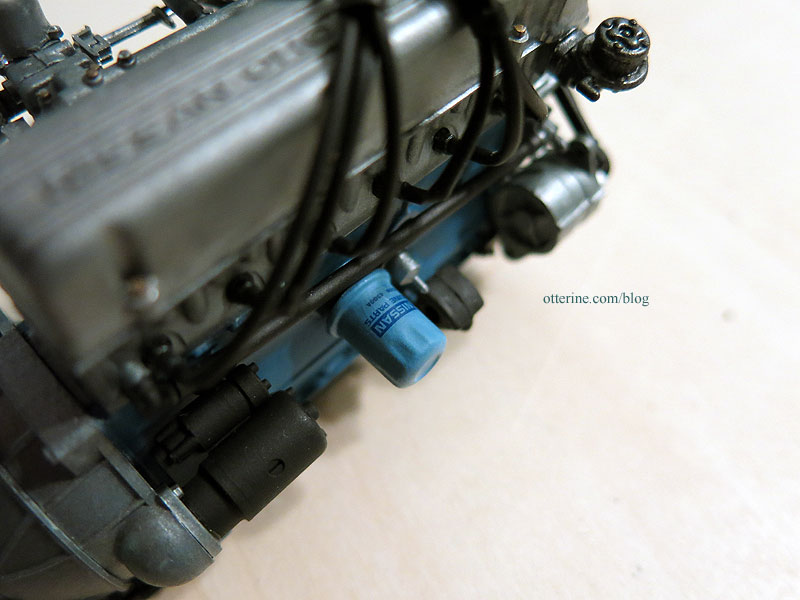
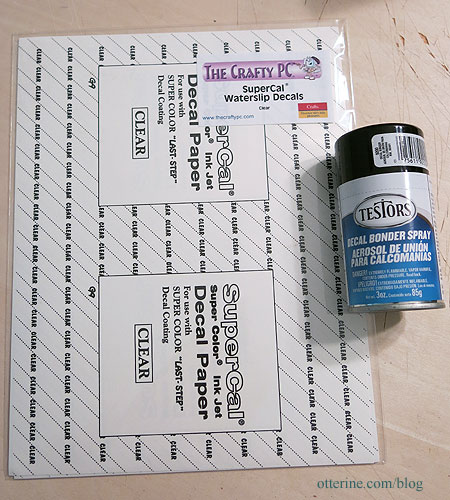
The last item was a decal for the oil filter. This was my first time making my own decals, and I love it! I will definitely do more of this in other mini situations. I used SuperCal Waterslip Decals from The Crafty PC, which is now out of business, but there are other similar products on the marketplace, including one by Testors. I can’t speak to that specific item, though I like their other products.
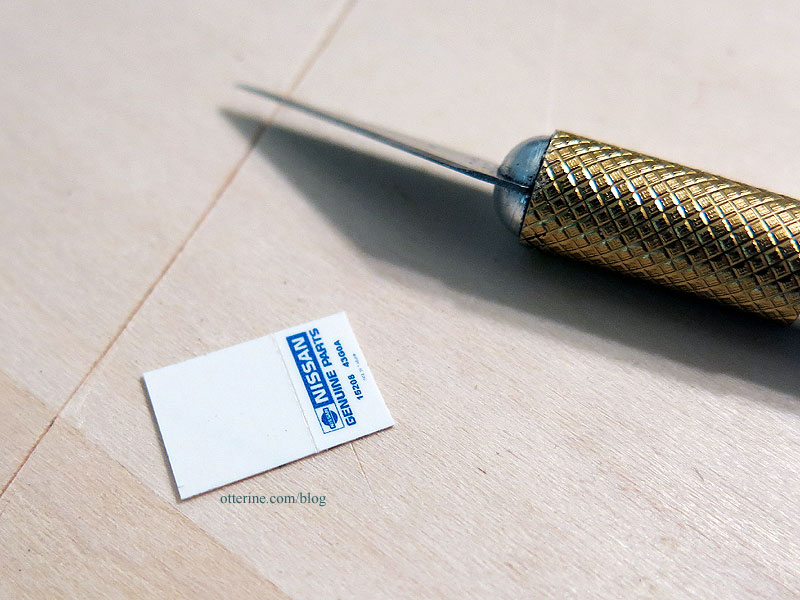
I mocked up the design using a Nissan logo and text in PhotoShop. I then printed on the decal paper. You can print along one edge and then cut cleanly across to use the remaining sheet for printing again. As you can see, I made a few at the same time to have extras in case of disaster. I also like to make a couple of sizes just in case. I ended up using the smaller one and had to make two attempts.
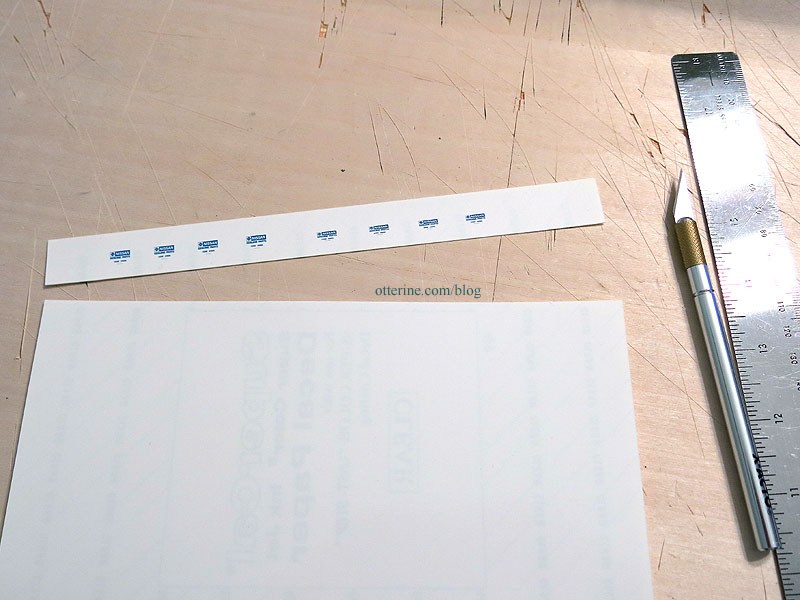
I used Testors Decal Bonder for the spray. I put on one thin coat, let it dry for half an hour. I then added a second heavier coat and let that dry overnight. I wanted something to grab onto during the process, so I cut the paper larger than I needed and scored a line where I wanted the decal to separate.
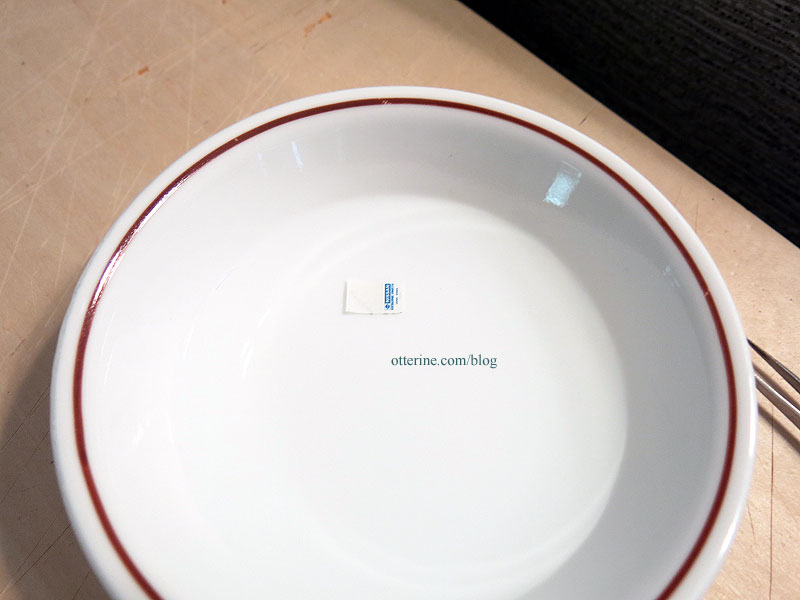
I soaked the decal for 15-20 seconds until it slipped easily.
In that time, I wiped the oil filter with a Q-tip dipped in Testors Decal Set. I slipped the decal onto the oil filter and positioned it with the Q-tip. Once it was set, I dabbed it with a paper towel.
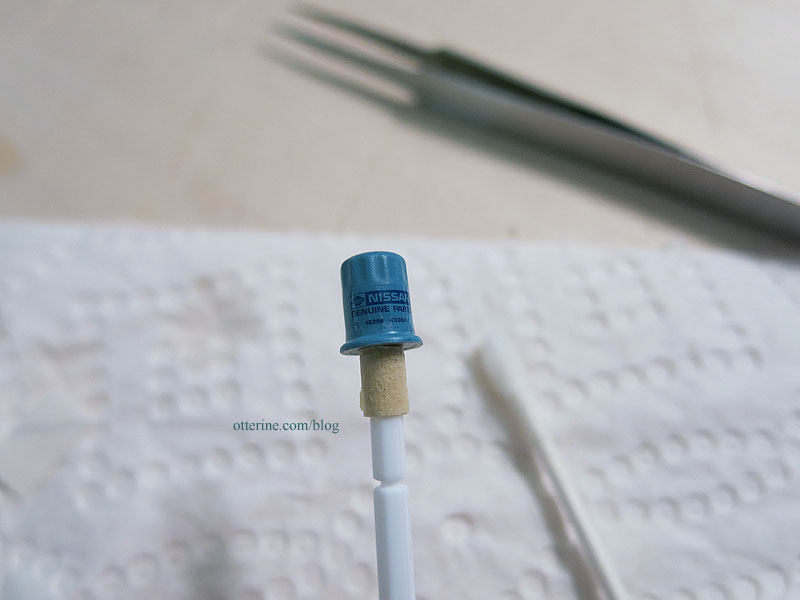
In order to remove the sheen, I sprayed the oil filter with Testors Frosted Glass spray. It was the only matte finish spray I had on hand, and it worked perfectly. Adding a decal to the oil filter is a minor detail, but it adds a lot. :]