
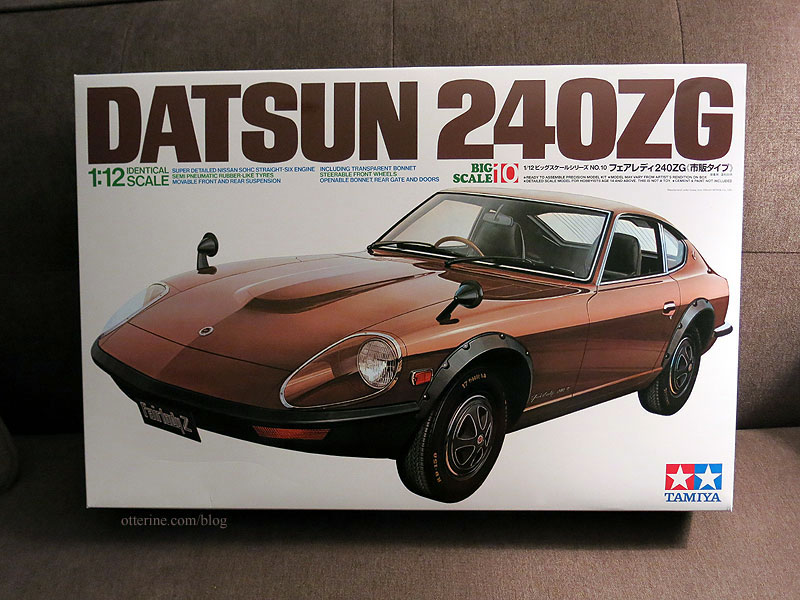
I’m going to start this build with a disclaimer: I am an artist, not a modeler. This is a very specific car, so be forewarned that I plan to take several liberties with it strictly for taste. I’ve scoured the internet and saved a bunch of photos of the real deal cars as well as some of the fantastic models done by top-notch modelers. There are some fantastic stock and modified builds out there, and I admire the dedication and thought that went into those projects. I will link to some these during my build. But, my end goal here is to create a barn find. How well-preserved or how dilapidated it ends up, who knows. One thing I do know…it won’t look much like the box art.
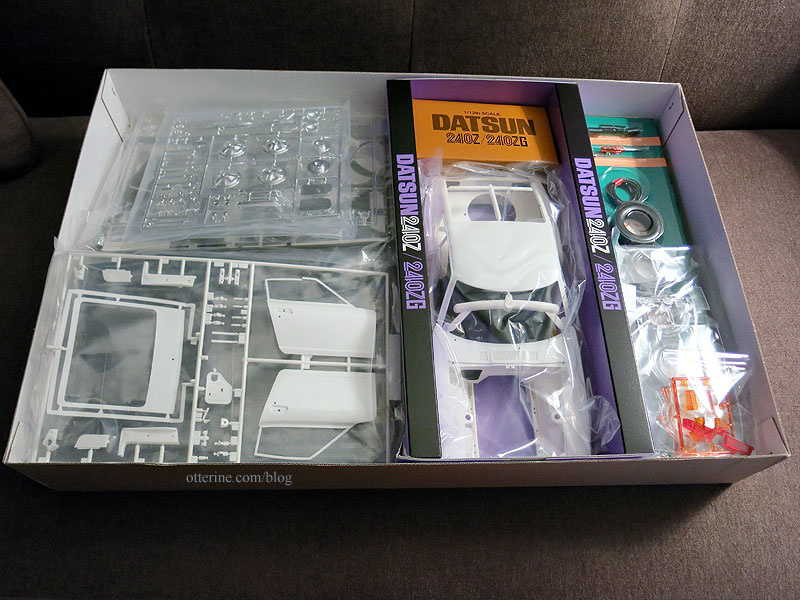
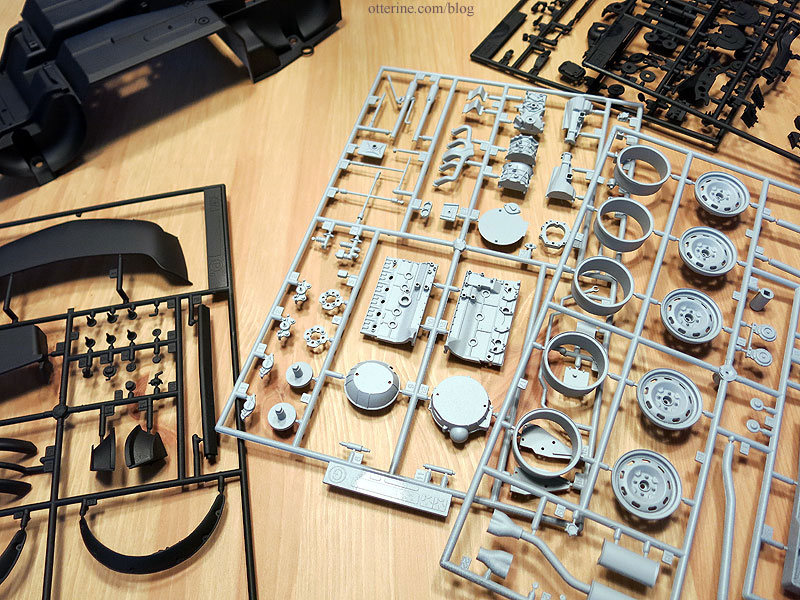
There are 14 sprues of parts with a smattering of other pieces. So far, I’m really impressed with this kit. I’ve not built a car this large, so the details are wonderful. There are also pre-colored light covers and rubberized parts beyond just the tires. I plan to build a complete model, but I’m not going to be a stickler for every last detail. I will be adding a few elements not included in the kit, though. A lot of this car will end up dirty, too, so some details will be lost in age and grime anyway. I will pick my battles. :D
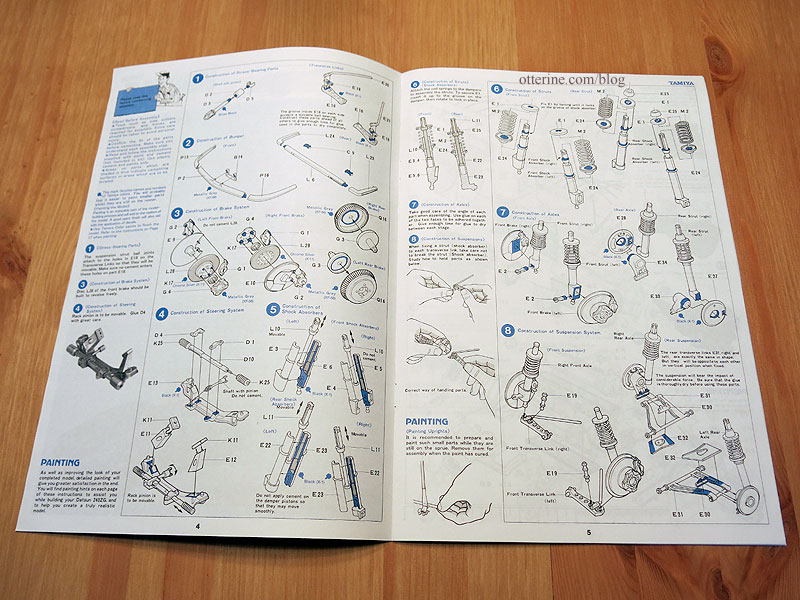
There are 14 pages of detailed instructions in building the model, one of which is the main body color chart.
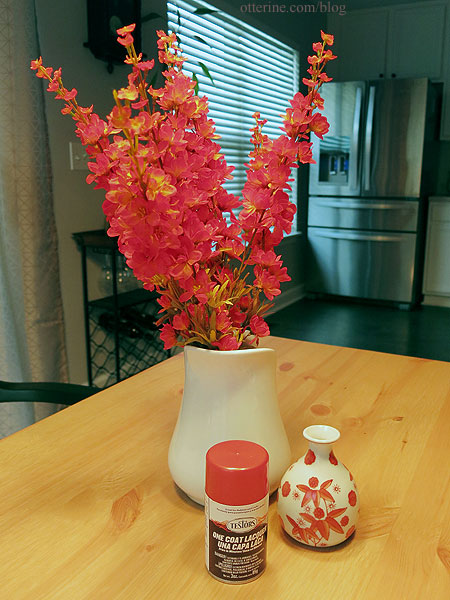
One of the first liberties I am taking is the body color. I bought Testors Fiery Orange. It’s a beautiful red orange metallic. It’s so lovely that I came so close to making this a well-preserved barn find. I’m going to have to spray *something* new in this beautiful color to satisfy that itch. I’m a fan of this color, just so you know.
If I were making a showroom new model, I would take more care to study all of the parts before priming. As it is, I primed whole sprues in a color close to their molded color. I like to work with primed plastic because I feel I can work more fluidly with colors and textures on a primed surface.
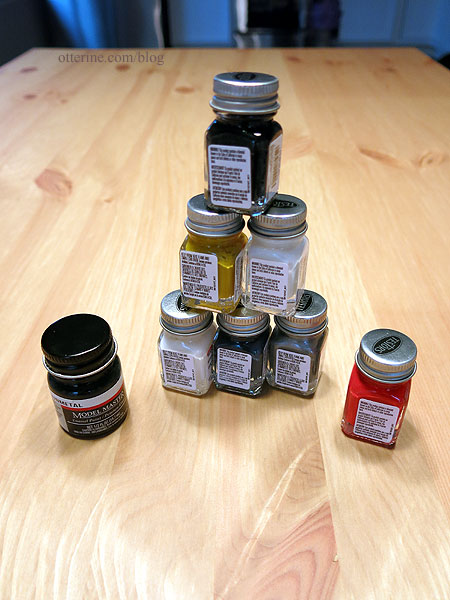
I bought a bunch of Testors bottled paints (plus one Model Masters) and have a few brushes on hand to start. No reason for Testors other than I like their paints and have some already in my stash. I will also be using craft paint acrylics.
I won’t be detailing every step of the build here on the blog but will post updates along the way. I’ll also make a recap post with links to the various steps as I get further along. So, that’s where I am now…primed sprues, instructions opened to step 1, sample photos ready.


