Stepping further into creative license here. I know that a tall tank loo isn’t exactly 1920s, but I really like the Chrysnbon Victorian set for a vintage bathroom and I don’t know when I’ll next build a house where it would be even remotely appropriate. So, the Chrysnbon bathroom kit has found a home in the Haunted Heritage.
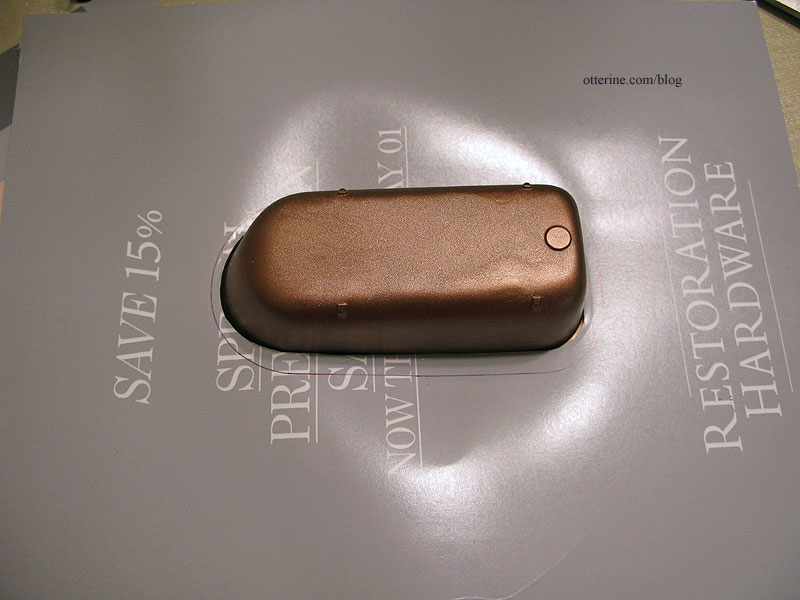
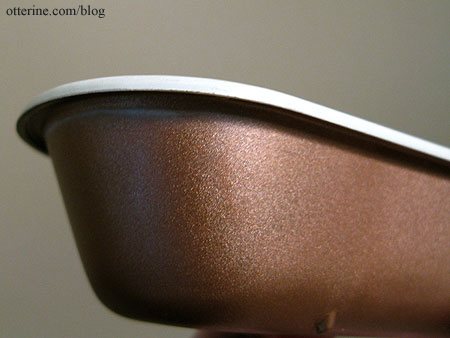
For the bathtub, I first masked off the top and sprayed the bottom with Burnished Copper Metal by Rust-Oleum. I let that set for well over a week, not for any particular reason other than life kept moving along after I sprayed it.
To make the inner portion a different color, I traced the tub onto a piece of heavy paper and cut an opening just wide enough to have the tub sit inside to cover the copper painted portion. Quite fitting that this is an ad for Restoration Hardware, no?
I used masking tape on the opposite side and pressed the tub onto the surface.
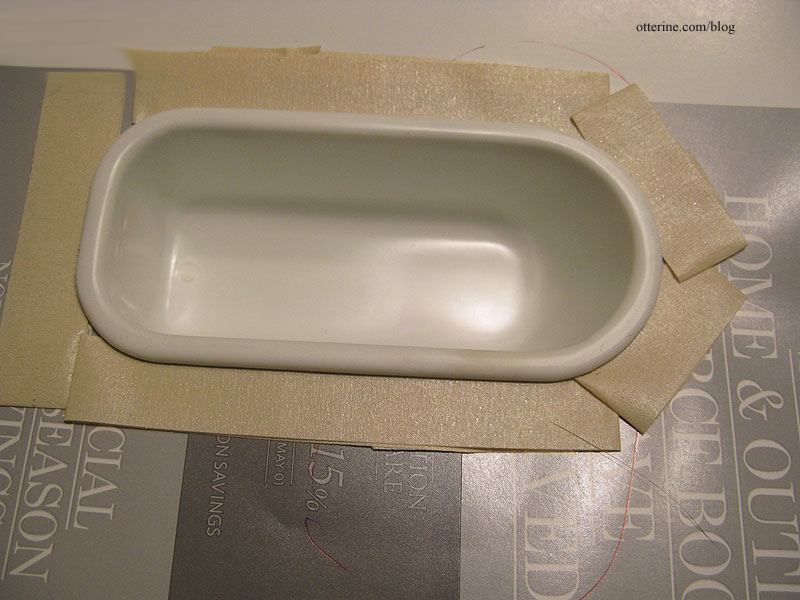
I sprayed the inner portion of the tub and the sides with Krylon Gloss Ivory. After the first coat, I noticed the inside of the tub wasn’t as glossy as the overhang. I thought that would work well for an old tub, so I didn’t add too much more paint to the bottom of the tub.
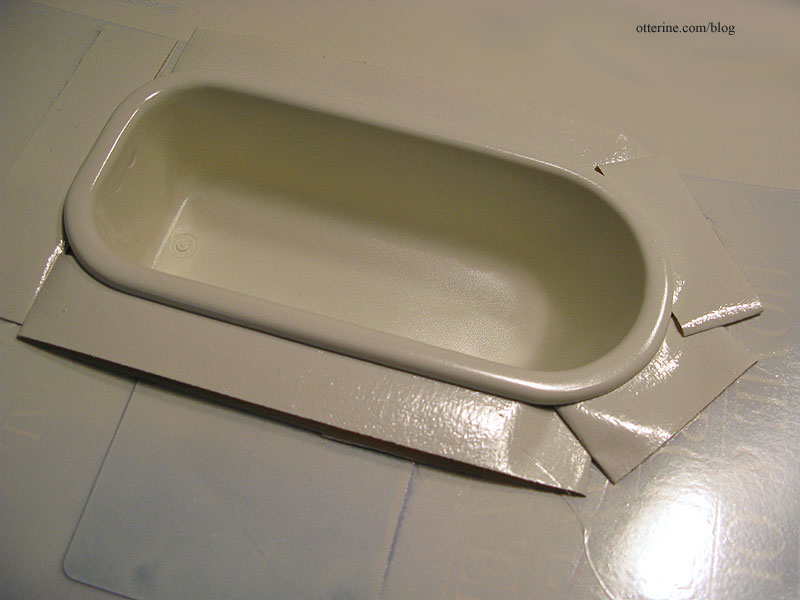
I sanded the edge to remove any excess paint and roughed up the surface in a few areas. It’s an old tub, after all. I had a little bit of overspray even with my precautions, but that didn’t matter in the end.
I used acrylic paint washes to darken and age the copper.
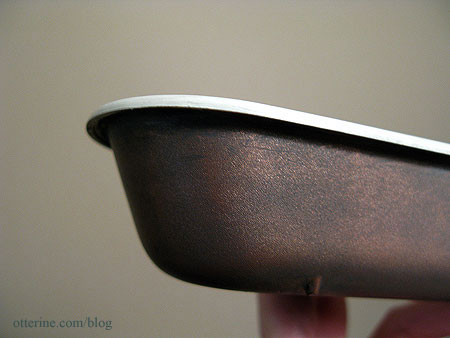
The feet were sprayed with flat black, but I added a black acrylic wash to them to tone down a little bit of the shine. I’ll age the inside of tub later when I install the faucets but so far, I love it!

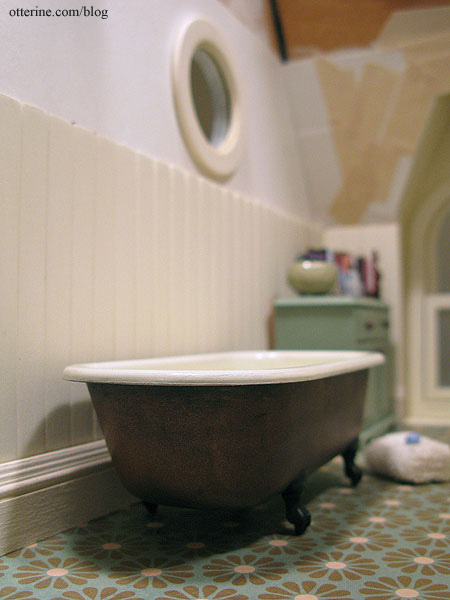
The copper color of the tub brings out the copper color in the flooring. I love how this little plastic tub looks like real metal. :D
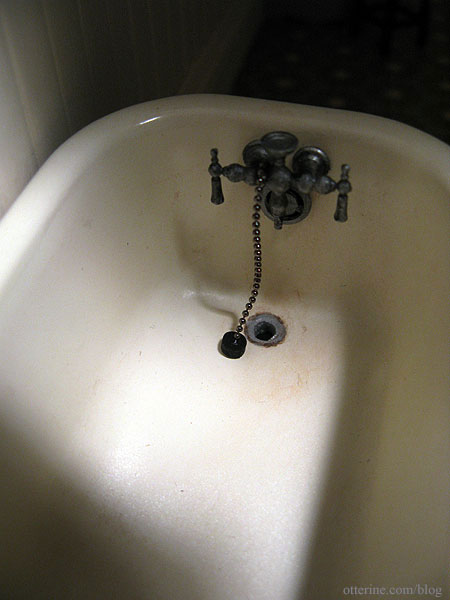
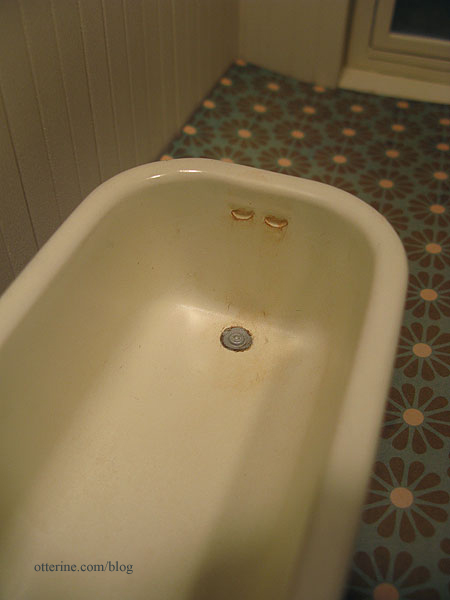
I painted the inner drain of the tub with Testors Aluminum and then added aging washes to the bathtub once the paint was dry. I watered down Terra Cotta acrylic paint by Folk Art and used it to simulate the residue of well water stains. It was a little bright, so I added a wash of dark brown. I wiped most of the pigment away going for subtle staining from years of luxurious baths.
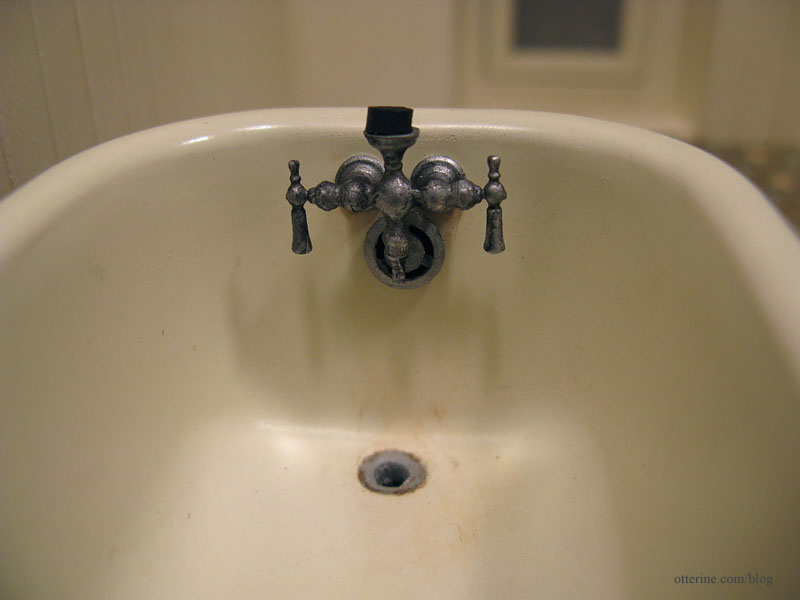
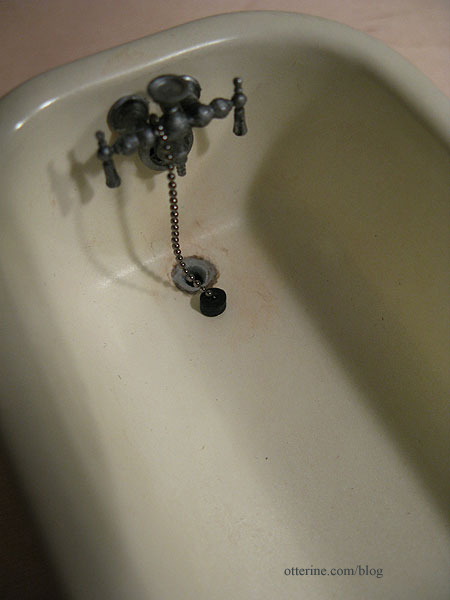
I assembled the tub faucets and painted them Testors Aluminum. I added a light wash of black to bring out the details before installing them in the tub. I also decided to add a stopper on a chain, so I drilled out the bottom of the tub to make an open drain.
If you have an open drain, you need a pipe…made from excess sprue (the frame around plastic molded parts) and a washer. The pipe is glued to the tub, but the washer will remain loose so it can sit flush with the floor while disguising the end of the pipe.

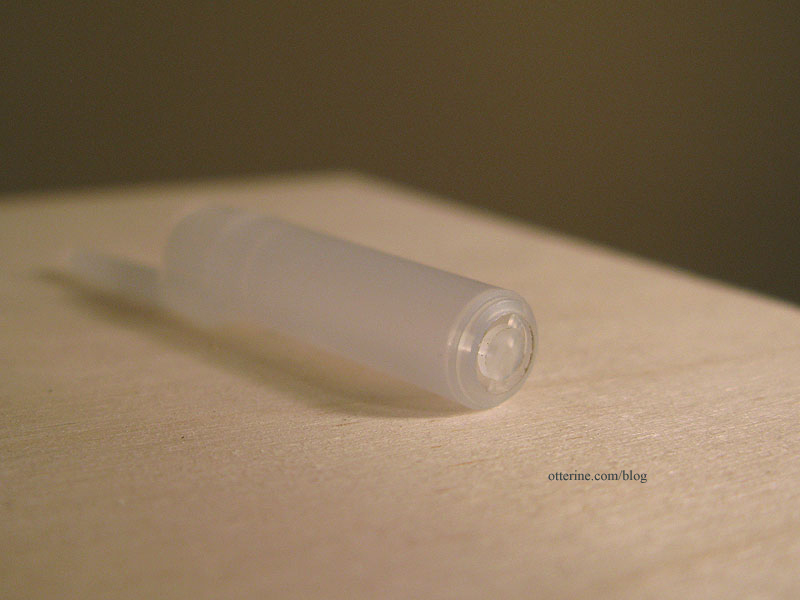
I added an overflow made from a pen cap.
Where’s the drain pipe for the overflow? Never you mind that! I have to draw the line somewhere. It’s not like the thing has actual running water. ;D
The stopper is made from a spare piece of sprue and is currently sitting in the stopper holder. How appropriate.
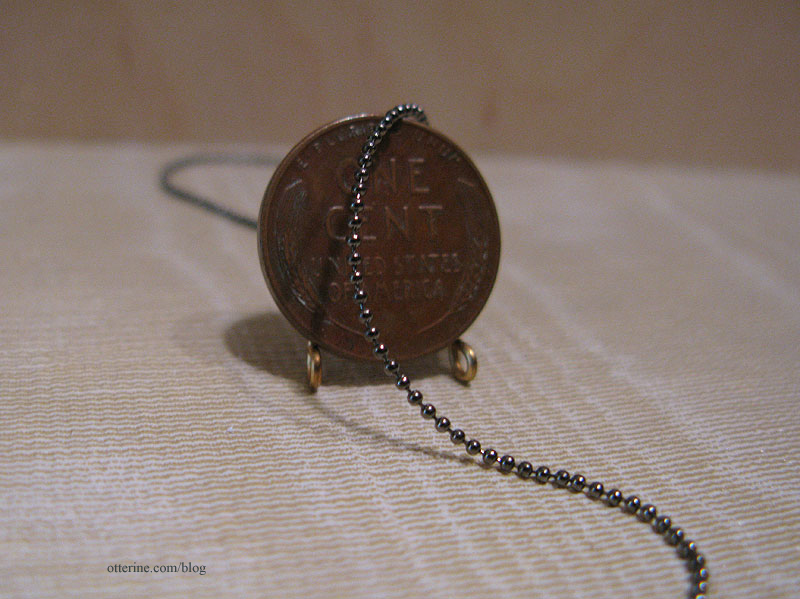
The finest chain I had on hand looked too bulky, and it was brass though I could have painted it if it had worked otherwise.
I went on the search for fine ball chain, but you can’t find it in the local stores around here. The smallest they have is 2mm, which is too large for scale. I bought a 5′ length of 1mm gunmetal ball chain from Cindy Chan since that was the lowest price I could find. I need to come up with some uses for the other 4′ 10″ of chain!
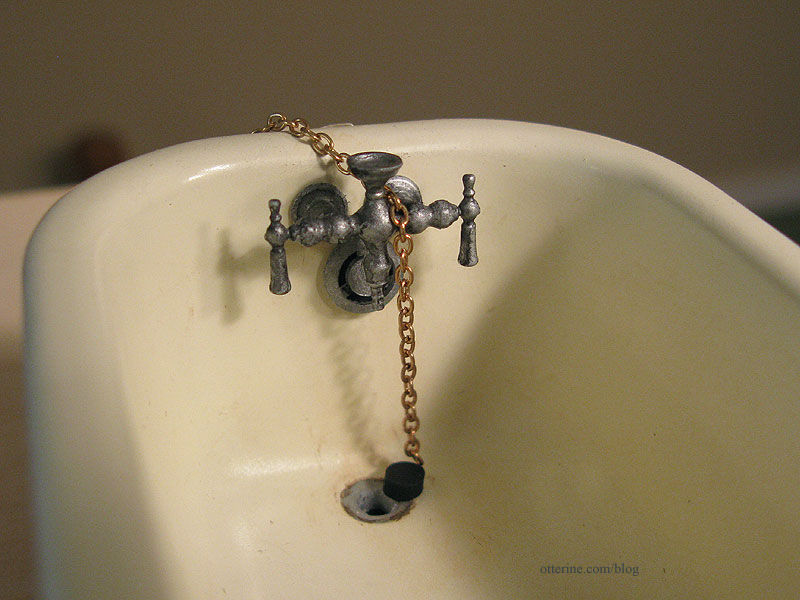
I cut a bit of chain longer than I needed and used super glue gel to attach it over the faucet. I bent it into a small curve with my fingernail to make sure it was a snug fit over the top.
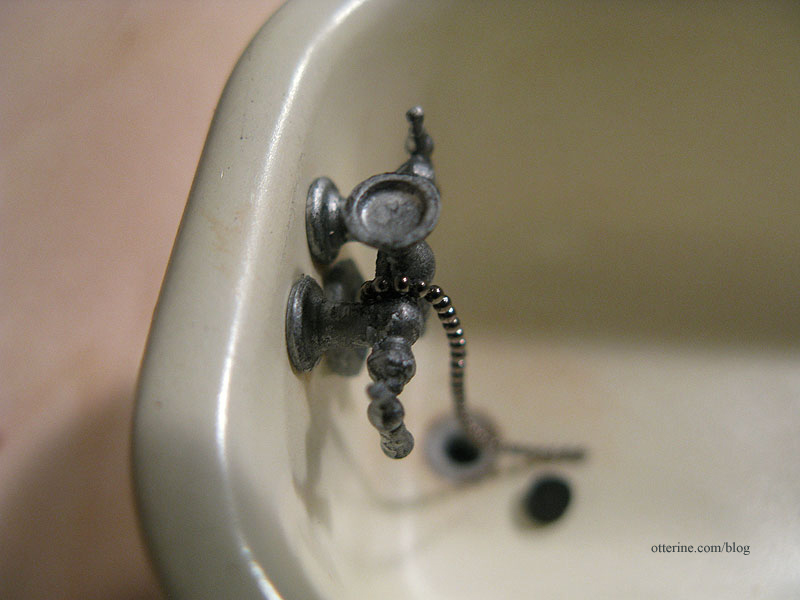
I placed the chain by the stopper I made from a spare piece of sprue to determine the final length of chain.
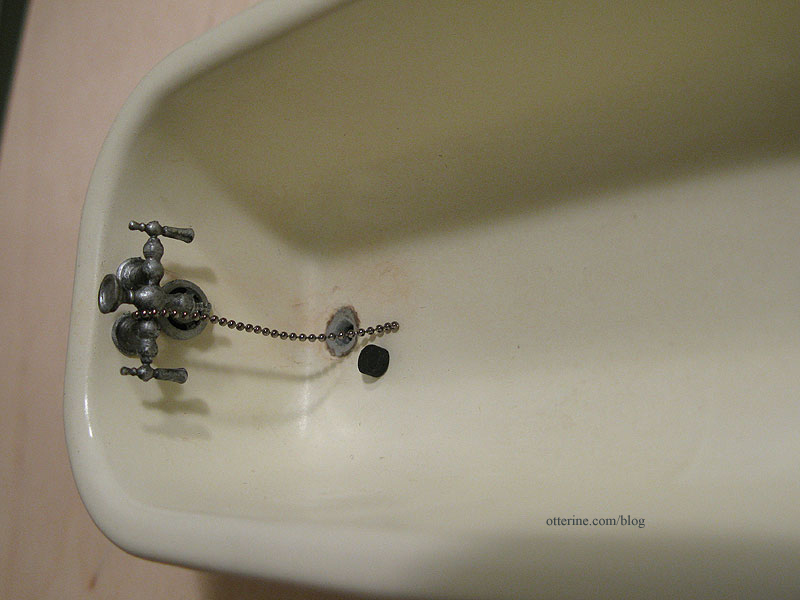
Since this is still large for exact scale, it doesn’t drape the way it would if it were real life chain. So, I made it just long enough to have some slack but look as though it has sufficient length to plug the drain. I attached the end of the ball chain to the stopper with super glue gel.
I might be able to manipulate the drape once the glue sets, but I think it looks pretty convincing as is. :D