


NOTE: All content on otterine.com is copyrighted and may not be reproduced in part or in whole. It takes a lot of time and effort to write and photograph for my blog. Please ask permission before reproducing any of my content. (More on copyright)

Making a tree – part 2
Continuing work on the tree. The water putty dried hard overnight. Some of the thin binding wires showed through the layer as expected and the texture was smooth due to the watery consistency of the first application.

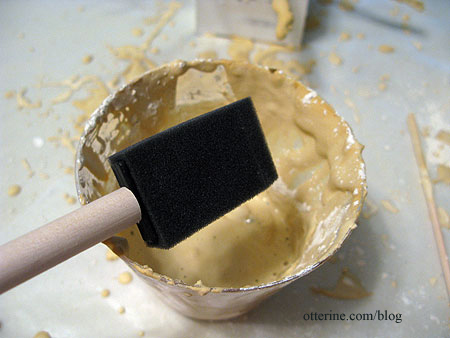
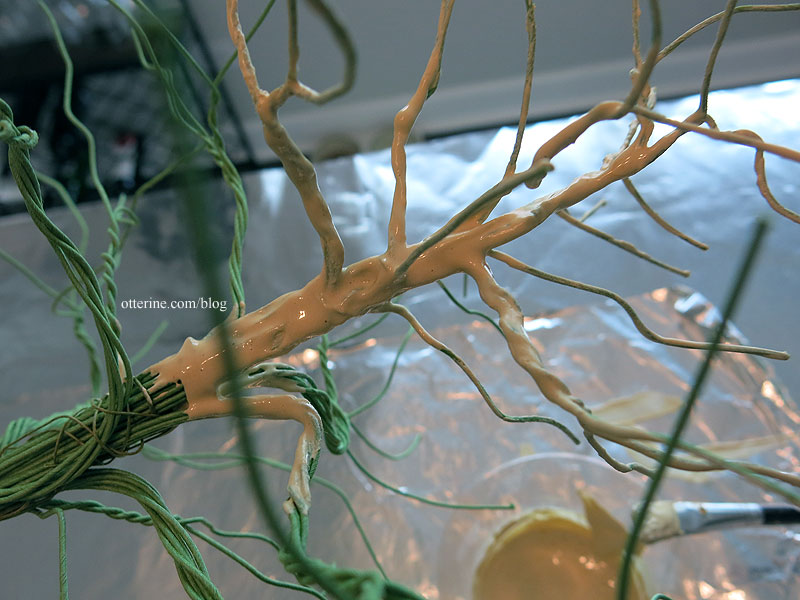
I mixed more water putty, this time thicker than the consistency of pancake batter. I had to work quickly since the mixture wanted to set fast. I used a stiff brush to apply the putty, making bark-like texture with quick brushstrokes as I went.

I did this for the main branches and trunk, leaving the thinner branches with the lighter coat from yesterday. The paint will seal any bare spots on the thin branches, and I didn’t want to build any more bulk on those wires. This will also make the end wires more easily shaped and trimmed as needed. You can bend the putty covered wires a little, but you risk cracking the surface of the hardened putty.

I hadn’t covered the base of the trunk all that well initially since it was hard to hold the tree while the putty was wet on the upper portions.

This time, I filled in more and added the bark texture. I might need to fill in underneath once this layer dries to make the base solid.

Next up, paint will be applied and the tree should really come to life.
Categories: Flowers, plants, and trees, Ye Olde Taxidermist
May 29, 2016 | 0 commentsMaking a tree, part 1
Note: I began making the tree and then the process changed when I reached the foliage part, so there are some further alterations later in the process.
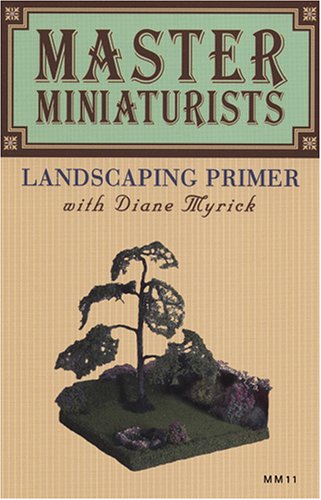
For the tree structure, I am following the same process as the ones I did for the Heritage maple and the dogwood, using the tutorial from the DVD Master Miniaturists: Landscaping Primer with Diane Myrick.
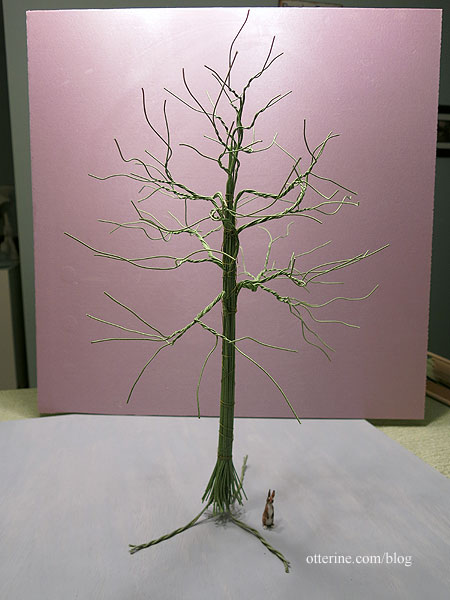
I bought a bulk of 22 gauge cloth covered wires that included 240 18″ pieces. I wanted a few small roots to help plant the tree, so I extended some pieces of 18 gauge floral wire below the main trunk of 80 wires. I used 28 gauge wire to tie the main wires together.
I want a relatively full tree, so I might need to add a few more branches. Currently, the height is 18″ from the bottom of the trunk to the top branch tip. There’s Friedrich at the base for size reference.
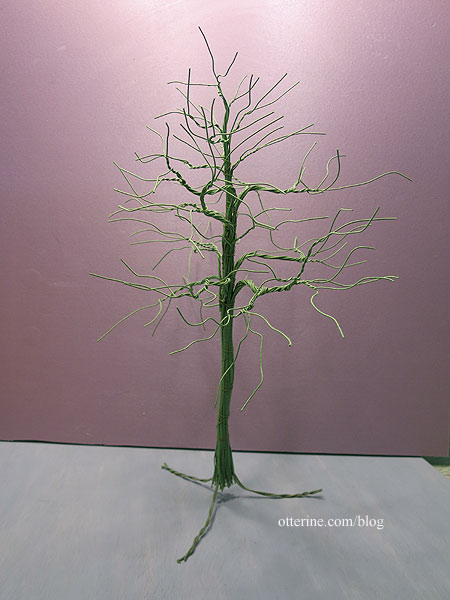
I added 7 more 22 gauge wires to the skeleton, making a few branches in the middle and on top. I also bent the trunk to make it more natural.
I mixed and applied Durham’s Water Putty to the wire skeleton. I bought a 4-pound container from Home Depot for roughly $8 back when I did the first tree, and there are still a lot of trees left in the container. The Durham’s Water Putty site shows some of the creative things you can do with it.
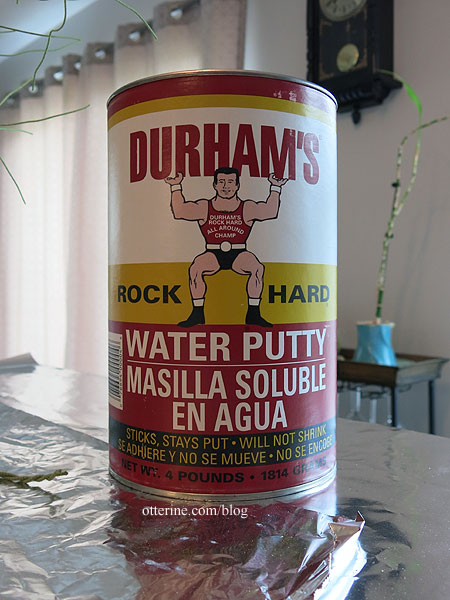
You can’t put this stuff down the drain, so the cups and brushes you use must be thrown in the trash. But, I did save the cup to reuse for the duration of the project. I’ll just mix new putty on top of the hardened putty left in the cup. No sense in wasting multiple cups. I buy short plastic cups from Dollar Tree. Very economical.
I mixed two heaping tablespoons of the powder with water to create a mix the consistency (and look) of pancake batter. The first coat is thin and incomplete. It’s mainly meant to seal the cloth covering on the wires and harden the joints. I used those super thin 28 gauge wires to avoid having obvious rings around the trunk, and it worked well.
It’s amazing how the putty transforms the wire skeleton. I didn’t apply the putty to the roots since those will be buried in the landscaping.

Once this dries, I’ll touch up the putty and work on the texture.
Categories: Flowers, plants, and trees, Ye Olde Taxidermist
May 28, 2016 | 0 comments
NOTE: All content on otterine.com is copyrighted and may not be reproduced in part or in whole. It takes a lot of time and effort to write and photograph for my blog. Please ask permission before reproducing any of my content. (More on copyright)