


NOTE: All content on otterine.com is copyrighted and may not be reproduced in part or in whole. It takes a lot of time and effort to write and photograph for my blog. Please ask permission before reproducing any of my content. (More on copyright)

Categories:
Watson Mill – door and windows, part 1
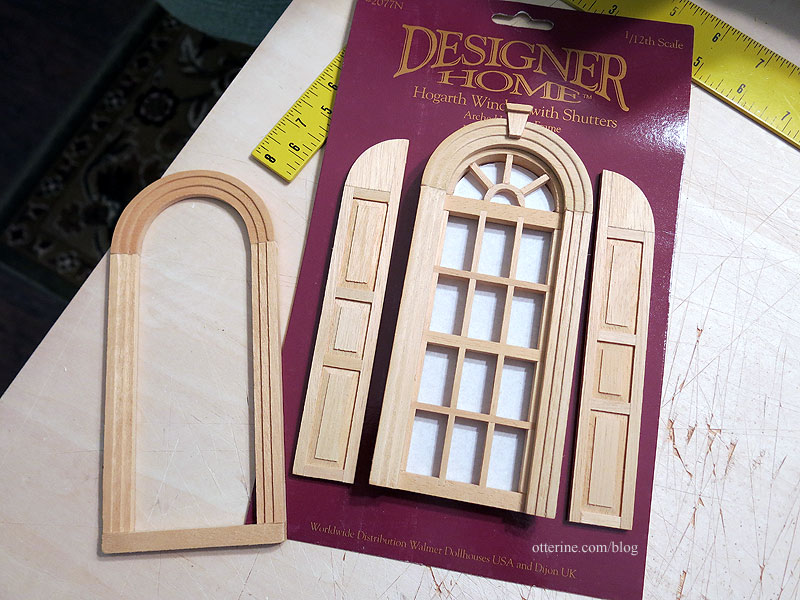
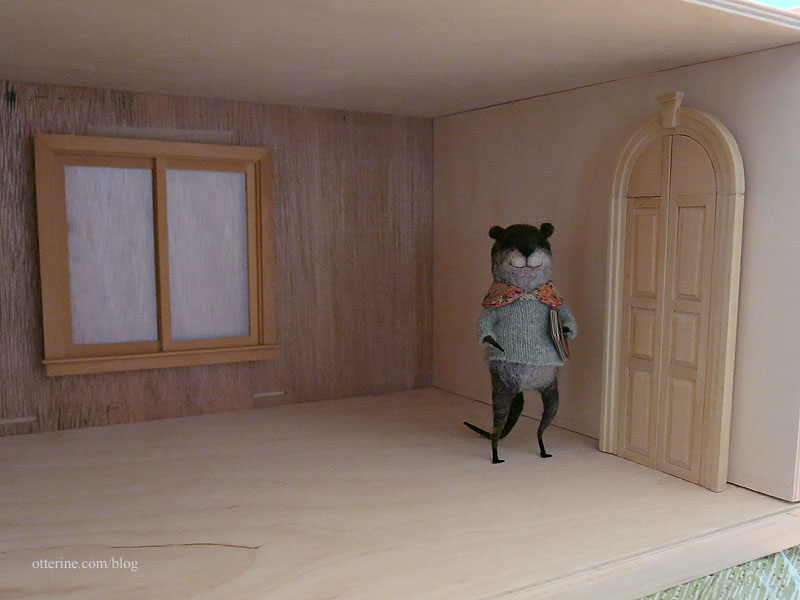
I wanted an arched door for Watson mill to keep with the curved aspect of the facade, and as mentioned before the door opening had to be moved to the side to avoid the sails. There’s a relatively low ceiling on the first floor at 7 3/4″ tall, which knocks out the ability to use the lovely Palladian door that stands just under 9″ tall. I also didn’t want to overpower Gustav’s modest stature with an enormous door. Enter the Designer Home Hogarth window with shutters. I bought this new old stock window at a local miniature show. I have only the one, but if I am meant to find more in the future then it will happen.
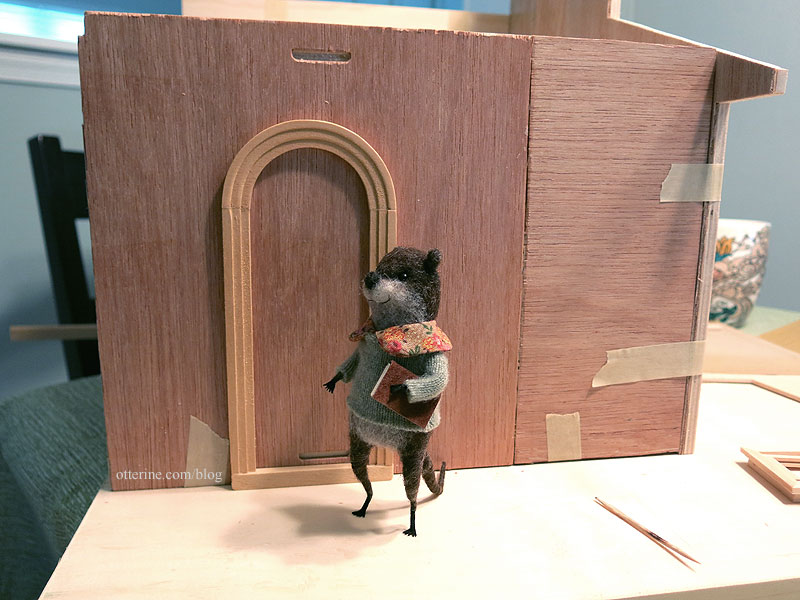
Using the trim as a guide, I measured the future door against the wall for comfortable otter accessibility. Check!
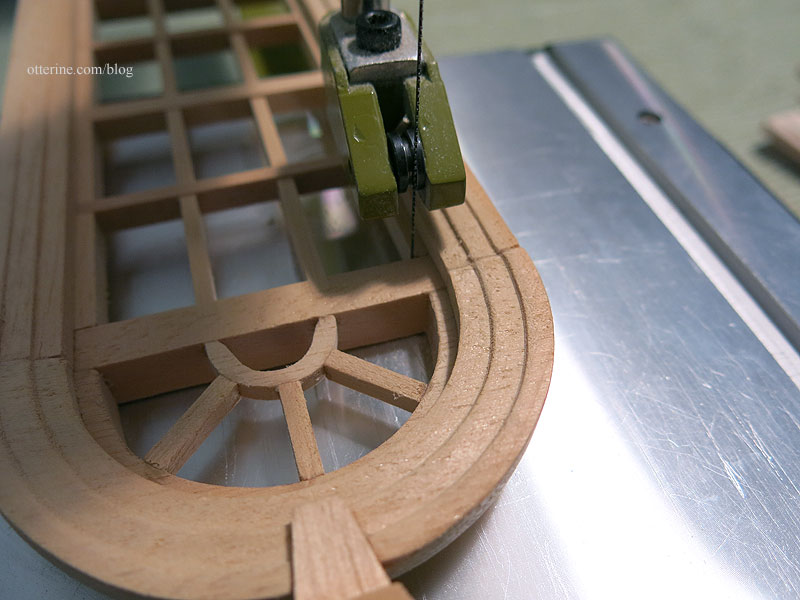
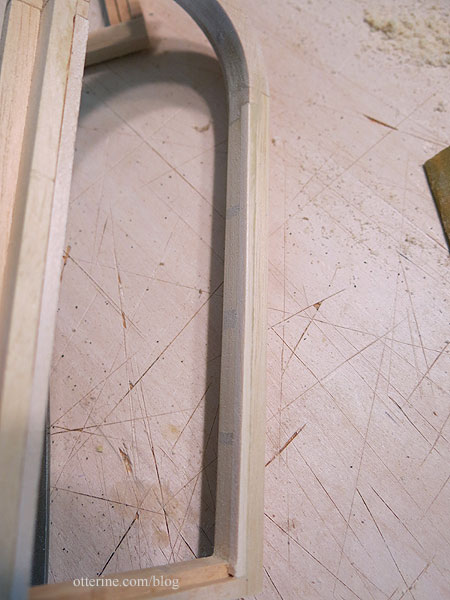
I cut the inside bits on the scroll saw.
Pieces of strip wood were added to fill in as needed.
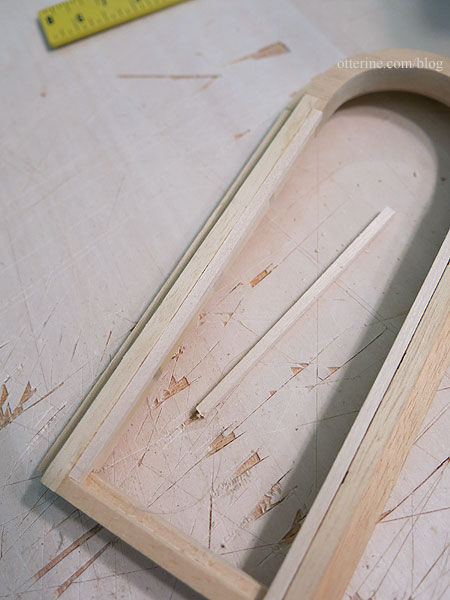
I filled, filed and sanded (and sanded). More sanding will be required during painting as well.
Since doors open in, the frame will be reversed with the fancy trim on the inside. I’ll look for some fancy long hinges and an interesting door latch. An oval side window might look good here as well.
On the outside, there will be a nice deep entryway.

Of course, with all the filler and residual tabs, the frame will need to be painted instead of stained. I won’t cut the opening until later, after I’ve built a few things for the interior and tried out some layouts. These sorts of choices and trials are why I keep my houses in dry fit for so long.
Categories: Watson Mill
April 16, 2017 | 0 commentsWatson Mill – circle library, part 1
I’ve taken the plunge and purchased a crafting machine. :] I opted for the Cricut Explore One. (I’ve since upgraded to a Cricut Maker.)
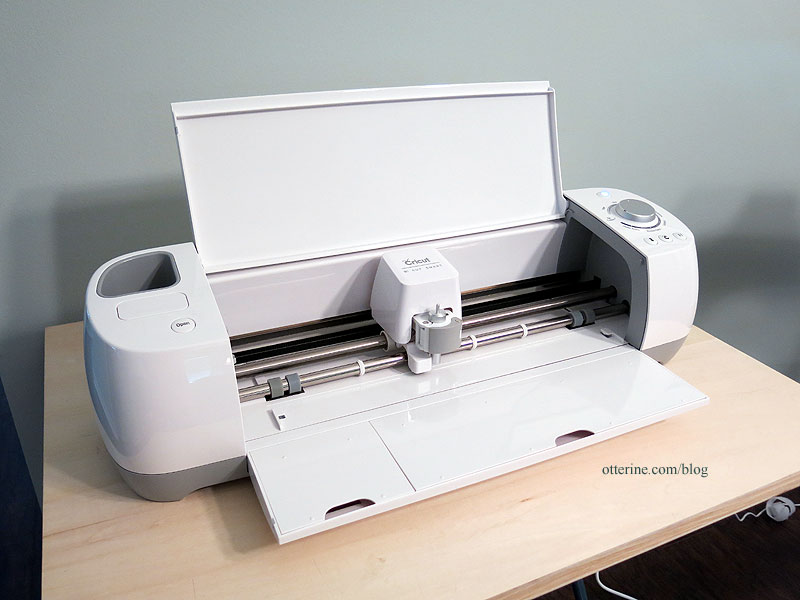
I fired it up today to help cut some consistent 5/8″ wide cardboard strips.
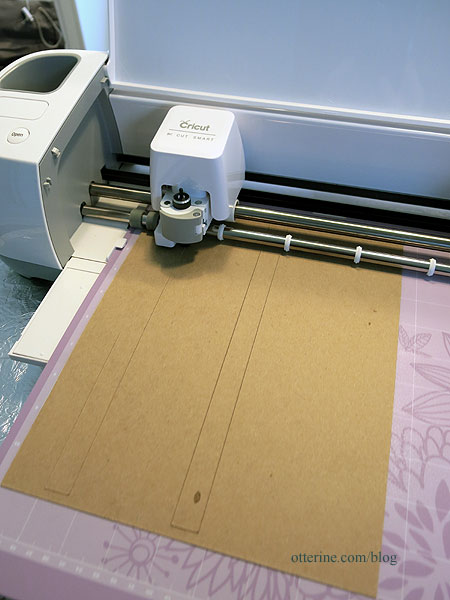
So much faster and easier than measuring and cutting by hand. Plus, no variation in widths. :]

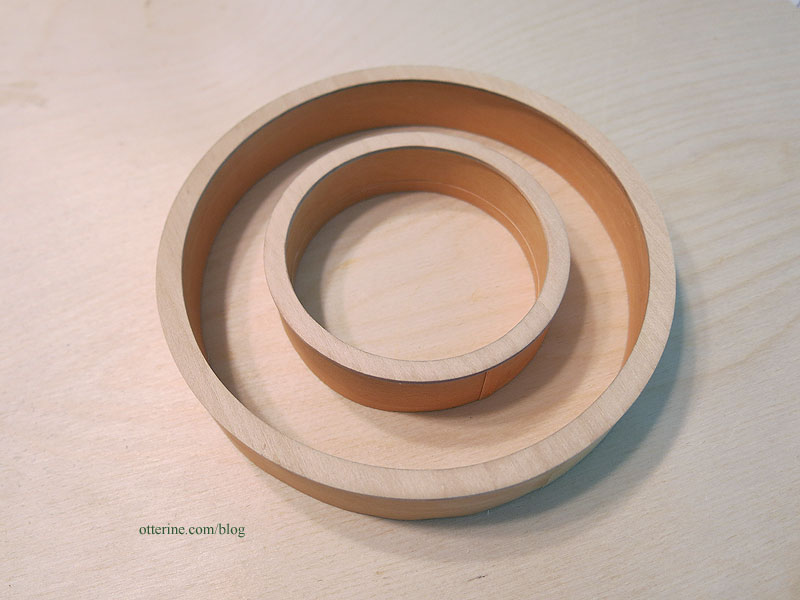
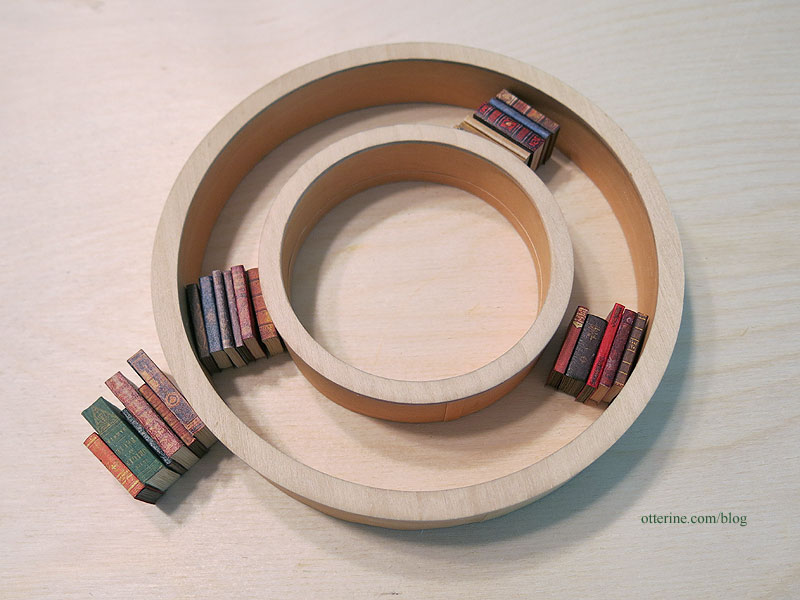
What did I need all these strips of cardboard for? To make the starting base for a circular bookshelf. I moved the circles down and over after my first dry run, so my lines are a little off. I’ve marked tall shelves so I can make large books, which take up more room and will require me to make fewer of them. There will also be room for knickknacks. Gustav seems to approve.
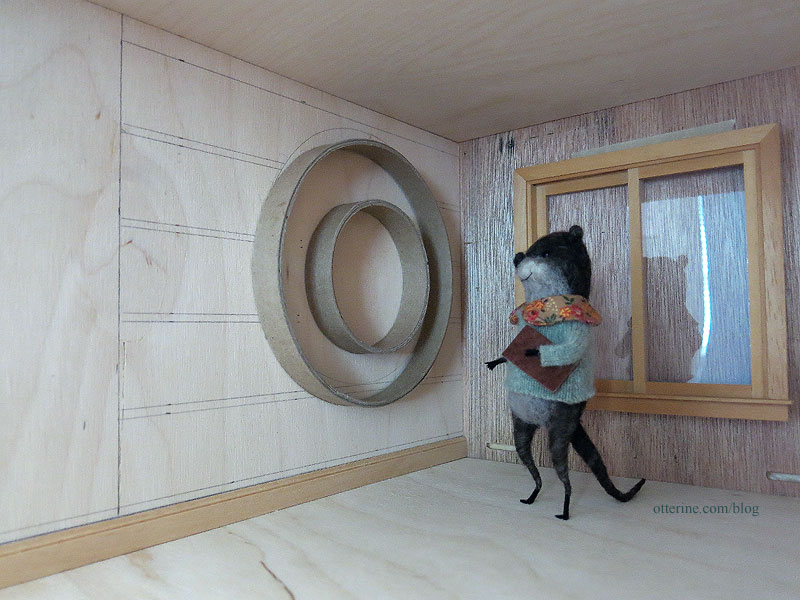
Here’s my inspiration photo (no discernible source, unfortunately). While I can’t put in a bay window due to the rotating sails, I can put in a regular window to let in more light and a spring breeze.

I added more cardboard around the circle supports to increase the depth to 3/4″ since I determined my 5/8″ depth was too narrow for the books I’ve been making. I was able to use the existing supports since they were shallower than the new depth and will be fully enclosed by the new outer strips. I then covered the cardboard with peel and stick wood that I had leftover from the Model T Van build. I used additional adhesive just to make sure the bonds will hold over time.
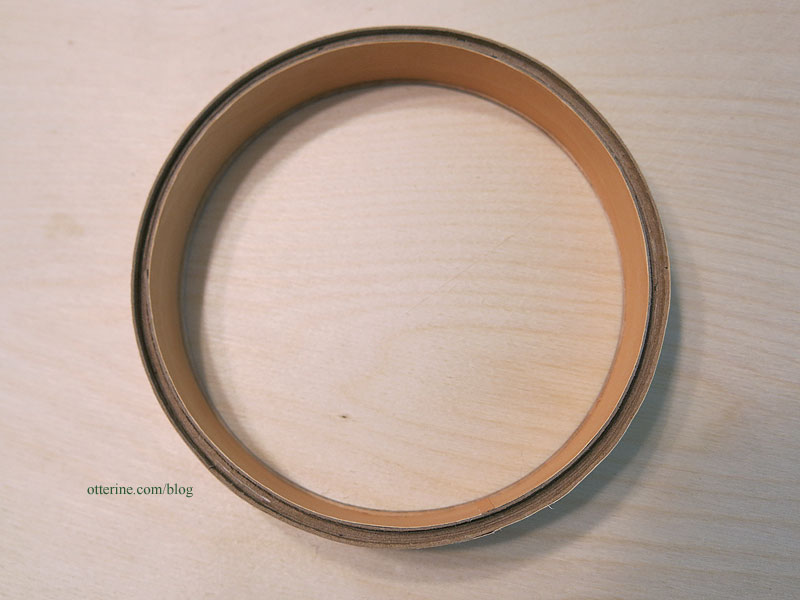
I put the joins at the bottom, covering the upper one that will be seen with a piece of peel and stick wood.
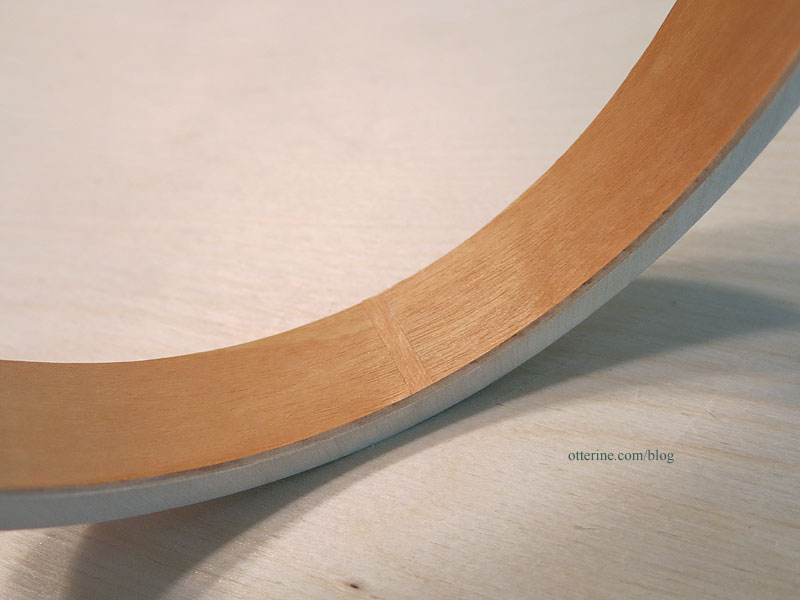
Cyd helped me out by cutting laser cut circles for finishing. I sanded away the charred edges and then glued it to the support structure.
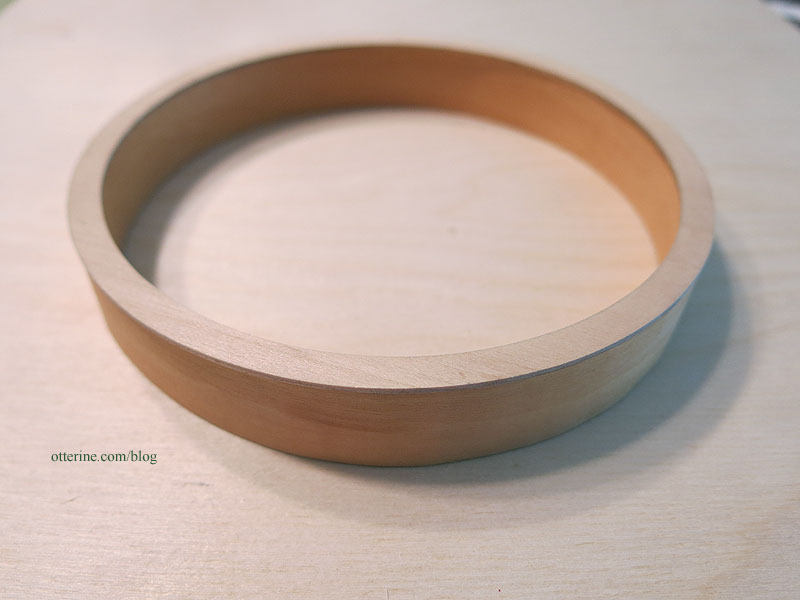
My supports are not uniform circles, so the laser cut trims help disguise any imperfections.
Books will help, too. :]
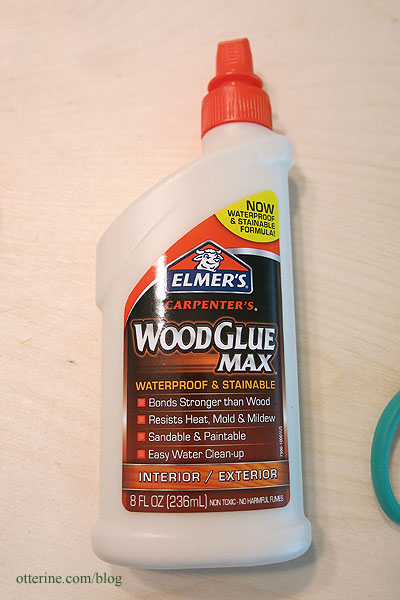
I know I’ve gotten glue on the wood, but I was smarter later and used Elmer’s wood glue that’s supposed to be stainable. We’ll see.
Categories: Watson Mill
April 15, 2017 | 0 commentsWatson Mill – sails, part 5
Continuing work on the windmill sails. It’s time to figure out the hub and shaft portion for the sails. I’ve developed a hub inspired by the 1:30 scale mill kit by Amati and this windmill build by Penterbak.
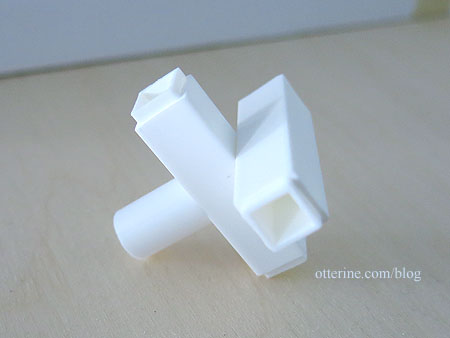
I decided to build my hub from styrene (plastic) instead of wood because I worried about longevity and solidity during operation. I used square tubing from Evergreen, glued in a cross formation using Testors cement.
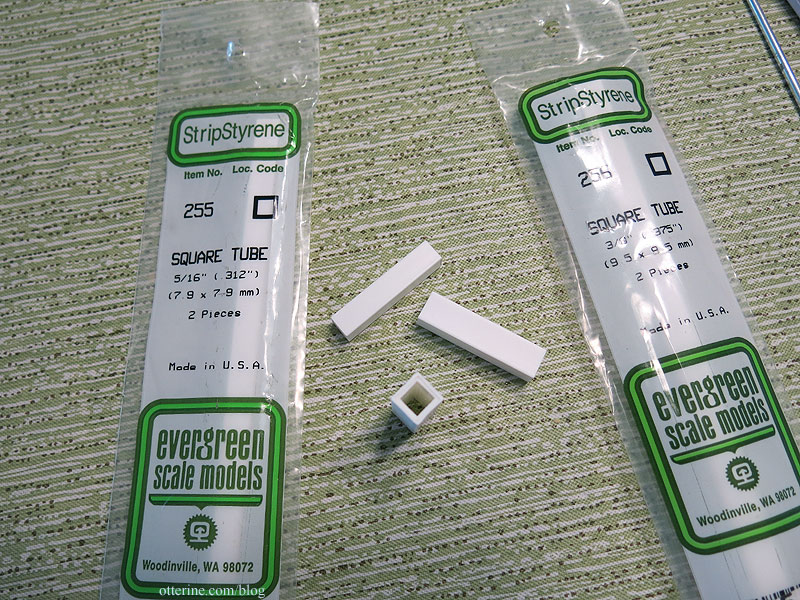
I will likely add further detailing before painting. I’m giving some thought to a few ideas. I cut the excess wood from the ends of the whips. Shims were required to make the whips square where they entered the hub as was sanding to fit, my least favorite phrase in mini making. However, a tight fit in the hub means no glue or pins are required to keep it all in place. If I need to replace anything, just pull it apart at the hub. On the back, I glued a cap cut from round tubing to connect to the shaft. This is the only place it’s a little loose, but I have a couple of ideas for a solution.

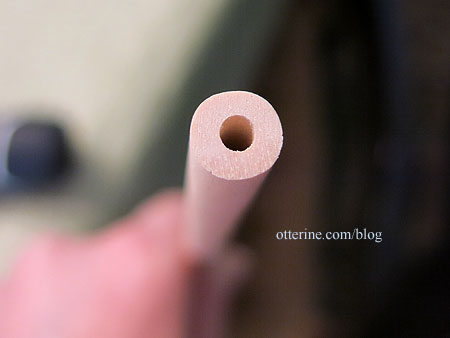
The shaft is a 5/16″ diameter wood dowel with a hole drilled in the center on one end.
The motor has a threaded shaft, so my friend and I went to the hardware store to find a suitable screw to fit.
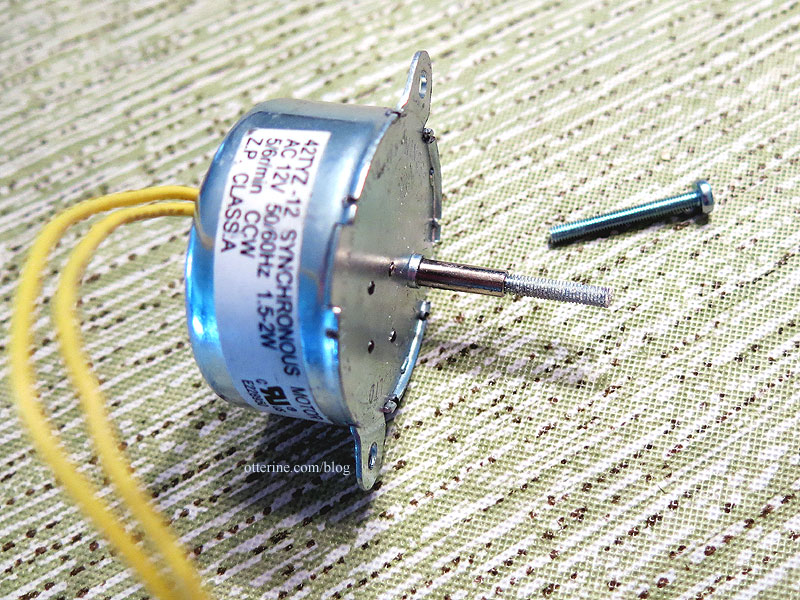
Another friend cut the heads from a few of the screws so I could attach one end to the wood shaft, and now I have a few spares for the future (or for the other motor in my stash).
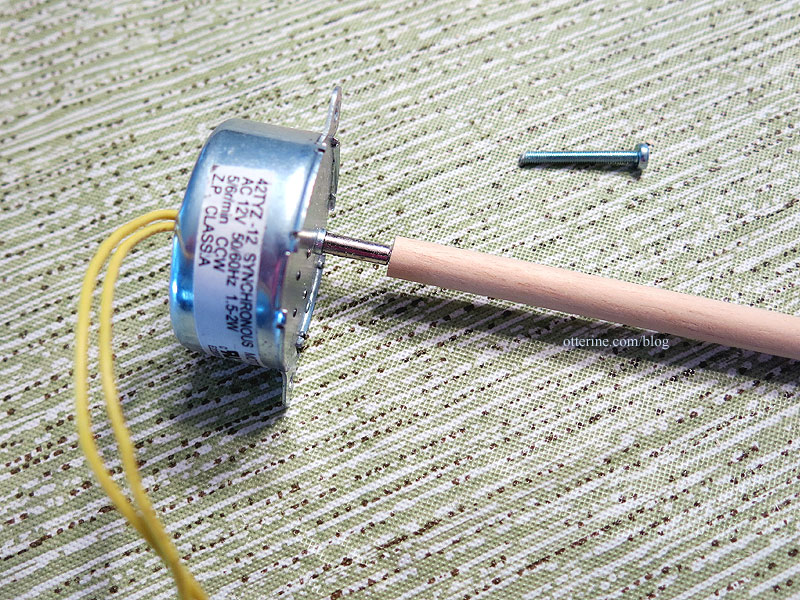
Right now, nothing is glued or taped or pinned, and it works well. I might add a bit of adhesive later as needed, but I do want the parts easy to separate for transport or replacement. Interestingly, the inner portion of the square tubing was angled a bit, so the sails are now tipped slightly. Works in my favor since they are like this in real life. :]
Categories: Watson Mill
April 11, 2017 | 0 commentsWatson Mill – sails, part 4
Continuing work on the windmill sails. Just a short update that is long on work hours. I now have four completed sails and will move on to the hub and shaft next. I had such a hard time getting motivated to do the last three sails after completing the first. Yes, I can stand the “tedium” of needlework for hours, but this insanity just pushed me over the edge. I am glad to move on now.
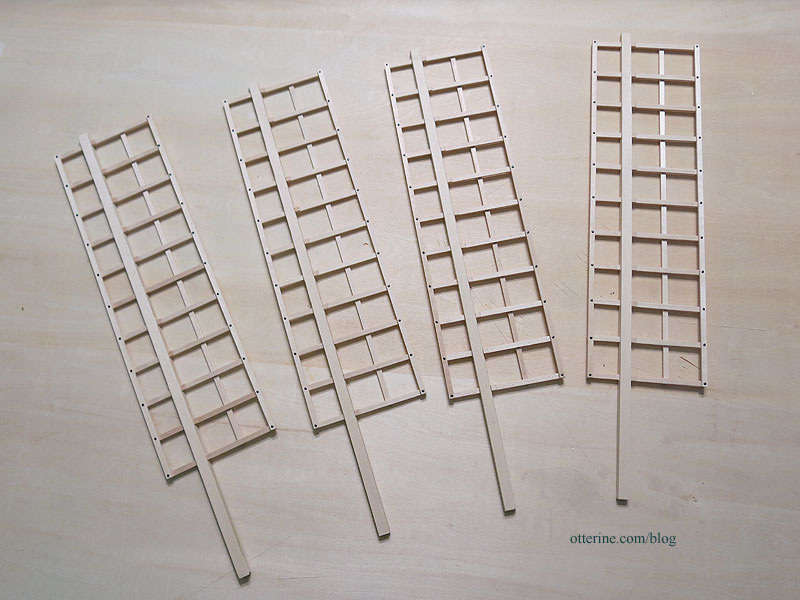
I think these are just the right size for the facade.

There was a question about whether these weigh more than the mockup versions and if the motor would be able to handle the extra weight. Interestingly enough, the wood sails weigh the same as the foam core board mockup sails (1.1 ounces on my postal scale). Of course, the cloth I add later will increase the weight, but the motor should be able to handle it without issue.

Categories: Watson Mill
March 26, 2017 | 0 commentsTribal Foxes Rug – 110.75 hours, stitching complete
I’ve finished stitching the Tribal Foxes rug with a total stitching time of 110.75 hours. I just need to bind the edges and complete the final finishing. This was done in full cross stitch with single thread over 32 count Jobelan.

Categories: Needlework - French knot rugs, Watson Mill
March 18, 2017 | 0 comments
NOTE: All content on otterine.com is copyrighted and may not be reproduced in part or in whole. It takes a lot of time and effort to write and photograph for my blog. Please ask permission before reproducing any of my content. (More on copyright)