
NOTE: All content on otterine.com is copyrighted and may not be reproduced in part or in whole. It takes a lot of time and effort to write and photograph for my blog. Please ask permission before reproducing any of my content. (More on copyright)
Categories:

Heritage – stair change and bay window work
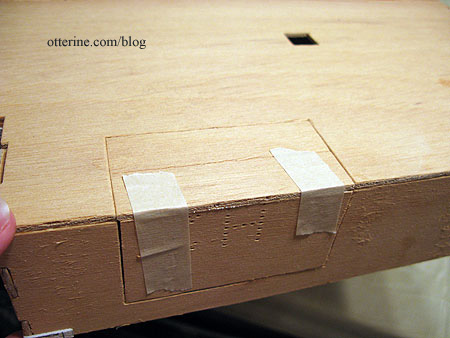
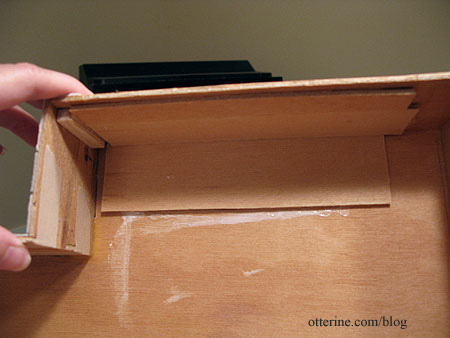
Since I have another idea in mind for the entryway, I plugged the hole where the original stairs were to be with the very pieces that were originally cut from them along with a couple of backing pieces made from scraps from the die-cut boards.
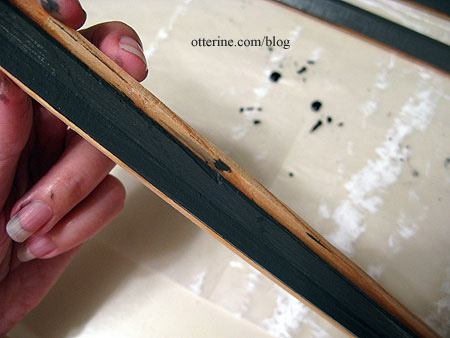
The wood for the connectors for the bay window was a bit more resistant to the paint washes, so I followed up with a dark grey paint mixture. I painted only the portions that would face the exterior of the house since I am still deciding on what to do for the interior, but I wasn’t especially careful to avoid getting any paint on the interior portions. Any stray marks will all be covered eventually.
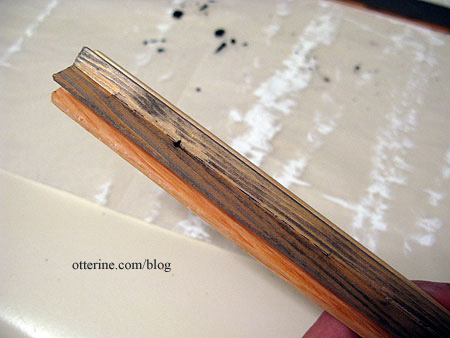
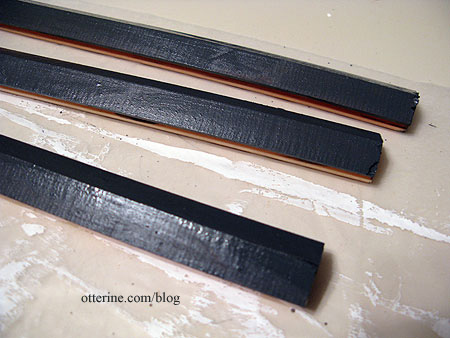
I also didn’t bother to repair any defects or cracks in the wood or gaps in the joins between pieces. All of these imperfections will actually work in my favor for an old rundown house. Maybe a tree branch fell on the house at some point. ;]
Once these dried, I used the same crackle medium and white paint process as I did for the siding. Now we’re getting somewhere. :D
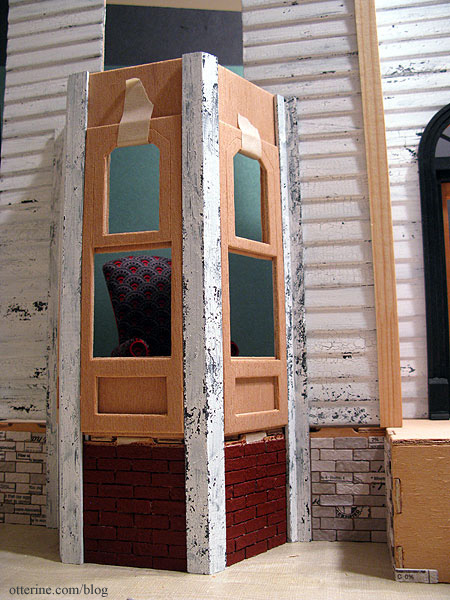
I think the red brick is going to anchor the nearly all white-grey house very well.
Categories: The Haunted Heritage
August 5, 2011 | 0 commentsEgg carton brick foundation
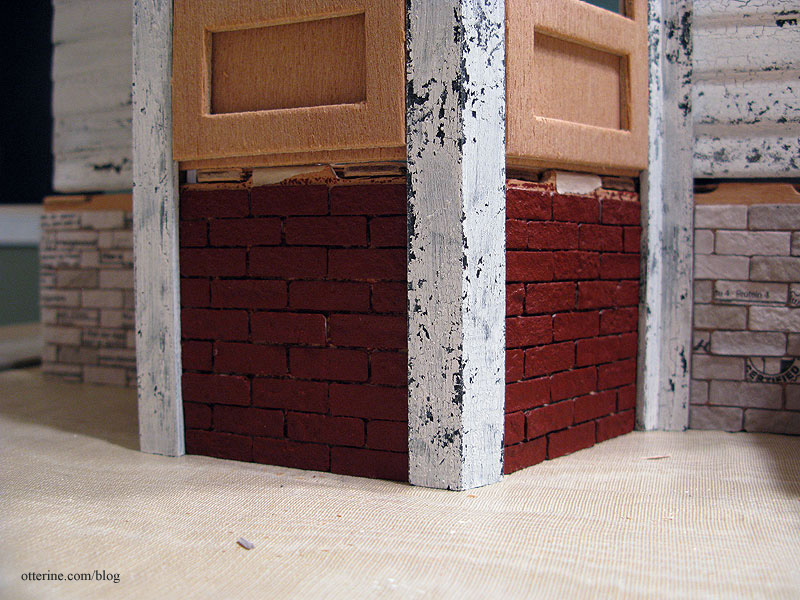
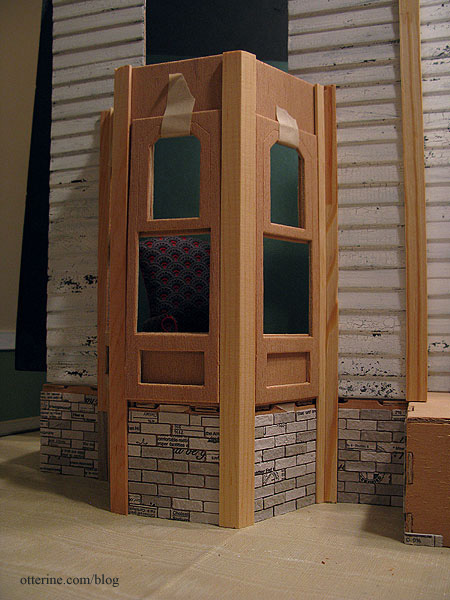
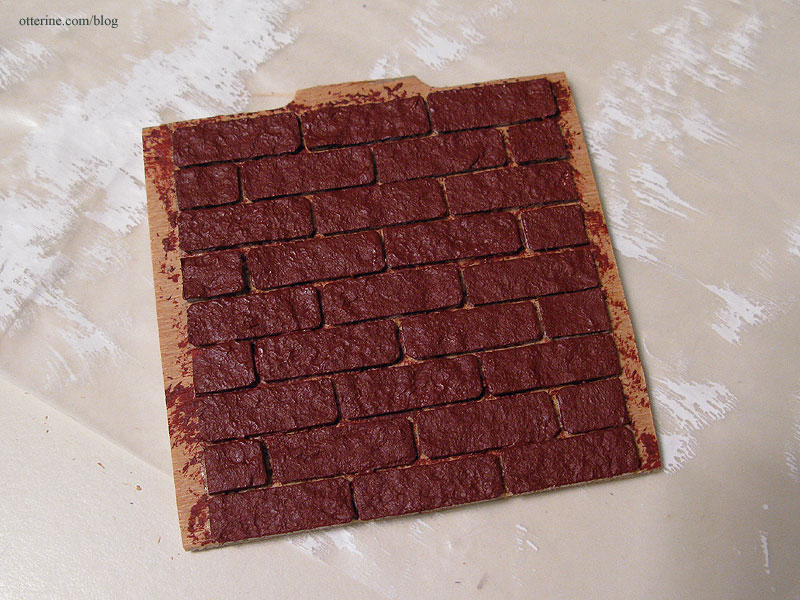
I spent some time tonight gluing on the egg carton bricks, starting with the area under the bay window that I fit the other night. I love it, as expected. :D There will be trim between the bottom of the siding and the top of the bricks.
I tried out the color I bought for the foundation: Liquitex Burnt Sienna. This is a thicker artist color acrylic, but it is a wonderful brick red color and has a great texture when stippled on with a stencil brush (two coats). It was on sale for 30% off at Hobby Lobby this week, so I didn’t mind paying a bit more for it. Grouting will come later.
Categories: The Haunted Heritage
August 2, 2011 | 0 commentsHeritage – shingled gables
The three large gables are supposed to be shingled above the windows according to the instructions. The kit even includes fancy shingles for this purpose.
But, I think something about it is off. First, I think the shingles are too large. Second, and more importantly, I don’t think you’d leave any gable wood exposed on a real life house. It would either also be shingled or have some sort of siding on it. I am guessing the kit is like this to add some Victorian charm while making it a relatively easy job to add the shingles.
To remedy both of these points, I bought Greenleaf half scale speed shingle strips (octagon shape) with the plan to apply them to the entire gable.
Since I would ultimately be painting them, I decided to glue them onto the gable before staining them with the black/grey aging wash. I could always press the pieces flat while drying if they curled while painting and it didn’t matter if I got excess glue on the stained portions since the shingles would be covered by the crackle effect paint.
Here are the three samples I put together to test out which glue would work best and whether the same aging process as the siding would work here as well.
From left to right are Elmer’s wood glue, Aleene’s quick dry tacky glue and Quick Grip glue. I taped the shingles down while drying. The first two lifted after the dark wash. Not necessarily a bad thing on an old house as long as it doesn’t get out of hand.

I then brushed on crackle medium followed by white craft paint. Interestingly, the first one flattened out a bit with only a couple a lifts there and there. Still, I decided to stick (tee-hee) with the Quick Grip glue just for the fact that it dries so fast.

I started by placing the outer gable window trim on the gable and tracing around the edge.

I placed the first shingle strip so that the vertical lines between the shingles lined up with the bottom edge of the gable.

I placed the window trim over the first shingle strip and traced the outline.

I cut the shingle strip to fit with an X-Acto blade and then glued in place with Quick Grip.

The next row was applied so that the bottom shingles lined up with the top of the vertical lines of the first row. Again, I used the window trim as a template.


Once I had a few rows on, I cut the excess off the bottom and sides.

I’ll continue up to the top peak and then repeat for the other two gables, but I already think this looks like a better scale match. There will be trim between the gable shingles and siding to finish off the edge between the two.

I’m very pleased with the results of my experiment. I think it looks more like the real Victorian houses in my area than it would have with the kit’s oversize shingles.

I absolutely love the shape of the gable windows, too! I’ve adored this house for years, and it’s so much fun finally bringing it to life.

Note to or anyone who is building a Heritage: the diecut arches of the gables end up being a structural part of the finished swinging windows. If you want these to be pristine, take the time now to repair both the interior and exterior portions of these gable parts. You may choose to cut new parts if the kit parts are too far gone. I was able to salvage them later, but it would have been easier before assembly. It was hard to work with them upright. See this post for details.
Categories: The Haunted Heritage
August 1, 2011 | 0 commentsHeritage – front bay window, part 1
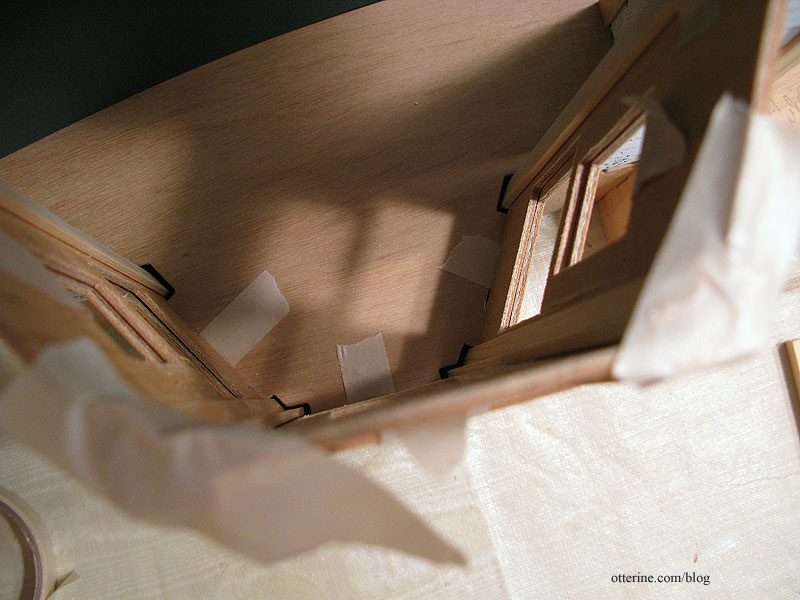
The bay windows are one of the nicer features of the Heritage, but they did take some work getting to fit correctly. I’m always leery of the phrase “sand to fit,” because it never works for me. The instructions state you need a distance of 2 1/4″ between the small connectors once in place, and to get there I had to cut 1/16″ off each side edge of the bay window walls and bay window bases. It still isn’t precisely that measurement, but now the whole thing fits solidly.
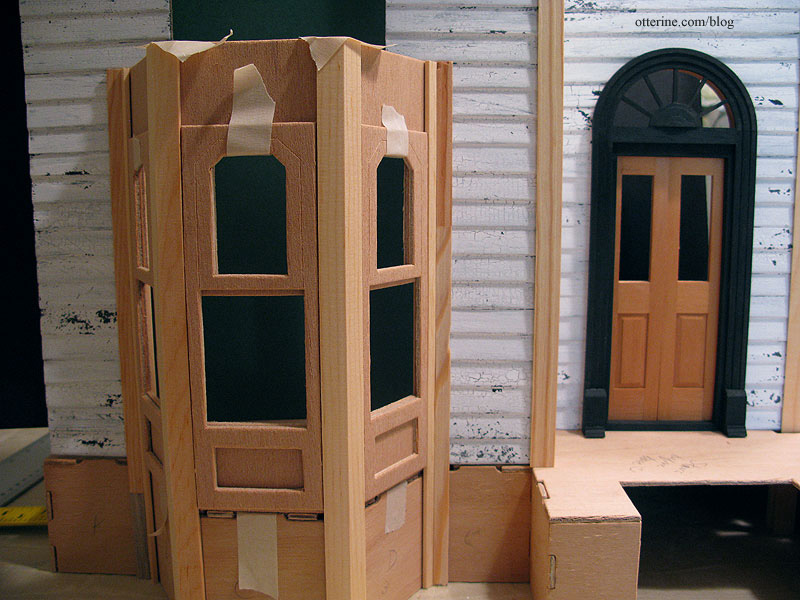
I also had to cut down the tabs on the main floor since they stuck out past the walls and bases.
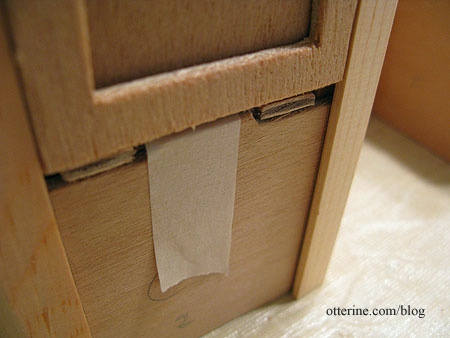
Even with the structural integrity in place, there are still gaps between the connectors and the floor board. I wonder if this is more of an organic type of build where everything has a little wiggle room built in so that you can force things into being level and straight.
Categories: The Haunted Heritage
July 30, 2011 | 0 commentsPalladian Door – first upgrade
After seeing the dry fit with the Palladian door, I was sold!
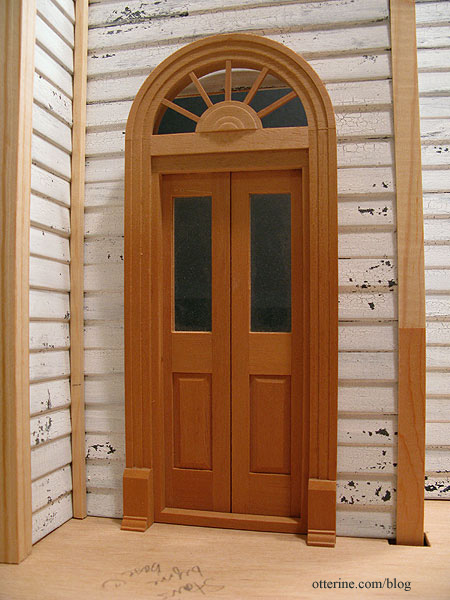
To get this door to work, I needed to adjust the rectangular hole to fit an arched door. You can’t tell from the above photo, but there were two triangle shaped gaps on either side of the top. Enter in two spare pieces from my old lost Dura-Craft kit. I had previously used one to try out finishes.
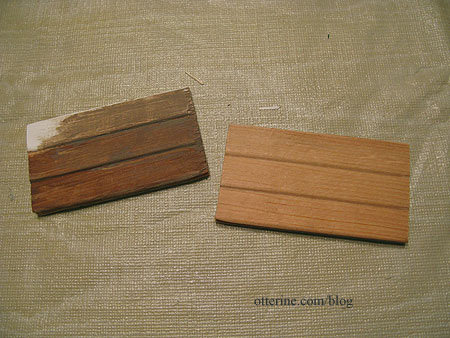
I had to disassemble the two long pieces on the front wall, but they pulled apart easily.
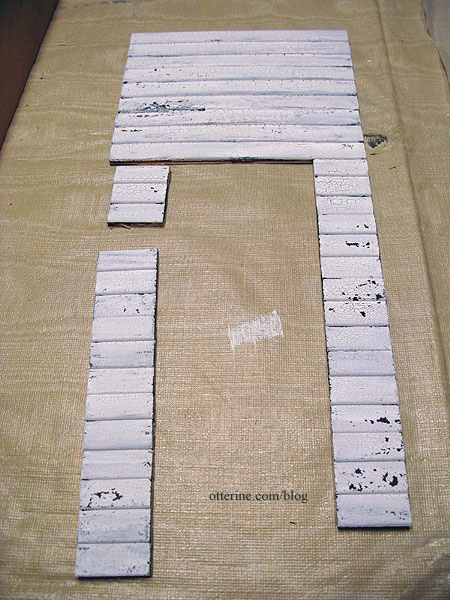
I marked the door opening on the new pieces and the bottom of the overhead piece and cut out the required opening.
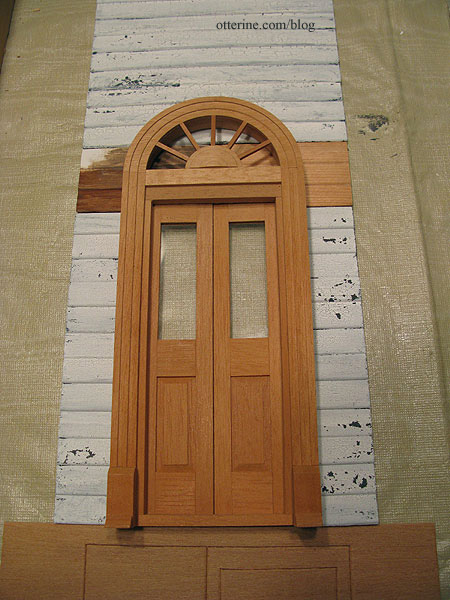
My cuts aren’t the best since I had only a utility knife, but they work fine – no gaps. :]
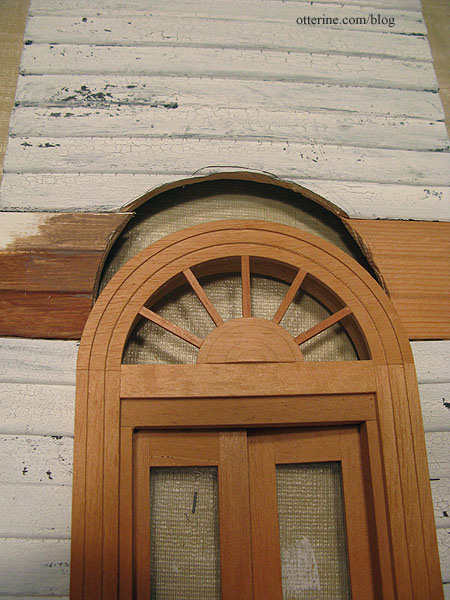
I glued the new pieces in and prepared the finish as I had for the rest of the walls.
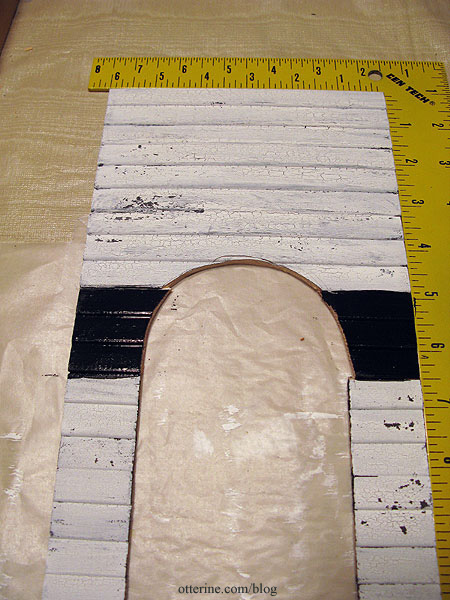
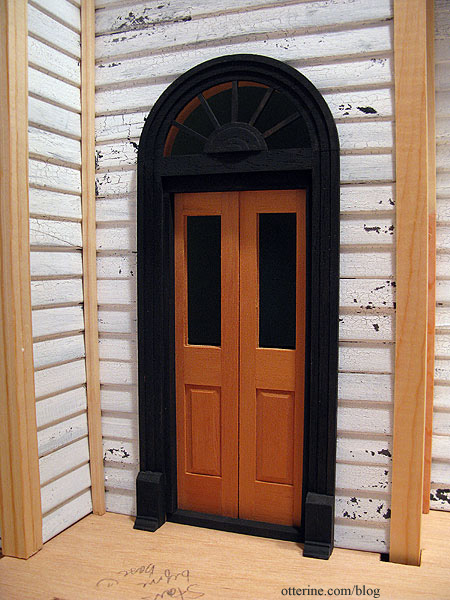
Voilà! Since the wood of this door was on the red side, I’ve painted it charcoal grey as the base layer on the outer trim.
And, a close-up of the top.
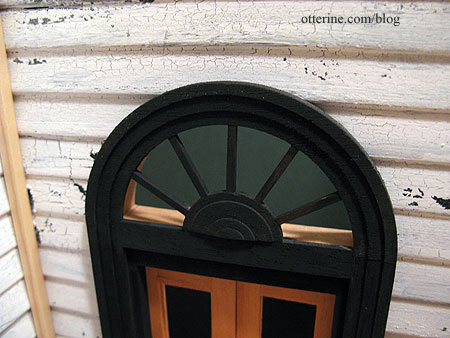
I am undecided as to which color I’ll crackle over it, but I needed the dark underlayer besides. The interior trim color will coordinate with the interior finishes…so that is also undecided. I’m still thinking about a door color, too, but might go with blood red. No, literally! I somehow managed to cut myself on the door…first time in awhile that I’ve sacrificed blood to a project.
Now, this door change will require other changes. First, the front porch will have to be lifted to clear the top of this taller door, but I had already planned to replace the square posts with turned posts to dress it up a bit and those posts are taller anyway. I can cut them to the size I need. Second, there’s a window on top of the porch that will have to be shortened on the bottom. And third, the interior trim on this door will be too tall for the first floor ceiling. I am thinking a two-story foyer leading to my new centered staircase ought to fix that problem! Besides, a haunted house needs a dramatic entrance.
Categories: The Haunted Heritage
July 30, 2011 | 0 comments
NOTE: All content on otterine.com is copyrighted and may not be reproduced in part or in whole. It takes a lot of time and effort to write and photograph for my blog. Please ask permission before reproducing any of my content. (More on copyright)


