


NOTE: All content on otterine.com is copyrighted and may not be reproduced in part or in whole. It takes a lot of time and effort to write and photograph for my blog. Please ask permission before reproducing any of my content. (More on copyright)

Categories:
Haunted Heritage chimney, part 3
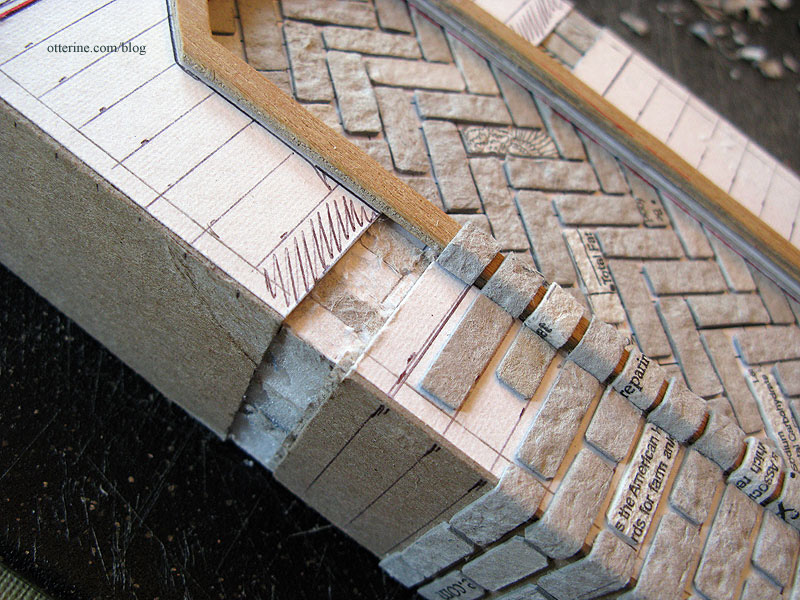
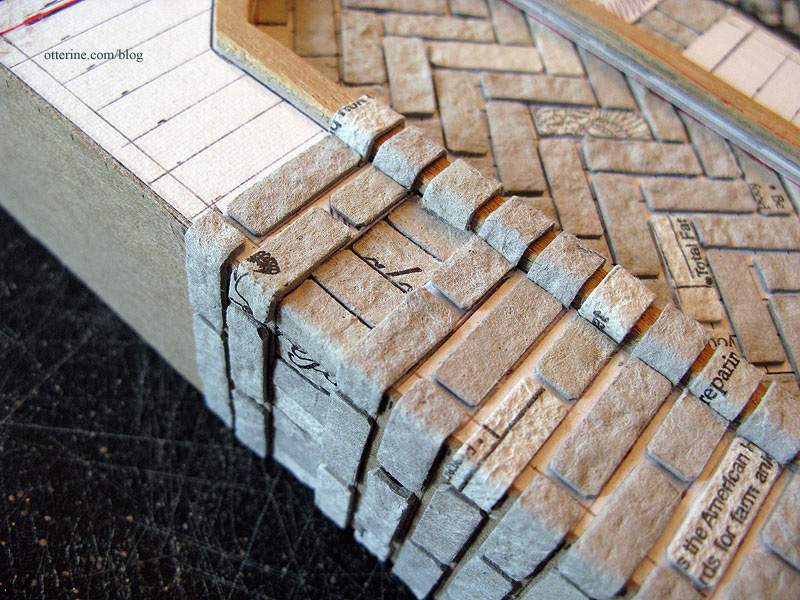
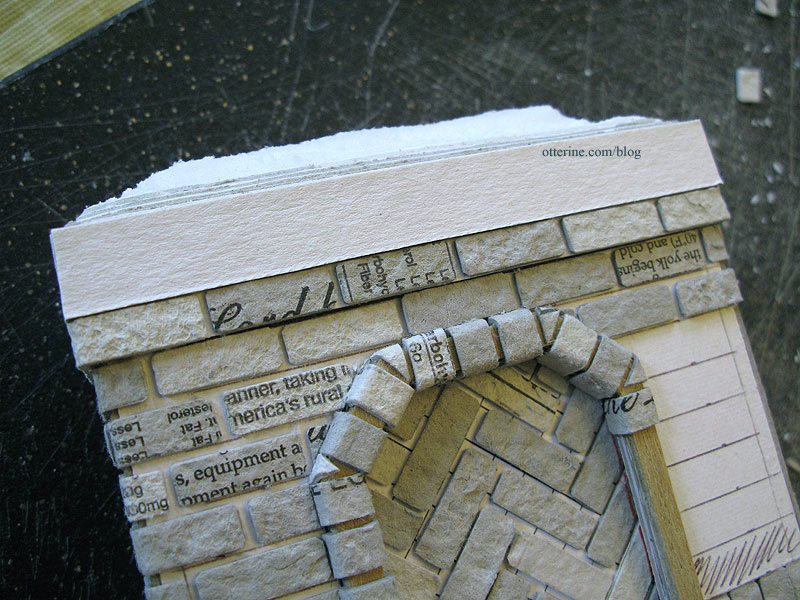
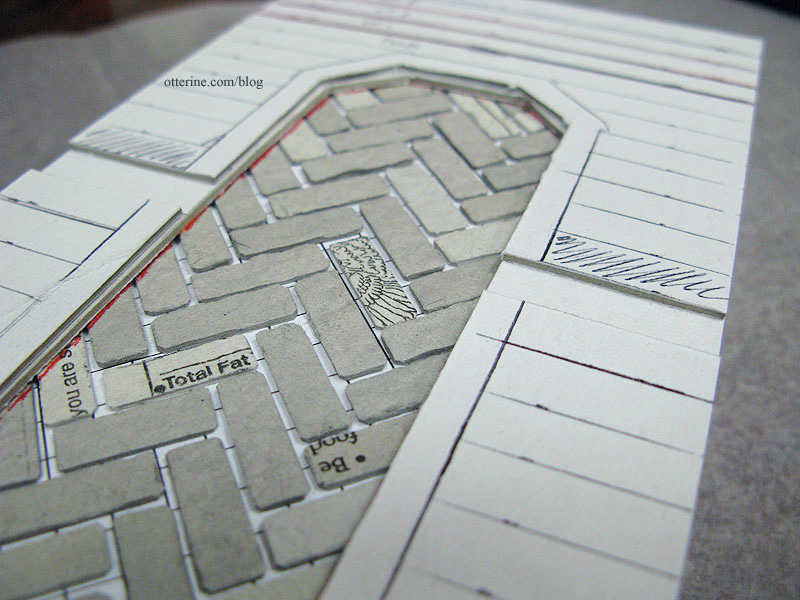
Continuing work on the chimney. As I was applying the bricks up to where the bricks start to build out from the main surface, I discovered that my vertical row was too short for the opening between horizontal bricks. I removed them, cut a wider opening and applied a new vertical row.
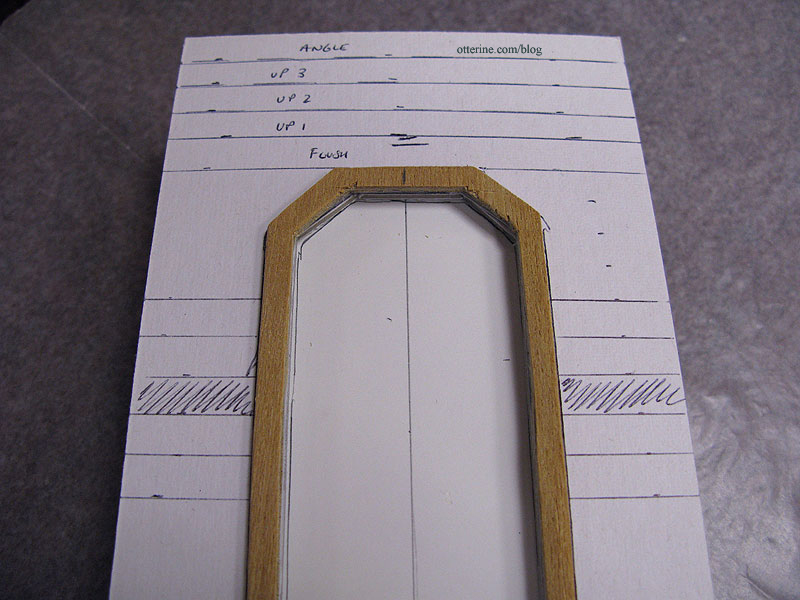
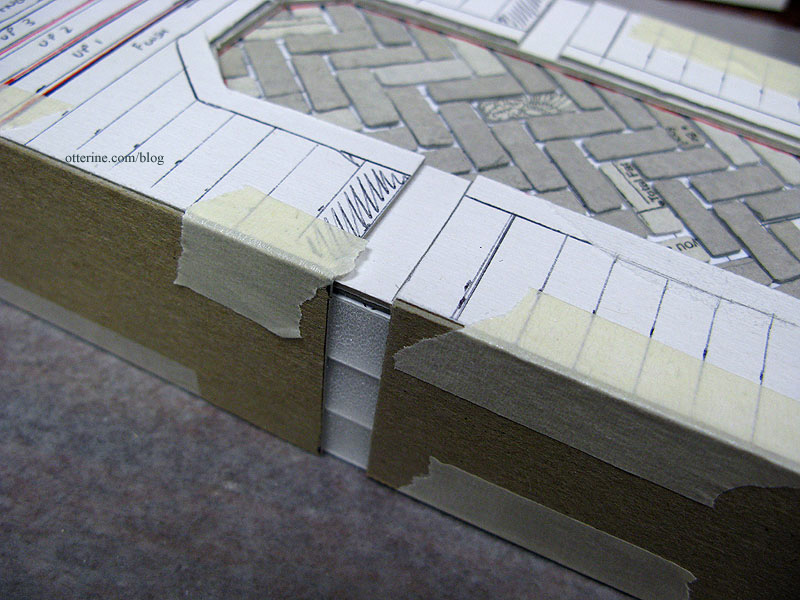
Once near the top, I cut the uppermost portion at an angle. This will be built up once I get the middle section of the chimney completed. To create the topper on the lower section, I added a 3/4″ wide strip of cardboard to the front and sides above the topmost row of bricks and then applied bricks to the bottom of the cardboard.
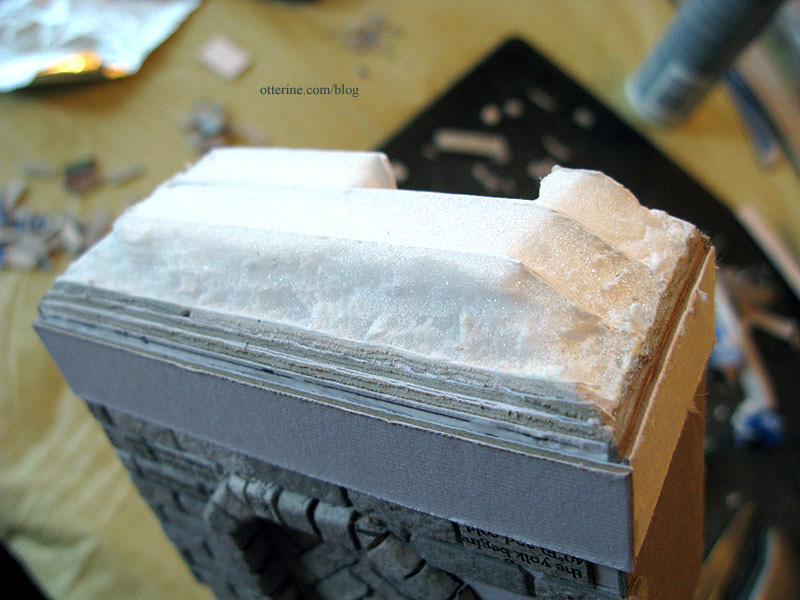
For the next row, I added a 1/2″ wide strip of cardboard to the front and sides above the last row of bricks.
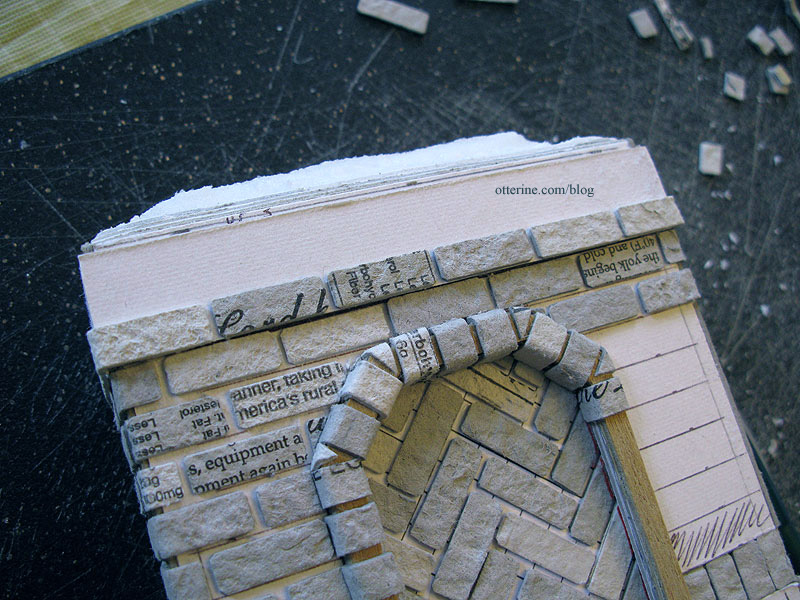
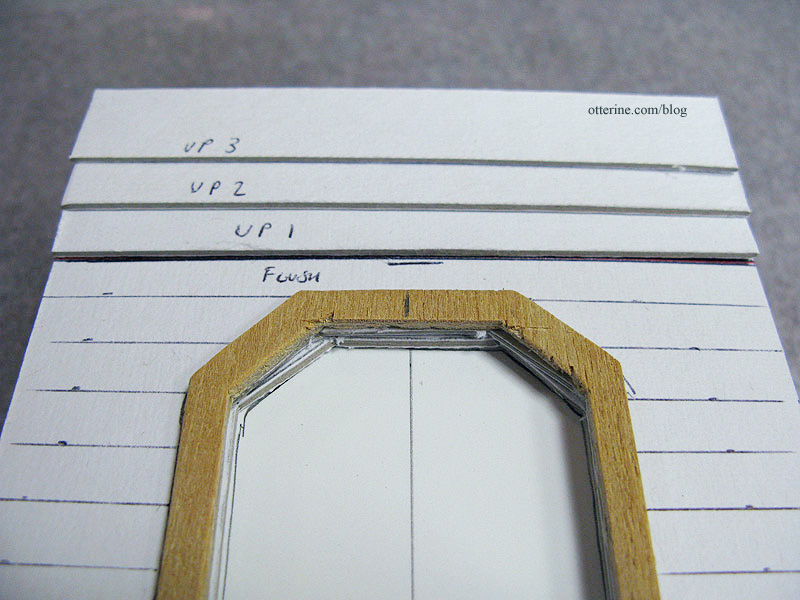
I then added bricks to the bottom of this piece. For the final row, I added a 1/4″ strip of cardboard to the front above that last row of bricks.
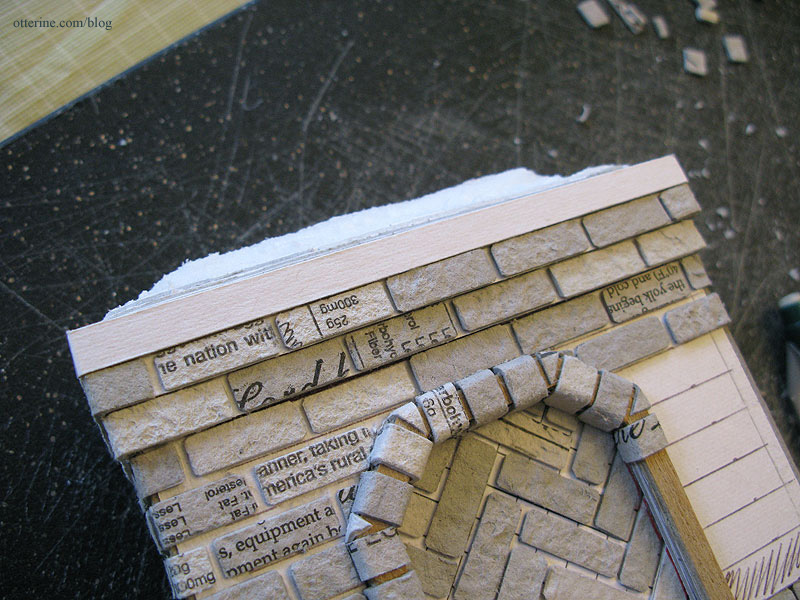
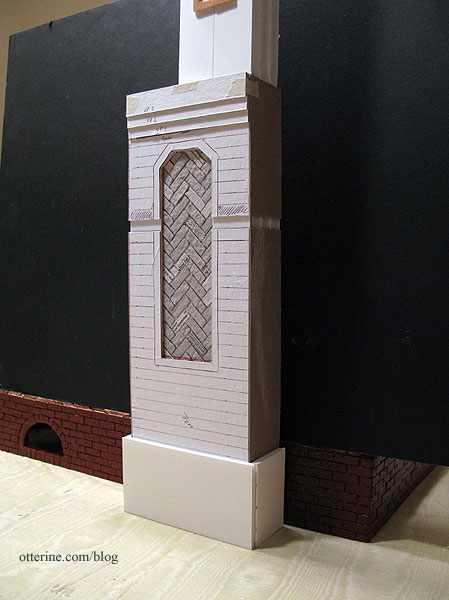
I added bricks to the 1/4″ strip to finish up the extension.

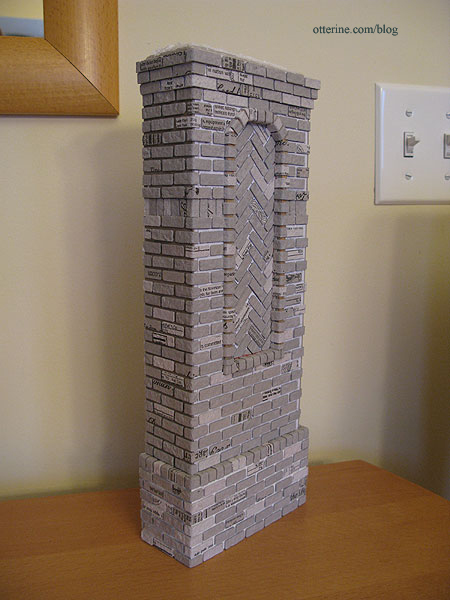
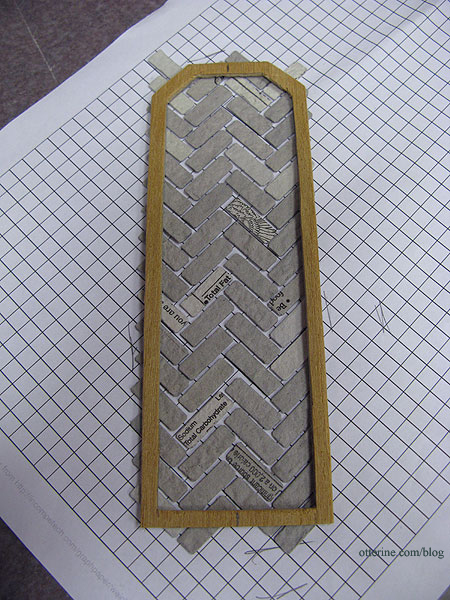
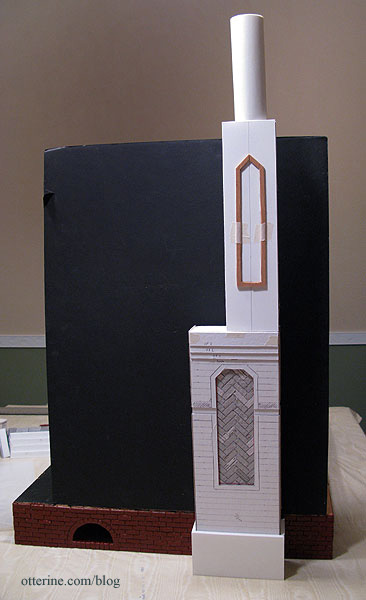
I then finished up the herringbone frame and part of the right side before running out of bricks. So, it’s back to the cutting board! :D
Categories: The Haunted Heritage
September 3, 2011 | 0 commentsHaunted Heritage chimney, part 2
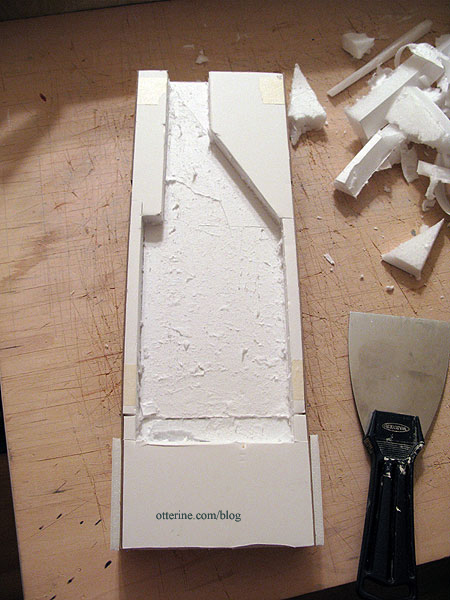
Continuing to work on the chimney. I cut out space for the firebox and any wiring I might end up running through the house. To do this, I scored lines in the foam core, and then lifted the pieces out with a putty knife. I waited until after assembling the chimney since it’s far easier to cut portions out in the size and shape I want than to attempt to frame the area with thin pieces of foam core board.
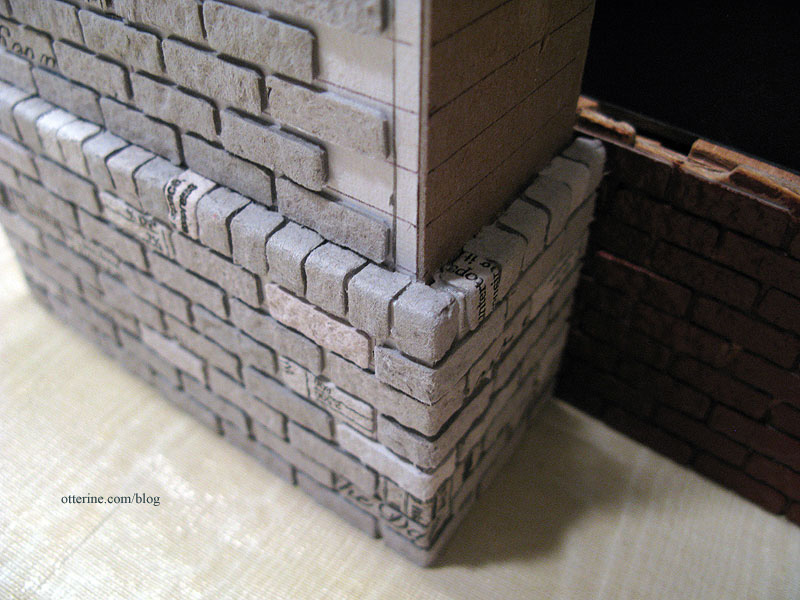
I added vertical bricks to the slightly recessed section at the sides by cutting the pieces to fit individually and gluing them in place between the cardboard top and bottom. Putting the outer brick surface on the adjacent cardboard while leaving this section as is will create the indented layer. I then glued the wood frame in place.
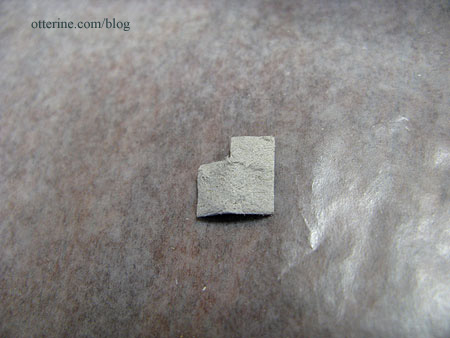
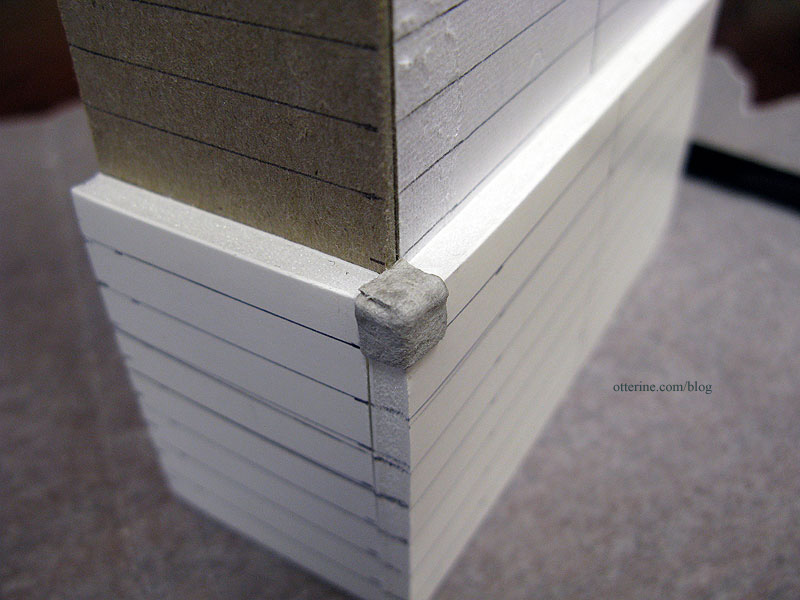
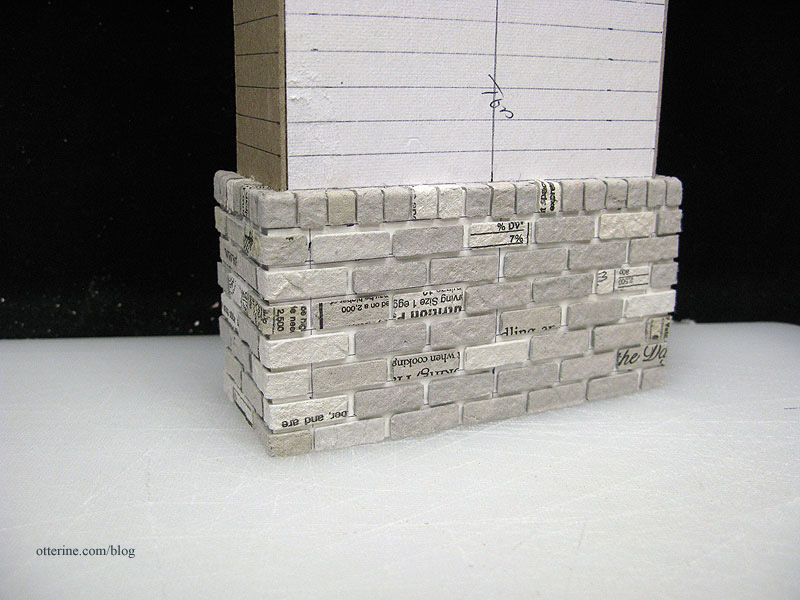
For the bottom portion of the chimney, I created a vertical row at the upper edge. To cover the corners I cut special corner shaped bricks and glued them around the corners. Once painted and grouted, the seams won’t show.
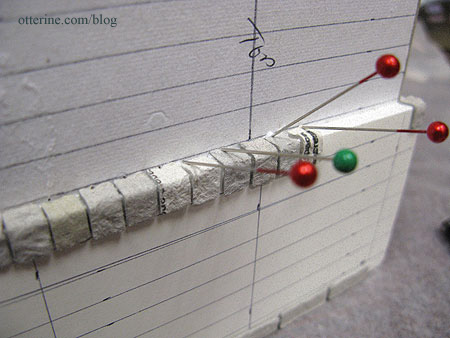
Sometimes when the bricks didn’t want to stay put while the glue dried (I use Aleene’s Quick Dry for bricking), I used sewing pins to hold them in place.
Mini masonry goes much faster (and with better results) with guidelines, though there is the time involved in making said guidelines to be considered. ;]
Amazing but my white cutting board looks a lot like ice in this photo. :D
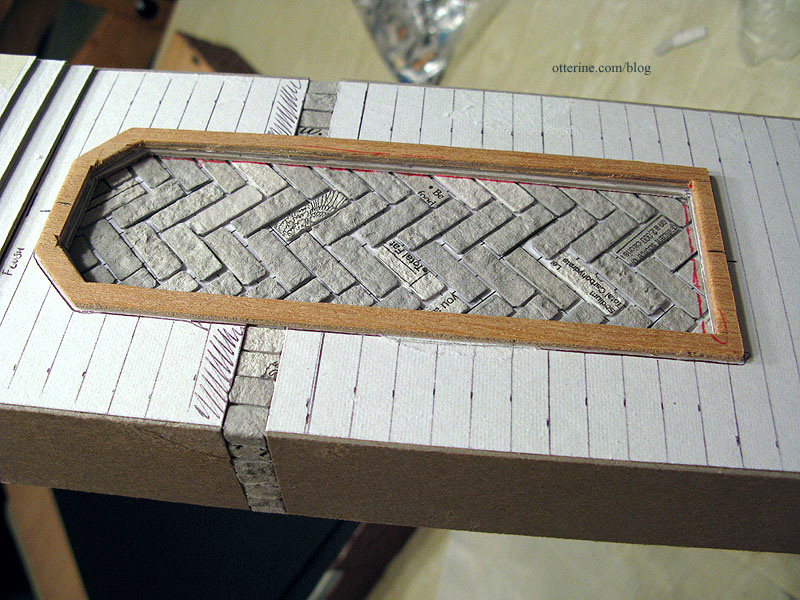
After completing the base, I started applying the bricks to the herringbone frame.
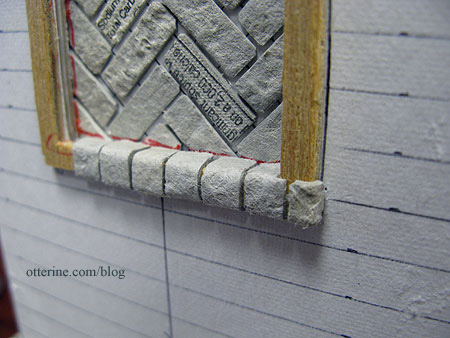
This part was tedious even for me, so I took a break and started to brick the rest of the lower portion from the base upward.

I think having the extra base the same height as the foundation will work out nicely.
Categories: The Haunted Heritage
September 2, 2011 | 0 commentsHaunted Heritage chimney, part 1
Continuing work on the chimney. Here’s a refresher on what the original looks like, by W E Masonry.
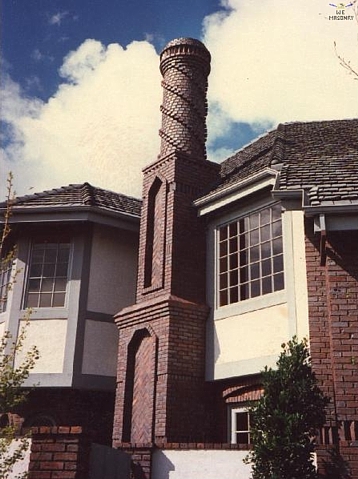
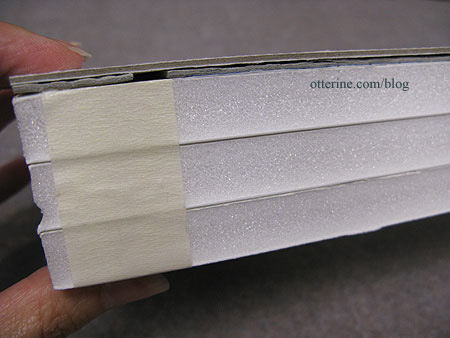
In order to get the same dimensional design with egg carton bricks as the original, I built up the foam core base with layers of cardboard. Using the wood pieces I had cut from the original kit’s bay window pieces as guides, I cut two whole front pieces from thick cardboard with the design portion removed. Once I am done building up the cardboard, the wood pieces will sit on top of the layers.
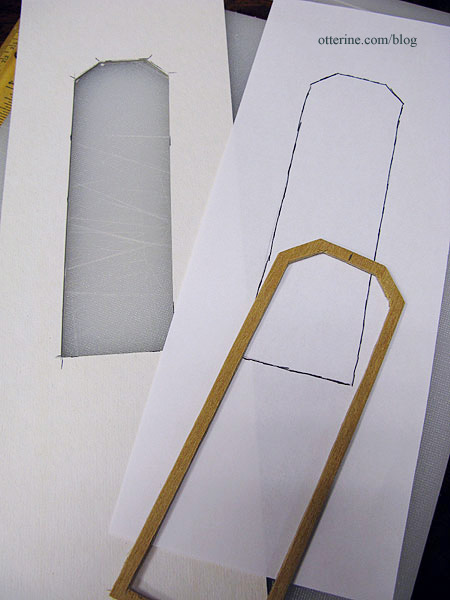
Unlike my normal process of just starting the bricks at the bottom and measuring evenly as I go, this time I opted for guidelines. The design requires different depths and I wanted to make sure I wasn’t going to end up with half bricks somewhere along the top where the pattern is most obvious. So, I started from the top and worked my way down.
At the top of the lower section, I used strips of cardboard to build up the levels. These will not be glued in place until I start applying bricks. This way I have some room to move if my guidelines are off.
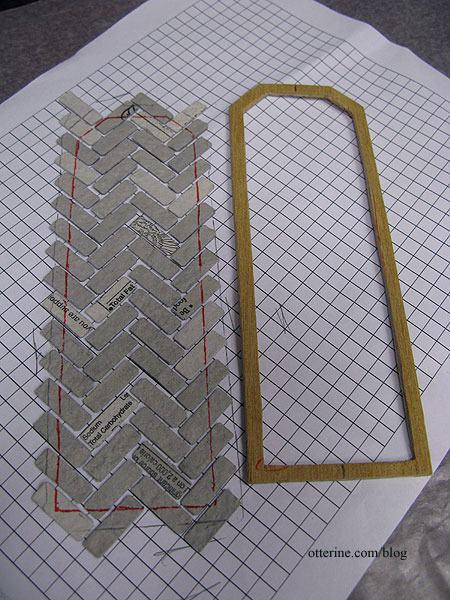
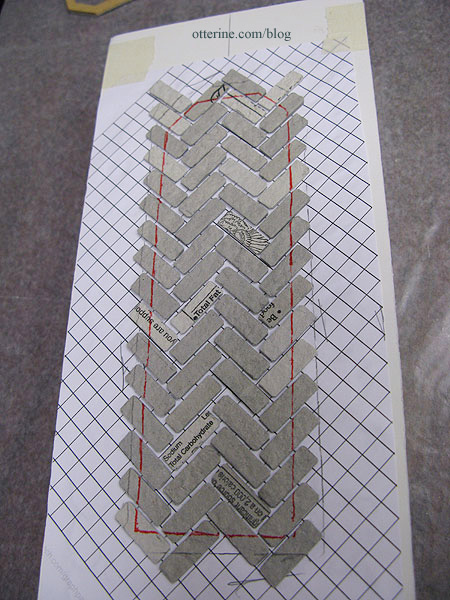
For the herringbone brickwork, I glued the 1/4″ by 3/4″ bricks to a piece of graph paper. I didn’t follow the boxes exactly, but the lines made it easier to keep a consistent pattern. By putting it on paper instead of directly on the foam core base, I was able to move the wood frame piece over the herringbone to find the best possible design.
I traced the outline and then cut the herringbone piece to fit under the bottom layer of cardboard. I then glued that piece in place on the foam core frame.
Since I didn’t need to brick this whole layer but needed to match the thickness of it, I added random bits of egg carton filler to the rest of this layer.

I then added the next cardboard layer on top, matching up the outline on the herringbone bricks.
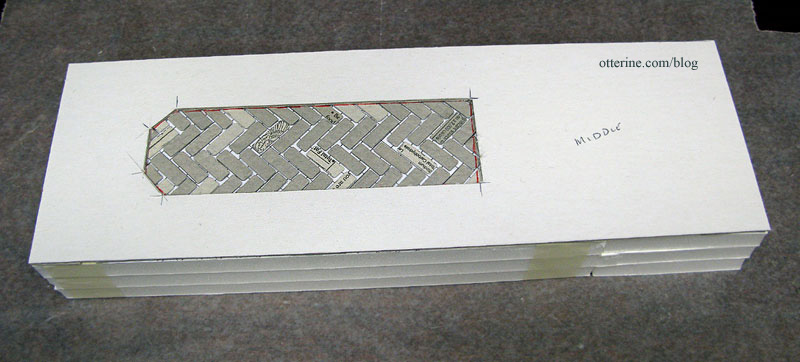
I cut out one row on the top layer of cardboard to allow for a slightly indented vertical row, as in the original. I glued the two pieces in place, following the herringbone frame outline.
Next, I built up the sides, also leaving space for the indented vertical row.
Since the original photos don’t show much of the ground portion, I had to wing it. I figured a straight shot to the ground might look top heavy, so I added just a bit more weight to the very bottom where it sits with the foundation by adding some 1/4″ thick foam core board the same height as the bricks on the foundation.
So far, so good.
Categories: The Haunted Heritage
September 1, 2011 | 0 commentsHeritage – front bay window, part 2
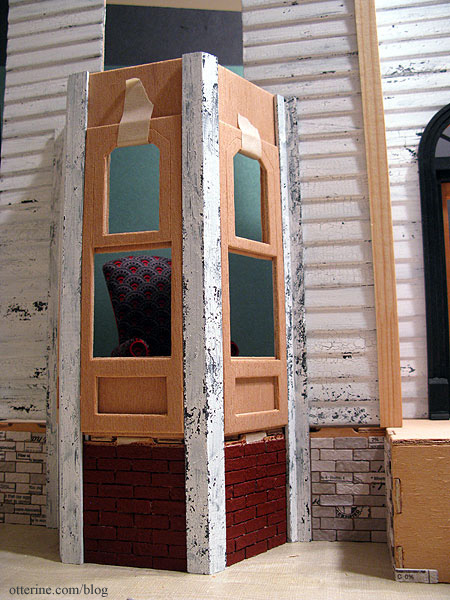
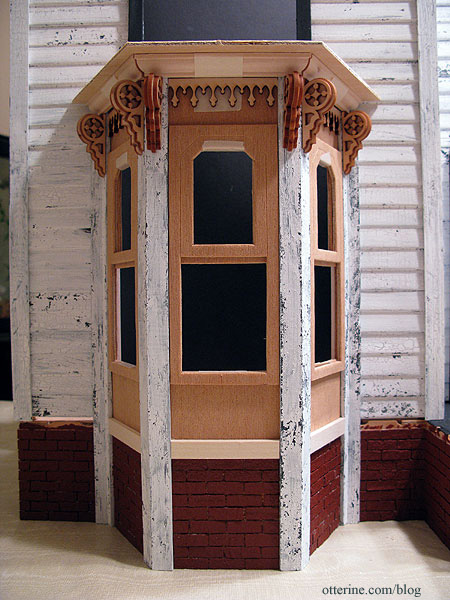
One of the nicer elements of the Heritage dollhouse is the inclusion of the bay windows (well, now one window in my case). But, straight out of the box, they are somewhat lacking in pizzazz.
I did a bit of sleuthing around the internet and found the lovely B Street House Bed & Breakfast in Virginia City, Nevada, which has very nice details.

Photo: B Street House B&B, Virginia City – Christof Eichin Well, this is what it looked like before restoration.

Photo: B Street House B&B, Virginia City – Steve Bingham Whoa! Now, that’s an awesome inspiration for my old haunted Heritage! In order to capture some of this essence, I modified existing pieces and added some laser cut trims. I first removed the excess framed bottoms from the kit window pieces. It’s amazing how just cutting off some clunky trim can make such a huge difference. I will add the small frame detail under the windows similar to the inspiration house later since I don’t have any thin strip wood on hand.
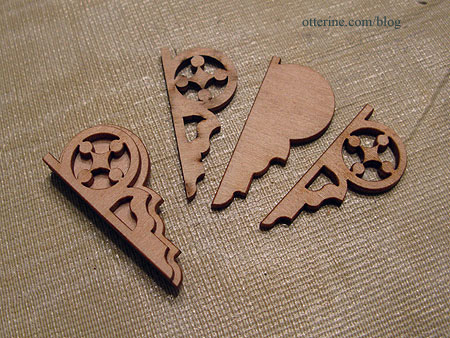
I swapped out the old corbel brackets for Laser Tech fancy corbels (purchased from Manchester Woodworks).
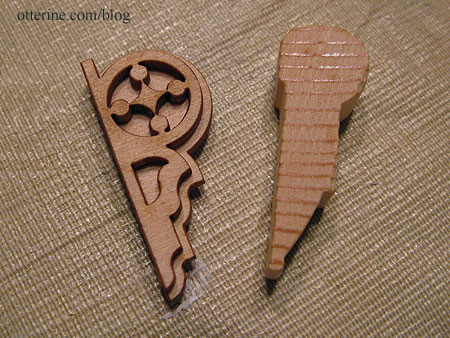
These come two to a pack and needed to be assembled.
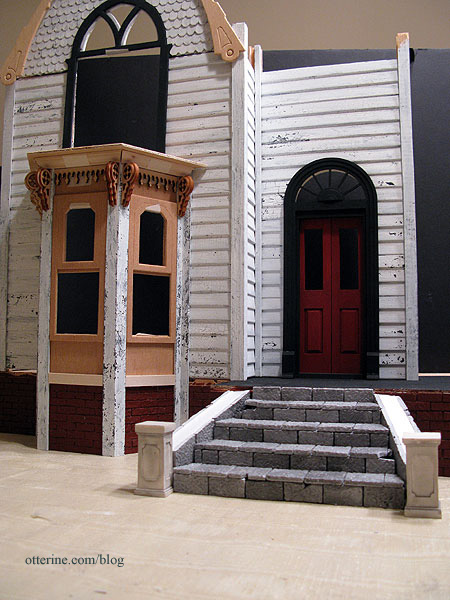
I added some Laser Tech fancy roof trim purchased from Green Gables Dollhouse to the upper flat portion of the window walls. I added a more decorative molding along the upper edge that sits just under the roof piece. Nothing here is glued; the gaps seen will be gone once it’s all put together. I’ll also be finishing off that terrible (non-laser-cut) plywood edge.
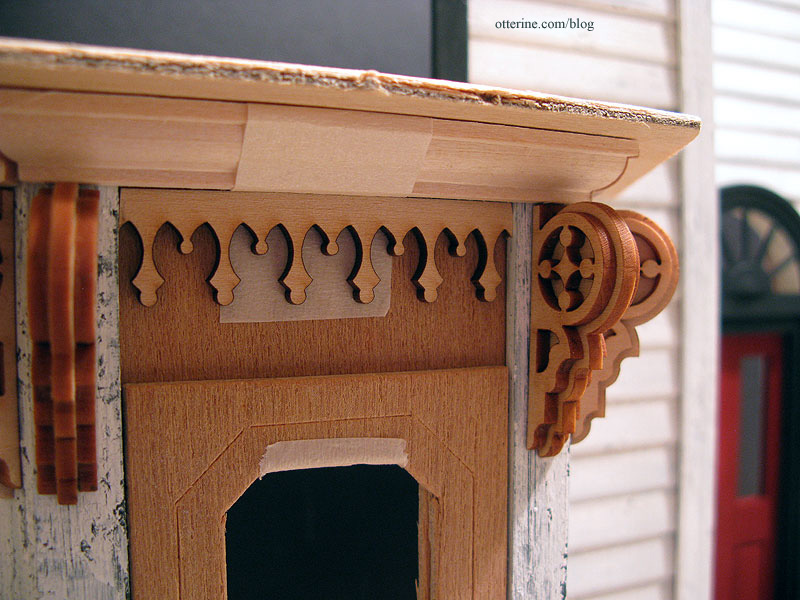
I absolutely love it! I need to cut the excess roof down, too, but I love it!!!! :D
I think once it’s painted and aged it will really bring out that certain melancholy of times gone by.
Categories: The Haunted Heritage
August 29, 2011 | 0 commentsHoosier cabinet from Keli
The autumn Bishop show is being held in my area this weekend, and tonight I had the pleasure of meeting Keli in person. I met Keli and her nephew at a local pizza place before the show, and she had made a wonderful surprise for me for the haunted Heritage: an old, well-loved Hoosier cabinet.
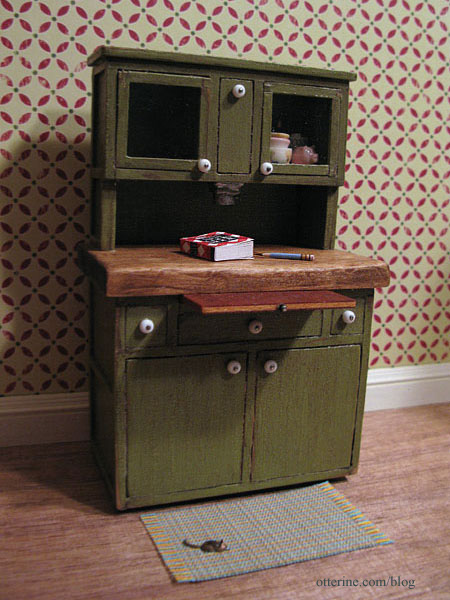
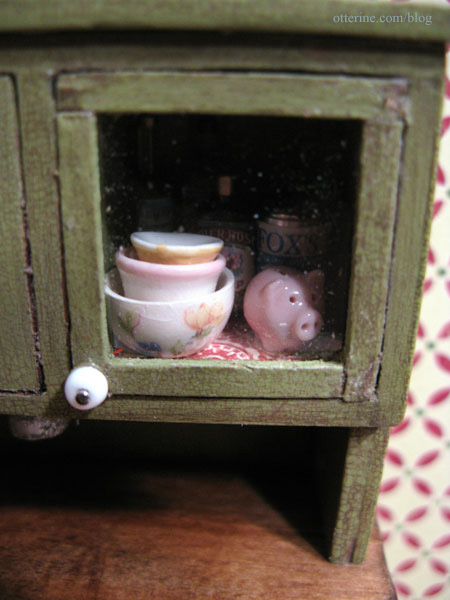
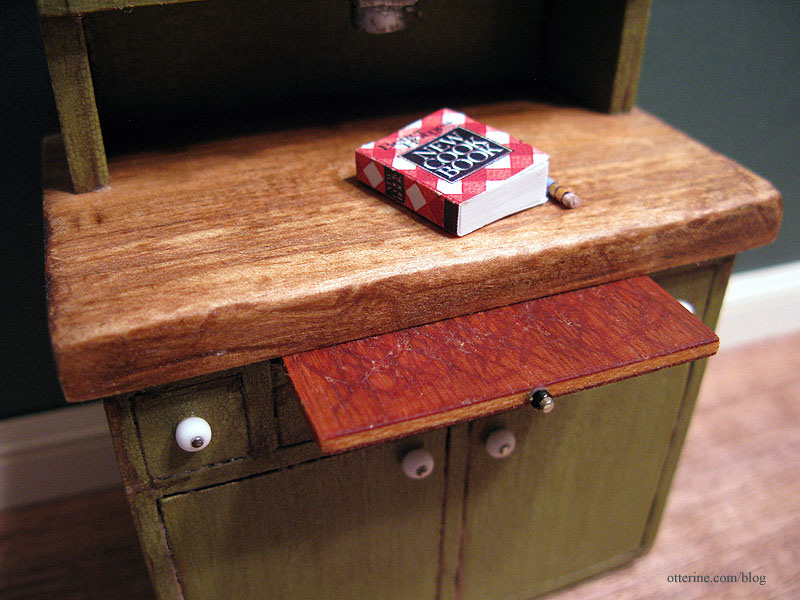
I just adore it! There are so many wonderful details to it, from the perfectly crackled green paint that will go so well with the wallpaper to the tiny pink piggy bank inside one of the glass front cabinets. I think that piggy bank is just the cutest! She has also included a stack of bowls, a can and some liquor bottles.
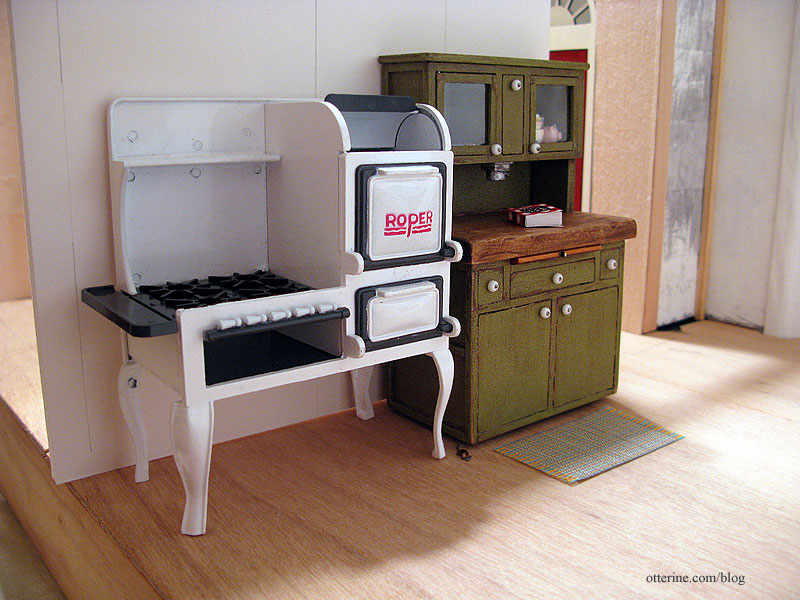
She said she was glad I liked it so much since it is hard to make things for others. That is so true. But, this is really the sort of thing I had planned to do with the space next to the Roper stove – only with a wall hutch and a butcher block top floor cabinet. It was as though she read my mind.
She thought I was going more for an old vibe than kitschy and macabre on the interior, and she’s exactly right. I think of an old woman living in the house she’s always loved, though it has fallen into disrepair on the outside. On the inside, it is warm and cozy, just old but well-loved. I love that she included some liquor bottles in the cabinet. I said, “Grandma likes her liquor,” and we had a laugh. Grandma doesn’t even make an attempt to hide it – it’s right there in the glass-door cabinet when she wants it! :D
The aging she added is superb – the cutting board showing its wear. It’s even fitting that it sticks a bit trying to slide it in and out, just like any antique wood cabinet is bound to do over the years. She even included some loose pencils she made (the cookbook I already had but thought it looked right at home here). The ceramic knobs are a fun vintage touch as is the flour sifter.
It fits perfectly next to the Roper range. I needed something substantial in the space since the stove is so large. This cabinet really balances out the visual weight of the stove.
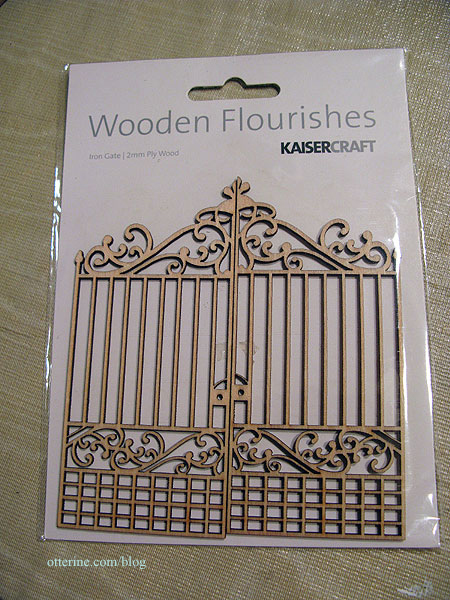
Keli also gave me a laser cut double gate. She had bought two and gave me the extra.
Thank you, Keli, not only for the cabinet and the gate but for the enjoyable evening out at the show.
Categories: The Haunted Heritage
August 27, 2011 | 0 comments
NOTE: All content on otterine.com is copyrighted and may not be reproduced in part or in whole. It takes a lot of time and effort to write and photograph for my blog. Please ask permission before reproducing any of my content. (More on copyright)