


NOTE: All content on otterine.com is copyrighted and may not be reproduced in part or in whole. It takes a lot of time and effort to write and photograph for my blog. Please ask permission before reproducing any of my content. (More on copyright)

Categories:
Autumn fruit basket, handmade rug, kitchen stool
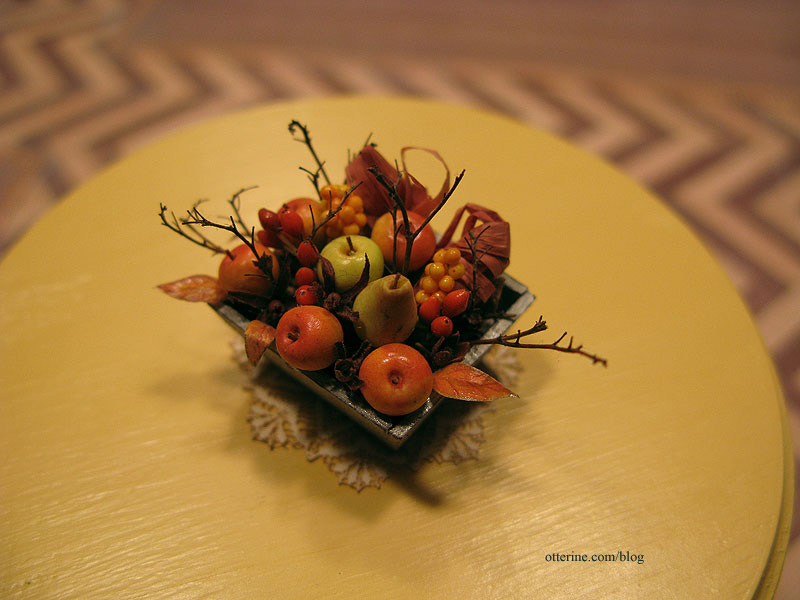
I plan to make some polymer clay food somewhere down the line, but when I saw this beautiful basket from Hungarian Miniatures on etsy I just knew it would be perfect for the Heritage.

You would not believe the amount of detail! Bözse makes beautiful minis, and I am proud to display this wonderful creation in the Heritage.
I found this beautiful rug by Katie Arthur of Dollhouse Littles on etsy and loved it. The texture of it is amazingly lifelike.
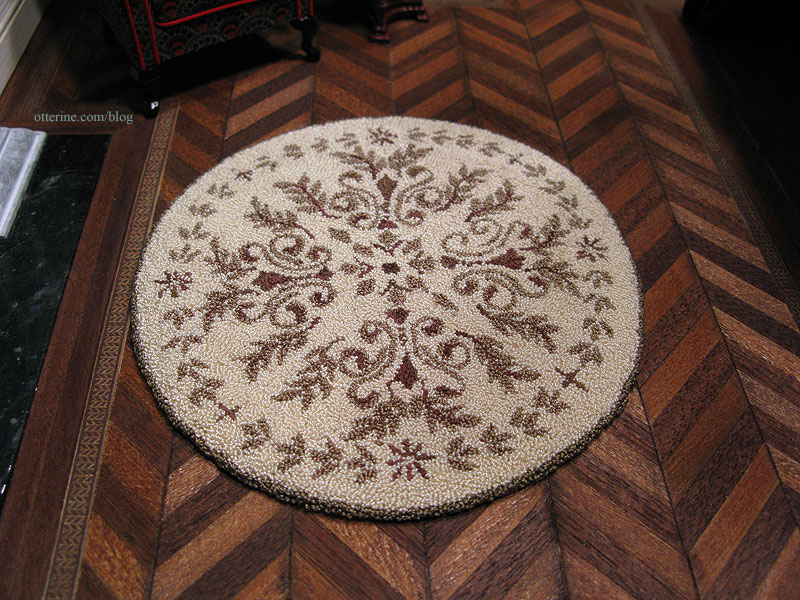
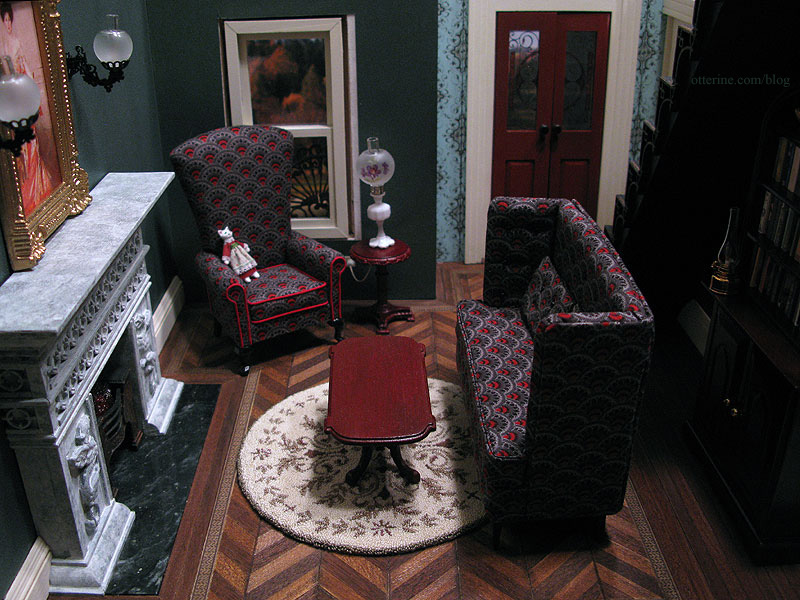
I really hadn’t intended for it to be for the Heritage, but when I put it on the wood floor to photograph it the room felt complete with it. I added the furniture and discovered that the round shape worked perfectly. It didn’t cover too much of the floor and didn’t interfere with the legs of The Sofa. The legs of the coffee table are thin enough so most of the rug shows underneath it.
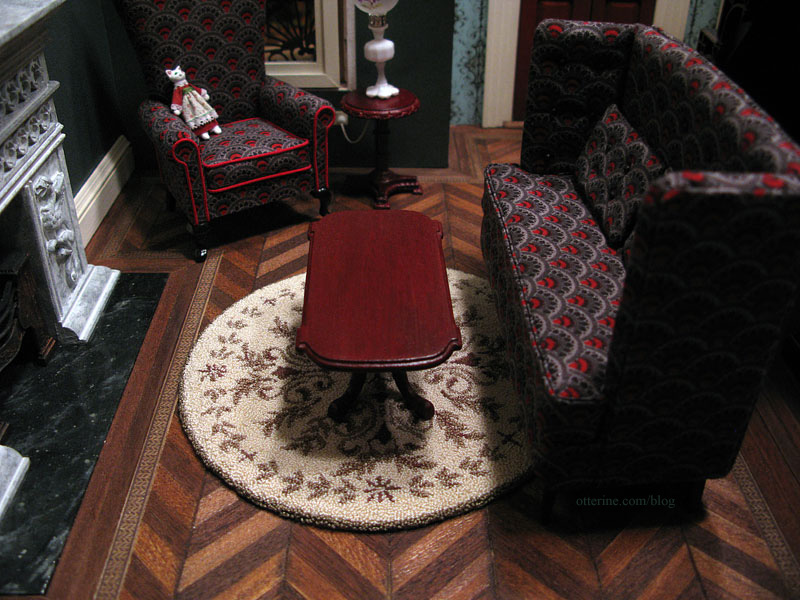
The soft colors and light tone of the rug work well to tie in the fireplace in an otherwise dark room.
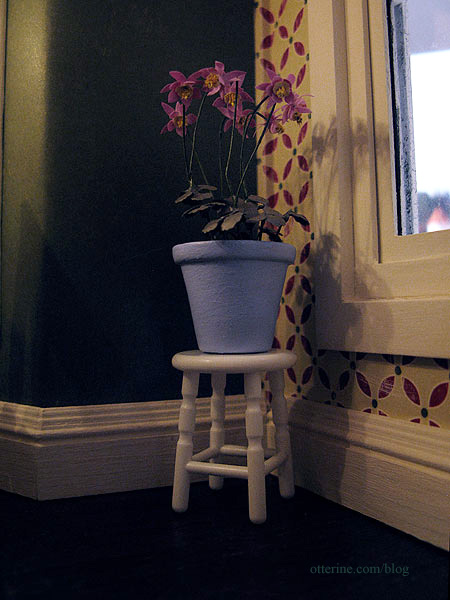
I started making a small Chrysnbon plastic stool for the kitchen. It’s from the Victorian bathroom kit and had been originally intended for Baxter Pointe Villa, but I ran out of time with that build. I needed something to keep the flower pot off the floor and in case grandma needs to reach for something up high. Right now it is just plain white plastic, but I’ll paint it to give it an old, well worn look.
Categories: Miniatures, The Haunted Heritage
February 16, 2012 | 0 commentsHeritage – kitchen table and chairs
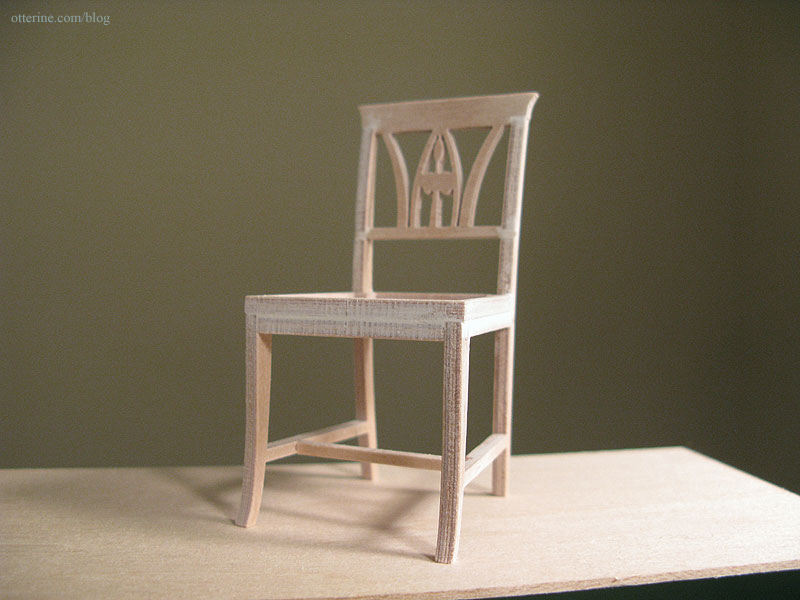
The Lilje chairs kit from Art of Mini is similar to the laser cut kits I’ve worked with, but they are made using what is described as a “water cut technique.”
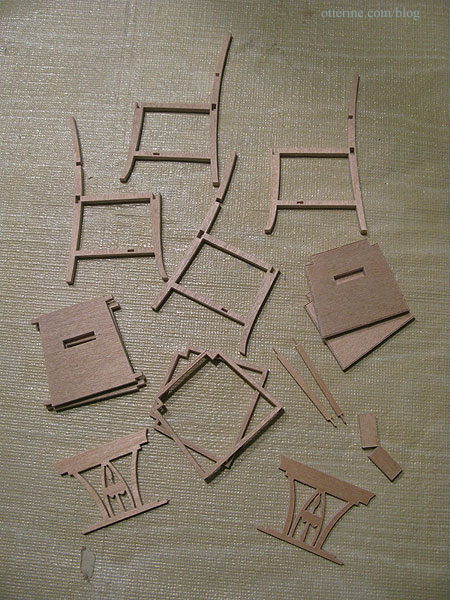
They don’t have the dark ashen residue of laser cut kits but have the same clean and precise cuts.
The instructions were in Dutch, but I was able to scan the document, use OCR on the file and paste the text into google translate for a reasonable translation. ;] It also helped that I had made similar items before.
With just a light sanding, the parts were clean and easily fit together. This is a very high quality kit.
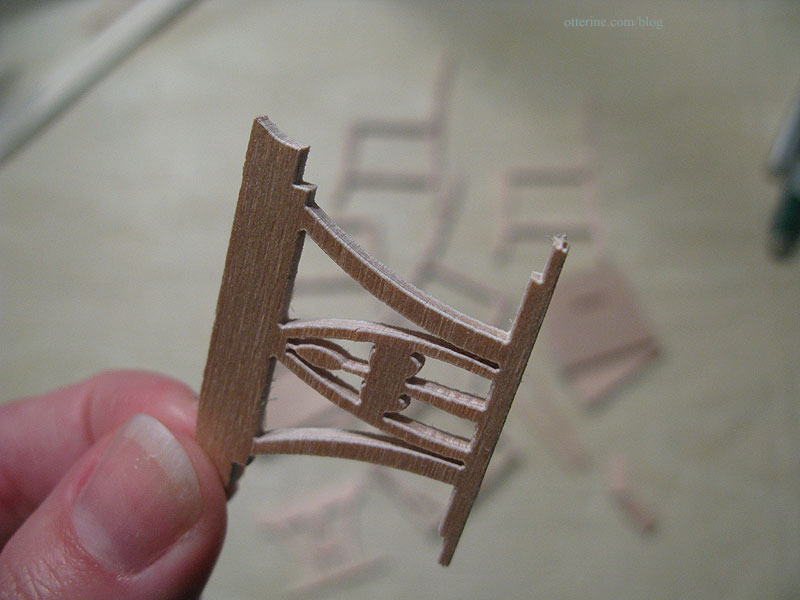
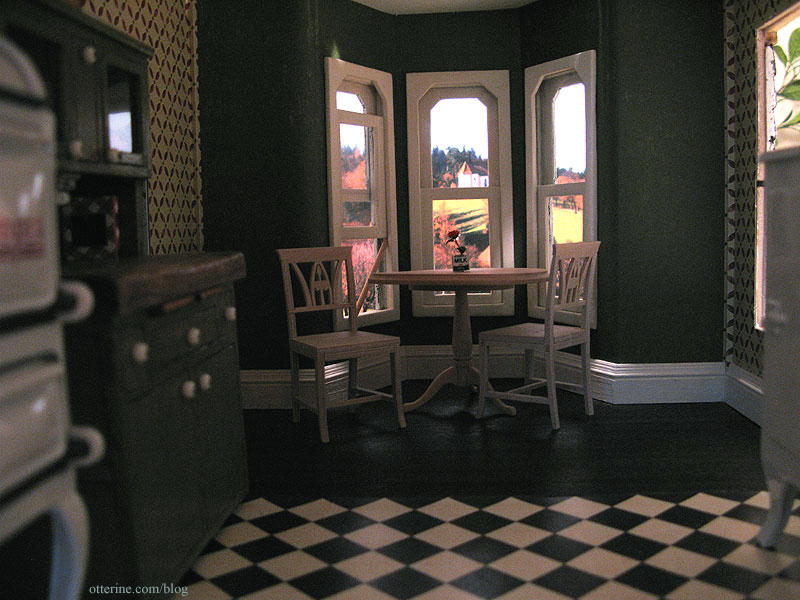
These seem a good match with the House of Miniatures dining table. The seats will be upholstered and the entire set painted.
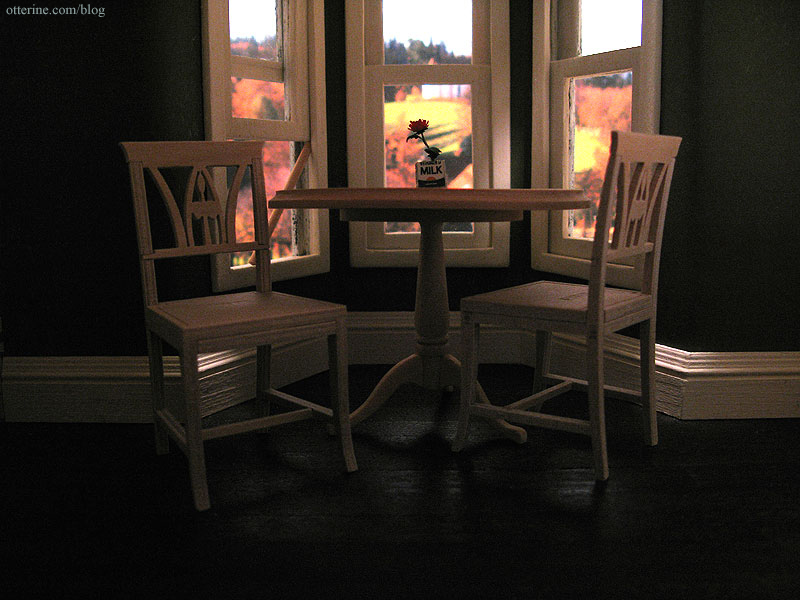
They have a wonderful cottage feel, perfect for my vintage kitchen.
Some gaps show due to the way they are assembled from parts, so I added a bit of spackling to minimize the appearance and sanded smooth before painting.
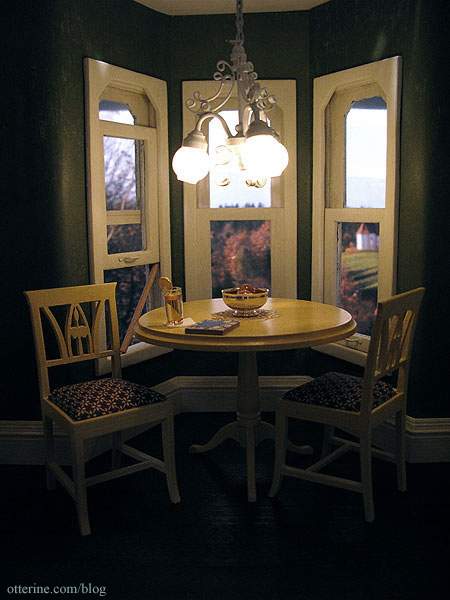
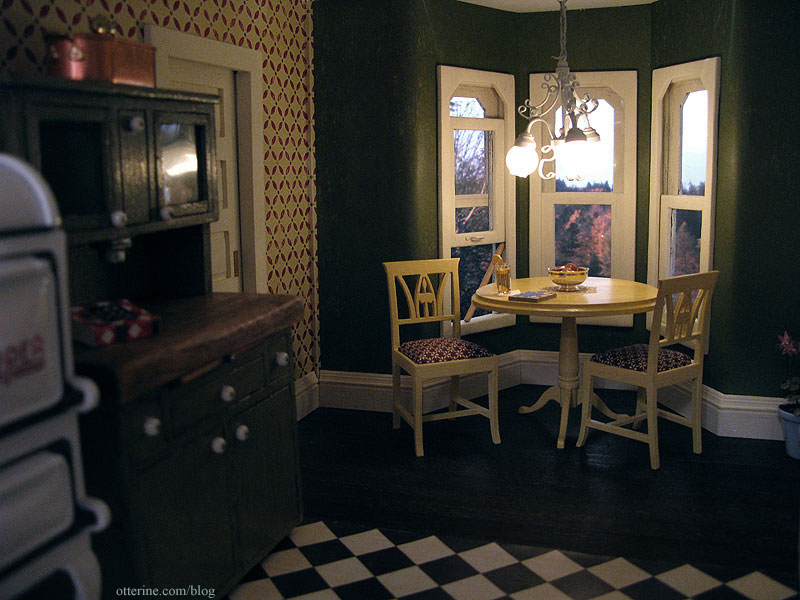
I painted the table and chairs Italian Sage by Folk Art. I wanted to keep the table and chairs lighter in hue so they wouldn’t be lost in the deep room, though I do plan to install a light above the table. Here they are shown with only one coat of paint and a swatch of the plaid I had intended for the upholstery.
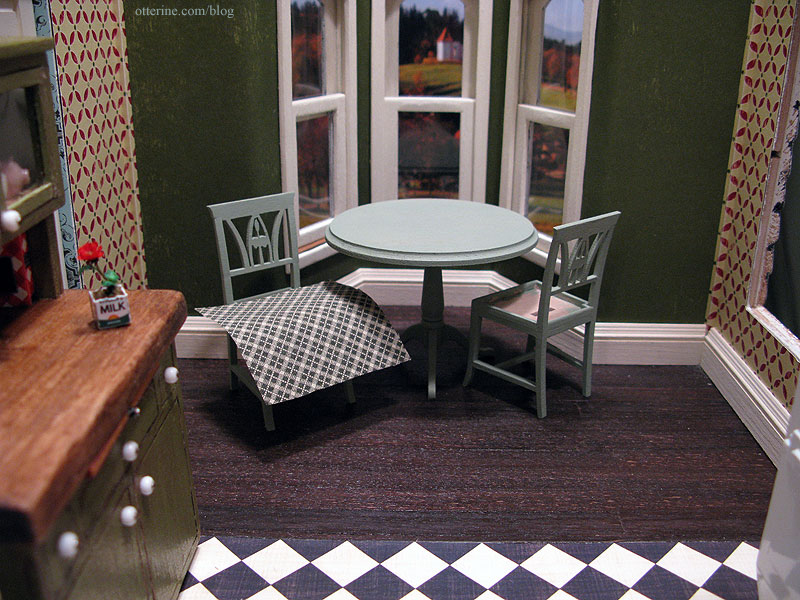
But, in the room, the set was lost and the green didn’t work well.
I opted for Sunflower by Folk Art to cover the Italian Sage used originally.
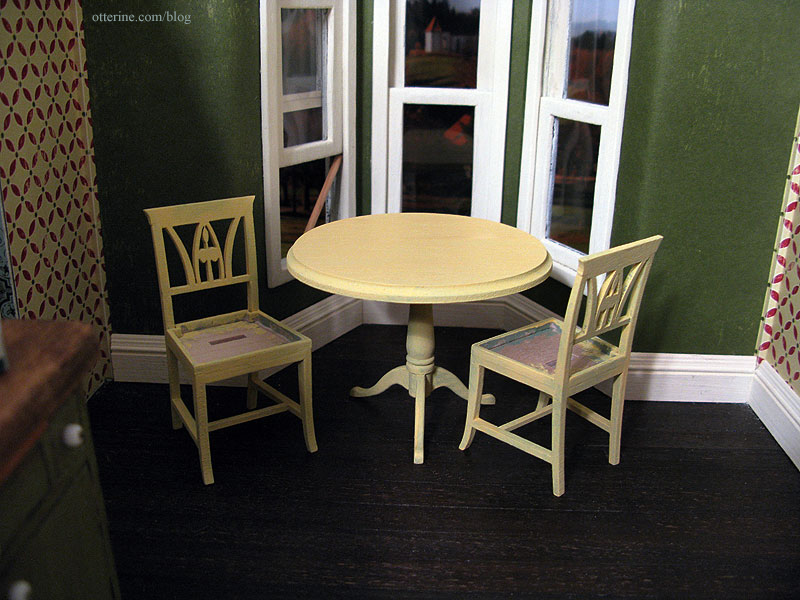
I was sloppy and heavy handed with the paint for a few reasons. First, I still haven’t sanded it after painting so the wood is rough anyway. I didn’t want to sand the sage paint and create green dust to mix with the new yellow paint. Second, I wanted to see if it even made things better. And, lastly, if it still wasn’t the right color, the yellow is still light enough to cover.
I do like it better already. I discovered the secret to making things look like they’ve been painted over and over. Just paint them over and over. :D

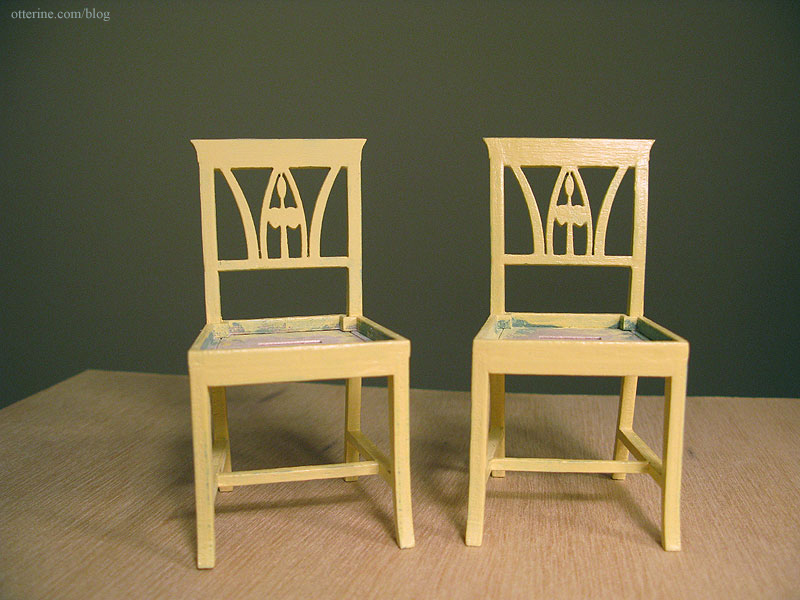
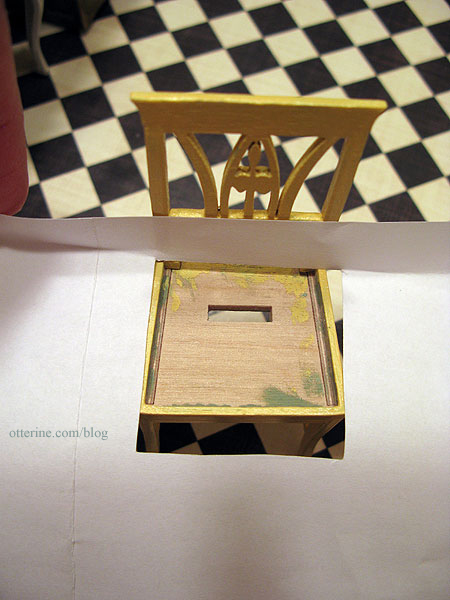
Since these are meant to be old chairs, likely repainted over the years, I rubbed a bit of the yellow off the top to let the green show through. I then added a light coat of Delta Ceramcoat satin varnish. It darkened the yellow and gave the set a nice, hand-painted look. The one on the right is the finished chair.
There are a lot of great quilting cottons in the fabric stores, but finding the right scale isn’t always easy. There are some great miniature fabrics on the market, but they are most often found online and sometimes you just want to be able to see them in person. I printed out a sheet of paper with a 1 inch square opening, a 1.5 inch square opening, and a 1″ x 4″ rectangular opening to take to the local fabric store. Looks like robot! :[]
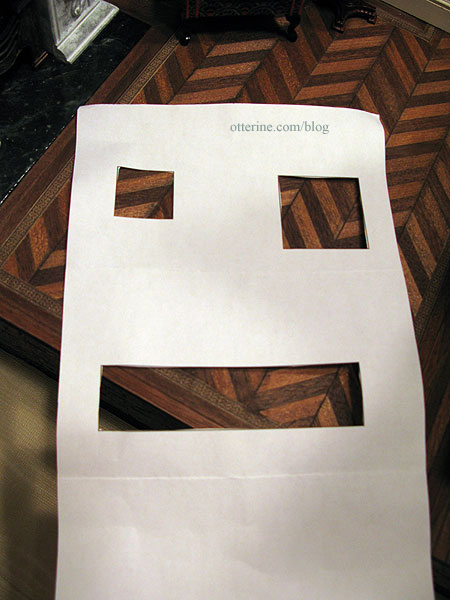
The 1.5 inch square is roughly the size of an upholstered chair seat or a throw pillow.
Holding these over various fabrics allows me to see how small or large the patterns would be in miniature.
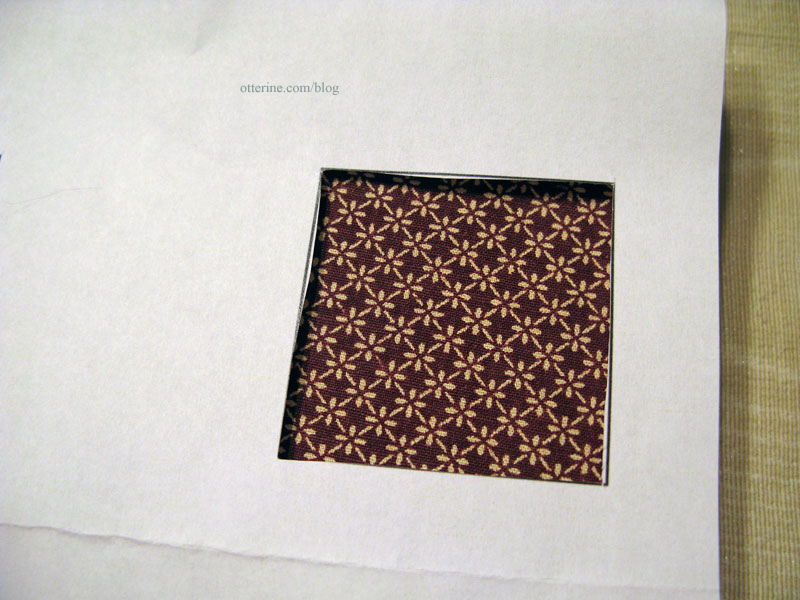
For the kitchen chairs, I chose a brown and ivory print. I think it is close enough to the dark red to tie in well with the wallpaper.
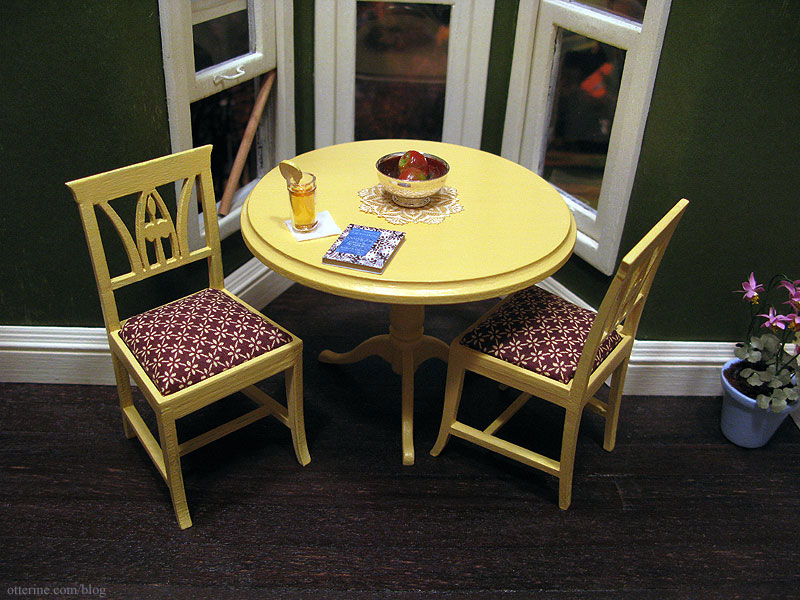
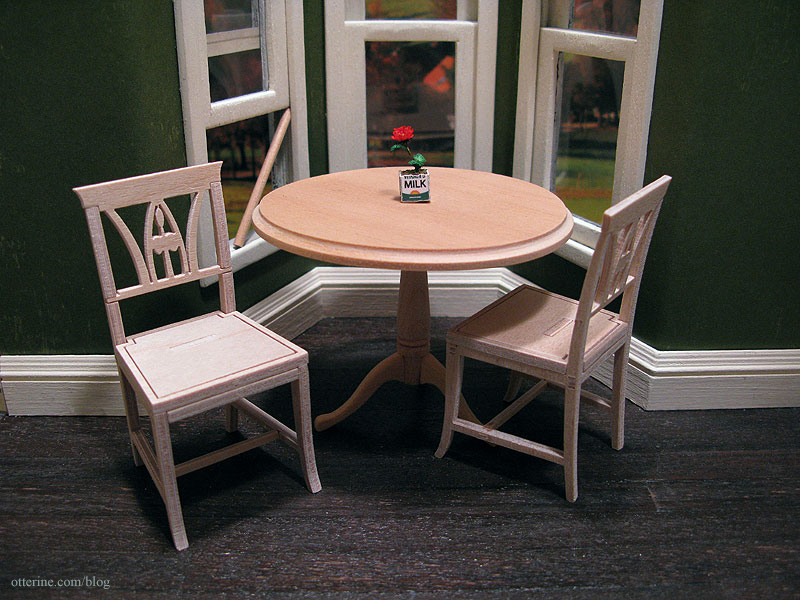
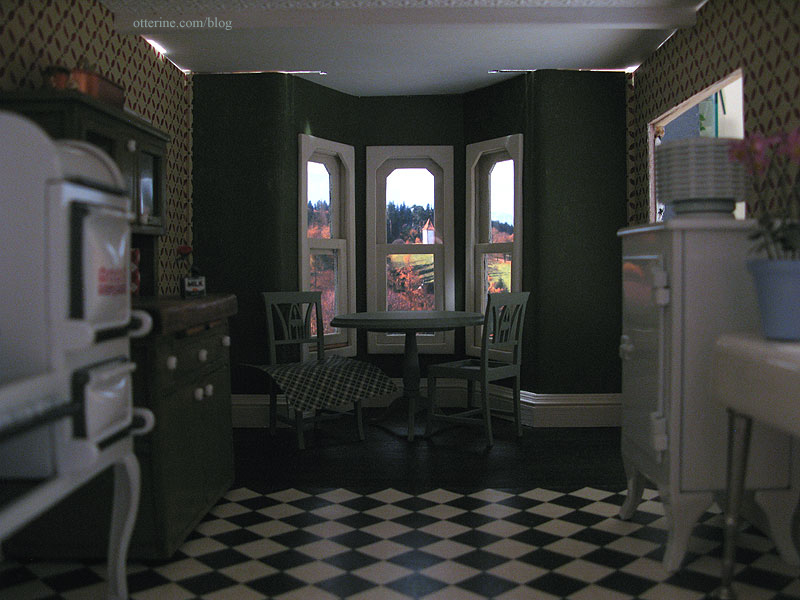
Grandma is enjoying an iced tea and reading about lacemaking. The paper doily is from miniatures.com, and the Clare Bell Brass silver Revere bowl is from Green Gables Dollhouse. The apples were purchased some time ago, though I can’t recall where. The flowers are from Michelle at Little Rabbit Miniatures.
I love the soft sheen on the table from the satin varnish, and those cushions sure look comfy! :D
Categories: Furniture, The Haunted Heritage
February 14, 2012 | 0 commentsHeat registers
My original thought for heating the Heritage beyond the parlor fireplace was to place painted radiators in the rooms. Even though the rooms are somewhat spacious, radiators do take up a decent amount of space. Then I ran into this fantastic tutorial by Kris at 1 Inch Minis: gravity baseboard registers. Perfect!

I followed her notation that the registers would be located on the inside walls not so much for accuracy but mainly because I had already tacked down the baseboard under the bay window and large window in the kitchen. I didn’t want to have them in the more modern under-the-window fashion in the rest of the house while the ones in the kitchen were the old-fashioned kind on the inside walls. And, why go through the trouble of building fun features only to stick them deep into the house where they aren’t readily seen? :]
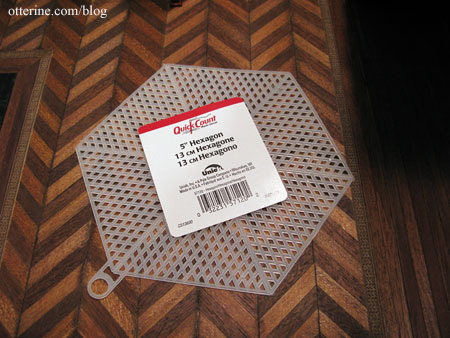
When I went to Michael’s to pick up a piece of plastic canvas, they also had a hexagon shape with diamond shaped holes. I thought that might make for some fancy grates, so I picked that up as well. I still bought the regular canvas with square holes just in case; I didn’t need to be running back out to the store for it if the other didn’t work. The extra trip’s worth of gas would have cost more than the sheet of canvas. :D I cut the canvas so that the solid border served as the bottom of the grate.
I’ve opted for one in the kitchen and one in the parlor, though I made only one just to try out the method. I’ll figure out the placement of the upstairs registers when I get there but will probably end up with one in the bedroom and one in the bathroom for certain, maybe one in the hallway.
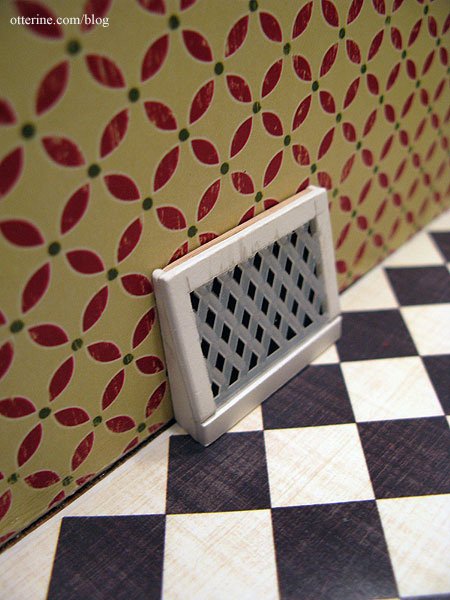
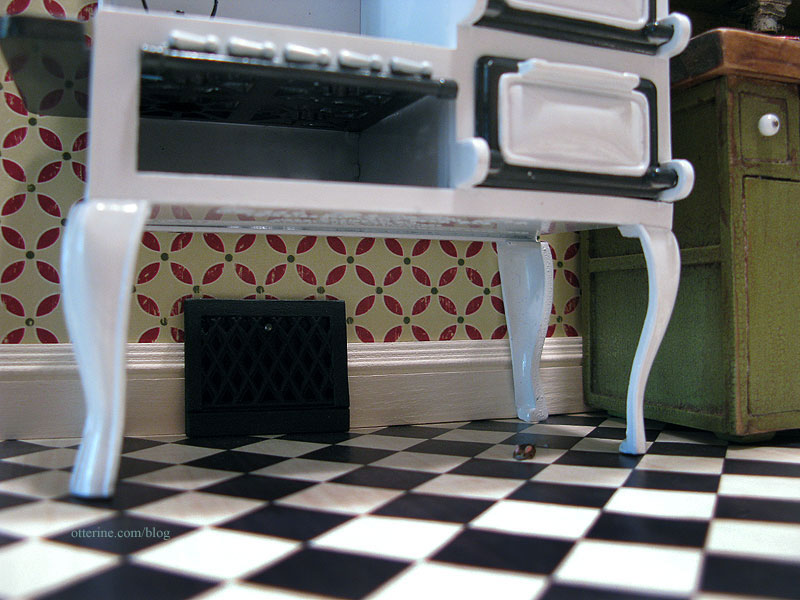
This was my first time working with mat board, and I rather liked it. It was easy to cut but could still be sanded like wood. And, it doesn’t fall apart like wood often does when you cut thin strips of it. The only part I used bass wood for was the 1/16″ strip at the top since I already had the wood in my stash of materials. For the inside flap, I used leftover scraps of the parlor wallpaper since it is plain black on the reverse side. Nothing goes to waste! :D For the lever, I used a black nickel head pin cut to size.
I also painted the floor black since it showed through when I did the dry fit.
I placed the register under the Roper range so it could be seen, though it’s one of those details that’s mainly for me. :D It’s not strikingly obvious, but I am glad it’s there.
For this house, I’m not going to worry about the cold air returns…but I have some ideas for The Brownstone. ;]
Categories: The Haunted Heritage
February 12, 2012 | 0 commentsFoyer to kitchen pocket door, part 4
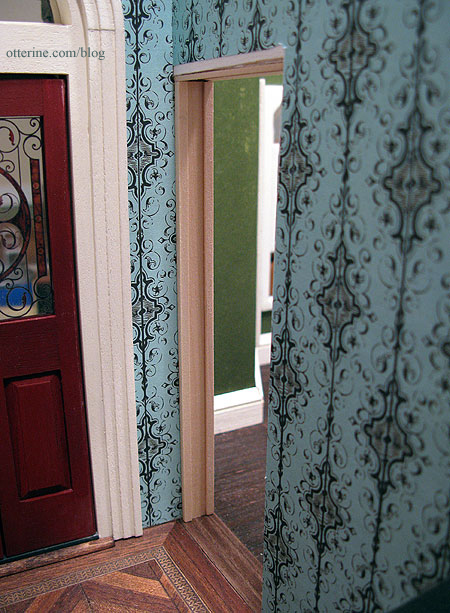
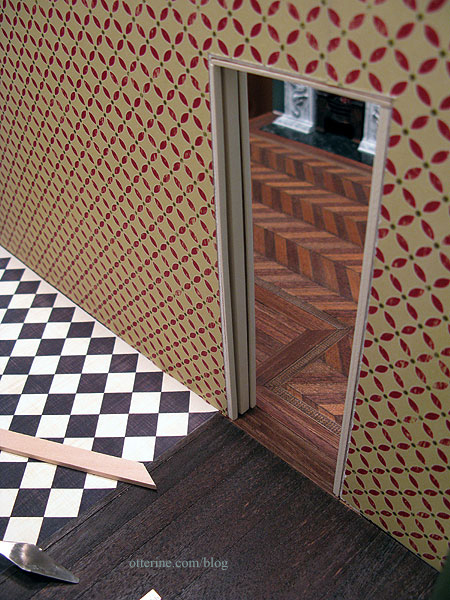
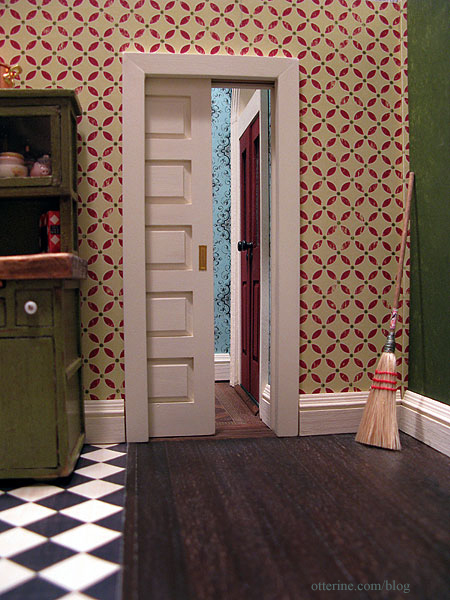
Completing work on the pocket door. With the parlor floor and wallpaper in place, I can now trim the pocket door. I started by finishing the threshold between the parlor and the kitchen. I used the same flooring as the parlor, figuring it would matter more to have a clean finish from the parlor leading to the door than it would from the kitchen which is a less formal room.
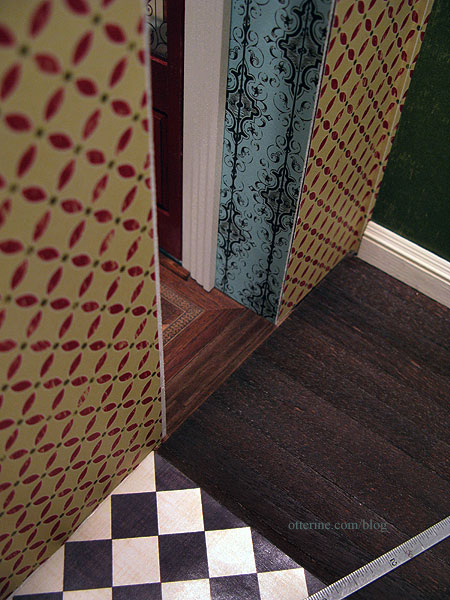
I cut a small tab of floor material to sit inside the pocket door wall. This will keep the lead edge of the pocket door elevated inside the pocket wall so it doesn’t get hung up on the flooring when closing.
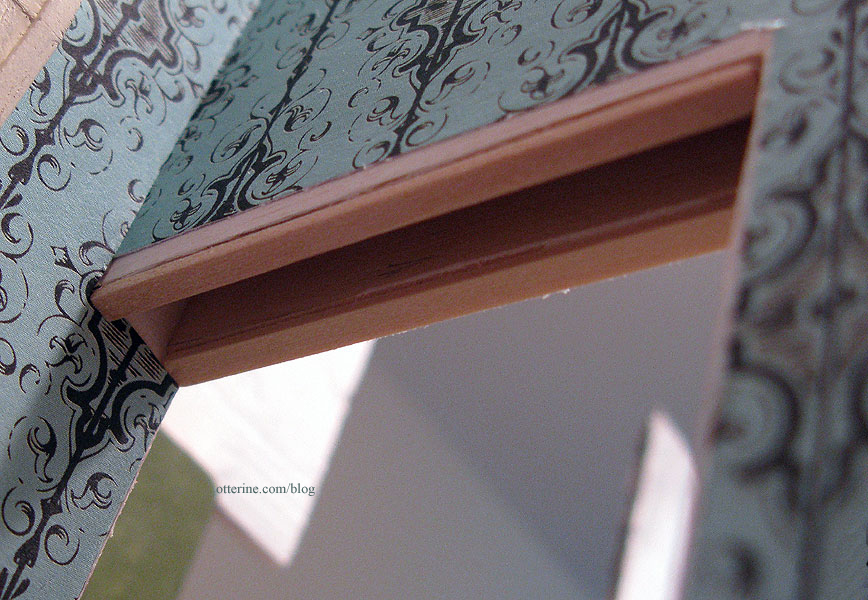
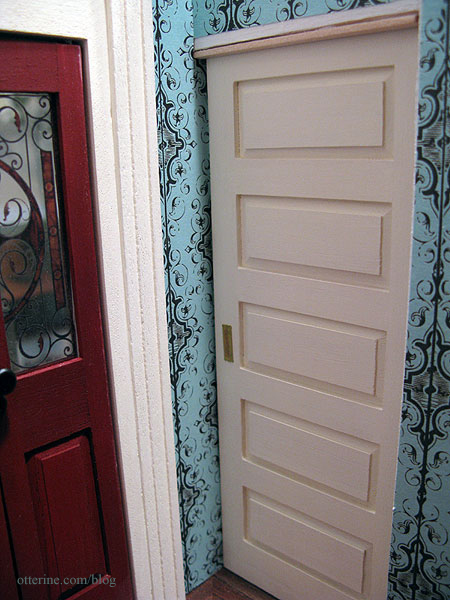
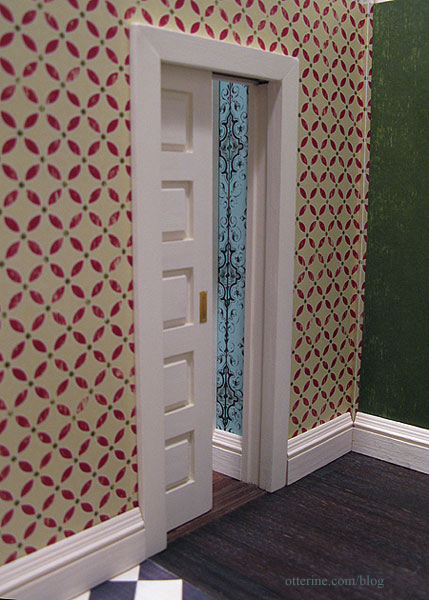
I lined the top of the pocket door opening with 1/8″ x 1/16″ strip wood, checking all the while to make sure the pocket door remained functional. This trim was planned when I cut the initial opening and was calculated into that measurement. All the trim will be painted Vintage White to match the rest of the interior trims before I install it permanently.
Since the house itself isn’t square, there is a larger gap between the closed pocket door and the wall at the top than there is at the bottom.
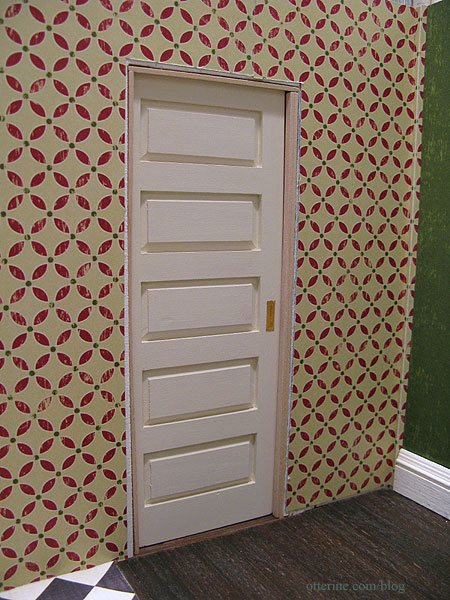
I built a door frame to mask some of the gap and to finish off the lead edge of the pocket doorway.
It doesn’t fix the problem completely in the kitchen, but it at least looks more polished.
With the frame painted and installed, the gap is invisible in the parlor.
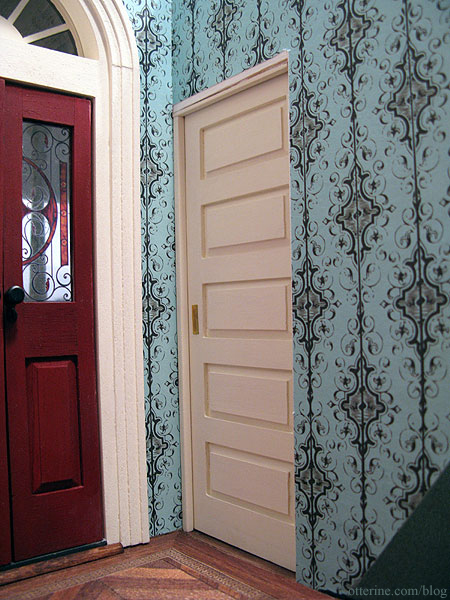
The painted trim around the door frame really completes the look of the pocket door. As you can see, the pocket wall is a little warped — just the nature of thin plywood — but it doesn’t really seem to show except in this head on shot. This will not be a vantage point once the kitchen ceiling board is installed, and it doesn’t interfere with the functionality of the pocket door.
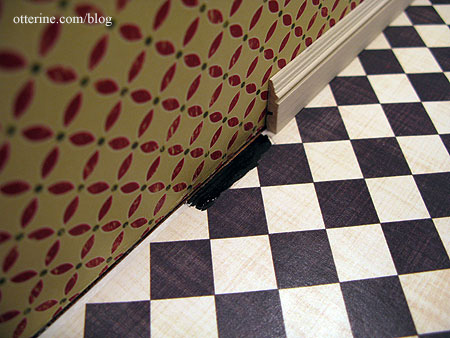
Once the interior trims were in place, I could line the kitchen and parlor walls with trim. For the kitchen, I opted for plain bass wood since it matches the trim used on the kitchen windows.
I again used spackling to fill in the small gaps, shown here before filling.
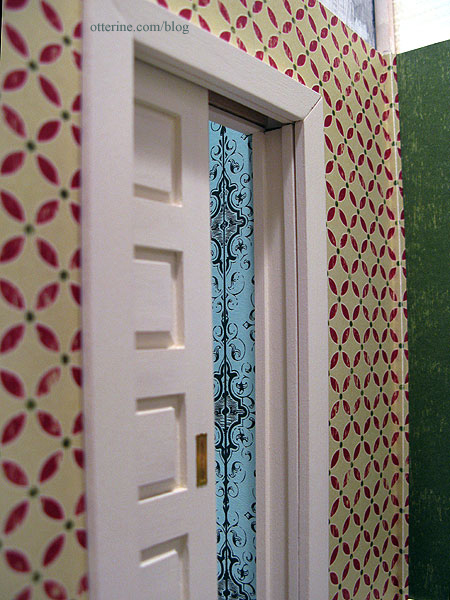
For the parlor, I used fancier molding to coordinate with the interior trim of the front door. It’s not exactly the same as the front door trim, but it has similar detailing.
These small details always increase the realism by finishing off raw edges and giving a sense of completeness.
Categories: The Haunted Heritage
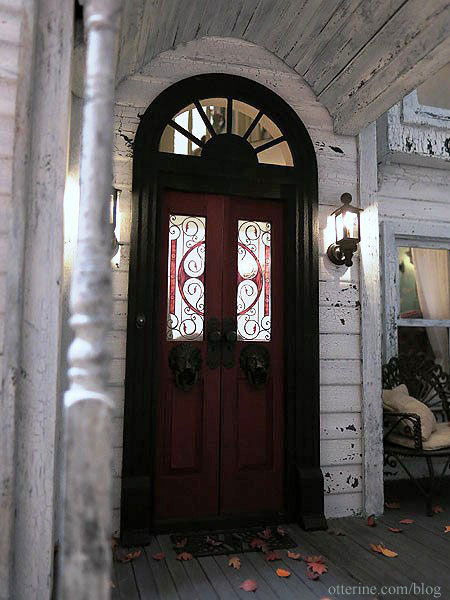
February 11, 2012 | 0 commentsPalladian Door – installation
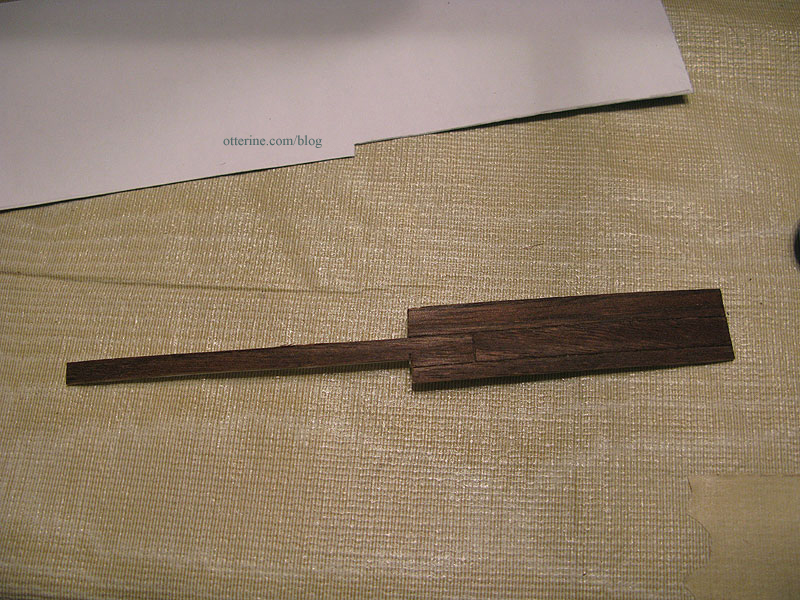
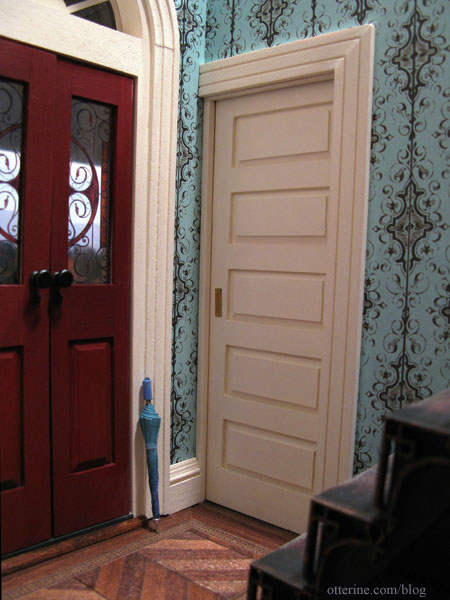
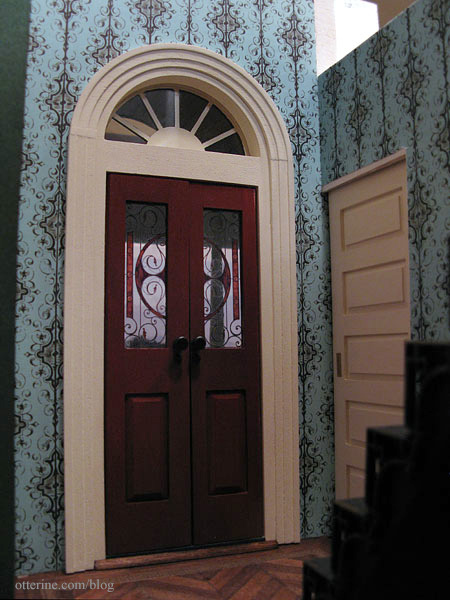
Continuing work on the front door. I glued the front door in place, making sure it was level and centered in relation to the portico. I then added the supplied interior trim, painted Vintage White by Folk Art. I used spackling to fill in any gaps and touched up the paint. To finish the threshold, I used a small piece of quarter round trim stained Minwax English Chestnut to match the floor.
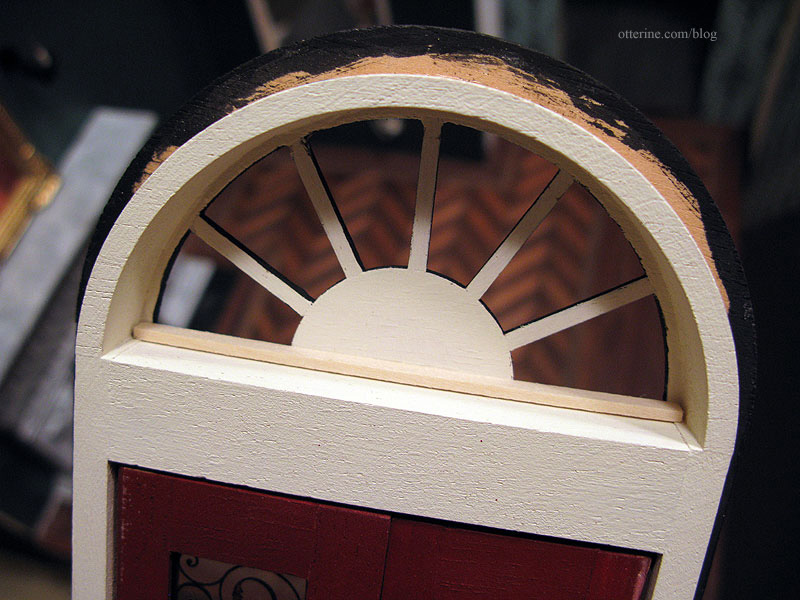
The trim had broken at some point, but I left it as is for installation. Just a hint of the break is still visible in the photo above, so I might go back and work on that some more.
To hold the acrylic insert in the upper arch, I glued in a small strip of bass wood painted to match (shown here unpainted). This should offer enough stability to keep it from falling backwards as it is apt to do.
It does show a little from the outside looking in, but it’s not glaringly obvious. It just looks like a structural part of the door.
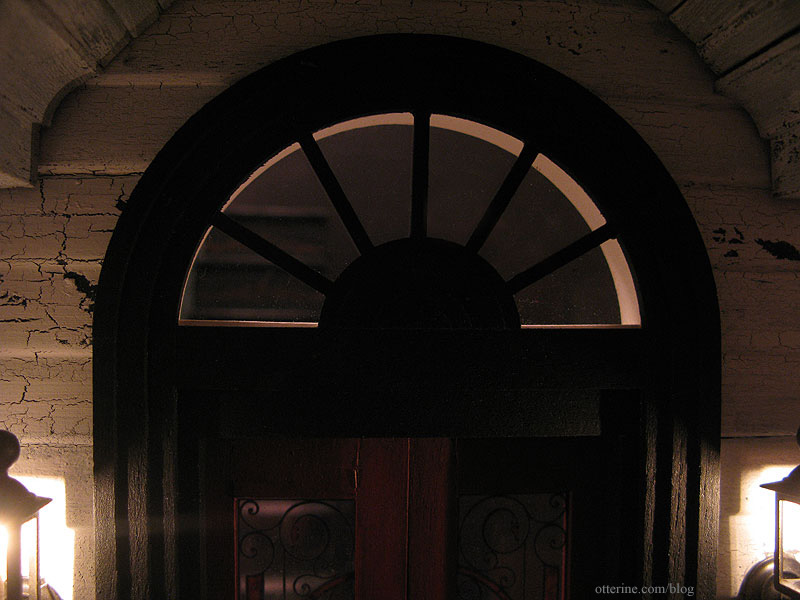
Looks rather stately.
Categories: The Haunted Heritage
February 10, 2012 | 0 comments
NOTE: All content on otterine.com is copyrighted and may not be reproduced in part or in whole. It takes a lot of time and effort to write and photograph for my blog. Please ask permission before reproducing any of my content. (More on copyright)