


NOTE: All content on otterine.com is copyrighted and may not be reproduced in part or in whole. It takes a lot of time and effort to write and photograph for my blog. Please ask permission before reproducing any of my content. (More on copyright)

Categories:
Heritage – kitchen crown molding
I’ve had crown molding painted for the Newport for some time but didn’t end up using it in any of the rooms. Since the kitchen has a partially textured ceiling and gaps in the non-textured part (a characteristic of the way the kit is constructed), I decided to add some crown molding painted white to match the ceiling.
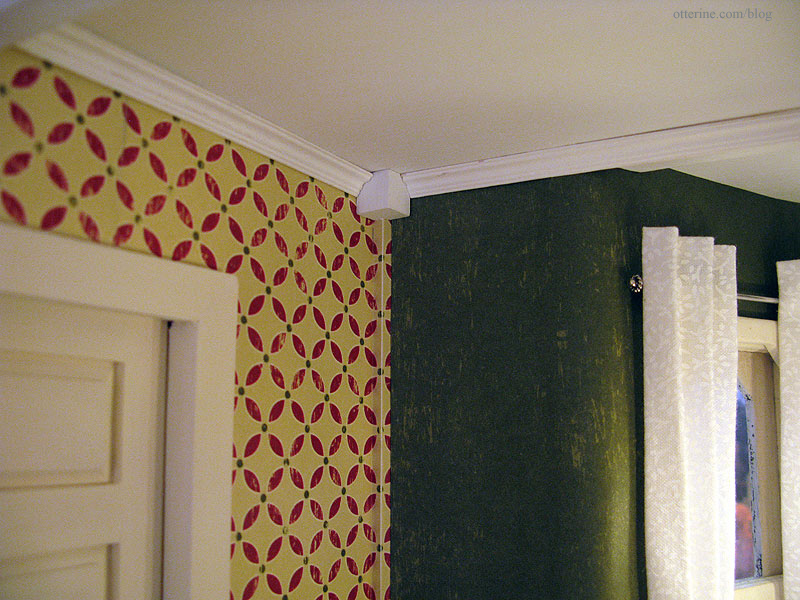
The two inner corners have small protrusions created by the dividers used in the construction of the house. On the Greenleaf forum, Mike had posted a picture of corner blocks used in crown molding (here’s a real life example). These fill in the corners and you need to cut only 90-degree mitres – much easier than angled mitres.
I opted for 3/8″ wood blocks from Hobby Lobby, cutting a notch in the back to fit the corner protrusion. As you can see, it’s easier to cut these without the ceiling board in place yet.
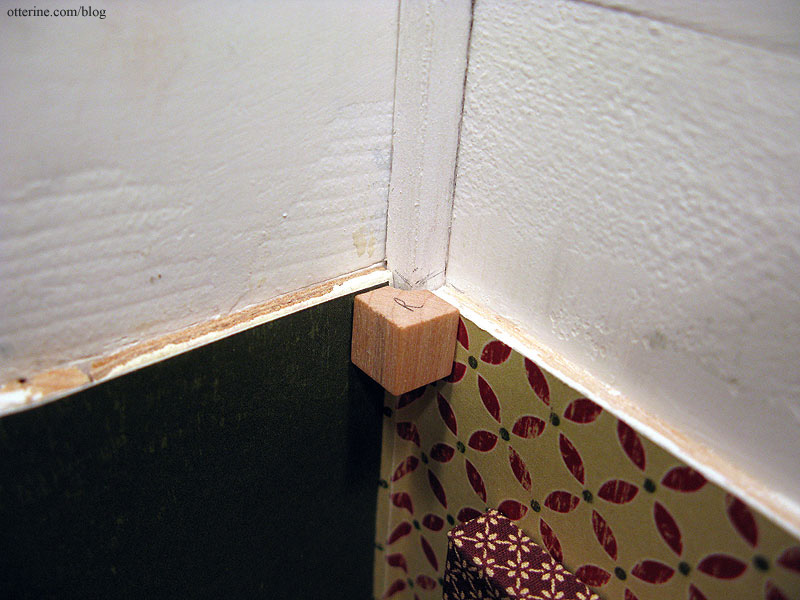
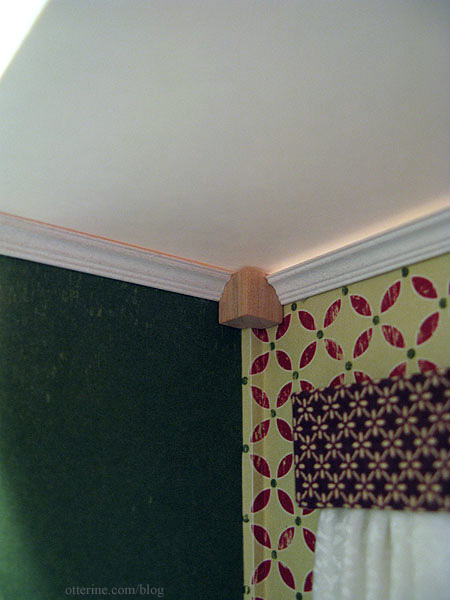
Here they are held in place with some mini hold wax. I couldn’t install them until the ceiling board was glued in permanently to ensure a good fit. The corner blocks might be slightly too big, but they should blend well enough once they’re painted white.
After cutting wiring channels for the kitchen ceiling lights, I glued the ceiling board in place and used a few finishing nails for added structural support.
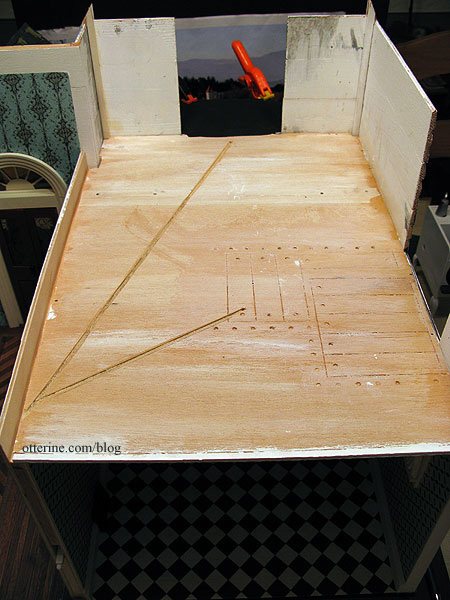
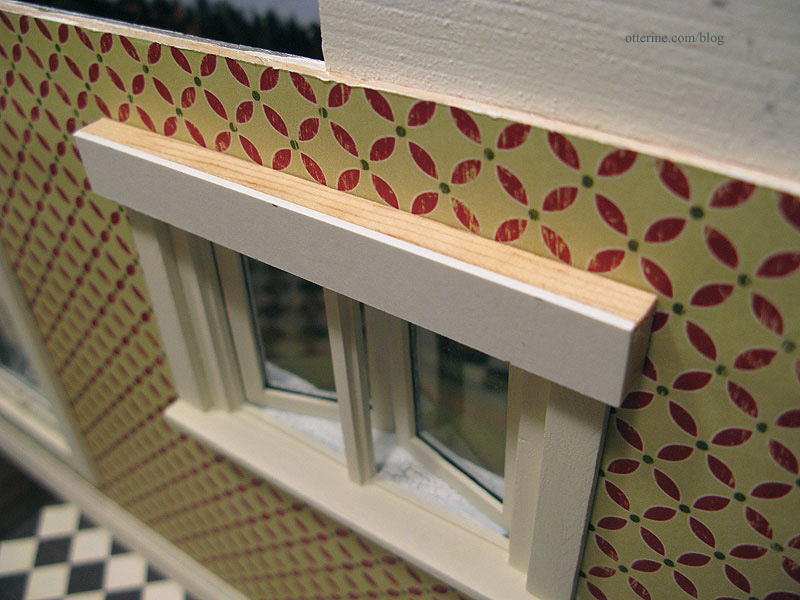
I installed the strip of wood across the front of the bay window to hide more ceiling gaps. Working in this deep, narrow room was not easy, so I am glad I installed all of the windows, window treatments, interior trims and baseboards before putting the ceiling board in permanently.
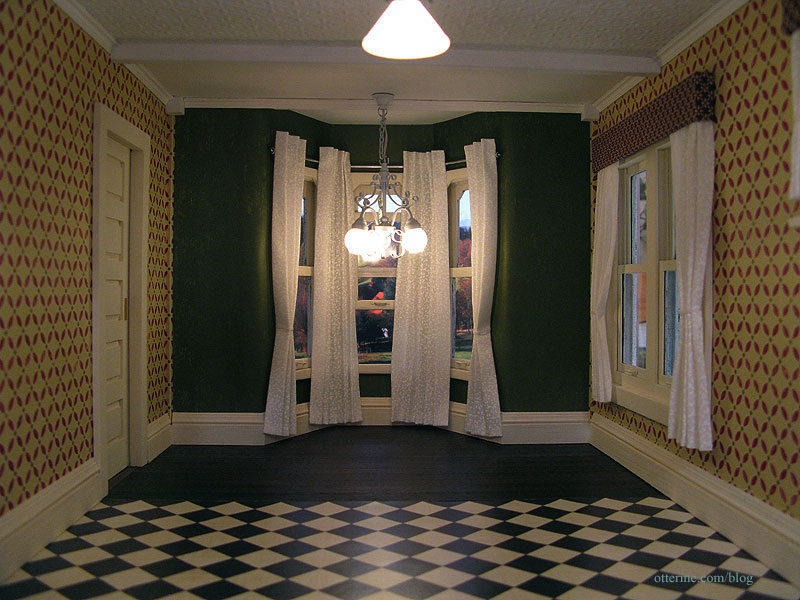
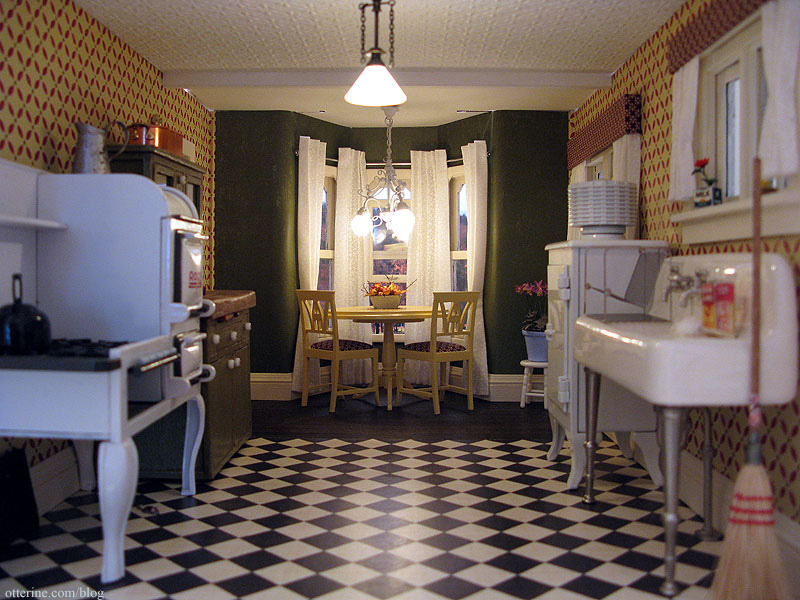
I really love the way the crown molding completes the room.
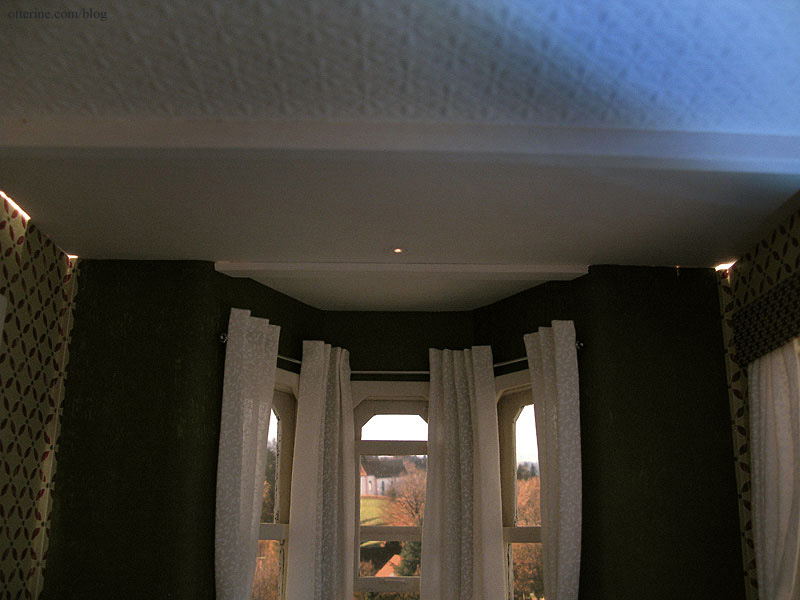
I glued in the corner blocks and decided to span the crown molding across the front of bay window ceiling board instead of continuing the crown molding inside the bay. The bay window is now a cozy nook.
As expected, there are some minor gaps here and there as well as some paint chips. I’ll fill those in next, but not tonight.
Once the touch-ups are done and the lights are permanently installed, this room will be done except for decorating! :D
Categories: The Haunted Heritage
February 23, 2012 | 0 commentsFancy bookshelf
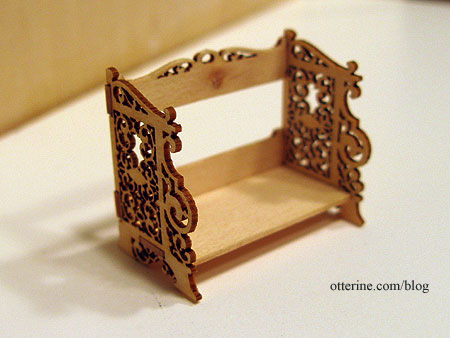
In addition to the banjo clock, I also put together the Jacobean book rest kit from Cynthia Howe Miniatures. It was so delicate that I ended up breaking a piece of the fretwork while removing the excess wood pieces. I cut the other side to mimic the design. ;D
The instructions said to put it together before staining, but I was worried about warping and I wanted to get a good glue hold, often better with bare wood.
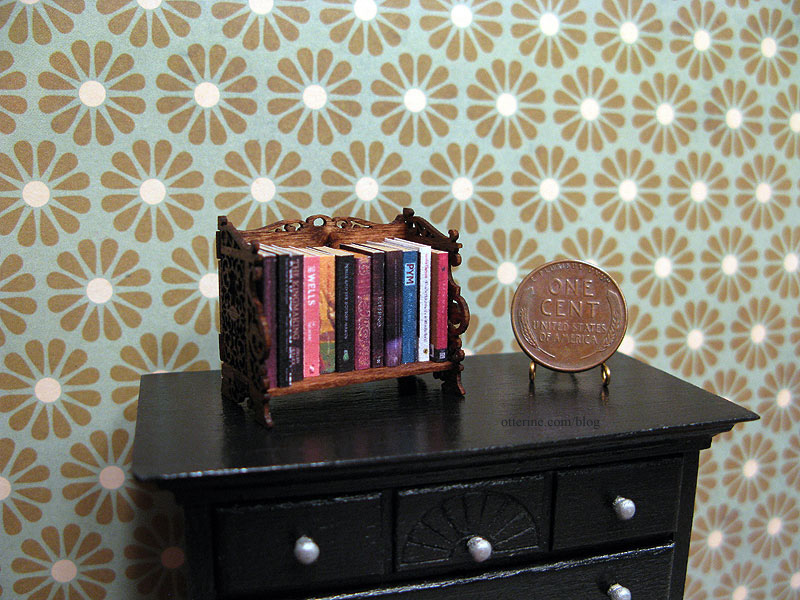
I stained the shelf with Minwax English Chestnut, leaving the color light to show off the wood grain. This is some seriously psychedelic wallpaper! :O This is Flower Frenzy by We R Memory Keepers.
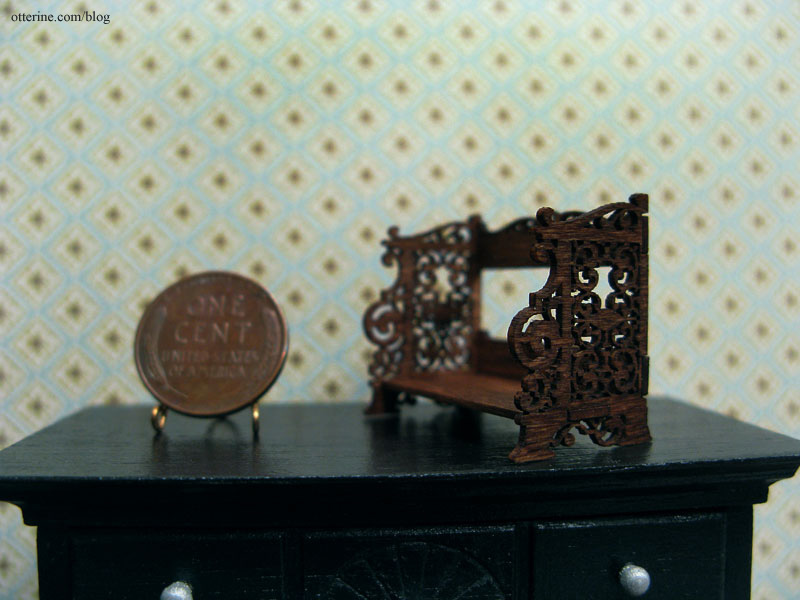
That’s better. :D I’m not sure if either of these papers will find their way into the bathroom upstairs, but I wanted to photograph them with some furniture to see what they looked like. This is Cute Little Diamonds by The Paper Studio.

The shelf will likely end up in one of the upstairs rooms in the Heritage, probably the bathroom. The kitchen and parlor are pretty much set for furnishings. :D
Categories: Miniatures, The Haunted Heritage
February 22, 2012 | 0 commentsHeritage – bay window curtains
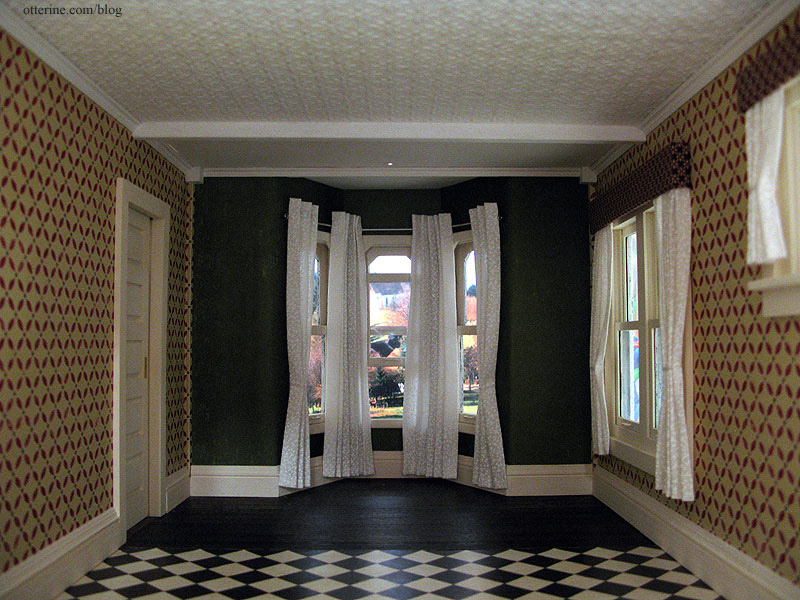
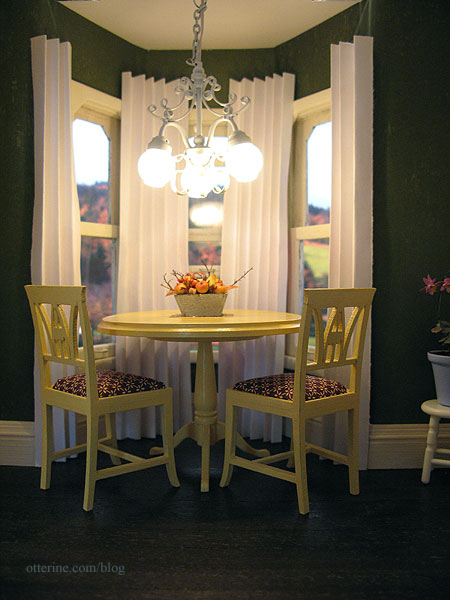
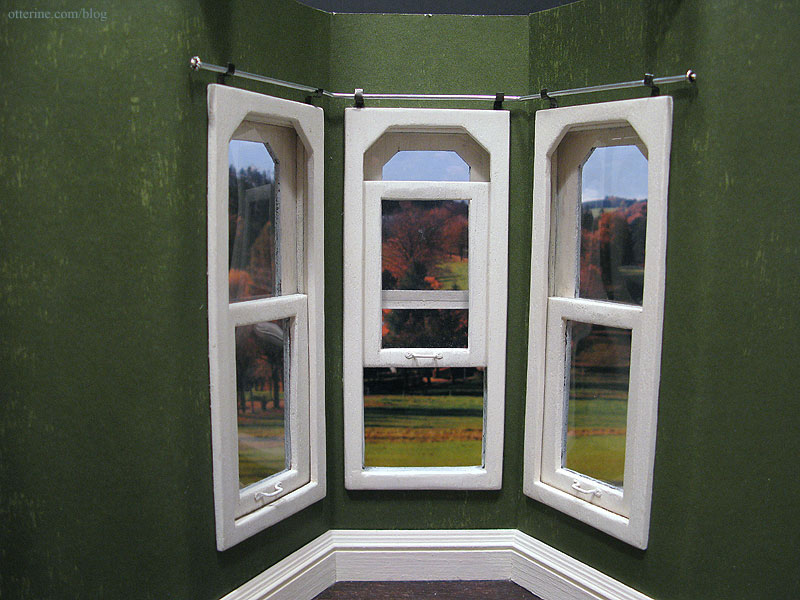
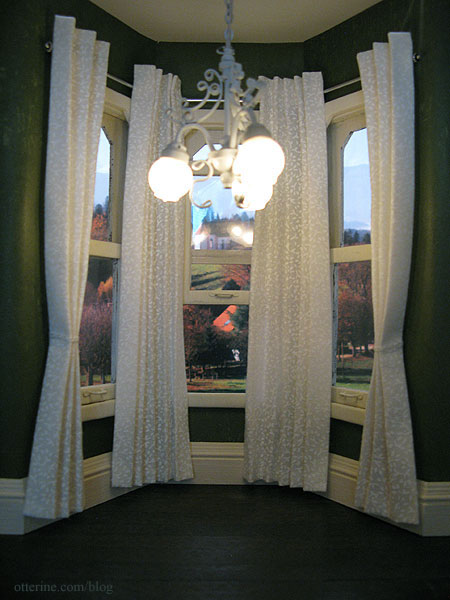
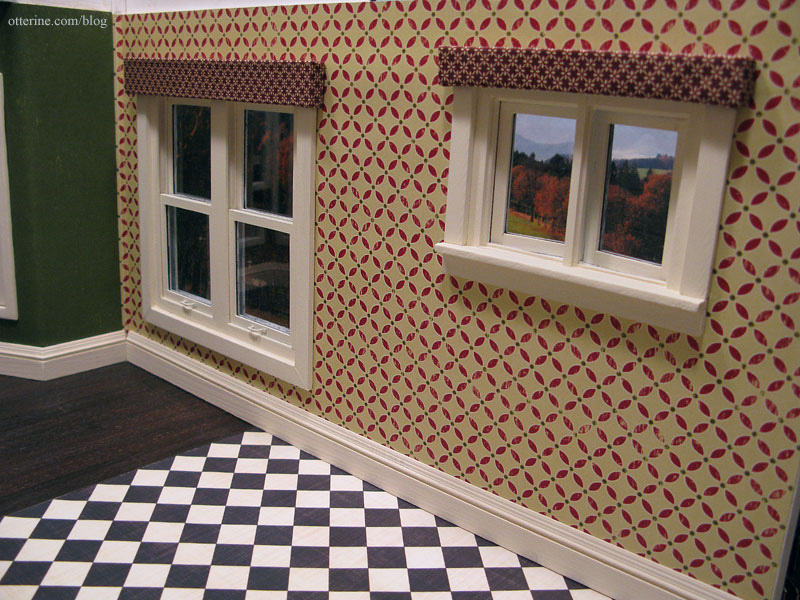
I decided to leave the pelmets off the bay windows since they weren’t as complementary with the green paper. I didn’t want to add another fabric into the mix or obscure the nice detailing of the interior bay window trim. It’s also a limited space with the table, chairs and chandelier already taking up a lot of actual and visual space. My first impression was to leave the space open. If I add anything at all to this space, it will be plain white curtains on metal rods.
The easiest way to try things out is with paper mockups. A few folds in plain white paper give the same impression as pinned and shaped curtains. I propped the mockups in place and was surprised by how much I liked them. It really dressed up the space.
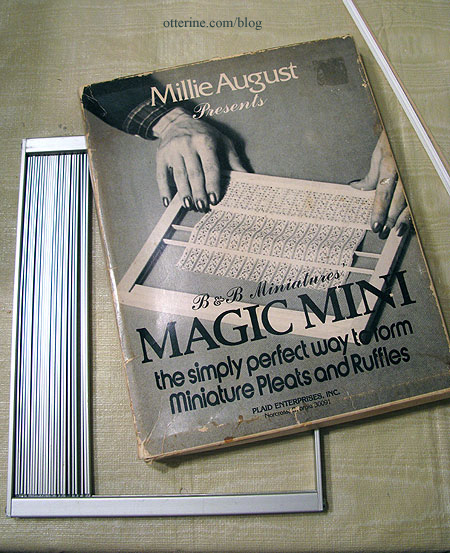
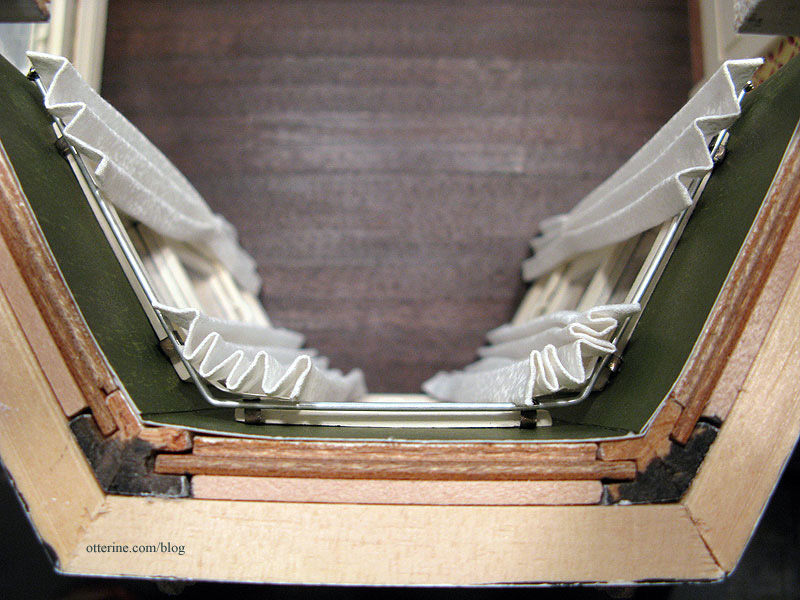
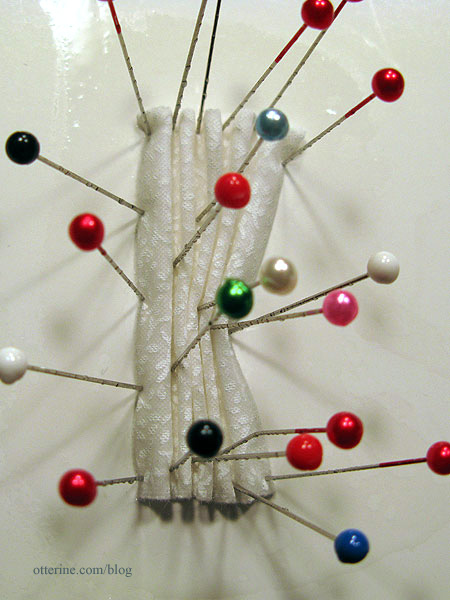
Awhile ago, I acquired a Millie August Magic Mini pleating tool. It creates pleats too large to use on the curtains with pelmet tops, but I decided to give it a try on the free-standing drapery. The instructions indicate you should wrap the fabric around the metal slats, steam iron and then let dry inside the pleater.
I wanted a bit more movement to my draperies, so I wrapped the fabric and steamed the pleats as indicated but then removed the fabric right away and pressed the drapes by hand. It made the pleats uneven and softer, more realistic in my opinion. These aren’t meant to be formal, starched panels.
I propped the fabric in place to see if I liked the look of it the way I had the paper mockups. Yeah, they’re pretty great! :D
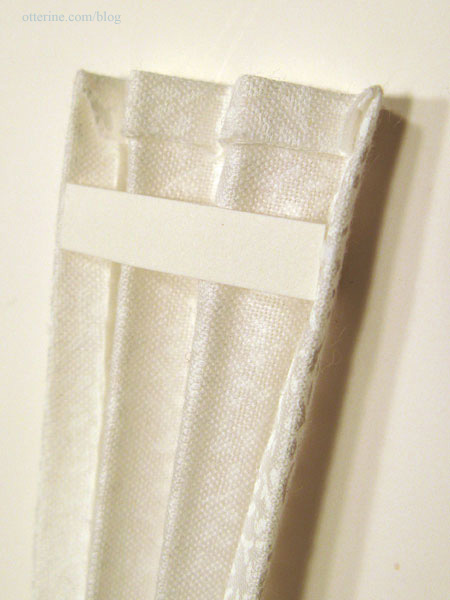
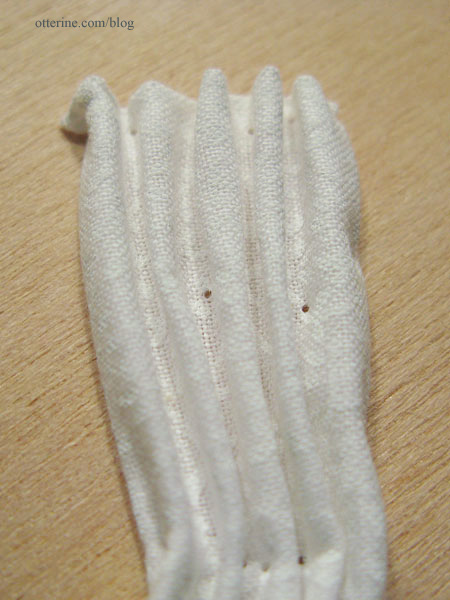
With the drapery pleated, I needed to get the panels ready for installation. To keep the drapery in shape and contained to the proper width, I glued strips of paper at the tops.
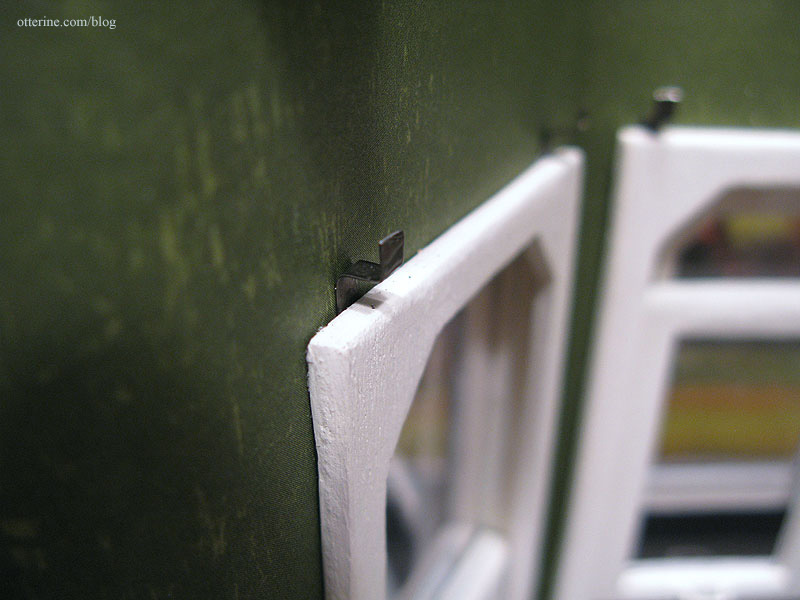
Next, I had to address the curtain rods. I left them out of the pelmet topped windows since they wouldn’t show anyway. For the support brackets, I cut the backs from some metal brads and shaped them to hold the curtain rod.

They are fastened with glue as well as being placed between the window trim and the wall for stability. I chose darker metal than the rod just in case they show after the curtains are in place. The darker metal wouldn’t attract your eye the way silver metal would.
I used aluminum tubing that you can find at most hobby stores and shaped it to fit the bay window brackets. I added some super glue gel to keep the rod from shifting or coming loose from the brackets. For the ends, I glued in decorative jewelry headpins.
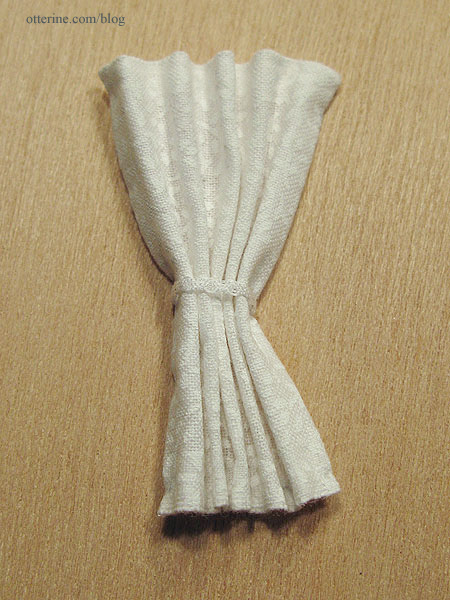
I glued the curtains to the rods along the paper reinforcements.
To have the curtains raised off the floor just a little, I slid a scrap of plywood under the bottoms for support while the glue dried. I used fairy lace tiebacks on the outer panels but I liked the look of the inner panels left straight. This way, grandma doesn’t have to reach over the table to untie them every time she wants a little privacy. ;D
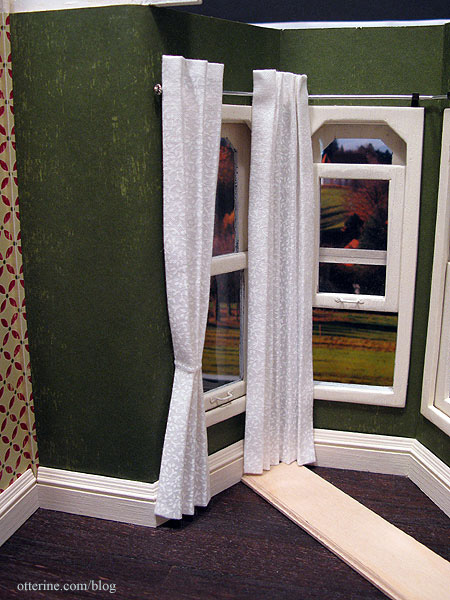
Love!
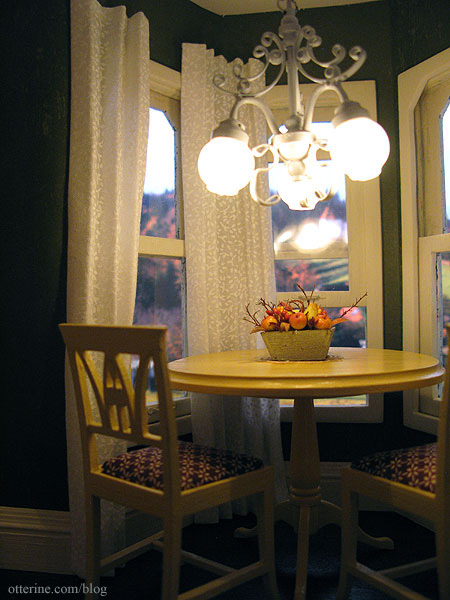
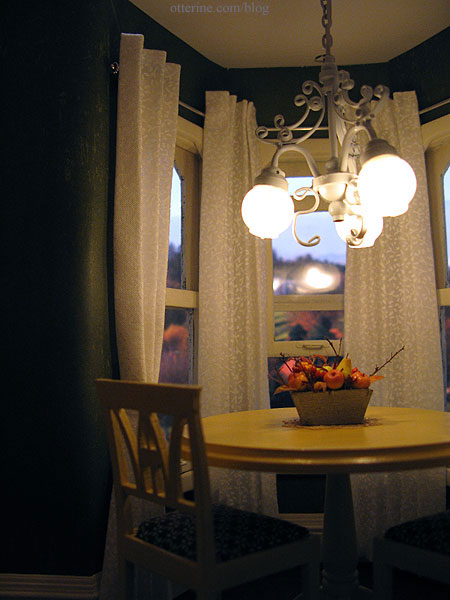
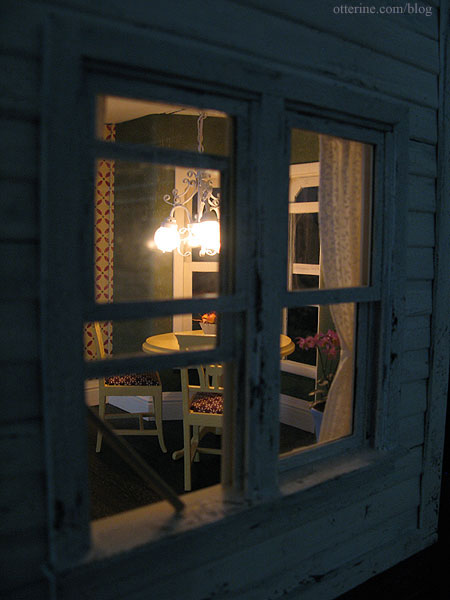
With the table and chairs in place, it really sets the mood. First, with the curtains in focus.

And, then with the furniture in focus.
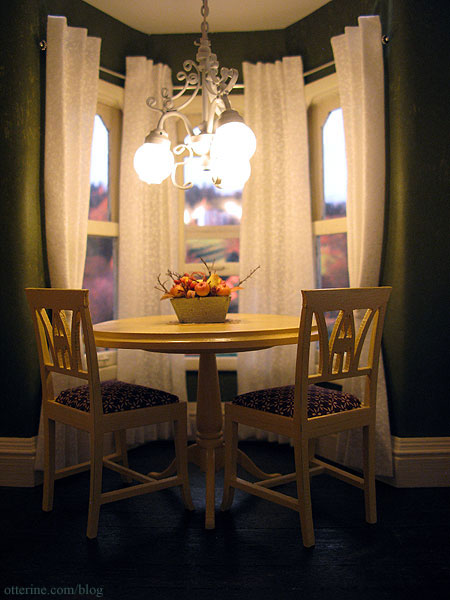
It really adds so much warmth and softness to the kitchen.
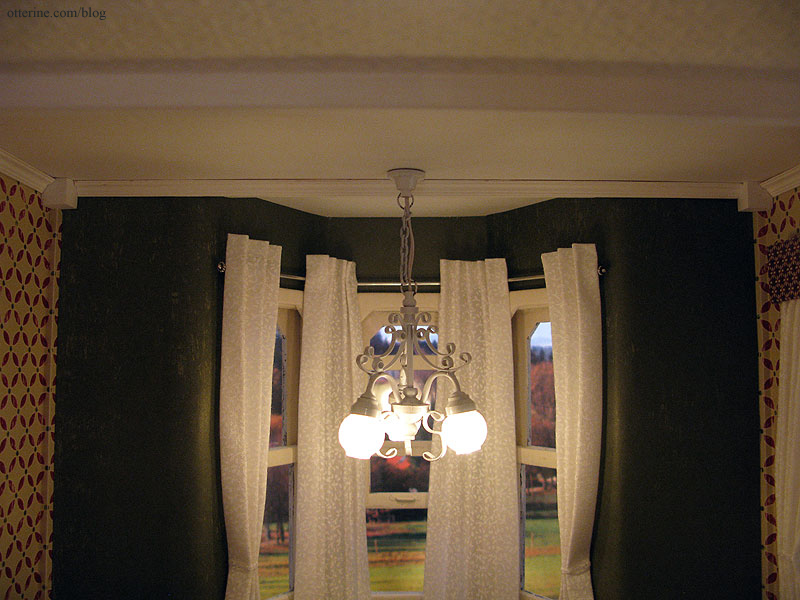
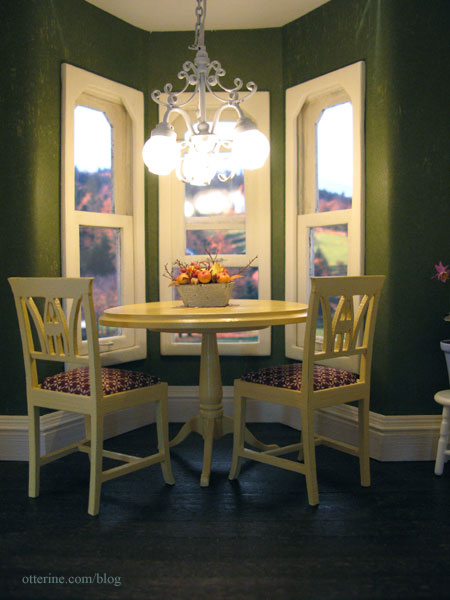
While taking photos, I finally captured a nice shot of the dining area chandelier.
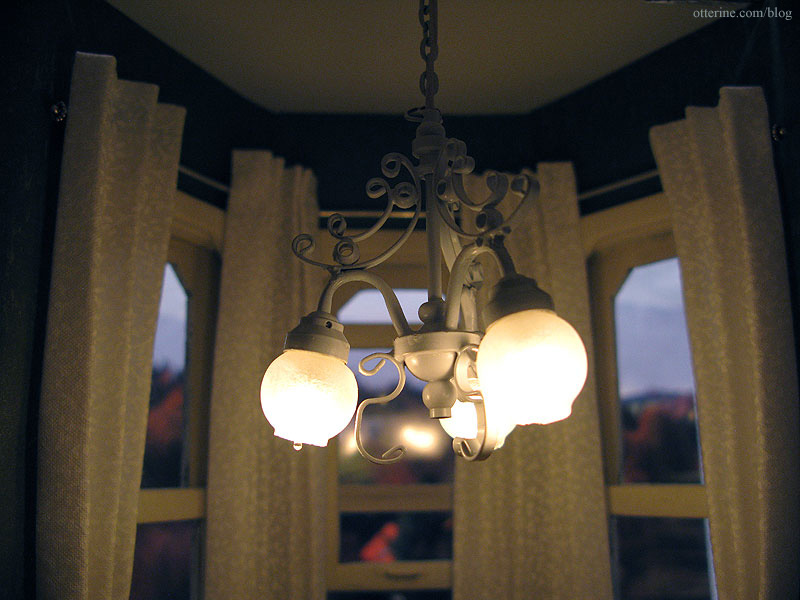
Okay, I am just about ready to put the kitchen ceiling on permanently. :D
Categories: The Haunted Heritage
February 20, 2012 | 0 commentsHeritage – kitchen pelmets and curtains
Other than a rolling shade and some paper curtain mockups, I’ve never made window treatments. I decided to give it a go for the Heritage.
A great resource in general is the book The Design Directory of Window Treatments by Jackie Von Tobel. It’s a book for real life sized decorating, but the ideas are marvelous and could be translated into miniature settings. And, the book comes with a CD of the designs in black and white drawings so you can color and manipulate to your tastes.
I also did a google image search for ideas and discovered that the terms pelmet, cornice and valance all mean similar things. Though, it seems valance might be fabric only and the other two have some sort of structure under it. Either way, I decided a pelmet/cornice would be the way to go.
An excellent book for miniature window treatments is Curtains by Sue Heaser. I’ve used her methods here with a few alterations.
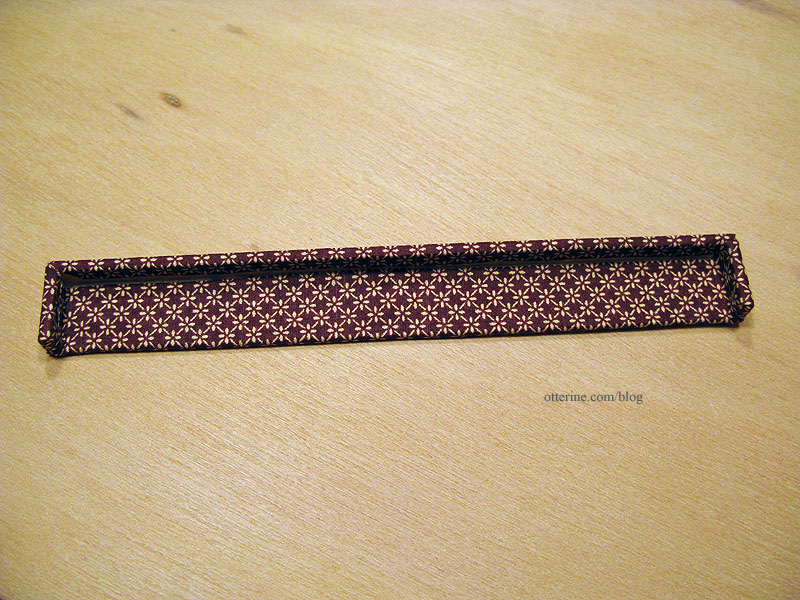
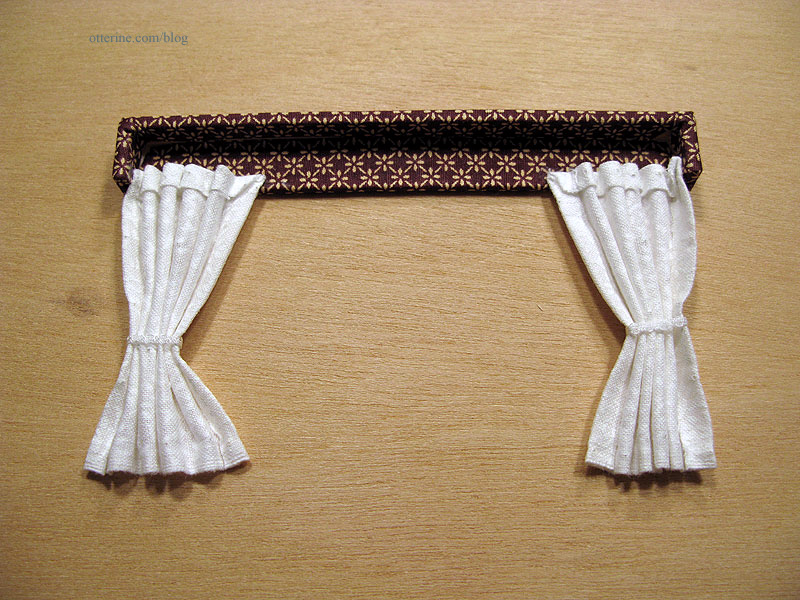
Since there was already a lot of pattern and color in the room, I opted for a plain rectangular shape built from bass wood and mat board.
For the casement window, I made the pelmet 1/2″ tall. The pelmet for for the double window is 3/4″ tall. I thought the thinner measurement didn’t look right on the wide window.
I covered both pieces with the same fabric I used to upholster the kitchen chairs.
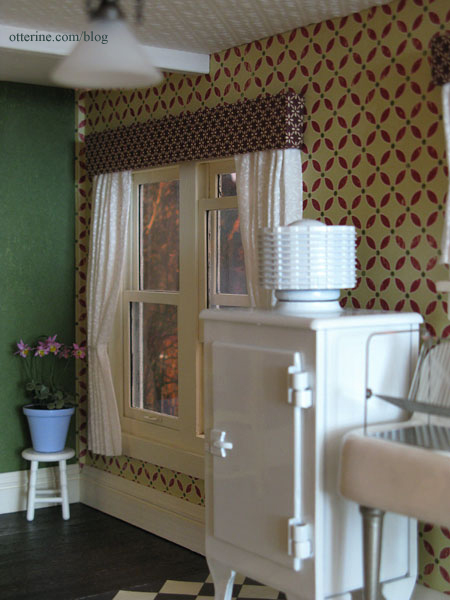
I think they add the perfect amount of decoration to the windows.
To make the curtains, I used the pin and spray method using a piece of foam core board and fabric stiffener. I started with the casement window curtains since they require less fabric. If I decided this was not for me, then I wouldn’t have wasted very much fabric. I used printed cotton fabric from Hobby Lobby, and it worked really well. I used the selvage edge of the fabric for the bottom hem which kept the bulk to a minimum.
This method creates holes in the fabric, but these can be worked back into shape with your fingernail or a pin. While working the holes out, I ended up with a few dark spots. But, what’s a spot or two on old curtains?! :D
I used fairy lace I bought at the Bishop Show one year for the tiebacks.
I glued the curtains to the pelmet.
I then glued the pelmet to the window frame.
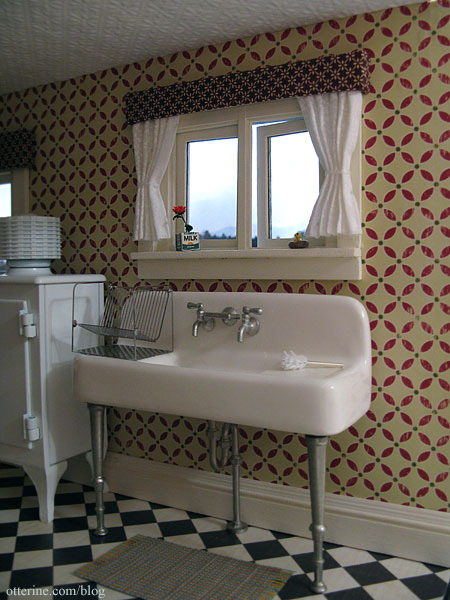
The curtains might be a tad too short, but I like them well enough not to start over. Maybe grandma washed them once and they shrank.
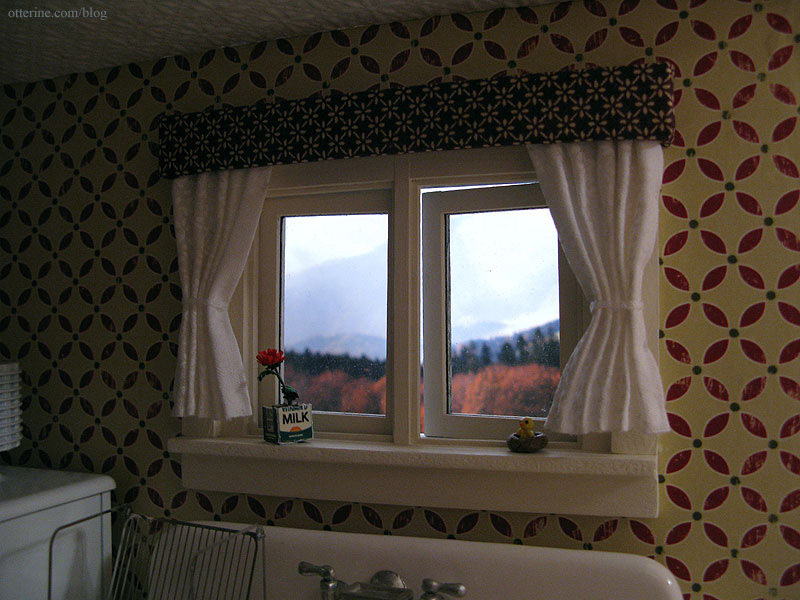
After installing the pelmet and curtains for the casement window, I worked on the curtains for the double working window.
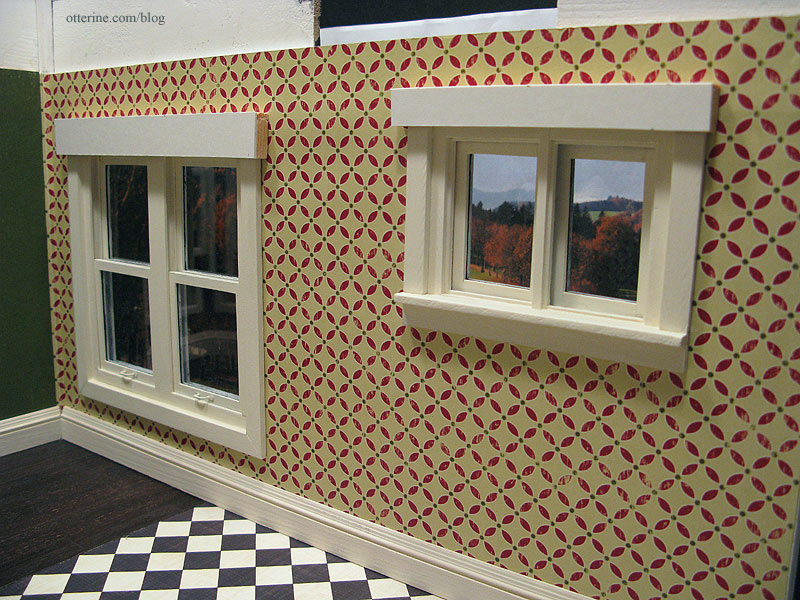
These are a much better length than the casement window curtains.
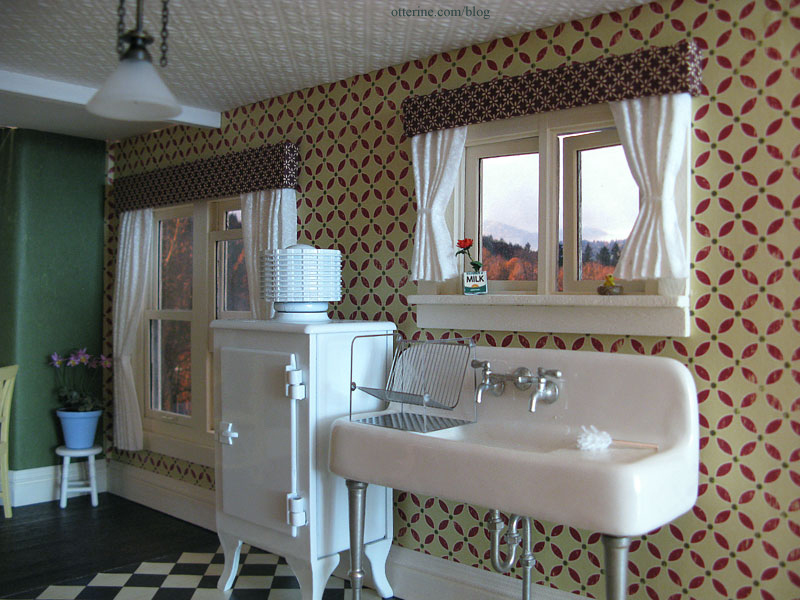
I love the way the fabric looks from the outside, too!
Categories: The Haunted Heritage
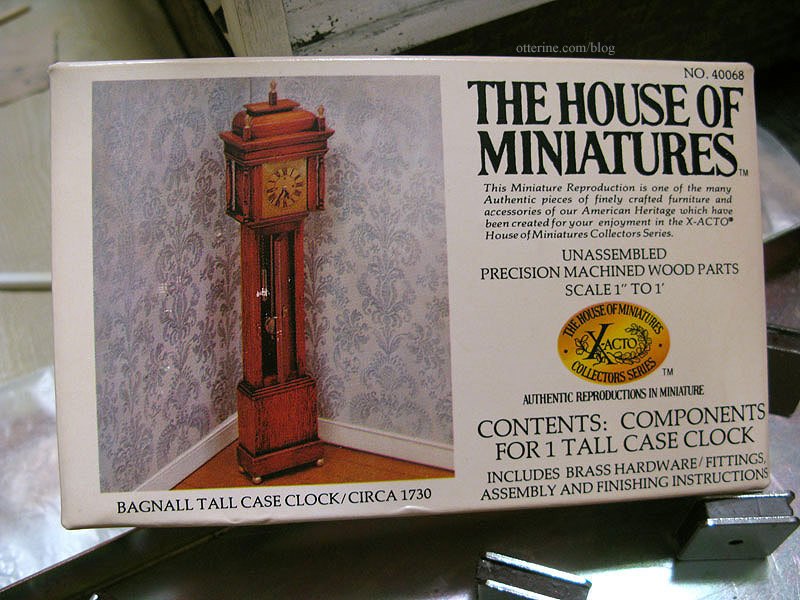
February 19, 2012 | 0 commentsBagnall tall case clock
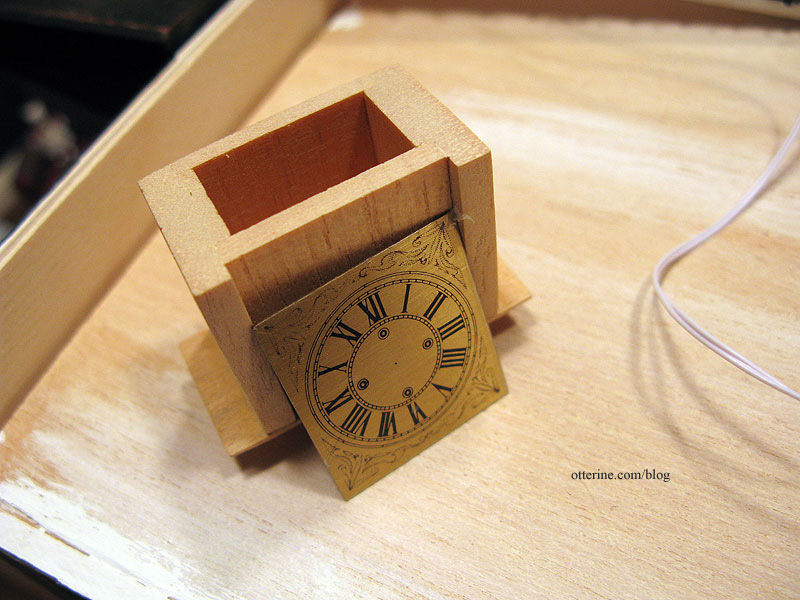
I am a huge fan of House of Miniatures kits because they can become anything you want – traditional or modern. I stumbled upon the Bagnall clock when I was searching for other House of Miniatures kits and started stalking eBay for a good price. This is a more difficult kit to find.
The assembly is more challenging than other House of Miniatures kits I’ve put together, but I am taking my time and using Minwax wood filler to smooth any rough edges and mask the seams. So far so good.
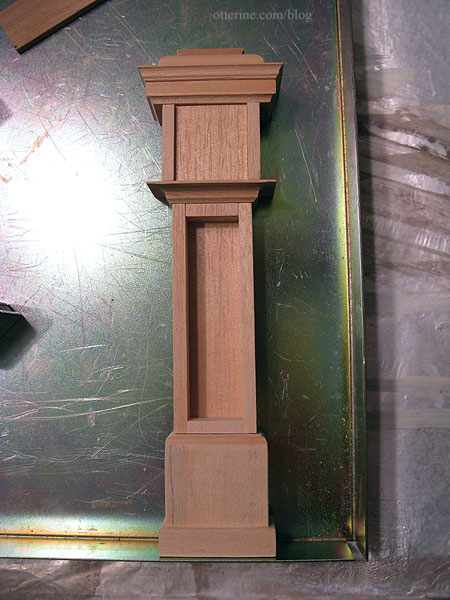
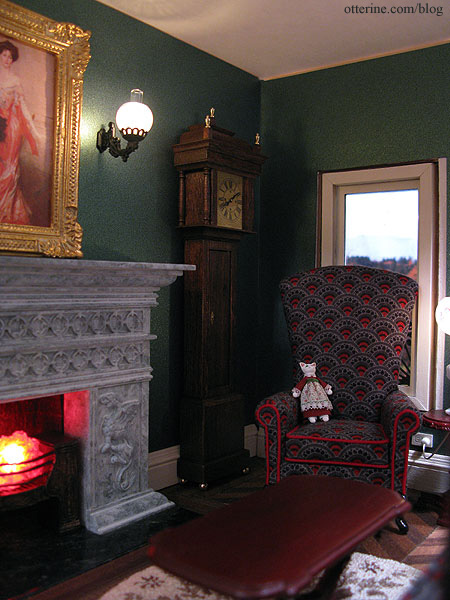
I knew it would be perfect for the Haunted Heritage, but I couldn’t wait to put it in the parlor just to check the size and positioning. The stained finish will be darker than the natural wood shown here, but I think it will brighten the far corner in this dark-walled room.
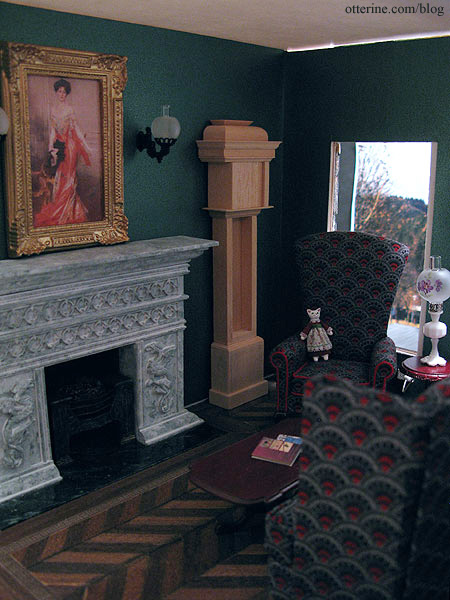
It might be a shame to stick it in the corner between the fireplace and The Chair, but I can just imagine hearing the gentle clicks and whirs of a clock in this room. My grandparents had clocks in their house, and I loved when it was quiet and all you could hear were the subtle sounds of the various clock movements.
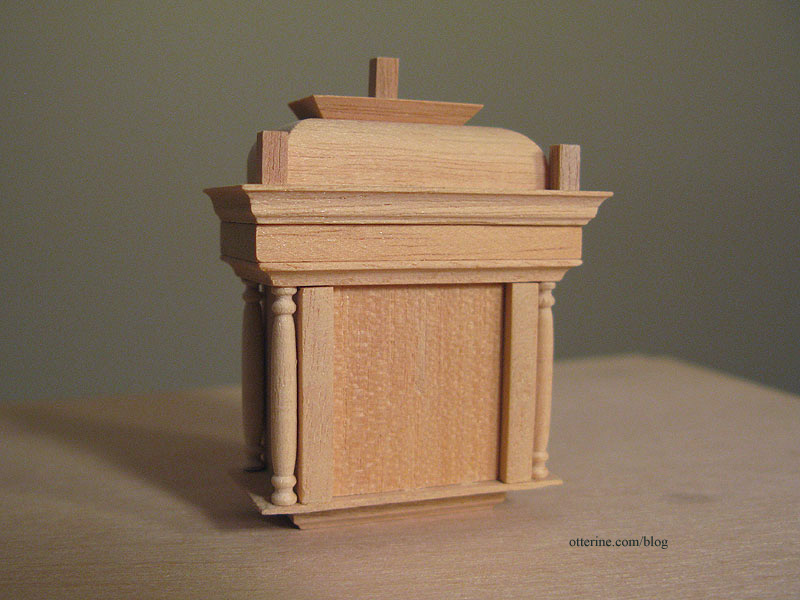
I finished the preliminary assembly by adding the turned posts and toppers.
Marlene mentioned making the kit a working clock, but I hadn’t even thought to do that since I liked the face that came with the kit. Interestingly enough, I stumbled across a blog post detailing how to make a House of Miniatures grandmother clock kit into a working clock. I bought a pocket watch from Hobby Lobby and took it apart the same way.
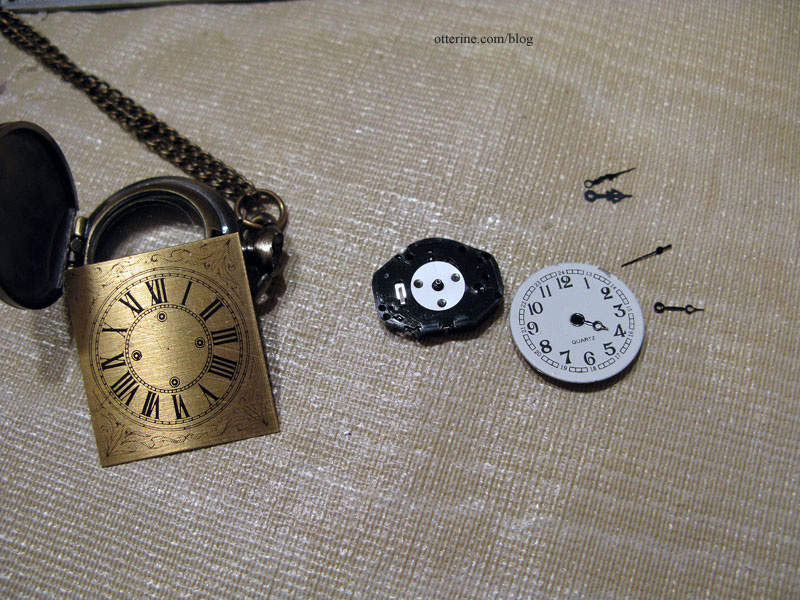
I had even bought one with fancy hands so I could use the mechanism as a complete unit.

Unfortunately, it wasn’t that simple to just swap out the faces. At least, I don’t know enough about watch movements and placement to get it to work. I could see what needed to be done. It just didn’t work for me. (What didn’t work for me was that the pocket watch face had two metal spacers on the back keeping it a certain distance from the mechanism. The kit face didn’t have these spacers, so there was no way to keep the face the right distance from the mechanism. Too close, and the hands couldn’t move correctly. Too far away, and the hands would just hang loosely and not turn at all.)
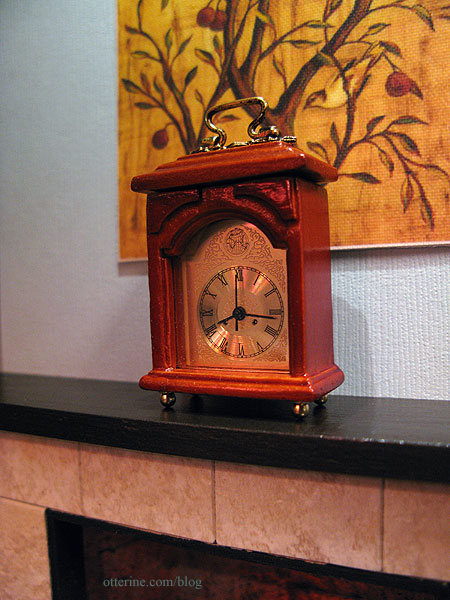
All was not a waste, though, since I was able to salvage the watch battery for the Reutter Porzellan clock I bought awhile ago, and I’ll keep the clock hands and chain from the watch in my materials stash.
I thought about buying another Reutter clock just for the face, but it really wasn’t that important to me to make the Bagnall clock a working clock. It was the overall design that drew me in to begin with, including the beautiful face included with the kit (shown here with the plastic protective covering still in place).
So, I’ve gone ahead and stained the parts with Minwax English Chestnut to keep moving forward with the project. I had used this stain on the parlor floor, but I originally bought it for this clock kit.
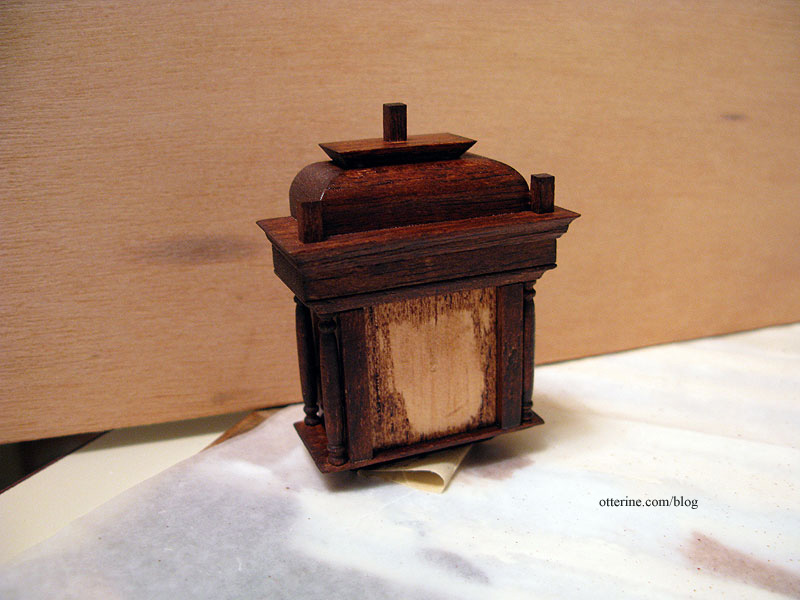
The wood took the stain unevenly because some of the surfaces are the “ends” of the wood and some are the “faces” of the wood grain. I’ll address that once the stain dries, but so far I love it!
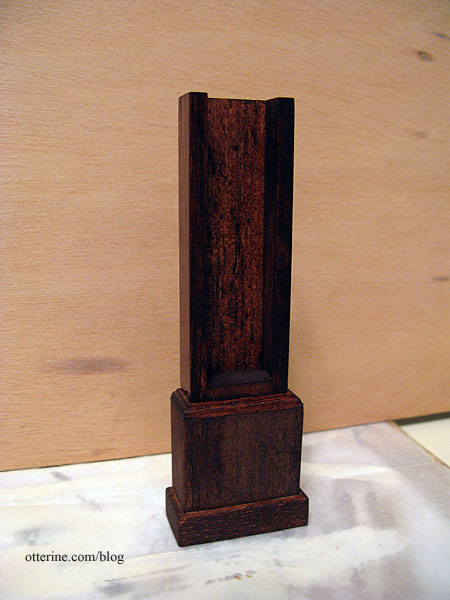
After the stain dried, I used antiquing medium to fill in the more obvious portions of uneven stain and then sealed the wood with two thin coats of Delta Ceramcoat satin varnish. It brought out the beauty of the wood and deep color of the stain for a perfect antique finish.
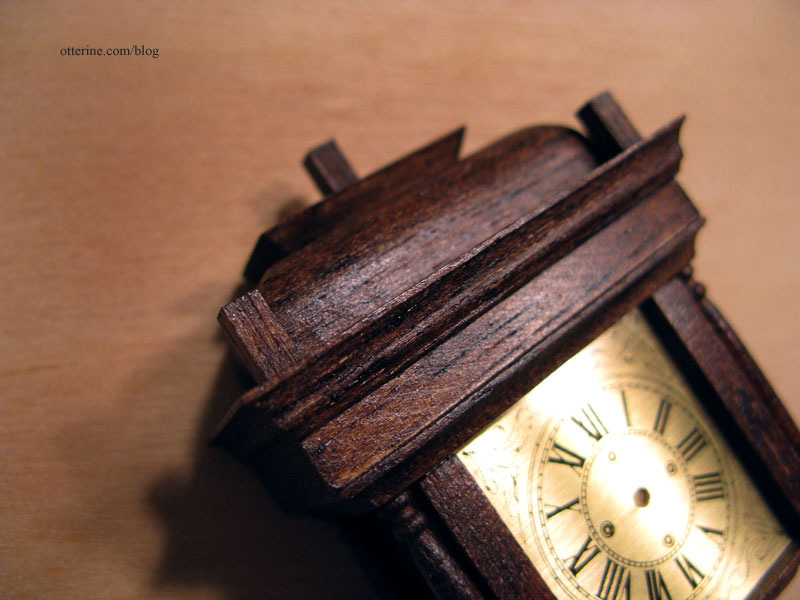
Since I had attempted to make this a working clock and drilled a hole in the kit face, I had to use a brass brad to fill in the middle point where the hands met. It still looks natural to me.
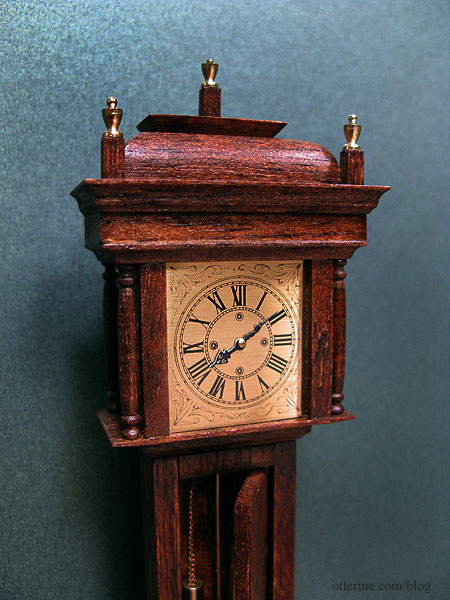
The brass components included with the kit, while not easy to install, are high quality and really make all the difference.
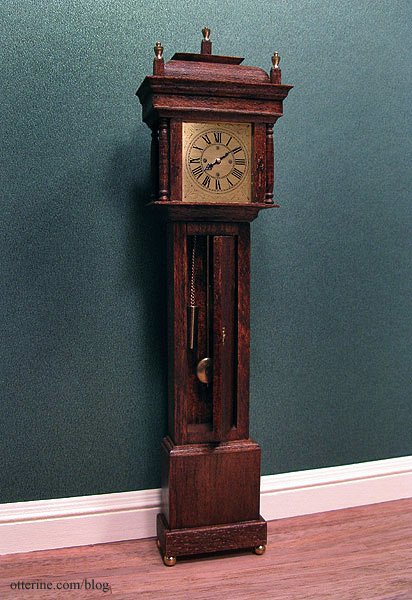
The door hides the weights and pendulum, but it looks beautiful closed as well. One of the things I liked about the kit was you could assemble it so the door could open the other way – say, if you were putting it on a wall where you couldn’t see the pendulum when the door was open.

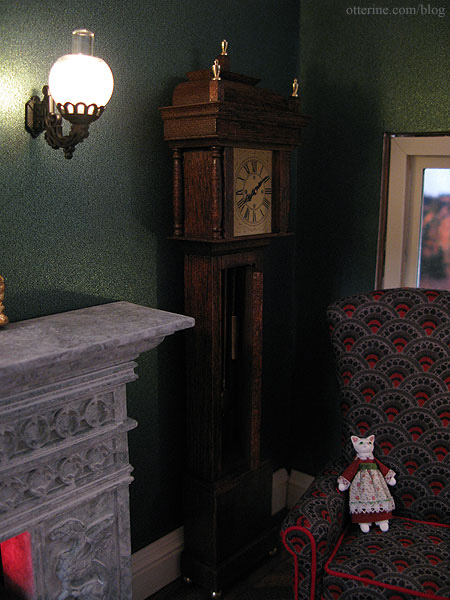
It fits the parlor wonderfully. :D
It’s a beautiful clock.
Categories: Furniture, The Haunted Heritage
February 17, 2012 | 0 comments
NOTE: All content on otterine.com is copyrighted and may not be reproduced in part or in whole. It takes a lot of time and effort to write and photograph for my blog. Please ask permission before reproducing any of my content. (More on copyright)