


NOTE: All content on otterine.com is copyrighted and may not be reproduced in part or in whole. It takes a lot of time and effort to write and photograph for my blog. Please ask permission before reproducing any of my content. (More on copyright)

Categories:
Bugs in the light fixtures
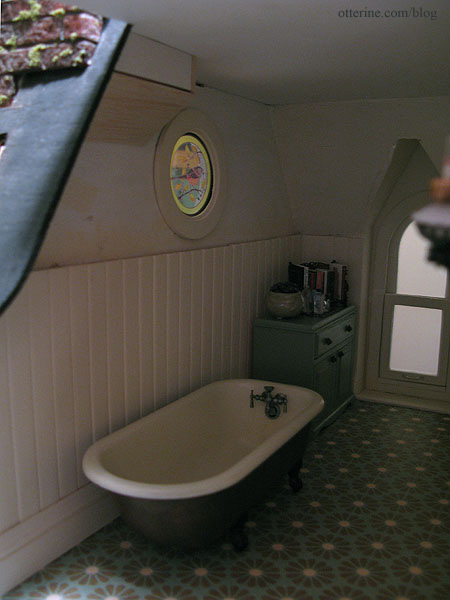
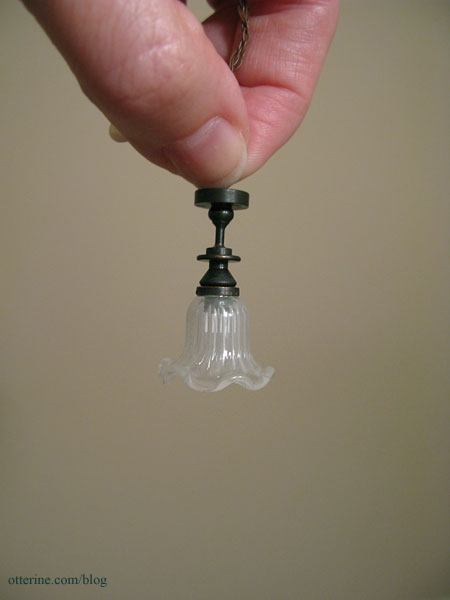
I tried out the new lights I recently ordered from miniatures.com. I made the rest of the wire channels in the bathroom ceiling board and touched up the white paint on the underside. I opted for the clear glass ceiling fixture in the bathroom since the wall sconces have clear glass hurricane shades.
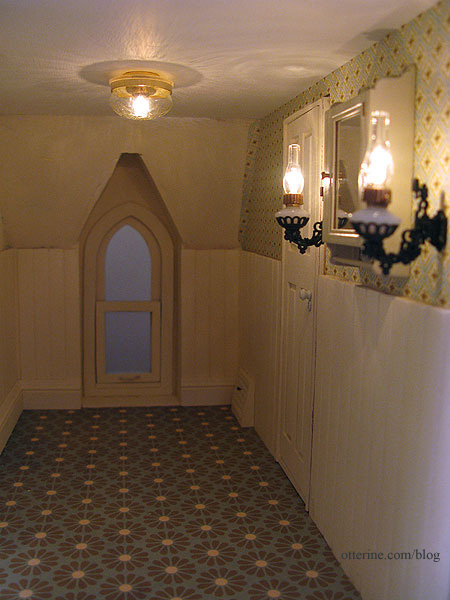
I’m not usually a fan of brass lights, but this works in the Heritage. It’s not an overwhelming amount of brass, and these types of fixtures are about the shallowest you can find on the market, which was important since the ceiling height is low here in the bathroom and in the hallway.
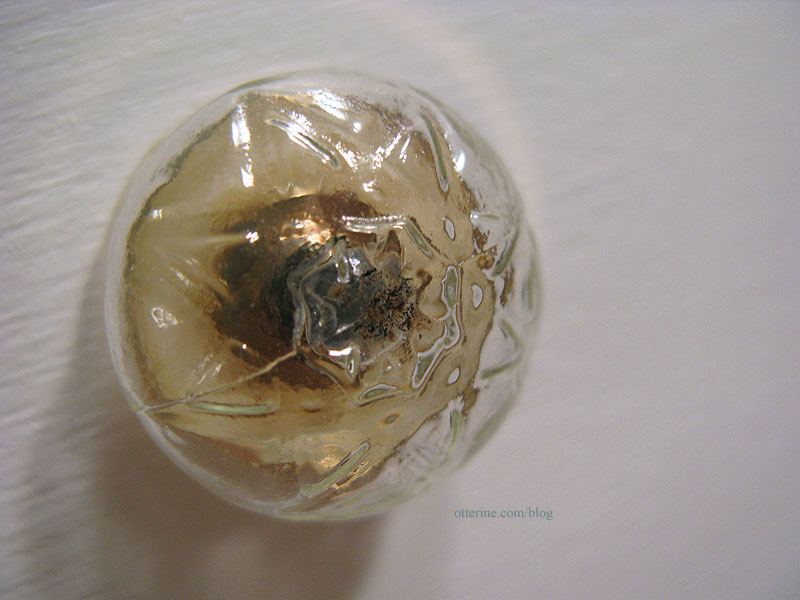
You know me; I am all about the realism. So, I added some 1:12 scale insects inside the globe. :D Lyssa egged me on when I joked about it to her, so she is to blame! It’s just a little dry-brushed brown and black paint, but it’s rather convincing in person. ;]
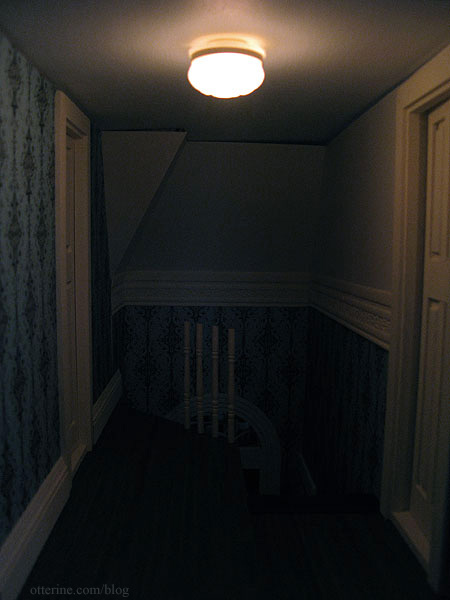
In the upper hallway, I’ve installed the same fixture only this time with a frosted globe. There will be another fixture toward the front for the foyer, but I needed some light here at the top of the stairs. Neither ceiling board is glued in place yet, so there are gaps showing.
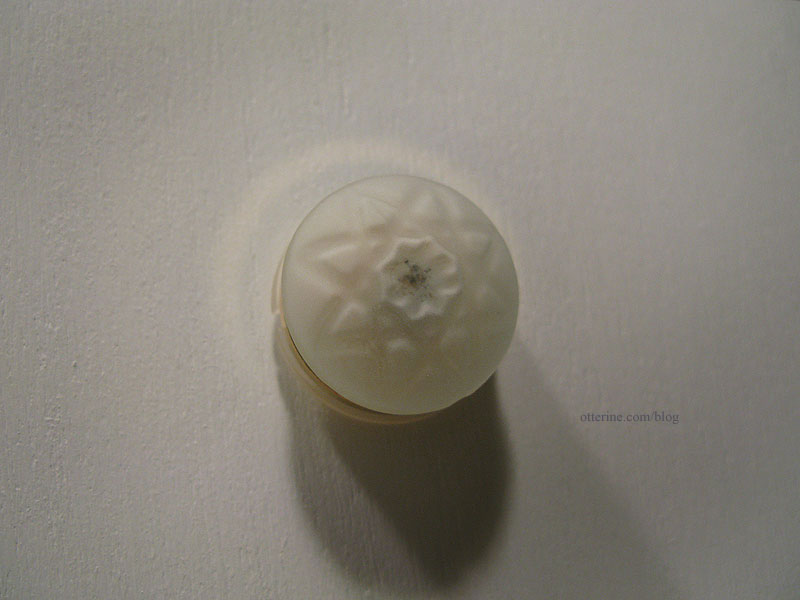
More bugs! :D
Categories: The Haunted Heritage
May 5, 2012 | 0 commentsHaunted Heritage chimney, part 9
Continuing work on the chimney. Time to work on the interior chimney sections. Only a small portion of the chimney continues through the bathroom with most of the inner portion in the attic. I formed the inside chimney from a double layer of 1/2″ thick foam core board and cut it to align with the outer chimney. The break between the top triangular piece and the bottom rectangular piece is where the ceiling board will sit. I’ll figure out the angled bricks in the attic section later.
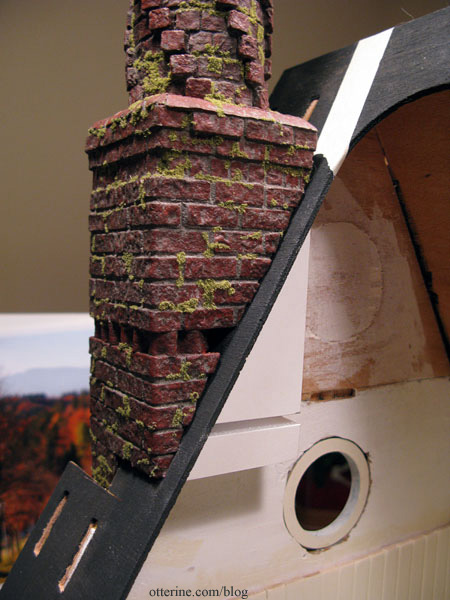
In the bathroom, I’m assuming the exposed brick would be covered, so I’ll cut wallpaper to cover it. In the attic, it will be exposed brick made to match the exterior but without the moss. Since the egg carton brick will add thickness to the attic portion, I added a layer of wood on the side of the bathroom piece to help make up the difference. The tapered bottom is built from scrap wood. This structure will also support the bathroom ceiling board.

It’s just enough to satisfy the realist in me that the chimney isn’t just tacked onto the outside, but it doesn’t obscure the window by being too large. In fact, to me, it looks like a perfectly imperfect vintage architectural detail. :D
Categories: The Haunted Heritage
April 23, 2012 | 0 commentsHeritage – hallway flooring
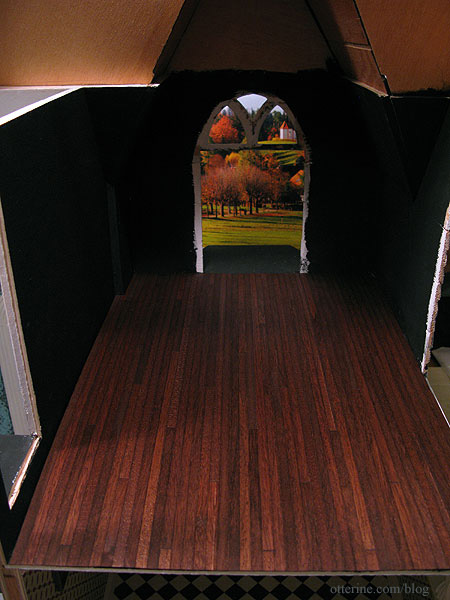
Here are three flooring options up for consideration in the hallway. These are color copies and much lighter than the final flooring will be. It will be the same darker coloration as the fancy parlor floor. These are also quick mockups without consideration for the precise placement of the patterns and angles.
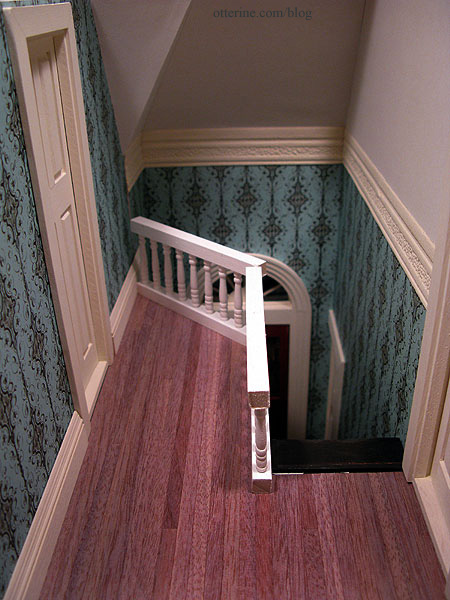
First, just plain wood flooring. Perfectly acceptable, and I know upstairs rooms weren’t as fancy as downstairs rooms where guests would be entertained. (April later pointed out that with only one bathroom in the house, guests would likely see this space.)
Second, herringbone in the middle with only the plain wood border. The railings I end up with will not have the bottom bar which obscures the plain wood edge in this photo. This is such a small space, I wonder if the herringbone overpowers the rest of the detailing.
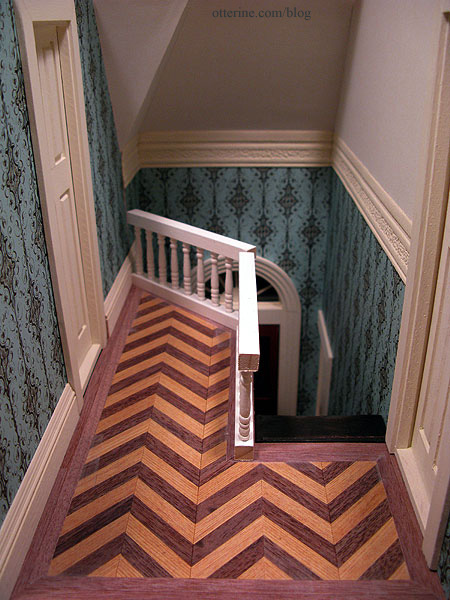
Lastly, herringbone in the middle with the marquetry border inside the plain outer border. This is more polished than the second option, but it also has the same issue of overpowering the room. I don’t have enough of the marquetry border left from the parlor project, so I’ll have to order some more if I do end up using this last option.
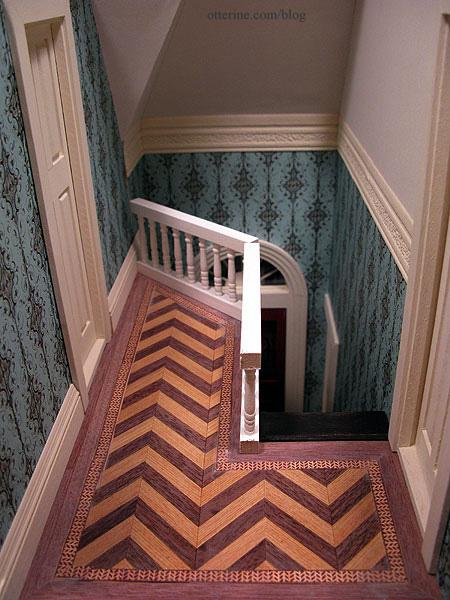
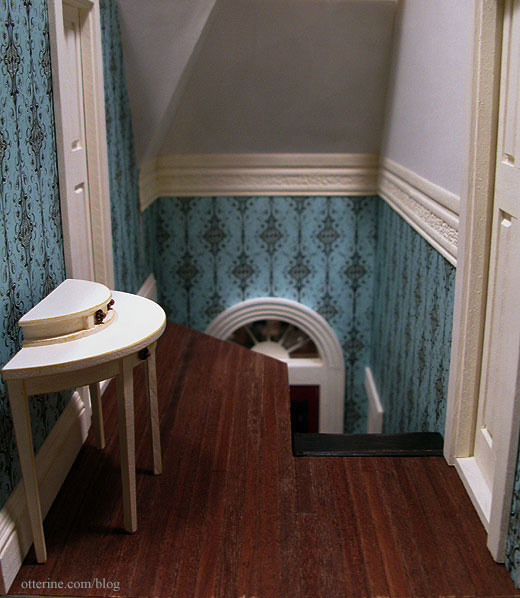
The plain floor was the clear winner for me. One nice thing about choosing the plain wood floor for the hallway is the fact that it was done in no time! I had just enough stained flooring with the bristol backing from the parlor floor project that I was able to use the leftovers. This had been previously finished with Minwax English Chestnut and then sanded to bring out the sheen of the wood. The sanding also makes the wood floor look old and well worn.
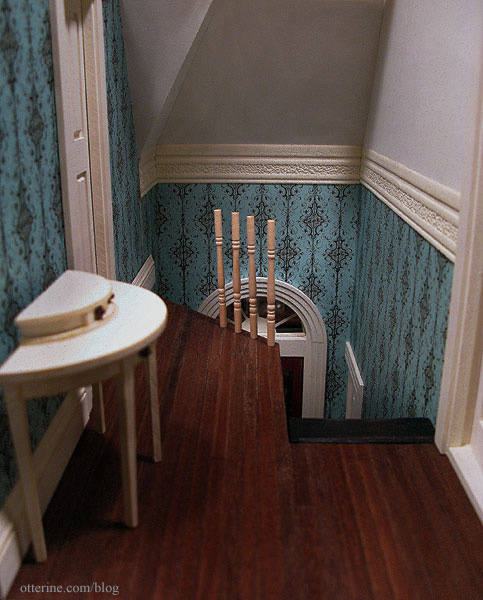
I installed the bathroom door and the rear piece of baseboard trim, too. I need to assemble the railings for the balcony before I can cut the forward piece.
These are the tall spindles I plan to use.
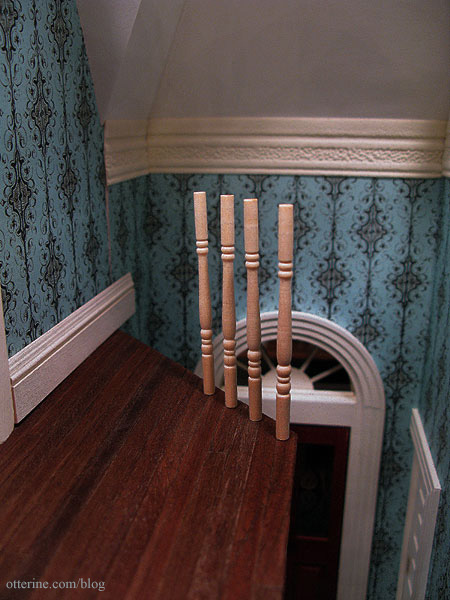
I got these in a miniatures lot. They are currently unfinished, but I am undecided if I will stain the spindles or paint them. I might do painted spindles with a stained railing. Either way, I’ll finish these with the stair spindles and railings all at the same time so it is a seamless finish from downstairs.
Categories: The Haunted Heritage
April 18, 2012 | 0 commentsHeritage – bedroom flooring and lighting plan
I cut the wood flooring for the bedroom. I was able to cut the entire room from one sheet of pre-made walnut flooring, which was a pleasant surprise. I had thought I would have to piece it from two sheets. I like the rich color of the parlor, so I decided to use the same stain, English Chestnut by Minwax.
Before I can actually apply the wallpaper, I need to plan the lighting layout for the room, including three table lamps. I’ll use my usual faux outlet technique.
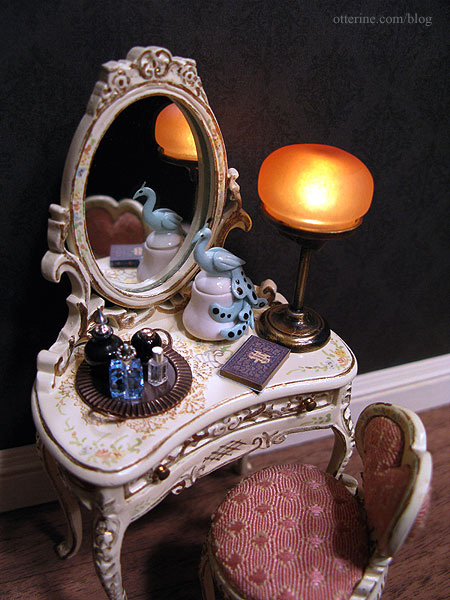
I have the vanity light on the outside wall.
I decided these Heidi Ott lamps were the best match for the bed and the overall décor. Even though the Heidi Ott lamps are huge, they are the perfect color and the clear glass makes them the right visual weight.
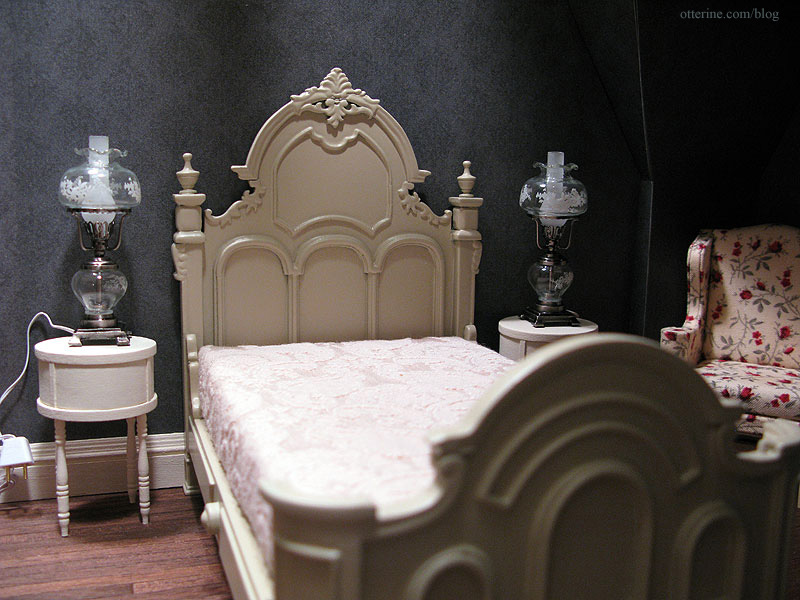
An elegant Ray Storey ceiling light will add a soft glow.
I have the battery operated light for the dresser in the front corner. This is a rather dark photo, but the lamp has a gunmetal finish.
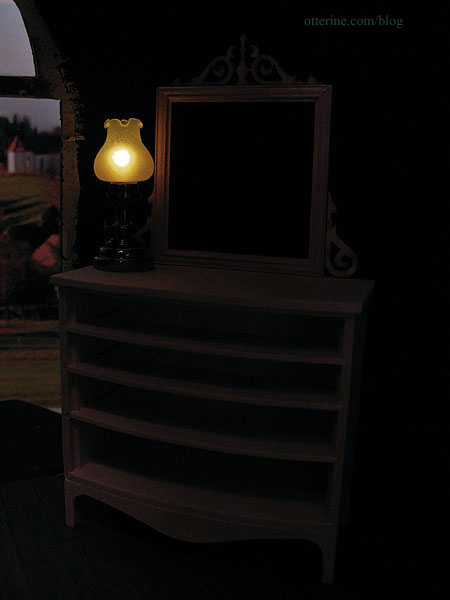
All of these lamps will complement the vintage feminine ambiance of the room. :]
Categories: The Haunted Heritage
April 17, 2012 | 0 commentsHeritage – round stained glass window
I am turning my focus to the round window. This isn’t a feature of the original Heritage kit but something I added when I eliminated the side bay window and replaced it with the massive chimney. This window sits in the bathroom, and I wanted to find something whimsical for the space.
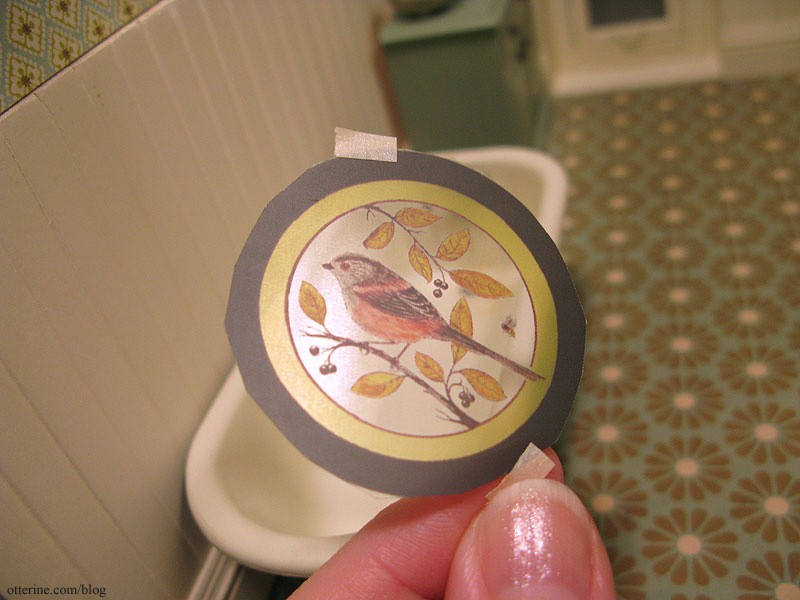
This is a lovely bird and bee design by Flora at Through the Round Window. Love!
I contacted Flora, and she graciously granted me permission to use the window in the Heritage. Here I’ve printed it on regular paper to test the size. Right now it looks like a painting, but I think it will shine once printed on transparency film.

I edited the image in PhotoShop, turning the bird more grey and removing all stray spots. The white in the bird wouldn’t print on transparency and any spots would be magnified in this small scale. I bumped up the coloration since printing on transparency usually results in some color loss. Beautiful.

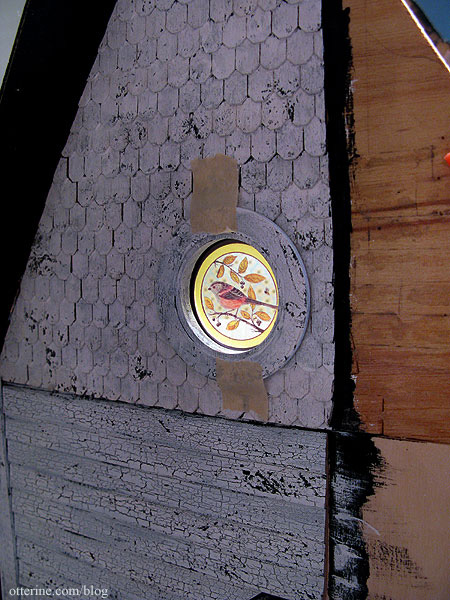
I also flipped the direction of the bird in PhotoShop since the printed side looks dull, and I wanted the bird to be facing the same direction as the original inside the room. I’ll cut a piece of plain acetate to cover the dull side so it will look glossy like glass when viewed from the outside.
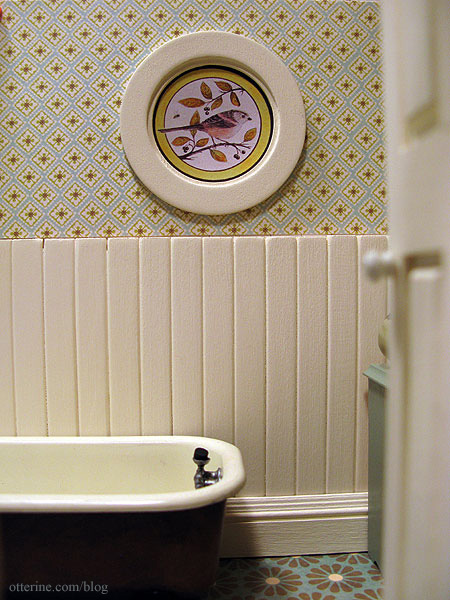
I taped it in place and checked the view from the exterior. Fabulous.
Finishing here.
Categories: The Haunted Heritage
April 16, 2012 | 0 comments
NOTE: All content on otterine.com is copyrighted and may not be reproduced in part or in whole. It takes a lot of time and effort to write and photograph for my blog. Please ask permission before reproducing any of my content. (More on copyright)