


NOTE: All content on otterine.com is copyrighted and may not be reproduced in part or in whole. It takes a lot of time and effort to write and photograph for my blog. Please ask permission before reproducing any of my content. (More on copyright)

Categories:
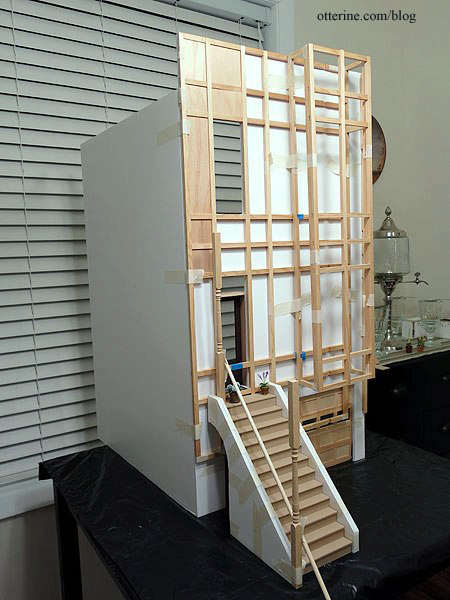
The Brownstone – entrance and front steps, part 6
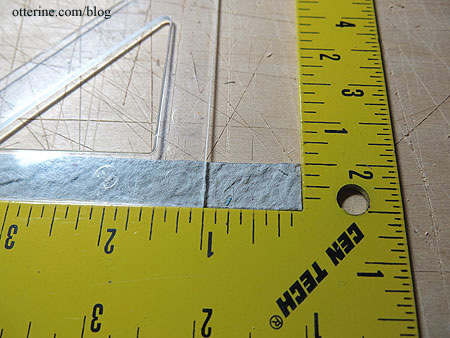
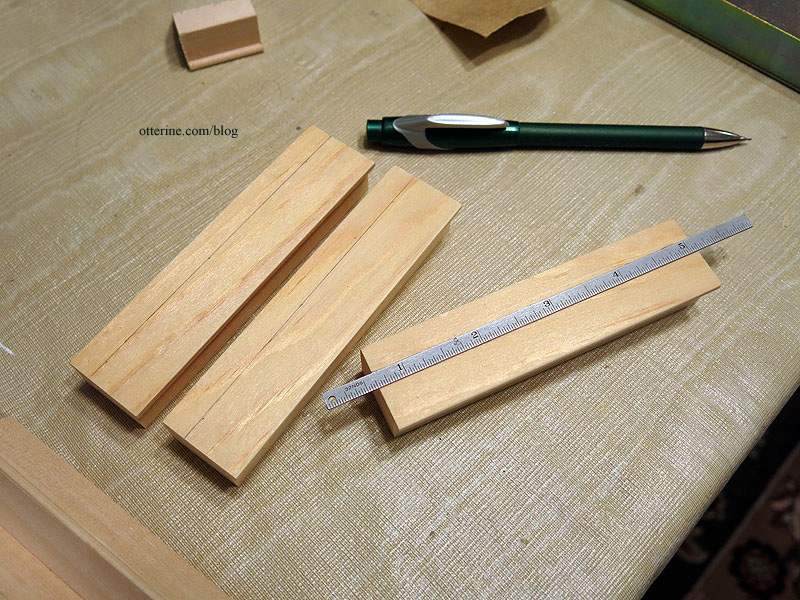
Continuing work on the entrance and front steps. My stones are 1″ x 1/2″ for ease of measuring. This time, I did not clip the four corners, as I normally do for bricks. But, an extra step I did need to do was make sure my stones were square. Made the cutting go a little slower.
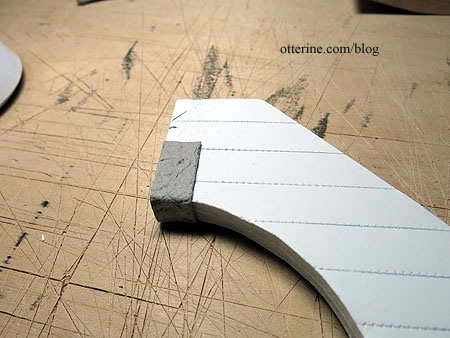
The arch needed to be addressed first, so cut longer 1/2″ wide pieces to wrap around the foam core base. I folded one end to make a 1″ stone. I held that in place and folded the long end around the foam core board base. I marked 1″ on the other side, cut off the excess and glued it in place. I used Weldbond glue this time around; it grabs fast and holds tight.
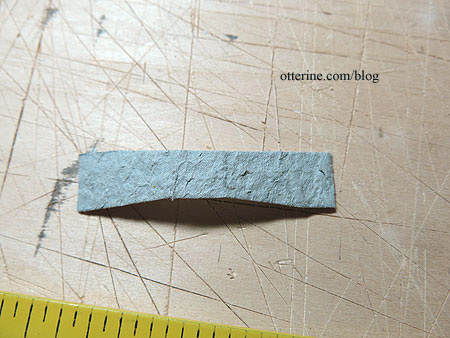
For the stones around the curve, I repeated the process, but I had to taper each piece to fit. Little bow ties. :D
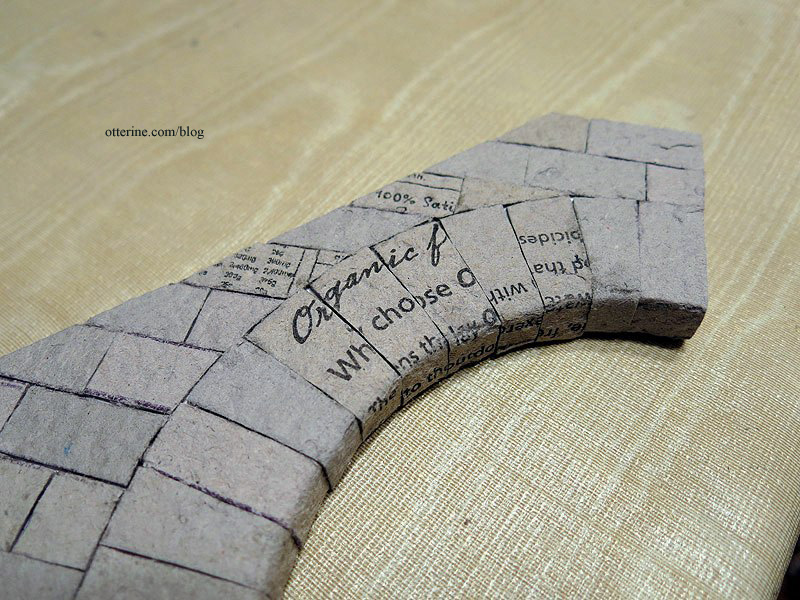
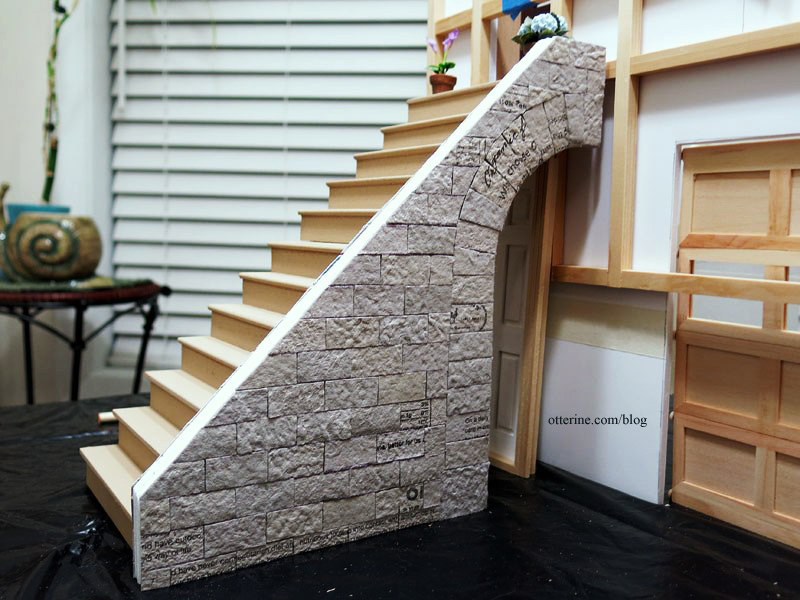
I didn’t take a lot of photos during the process since I applied and removed stones many times as I figured things out. The second wall should be much easier, and faster! Here’s the arch after completion showing the tapered stones and tight fit.
Since there was an uneven amount of space left at the bottom of the arch, I added a large block instead of having a small stone at the bottom. This is also egg carton material and follows the same process as the other wraparound pieces.
Once these were in place, I started applying the straight rows from the top down. Partial stones can be more easily disguised at the bottom with landscaping and accessories. I will finish the tops with basswood painted to resemble concrete, so I cut the stones flush with the angled top. I also pressed the stones close together since I don’t plan to grout other than adding filler where needed.
Since you will be able to see most of the other side, I repeated the stone application to match.
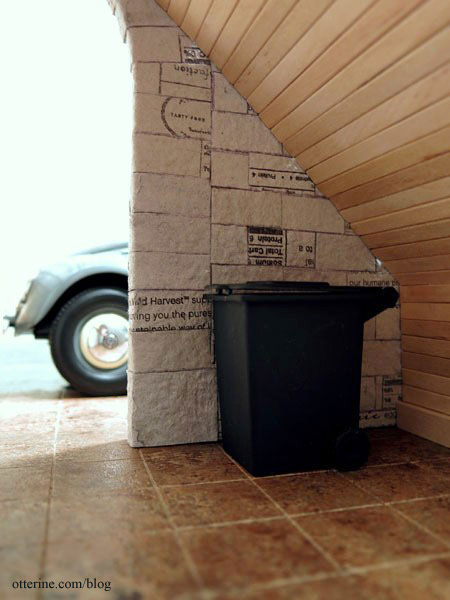
With the skinny sticks and stone finish, I think the trash bin nook will be fabulous! :D
Categories: The Brownstone
February 5, 2014 | 0 commentsThe Brownstone – entrance and front steps, part 5
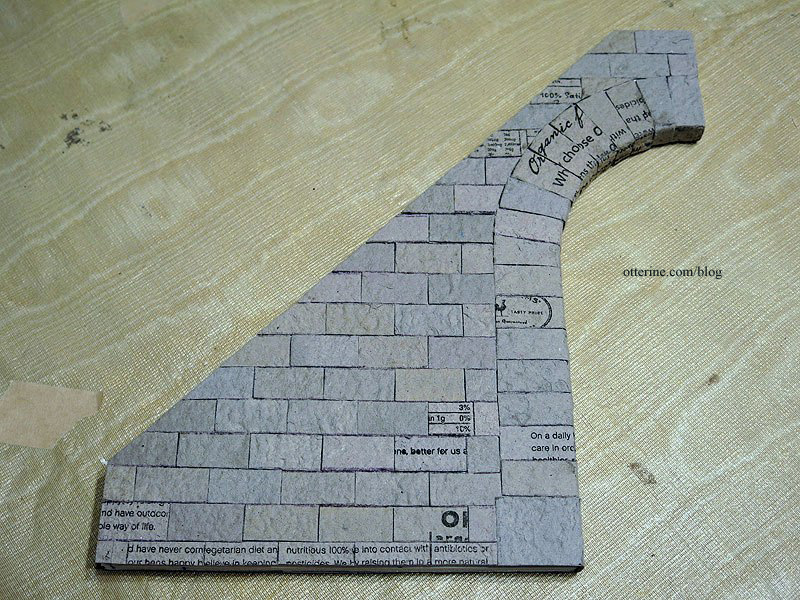
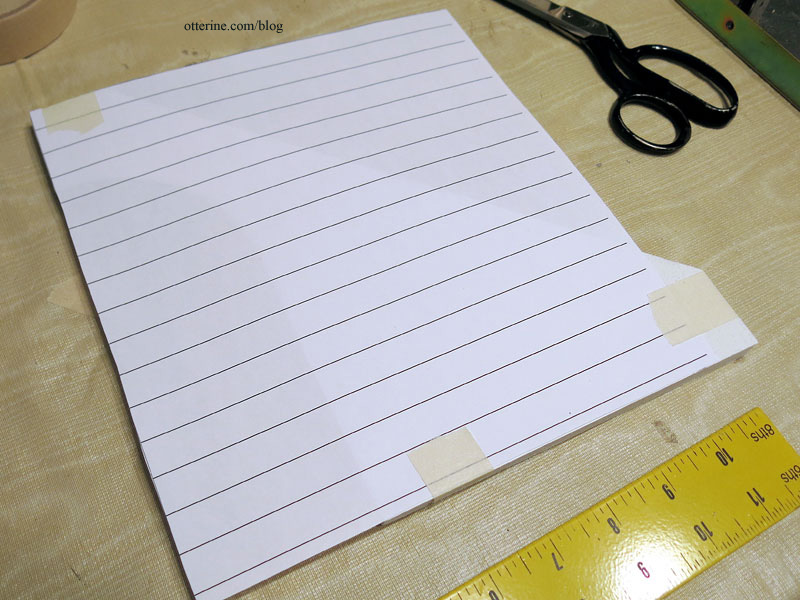
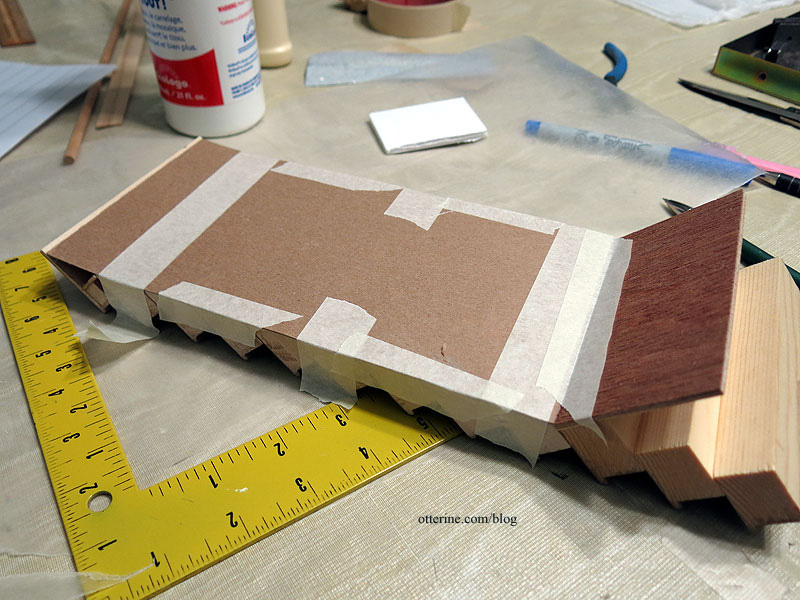
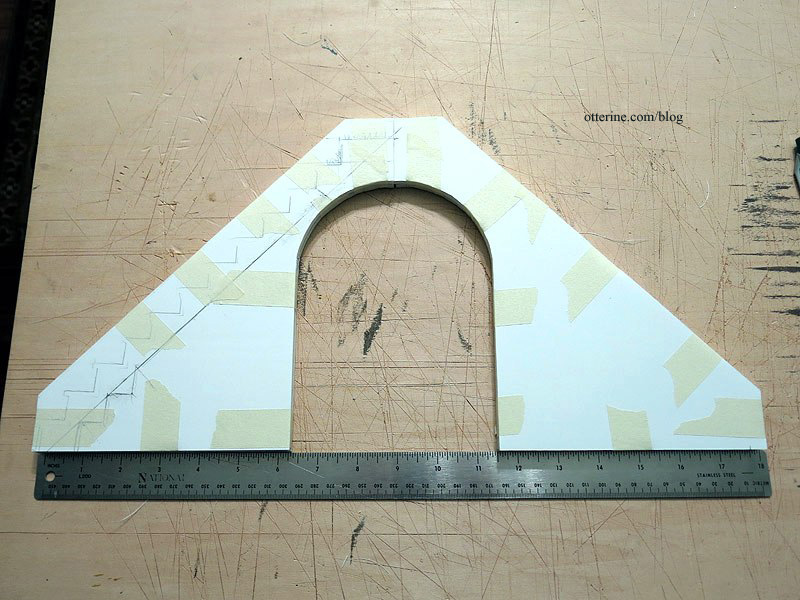
Continuing work on the entrance and front steps. The side walls will be covered with egg carton stones. I printed guidelines, with the top section measuring 1/2″ and the subsequent sections measuring 9/16″. I will be stacking the stones very close but wanted to give myself a little room. I taped the guidelines to the foam core assembly, trying to make it as square as possible.
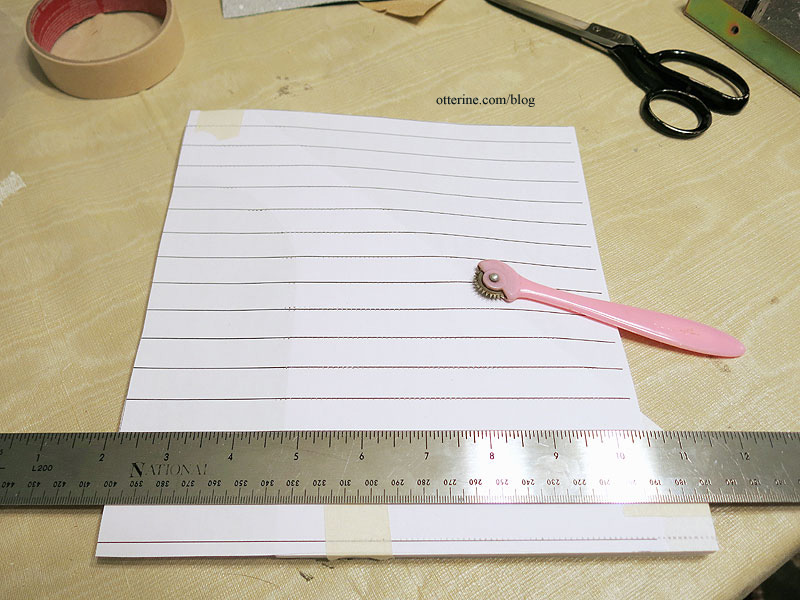
I used a tracing wheel (sewing tool) to transfer the lines to the foam core board.
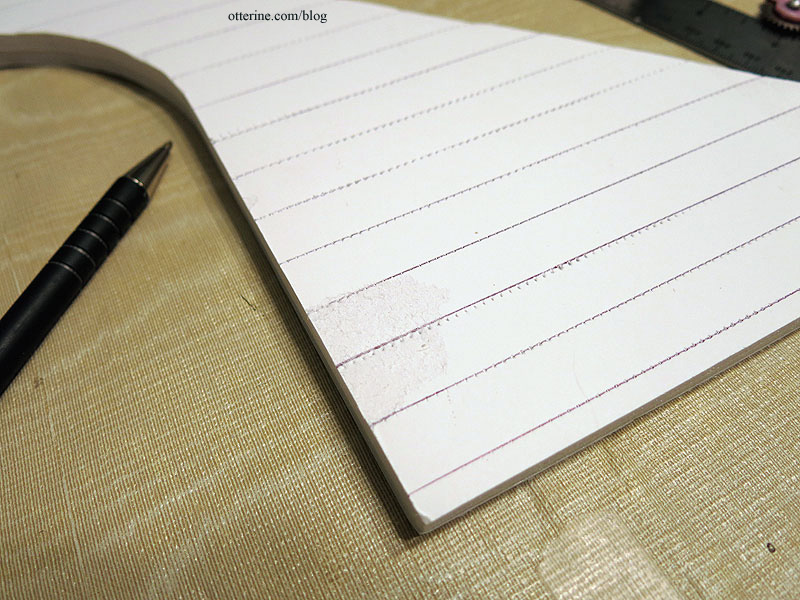
I then used a pen to enhance the lines.
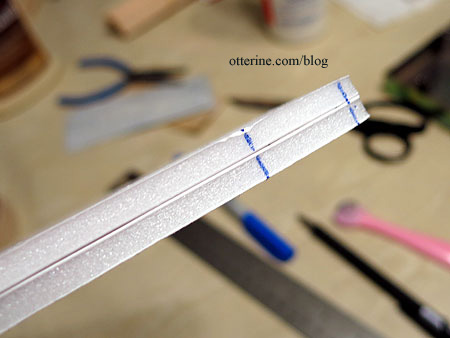
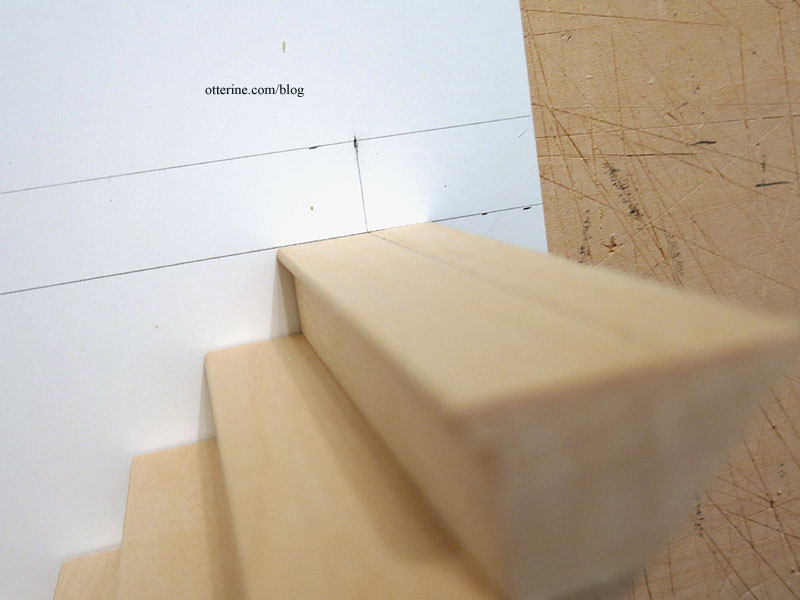
Since I will lose my staircase placement lines when the stones are put in place, I transferred the markings to the foam edges with a Sharpie.
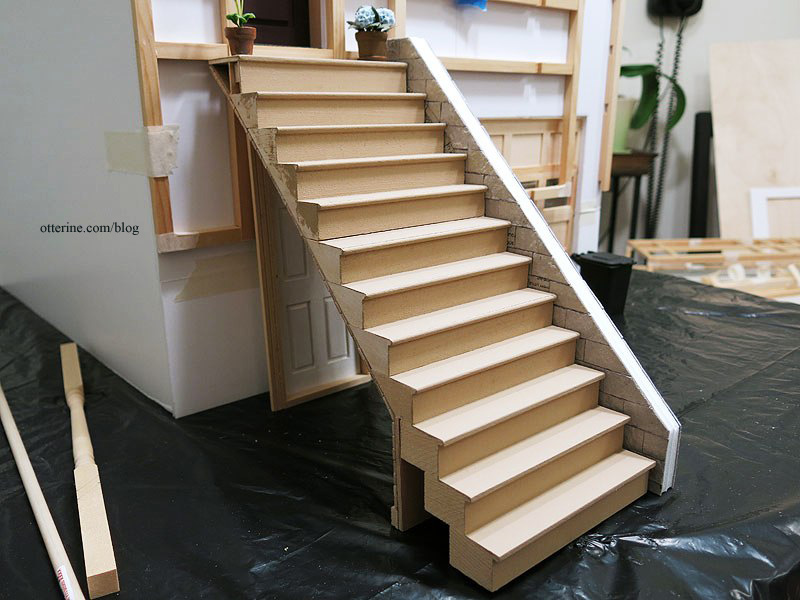
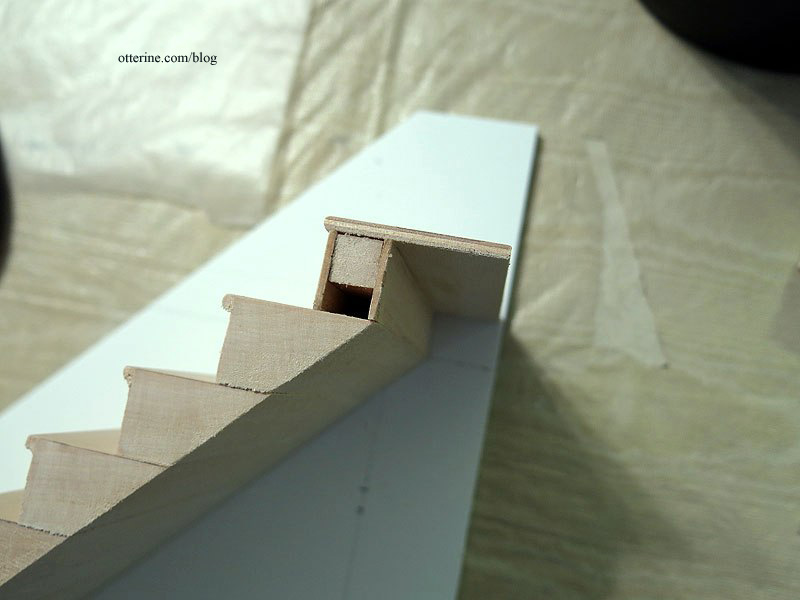
To finish the back of the staircase, I added a scrap of plywood behind the top vertical step piece.

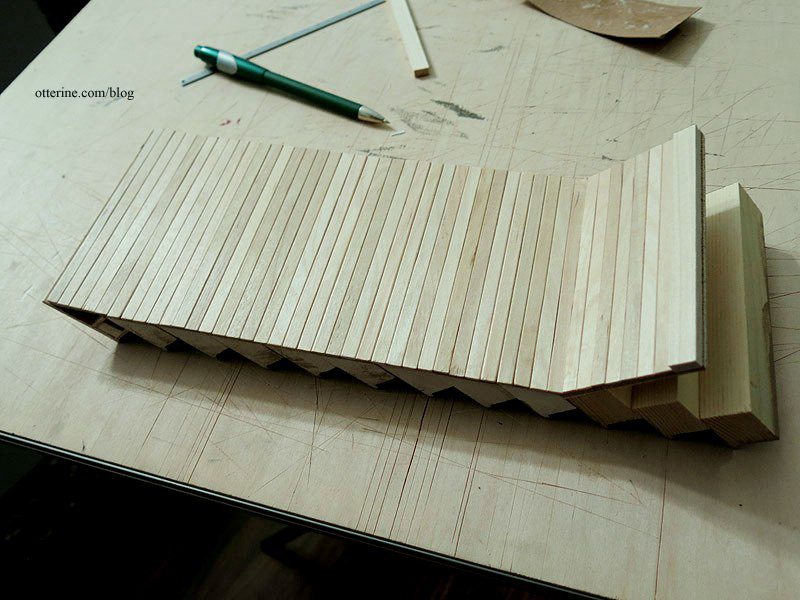
I then added a cardboard liner to the back of the angled section to have a uniform surface for applying skinny sticks.
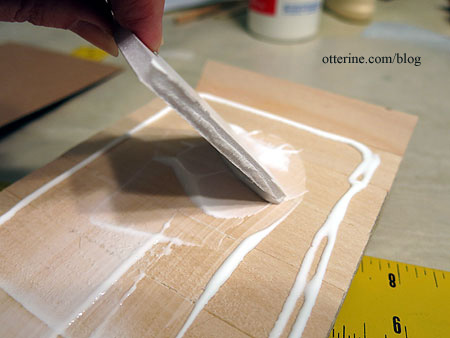
I save my scraps of foam core board to use as glue spreaders. They are inflexible and have a good straight edge for moving the glue around uniformly.
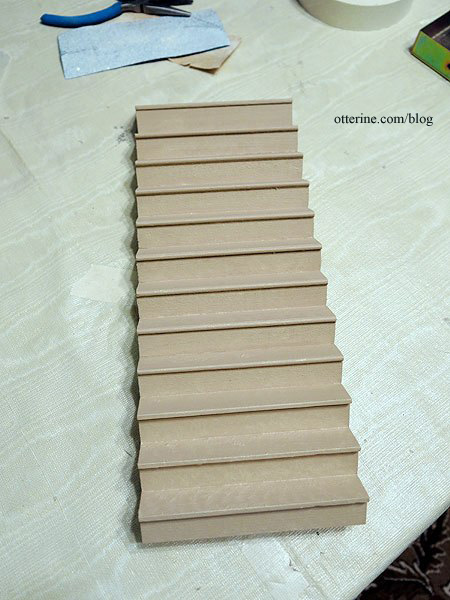
I cut the sticks and glued them in place, taping the boards down until glue set.
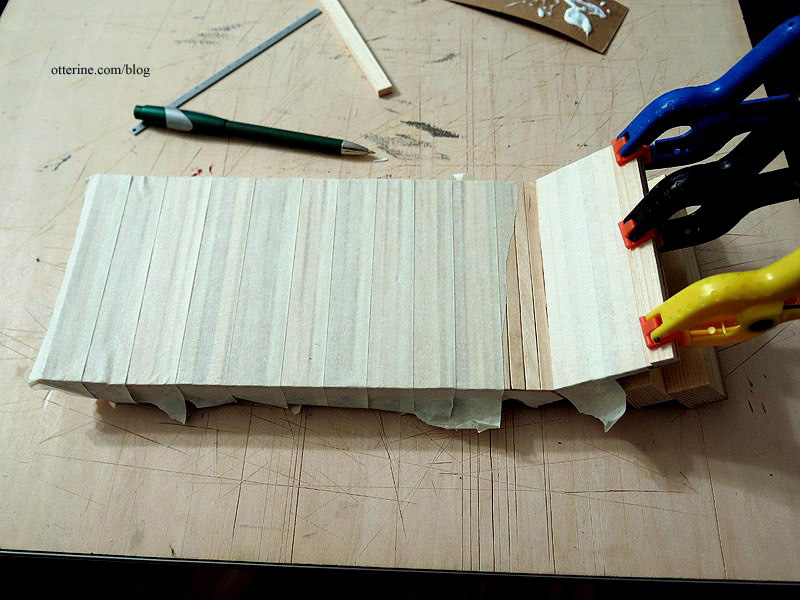
I finished the bottom edge with 3/8″ basswood. Now I have a nice clean, finished surface.
Categories: The Brownstone
February 4, 2014 | 0 commentsThe Brownstone – entrance and front steps, part 4
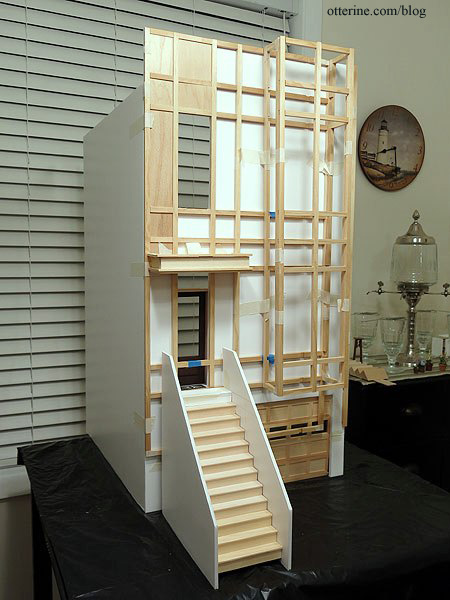
Continuing work on the entrance and front steps. I made a new top step/front porch from plywood and basswood.
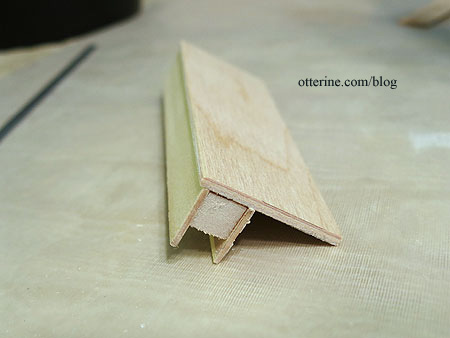
I glued this in place on the top trim molding step, having marked the depth on the top of that piece previously. Since this will be enclosed, I put some masking tape on the back at the join (not shown here).
Debora suggested I reconsider the railing to have a more open look and sent me a photo showing an example I hadn’t seen. All the railings I had seen involved intricate wrought iron work. It hadn’t occurred to me to use a basic iron railing that could be made from wood dowels.
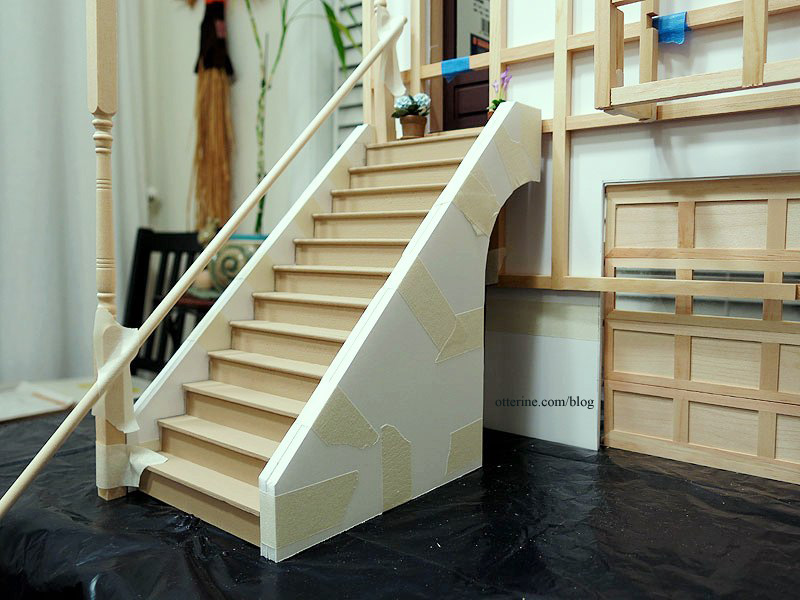
I cut down the side walls, creating an open space between the railing and the side wall. This will significantly cut down on the expanse of stone on the side walls, making them less intrusive overall. And, it looks like I’m back to porch columns instead of brackets. :D

I used a plastic lid to make the arch under the stairs and cut the opening with the scroll saw.
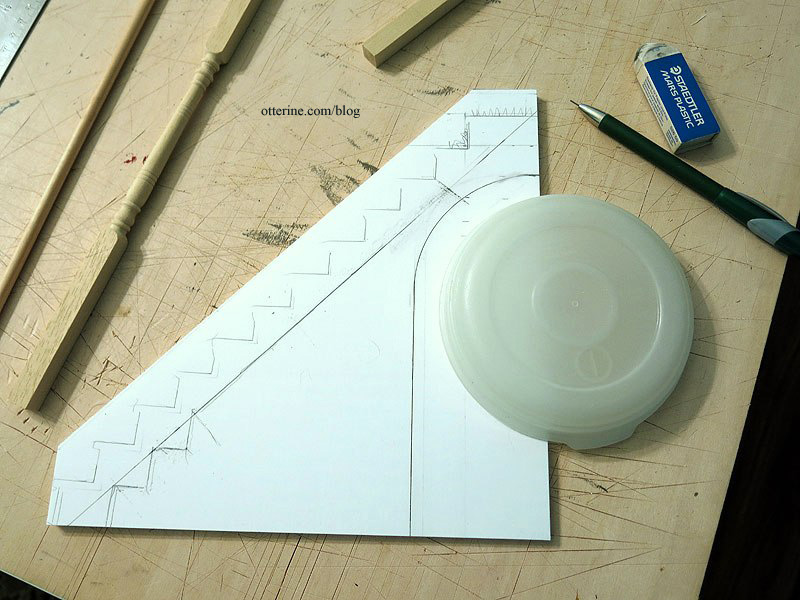
I measured the arch to allow a person to walk through to the side lawn and to accommodate a door on the front of the building.
I cut three additional pieces of foam core board following my initial template.
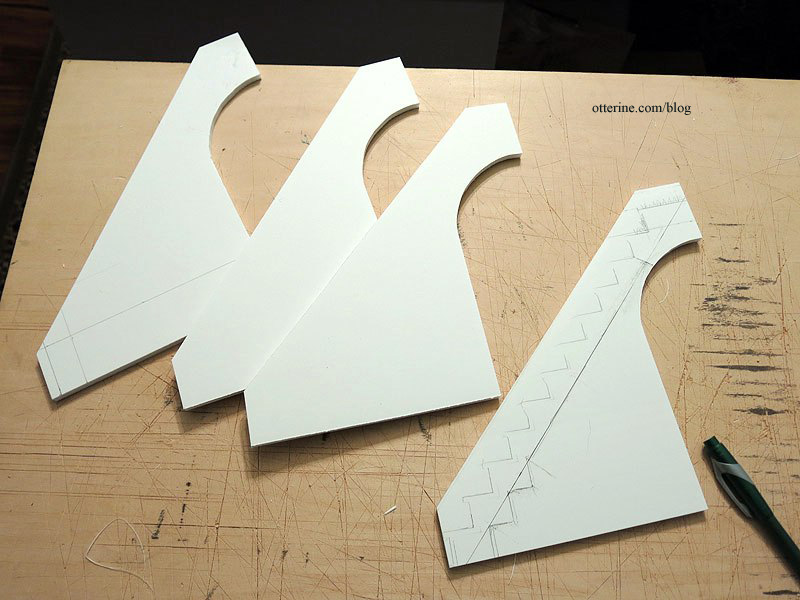
I glued two pairs and transferred the relevant markings from the first board to the opposite assembly.
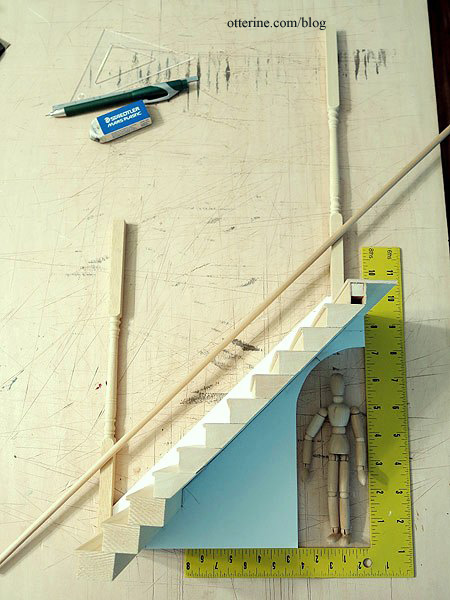
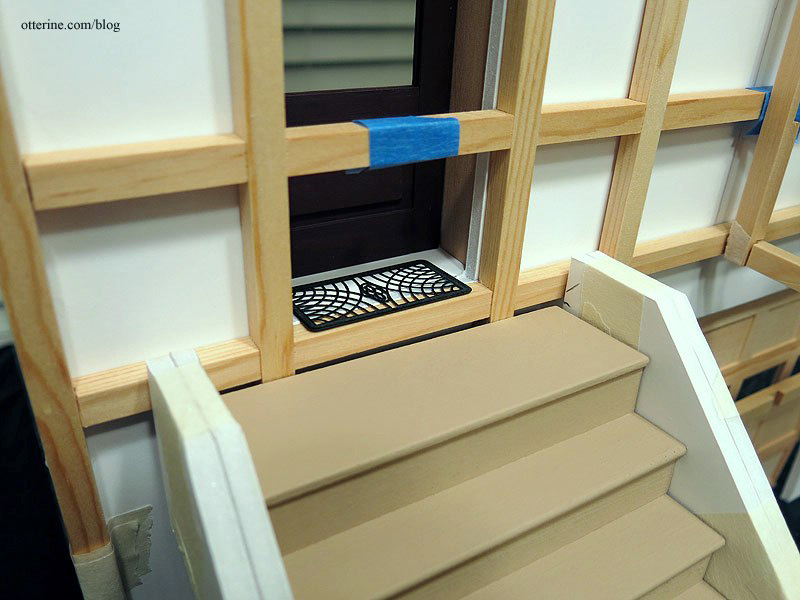
I painted the stairs Fawn by Americana.
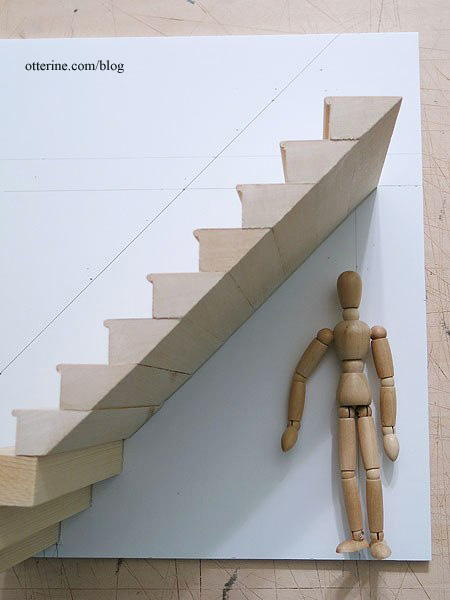
When I put the stairs in place, they were roughly 3/8″ lower than the doorway, as expected. But, I now think this works well. Having a step up into the doorway is a common feature from what I’ve seen. Happy accident. :]
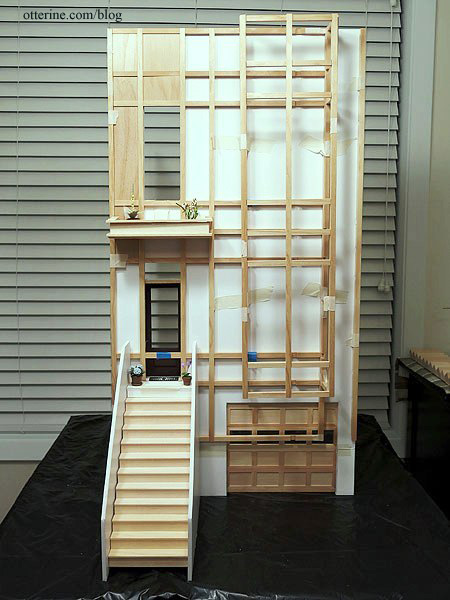
I taped the posts and railing in place. Keep in mind these will be more aligned later, but I don’t want to cut the materials until I am ready for them.
I think these changes add a lot of visual interest.
And, at first, I was going to close up the back of the stairs and have a full arched tunnel. Then it occurred to me that this would be the perfect hideaway for trash cans. :D
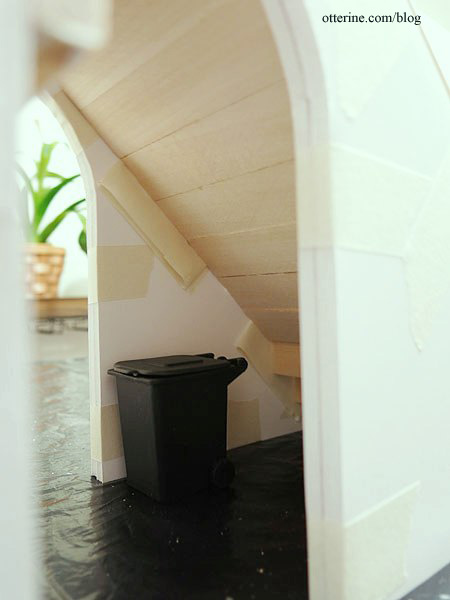
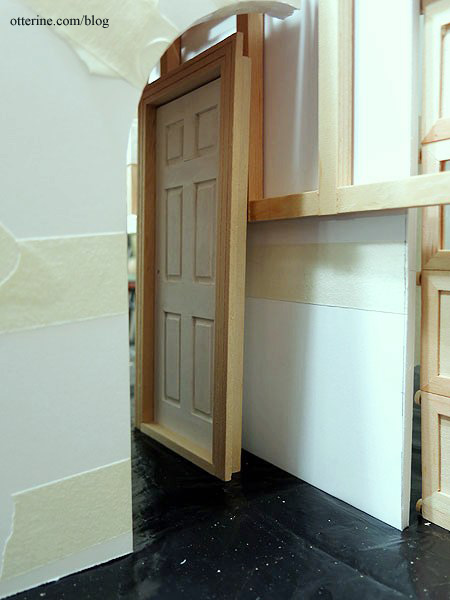
So, that means two separate stone walls on either side of the steps. I’ll figure out a way to finish the back of the stairs…probably skinny sticks. This will actually be easier for construction. Under the arch, there will be a door for the lower floor.
Categories: The Brownstone
February 2, 2014 | 0 commentsThe Brownstone – entrance and front steps, part 3
Continuing work on the entrance and front steps. I glued three of the original kit steps to the bottom of the assembly of eight trim molding steps.
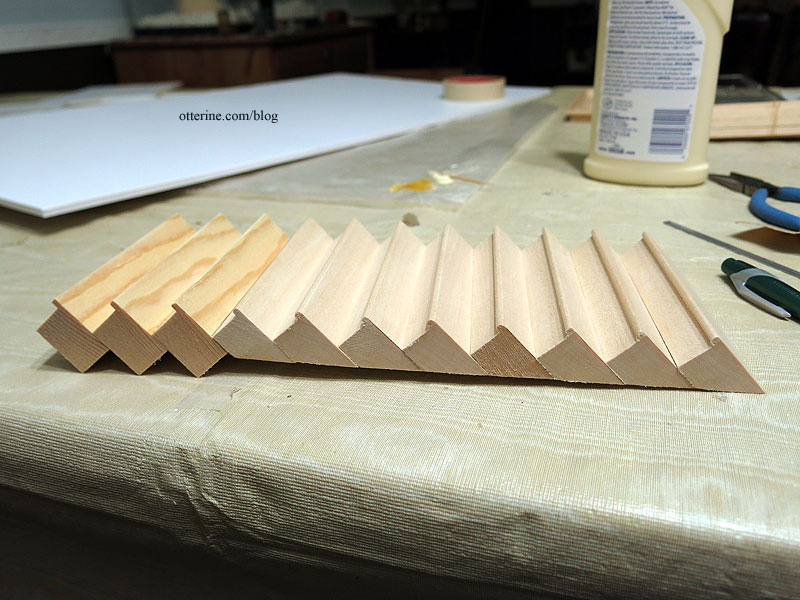
To make sure they were evenly spaced to match the top steps, I drew guidelines on the tops before gluing.
I drew guidelines for the top stair/porch assembly that I will build later.
With the existing steps, I am short 3/8″ under the stairs. I don’t want a huge top step, so I will build up under the bottom step with the modest amount of sidewalk that will show. I marked the side boards to reflect stone walls on both sides that would also serve as railings. There’s very limited room under the stairs so the arch and doorway will have to be carefully planned.
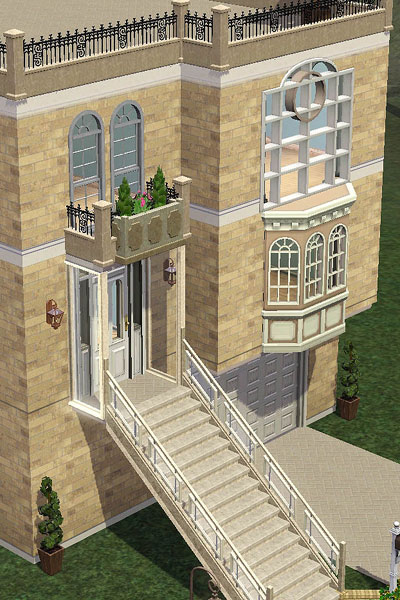
I might opt for a shorter wall with opening railings, but I want try something new. Here’s an example of what I have in mind. :]
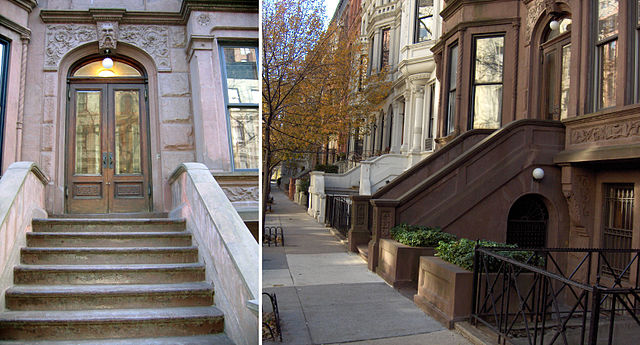
image from Wikipedia If I go with this, I will cut new brackets for the canopy above the door and eliminate the columns. Scroll saw to the rescue! :D
As I mentioned, I liked April’s idea of having plants on top of the portico, so I tried raising it up as Debora suggested. I think it will work, especially since I plan to leave the open space above the door as a window. I won’t convert the upper window into a door, because I don’t plan to make this space large enough to be a balcony, just a place for plants, and a mini person could simply reach through the window to water them. :D
Categories: The Brownstone
February 1, 2014 | 0 commentsThe Brownstone – entrance and front steps, part 2
You know it’s a good project when you keep other people up thinking about solutions. :D Many people had good input on the entryway issues, but I believe April gets the gold star. She made a mockup of the entryway in the The Sims 3. haaaaaaaaaaaaaaaa! :D
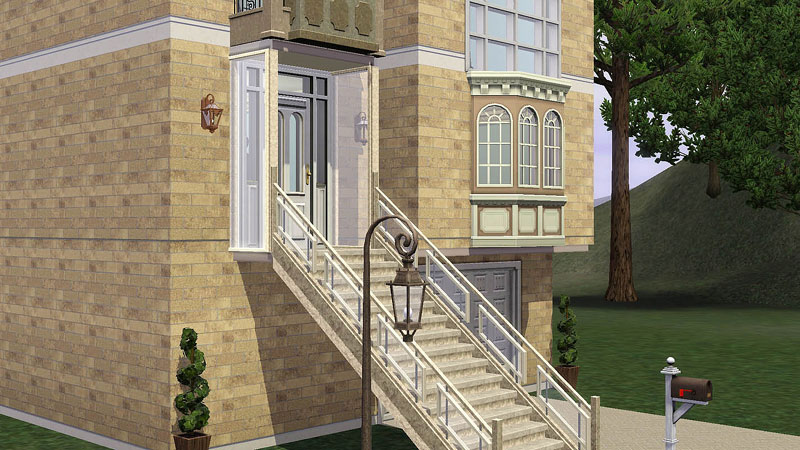
She suggested I go with the first option of adding a small porch, pushing the stairs forward. After sleeping on it, I had come to the same conclusion (great minds thinking alike!). I do have room on the interior, which means I can cut down the depth of the building to make up for the amount I add to the front porch. I won’t be cutting my final side walls until the front board is further along anyway.
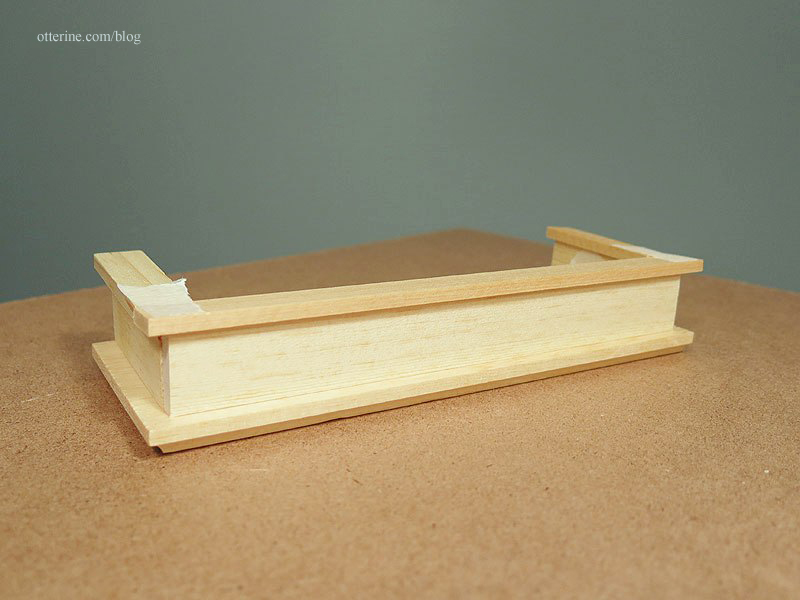
I started by dry fitting the portico roof. There’s some interesting construction going on here, and I’m figuring this was to keep the kit costs down. The basic roof assembly is fine; there’s quality wood and it’s precisely cut.
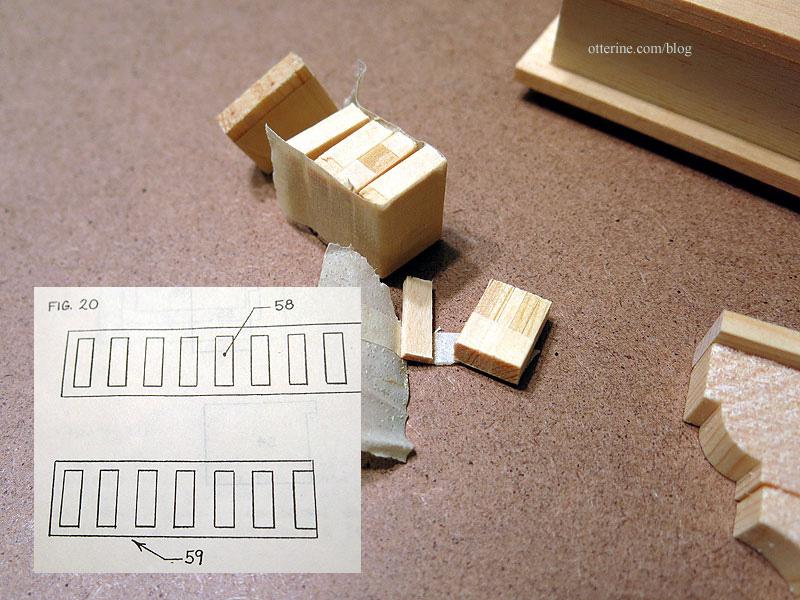
They have you make the flat molding detail by gluing on tiny precut bits of wood. Uh, yeah, that’s not gonna work well. I foresee purchased fancy trim in my future.
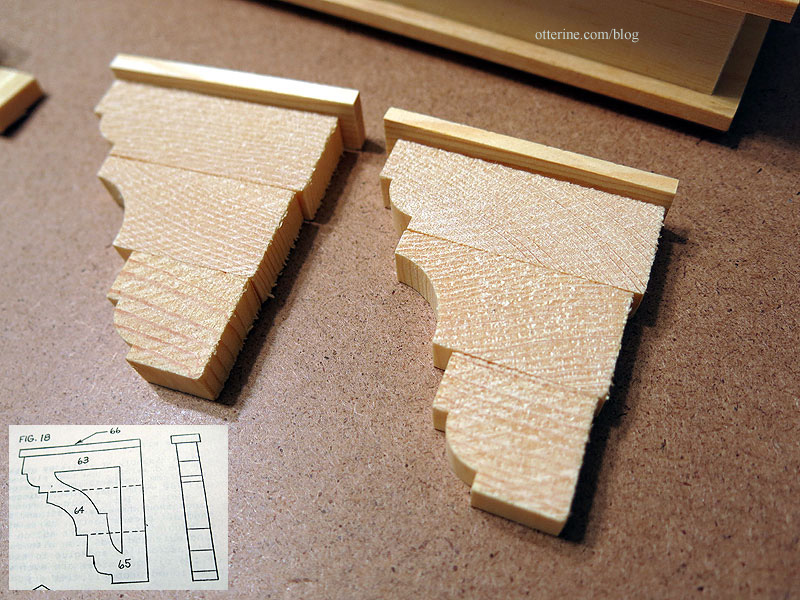
The brackets are the worst, though. You assemble each from three poorly cut pieces and then paint on the detail. I might not go with brackets anyway, but if I do, these will be replaced as well.
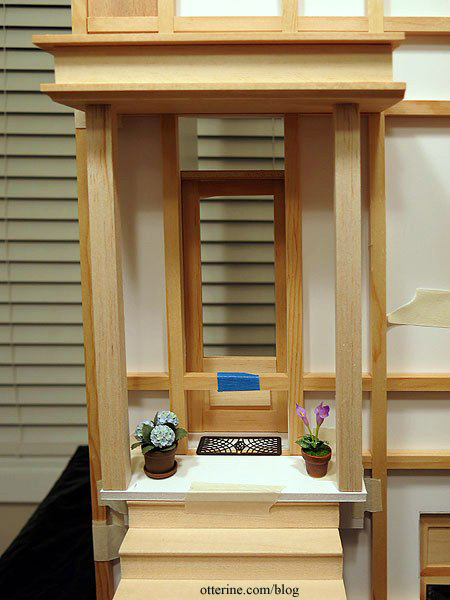
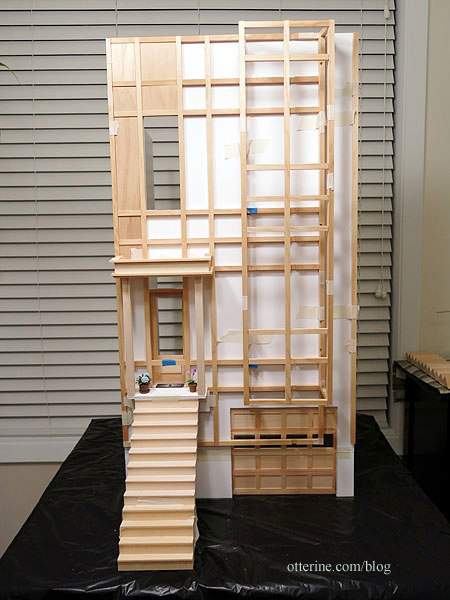
On to the mockup. I cut the holes in the foam core board facade for the upper window, front door and garage door. I wanted to see the recessed door in relation to the new porch. The blue taped piece is to be cut out according to the kit instructions to open the doorway, but I am leaving all grid pieces intact until I’m ready to work on them.
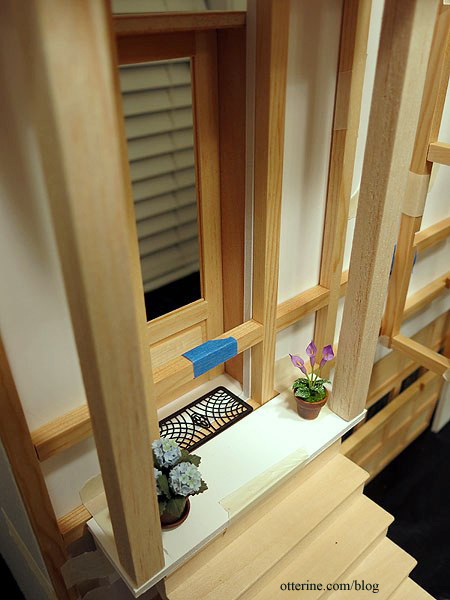
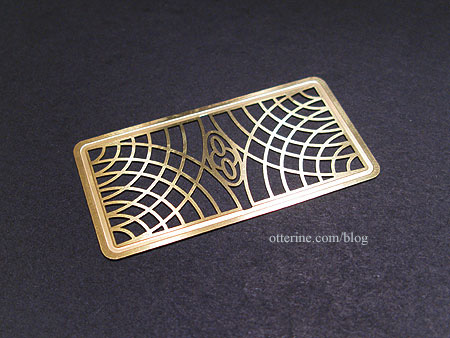
I’ve had the hydrangeas for awhile, but the calla lily is from miniatures.com. I borrowed the laser cut doormat from The Haunted Heritage. I have another of these for the Brownstone, and it looks like it will be a perfect fit. It’s from The Dolls House Mall and started out as brass. :]
Now, I’ll be using 1/8″ thick plywood for the facade base and the foam core board is 3/16″ thick, but none of this will matter in the end. I’ll be modifying the opening for the working door frame and can alter the way this portion is constructed to get it all to work. :]
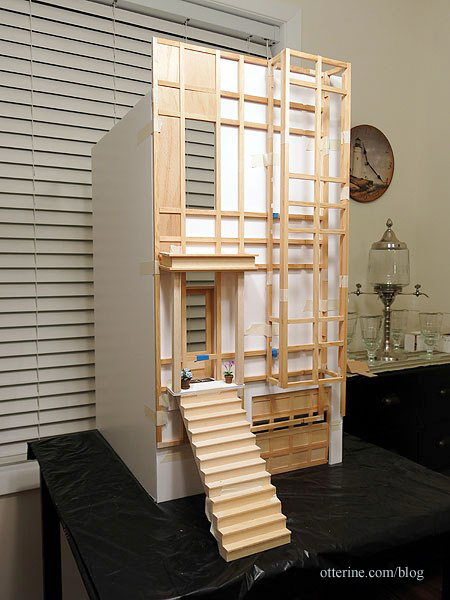
I added two balsa wood columns that won’t be used in the final design, but I do like the idea of columns here instead of brackets.
For the porch, I used a piece of foam core board 5 5/8 wide by 1 1/2″ deep. I have the top stair taped directly under it for now. I will build up the porch to act as the top step, and build up the landscape underneath the staircase to make up for any difference in the end result.
I’ve also been throwing around the idea of having a door to the basement/garage area under the front stairway. I think an arch under the staircase would make for wonderful curb appeal, too. I’ll address the sides of the stairs next.
Even though April’s mockup isn’t based on the Golden Gate View kit, it was exactly the kind of visual I needed. Huge thanks to April! Woohoo! :D (I love the plants on her balcony, but alas, there’s too much room between the upper window and the portico roof.)
Categories: The Brownstone
January 31, 2014 | 0 comments
NOTE: All content on otterine.com is copyrighted and may not be reproduced in part or in whole. It takes a lot of time and effort to write and photograph for my blog. Please ask permission before reproducing any of my content. (More on copyright)