


NOTE: All content on otterine.com is copyrighted and may not be reproduced in part or in whole. It takes a lot of time and effort to write and photograph for my blog. Please ask permission before reproducing any of my content. (More on copyright)

Categories:
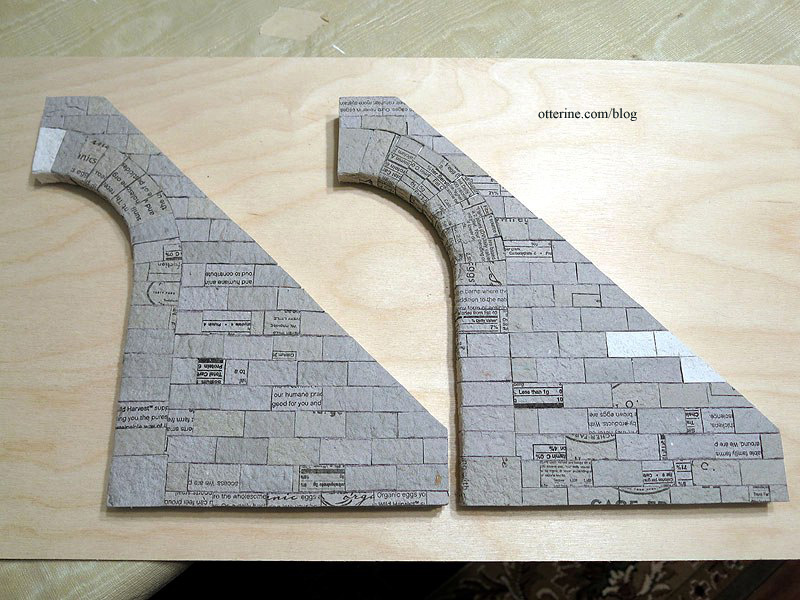
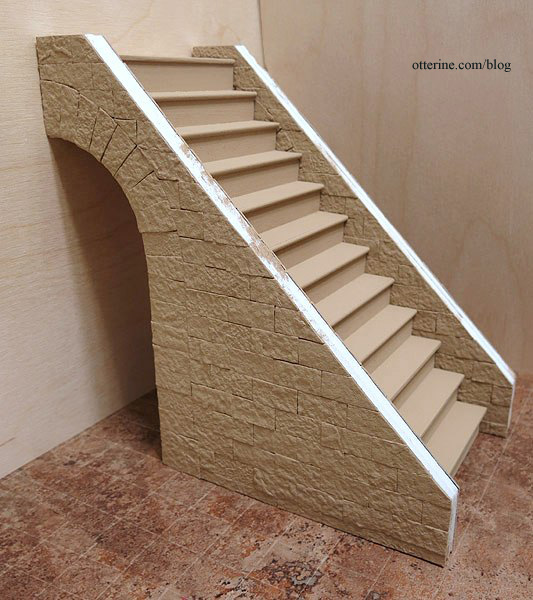
The Brownstone – entrance and front steps, part 7
Continuing work on the entrance and front steps. My second arch turned out better, so I altered the first one. My second wall also lined up better, so the two don’t match. I’m not going to redo them since you won’t see them side by side…well…except here. :D
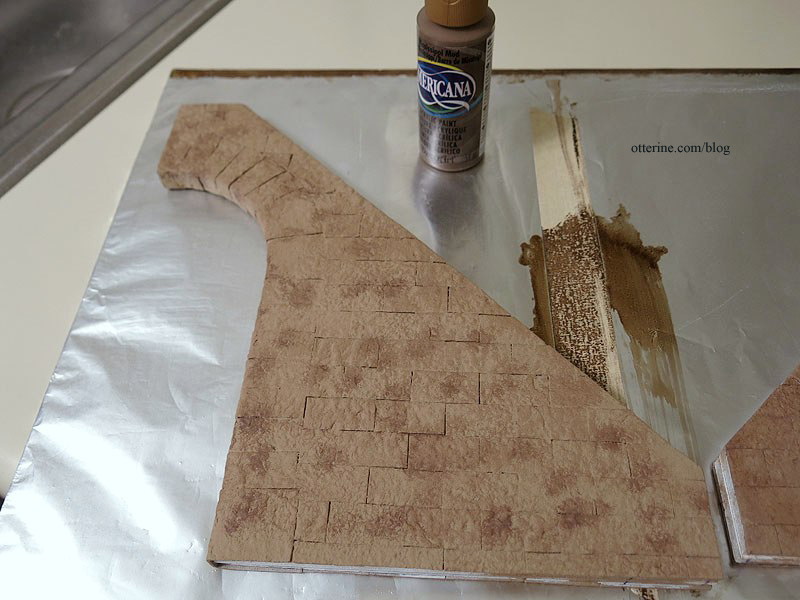
I painted the stone with a base coat of Fawn by Americana.
After the base coat of Fawn by Americana had dried, it was time to start adding color washes and glazes to add some dimension. I mixed Mississippi Mud with Staining Medium, both by Americana, and dotted the color at random. I wiped it off immediately.
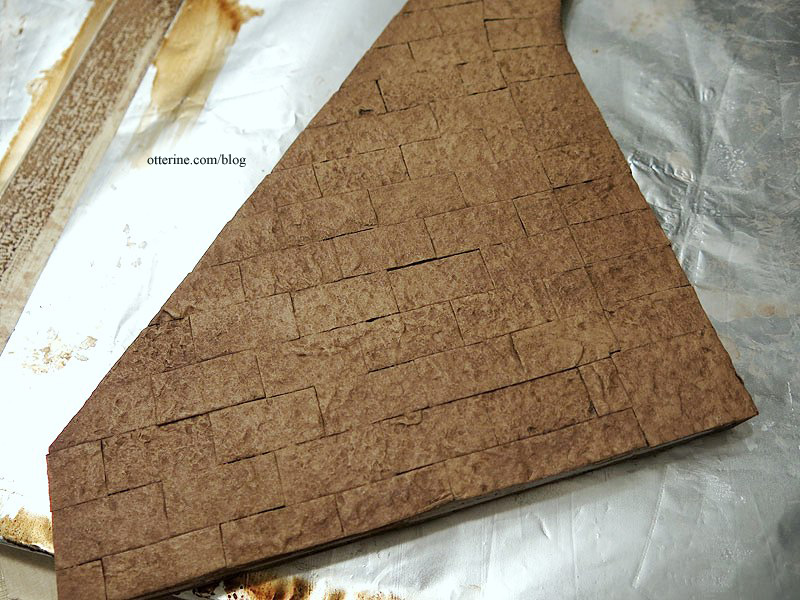
I added a number of paint washes to get a deeper color variation. It ended up a lovely warm color. Now the texture and outlines show up well.
Categories: The Brownstone
February 12, 2014 | 0 commentsThe Brownstone – front door, part 1
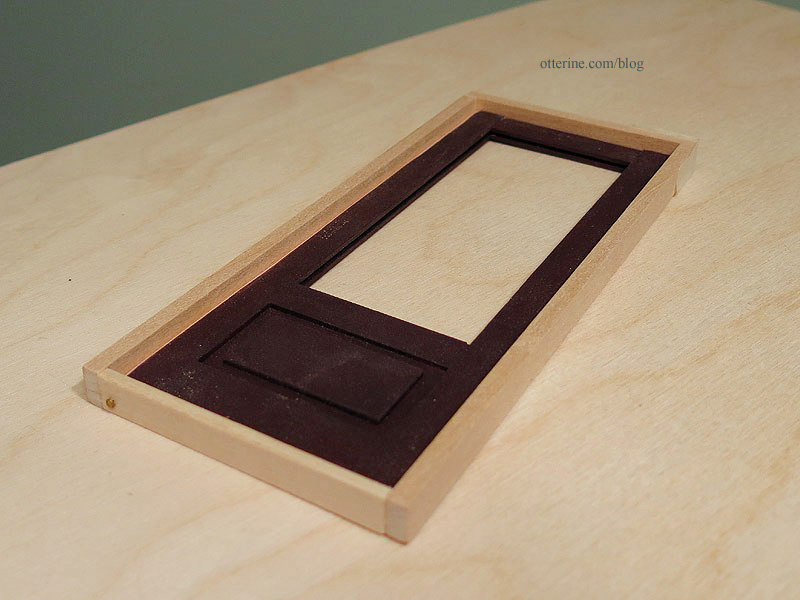
I’m keeping the original kit door, but the instructions have you glue the door in place whereas I want a working door. Houseworks doors are a different size than the kit door, so I couldn’t use an existing frame on the kit door.
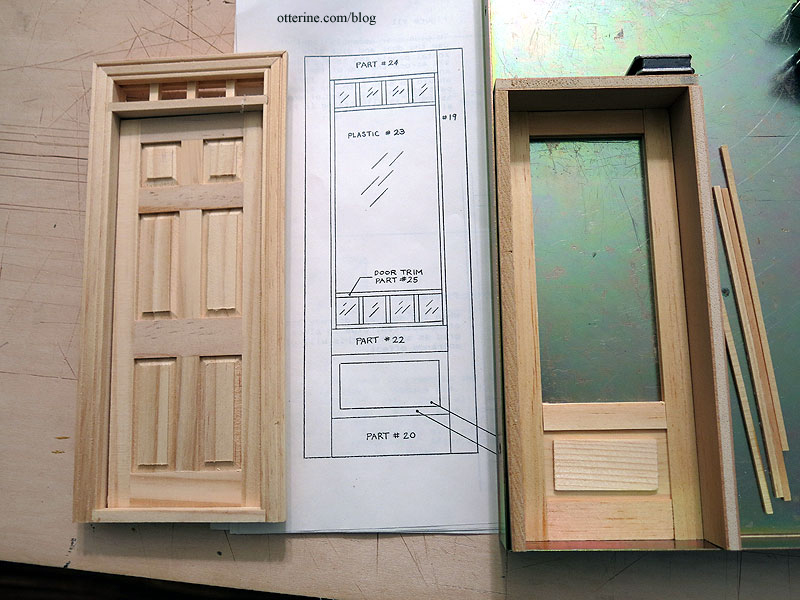
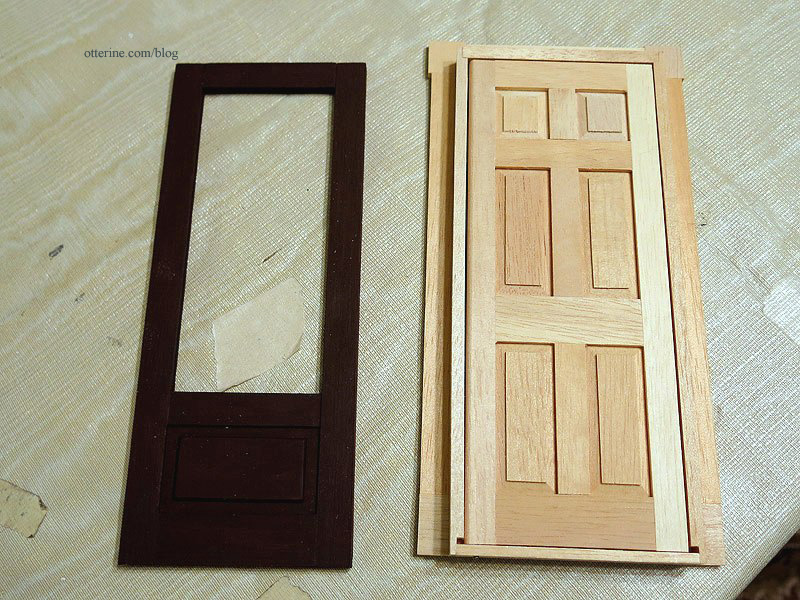
The kit door has been assembled without the glass insert and pane detail for now. The kit door had only one lower rectangle detail, so I cut another for the other side.
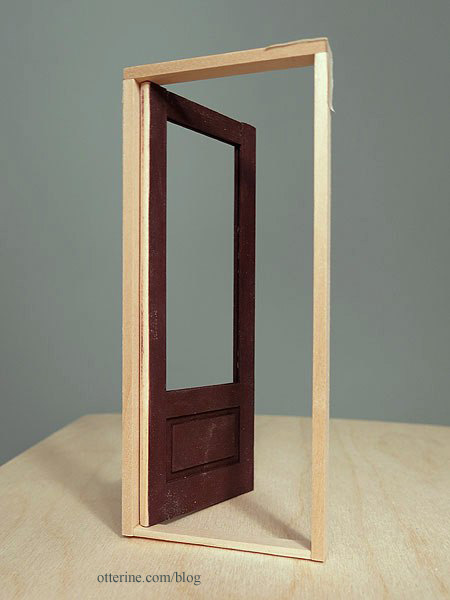
To make the frame, I used a Houseworks door for reference. Unlike the Houseworks door, though, I won’t have exterior and interior trim. Instead, the door will be built into the recessed entry and have trim only on the interior. The door has one coat of Black Plum by Americana. It’s more brown than I wanted, so I’ll top it with another color.
Like the Houseworks door, I curved one edge of the door using a metal file.
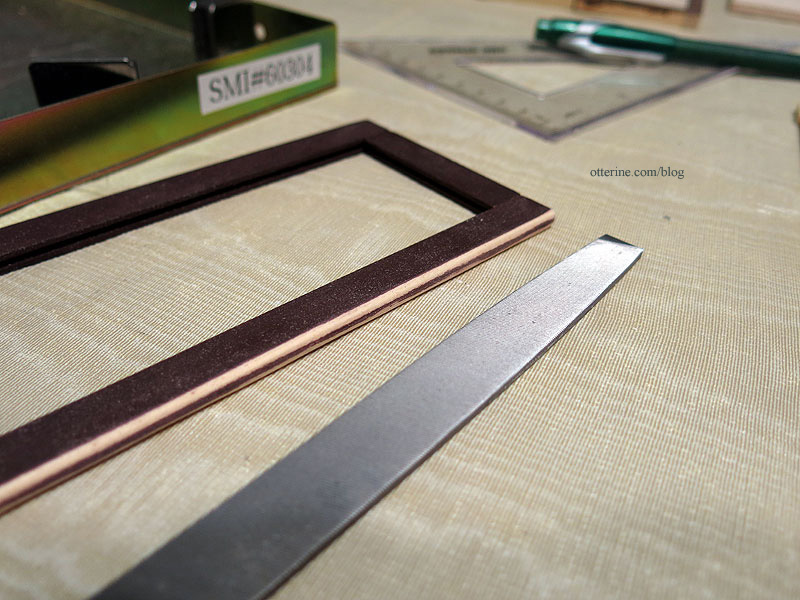
I used 3/16″ x 3/8″ basswood for the top and sides. The bottom of the frame is made from 1/8″ x 3/8″ basswood. The frame is built close around the door while allowing it to move freely.
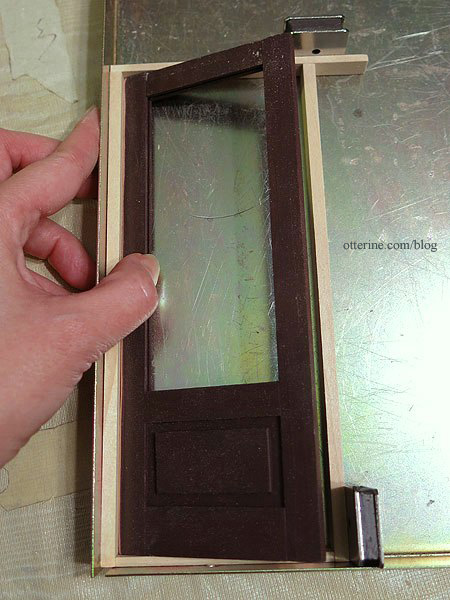
After making the pocket door for the Heritage, I had an extra set of hinge pins. I drilled holes in the kit door and finished fitting the frame with those in place. It works!
It sits flush with the back of the frame as planned; this is the interior side.
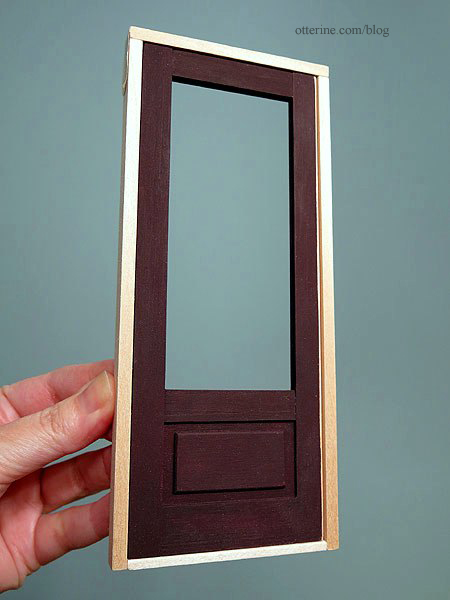
There’s enough room in front of the door for added trim to keep drafts out…that’s next. :D
Categories: The Brownstone
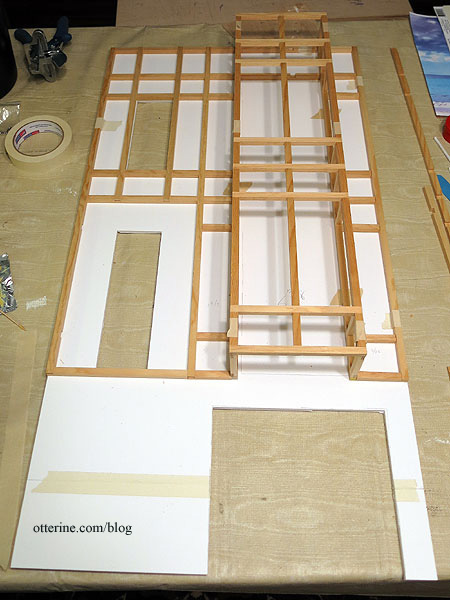
February 11, 2014 | 0 commentsThe Brownstone – backer boards and filler pieces
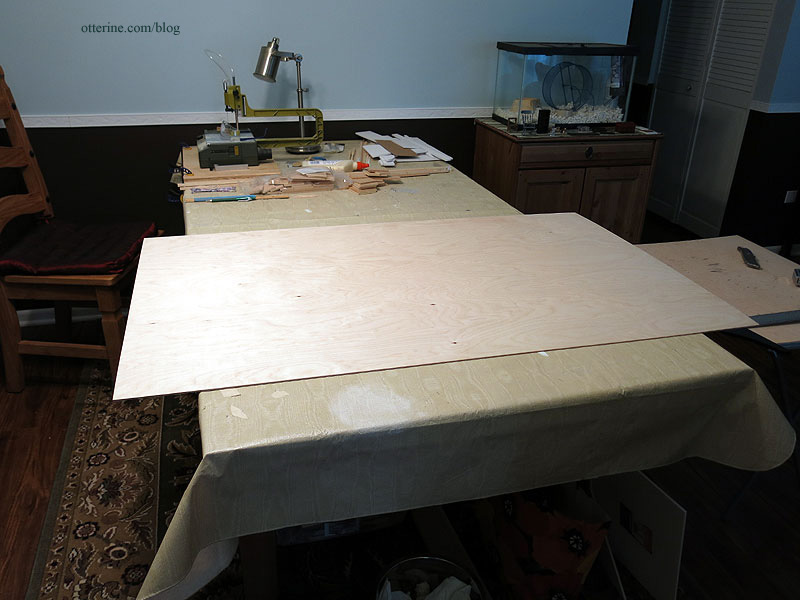
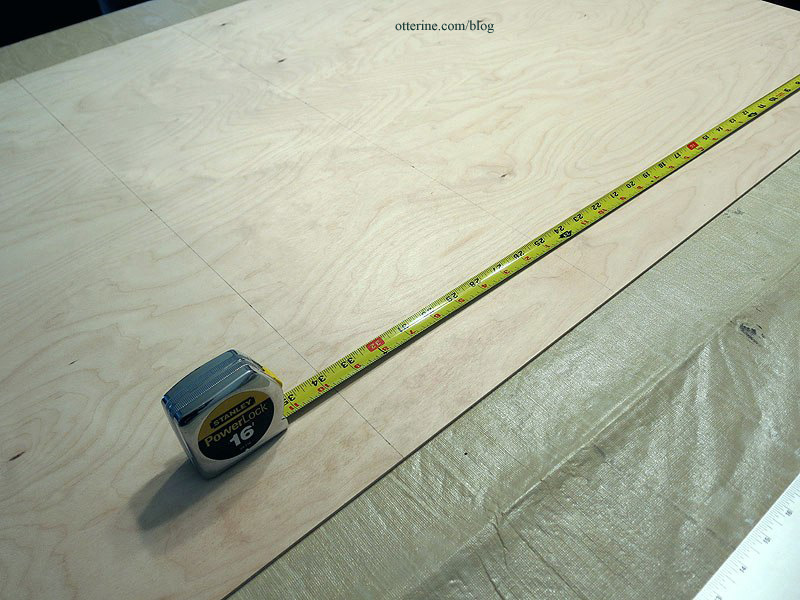
Now that I have my final timber layouts for the main facade and side addition front, and have had some time to consider the overall construction, I’m ready to cut my grid backer boards. I bought a 30″ x 48″ sheet of 1/8″ thick plywood from the local Woodcraft store. This thickness is not easy to find in large sheets, at least not locally. They had only this one in stock.
That’s a big board on my big work table! :O
I added 1/4″ to the height of the facade and the front assembled grid ended up being 1/16″ wider than planned, making the final facade measurement 17 5/16″ wide by 33 3/4″ tall. But, I will be doing a grid treatment on either side of the facade and need to take into consideration where the side boards will abut the front board as well as the depth of the grid. The math is as follows: 1/8 + 1/4 = 3/8 * 2 = 3/4″. Did I lose some of you there? :D
So, my interior board needs to be 16 9/16″ wide, so the two 1/4″ thick side walls with their 1/8″ thick treatments will be flush with the 17 5/16″ wide front grid when glued together. Right? Yes.
I measured out a box 16 9/16″ wide by 33 3/4″ tall, marking the 8 3/4″ dividing line between the grid and the lower stone finish. I had one shot at this, so I sat on the couch, emailed my friends, confused them with math, and measured three times. All good!
I slid my cutting board under the plywood on my work table. I used a utility blade for this part mainly because 1/8″ thick plywood doesn’t take that much effort to cut by hand.
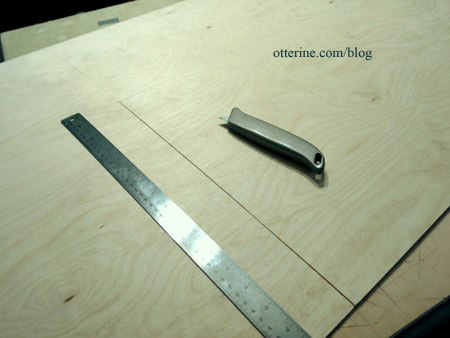
The math worked! There is 3/8″ on either side of the grid to accommodate the finished side walls.
The wood of the grid is warped in places, but the filler pieces should take care of that.

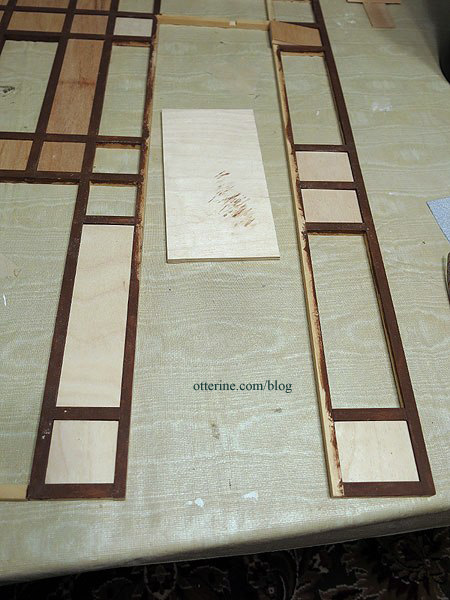
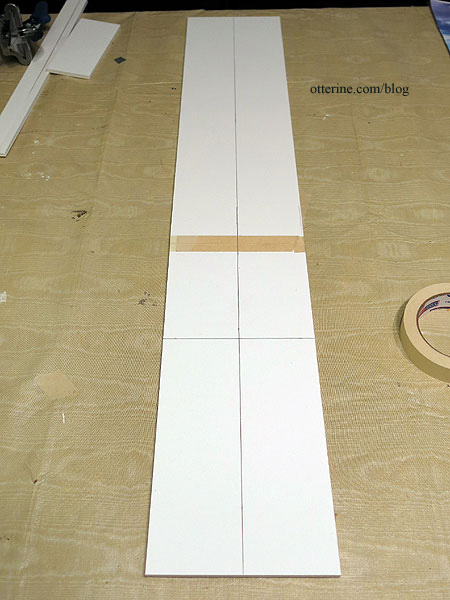
The side backer board measures 5 5/8″ wide by 33 3/4″ tall for a 6″ wide grid. I needed to indent the 3/8″ on only one side since the other side will abut the main building directly. I won’t mark the openings until after the grid fillers are in place, but I wanted to get this large sheet of plywood cut into pieces and out of my way.
I took the original kit filler pieces and played jigsaw puzzle. Some pieces fit perfectly, so I popped those in place. From the leftovers, I sanded them to fit or cut them if more wood needed to be removed than sandpaper would efficiently do.
I numbered them on the back to keep track.
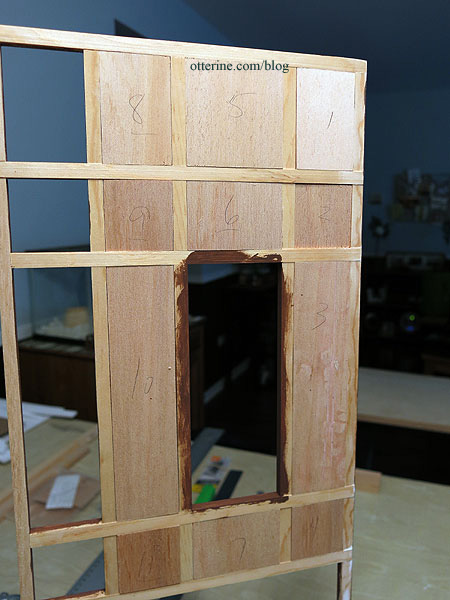
Since I had new and altered sections, I cut new filler pieces from 1/4″ thick plywood scraps from my stash for those openings.
I’m not using the original kit side walls since they were too small after my alterations to the interior layout and one was severely warped. The original kit floors are going to someone whose kit was missing those pieces so they won’t go to waste. So, very little of the original kit will go unused. Besides, the leftovers from kits always come in handy later for other builds.
Since I have limited space for power tools and needed a lot of boards cut, I went to Home Depot. Their 1/4″ plywood is actually 3/16″ plywood, but it all worked out in the end. The saw at Home Depot will not get you precise, square cuts, but it will get you close. Bringing in the boards….
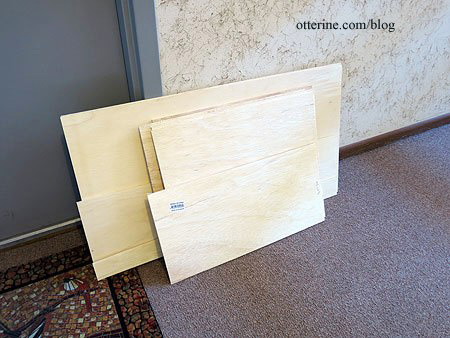
I spent part of the day cleaning up the cuts to make the boards work. I also had the scrap leftover from the 4′ x 8′ sheet to use as needed. But, I’m not ready to start building just yet. There’s more planning and prep work to be done. I just wanted to get the boards cut and ready to build as I need them. It won’t be that much longer.
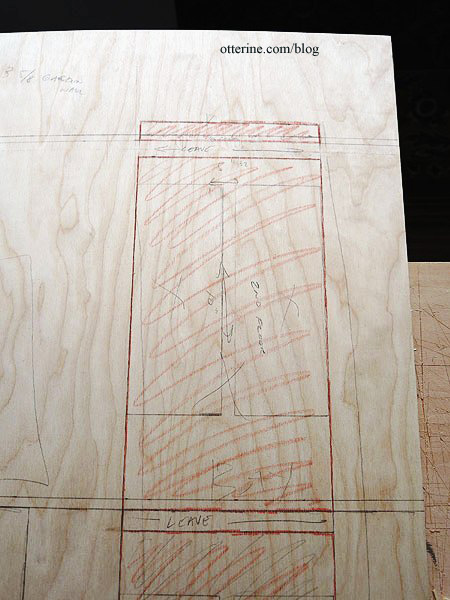
By far, the front board was the most complicated. I mapped out where the inner floors would hit as well as the openings for the bay windows, upper window, front door, lower level door and garage door. I still have to work on the front door recess before I can mark that final opening.
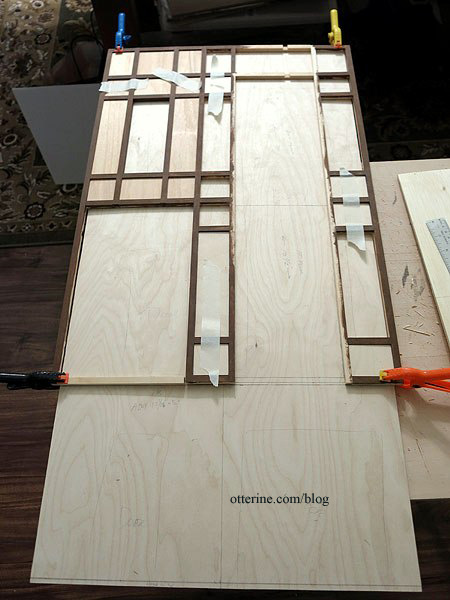
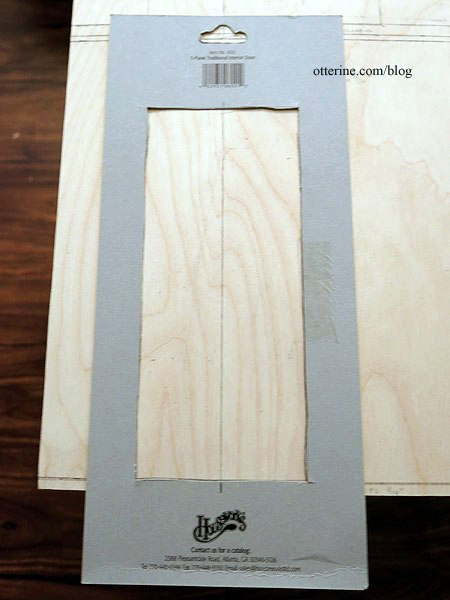
Houseworks doors come with a template on the package. To center the lower door under the main door, I marked the center line on the board and the template. I lined up the marks and traced the outline.
I marked the cutaway areas with a colored pencil since there were lines all over the place.
I centered the garage door under the bay window, which I hadn’t done in my original foam core board mockup.
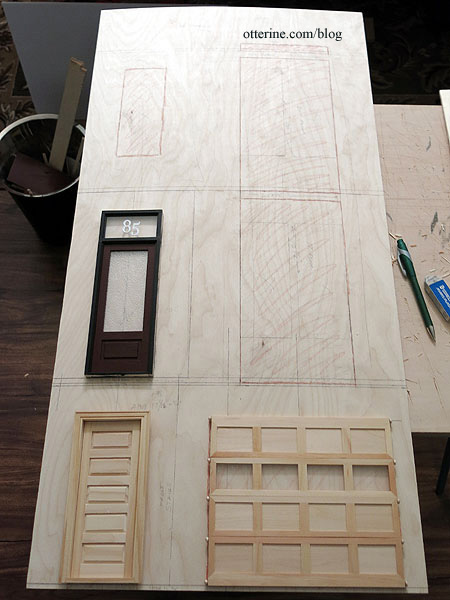
This layout will give me ceiling heights of 8 5/8″ in the garage, 10 1/2″ on the first floor (stately) and 10″ on the top floor (spacious). Did I mention I’m planning a rooftop garden? This layout will also give me a 3 5/8″ wall around the rooftop space before any added trim.
Categories: The Brownstone
February 10, 2014 | 0 commentsThe Brownstone – timber grid, part 2
Continuing work on the timber grid. Since I plan to make the side addition in the same manner as the facade, I cut a foam core board mockup to configure the layout. After having some time to consider the overall construction, I added 1/4″ to the height of the facade, making the final measurement 17 1/4″ wide by 33 3/4″ tall. For the side addition, I made its front board 6″ wide by 33 3/4″ tall.
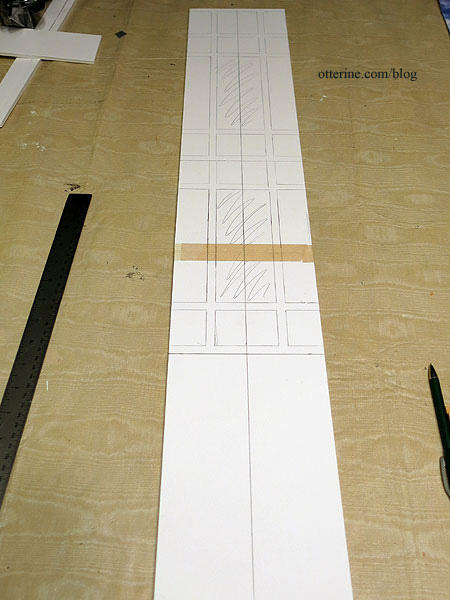
I started by marking the lower edge where the stone ends and the timber begins, 8 3/4″ from the ground. I also marked the center of the board.
I used the timber grid for the main facade to trace the window locations on the side addition, centering the window openings.
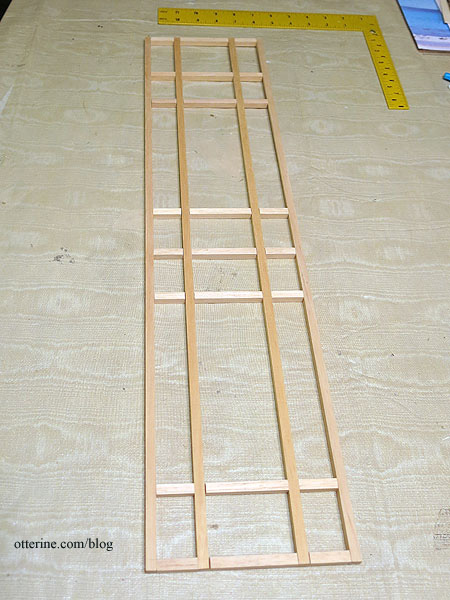
The side grid timbers will be 5/16″ wide as opposed to 11/32″ wide as on the facade, but I marked the entire original grid on the side board as a general guide.
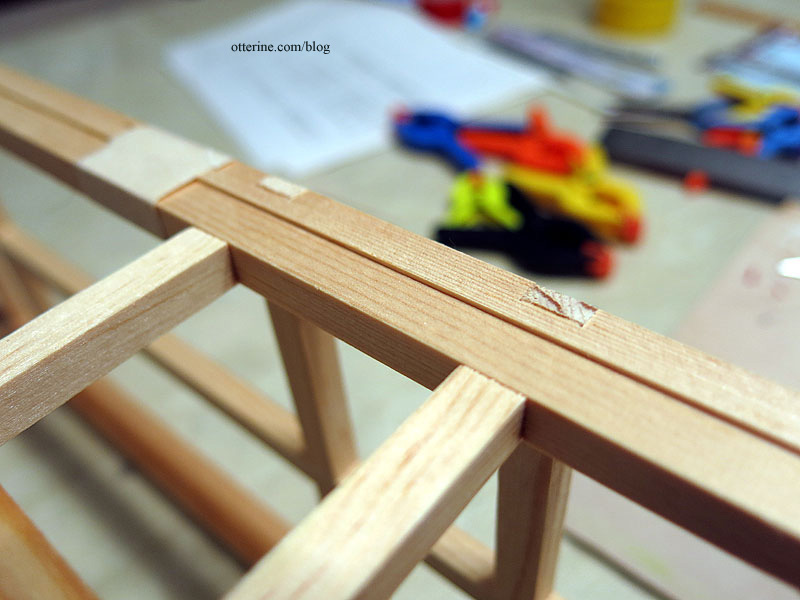
I cut new timbers from 5/16″ basswood and notched the center pieces like the original to help keep the grid even and secure.
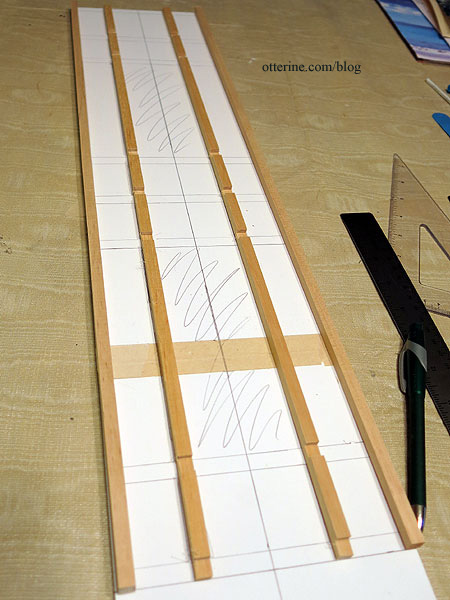
I cut the horizontals individually to fit, numbering them along the way.
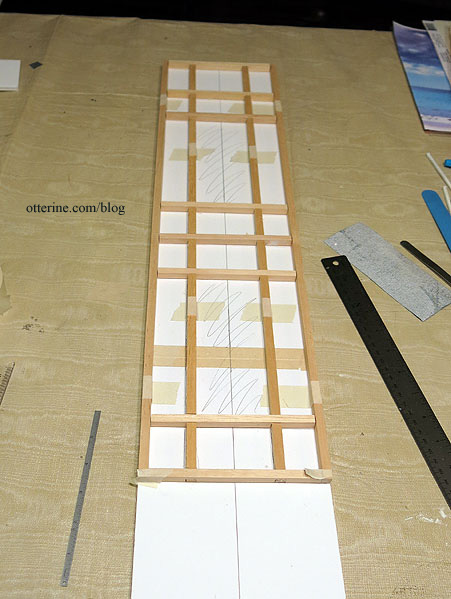
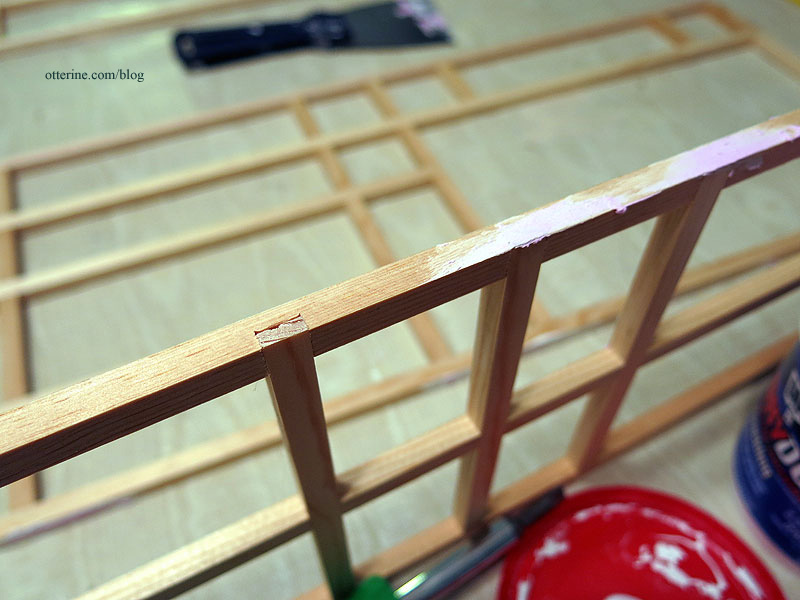
Since I will determine the remaining walls separately and don’t need either of these as a guide, I glued the grids together.
I spackled the areas where my joins weren’t as clean as I’d like. I also covered the notches on the sides.
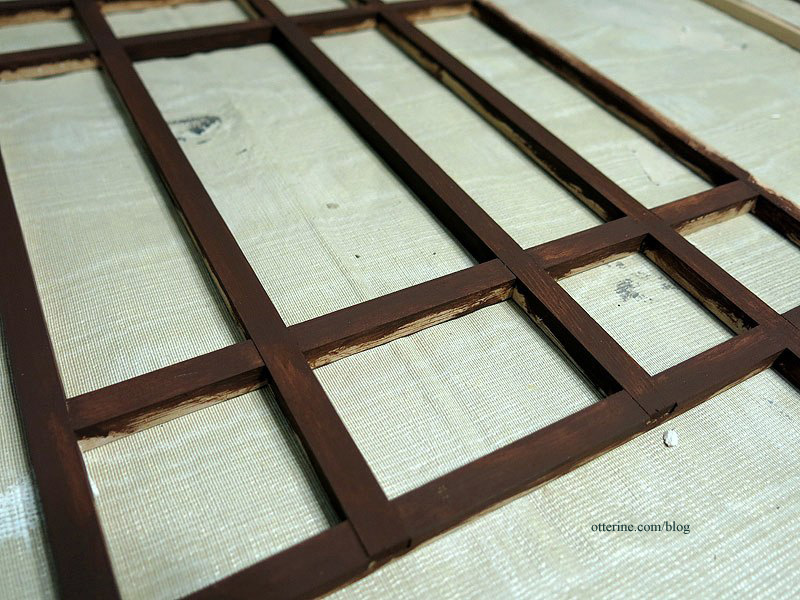
Time for painting! This is Coffee Bean by Folk Art. I can’t stain the pieces since they are made from different types of wood and there is tape and glue residue all over them — some of this tape residue is from the original bundling of the beams. This basic brown will serve as the base coat for faux staining, so it’s fine that it’s rough and uneven for now.
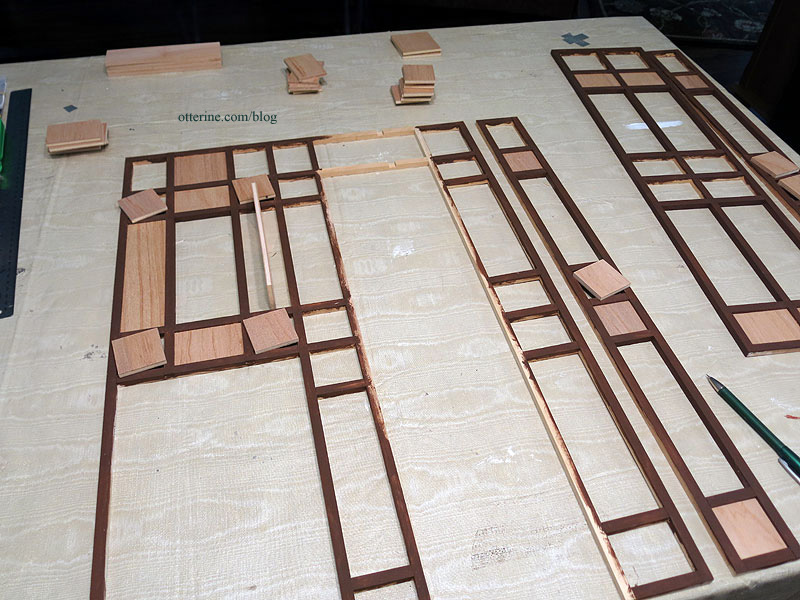
I didn’t paint inside the grid other than a bit around the edges and inside where the windows will be. There are filler pieces for the enclosed spaces, and only 1/16″ will show of the sides. I also left the beam under the front door unpainted for now.
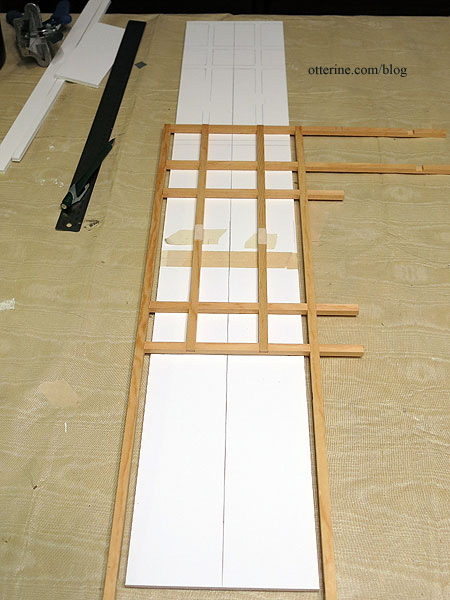
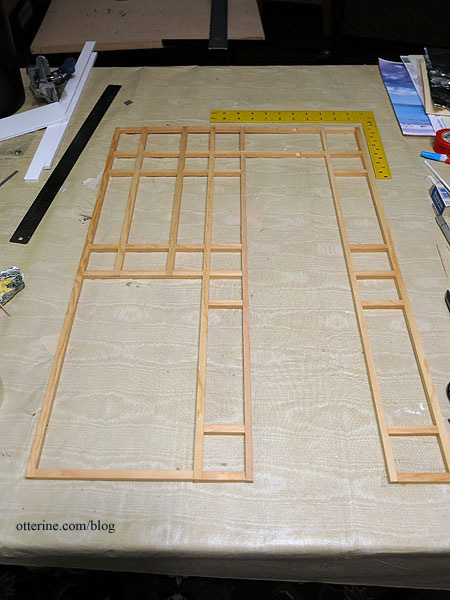
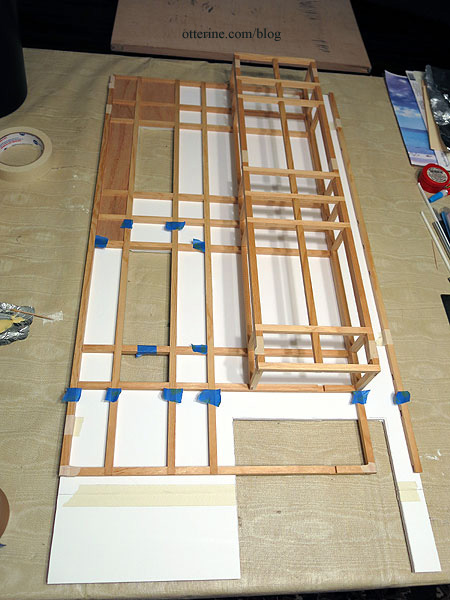
Here they are back in dry fit on the foam core board bases. The side grid layout is narrower than the one for the facade, but it matches well for style. It’s actually the same overall width as the bay window, so it’s also good for balance.
Categories: The Brownstone
February 9, 2014 | 0 commentsThe Brownstone – timber grid, part 1
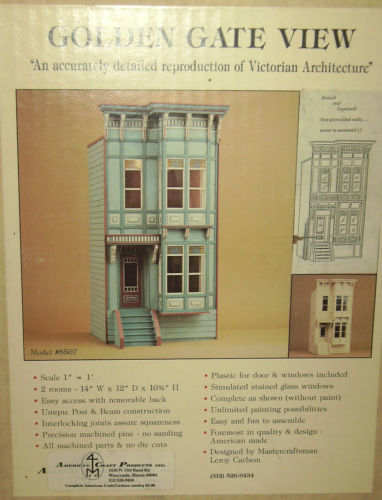
While I love the ice cream parlor colors of the kit photo, it’s not really my style. I also love Tudor design, but I’m not sure I’ll ever get around to making an authentic Tudor build. There’s a beautiful house by my office that has more modern ranch lines but it is done in Tudor finishes. With the grid and inserts of the Golden Gate View kit, I think it would lend itself well to Tudor inspiration.
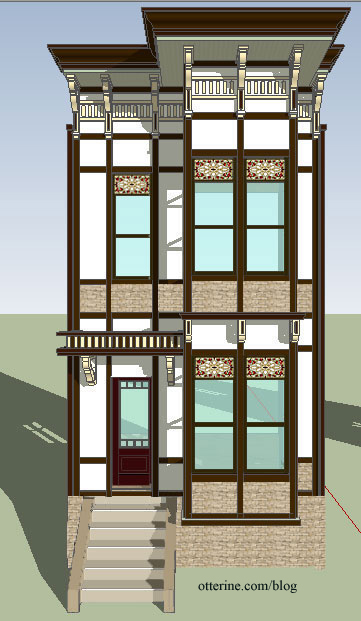
Mike was gracious to lend me his drawing so I could try out some colors. The program is Sketchup, and it is so new to me that I did part of my color mockup in Sketchup and part in PhotoShop.
After searching for stained glass windows online, I found this beautiful Meyda Tiffany Bed of Roses stained glass panel at Wayfair. I altered the image in PhotoShop with the new windows and changed the front door to dark plum. :D
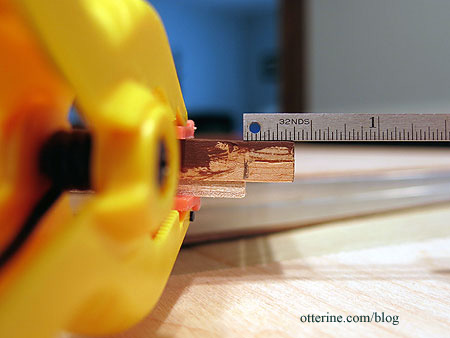
The kit comes with pre-cut notched pieces to make the facade trim work. These measure 5/16″ deep x 11/32″ wide.
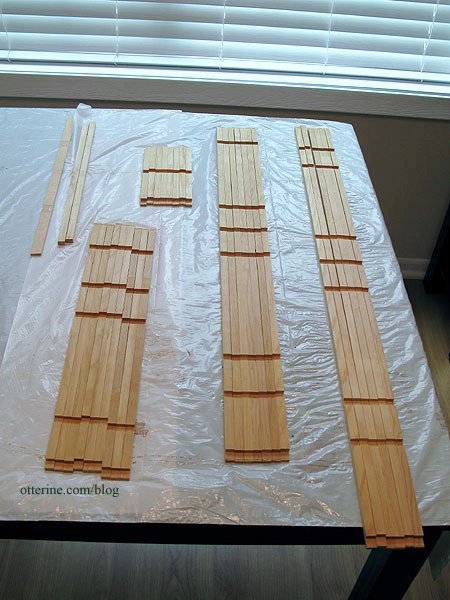
I am now making the facade wider and taller than the original kit intended, which means the kit pieces needed to be reconfigured. Since I won’t be altering the bay window portion, I assembled those walls with glue. Even though the instructions don’t indicate to do this, I used the filler pieces as spacers as I glued the grid together. Some of these filler pieces won’t be used in the end, but they helped keep the grids uniform while the glue dried. The cuts aren’t very precise, with the ends being a little long. Once the grids were glued, I trimmed and sanded the excess.
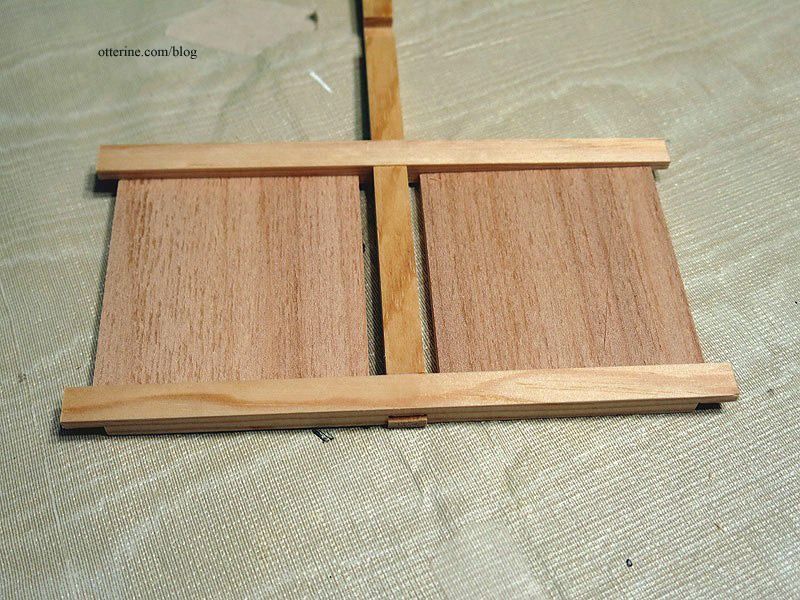
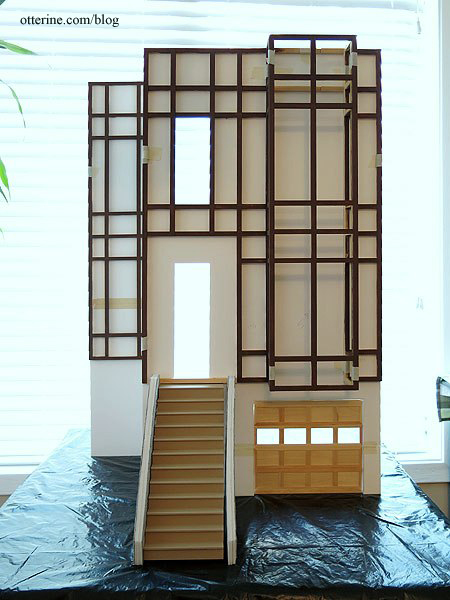
I will leave the bay window assemblies flat for now instead of glued into their final shape. Instead, I taped them together, back into dry fit.
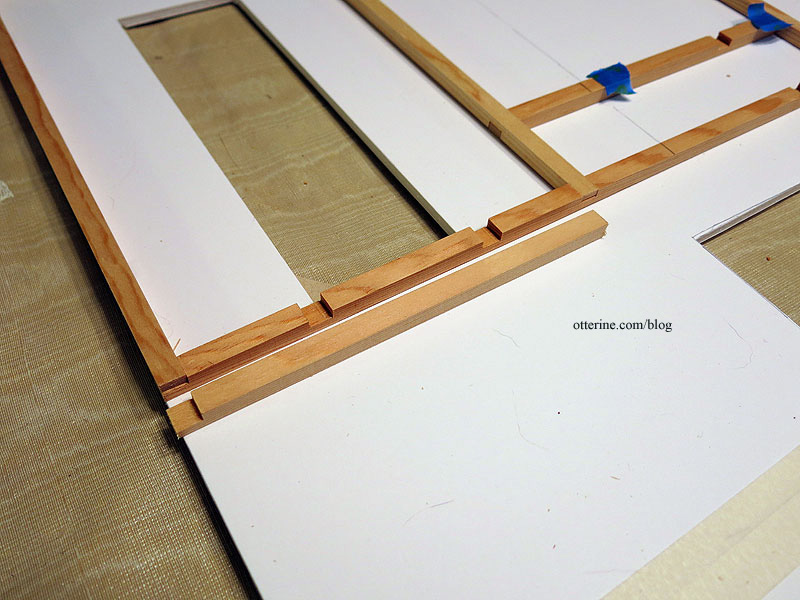
Because the grid isn’t made from square trim, the fit is off when the walls of the bay window are taped together. This will actually work in my favor since I plan to line the interior walls of the bay. You can also see the notches. There is trim to cover these later in the build, but I’ll do something different. More on that later.
Using my foam core board as a guide, I marked where the bay window would hit along the cross beams on the left side. I marked which trim pieces would be eliminated from the final layout: namely the area below the second to last cross beam. This will be all egg carton stone.
I will also eliminate the trim from the front door area, except the outline. Since I’ll be making a working door frame using the original door, the opening will need to be wider than the notched trim allows. I will fake the trim in this area with strip wood when I get to that point.
I cut away the vertical and horizontal pieces around the doorway. I also removed the portion below the bay window line.

I used some of the cut trim to make a new piece for below the doorway since the original piece had notches.
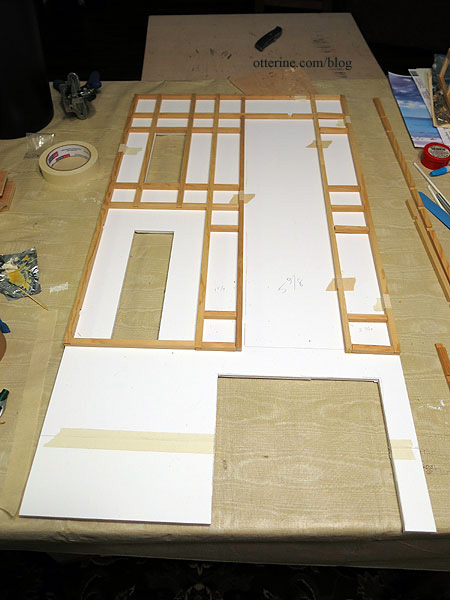
I cut the horizontal pieces up to the left side of where the bay window assembly will sit. The top two horizontal pieces remain in place uncut since that is above the upper floor ceiling line and they will be enclosed by the roof trim. The bottom one is removed since I’ll cut a floor board with the bay window extension included instead of piecing it together.
Instead of using one of the kit’s vertical pieces to sit under the left side of the bay window assembly, I cut a new piece from 5/16″ strip wood. Since there will be a wood back board, this strip doesn’t need to be notched to fit. It will be glued to the backer board and the adjacent horizontal trim ends. I used one of the original verticals for the far right timber and cut another 5/16″ timber for the right side of the bay window.
That left cutting short horizontals for the section to the right of the bay window.
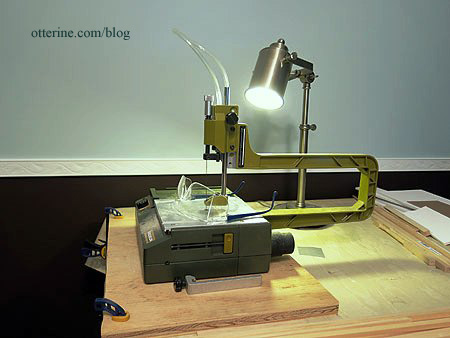
I had plenty of kit timbers to work with, and my Proxxon scroll saw made cutting a snap!
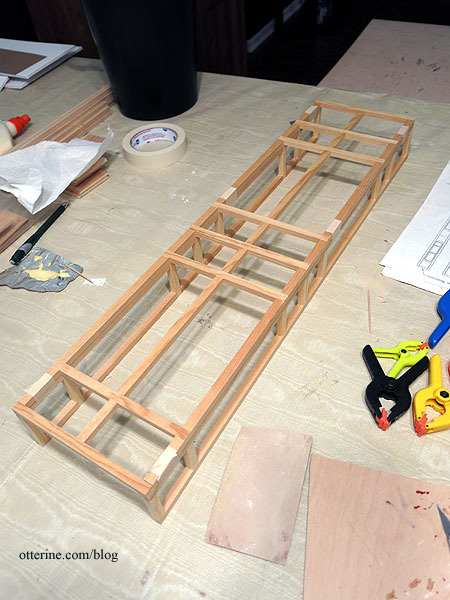
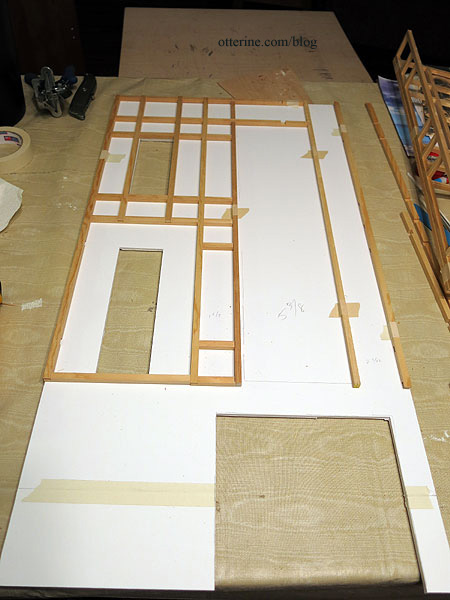
Here’s the final layout for the facade.
When I get to the sides of the building and the addition, I’ll have to use all 5/16″ basswood since that is what’s available in the stores. It will be close enough to the original to blend, and it will be consistent on those particular walls. I had originally thought about doing the sides in all stone, but I thought the addition should match the facade. With the front and one side done in Tudor style, I might as well carry it around to the other side, too.
Categories: The Brownstone
February 8, 2014 | 0 comments
NOTE: All content on otterine.com is copyrighted and may not be reproduced in part or in whole. It takes a lot of time and effort to write and photograph for my blog. Please ask permission before reproducing any of my content. (More on copyright)