
NOTE: All content on otterine.com is copyrighted and may not be reproduced in part or in whole. It takes a lot of time and effort to write and photograph for my blog. Please ask permission before reproducing any of my content. (More on copyright)
Categories:

The Artist’s Studio – finishing front edges
Who knows why the Studio is uneven along the front edge of the floor even though the walls measure the exact same depth. Perhaps the individual floor boards are misaligned overall. It’s nothing that can’t be fixed.
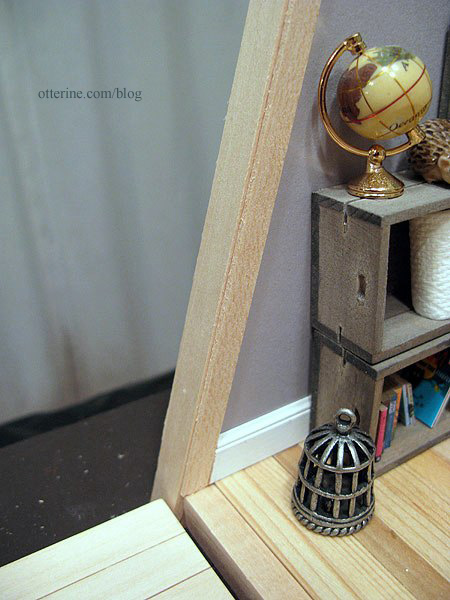
To finish off the front edge of the floor, I used window/door frame strip wood from Manchester Woodworks. It’s used to make windows and doors. It measures 3/8″ by 1/2″ and fits over 3/8″ wood cleanly.
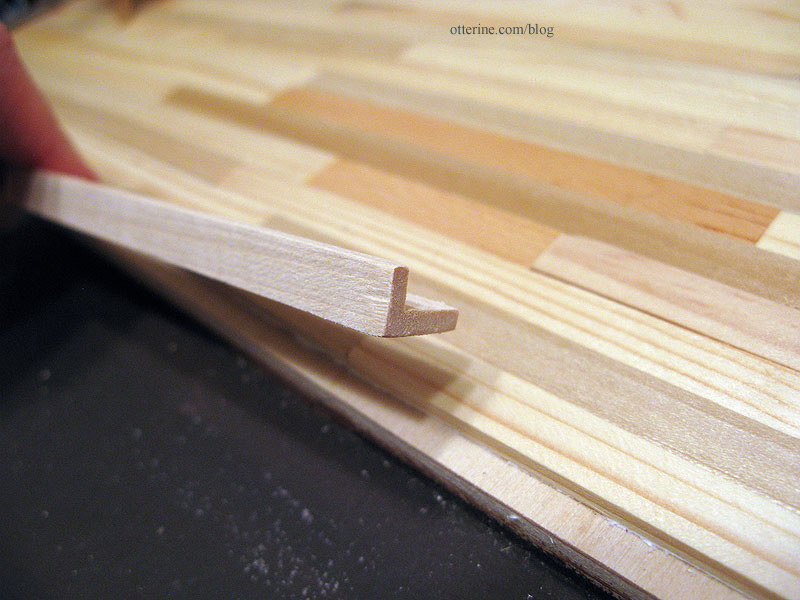
The frame wood blends well enough with the wood floor and gives an even surface to attach the main front deck.
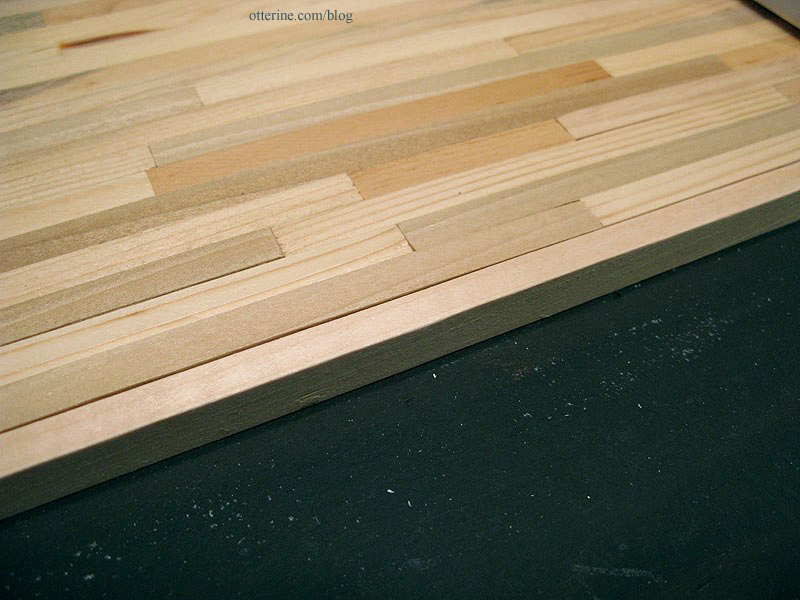
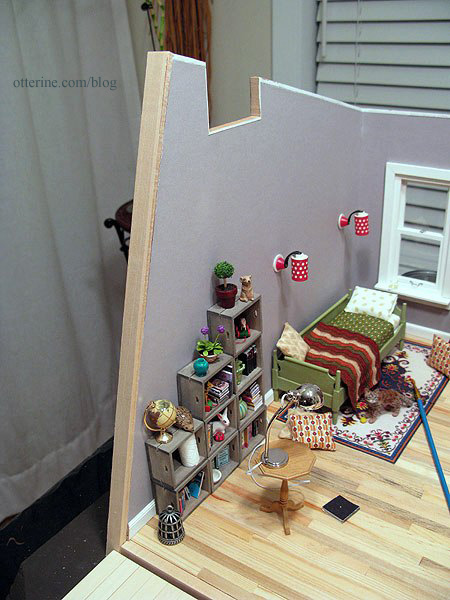
I used the same frame wood to finish the front edge of the right front wall. The trim extends 1/16″ past the front edge.
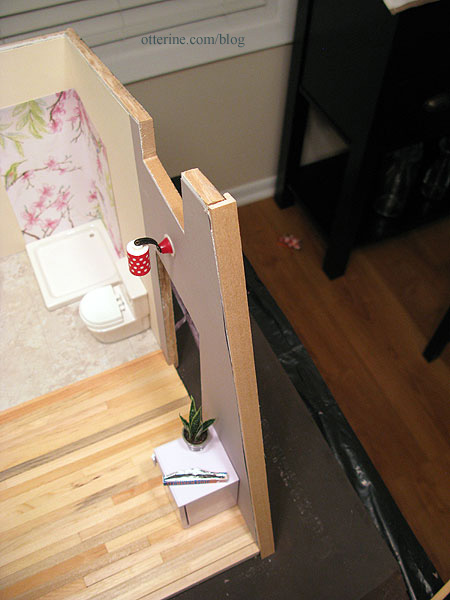
As noted before, the left front didn’t match up to the right, so I added a 1/8″ thick strip of balsa to build up the wall.
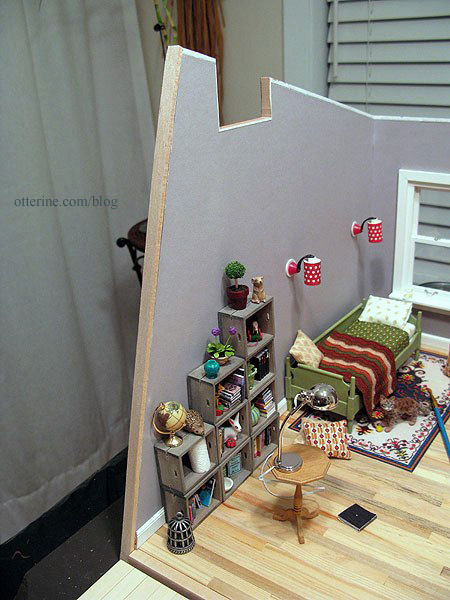
Now the frame wood sits on top of this shim and extends 1/16″ past the front edge.
The main deck and side deck sit around the frame wood.
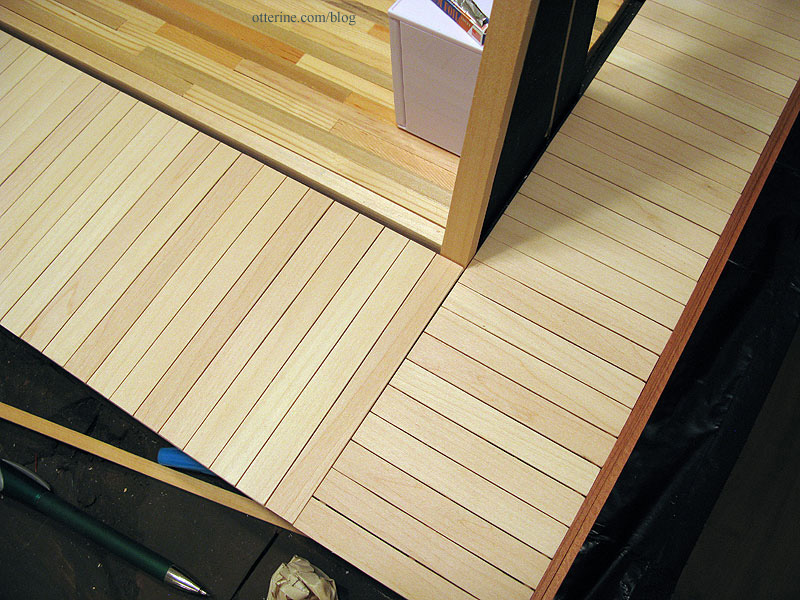
Between the edge of the building and deck, a strip of walnut fits in the gap. I’ll cut a full strip to fit.
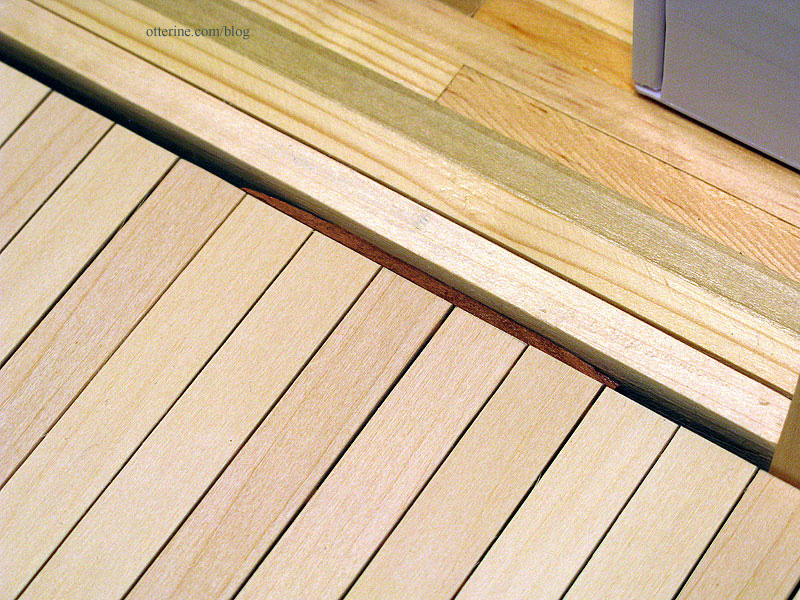
On the right side, the double layer of walnut trim wood makes the deck flush with the side wall. It all fits now! :D
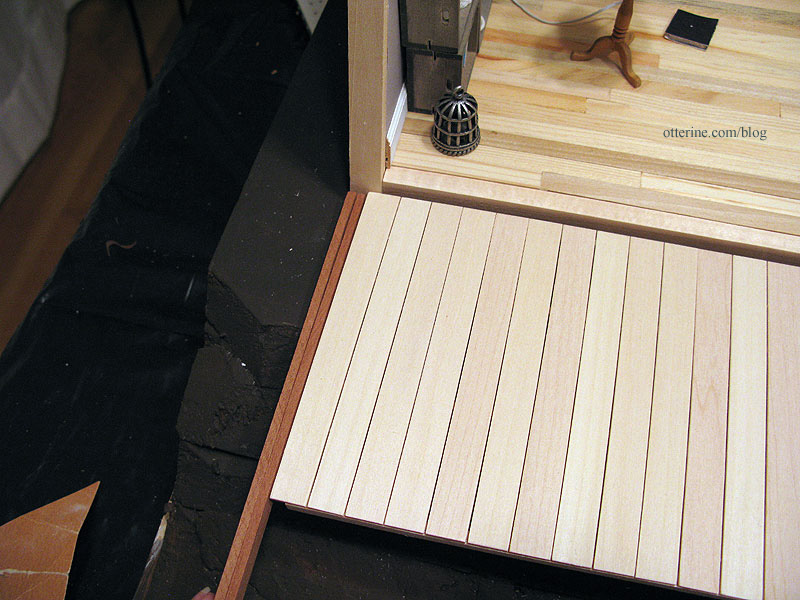
On the inside, trim wood will finish the lead edge of each wall.
Categories: The Artist's Studio
March 16, 2013 | 0 commentsThe Artist’s Studio – Skylights
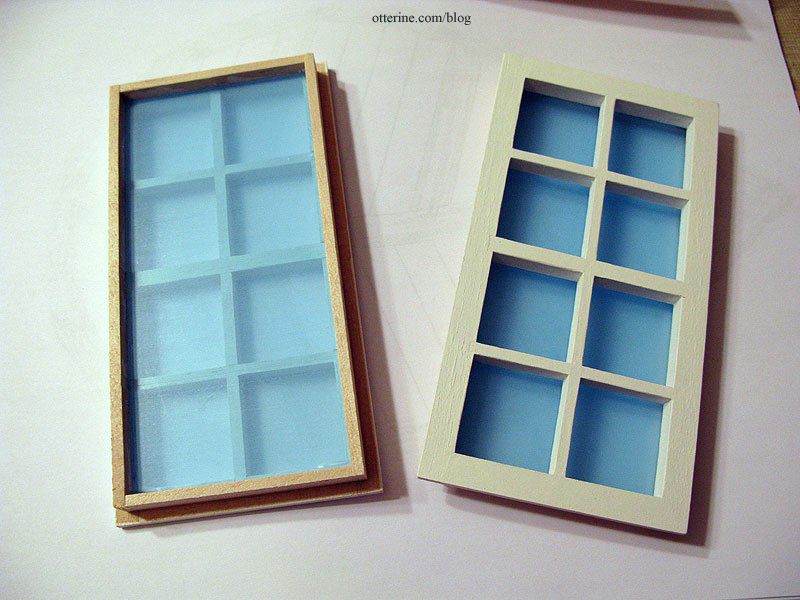
I used two Houseworks 8-light windows for the Studio skylights, though I had to widen the original openings in the ceiling to fit them. I painted the exterior portion Warm White by Americana. I put the board on a towel to keep the painted windows and wood ceiling from being scuffed as I worked.
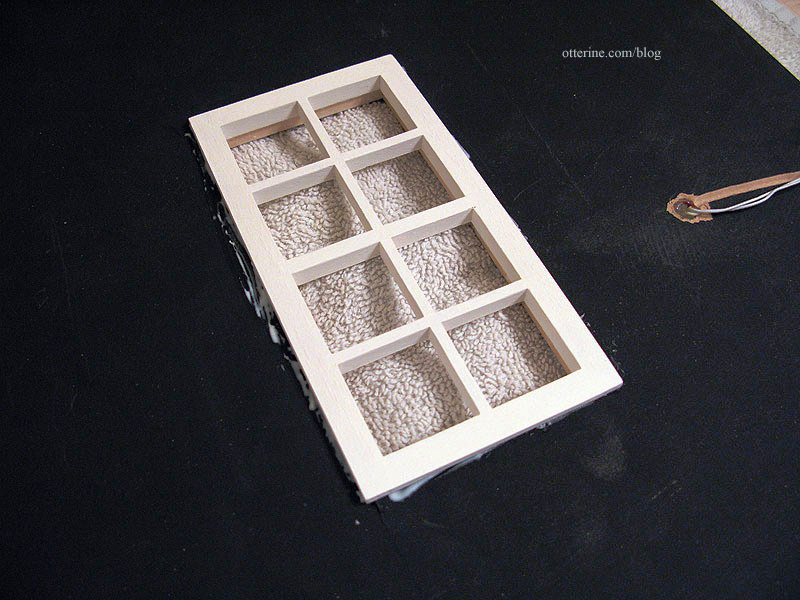
The windows don’t come with window inserts, so I cut inserts from acrylic sheet.
To hold the window insert in place, I framed the interior with strip wood. This was easiest to do before installing the ceiling board permanently. I left it natural to blend with the ceiling treatment. I sanded the wood smooth and sealed with satin varnish before cutting the pieces to fit.
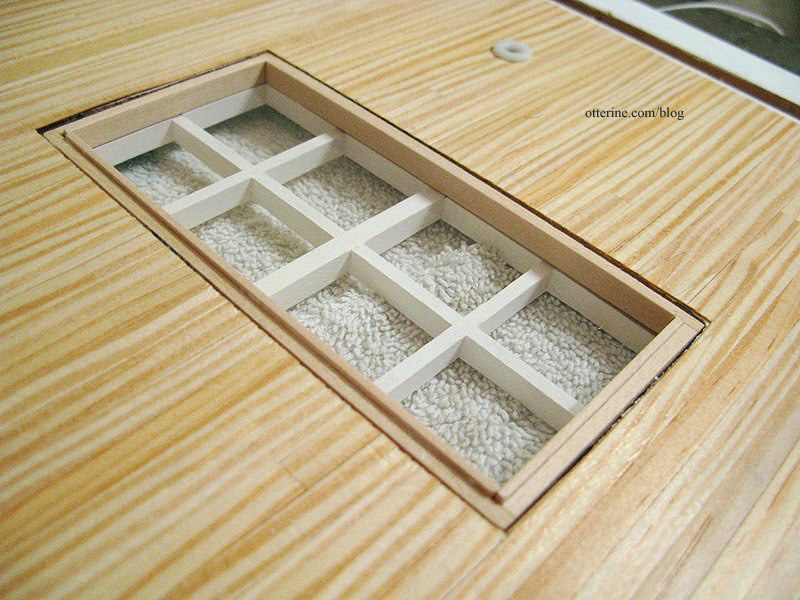
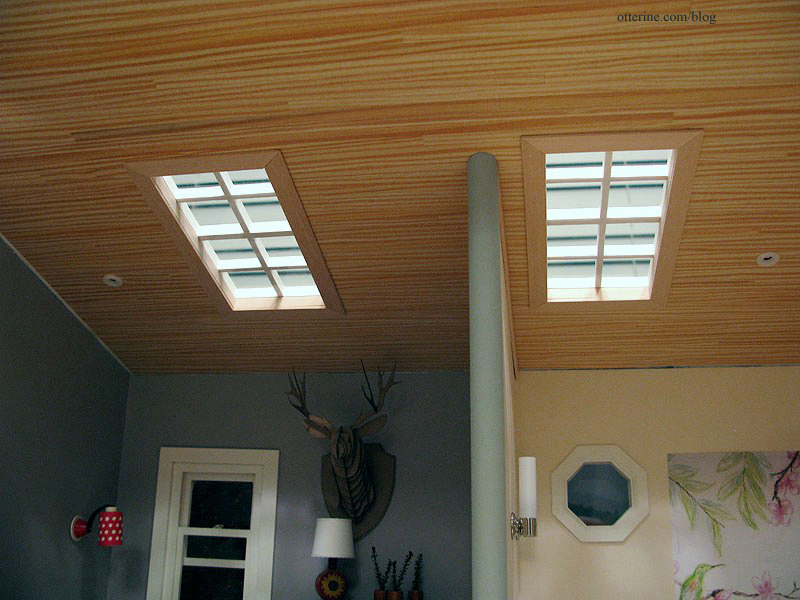
I then added flat trim around the window openings, also natural with satin varnish. I tried to cut them as best as I could with the Easy-Cutter. Being that there is no paint to disguise the slight gaps at the corners, I’ll just have to live with it. I suppose a little wood filler might help…I’ll have to pick some up next time I’m at the hardware store.
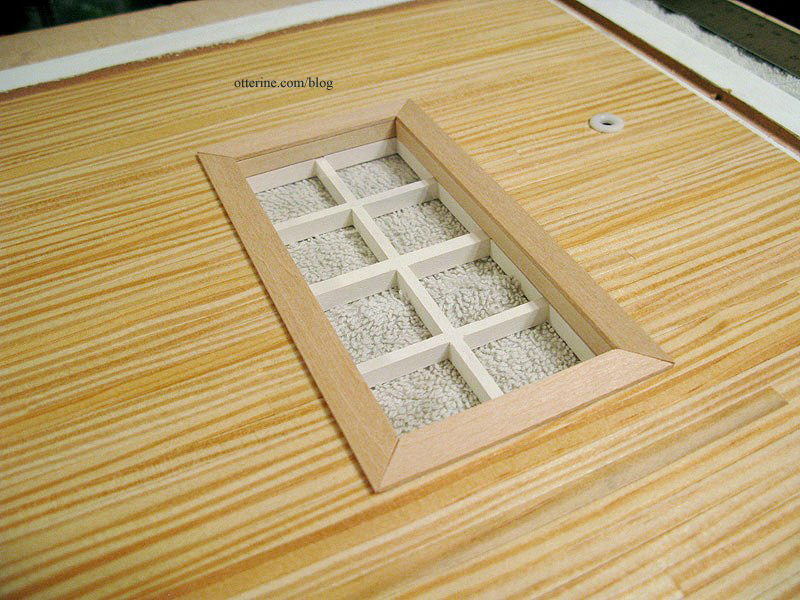
From the outside…
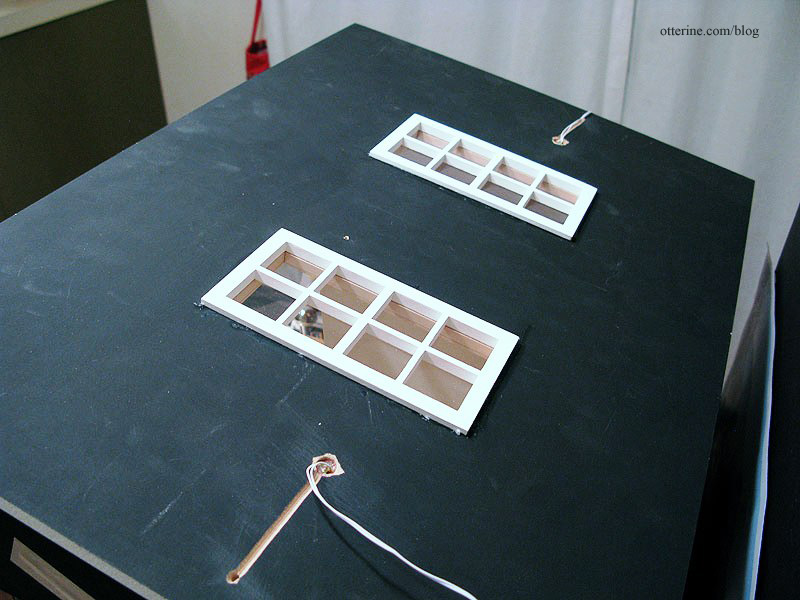
And, from the inside.
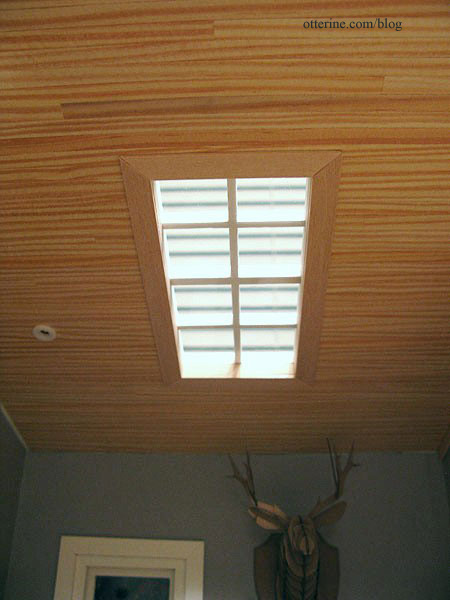
I have the half round trim for the dividing wall cut and painted; the trim that will hide the gap above the wall is also cut and sealed. Neither is installed yet.
Categories: The Artist's Studio
March 12, 2013 | 0 commentsThe Artist’s Studio – Wood stove, part 5
Continuing work on the wood stove. For the stove pipe, I used the wooden dowel that came with the HBS Loft kit. I measured against the outside wall to get the precise angle the pipe would hit the ceiling and used my scroll saw to make the cut. The scroll saw has a nifty angle guide for just these types of cuts.

I tested the fit in the Studio to determine where the pipe would rest on the top of the stove. I made this cut with the scroll saw as well. There’s another guide that can be tightened anywhere along the surface for straight cuts.

Looks like it worked! :D

Using 1/4″ art tape, I made a lower collar for the pipe. This will add a little visual interest to the top of the stove.


I put cardboard to block the door opening for painting, curling some excess behind the scrap to hold it in place.

I cut another piece for the top. It doesn’t have to be precise since I will paint the interior by hand.

I sprayed all pieces primer grey.

I had attempted to start with an undercoat of flat white, but it didn’t really take. It bled through the grey in some areas, but this is just the first coat of primer anyway. Once this dries, I will do a fine sanding and await another suitable day for spray painting the final color.

I’ve also painted the Chrysnbon radiator for the bathroom. I first sprayed it primer grey and then covered that with Krylon Satin Almond. It’s a not a perfect finish, which is actually pretty great for a radiator. I’ll do a bit more aging once this paint dries, too.

My plan is to have the stove Satin Almond as well. But, if all else fails, there’s always powder-coated black to mask the imperfections!
Categories: The Artist's Studio
March 10, 2013 | 0 commentsThe Artist’s Studio – The Deck, part 3
Continuing work on The Deck. To finish the outer edges of the side deck, I used dark trim wood from my stash. This is definitely Dura-Craft wood, but I am not sure from which kit or if it is walnut (I think it is). It’s close in color to the wood I plan to use for the leaf portions of the deck and using existing materials will keep the cost down.

I love the play of light and dark, and it was such a simple design element. I didn’t trim the main deck yet, since I want to finish the leaf sections first.
The leaves. After a lot of deliberation, I decided to use the same reverse approach I did with the main and side decks. I would form the surface boards first and then work on a supporting framework. Beyond that, I thought developing the walnut outlines and center veins, then cutting the individual boards for the interior portions would be the simplest approach.
I started by redrawing my leaf shapes. My mockup had used rough sketches and cutouts. I used a 5 7/8″ diameter lid, which was close to my original mockup size, to make one end of the leaf.

I marked a point the length of my original mockup (9 1/4″). Digging into my art supplies for a flexible curve, I created a gentle curve first on one side and then the other. (As an Amazon Associate, I earn from qualifying purchases.)

I cut the leaf out and made two more leaves from this one.

I marked the outline 3/8″ inside the outer edge. Since my deck is smaller in proportion to the original and this will be my first major scroll saw endeavor, I kept the center veins soft — just enough to give a sense of movement without overly complicating matters. :D They are also 3/8″ wide.

On a new sheet of paper, I measured from the bottom and marked 7/16″ intervals. I was planning on 3/8″ boards for this portion as well, and 7/16″ allows for some room between each plank. I drew lines to make a base guide.

I positioned the leaf template over the lines so there would be a good layout of whole board widths.

I taped the leaf in place and traced the lines onto the template.

I did the same for the other side, varying the angle of the lines.

I darkened the boards that would be walnut, repeated the process for the other two leaves and tested the fit again.

Hooray! :D

The pencil makes these very messy, so I will make photocopies to work with going forward.

Categories: The Artist's Studio
March 9, 2013 | 0 commentsThe Artist’s Studio – The Deck, part 2
The framing under the main deck and side deck won’t show much, so I used some leftover Dura-Craft 3/16″ x 1/4″ strip wood to keep costs down. The wood isn’t nice enough to use for building or finishing anyway.
I started with the side deck since it requires the longest part of the framework. I transferred the top boards to a work surface, this time keeping the back side facing up and lining up the ends using a T-square. I used double sided tape again to keep everything in line.

I cut two long pieces and two short pieces of the Dura-Craft trim, gluing them to the flat boards and to each other at the corners. I cut one additional long piece for the center of this box and glued it in place. I had to use the glue sparingly so it wouldn’t bleed through between the boards. I left more leeway on the uneven side, which I’ll explain in a moment.

But, when I lifted it off the tape, some of the boards separated. :\

Ah, well, it wasn’t a total loss. I glued the boards back in place. A good, solid assembly. :]

As mentioned above, since one side had been aligned with the T-square, that left the other side uneven. I marked the boards 3 3/8″ across (down from the original 3 1/2″).

I slid a piece of plywood under the edge and cut off the excess.

I repeated the process for the main deck, adding two inner lengths for support. This time, after putting the double sided tape on my work surface, I tapped it with my fingers to reduce the hold it would have on the flat boards. I had only two boards come loose when I flipped the assembly over.

I also cut the boards down to 4 7/8″ from their original 5″ to align the uneven edge. I will keep the two portions separate so there is no strain at the corner.

It’s a clean fit. :D

So far, it’s working! :D

There is enough of a gap under the door to require a step.

I think Cora likes it.

Categories: The Artist's Studio
March 8, 2013 | 0 comments
NOTE: All content on otterine.com is copyrighted and may not be reproduced in part or in whole. It takes a lot of time and effort to write and photograph for my blog. Please ask permission before reproducing any of my content. (More on copyright)


