


NOTE: All content on otterine.com is copyrighted and may not be reproduced in part or in whole. It takes a lot of time and effort to write and photograph for my blog. Please ask permission before reproducing any of my content. (More on copyright)

Categories:
Dogwood Tree
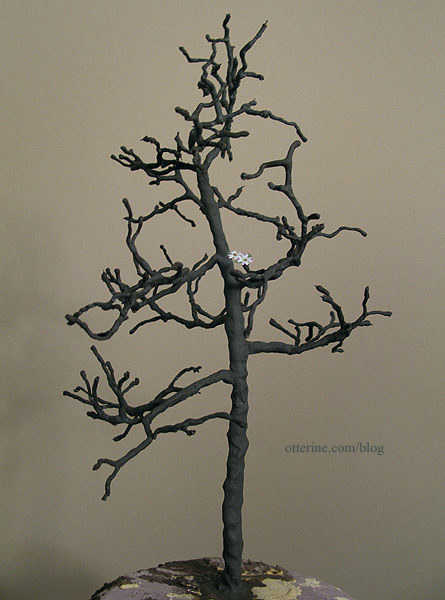
I am following the same DVD tutorial as I did for the Heritage tree: Master Miniaturists:
Landscaping Primer with Diane Myrick. This tree, however, is fuller, shorter and much less
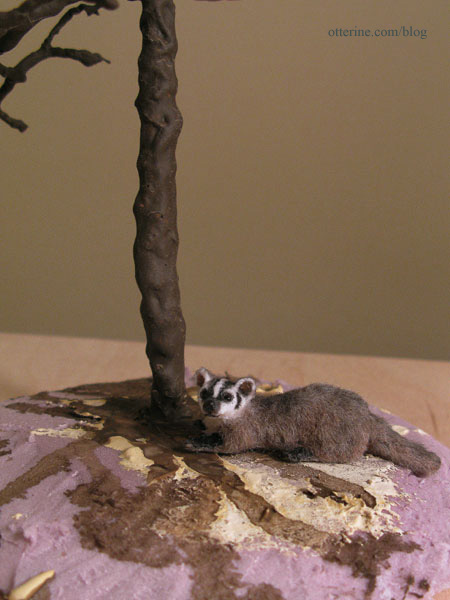
knobby. Here’s the tree after adding the water putty and paint washes. The tree stands just under 11″ tall.
Who’s that there? Looks like Grahame the badger has wandered over. :D
Instead of using the foliage techniques used in the DVD tutorial, I wanted to use a technique to make a dogwood tree that would allow for close-up photos. This is what the flowers look like on a real dogwood.
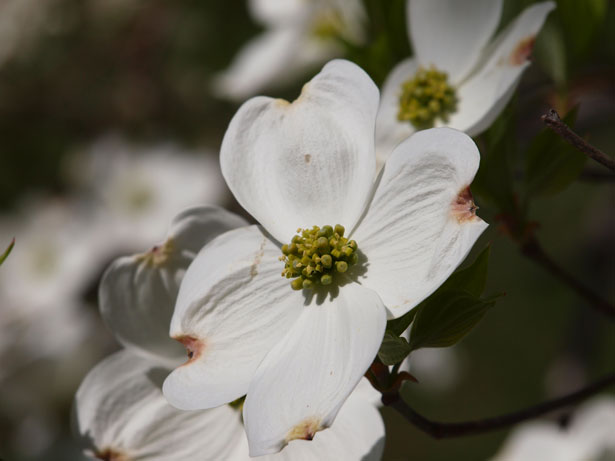
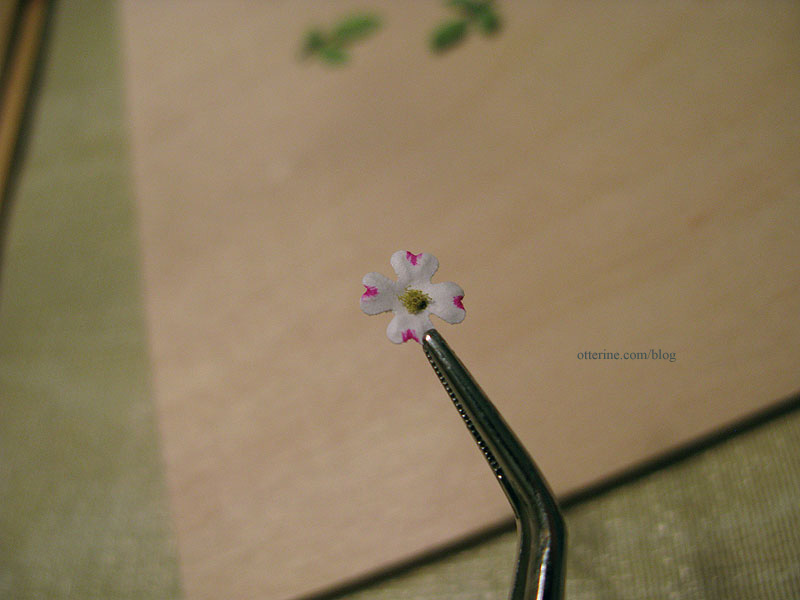
Image from James Hawkins I decided to use scrapbooking punches to make flowers and leaves. I have just under 100 branch tips on my tree, so I punched out 400 white flowers using the mini Hydrangea punch by Punch Bunch and colored each of them individually with markers. I ended up dumping about 20 or so for bad marker wielding. :D
I had two leaf choices – both with multiple leaves from each punch. This is the small ash punch by Punch Bunch with flowers.
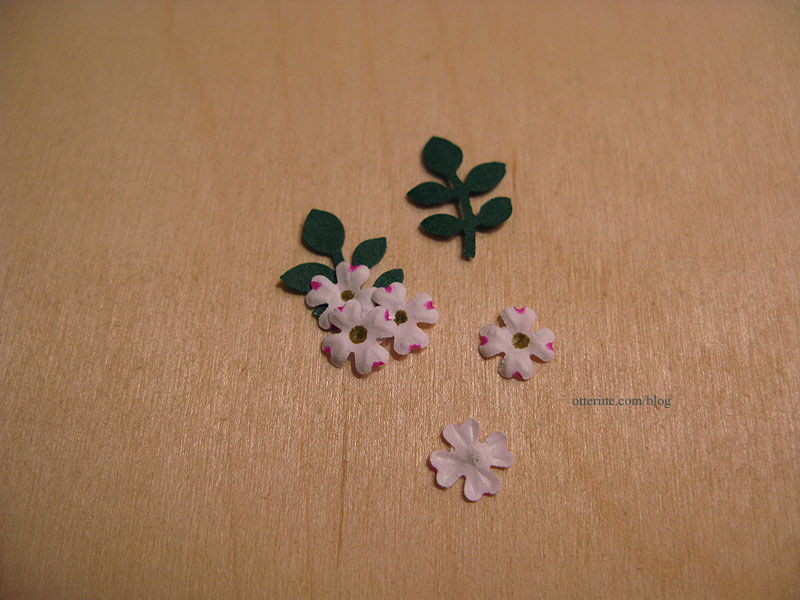
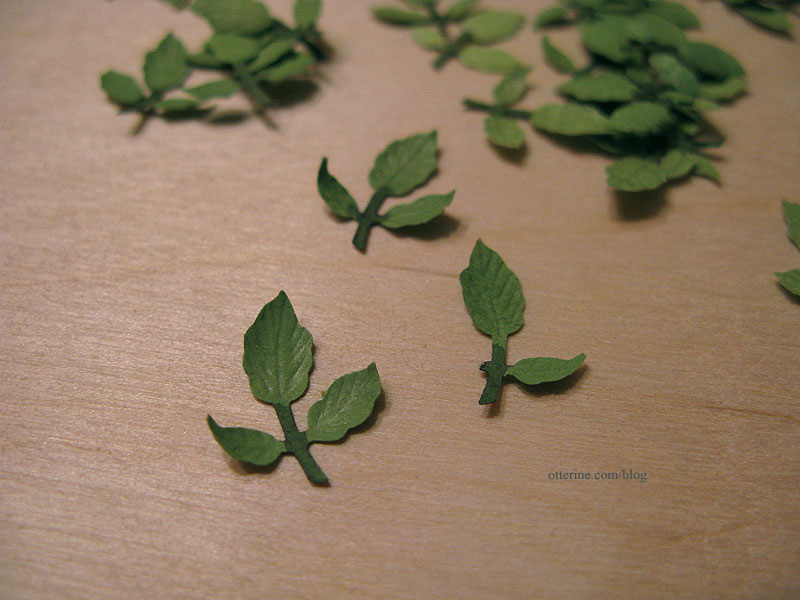
This is the small tri leaf punch by Punch Bunch with flowers.
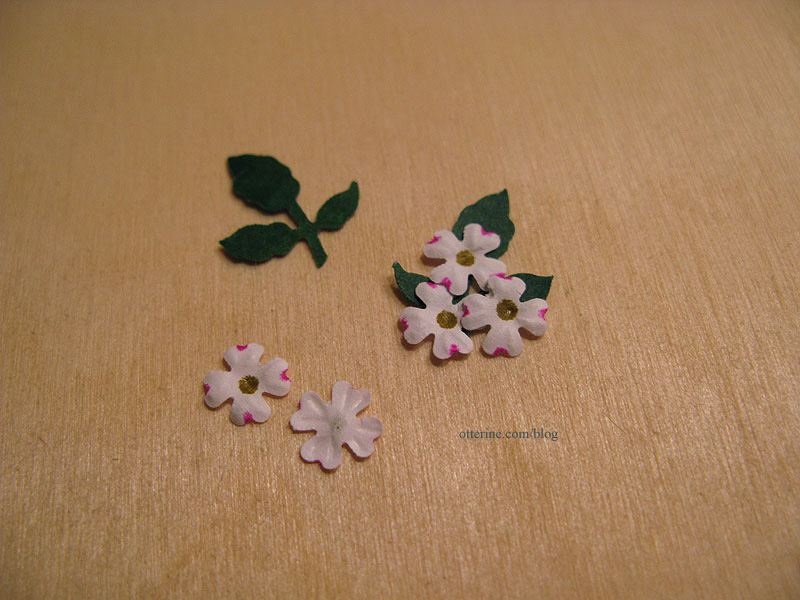
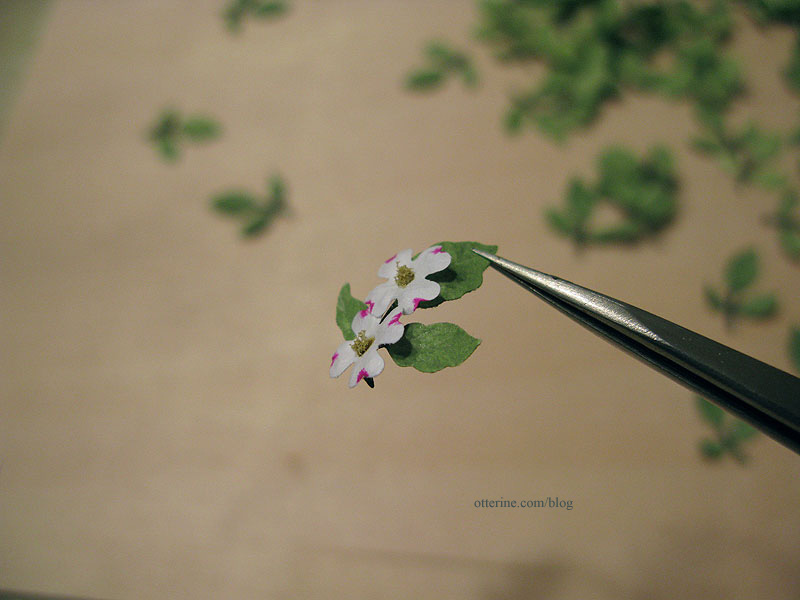
Both leaf sprigs are 5/8″ high, but the tri leaf sprig seems to work better overall in scale and shape. I will shape these to add vein texture and then glue the flowers and leaf sprigs to the tree skeleton. I’m also planning to add some dimension to the flower centers.
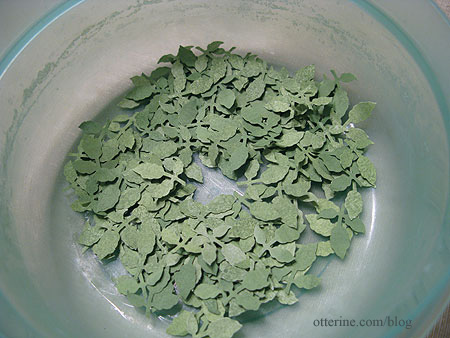
I knew I needed lighter color leaves, but none of my markers were the right shade of green. I ended up painting the strips of paper which resulted in a slight variation of greens. I think that’s okay considering it might add to the dimensionality instead of having a uniform green as the backdrop for the flowers.
Here they are…165 leaf sprigs. I’m not sure if I will need more flowers and leaves, but it seemed a good place to start.
I colored each stem with a brown marker. With the green paint base color, it turned the stems greyish green…perfect for matching the trunk. I then added veins to each leaf on the sprigs with a ball stylus. I had a few leaf casualties, but I kept the sprigs and the loose leaves.
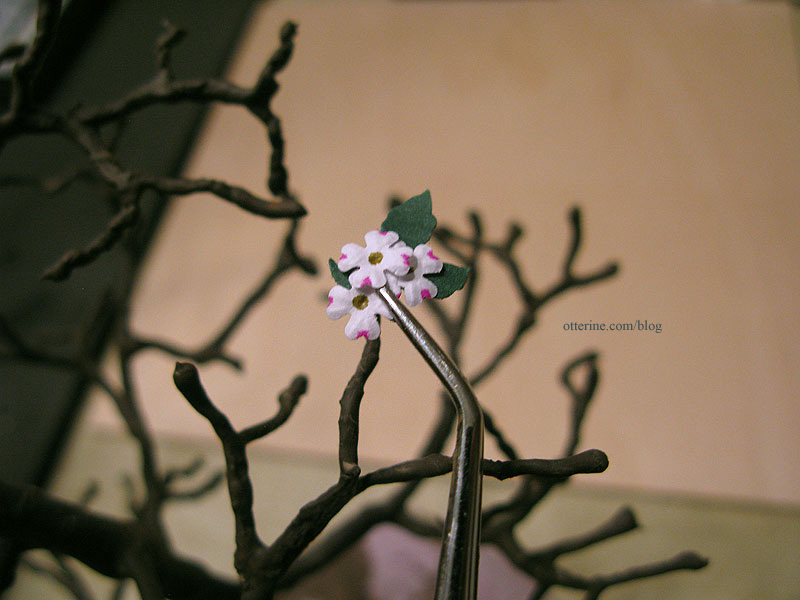
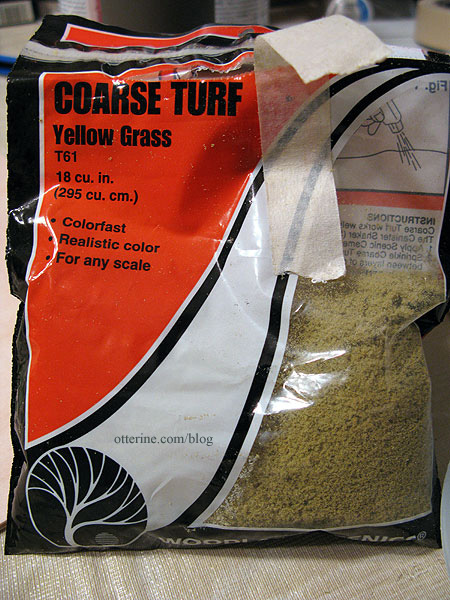
The middle of a dogwood flower is actually a cluster of smaller flowers. To add dimension to mimic these clusters, I glued landscaping material by Woodland Scenics to the centers of my shaped flowers.
I glued flowers to a leaf sprig and then glued that assembly to the tree branch using Aleene’s Fast Grab. I usually use Aleene’s Quick Dry for just about everything, but this is a thicker glue that does what it says…it grabs fast! :D
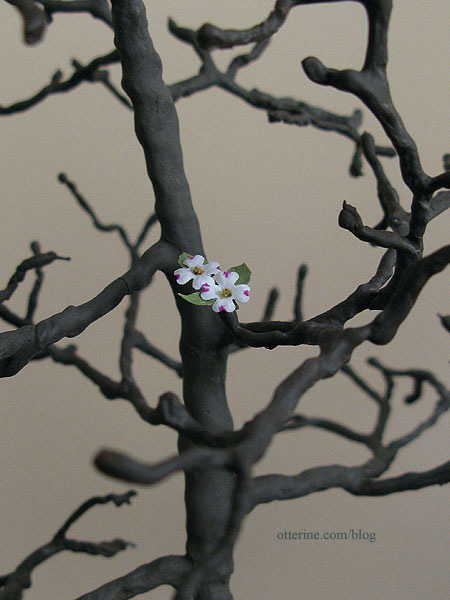
Okay…164 more to go!
I finished putting on as many leaves and flowers on the dogwood tree as I thought looked good. I have a bunch left over, which is fine since this tree may need touching up from time to time and I won’t have to start the process of making new leaves and flowers from scratch.

The bench is by Phoenix Models. The “kit” comes with two white metal bench ends that you can paint, and you supply the wood in whatever length you wish. It’s a perfect solution when you need a completely custom size bench. It’s a sturdy little piece once you manage to wrangle all the wood ends into place.
I used some leftover Dura-Craft trim wood for the seat slats and skinny sticks for the back rest, stained with Minwax English Chestnut. I cut the boards 3.25″ in length, so the seat ended up at 3″ wide — a perfect loveseat under a pretty tree. :D

From the back, the tree looks a little fuller since there are more branches on this side. I had made it sparse on the front since I planned to have a bench there from the beginning.
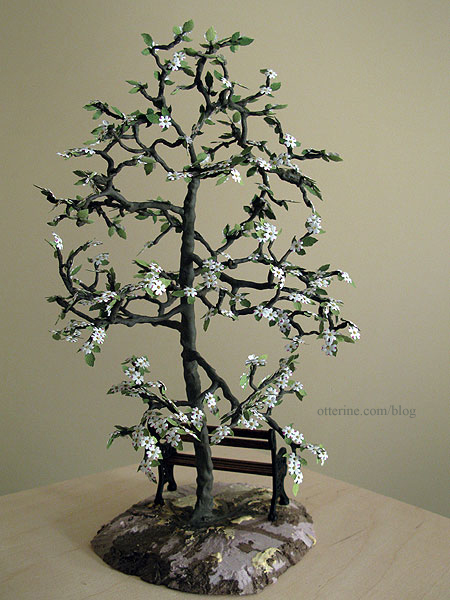
It looks fullest from an aerial view (and in person since you can walk around it at the right level).

Overall, I love the way it turned out. It’s full but still allows you to see the building behind it.
Categories: Flowers, plants, and trees, The Aero Squadron Lounge
July 19, 2012 | 0 commentsFarmhouse hutch reproduction, part 2
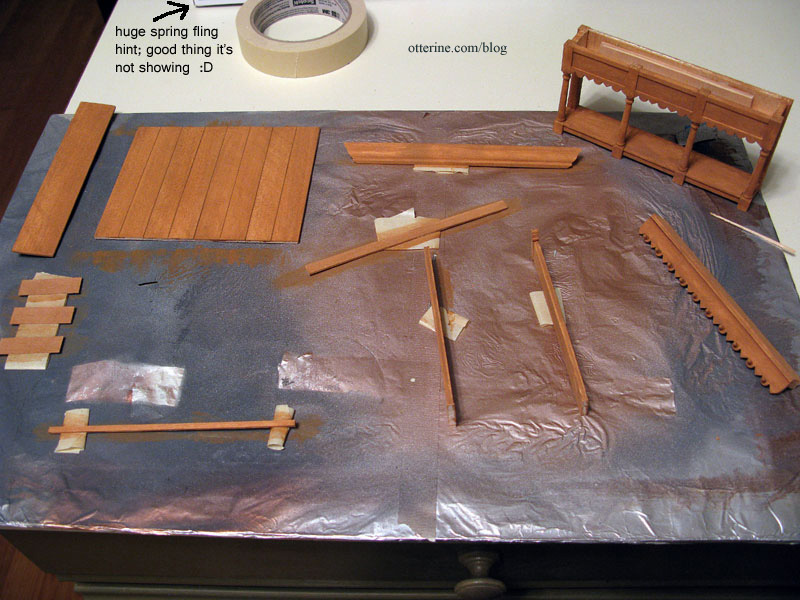
Continuing work on the farmhouse hutch I found on European Paint Finishes. With the hutch mostly built, I needed to stain the entire surface. I plan to paint all except the back and counter top, but I will sand that top layer down to show the stain color underneath. One of my favorite materials is Staining Antiquing Medium by Americana. It acts somewhat like a glaze, looks a little like an ointment, and makes acrylic paint behave like a liquid stain.
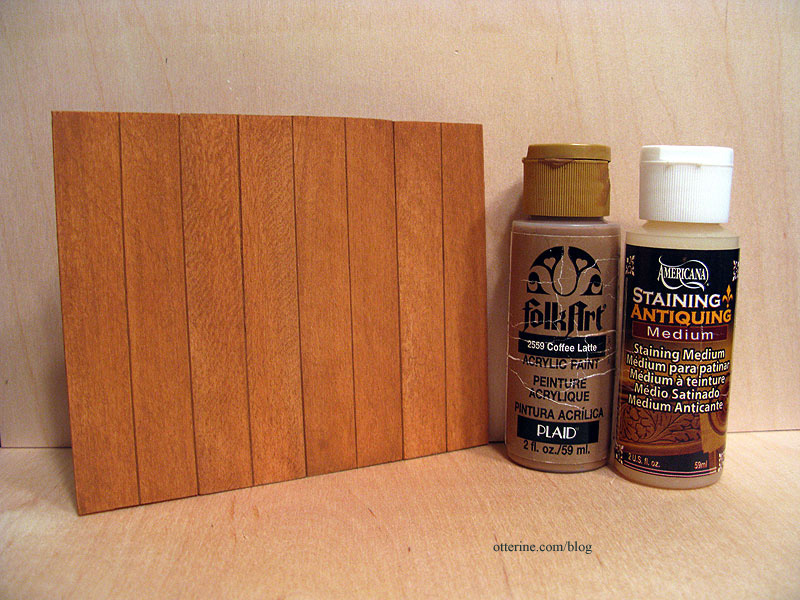
You can use any color you want and still have the wood grain show through. And, you don’t have to buy a whole can of stain every time you need just a little color. Here I’ve used Coffee Latte by Folk Art, which has a warm honey color.
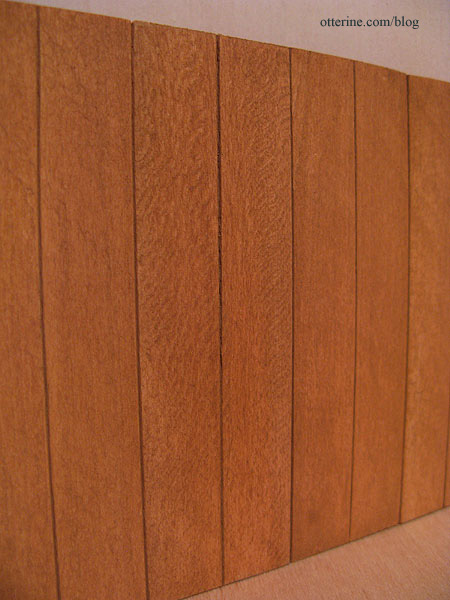
The hutch looks rather rustic, though I will neither confirm nor deny if that is my intention. :D
I let the stain/paint dry overnight then sanded all the pieces smooth and reapplied the stain as needed.
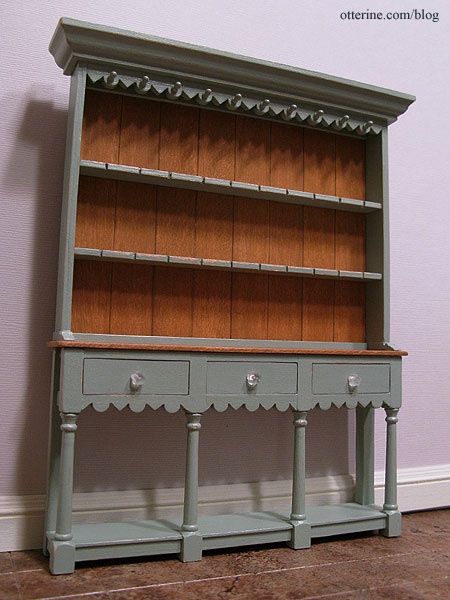
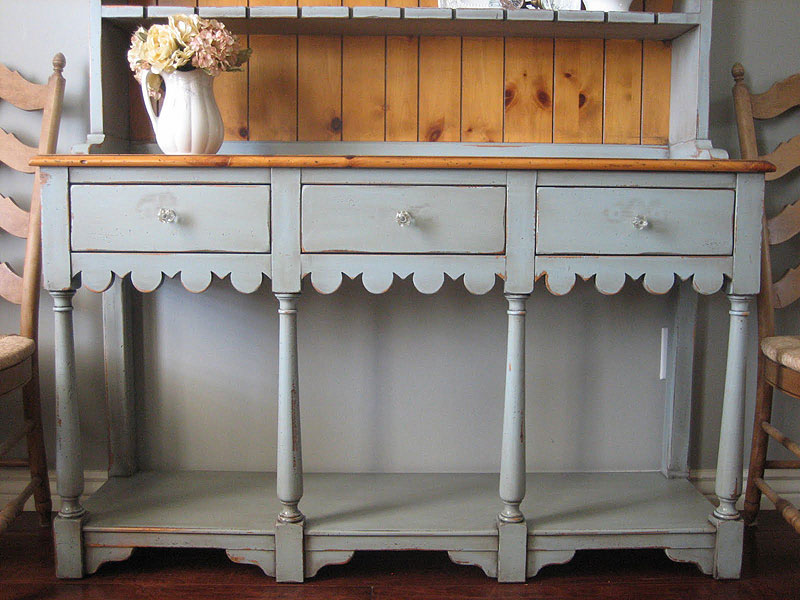
I painted all of the pieces except the counter top and the hutch back boards Slate Green by Americana.
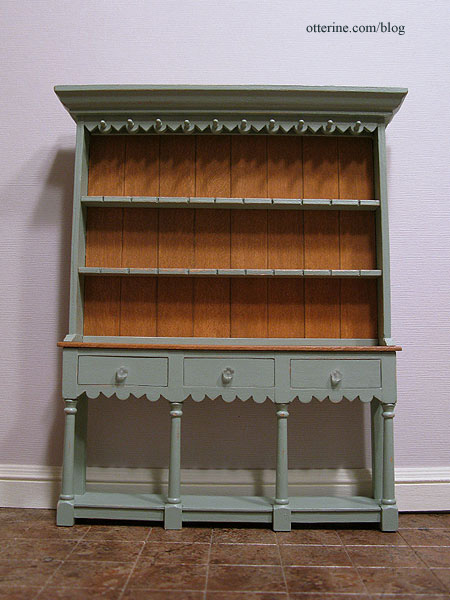
It’s close to the color used on the inspiration piece.
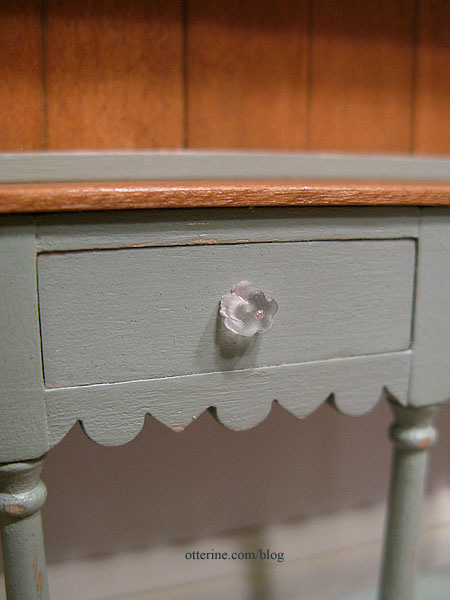
I sanded the pieces to reveal some of the stained wood underneath the top coat and then sealed with Delta Ceramcoat satin varnish. The knobs are clear flower-shaped beads held in place by silver pins. The faux drawer fronts look convincing, no?
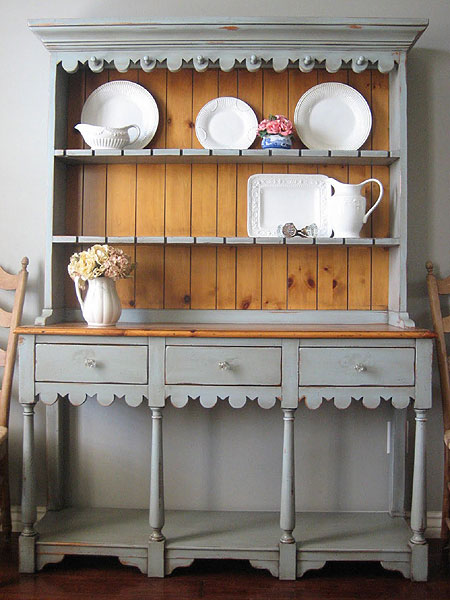
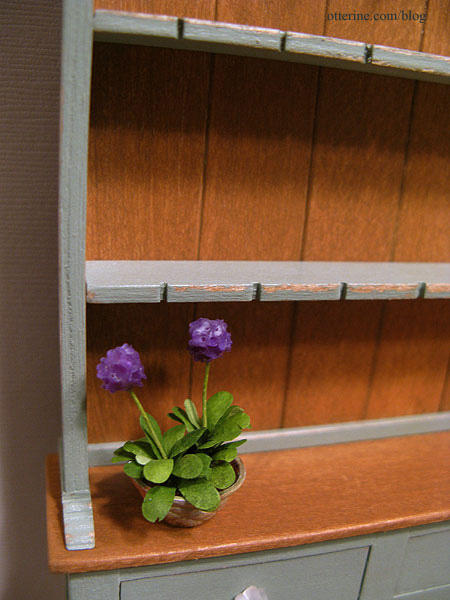
I added the notched detail on the shelves. Fran suggested this might be for displaying spoons, and even though I don’t intend to display mini spoons, I liked the detailing. The lovely flowers are by Michelle from Little Rabbit Miniatures.
I moved the crown molding up slightly during final finishing, so the entire unit measures 6 1/4″ W x 7 5/8″ H x 1 1/16″ D.
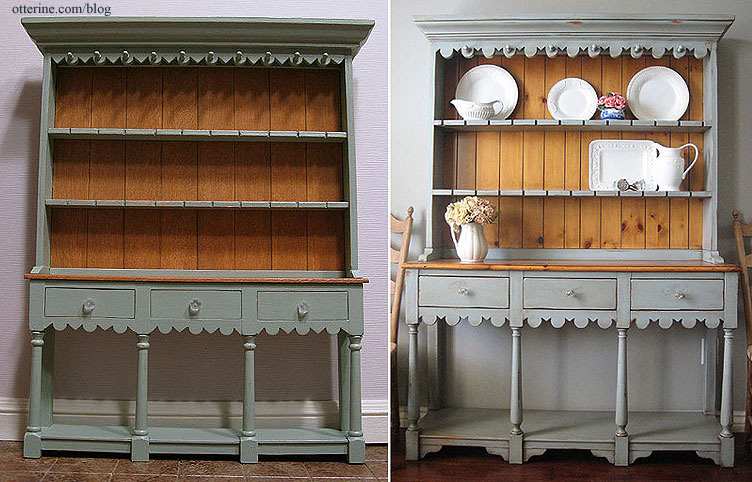
I think it turned out very close to the original. :D
Now to fill it. I won’t be using these items with it, but I wanted to show the relative size with some minis.
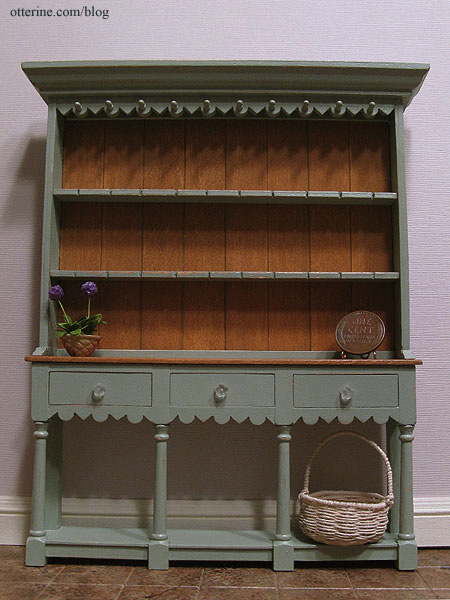
Basket by Lyssa. :D
Categories: Furniture, The Aero Squadron Lounge
July 15, 2012 | 0 commentsFarmhouse hutch reproduction, part 1
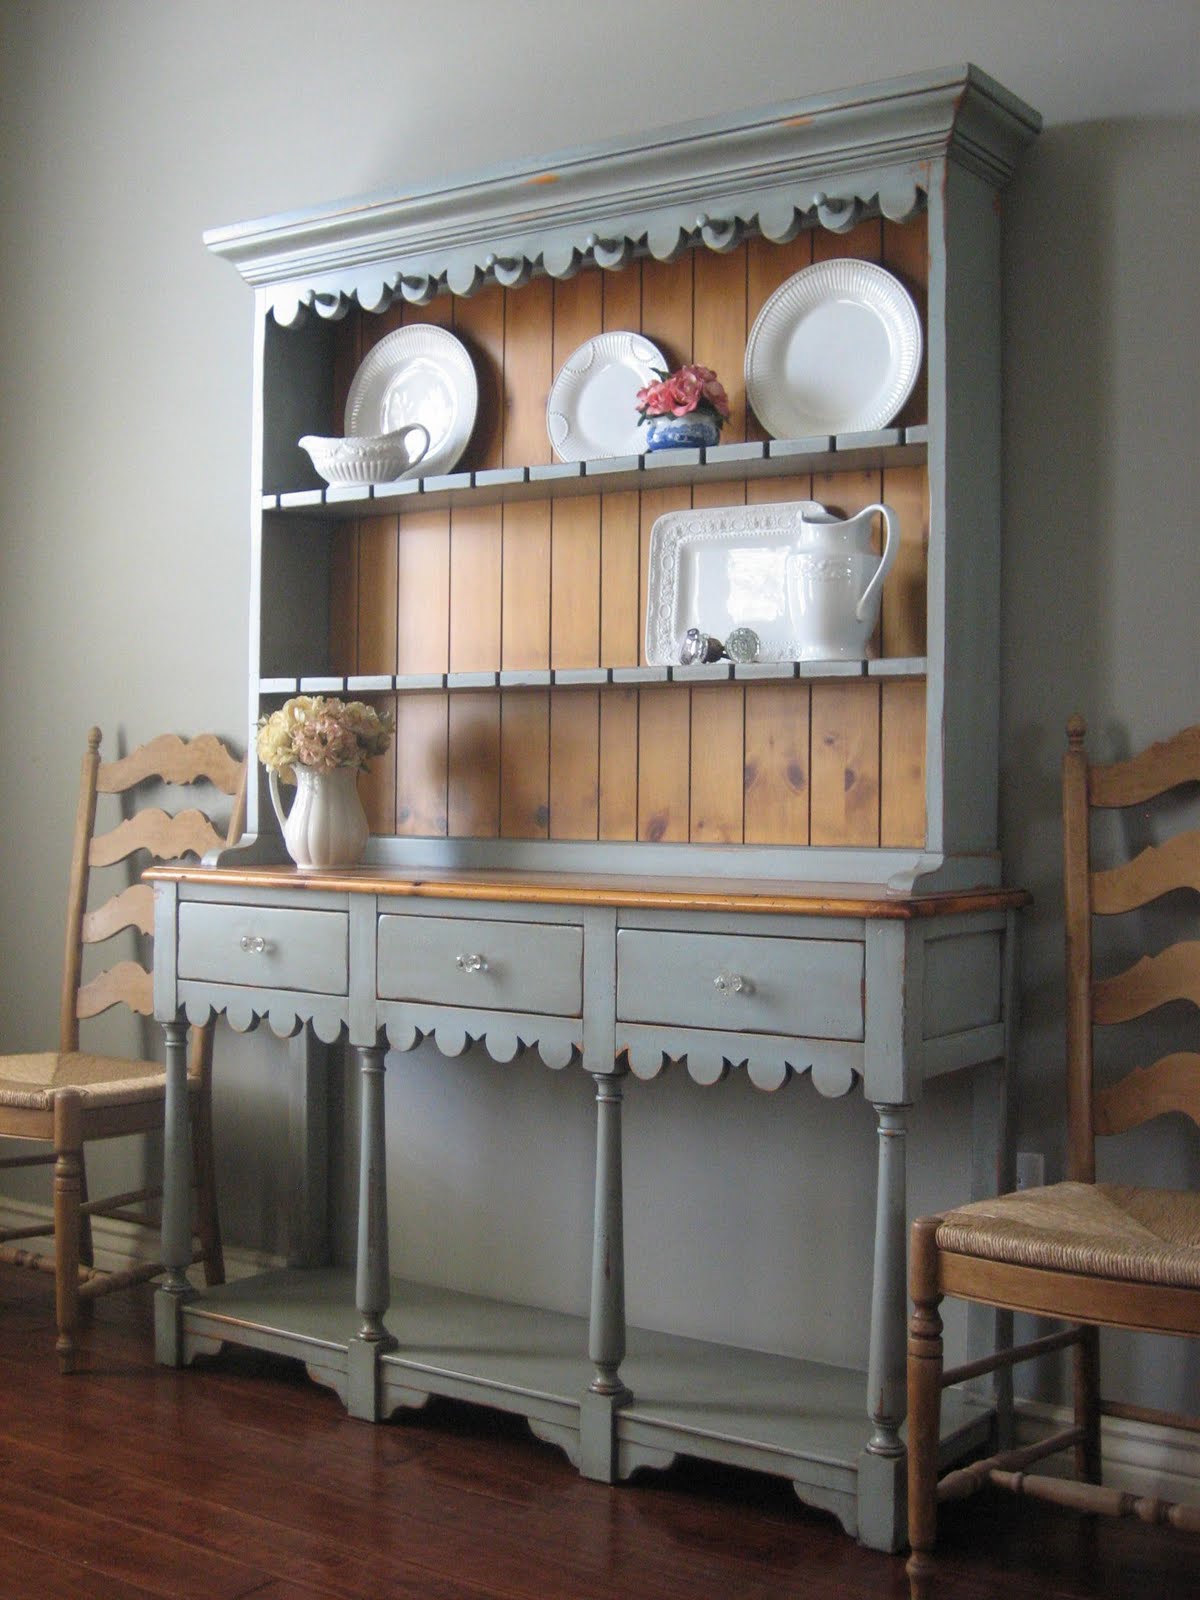
I have started my miniature reproduction of a farmhouse hutch I found on European Paint Finishes. Here’s the original farmhouse hutch for reference.
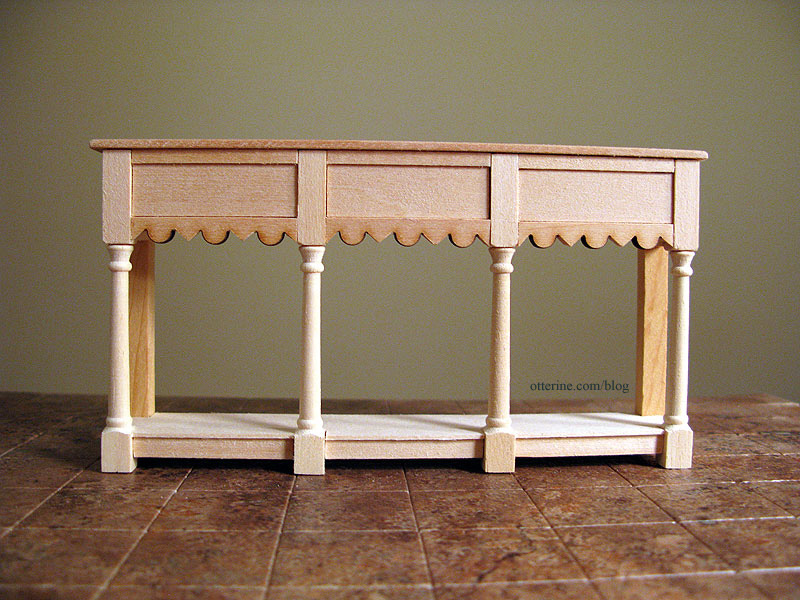
I have the base assembled and ready for paint and stain. The counter top is separate since I plan to stain it and paint the rest.
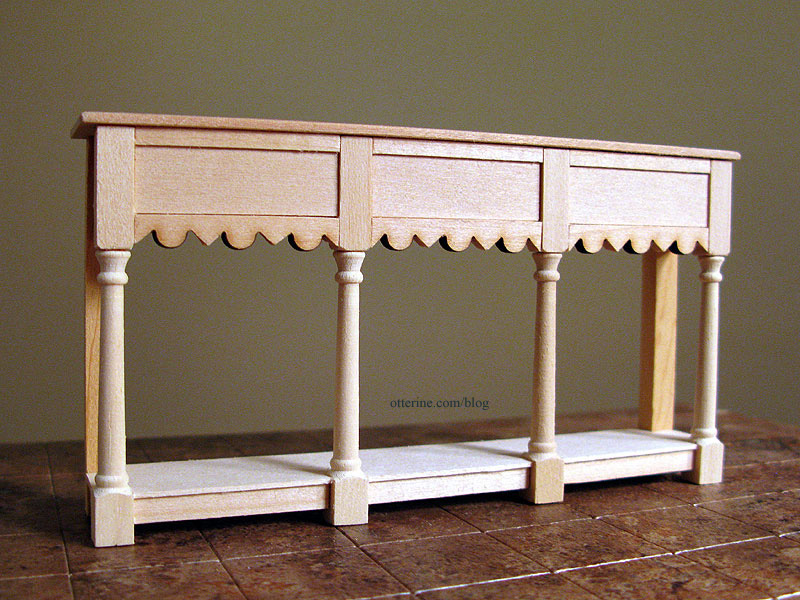
The drawers in my version are not functional, so I’ve recessed the front portions for now. I will make faux fronts to “float” in these openings to make the drawers more convincing.
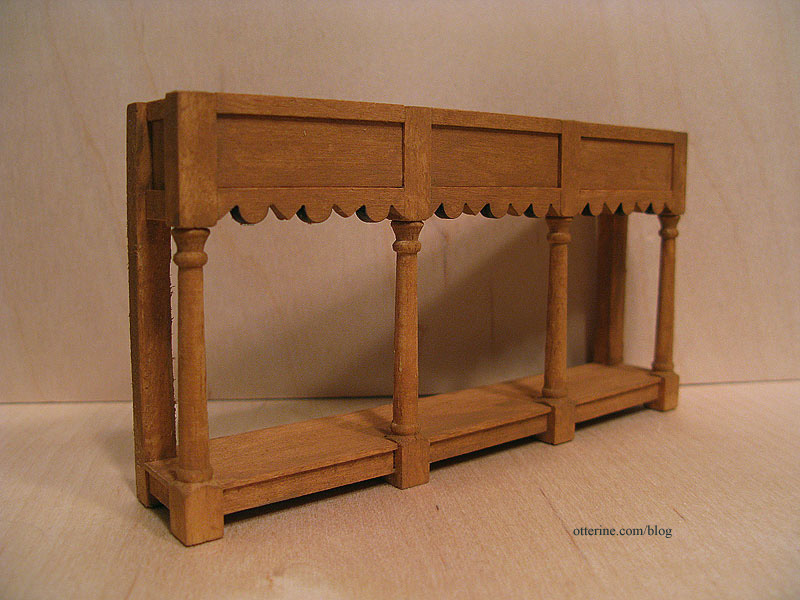
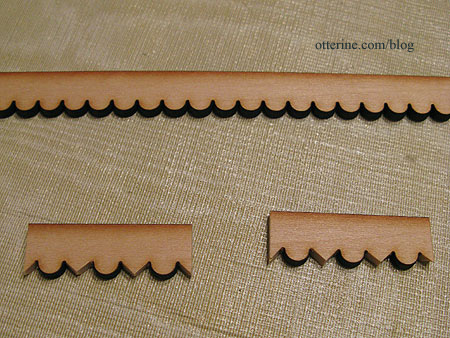
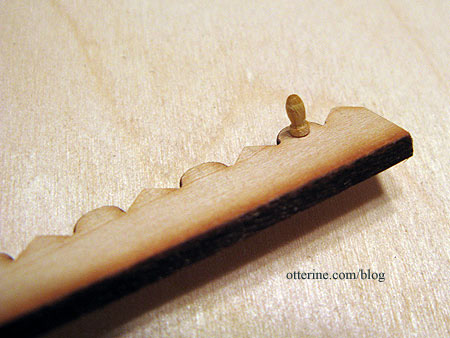
I used laser cut scallop trim from Heritage Laser Works, cutting every other scallop to a point to mimic the original. Mine has three complete scallops instead of four like the original to maintain the look of proper proportions.
Below is a more detailed shot of the original. The hutch is shown on a similarly colored wall, so at first I thought the bottom was enclosed on the back. It’s actually open between the back two square posts.
The front posts are Houseworks newel posts cut to fit. I may or may not add the bottom brackets. I have an idea how to make them, but they will be tiny and perhaps more trouble than they’re worth. I was trying to keep the height down on the overall piece and haven’t left much room for them.
This part of the hutch measures 5 3/4″ W x 3″ H x 1 1/16″ D.
I forgot to mention that Patie of minisx2, where I found that delightful and whimsical modern cabinet, sent me some Dura-Craft wood from my want ad and included two bundles of cut wood for projects. It’s very nice wood, unlike what I’ve been finding in the craft and hobby stores lately. I’ve used it for the counter top of the base and the back of the hutch top.
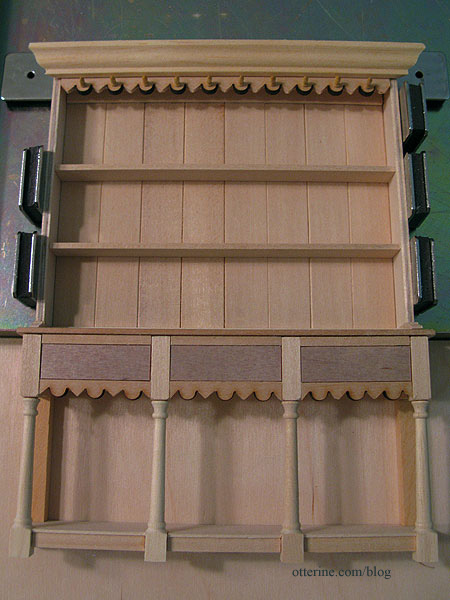
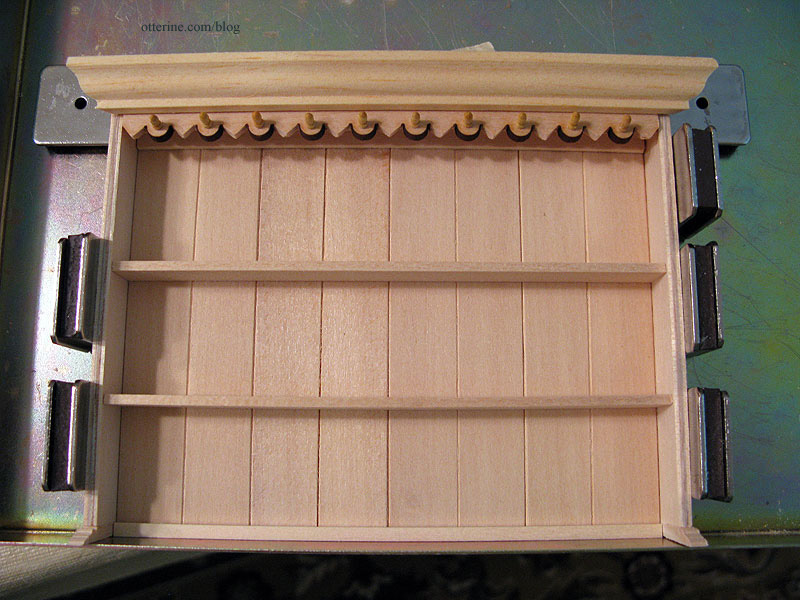
Very little of the top is glued since the back will be stained and the rest painted, so it’s being held together with magnets in my gluing jig. Here’s an approximation of what it will look like with lower portion. As you can see, I’ve cut the veneer inserts for the faux drawers.
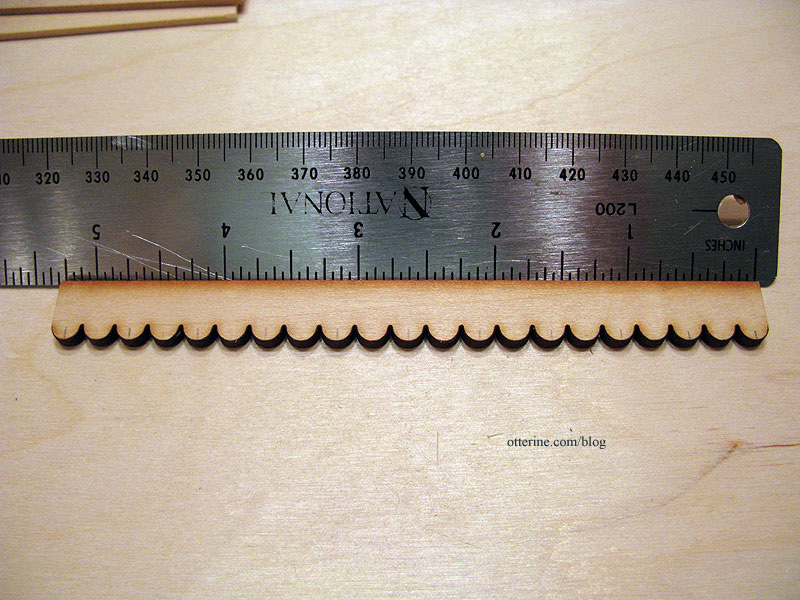
My first measurement for the top had to be the scallop trim since I needed complete scallops all the way across. Having them uneven, with one chopped off on one side and another whole on the opposite side would have offended my sensibilities. ;D
I order wood trims and parts from Manchester Wood Works quite often, and they include a small sample bag of various wood trims. I use these samples all the time when I just need a little bit of something to add to a project.
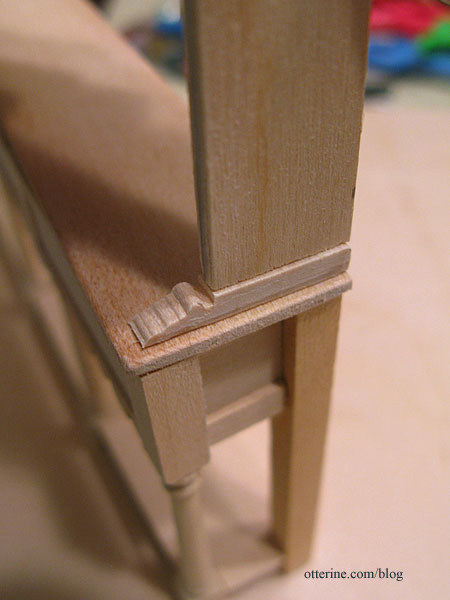
To create the decorative bases for the side panels, I used 1 1/16″ tall baseboard trim – a sample from Manchester Wood Works. I am guessing this might be for play scale. I’ve used half scale and quarter scale items in my full scale builds before, too. I cut thin cross sections, then measured the depth I would need based on my side panels.
Now I have wonderfully decorative bases without having to carve them individually. This was the method I had planned to use to make the lower brackets, but the space is just too small. Until I delve into quarter scale building, cutting wood that small just eludes me. :D
The pegs on the upper trim are model ship belaying pins. Just a quick drilled pilot hole and some glue, and there you have it!
Here is a close up of the original hutch top.

I ended up with 1 1/4″ spaces between my shelves to accommodate what the hutch will eventually hold. I’ll cut sides for the crown molding on top after it is all painted, stained and assembled. Things have a way of shifting during the building process and I find it’s best to fit that final trim at the end. I still need to add the notched details on the shelves, but I’m taking a break from the project for now. I can fiddle with these things only so long.
The hutch top measures 5 1/2″ W (not including the crown molding) x 4 1/2″ H x5/8″ D (not including the decorative bases), making the total unit 6 1/4″ W (with the crown molding) x 7 1/2″ H x 1 1/16″ D.
Categories: Furniture, The Aero Squadron Lounge
July 7, 2012 | 0 commentsHenhouse
After doing a quick bit of counting, I realized there are four and a half months until the Spring Fling contest deadline. I had planned to work on both the contest kit and the Heritage so my blog wouldn’t go silent, but this realization sent me into a bit of a panic. There are a lot of things I want to do for this build, so I have to get to it…and there may be some days of radio silence.
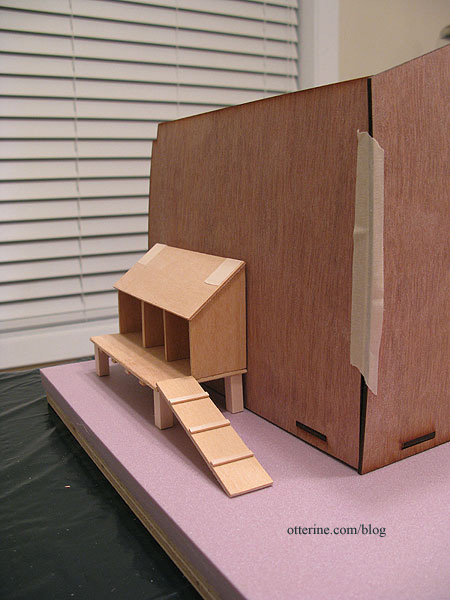
While the build will be secret as a whole, there are things I am building along the way that I can share without giving any clue as to what the total project is. The first of which is a little scratch built henhouse. Trust me when I say this really gives very little away about my project.
I saw one of these at the Bishop show made by Terry Harville and instantly knew I needed one.
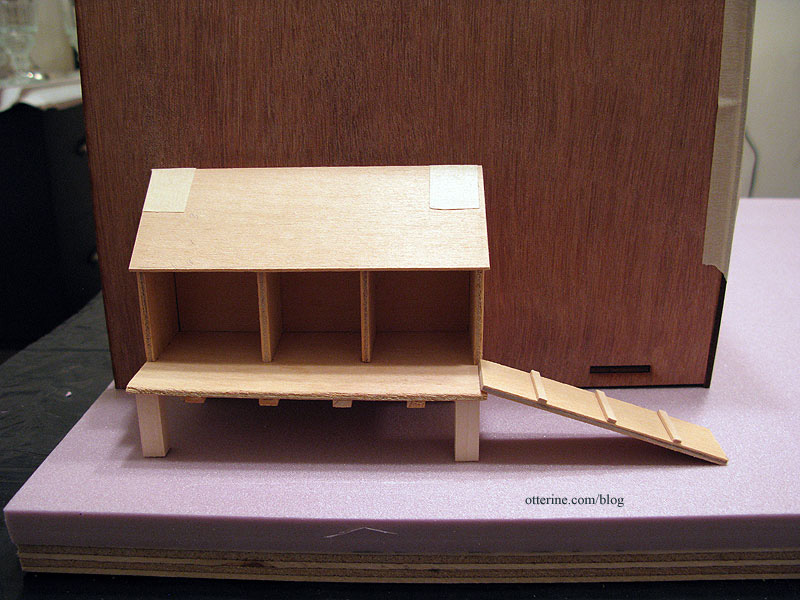
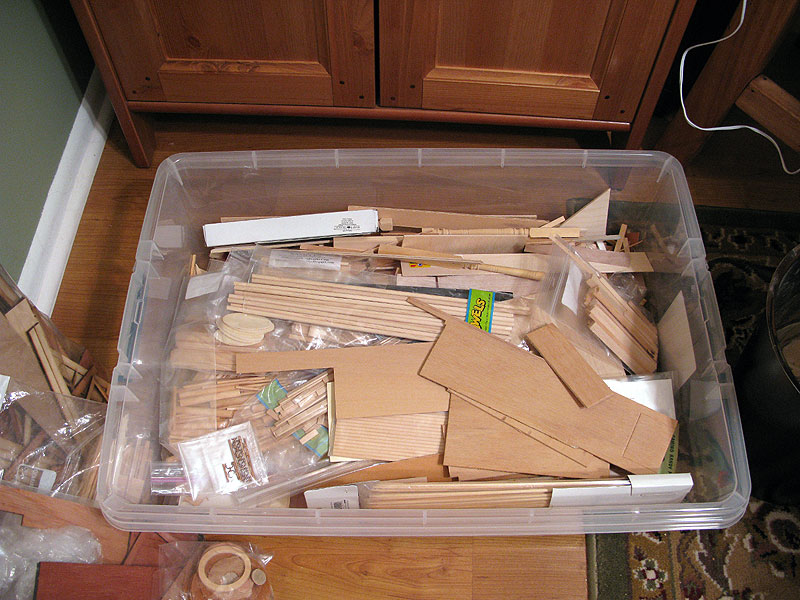
If there’s one thing I have, it’s leftover scrap wood, especially from the Heritage build. I’ve been throwing all my scraps and punched out pieces into a plastic bin that I can rummage through as projects come up. The henhouse was made using only scrap items from this bin.
Since this is inspired by someone else’s work, I’m not posting a full tutorial of the construction. But, you can probably see how it is made as it is a very straightforward design. I have it all assembled except for the roof board, which I still need to shingle. I thought it would be easier to keep that piece separate so I can press it flat if need be.
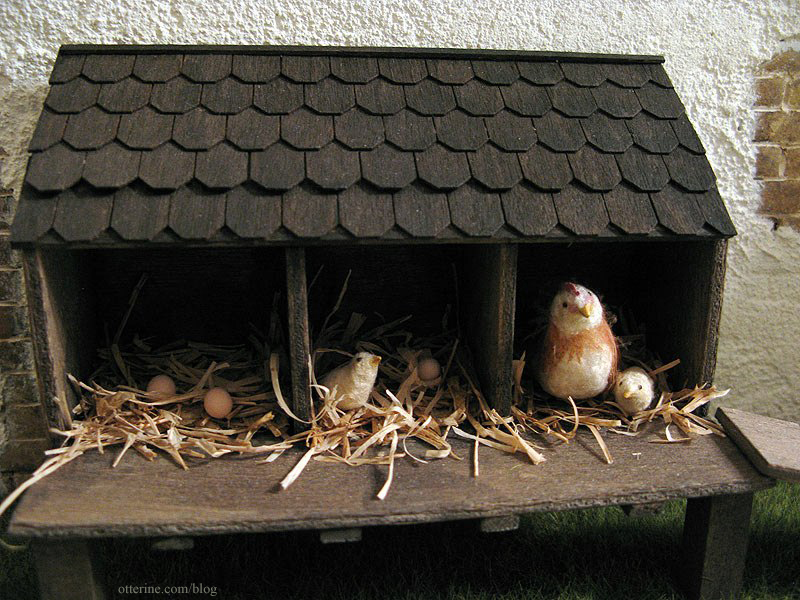
Update: The henhouse is not easily seen in the overall build because of the tower, but I’m glad I included it. The breed of hens I’ve made are Faverolles, a French hen suggested by Teddi. I have a standing hen not yet completed.
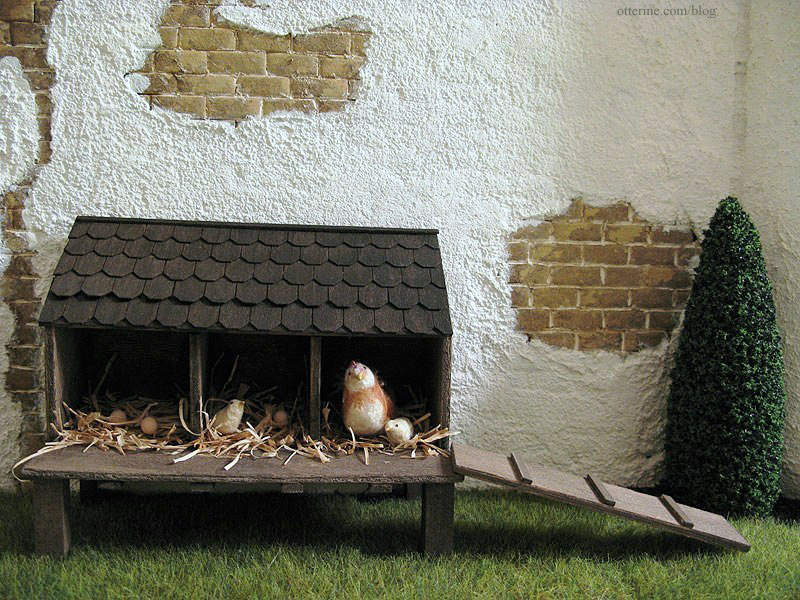
I’ve used a few of the eggs I made, too.
Categories: The Aero Squadron Lounge
April 24, 2012 | 0 comments
NOTE: All content on otterine.com is copyrighted and may not be reproduced in part or in whole. It takes a lot of time and effort to write and photograph for my blog. Please ask permission before reproducing any of my content. (More on copyright)