


NOTE: All content on otterine.com is copyrighted and may not be reproduced in part or in whole. It takes a lot of time and effort to write and photograph for my blog. Please ask permission before reproducing any of my content. (More on copyright)

Paperwork in mini
Man, the work is piling up around here. :D
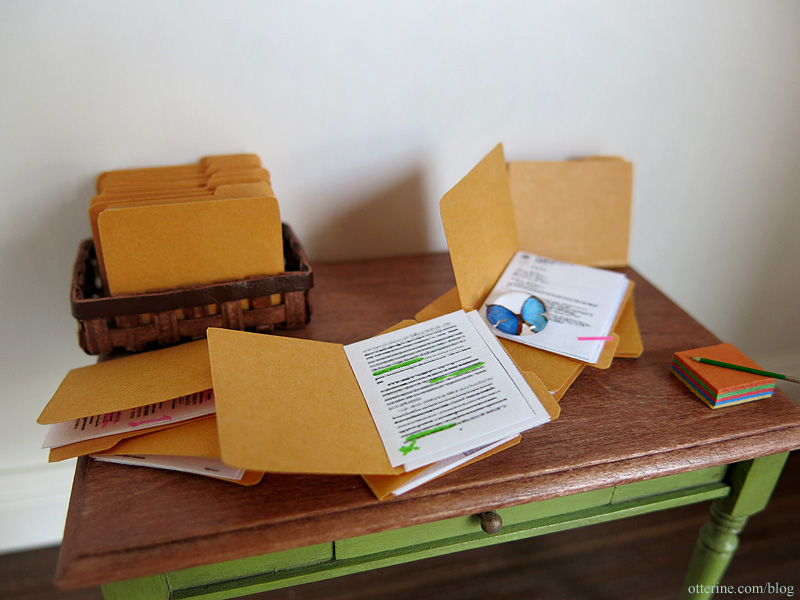
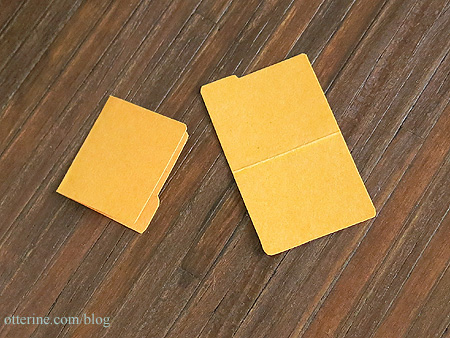
At the office, I often need to break down outdated business materials and shred the contents. I keep the plain tab pages and color separators for reuse. I used one of these tab pages to make goldenrod file folders using a template found online. I printed them on the page, and then cut inside the black lines. They have a faint fold line that disappears once folded.
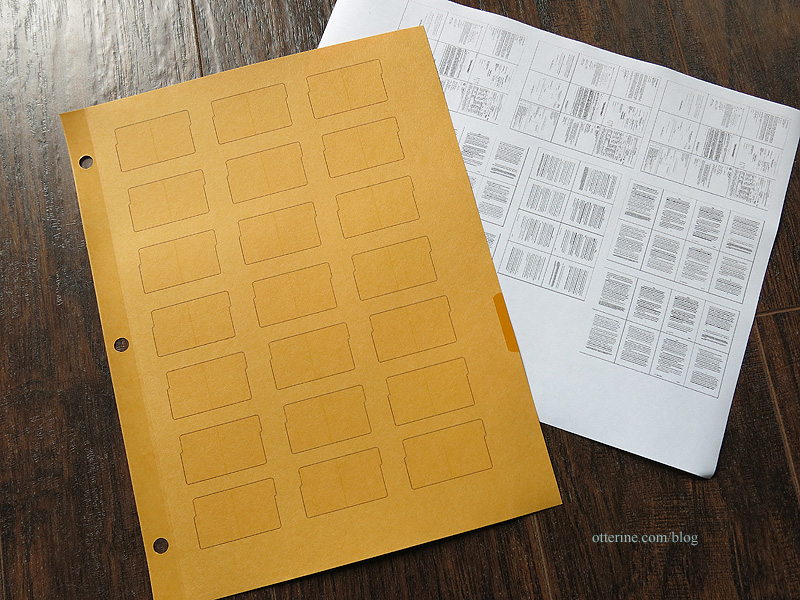
The paper is thicker than regular computer paper but still thin to work in scale.
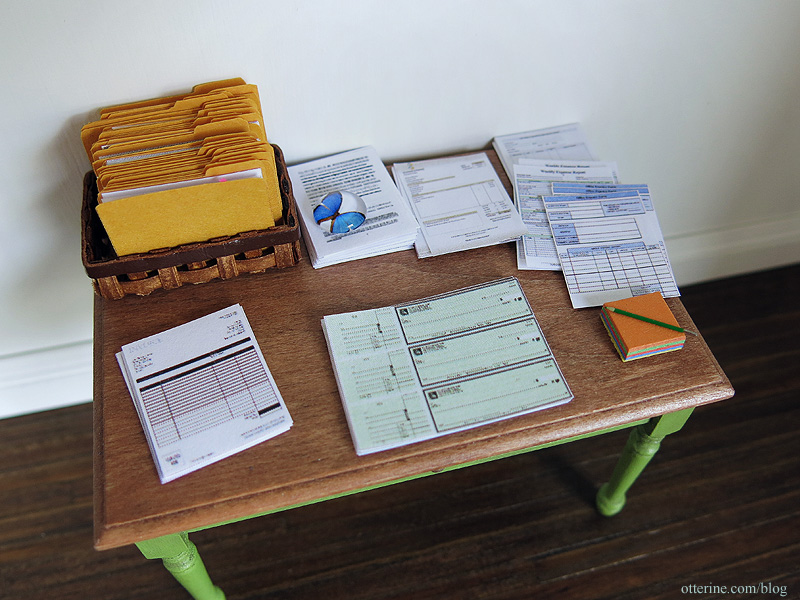
The legal documents are from PrintMini. I used the fine tip of my highlighters for a few of the documents. Right now the folders and papers are unruly, but when I make my mini scene I will glue some of them closed. I also need to clean up some of the guideline edges. :]
This one still has the sticky “sign here” tab attached. This was made from cutting a sliver from the real deal. :D The paperweight is from Debora.

I used some online images for the business checks, invoices and forms.
Update: added a tutorial on making the paperwork in miniature.
Categories: Roomboxes and Mini Scenes
June 17, 2015 | 0 commentsThe Maple Room – a weekend build
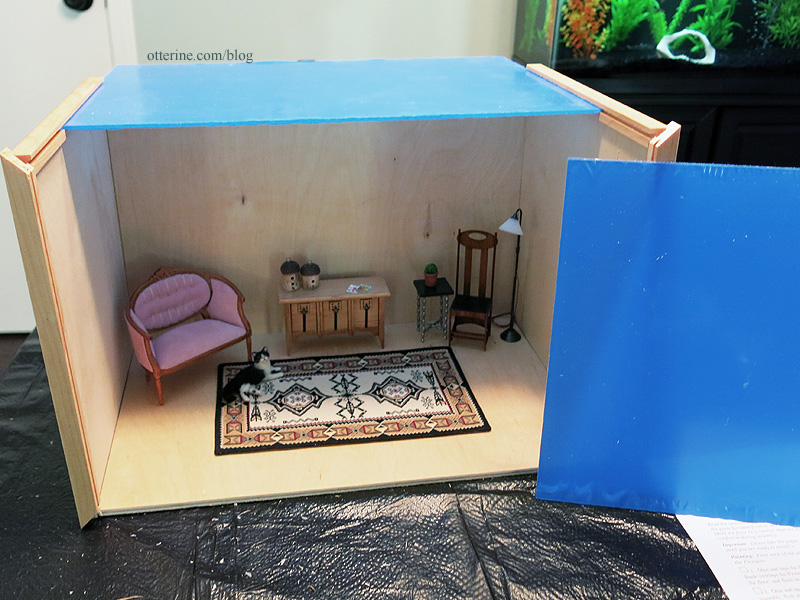
Time to make The Maple Room! :D As noted before, I’m using this Traditional Room Box kit by Real Good Toys as a quick build room that will be interchangeable for photographing minis. I always like to start with finishes that can be done while the kit is still in flat pieces. This allows me to press the boards flat while paint, stain or glue dries, therefore reducing warping while the build is in process.
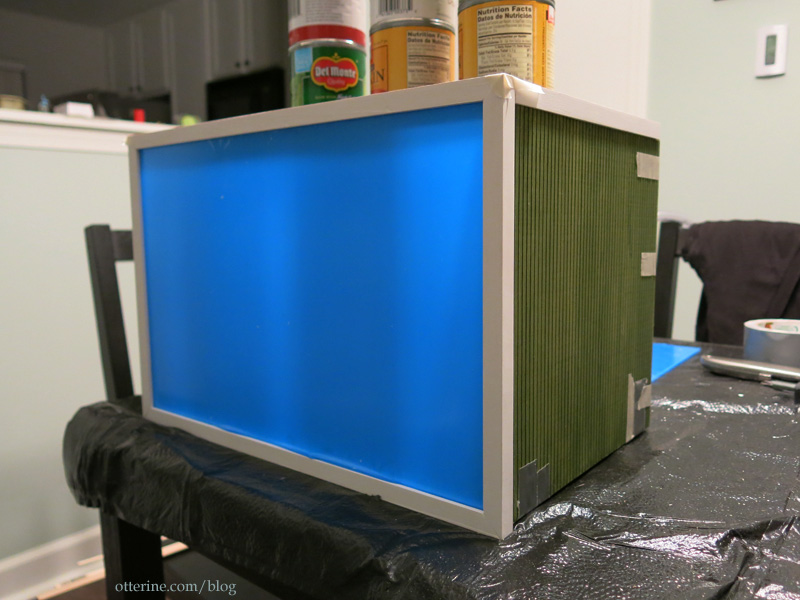
I started by marking lines on the exterior of the box where the front and upper trims will be. I am finishing the exterior not only to make the room more attractive on a shelf but to add thickness and stability to the base kit wood.

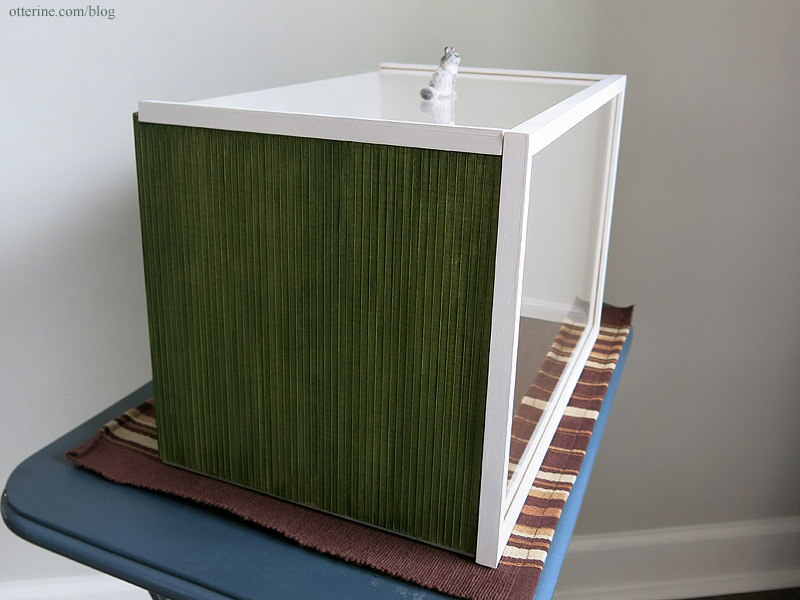
I bought this siding some time back and it wasn’t exactly what I wanted for that project. I kept it in my stash, and today it came in handy without my having to buy additional materials. For the sides, I followed the guidelines. For the back, I left some overhang to overlap the sides.

I primed the interior with white craft paint and stained the exterior with a mix of Staining Medium and Plantation Pine by Americana. I chose paint stain since it dries faster. This box isn’t meant as a showpiece, but the paint stain will seal the wood while looking nice besides. I later added one very thin coat of Delta Ceramcoat Satin Varnish.

I also chose green since I already have grey and red siding builds, and The Maple Room could easily serve as an outdoor backdrop just by turning it around.
I painted the plexiglass trims, baseboards and casing trims white. The baseboards are leftovers from the Heritage. I assembled the main room pieces of the bottom, sides and back using wood glue. I had masked off the edges to keep a clean wood surface for the joins.
I glued the front lower and front side channel trims in place. The front upper trim and side upper channels will need to stay removable to swap out the papers. They each have a deep channel groove and hold in place nicely without adhesive. But, I assembled the box with everything taped in place so it would dry in the correct shape.
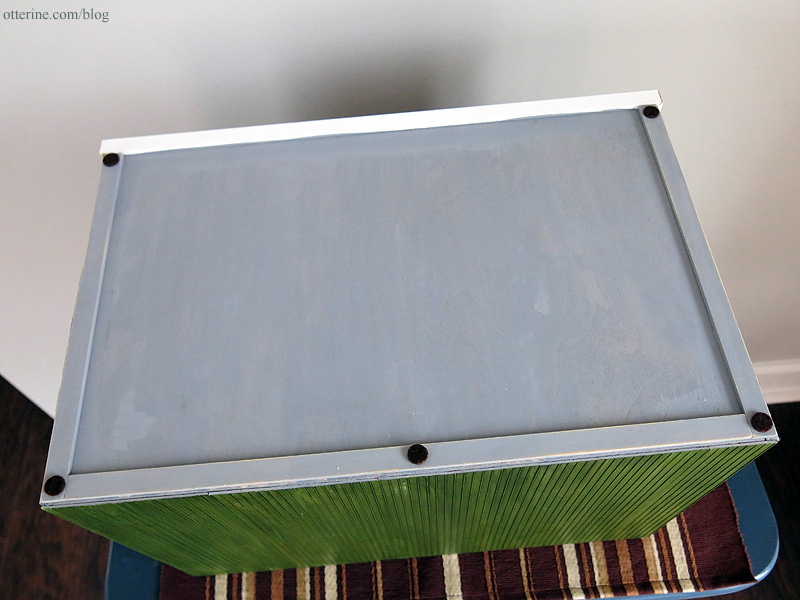
I glued the bottom trims to the underside and then touched up the paint. I had primed the floor board and these trims with grey gesso. Small felt feet added to the bottom will protect table surfaces.
I had some flooring leftover from Mt. Sydney Chalet. It was a staining mishap that I never got around to correcting. It’s a weird red-orange color that was supposed to be cherry and some of the boards didn’t take the stain very well. =shrug=
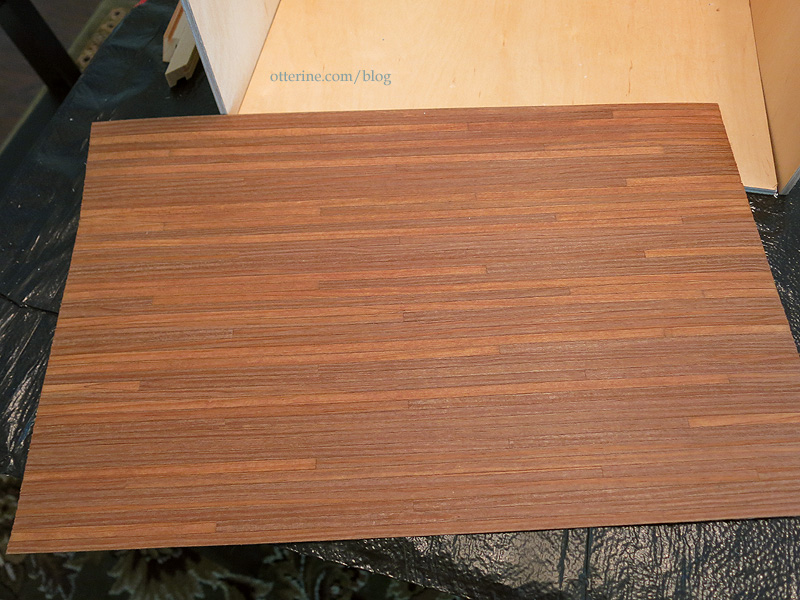
I used a mix of Staining Medium and Bittersweet Chocolate by Americana to darken the color. In a few places, I needed to use undiluted paint to cover the light boards. The final finish is Delta Ceramcoat Satin Varnish, two liberal coats. This floor is permanently attached, but other flooring can be placed on top as needs be. I glued the flooring while the board was able to be pressed flat, before assembly. During assembly, the floor board still bowed a little, but it’s not all that noticeable except in the lower left corner.
I cut some leftover baseboard trim from the Heritage to fit the room. These will remain loose, held in place with mini hold wax.
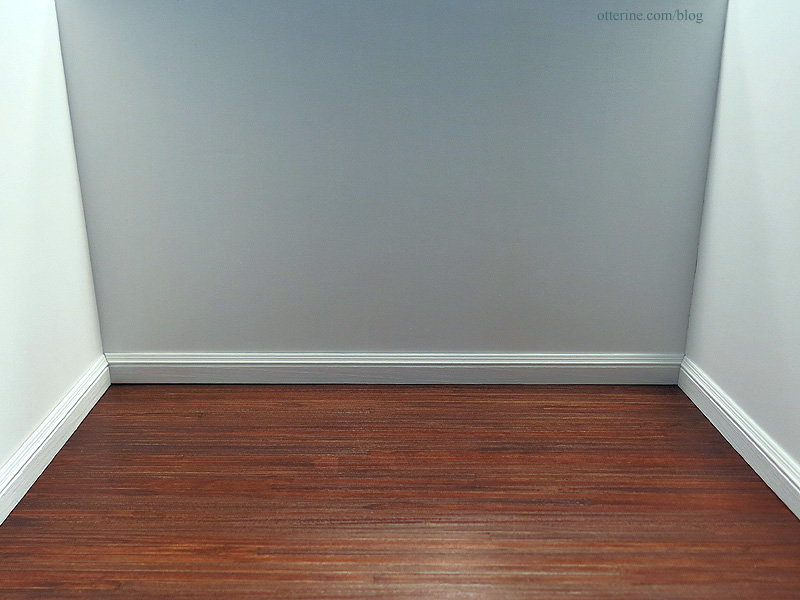
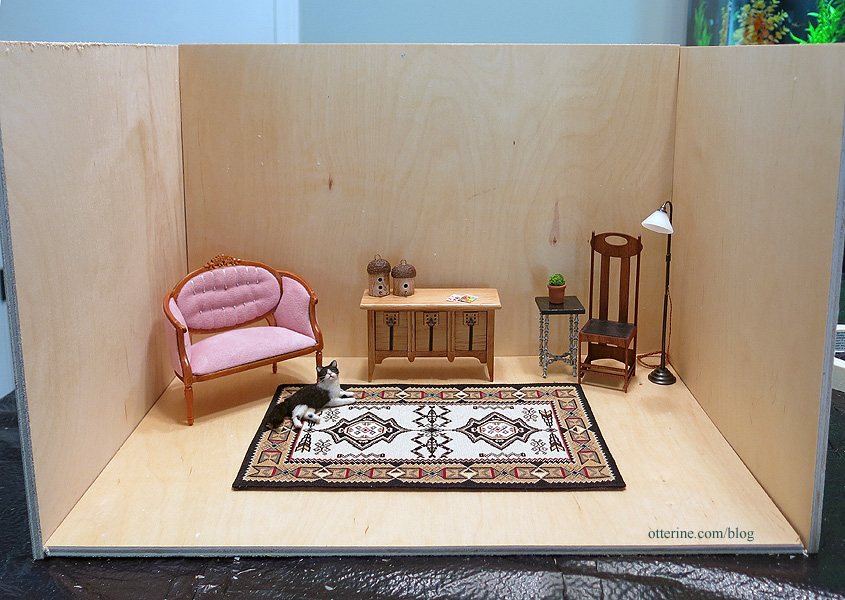
Most scrapbook papers, which is what I mainly use for my builds, measure 12″ wide. A quick clamp holds the paper in place at the top and the baseboards hold it at the bottom. A 12″ wide piece of paper is adequate most of the time, but sometimes I do need a wider room. Since the baseboards are removable, I can paper the whole room or around a corner if a scene required.

What about lighting, you ask? Any overhead lighting can be supported with the front cross beam and plugged into a power strip outside of the box.
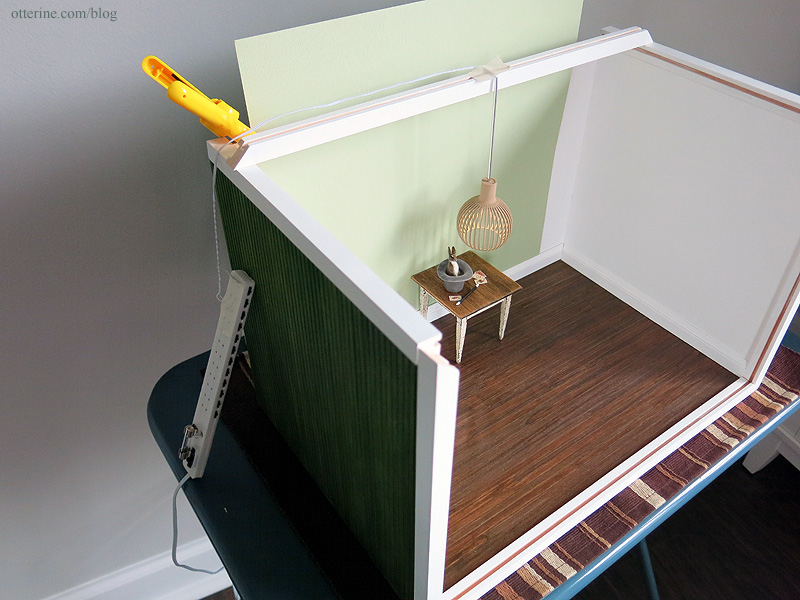
For table and floor lights, the power strip can be pulled out of the way far enough to be out of the field of vision for the camera. The lamp wires will be positioned as necessary.
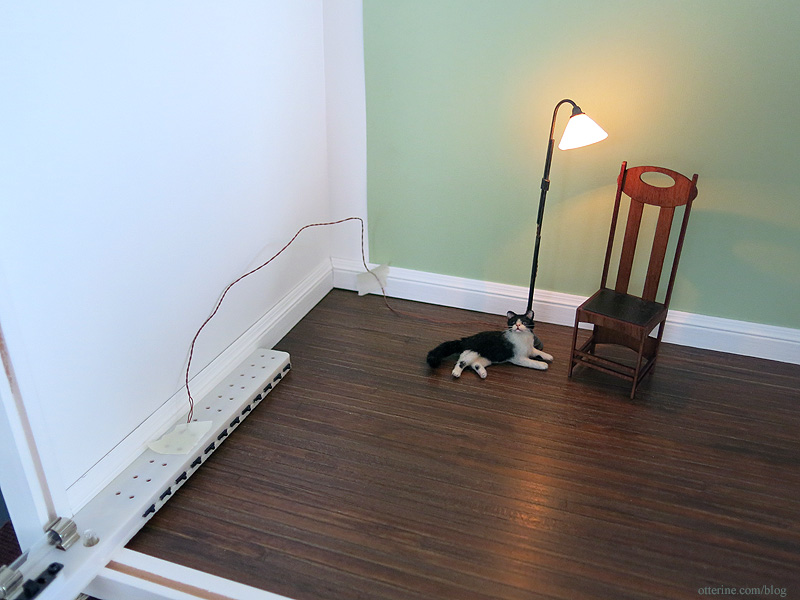
These can either be hidden with furnishings (or cats) or removed with PhotoShop. In this case, the cord is dark and thin so it’s more realistic on its own.

When not in use, the plexiglass inserts slide into place to keep the dust out.
A perfect weekend project! :D

Categories: Roomboxes and Mini Scenes
June 7, 2015 | 0 commentsThe Maple Room
Behold the beginning of The Maple Room. Why that particular name? I just thought it was nicer than “that there room box.”
This is the Traditional Room Box Kit from Real Good Toys.

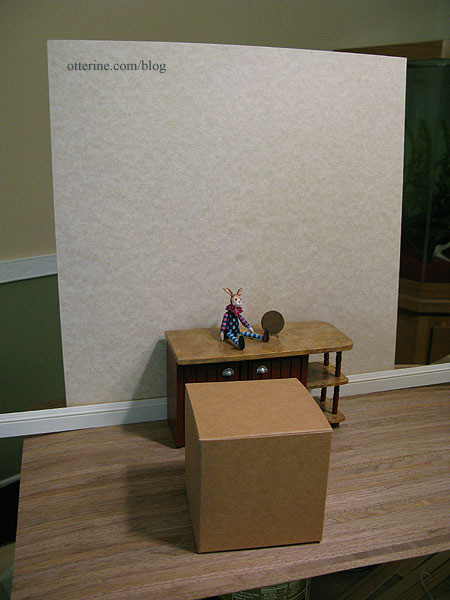
I was in a shopping mood the other day and had the monies I won for Roland’s Retreat, so I ordered the room box kit and some miscellaneous trims they had on sale. I like having the room box mockup I used for the Shapeways room, but it is very narrow.

It’s also not a permanent structure. It was built on the platform for the now defunct Mt. Sydney Chalet. I still have the room set up, but over time this will wear out.
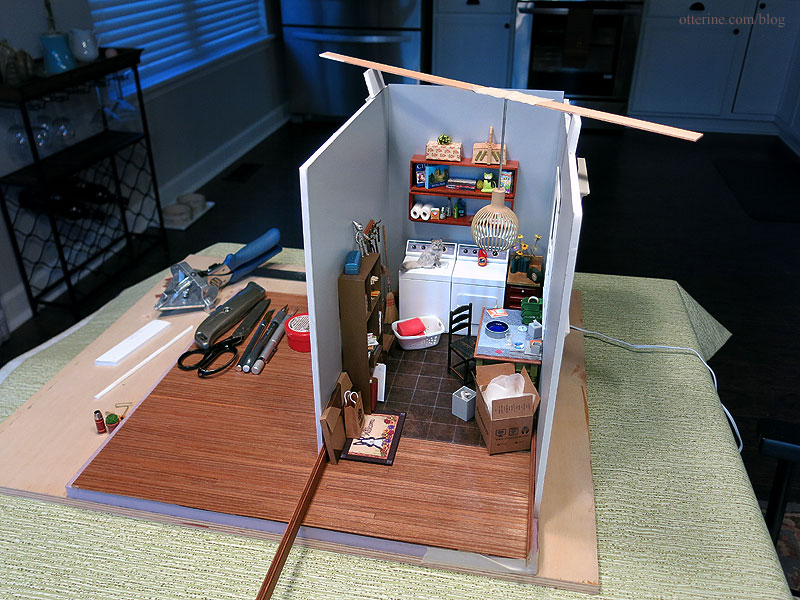
I usually make quick scenes to photograph minis on the fly, but this takes more time and more space than you would think.
This type of setup isn’t easy to move since everything is just propped in place and scattered. How am I supposed to make microwave popcorn in this chaos?!
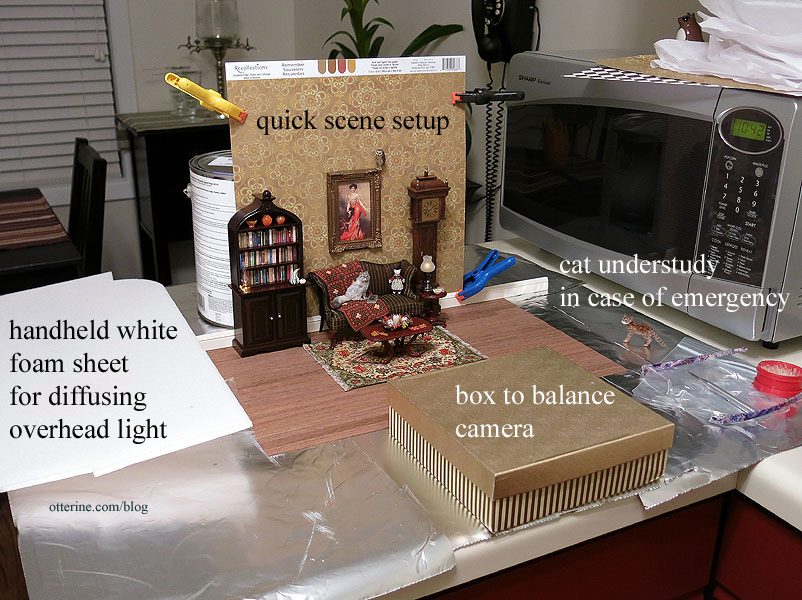
I’ve thought for a long time now how great it would be to have an actual room box I could take out, plug in and go. :] I especially like that this has a plexiglass front and top to keep the dust out and perhaps to store items I’d like to see but not have to dust in between photography studio use. It’s a large room but will fit on my bookshelf easily. It will also be easy to place tissue over the top plexiglass to diffuse the lighting.
I will be making both the front and top removable since the front piece would cause glare in photographs. My plan is to also make channels so I can use different papers as needed for the scenes. Hmm…like the changing seasons…maybe The Maple Room name makes more sense than I realized. :D
I did think about buying wood supplies and doing it all myself, but that would have defeated the purpose of a quick build and I had the monies to spend! :]
Categories: Roomboxes and Mini Scenes
June 1, 2015 | 0 commentsRetro laundry
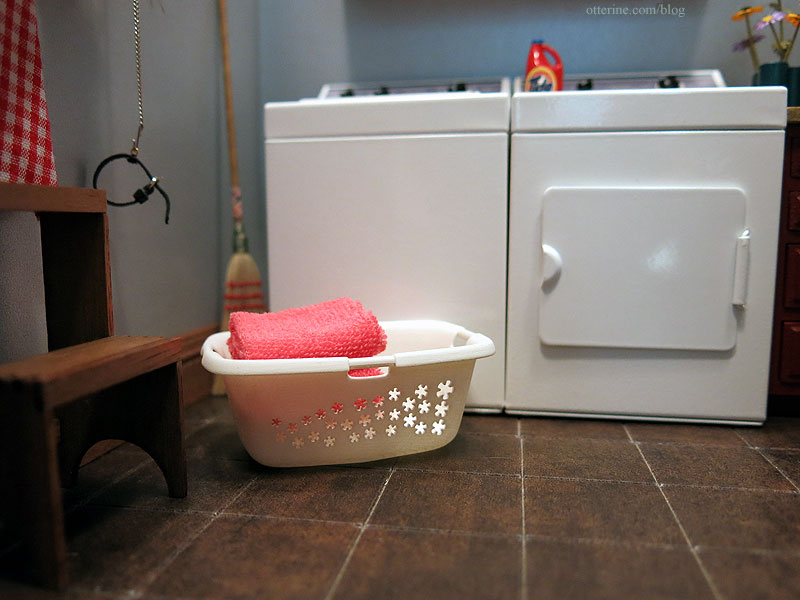
So, the roll-away bed looked fine in the modern laundry, but just look at it with a retro Westinghouse washer dryer set! :D
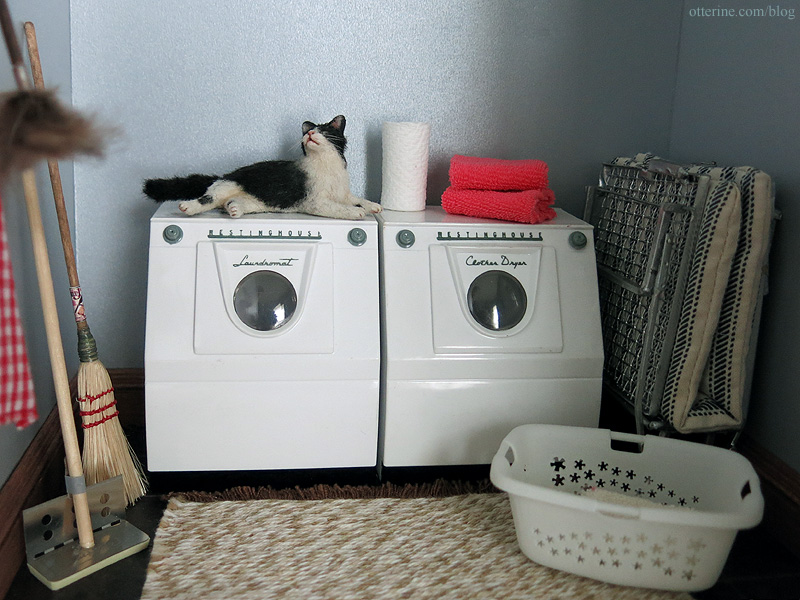
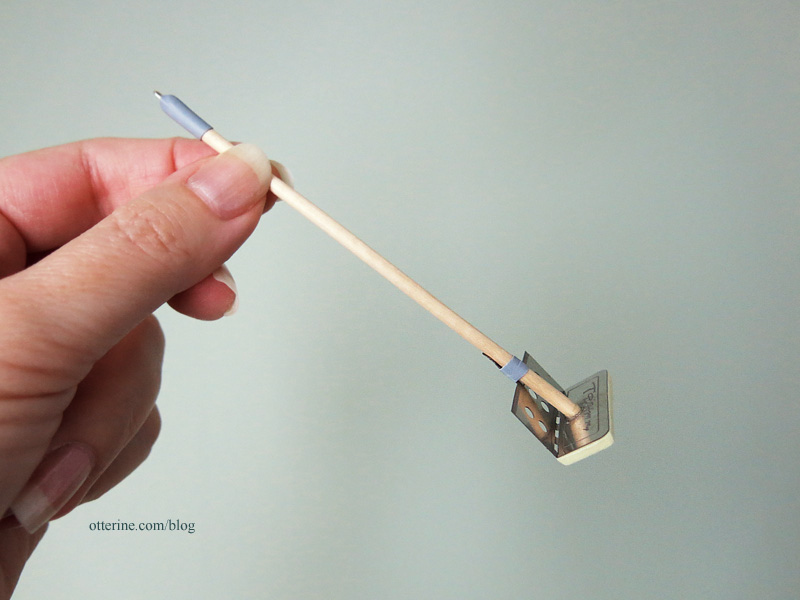
I even got a retro squeeze mop from The Dolls House Mall. The broom is from Wright Guide Miniatures.
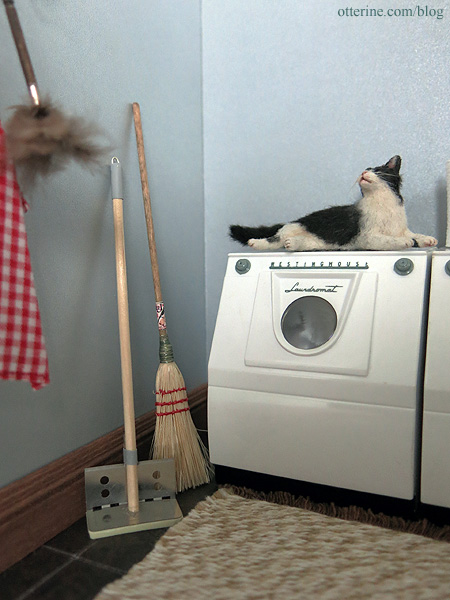
The mop doesn’t actually move, but it’s remarkably detailed with its pale yellow foam pad.
So, where did I find these beauties? They aren’t actually dollhouse miniatures. They are retro salt & pepper shakers! I found this pair from GlasskatsVitageItem on etsy. They are in a little rough condition (not a complaint about the seller at all, just stating that these are in true vintage condition with yellowing glue and shelf wear), but they photograph well and are too cute!

The wonderfully detailed 3D printed laundry basket is by Marion Russek on Shapeways, and I spray painted it flat white. Endora is from agzr*studios.
Categories: Roomboxes and Mini Scenes
May 22, 2015 | 0 commentsMaking minis with Shapeways
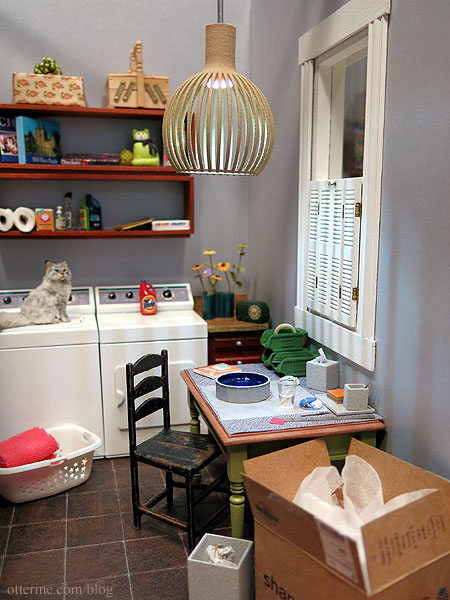
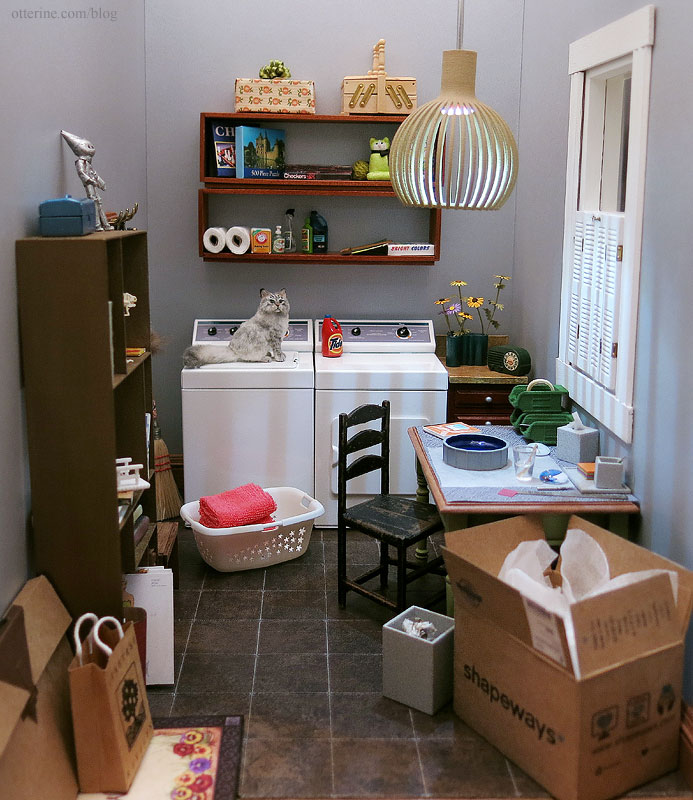
One recent and amazing development in the world of miniatures is 3D printing. Shapeways gives designers and shoppers a way to meet and mingle. There are so many custom miniatures in different sizes and materials available. Shapeways held a contest featuring miniatures, and I made a mini crafting scene to enter.
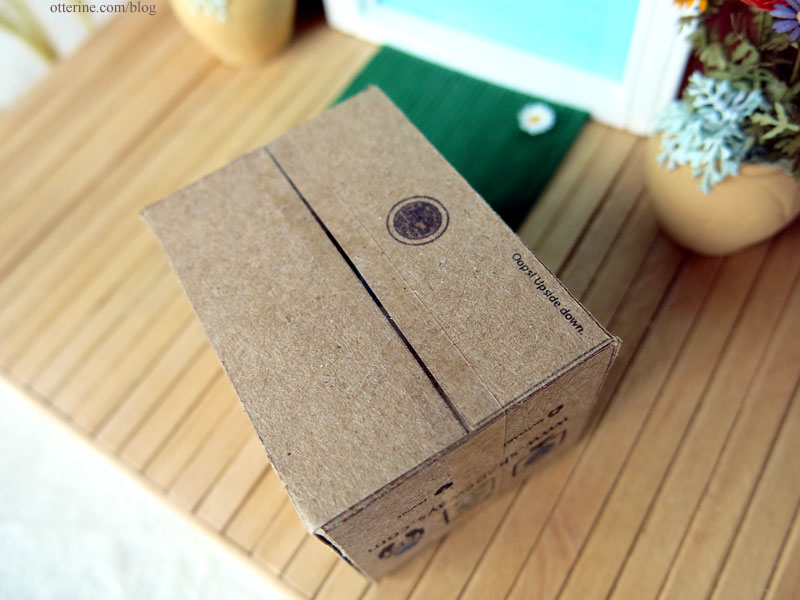
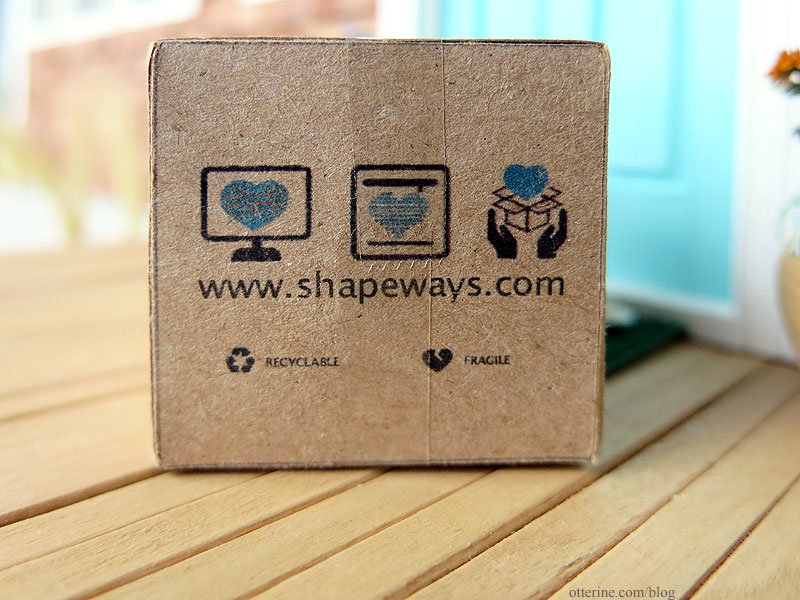
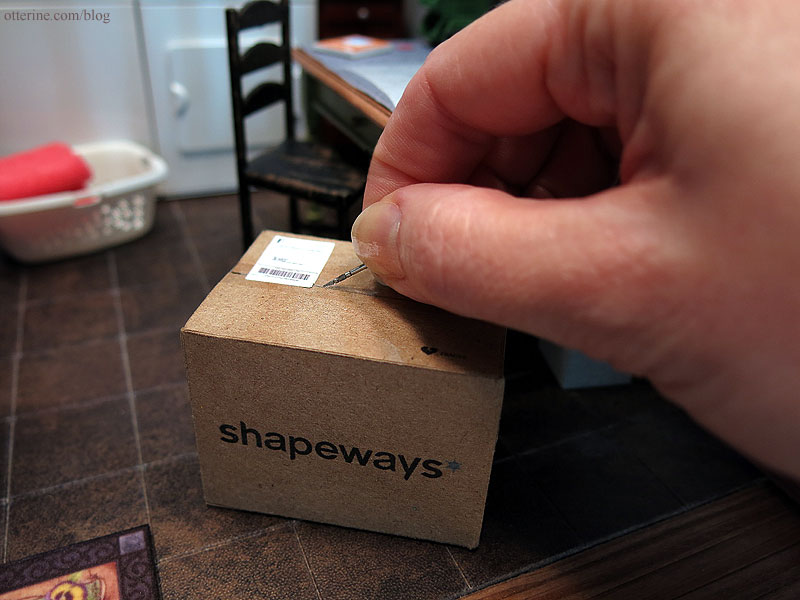
I started with a miniature reproduction of the Shapeways shipping box shown here at Baxter Pointe Villa.
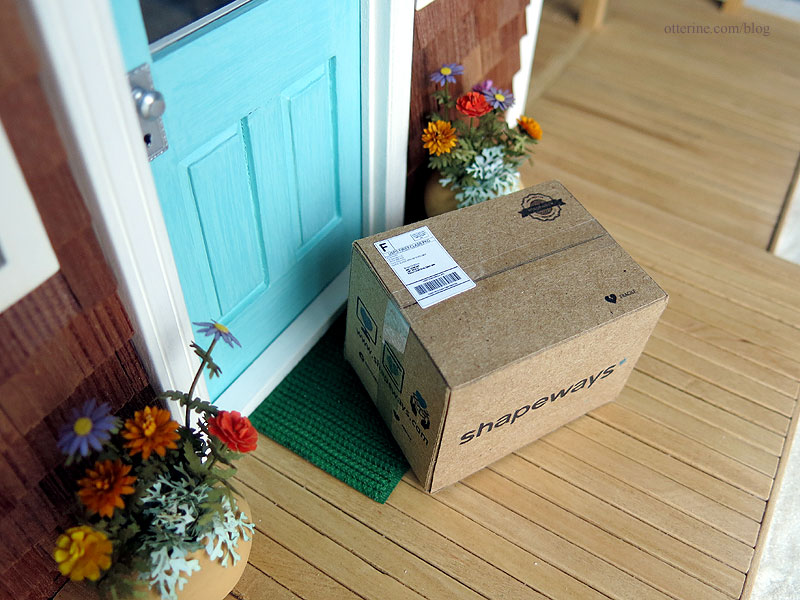
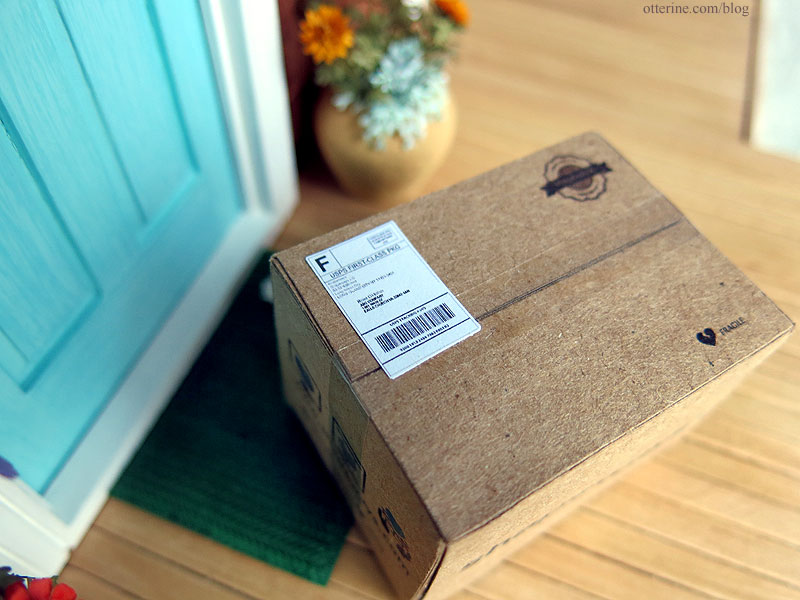
I split apart a real one then reproduced the wording and logos through scanning, manual type-setting and clip-art alteration.
I even made a tiny USPS label. :D
The shipping tape dispenser left the best detailing on the ends, so I kept that intact.
The tiny X-Acto knife is by Ulus Miniaturas.
Open the box to find Shapeways 3D printed items wrapped in thin foam (many thanks to Peggy for the foam supply). Maybe one of these days I’ll figure out how to make bubble wrap in 1:12 scale. I did at least include tiny pieces of masking tape to hold the foam secure. :D
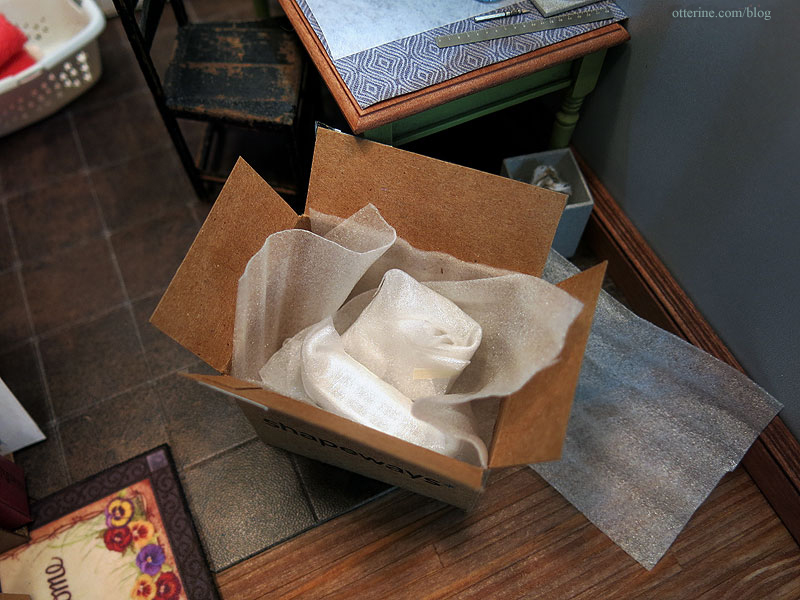
Inside were a 3D printed swimming pool in N scale from TheDallesHostler and a 3D printed N scale bridge from railNscale, bought just in case of disaster with the pool. I will likely use the bridge for the tiny Hampton House.
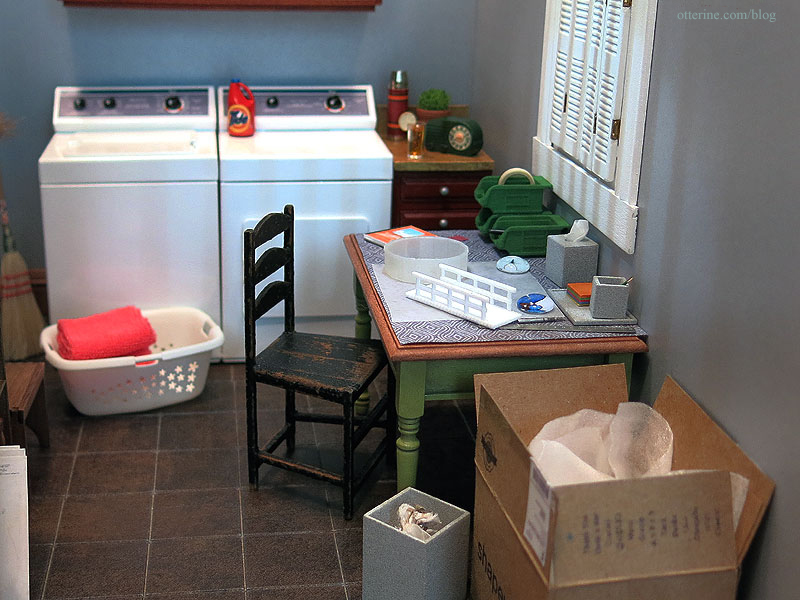
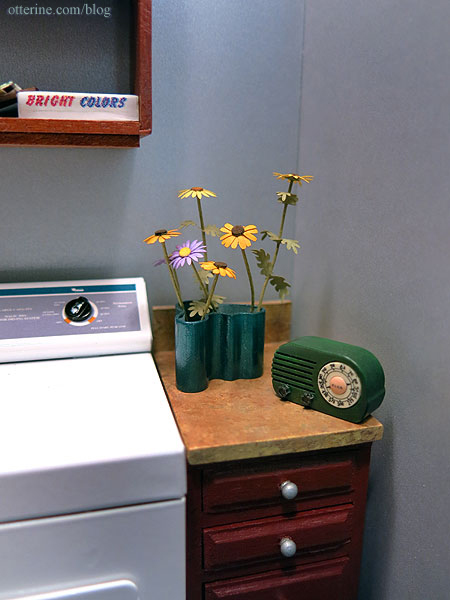
My mini craft room is also the laundry room. This beautiful washer and dryer set from Barbara are accented by a wonderfully detailed 3D printed laundry basket by MarionRussek. I spray painted it flat white.
Ophelia likes to hang out in the laundry room when there is crafting going on.

The 3D printed bookshelf which I painted Liquitex Iridescent Bronze is from modernminifan. I added various miniatures to fill the space, using the largest of the books in my collection to make the best use of the space.
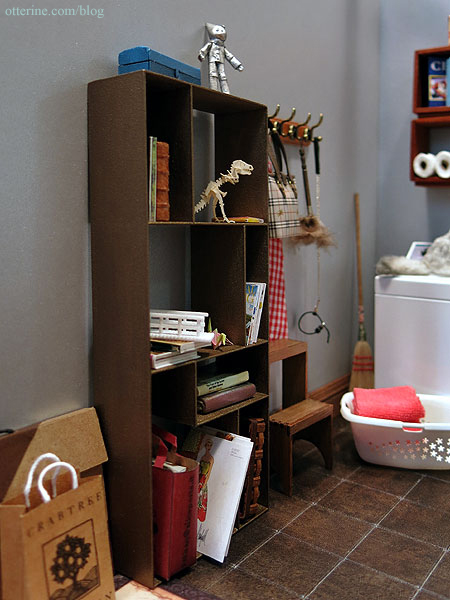
The modern vase is from modernminifan and was molded in white. I painted it Testors Gloss Teal, a gorgeous metallic blue green.
I removed the ladder from the pool since the printing was slightly off and painted the pool using acrylic paints. The 3D printed desk accessories are from modernminifan. They were printed in a lightly metallic grey, so I left them as is. I added accessories and even a tissue for the tissue box holder. The 3D printed stacking bins are from MarionRussek, designed by Pepper. These were molded in green. I made the masking tape roll and sketch pad.
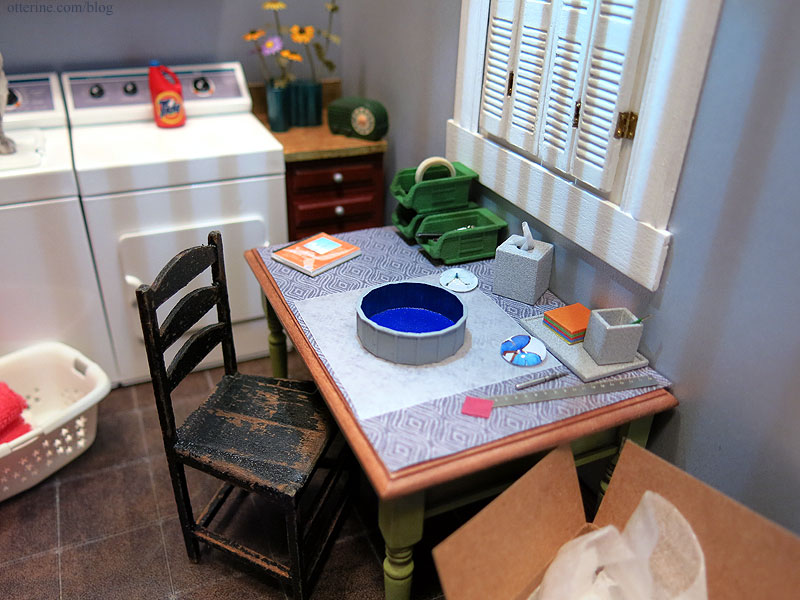
Then it was time for the resin (Acrylic Water from Walmart). I’ve included a tiny dispensing cup and stir stick. I tried putting measurement lines on the cup, but that’s apparently above my pay grade. :D
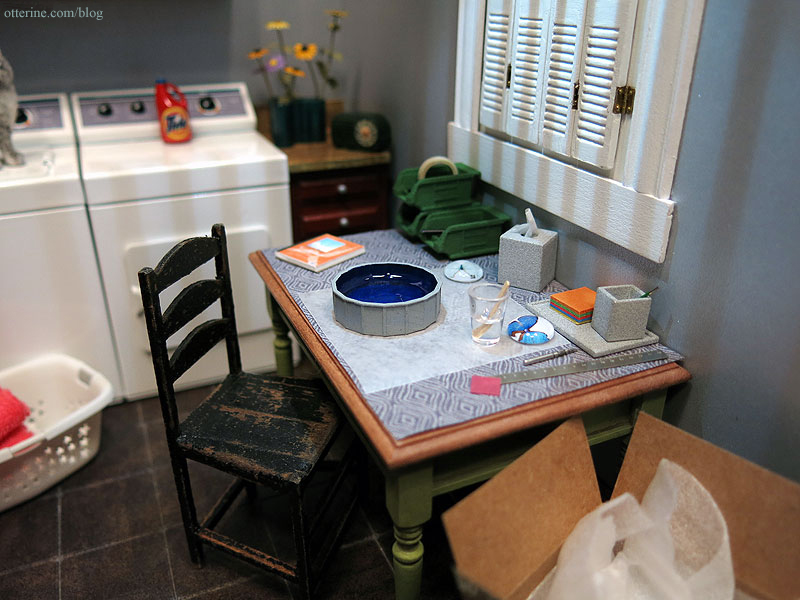
The 3D printed overhead lampshade is by MarionRussek. I painted it soft tan to mimic a bamboo shade, added a Novalyte can LED and fed the wire through a length of aluminum tubing. The window was originally in the Newport and has my custom café shutters. Yes, they open, too. :]
Burning the midnight oil. Yeah, I’ve never done that before. haaaaaaaaaaa!
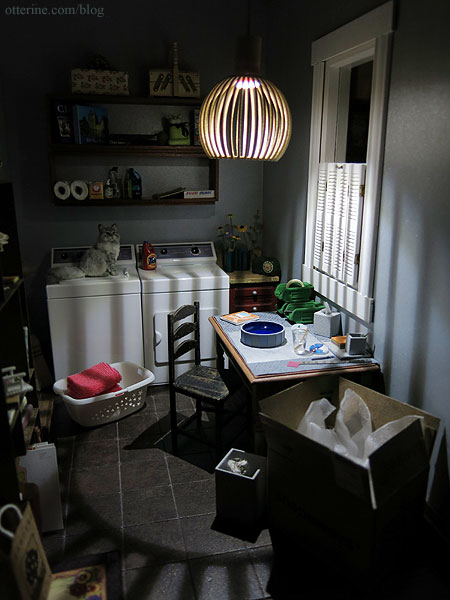
Hooray! Done with time to spare. :D
—–
UPDATE: My mini craft station in the laundry room took first place!! eeeeeeeeeeeee!!! :D *wrings hands and starts shopping list*Congratulations to Alice, Kristine and Cyd on their winnings and a huge pat on the back to all the contestants!!! You can see all of the entries here and the winners announcement here. Thank you to the judges: Carol, Kacie and Megan!
Many thanks to Shapeways for the opportunity to participate and for the wonderful minis brought to life through 3D printing. I’m so thrilled!!!!
Categories: Roomboxes and Mini Scenes
April 6, 2015 | 0 comments
NOTE: All content on otterine.com is copyrighted and may not be reproduced in part or in whole. It takes a lot of time and effort to write and photograph for my blog. Please ask permission before reproducing any of my content. (More on copyright)