


NOTE: All content on otterine.com is copyrighted and may not be reproduced in part or in whole. It takes a lot of time and effort to write and photograph for my blog. Please ask permission before reproducing any of my content. (More on copyright)

Hexagon clay tiles, part 3
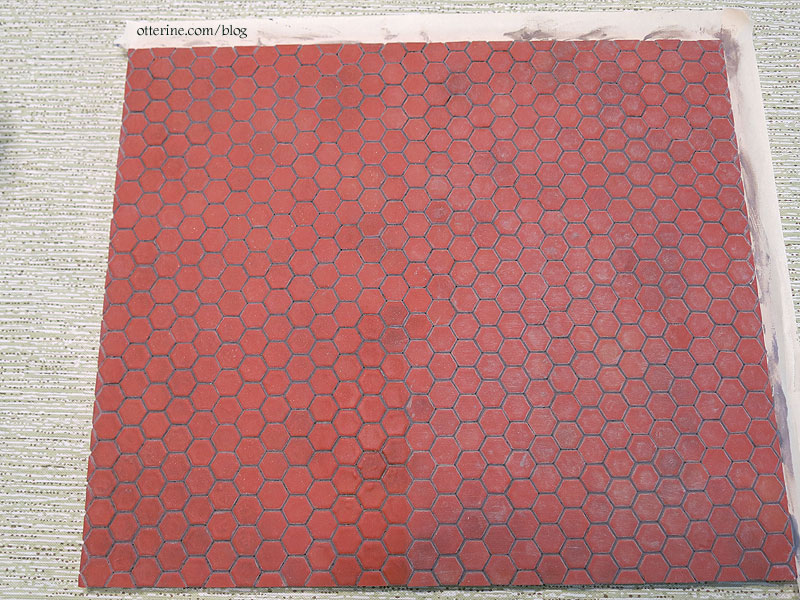
Continuing work on the hexagon clay tiles. Since my first tile grouping had too much bronzer, I figured it was a good choice to test the grout before trying on my finished tiles. I mixed brown and black paint with spackle to make a gentle (non-scouring) grout that was easy to spread. I used my finger to spread it into the grooves around the tiles.
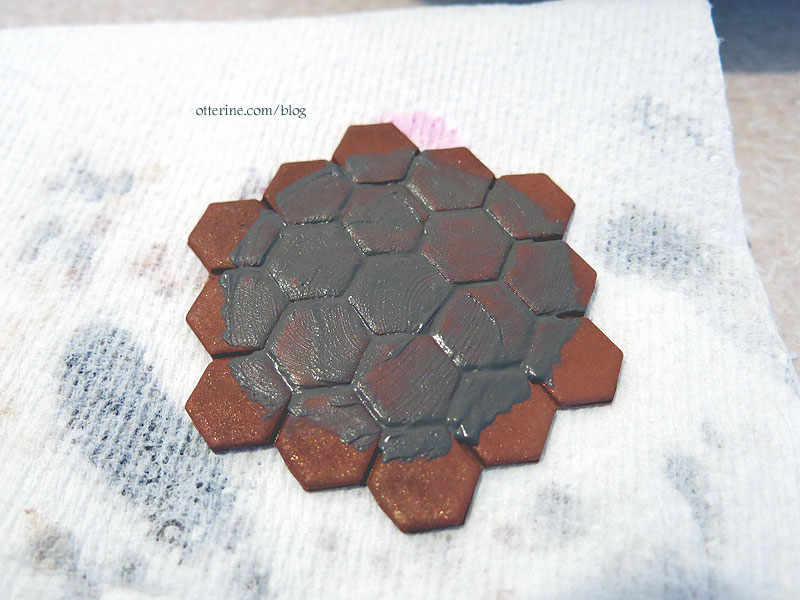
I then wiped away the excess with a wet paper towel. It took a few passes to get it clean. The process lifted some of the tile color I had applied, but the end result was a more even tile so I wasn’t disappointed. If I want more variation, I can always paint after grouting.

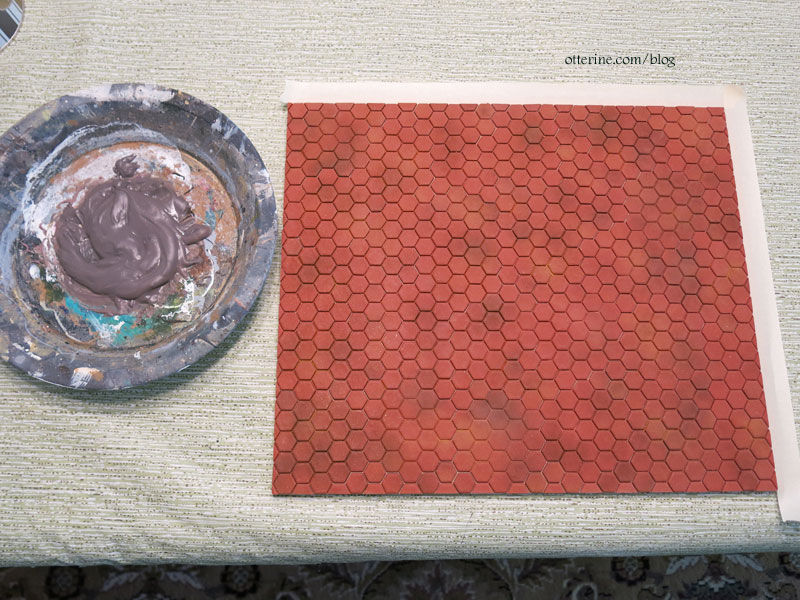
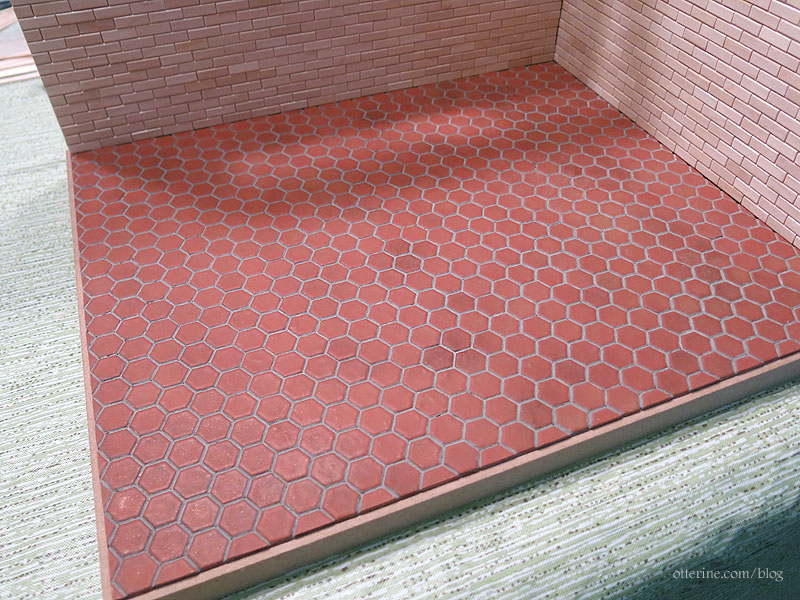
I mixed a larger batch for the final floor and masked the areas around the edges where the walls will be glued to the floor board.
I spread the mixture with my fingers in sections and wiped away some of the excess as I went.
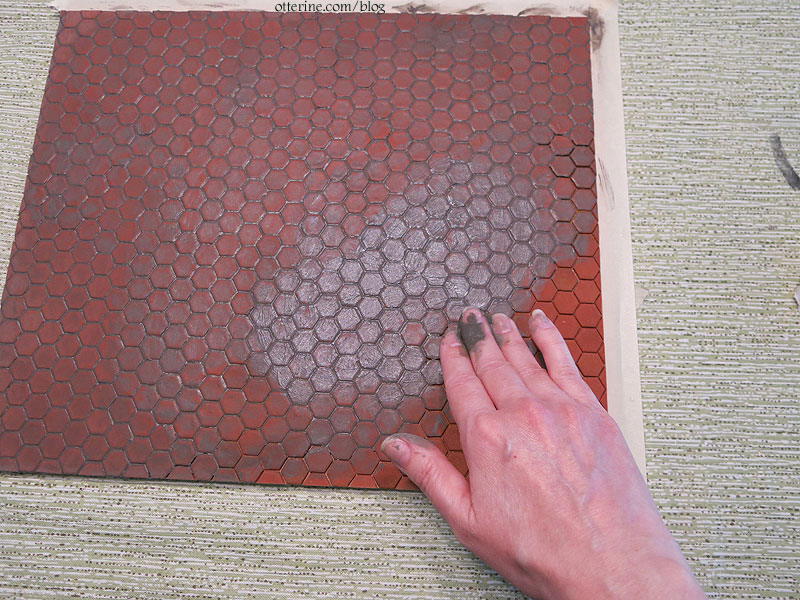
I washed the floor after the grouting was complete with water and paper towel. I saved a bit of the grout mixture just in case I needed to touch up any areas.

The initial wash left streaks, so I used a Q-tip to wash each tile individually.
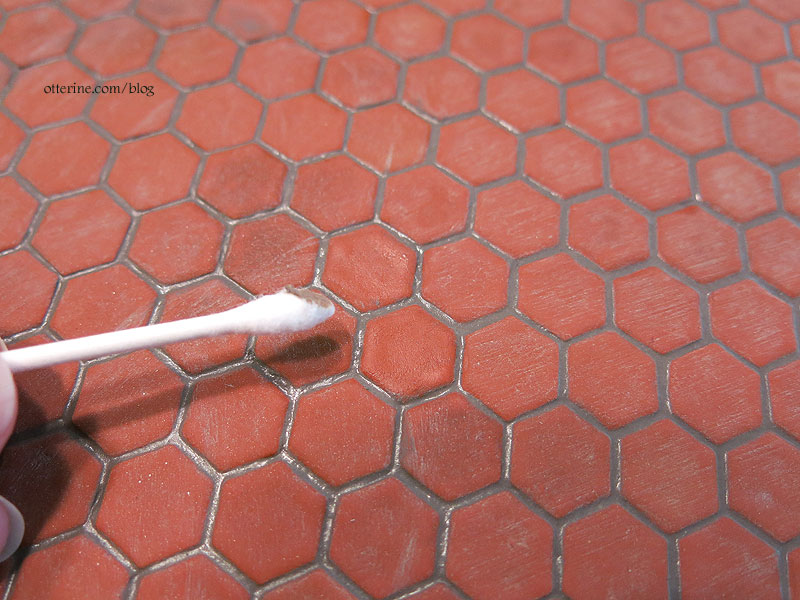
I did small sections and wiped with a dry, clean paper towel.
Once done, I wiped the entire floor with a damp paper towel again.

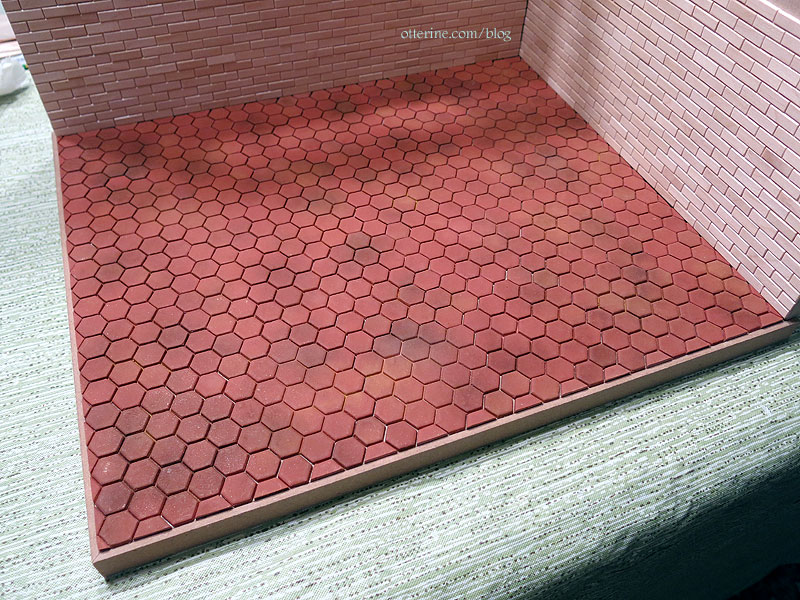
Then I wiped it dry. Very little color lifted in the last pass, so I called it done.

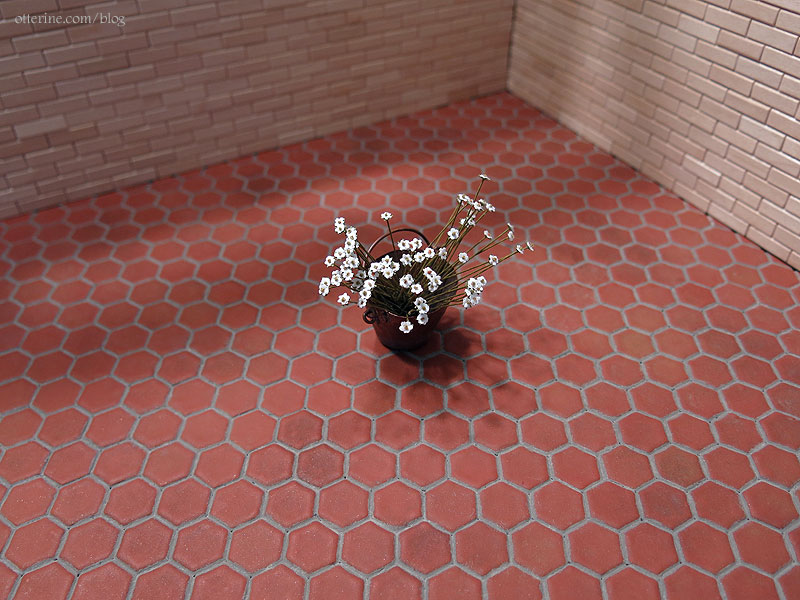
The final result has less color variation than the plain tiles, but I like that better.
I’m glad I gave it a try. :]
Categories: Polymer clay, Whinnie's Terrace
November 4, 2020 | 0 commentsHexagon clay tiles, part 2
Continuing work on the hexagon clay tiles. The bottoms of the clay pieces turn out shiny from the ceramic tile base, so I sanded them lightly before gluing. I also lightly sanded the mdf floor board.

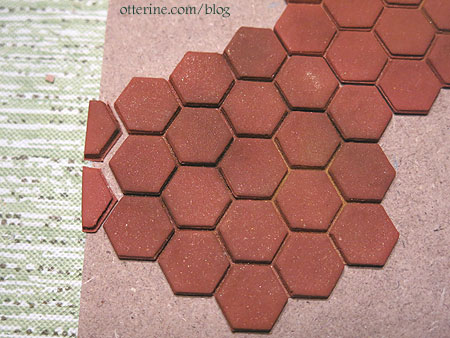
I used Weldbond to glue to the tiles to the floor board. I made roughly 30 groupings, and some fell apart in the process. Those I used to piece between and around the larger groupings.
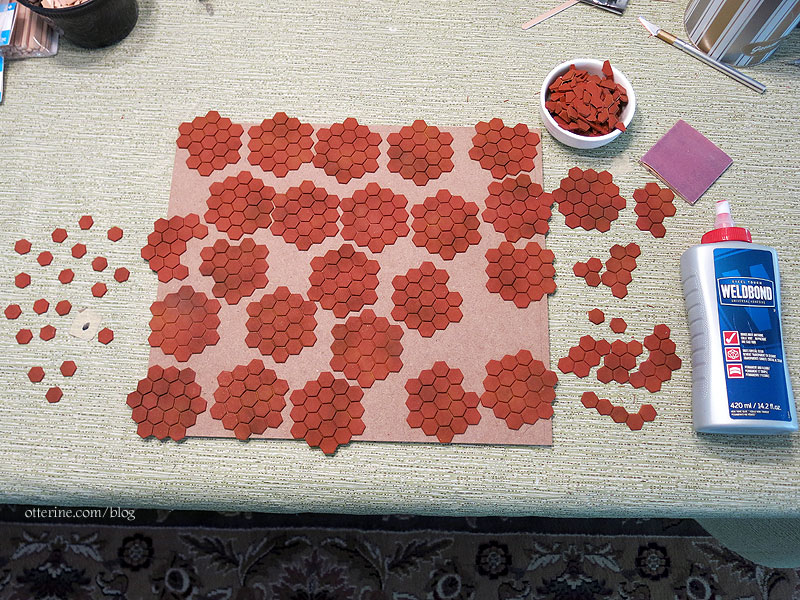
Since the individual hexagons had different measurements across depending on their orientation, I needed to make sure all of my hexagons were going the same direction. I measured each grouping and individual tile before gluing in place. I wasn’t guaranteed to have perfectly uniform application, but this gave me a fighting chance. :D
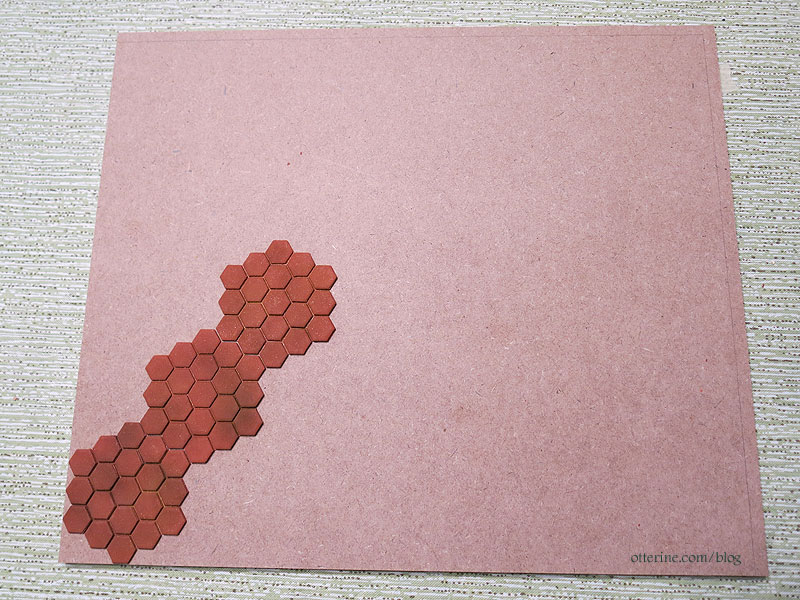
I started by laying out the edge sections and by luck ended up with full tiles front to back and side to side.

Since the tile groupings were unstable, I used a putty knife to pick them up and handle them.
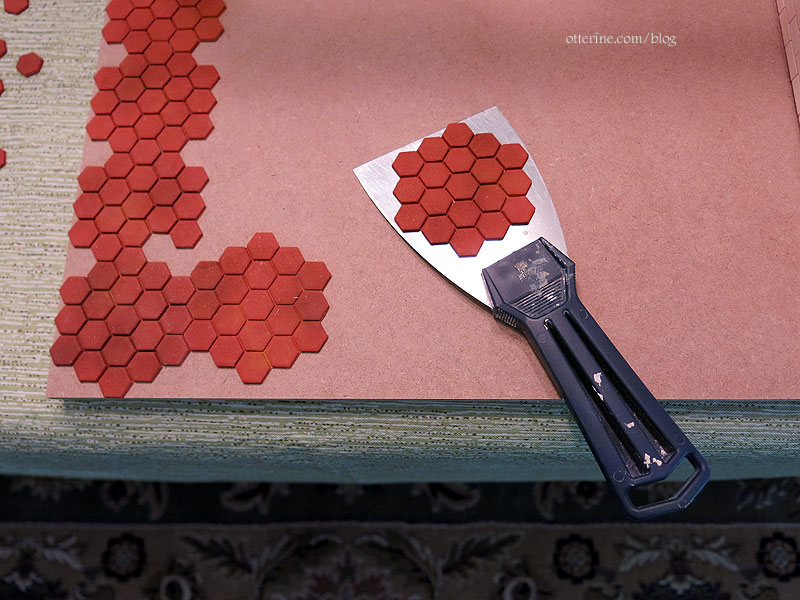
I tried to keep the groupings intact as much as possible, leaving small sections to piece later.
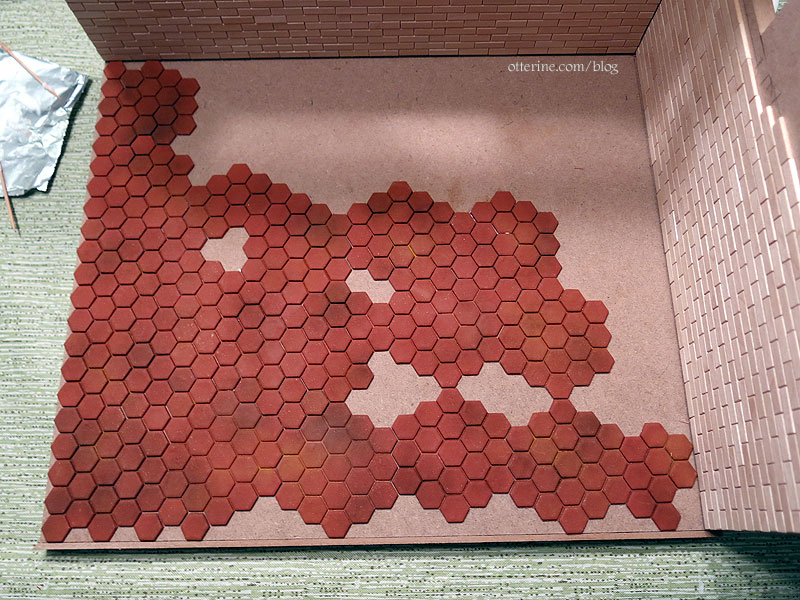
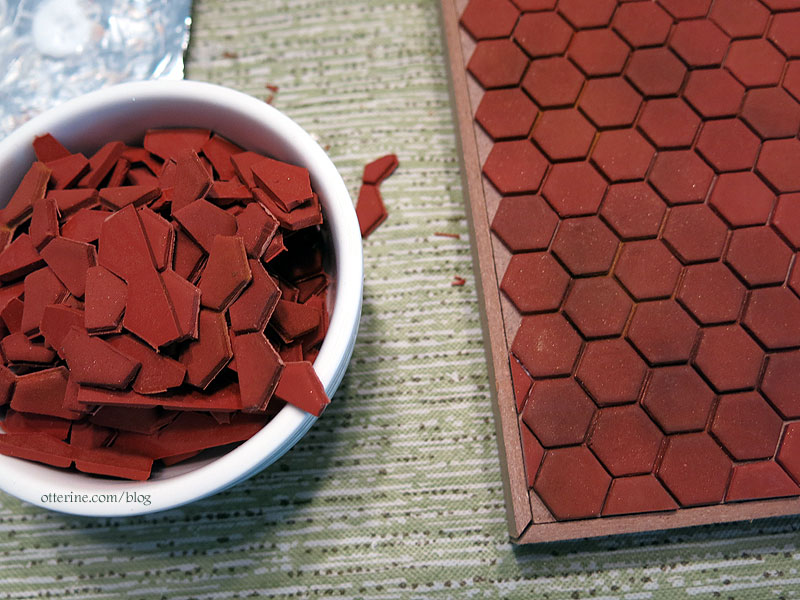
My bowl of scraps helped fill in the edges. Tedious, but I kept at it!
Hooray! :D
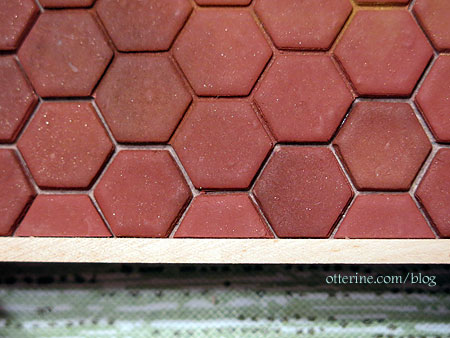
There’s finishing trim for the base on the front and side, but I didn’t apply tile all the way to those edges. I will add strip wood around the tile to protect and finish the edges. The spacing didn’t end up completely uniform but it’s close enough that it shouldn’t be obvious after grouting.
Categories: Polymer clay, Whinnie's Terrace
November 3, 2020 | 0 commentsHexagon clay tiles, part 1
For my project, I envisioned hexagon terracotta tiles. You can buy these already made, but that can add up quickly. I also wanted to see if I could do it myself since I’ve worked with clay before. I bought Original Sculpey in terracotta. I have a ceramic tile working base, roller and cutter I found on eBay. More on the cutter in a moment.

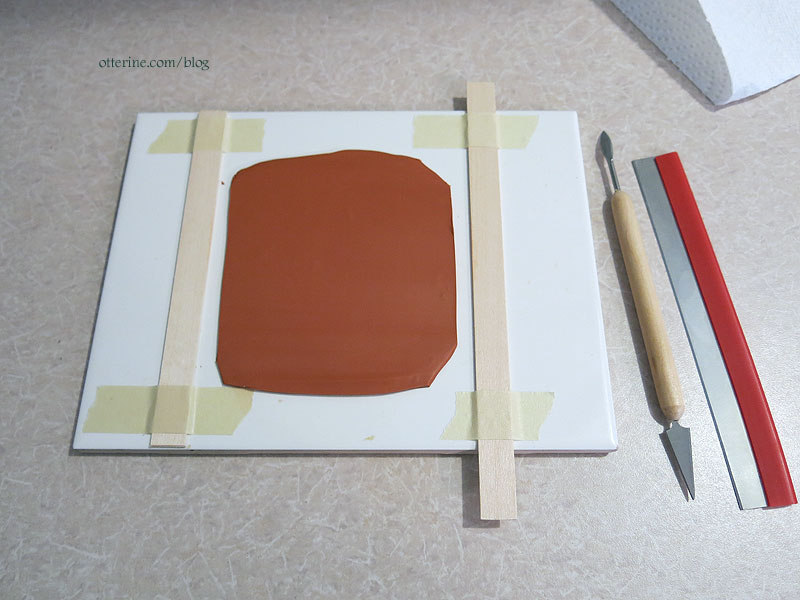
I taped 1/16″ thick basswood strips to the ceramic tile and rolled out the clay. It’s soft and easy to work with. I had to cut away the edges a few times as the clay spread out.
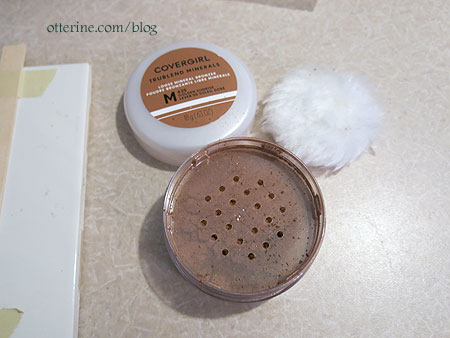
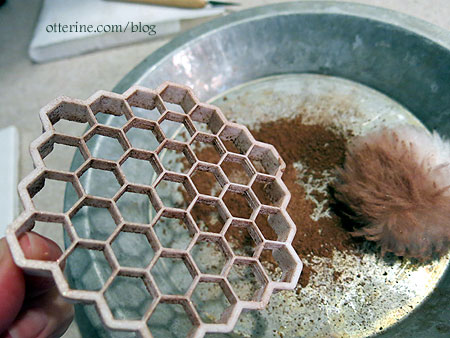
I’m using bronzer (make-up powder) to dust the cutter since I didn’t want white powder contrasting with the color of the tiles. It has some shimmer to it, which is a nice surprise. Very upscale tile made with gold dust. I did get too much bronzer on the first batch, but I was able to tone it down on the subsequent batches. The first batch will be my test sample for grouting and finishing.
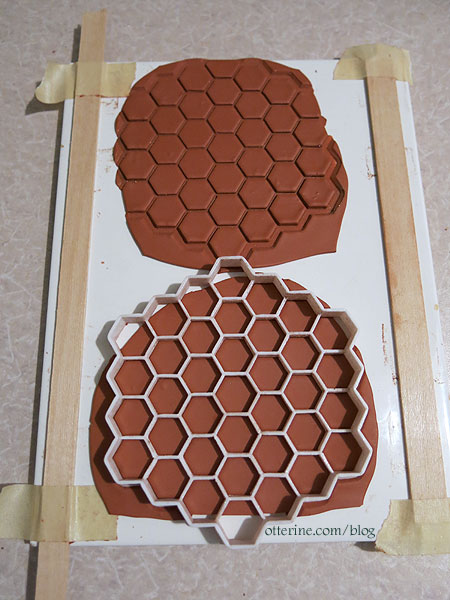
The cutter is designed to cut cookies/biscuits and leave a honeycomb design in the middle, so it has a deeper outer edge than the center pattern.
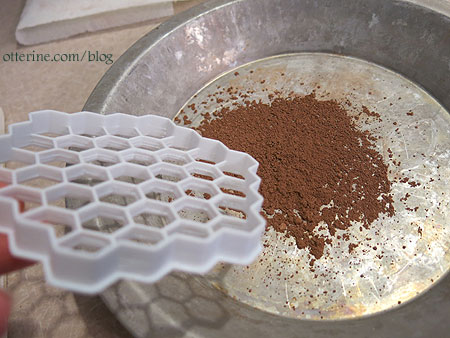
But, the other side is very uniform, so I just used it upside down.
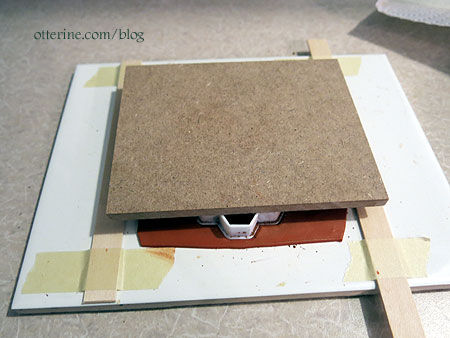
I pressed the cutter into the clay with a board.
I patted the clay with a dry brush to remove some sheen and provide slight texture.
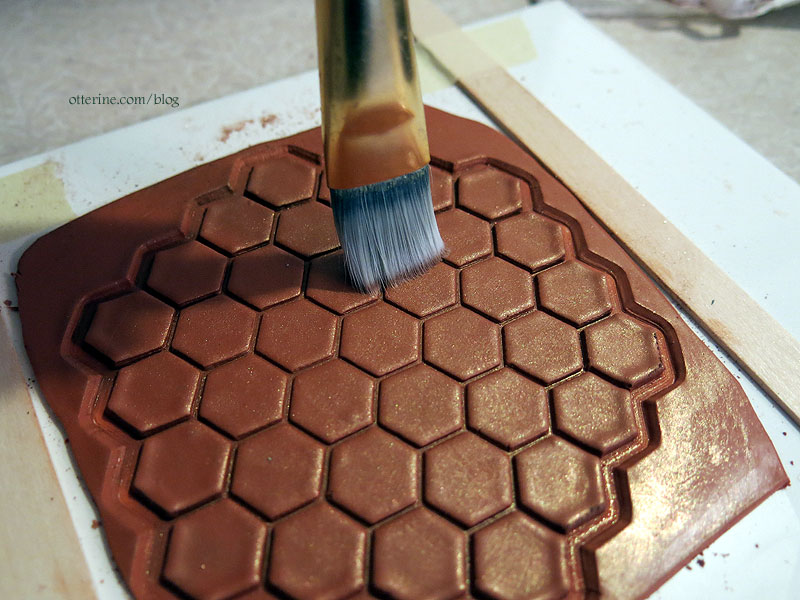
I shaved some pastels into a palette and dry brushed the tiles to vary the coloration. The chalk texture tones down the sheen, too. I used more on the later batches, and it looked better.

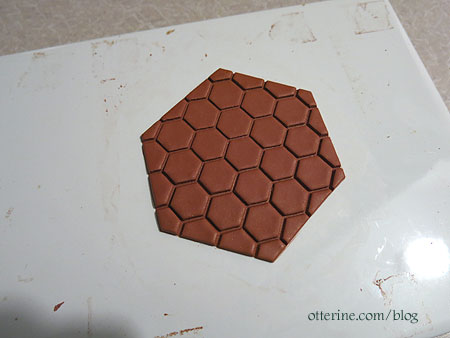
The cutter did not go all the way through, which was fine. The tiles around the edges aren’t usable because of the way the cutter is being used, but the middle ones turned out quite nice. I did cut away a lot of the scrap to reuse, but I baked the remaining shape intact otherwise. I’d rather cut the tiles apart after they bake instead of risking ruining them by cutting them before.
Choosing the baking time is always difficult for small, thin pieces of polymer clay, because you don’t want to burn the clay or end up with brittle pieces. I saw a video where 2mm strips (roughly 1/16 inch – the thickness I am making) were baked for 10 minutes and 60 minutes. The instructions on the clay package indicate baking 15 minutes per 1/4 inch. The video’s 10-minute sample snapped when bent and the 60-minute one was bendy and durable. I am going with 35 minutes to speed things along. After the first batch, I tested the clay after it cooled. It did eventually split when bent, but it took some force. For tiles that will be glued to a board, I called that a success.
I cut away the outer bits and left the main shape intact. I wanted to get a few batches done to see if I could lay them out in these large sections and then piece between them instead of laying tiles out one at a time.

I saved the leftovers since I will have to piece around the edges.
I have a lot to make! :O
So, I started doing two at a time.
Categories: Polymer clay, Whinnie's Terrace
October 30, 2020 | 0 commentsMushrooms!!!!
I am finishing up some landscaping for the final Heritage post showcasing the exterior and the overall build itself. But, I thought this element deserved its own post…mushrooms!!! :D
I started with Peiwen Petitgrand‘s book on making clay food.
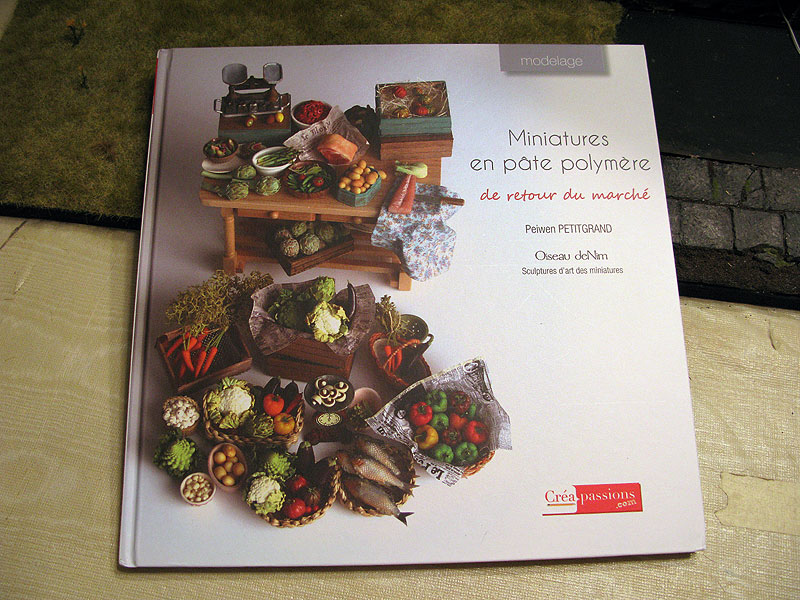
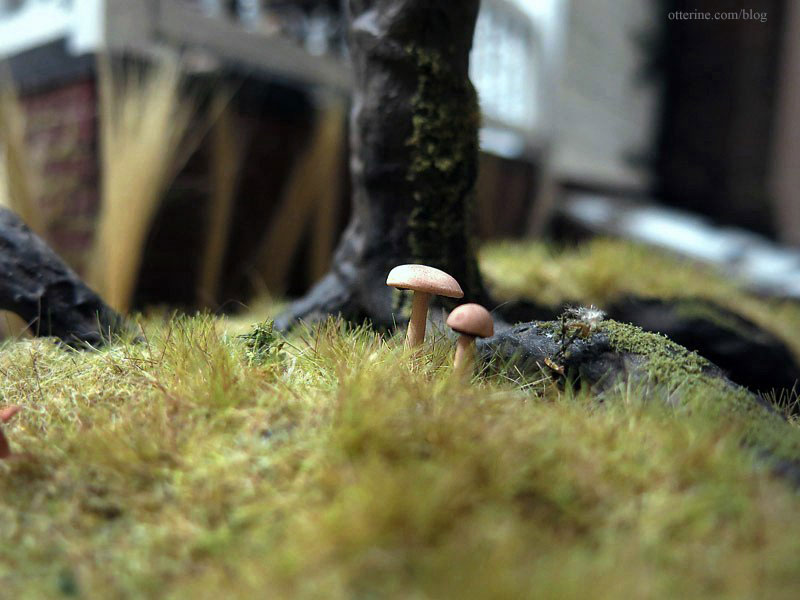
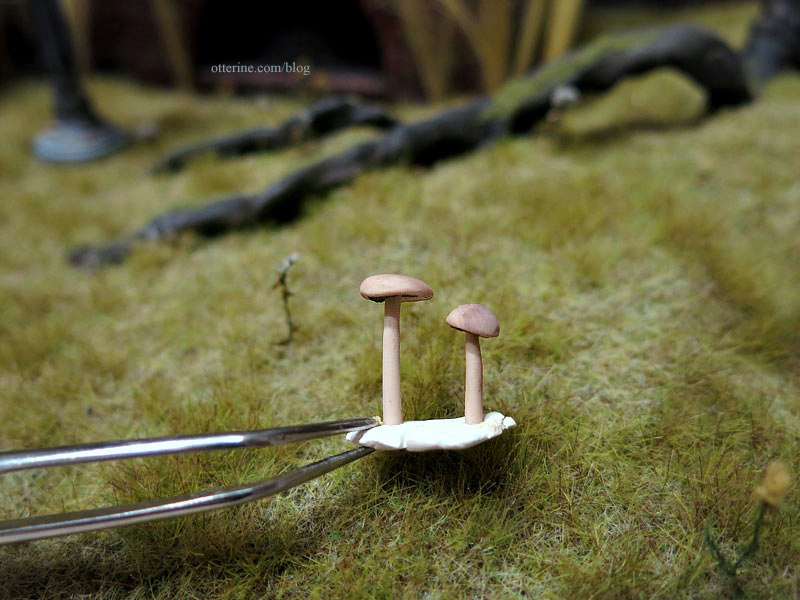
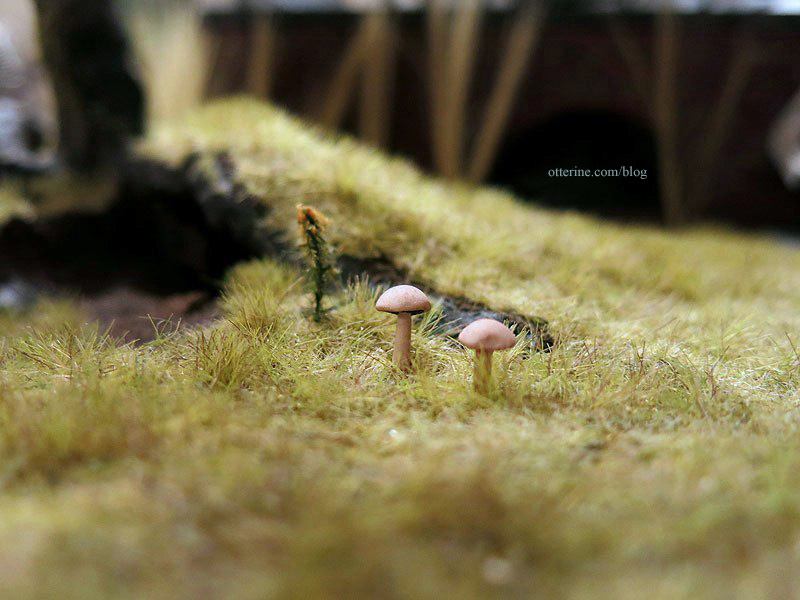
I had already planned to start with mushrooms since I wanted some for the Heritage lawn. Her instructions are wonderful, even though my French is very rusty. I was able to figure out the basics well enough. I made only a few changes. I added pastel coloration before baking and made the stems longer to have something to plant in the ground. I also made my molds a little variable, misshapen and left any imperfections. It translated into a more realistic result. :D
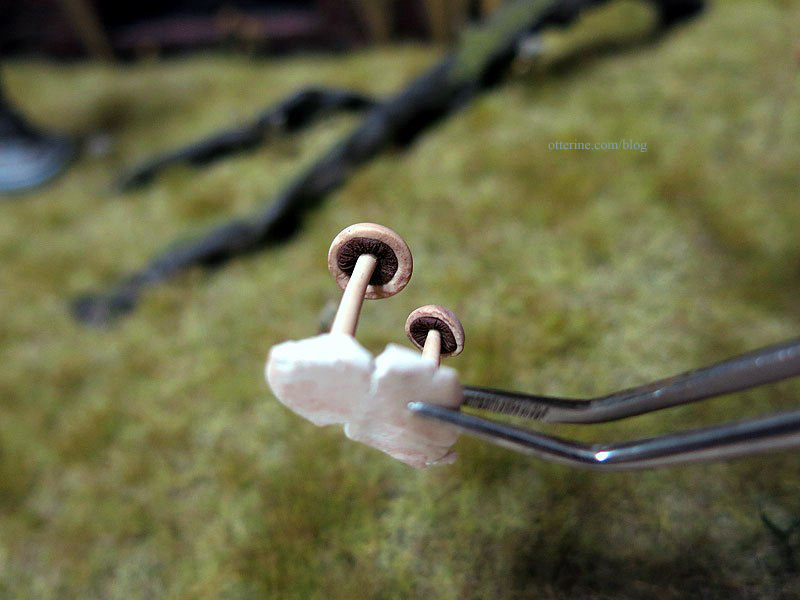
The undersides have the slotted detailing like the real thing. Even though it’s nearly impossible to see once the mushrooms are planted, I love knowing it’s there.
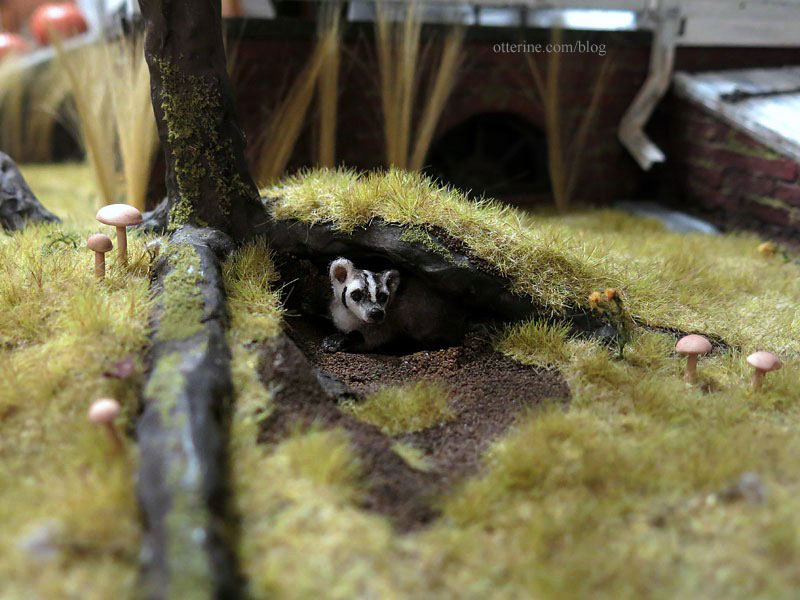
I planted them all around The Tree but wonder if these will last the night with Grahame on the loose! :O
I might be making more tomorrow. Haaaaa!
Categories: Polymer clay, The Haunted Heritage
August 18, 2013 | 0 commentsBaking in mini – my maiden voyage
I used to make clay foods when I was young for my childhood dollhouse, but that was limited to mostly hamburgers. :D Since rediscovering minis as an adult, I’ve seen so many talented food artisans online and at the mini shows.
I recently bought some suitable colors of clay and started experimenting.
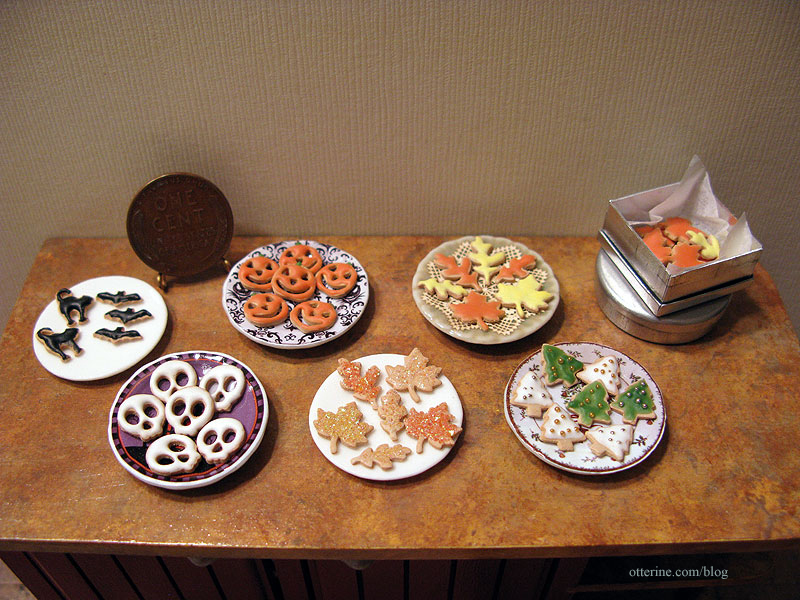
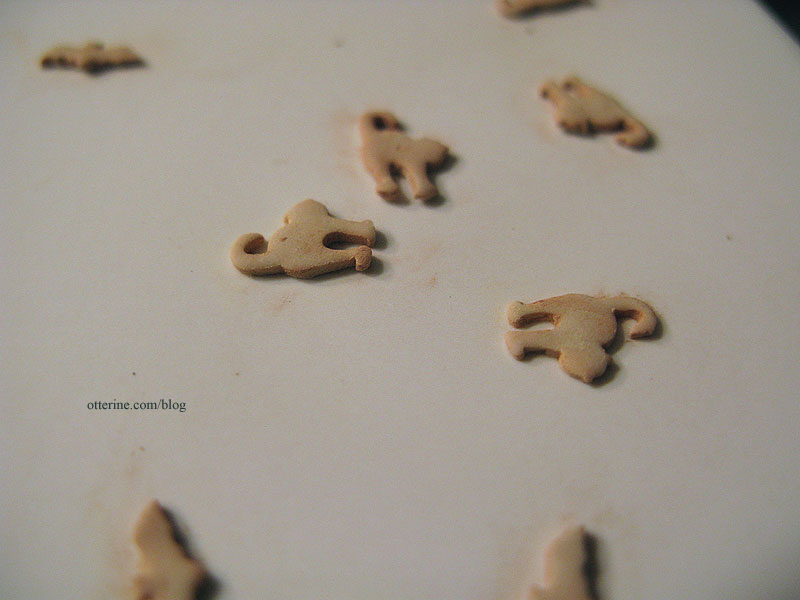
Here is the first batch of cookies using Fimo clay in the color sahara. I started with bats and cats since making festive cookies was part of the to-do list for my Halloween display that I didn’t have time to finish before the holiday.

I used chalk pastels to give them some golden color. After baking, they really do look like plump, warm-from-the-oven cookies! :D
I used clay mixed with the Translucent Liquid Sculpey as well as oil paint mixed with the Translucent Liquid Sculpey to make icing for the cookies. The oil paint was certainly easier to mix and work with, so I will pick up a starter set of colors next time I head to the store.

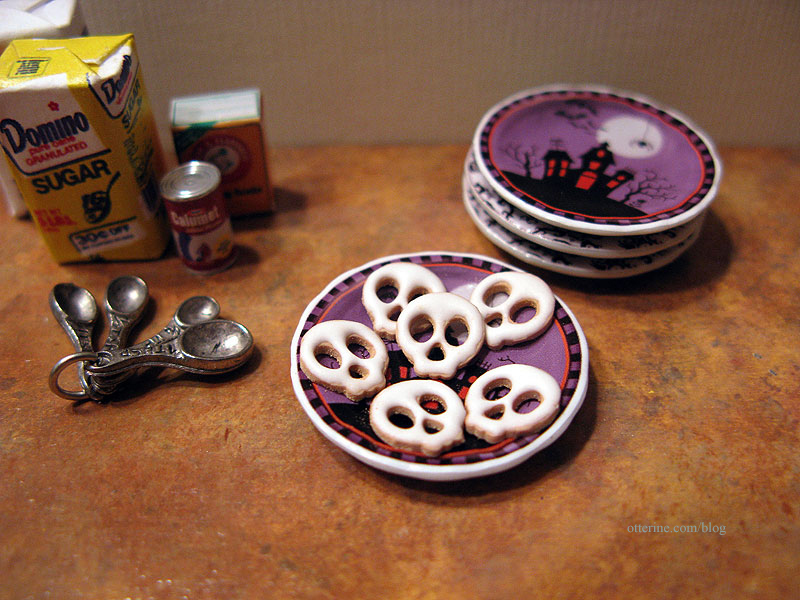
Here’s a plate of skulls with white frosting. I don’t know why, but these are my favorite. :D
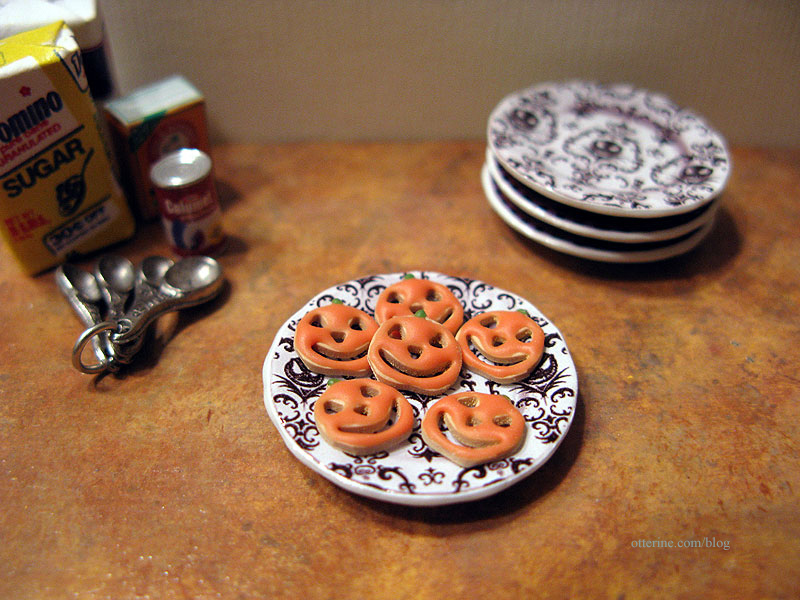
The pumpkin cookies are rather fun, too.
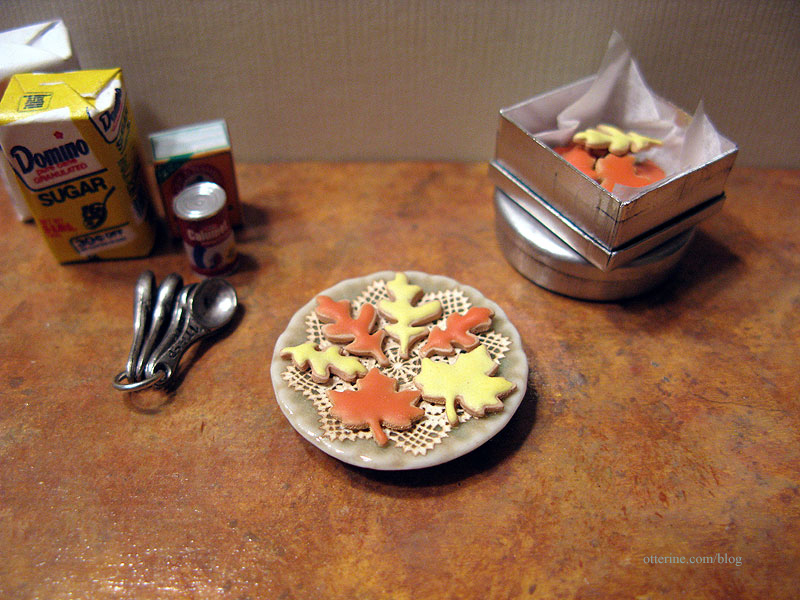
The leaf cookies could be used for the general autumn season or for a Thanksgiving setting.
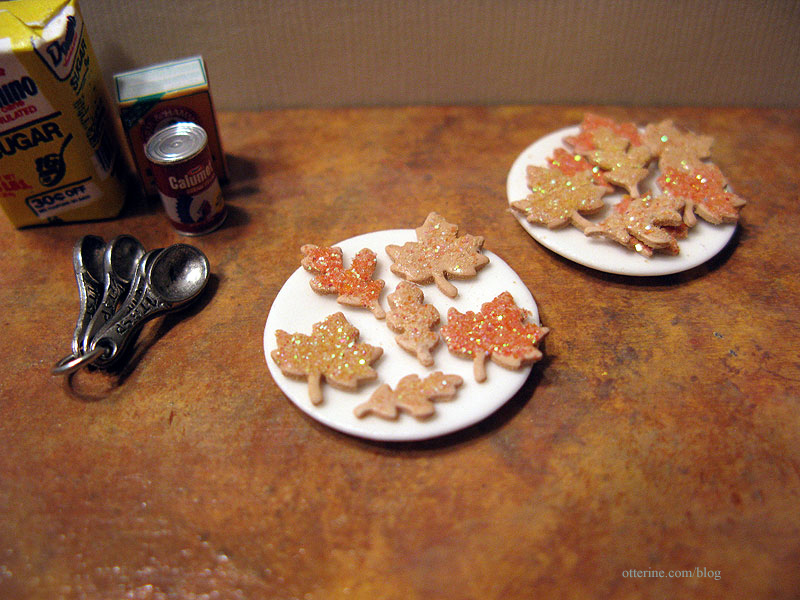
I left some of the leaves bare and decided to try a different method, coating them in three shades of glitter to mimic sugar cookies.
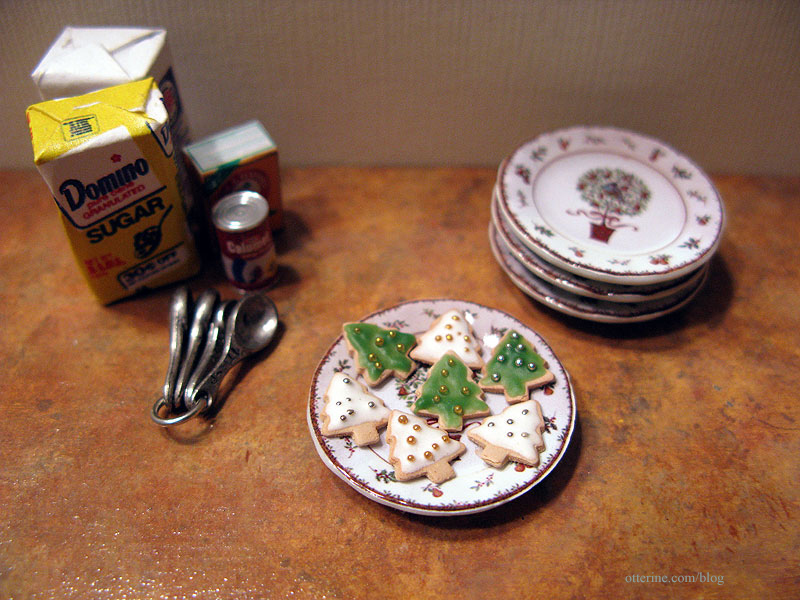
The frosted Christmas trees have added micro beads in gold and silver.
I spent all day on these lovelies and certainly had fun, but after all that work…there aren’t any cookies I can actually eat!!!! :O
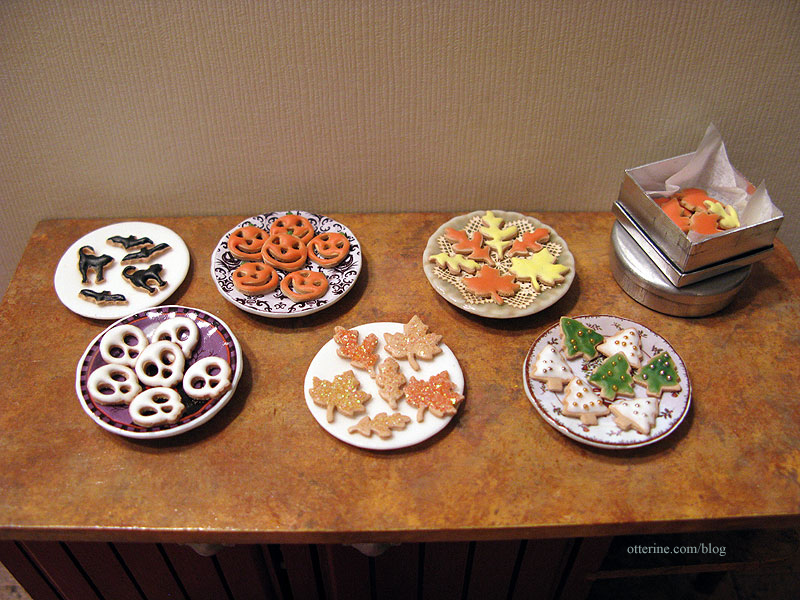
Two designs of Halloween plates and Christmas plates from A Lavender Dilly. Plate with doily from Stewart Dollhouse Creations.
Categories: Miniatures, Polymer clay
November 3, 2012 | 0 comments
NOTE: All content on otterine.com is copyrighted and may not be reproduced in part or in whole. It takes a lot of time and effort to write and photograph for my blog. Please ask permission before reproducing any of my content. (More on copyright)