


NOTE: All content on otterine.com is copyrighted and may not be reproduced in part or in whole. It takes a lot of time and effort to write and photograph for my blog. Please ask permission before reproducing any of my content. (More on copyright)

Making a custom door, part 3
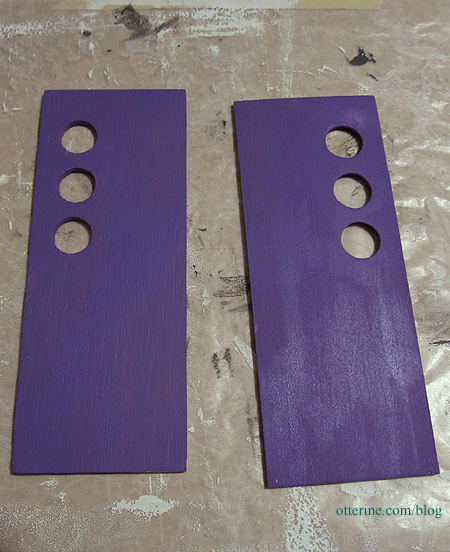
Continuing work on the custom door. I opted for Lilac Love by Folk Art for the final color. It’s a beautiful color that will stand out nicely from the final finishes without being overbearing. I painted the front and back sections while the door was unassembled because I didn’t want to risk getting paint on the window inserts.
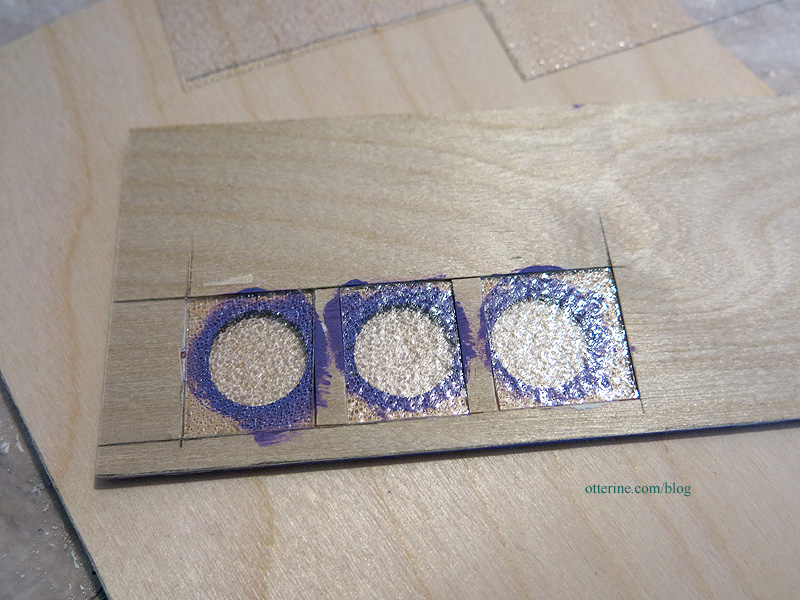
I then applied Delta Ceramcoat Satin Varnish around the window openings to finish those edges. I cut three pieces of rippled plastic sheet from HBS to serve as the window inserts.
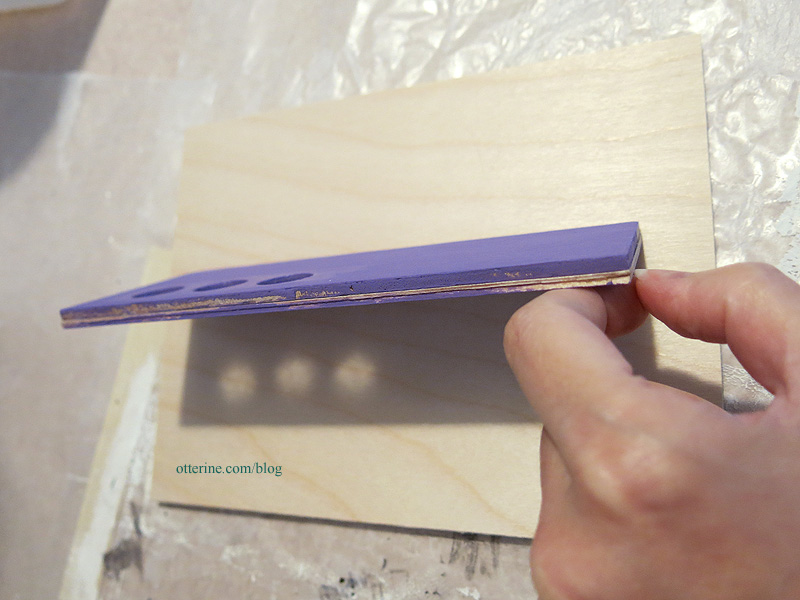
I glued the front to the back and pressed flat for a few days to make sure it was a solid bond. Here you can see all three layers that make up the door.
I filled in the edges with spackling to even out the surfaces. I sanded these smooth by laying sandpaper on my table surface and gliding the door over the flat paper. This keeps from rounding the edges inadvertently.
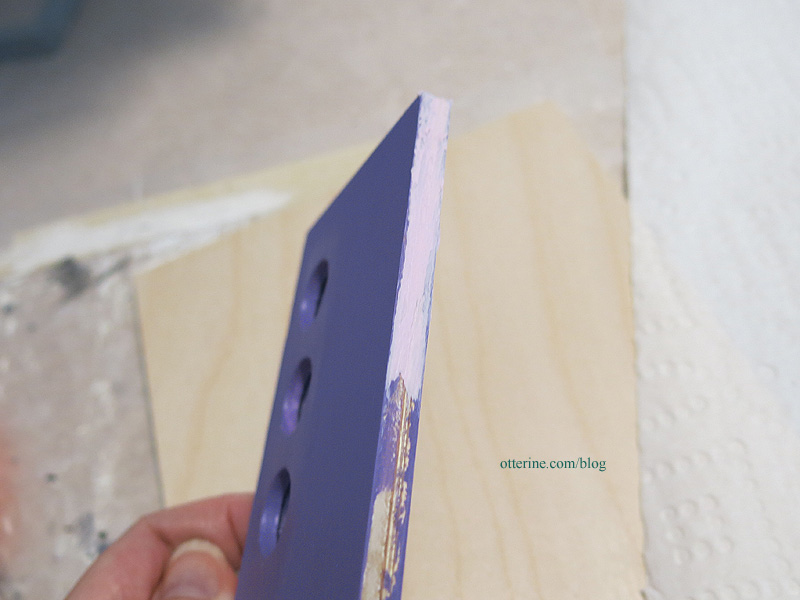
On the hinge side, however, I did round the edges. With a pin hinged door, you need that edge to be rounded otherwise it will bind.

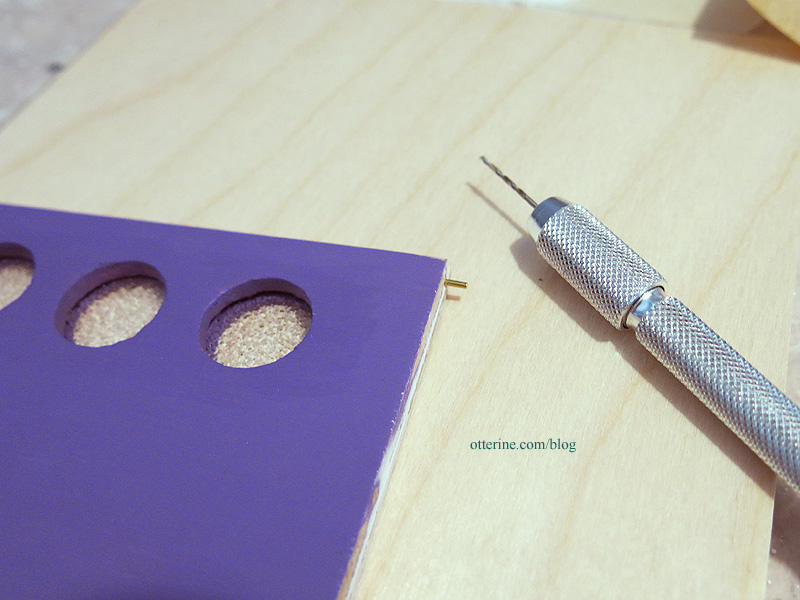
I flipped the opening direction of the door by transferring the holes to the opposite side. I have a full post on that process here. I then added the pin hinge to the new door.
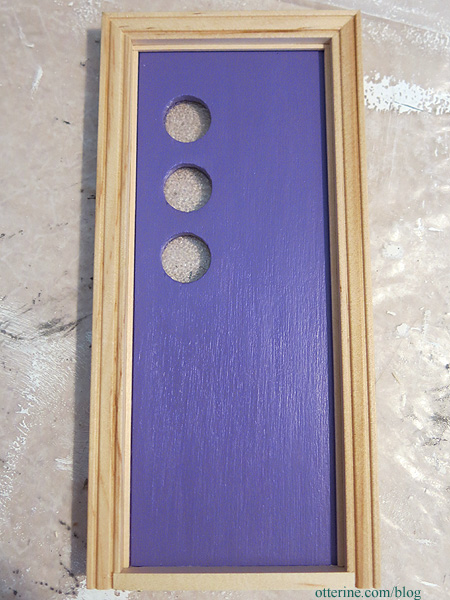
Checking the fit.
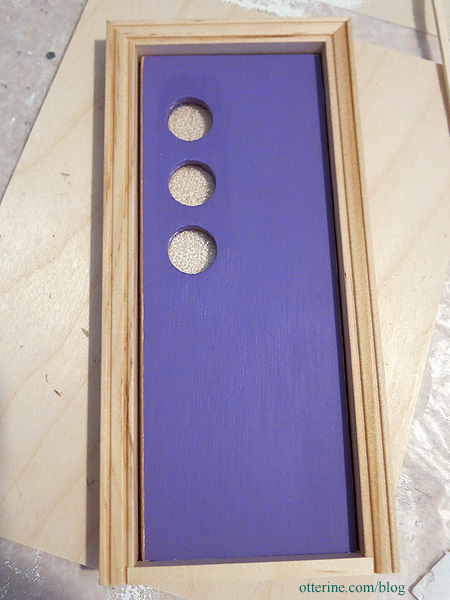
To remove the drafty edges, I applied thin strip wood. I have a full post on that process here. I finished painting the edges and sealed the door.
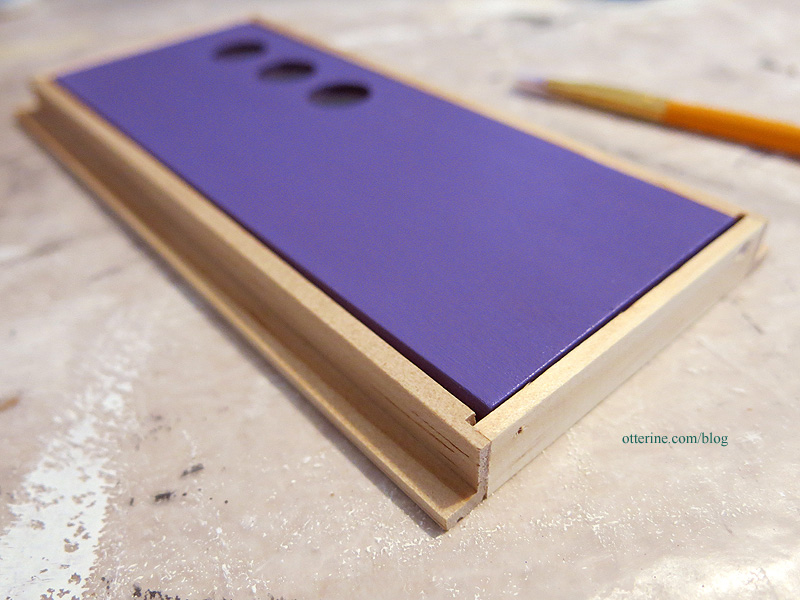
The door is thicker than the usual Houseworks door that sits in this frame, but the overhang is so slight that I opted not to pad the frame. It won’t be noticeable with the final interior trim in place.
Next up…painting the frame and adding hardware.
Categories: Otter Cove
August 18, 2015 | 0 commentsMaking siding from basswood sheets
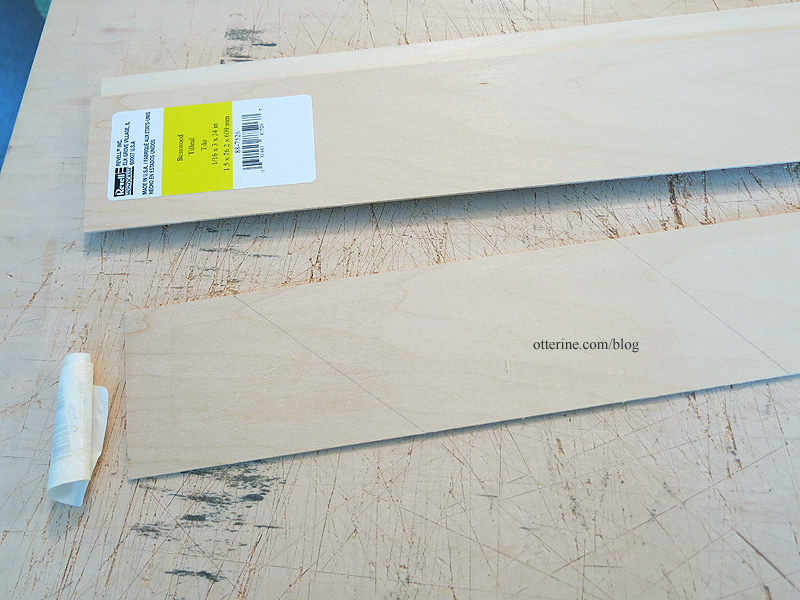
For this build, I decided to make my own siding from basswood sheets. You can buy pre-cut basswood strips, but it is cheaper to buy the sheets and cut your own. No, it won’t be as uniform as buying the factory cut strips, but the kind of siding I am after makes that okay. :D
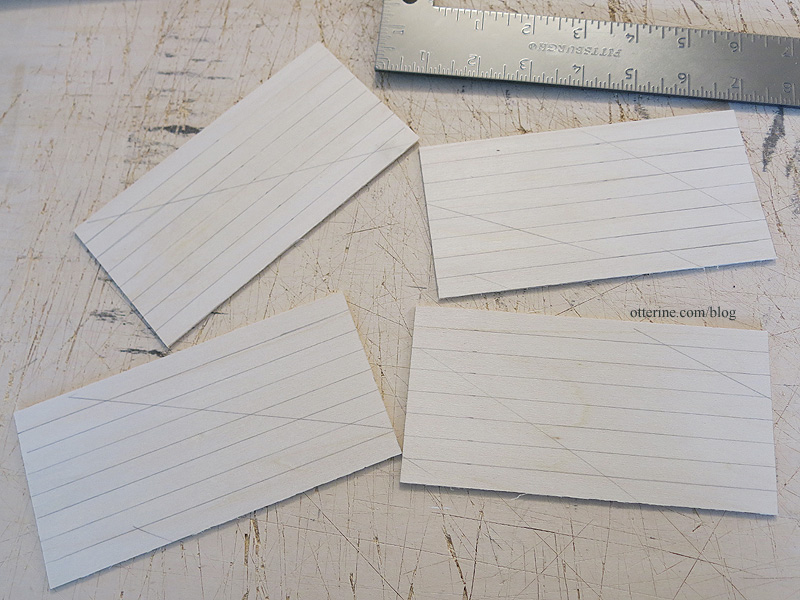
Since the sheets (and the strips for that matter) had stickers on one side, I marked that side with diagonal pencil lines. The glue residue will prevent even staining, so I need to make sure I can always tell which side was the back.
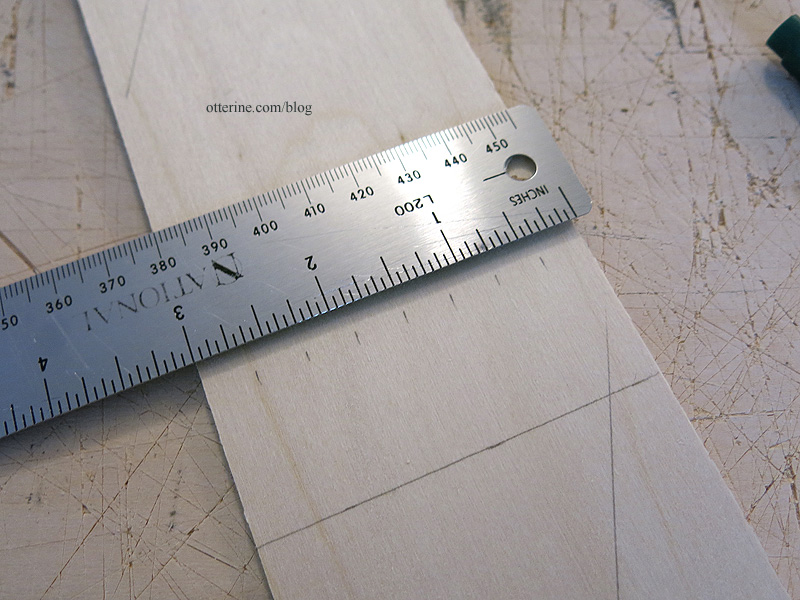
I then marked 6″ increments. I also made some of the sections in 8″ increments.
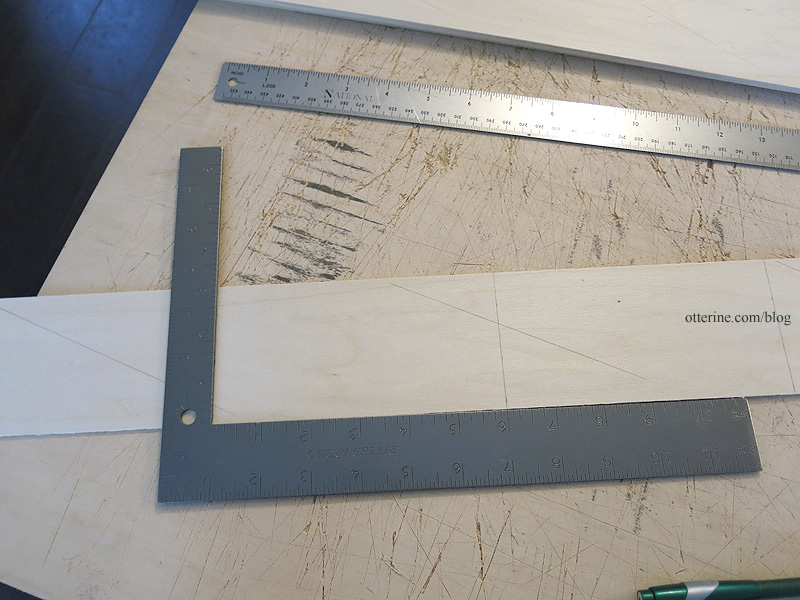
I marked 3/8″ wide planks.
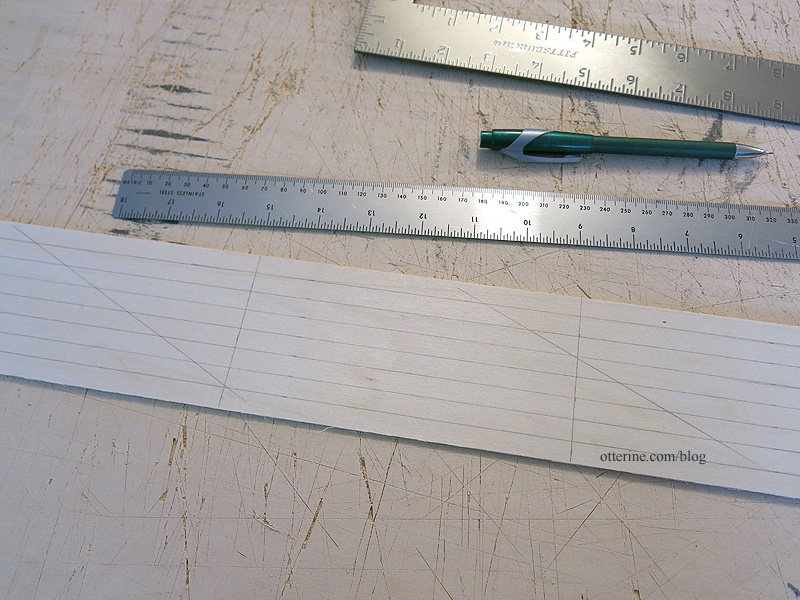
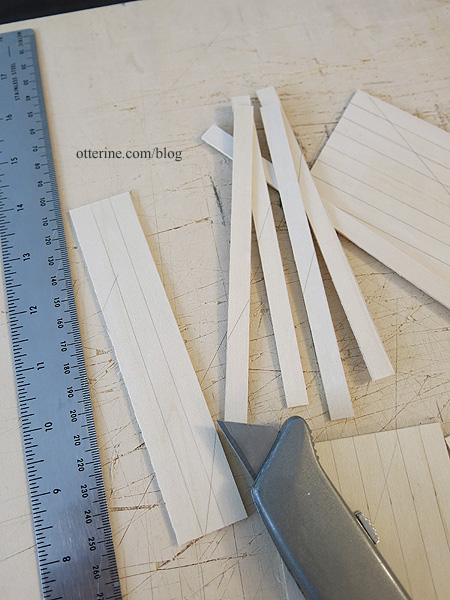
I cut the sections apart. In some places, I had to make additional marks to indicate the back.
I then cut the planks.
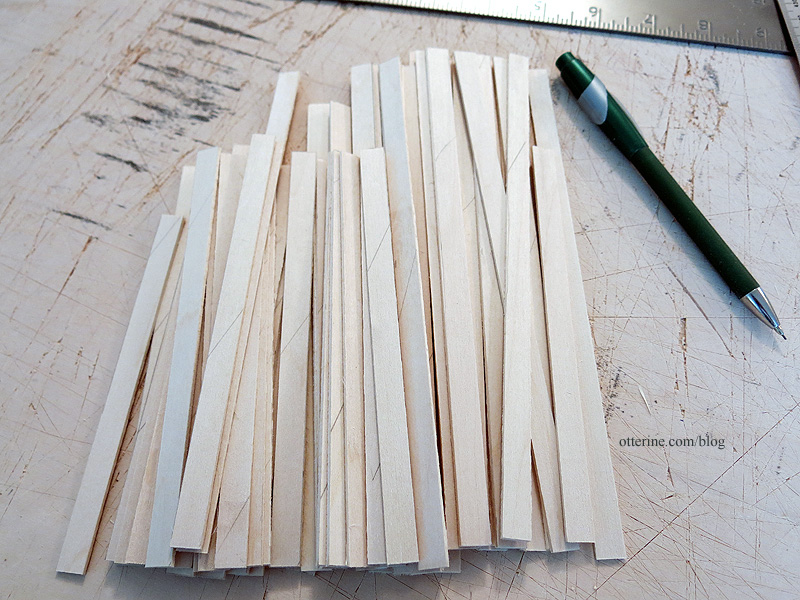
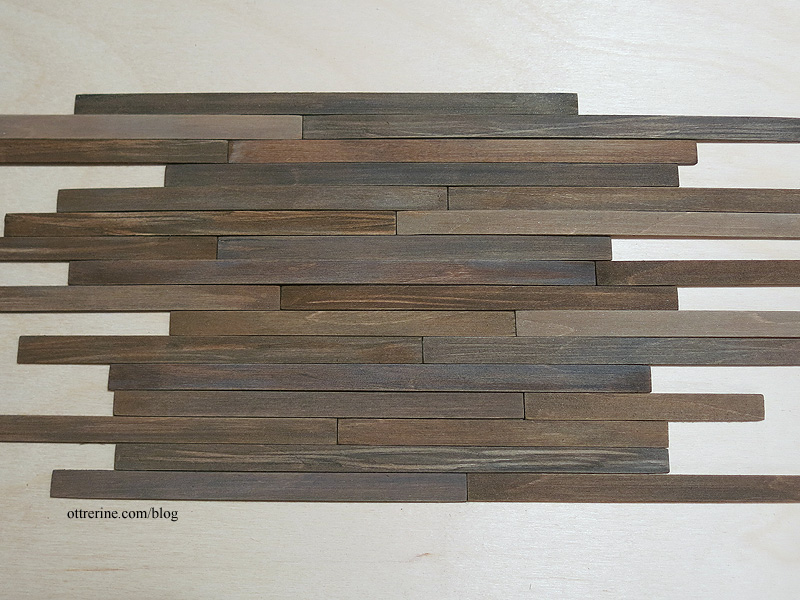
Here’s my pile of planks. You can see the back markings here and there.
I sanded the fronts and front edges then taped the planks to painting boards for staining.
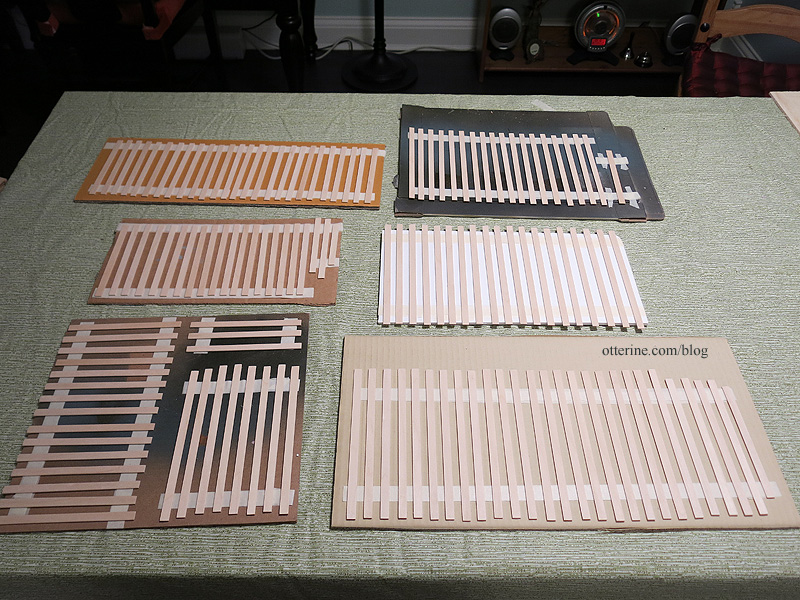
I stained the various boards using slightly different stains to end up with variegated, reclaimed siding.
Categories: Otter Cove
July 14, 2015 | 0 commentsMaking a custom door, part 2
Continuing work on the custom door. I glued the middle layer to the back layer. I changed my mind about the larger opening, concerned that the front or back might bow between the window openings. To help, I glued some scrap pieces of the veneer between the circles. There will then be three small squares of acrylic, still easier than cutting circular glass inserts to fit. :]
Since the front and back pieces are different types of wood, they have different textures. I spread spackling over the front to even out the grain. I also lined the interior of the circles and filled in any nicks in the wood on both sides from the cutting process.
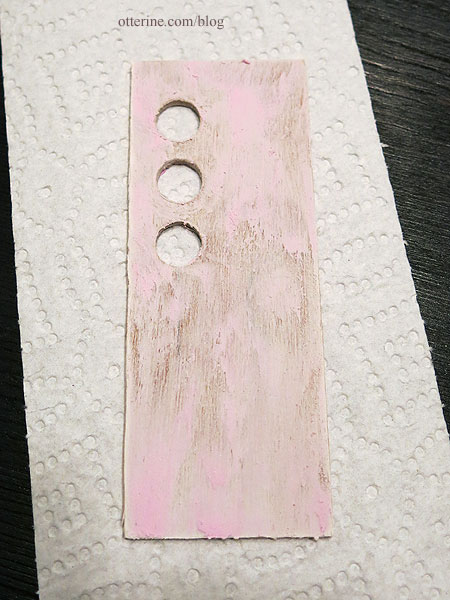
Once dry, I sanded the pieces smooth.
I’ll need to paint it before further assembly, so I’m going to leave this here for now. I need to choose my colors. :]
Categories: Otter Cove
March 3, 2015 | 0 commentsMaking a custom door, part 1
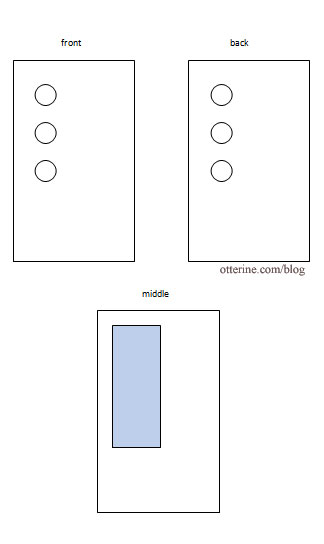
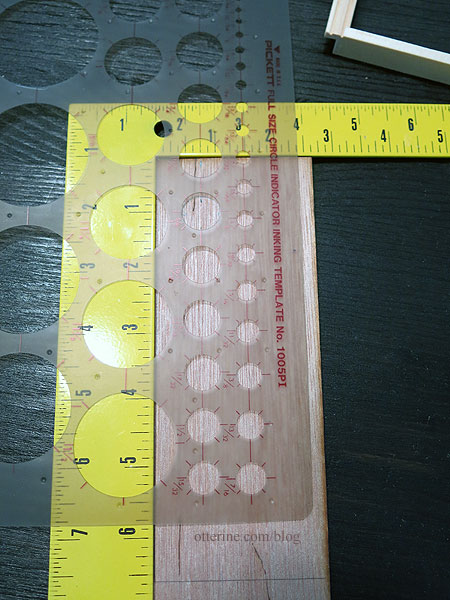
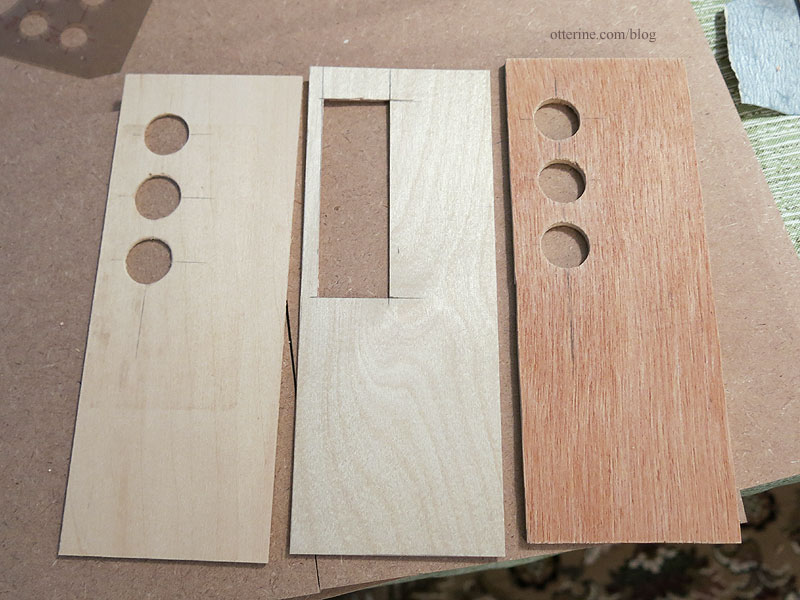
I want a custom door for the Creatin’ Contest build, so today I tackled cutting the basic pieces. The door will have three circular windows, so I opted for a layer cake building method — a front piece with the three holes, a thinner middle piece with a section cut out for the acrylic insert, and a back piece with the three holes.
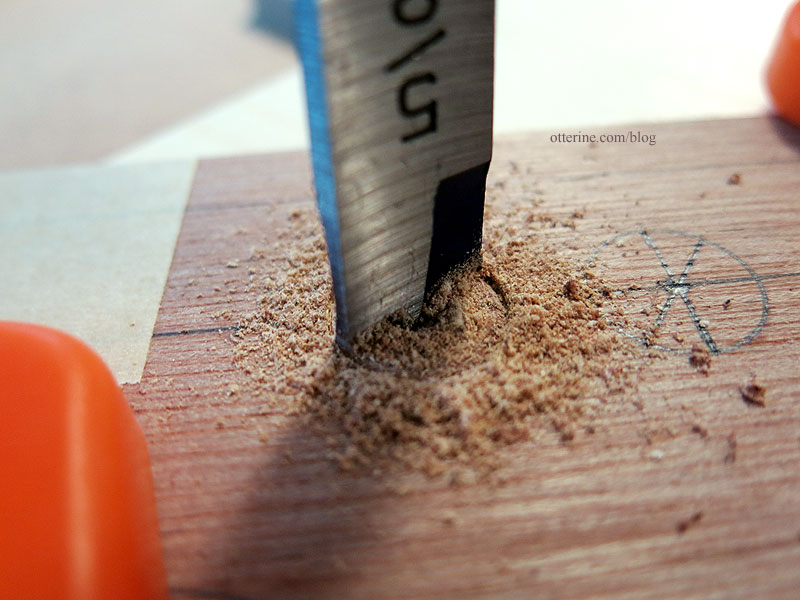
Since the windows will measure 5/8″ in diameter, I needed a tool other than the circle cutting guides for the Dremels. I bought a set of spade bits at the local Ace Hardware.
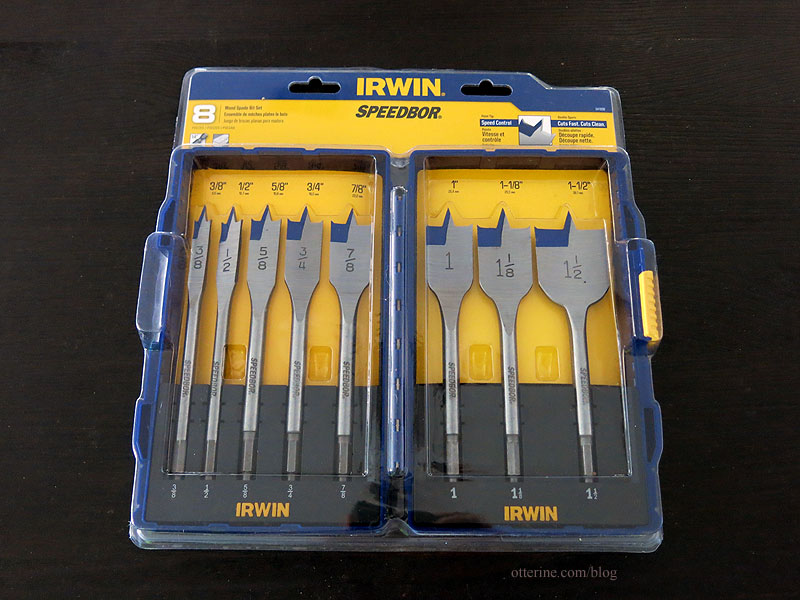
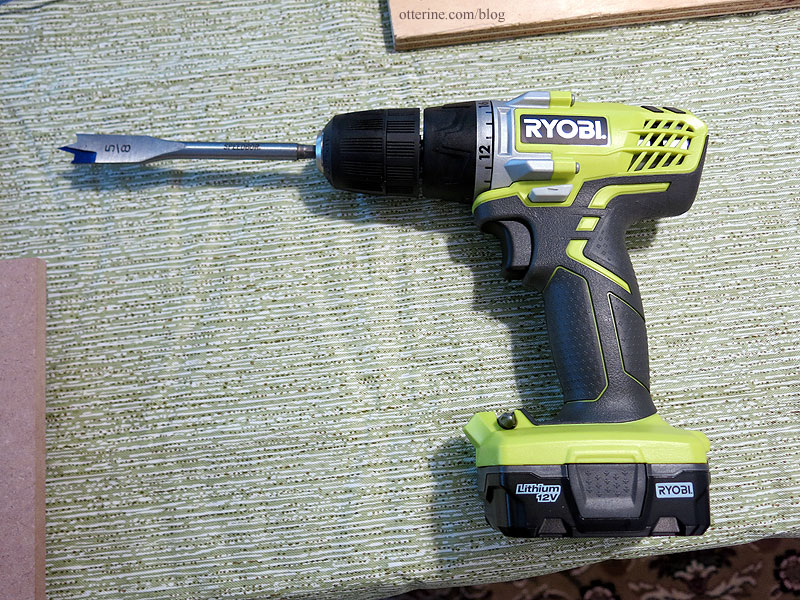
These fit into a standard drill.
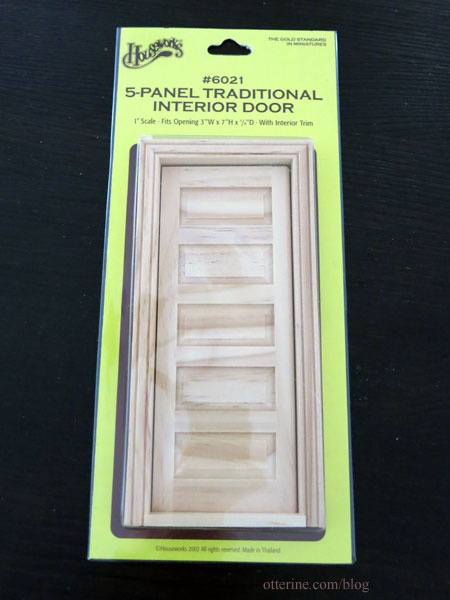
I didn’t feel like building a door frame, so I started with a Houseworks door. The insert here won’t go to waste since I’d like to make another working pocket door at some point.
Using a circle template, I drew my layout on the top board. This was made from a spare piece of 1/8″ Greenleaf kit plywood.
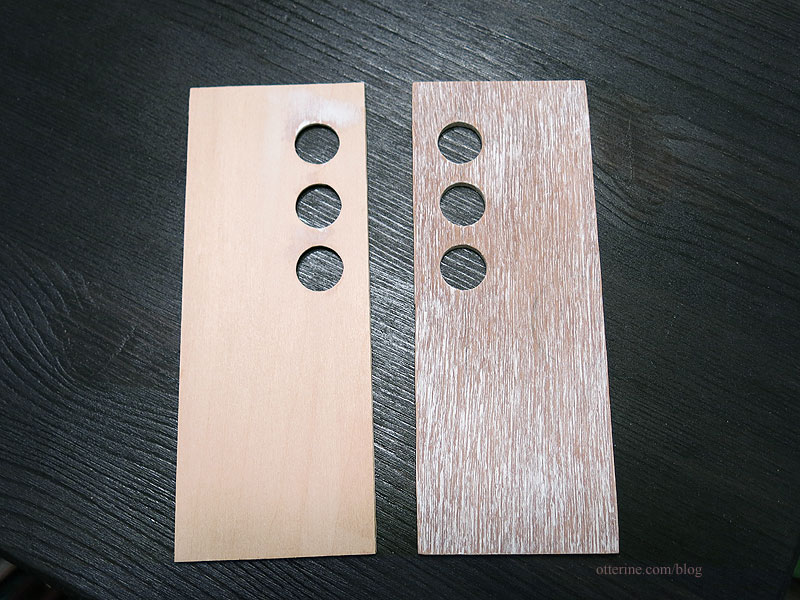
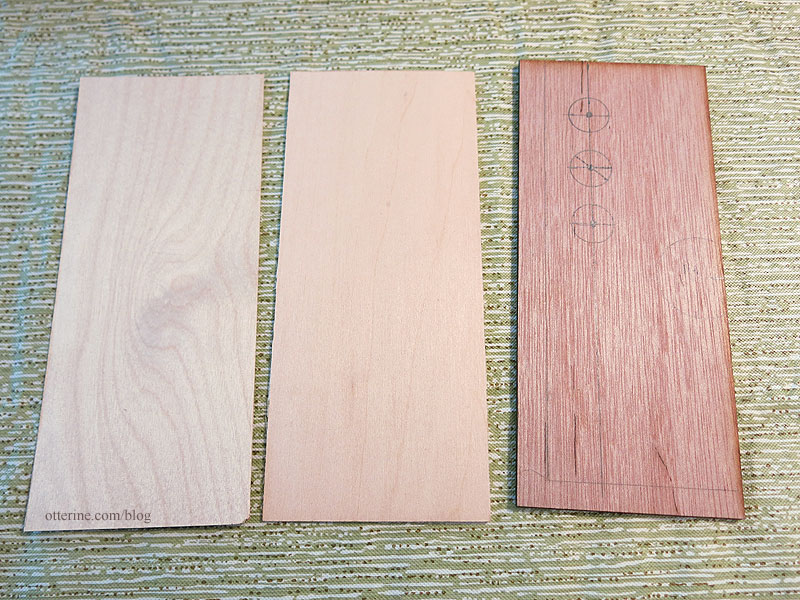
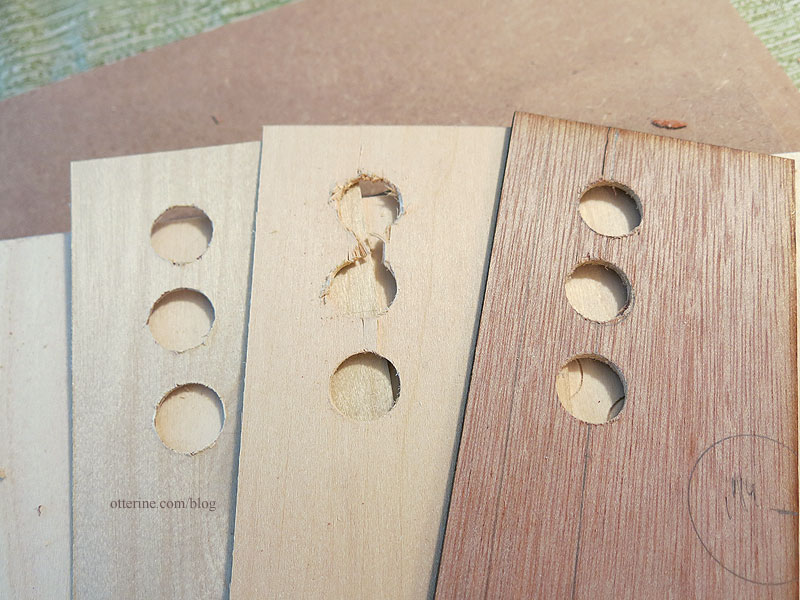
The back piece was made from 1/16″ basswood and the middle piece from 1/32″ birch veneer. Shown below from left to right: middle, back and front.
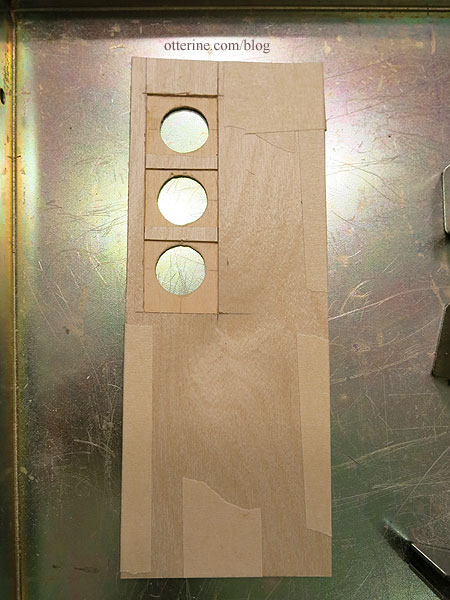
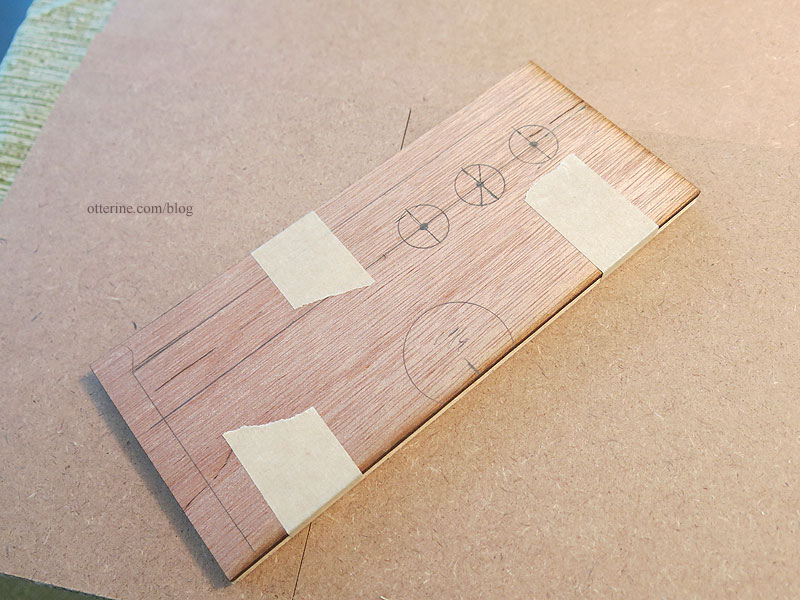
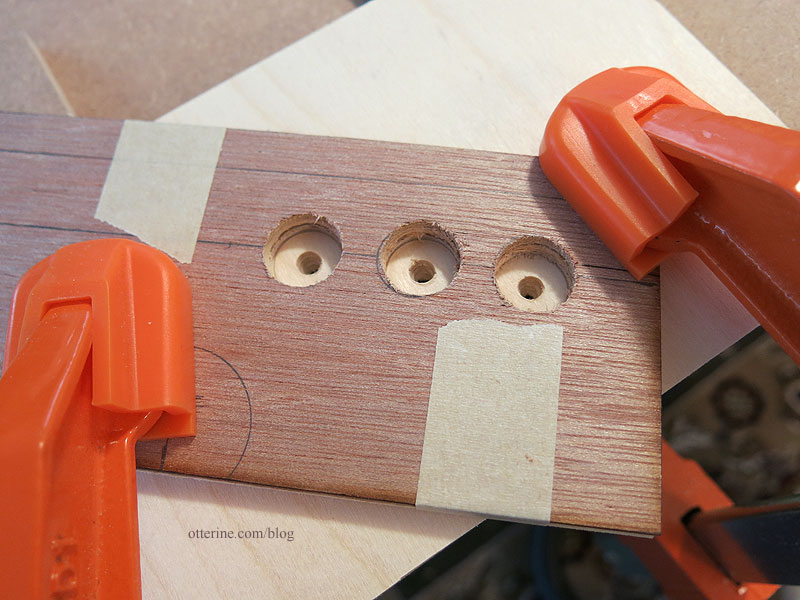
I taped the pieces together to cut all three at once.
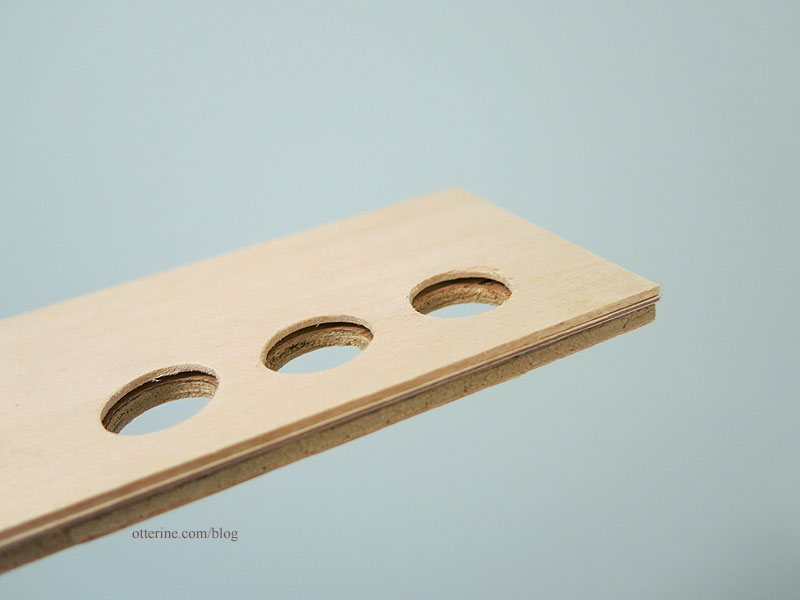
The spade bits are great because they have a sharp center tip that makes it easy to line up more than one circle cut.
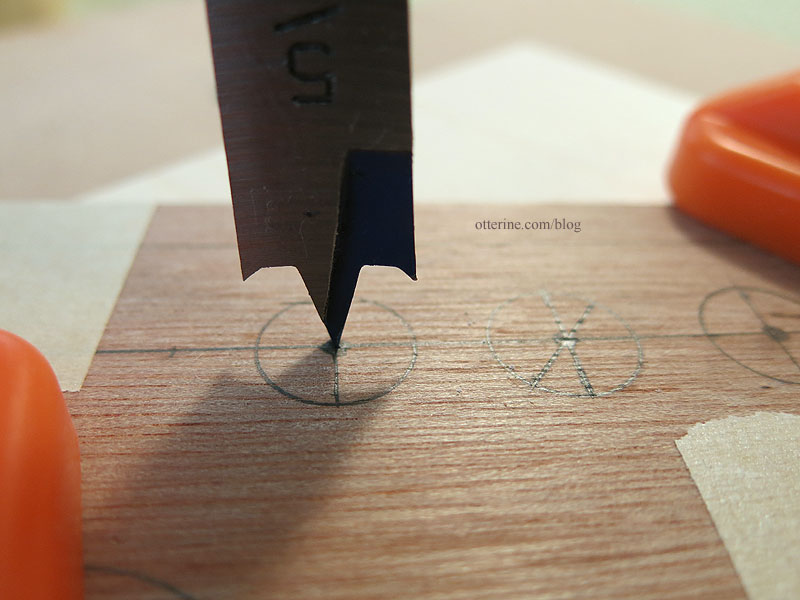
The pointed spurs on the edges cut the circular edge as the middle point drills down.
I vacuumed the dust and bits and it looked good from the top.
While I did use a spare board under the bottom piece to save the wood from splintering, it was the middle basswood piece that didn’t end up working. :\ It was the softest wood of the three.
I also messed up the plywood piece and had to redo it, but that wasn’t related to using the spade bits. I cut another front piece from a spare part from Walnut Bay Light. :D

I cut another piece of basswood and cut it on its own, which worked a little better. I then used the Houseworks door to mark the outer edges of the door. I waited to do this until after the holes were cut just in case the circles didn’t work, just to save time, and I’m glad I did.
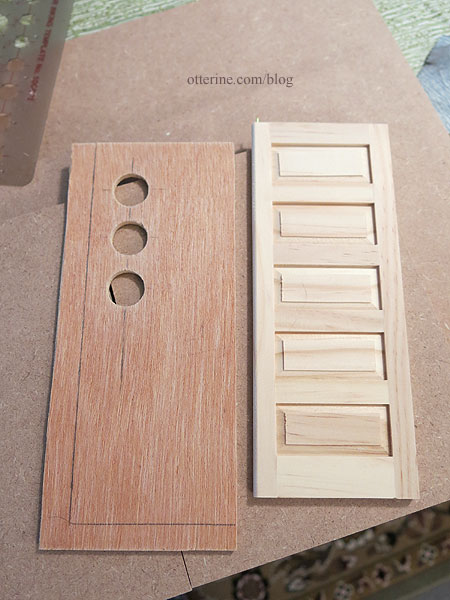
I then cut around the circles in the middle layer so I have to use only one piece of acrylic for the window inserts.
As expected, all three pieces will need some cleaning up during construction, but I’m on the right track now. :D
So far, so good. :]

Categories: Otter Cove
March 1, 2015 | 0 comments
NOTE: All content on otterine.com is copyrighted and may not be reproduced in part or in whole. It takes a lot of time and effort to write and photograph for my blog. Please ask permission before reproducing any of my content. (More on copyright)