


NOTE: All content on otterine.com is copyrighted and may not be reproduced in part or in whole. It takes a lot of time and effort to write and photograph for my blog. Please ask permission before reproducing any of my content. (More on copyright)

Categories:
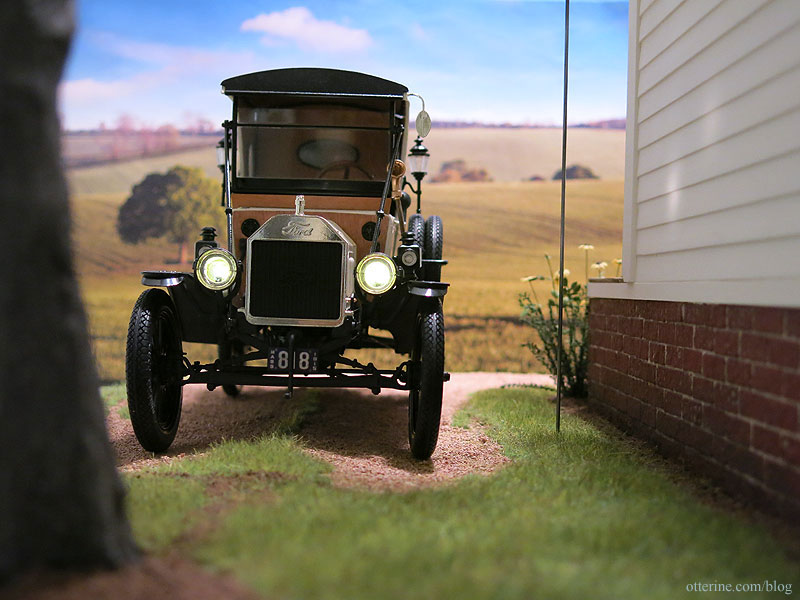
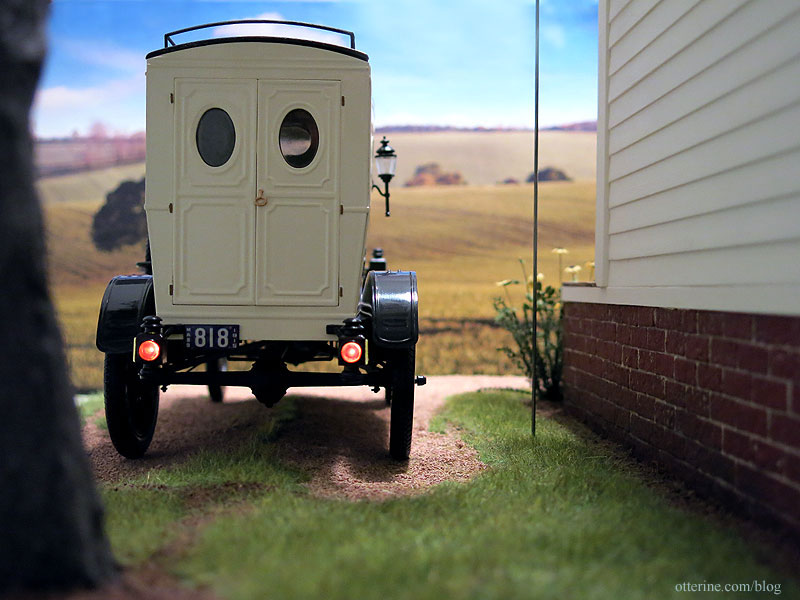
1913 Model T Van – part 5
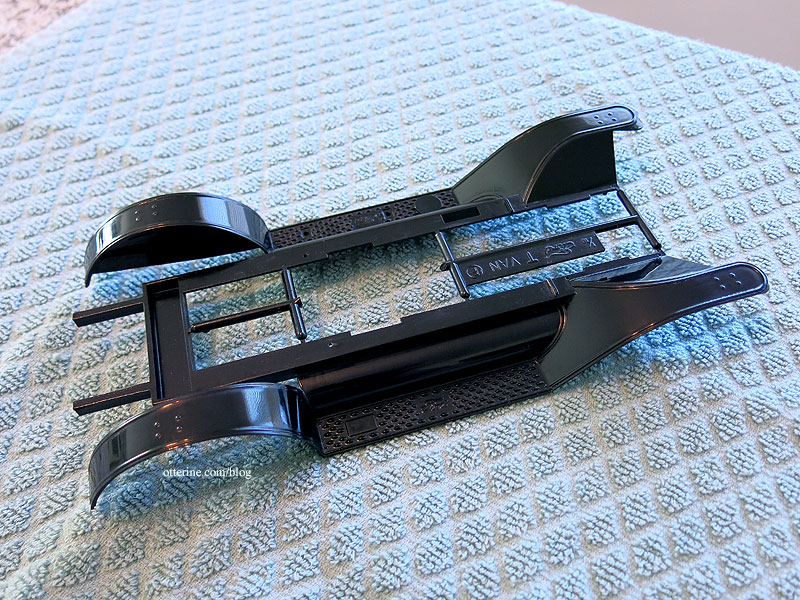
Continuing work on the Model T Van. The past couple of steps have used the “brass” finish parts that are factory painted in high gloss. While having the brass parts modeled in shiny color is great, sometimes they are not attached to the sprue in the best locations. When you separate them, you can end up with bare plastic showing in spots. Additionally, sometimes the kit manufacturer will put parts on the “brass” sprue that weren’t brass on the original automobile.
I want a reasonably accurate model, though I am willing to fudge for the sake of sanity and aesthetics in many places. For parts that are supposed to be brass but end up with bare plastic showing, my fix is to paint black accents. Accurate? It’s questionable. Does it look better on the model? Definitely. For parts that aren’t supposed to be brass but come with that finish, you can just repaint them the proper color.
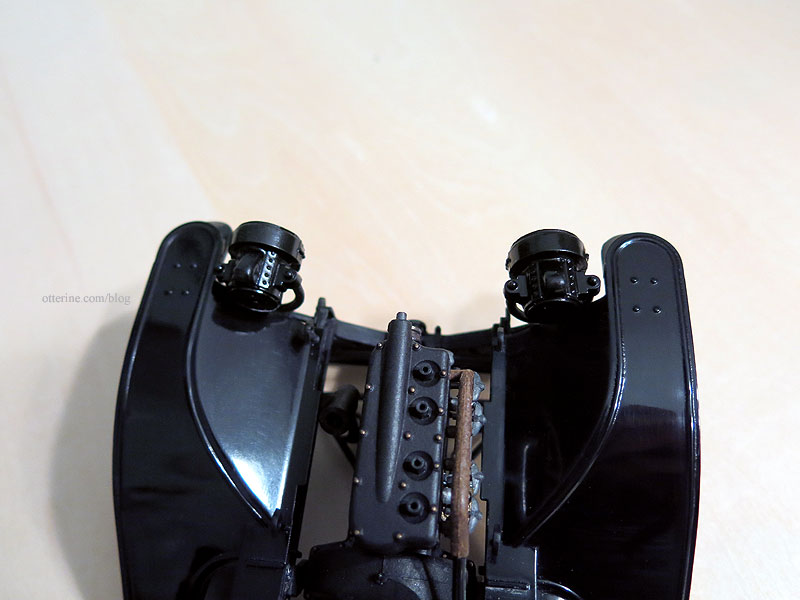
The lamps and acetylene generator are made from multiple pieces, so you end up with seams and bare spots from the sprue connections. I briefly read about the lights here, but I am certainly no expert and didn’t do exhaustive research. I have seen some lamps in partial black and some in all black. The same applies to the acetylene generator. This seems dependent on year of manufacture. So, I am using some artistic license and going with black housings accented in brass. This will allow me to make the seams less noticeable and cover the bare spots as needed. I’ll sacrifice complete accuracy for a model that looks more polished and realistic.
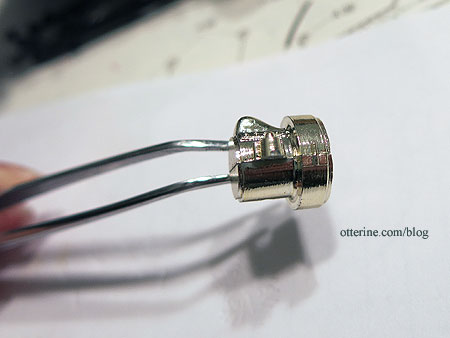
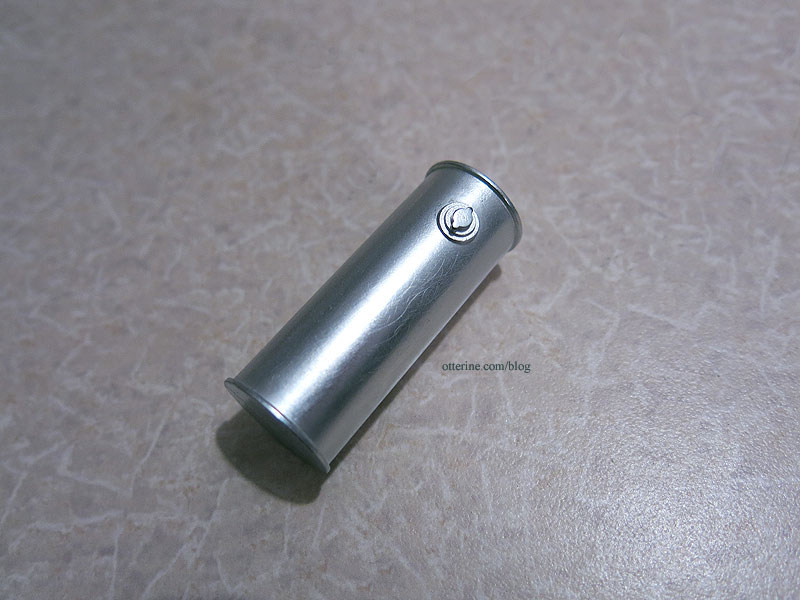
The original acetylene generator looks cheap and plastic in the factory brass finish.
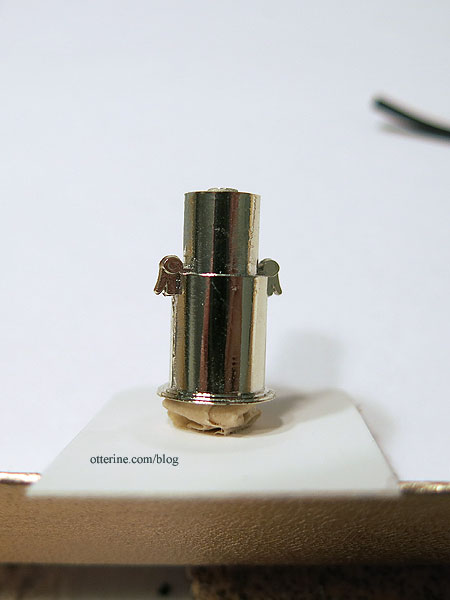
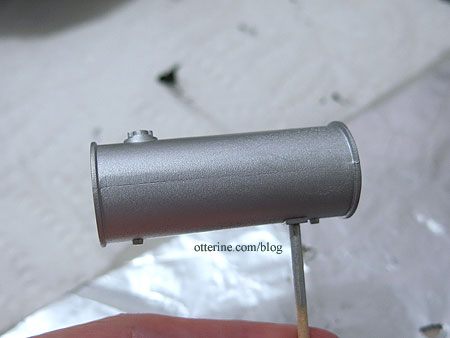
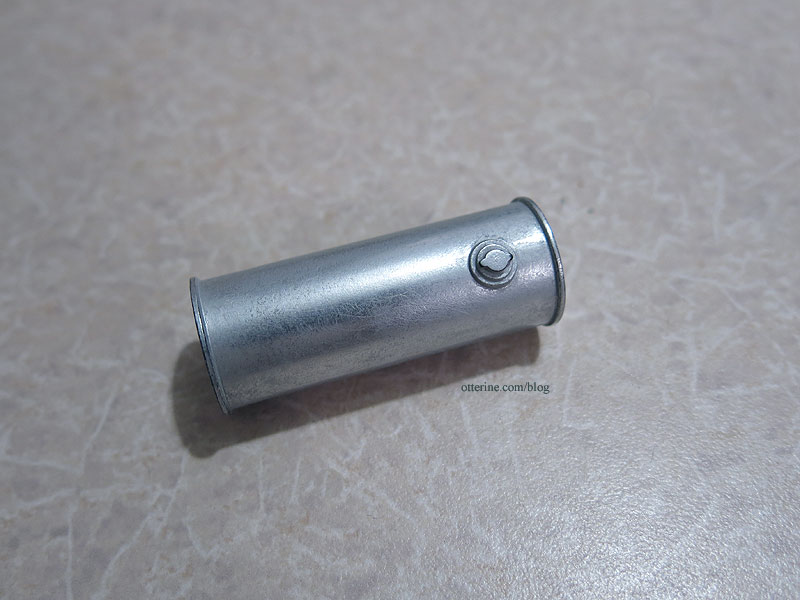
After two coats of Testors semi-gloss black, it looks more like a metal canister (I masked the side clips to leave them brass). The emergency brake and clutch lever as shown in this informative video on how to drive a Model T is black but the kit part was brass. I painted it Testors semi-gloss black.
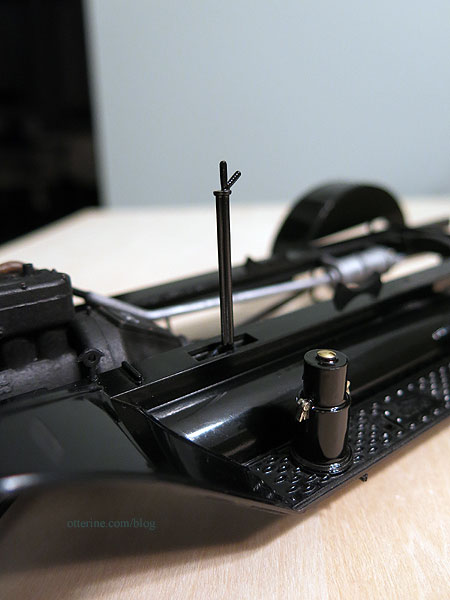
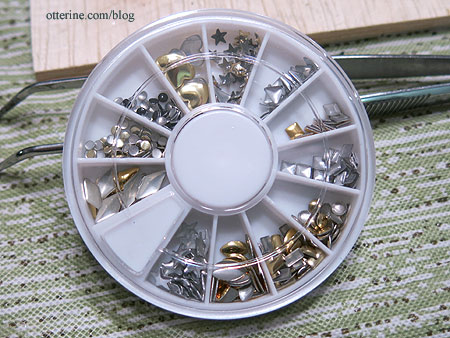
I added a jewelry finding to the top of the generator since there was no way to paint a topper to match the side clips. I bought this box of bits at one of the local mini shows.
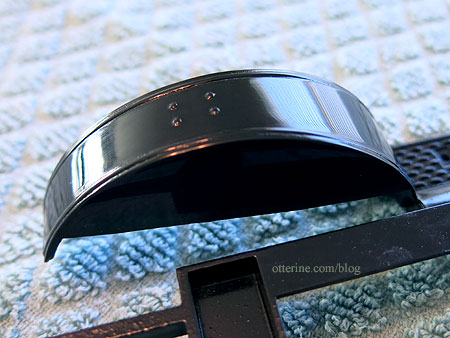
Here’s one headlight with some of the brass finish missing after cutting from the sprue.
I painted the inside of the housings silver to add realism and reflective surface. I also added punched metal circles to the backs to make the seam less obvious. I had to sand the edges of the glass inserts to get the right fit then carefully glued the housings together. I primed them in flat black and painted gloss black.
I then glued the housings to the lamp brackets already attached to the chassis in an earlier step. I’m thinking brass jewelry findings can be added to the front to clean up the frame and make for a more convincing lamp, but for now this will work. One of the lenses fogged from the glue, but it’s not terrible. We’ll just say that it’s dusty. :D
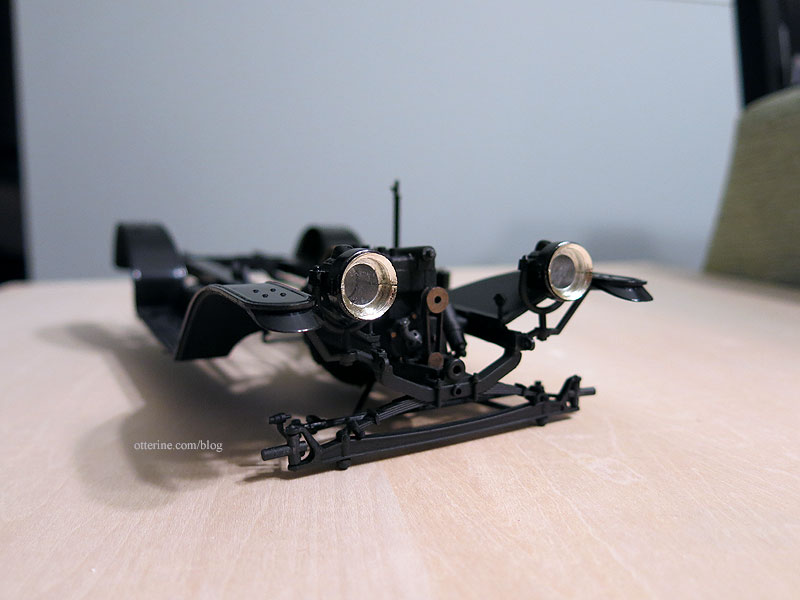
I like the black, though the light body color should make them stand out a bit more than they do right now.
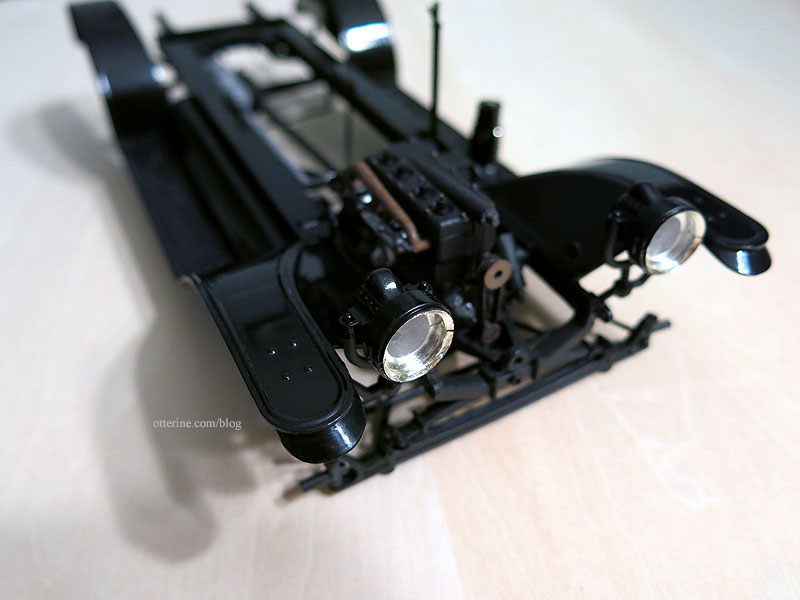
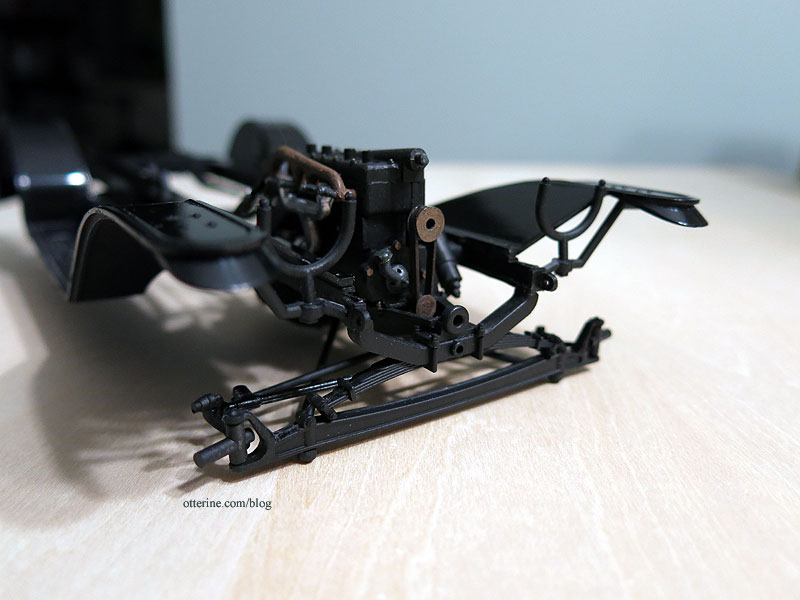
Once the glue sets overnight I’ll add the gas lines. The kit comes with thin tubing to simulate these.
Next up, some front cabin work.
Categories: Model Cars, Vehicles
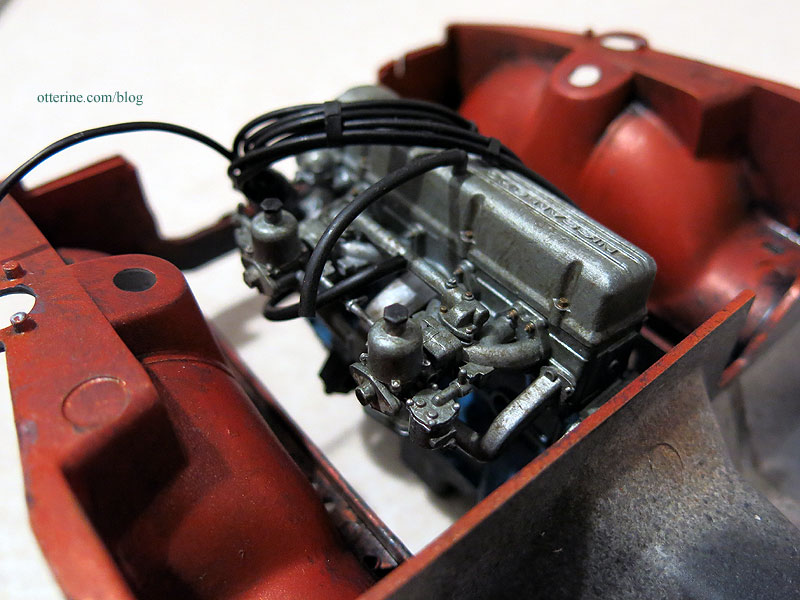
October 20, 2016 | 0 comments1913 Model T Van – part 4
Continuing work on the Model T Van. We’ve reached page two of the instructions! The frame has been attached to the fenders and the engine glued in place. This is all extremely fiddly after removing the stabilizing sprue connectors from the fender/chassis part. I was (am) concerned about the van sitting level on a surface, but maybe this setup will act like the original and make it conform to any surface? Fingers crossed. As a fix, I can always pack some serious ballast into the rear cabin.
As feared, I ended up getting super glue on the black fender paint even though I was trying to be so careful. It’s in a not-so-obvious spot and should be covered when the hood is in place so it’s not the worst that could have happened. I polished it as best I could.

Worded instructions and drawings get you only so far. Sometimes it is hard to tell how something is meant to be aligned and you won’t know you’ve done it wrong until a later part or assembly doesn’t fit. This was the case of hanging the engine in place. There are two brackets on either side that sit neatly into the frame.

My best guess is that the engine should be level based on viewing the real life autos and well, logic. But, there didn’t seem to be an attachment point for the front of the engine assembly that allowed for the engine to be level. Mounted too low in the front, and it rubbed against some moving parts, which didn’t seem right. Too high, and it was probable that the hood wouldn’t fit over it. I ended up shaving away a bit of plastic and then glued the engine in place so it was mostly level. I couldn’t shave any more plastic without causing issues, so let’s hope it works.

I mention moving parts as I think this contraption is meant to have working steering once I’m done. Considering the delicate nature of plastic parts, if I end up with a solid model with good suspension, I’ll consider myself successful. Anything beyond that will be gravy. It’s looking good so far, though.
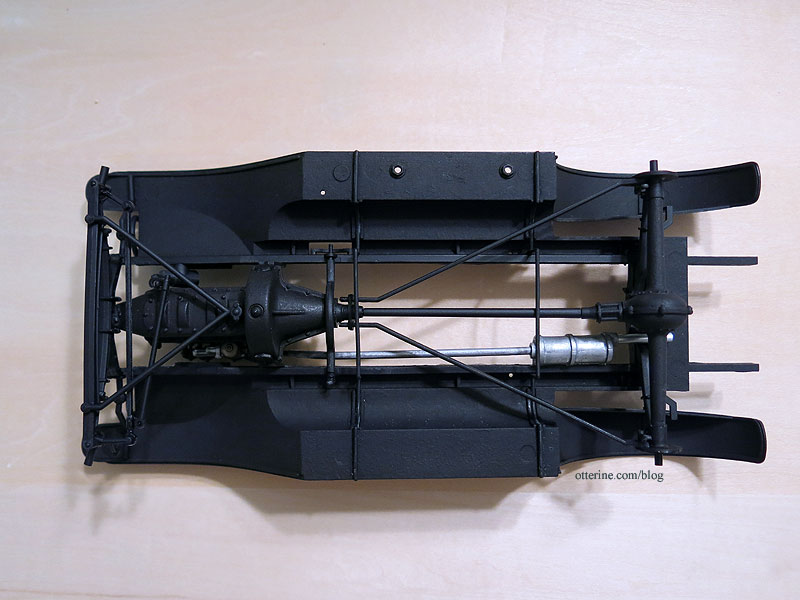
And, here’s the underside.
Categories: Model Cars, Vehicles
October 18, 2016 | 0 comments1913 Model T Van – part 3
Continuing work on the Model T Van. The gas tank in a Model T sits under the seat and likely won’t be seen much in my model, but that’s no reason to skimp on detailing. The pieces that make up the tank were primed in flat black since they were on the sprue of parts that were mostly that color. I assembled the two halves and then sprayed it with Model Master Metalizer Lacquer in Aluminum Plate.

The initial finish is light matte silver. I didn’t worry much about the join lines along the sides since they will be hard to see once the part is in place.
Once you buff it with a paper towel, it gets all shiny. :D
That’s just a little too new, so I added a couple of grey acrylic paint washes dabbed with a paper towel. A bit of dust and light weathering always adds depth and visual weight.
I also painted the exhaust system with the Aluminum Plate spray.
I then added a bunch of colored acrylic paint washes to tone down the color and shine. It also has more depth now.
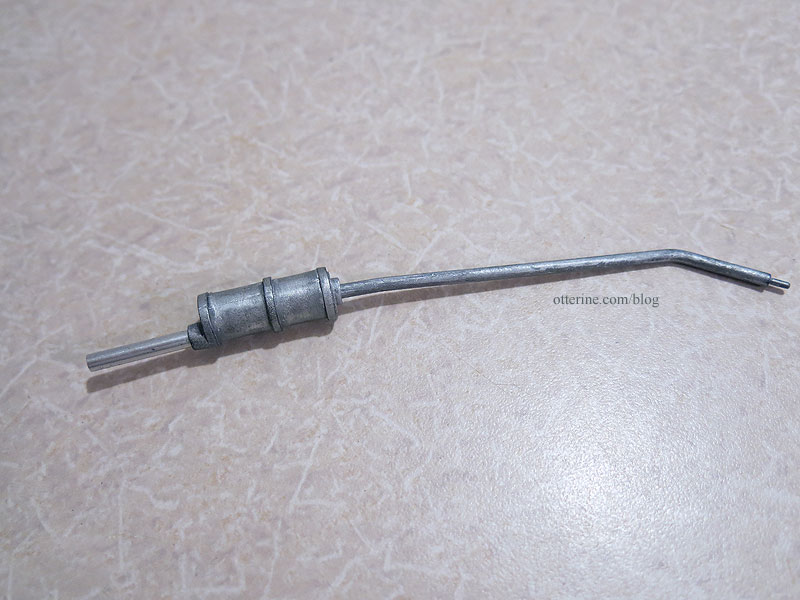
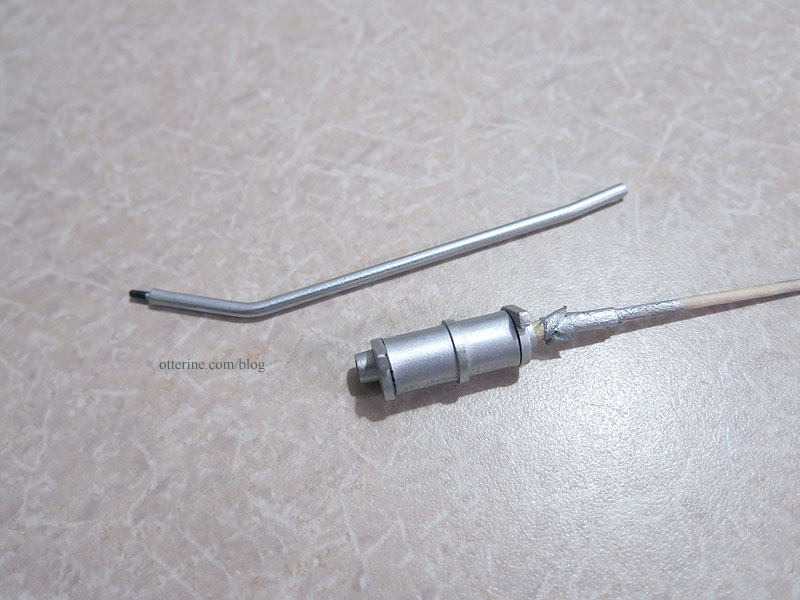
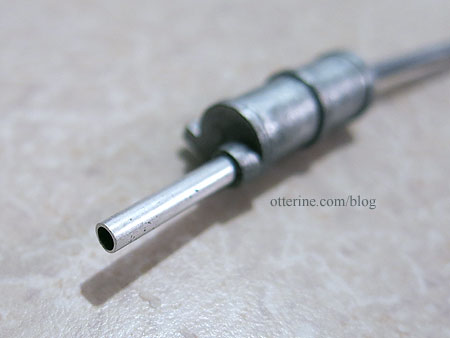
I swapped out the original tail pipe and cut a piece of aluminum tubing to take its place.
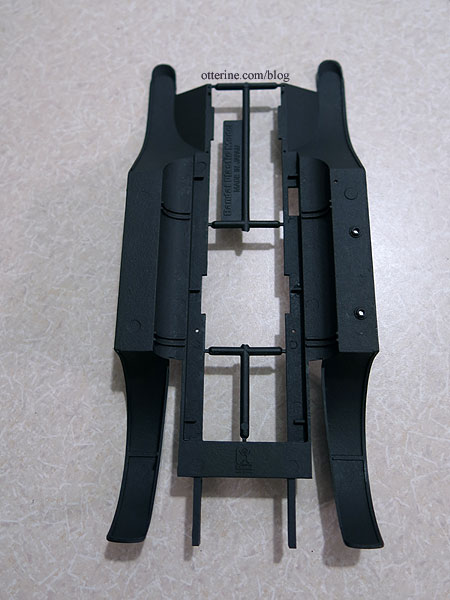
I also painted the underside of the chassis and fenders a mix of flat black, brown and grey. From the restored cars I’ve seen, the undersides are all glossy. This might be for showroom condition, but mine has been on the road and our owner doesn’t wash the underside. :D
Categories: Model Cars, Vehicles
October 17, 2016 | 0 commentsModel cars, vehicles
Just a recap post to make it easier to locate past models and works in progress. Each section has a link to the latest post in the build, which can be followed back through the process.
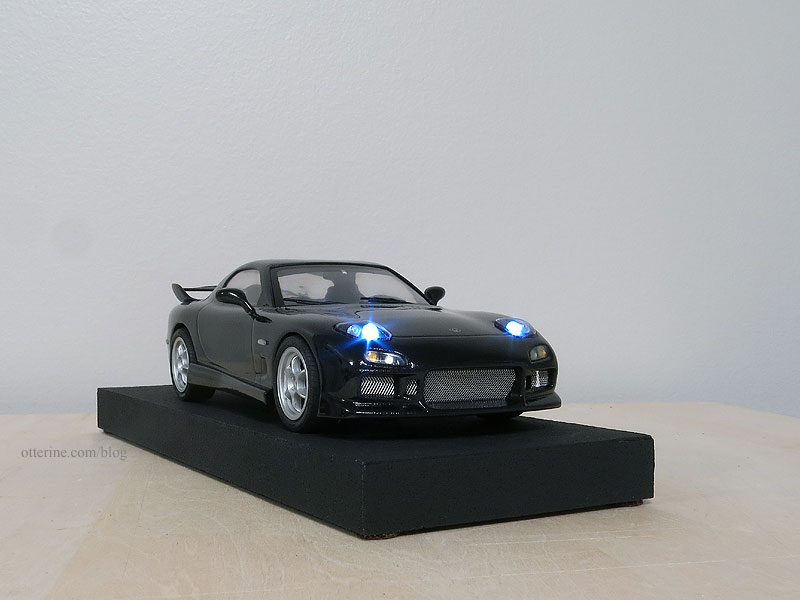
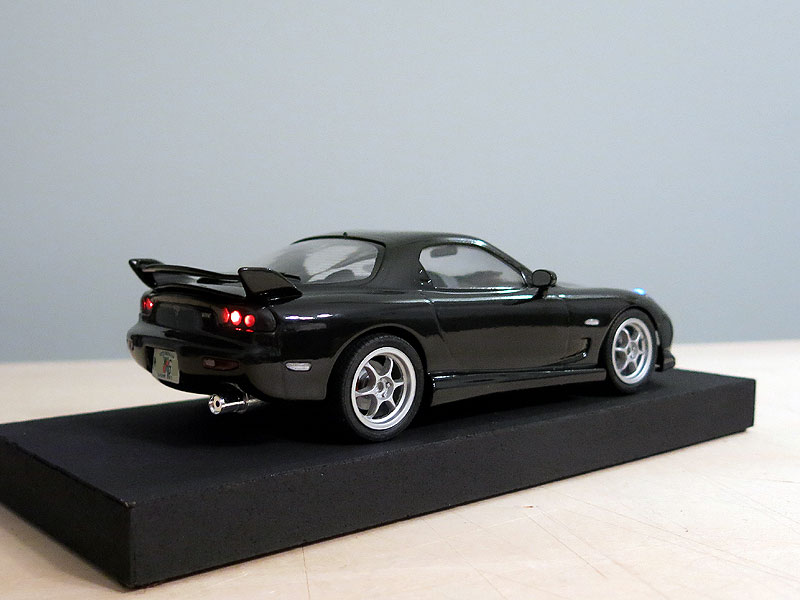
RX-7 in 1:24 scale – melding of Aoshima C-West, Fujimi and Tamiya kits.
—————-
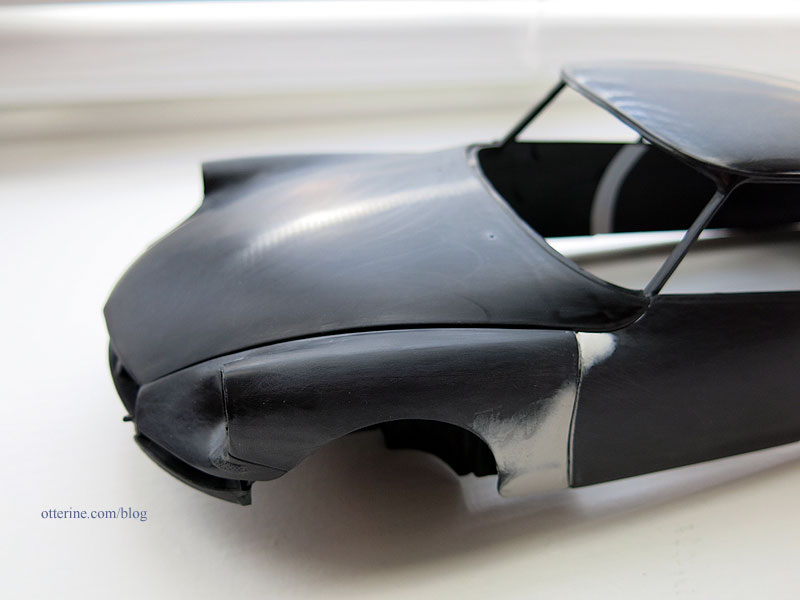
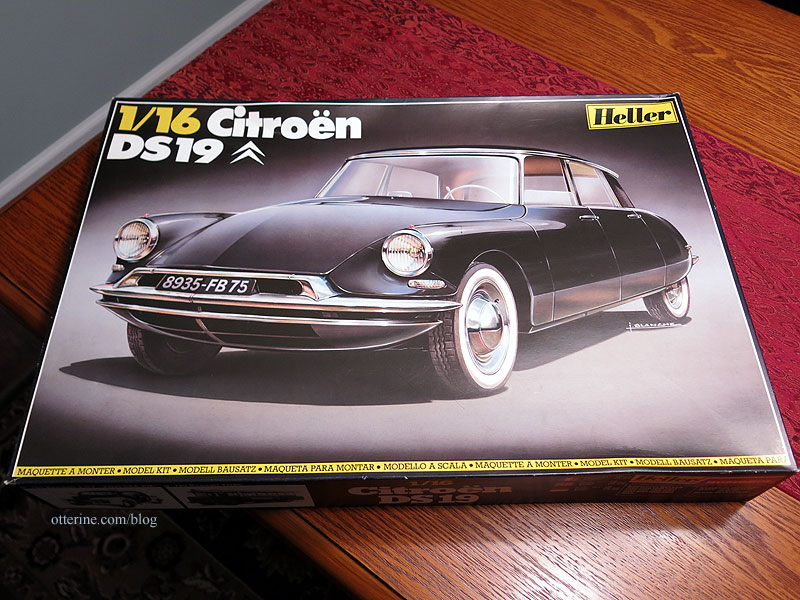
Citroën DS 19 by Heller – 1:16 scale – work in progress
—————-
1913 Model T Van by Entex – 1:16 scale
—————-
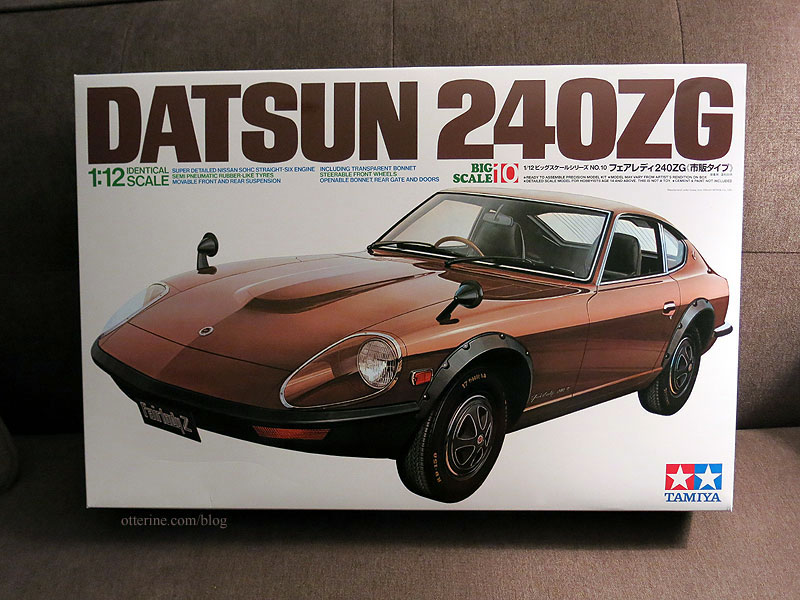
Datsun 240ZG by Tamiya – 1:12 scale – work in progress
—————-
—————-
Motor Racing Team Tool set by Tamiya – 1:12 scale

—————-
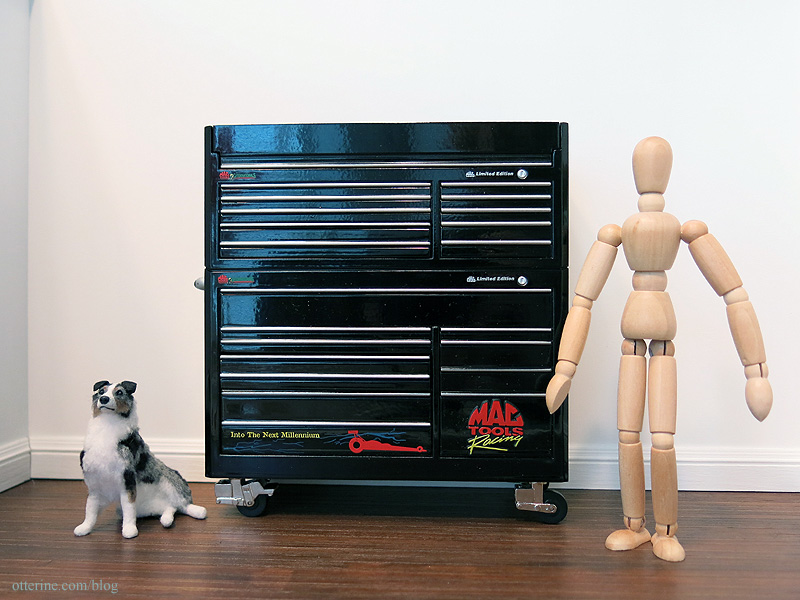
Mac Tools 1:12 scale tool locker – purchased model
—————-
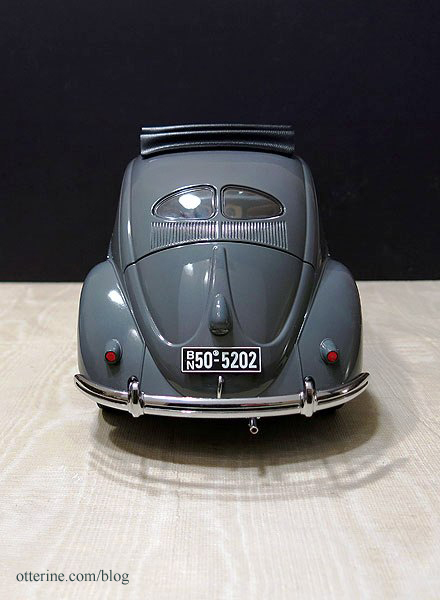
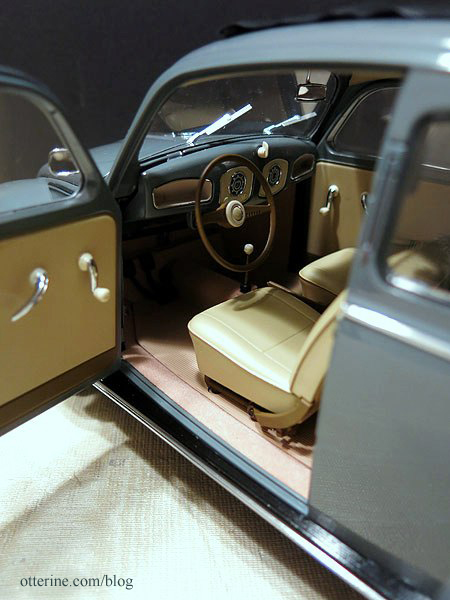
1950 Volkswagen Beetle Saloon by Sun Star – 1:12 scale – purchased model

—————-
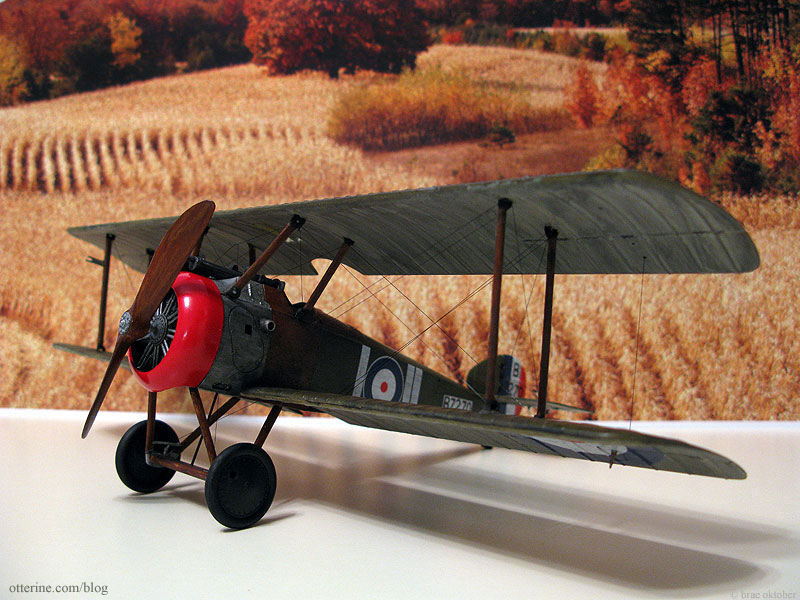
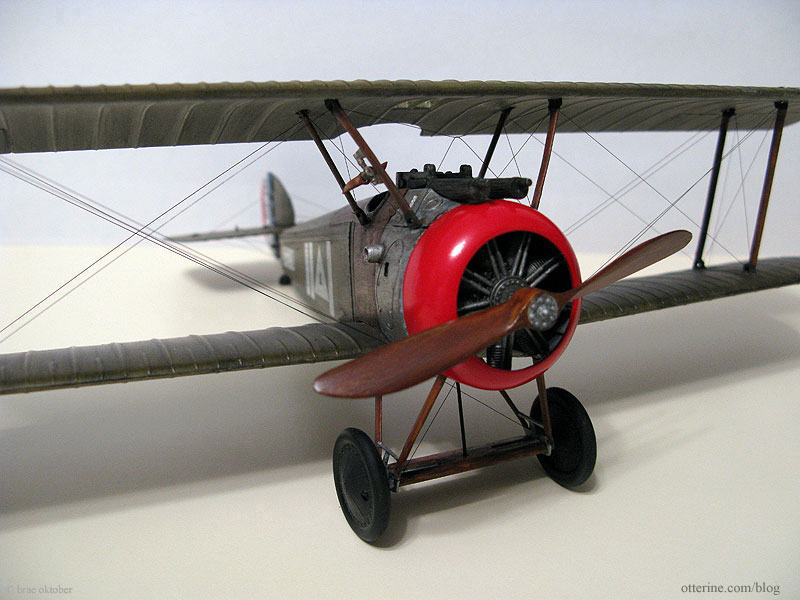
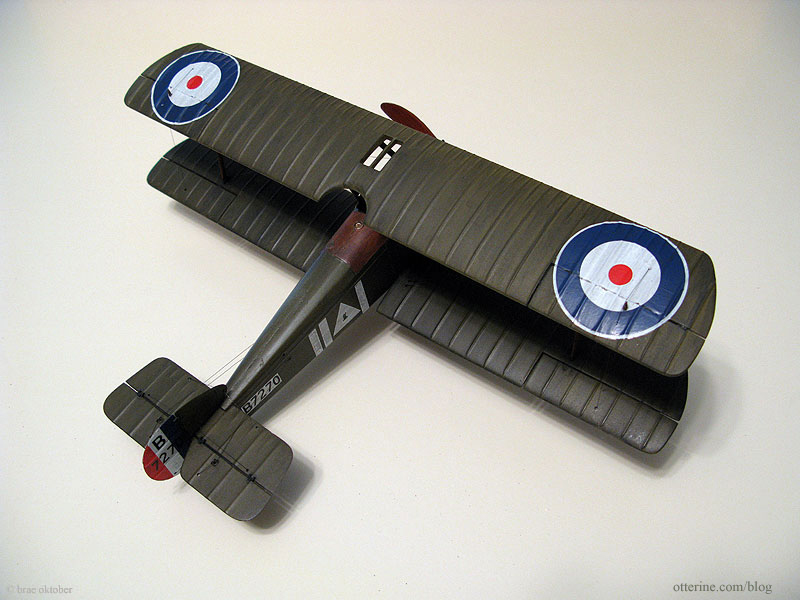
Sopwith Camel by Academy – 1:32 Scale
—————-
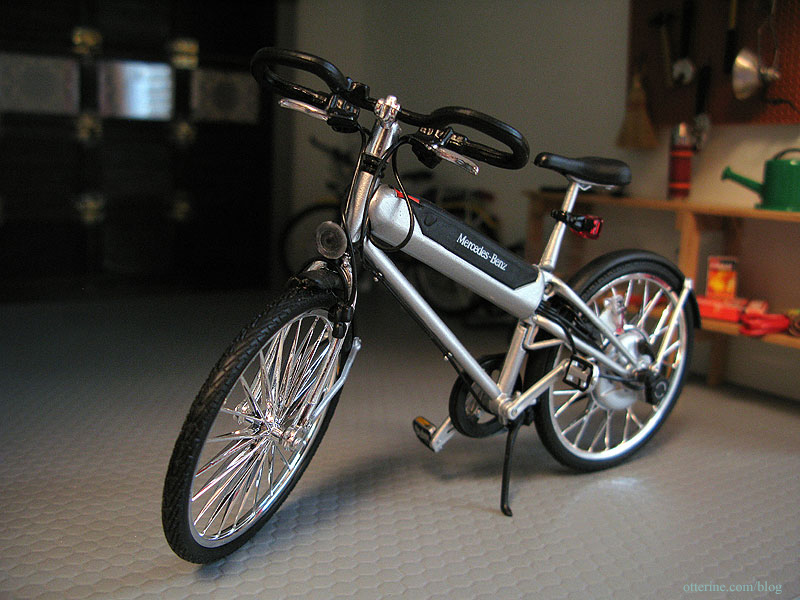
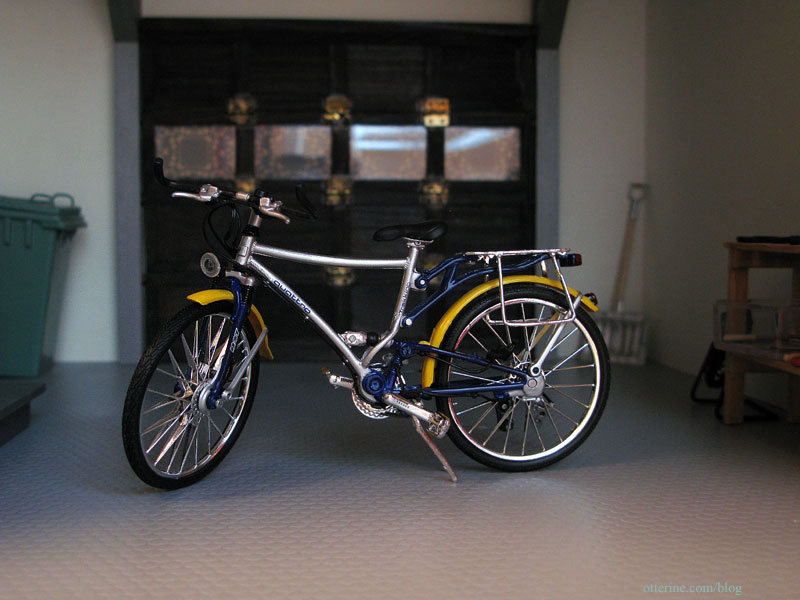
Mercedes Benz Hybrid Bike – 1:12 scale diecast model by Maisto – purchased model
Audi Quattro Citybike – 1:12 scale diecast model by Maisto – purchased model
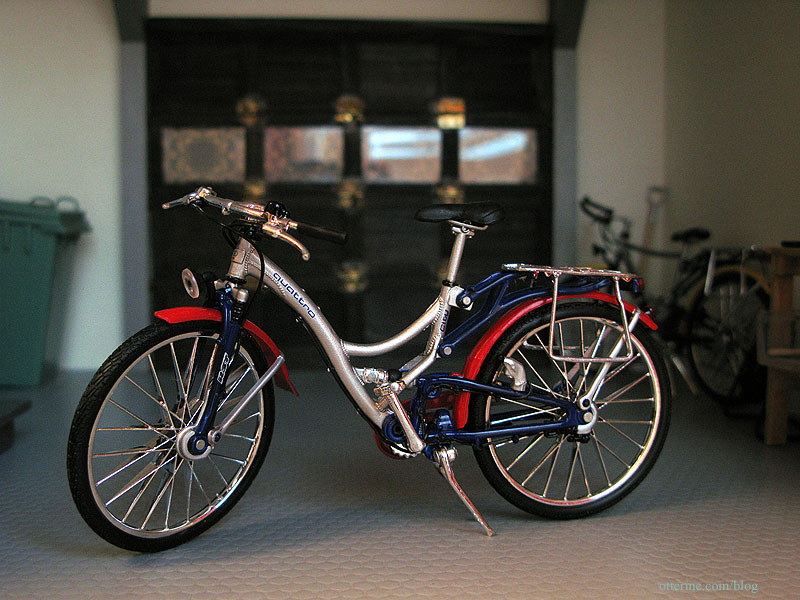
Audi Quattro Trekkingbike – 1:12 scale diecast model by Maisto – purchased model
—————-
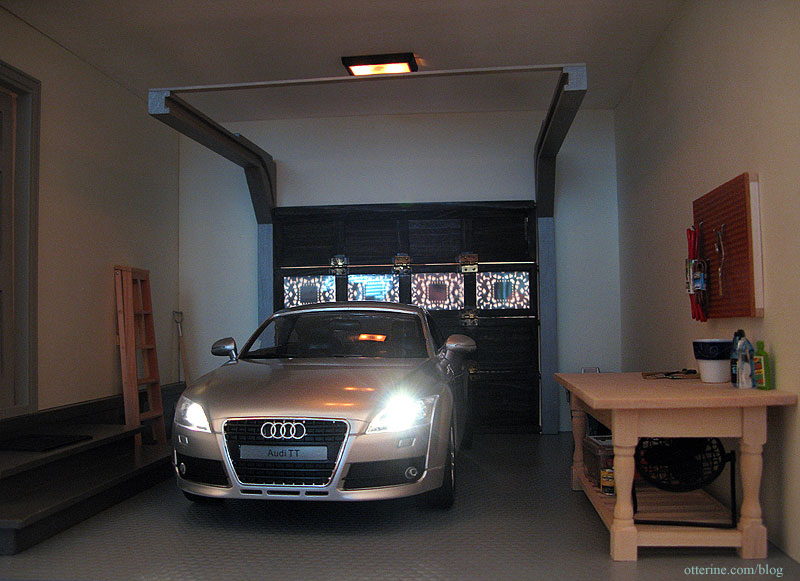
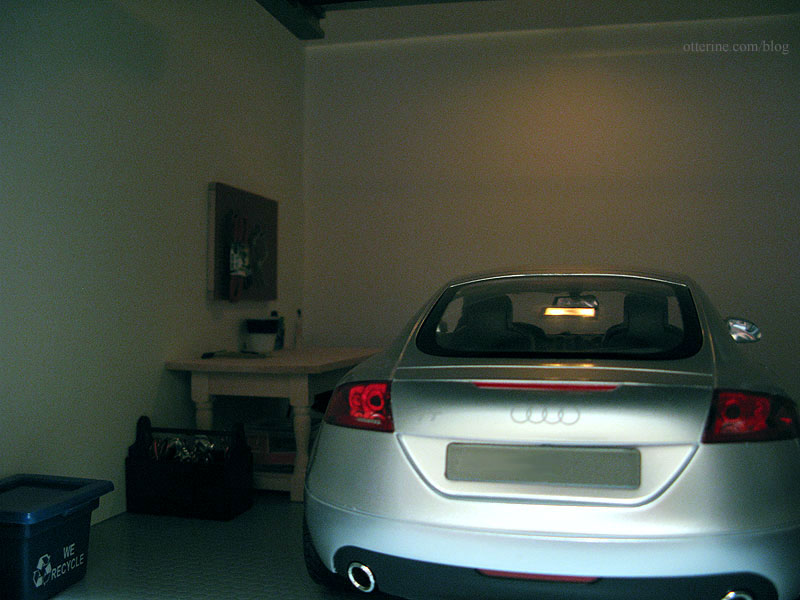
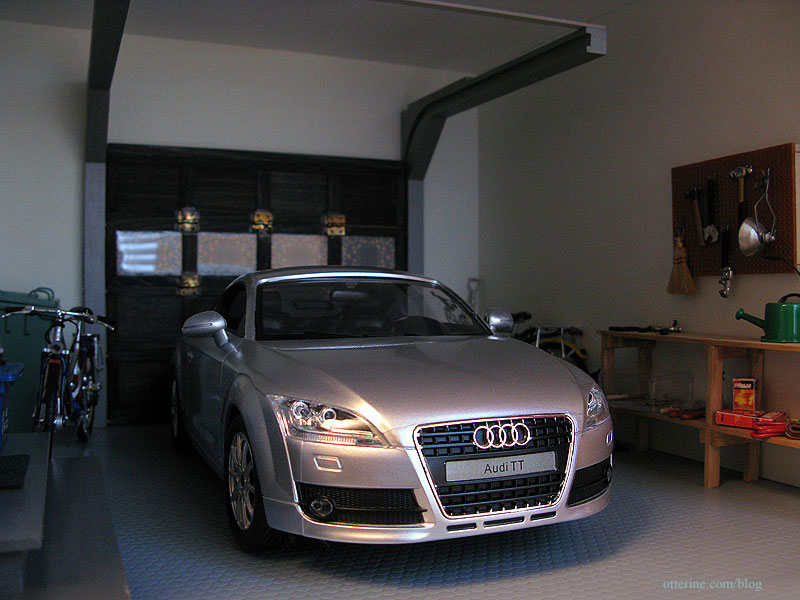
Remote control Audi TT – 1:14 scale – purchased model
—————-
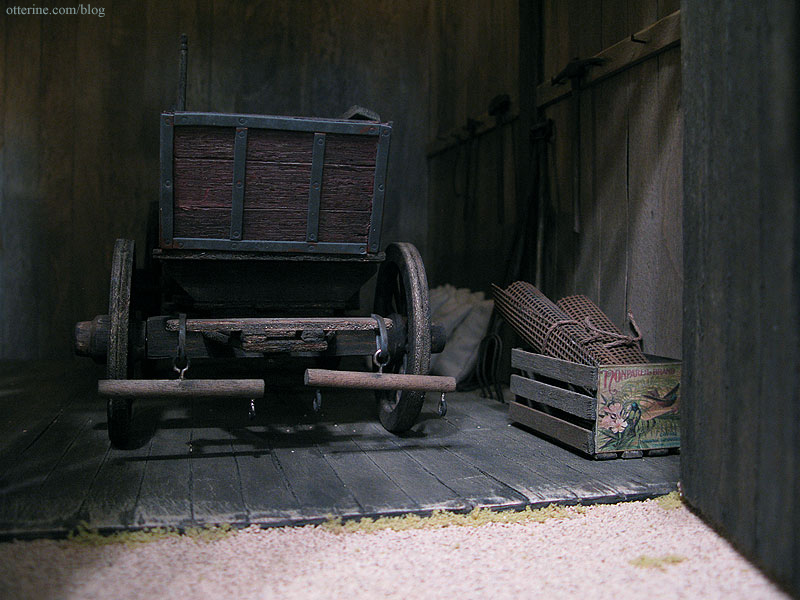
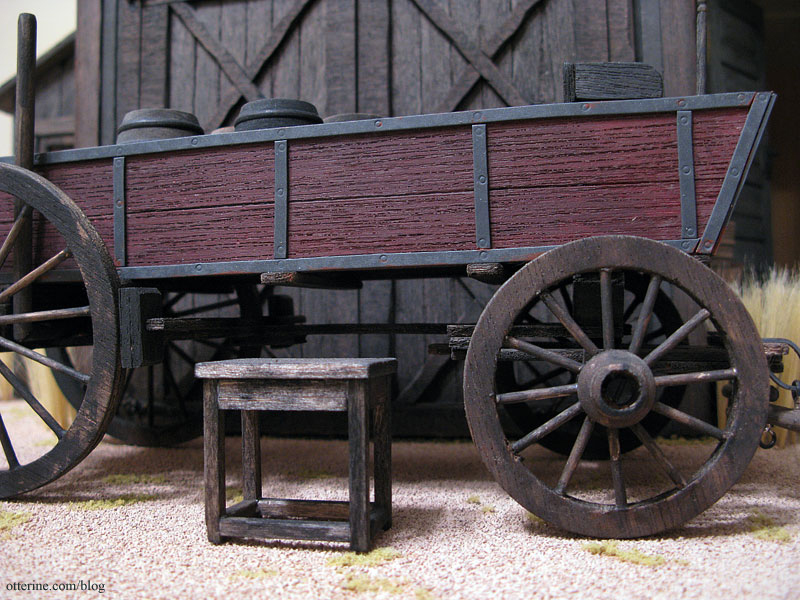
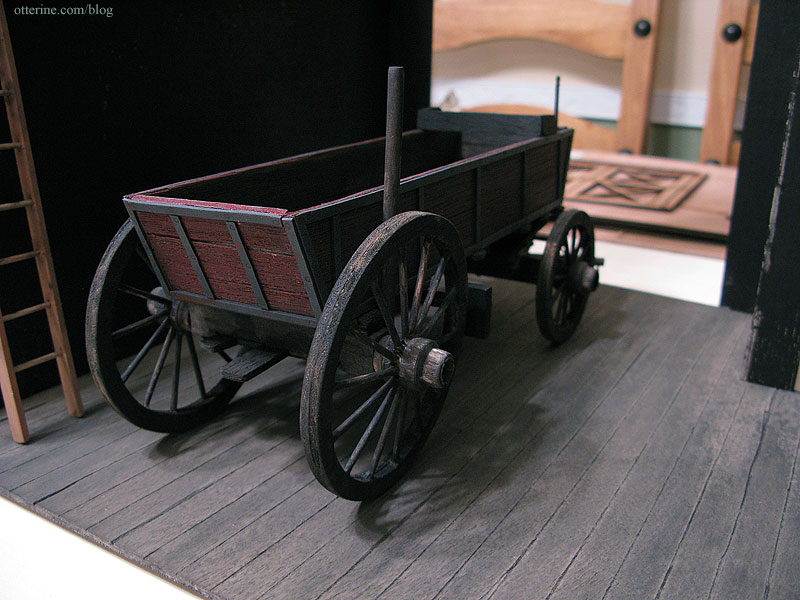
Baslow Ranch Farm Wagon – built from a covered wagon kit by Allwood
—————-
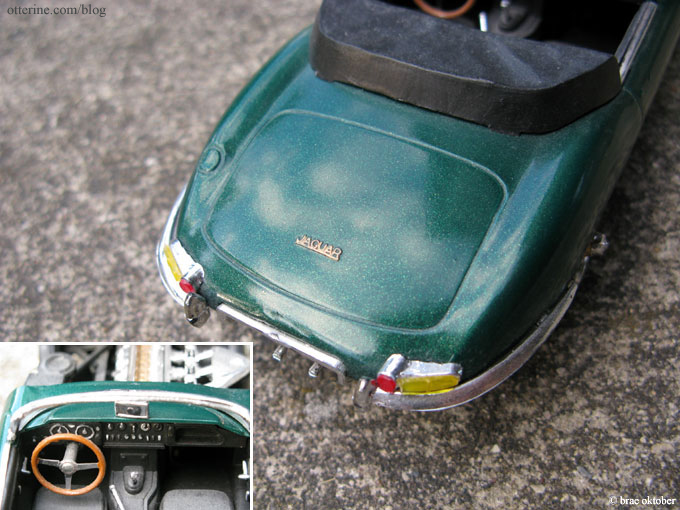
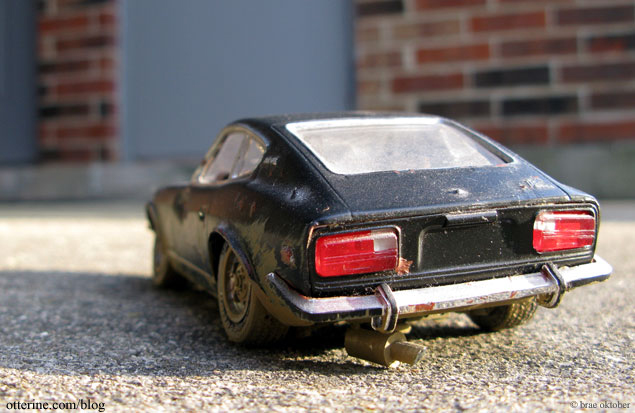
The wayback machine — this post features three model cars from many years ago, all in 1:25 scale.
Jaguar XKE
Volkswagen Beetle
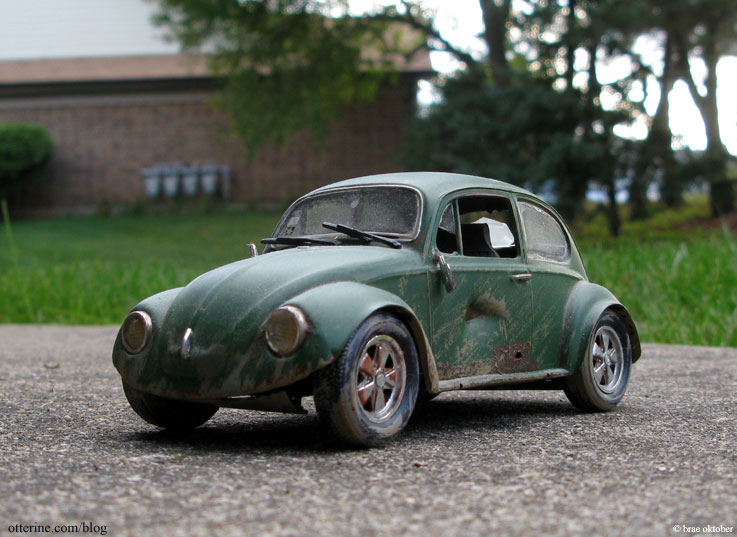
Datsun 240Z
Categories: Model Cars, Vehicles
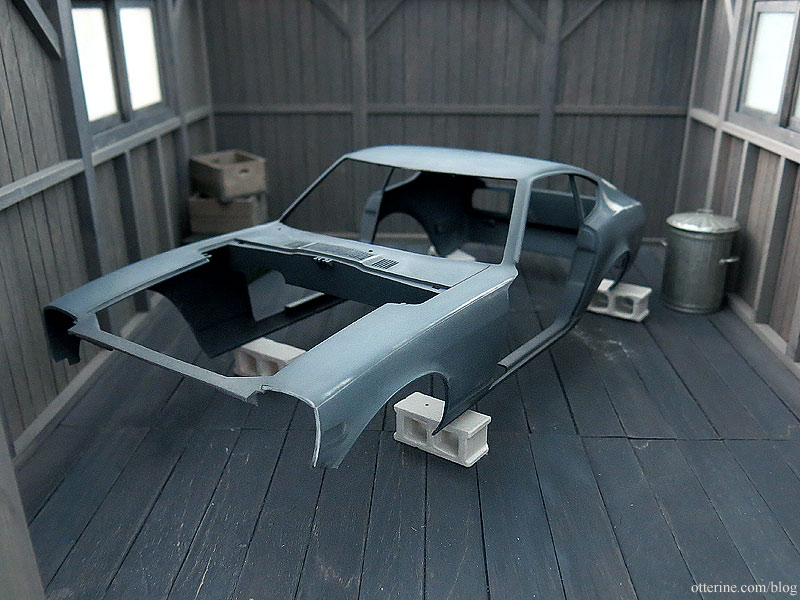
October 10, 2016 | 0 comments1913 Model T Van – part 2
Continuing work on the Model T Van. Making models showroom new is not easy, at least not for me. I can age and wear anything down with ease, but new takes time, effort and luck. Gloss is also not an easy finish to achieve, but with a newish truck I have to give it a go. I’m going for a vehicle that is a couple of years old, so new but with some mileage and weather exposure.
Since I have two kits, I can test some techniques out on the spares. I spray painted the chassis flat black, keeping the flat black as is for the underside. For the top side, I used Krylon Short Cuts Gloss Black. I don’t make many things in gloss since it looks out of place in most miniature situations and I find the gloss paints go bad more readily, so I buy the small cans of paint. Krylon was on sale, but I do think paints designed for model cars are worth the cost, too.
My spare chassis ended up with better gloss but lots of orange peel texture due to old paint (lesson learned the hard way). The body paint was even worse, which is why I ended up with two kits. Right now, we’re dealing with the chassis. The second attempt with a new can was nearly perfect in coverage but a bit dull over all. Still, this more even finish helps a lot for getting the rest of the way there.

If you don’t achieve good gloss the first time, you can salvage the pieces by wet sanding between paint coats using super high grit papers. I picked up a set of Micro-Mesh Sanding Sheets that includes 3″ x 4″ sheets of 1500, 1800, 2400, 3200, 3600, 4000,6000, 8000, and 12000 grit. They might seem pricey but will last a long time with good care.
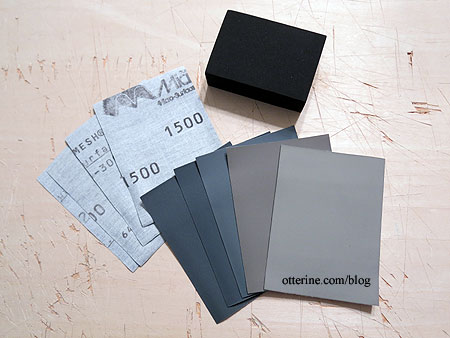
The set came with a block that you can use to hold the papers, which have more of a cloth feel than regular sandpaper, but I used them on their own.

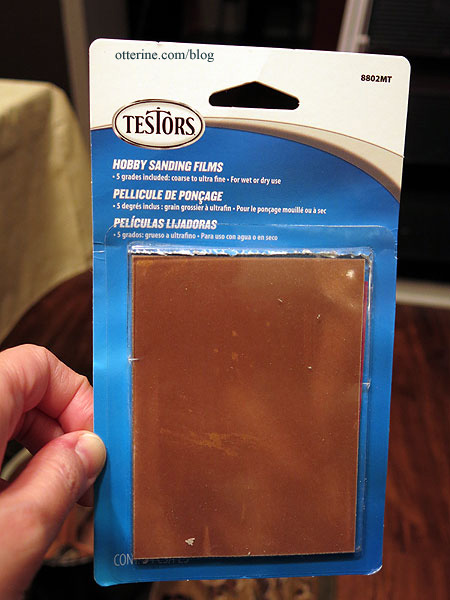
I also like Testors sanding films for when you need a bit more oomph, say for drips, trapped dust particles or crud stuck in crevices. I tend to use the red (600 grit) the most.
I dipped the papers in water to wet sand. It is recommended that you be careful to stay away from raised areas where you would strip too much paint, but this process is more forgiving when the plastic is molded in black, primed in black and then painted black. I started with 6,000 and worked through 12,000. This mainly took out any dust particles and smoothed the surface.

You want to make sure the piece is completely dry and free from dust before painting again. Better. :D

After a couple of days drying time, I did the wet sanding process again this time with only the 12,000. I did use the 600 and the 8,000 on two areas where there were larger dust particles, though. Buffing with the 12,000 grit paper was time-consuming and hard on my arms and hands. :D I did each fender and the middle rails, not worrying about the textured steps on either side. I started to get tired and glanced at the clock. Holy hell, have I really been sanding this @#$%er for an hour?!! Yes, yes indeed.

For good measure, I lightly buffed the part for another fifteen minutes until I was sure a genie was about to appear. It’s not a perfect mirror finish, but it’s damn close for the effort (that’s the overhead light fixture reflected in the fender).

Since the chassis will soon be up in the assembly process, I decided to go ahead and polish the rest of the way. Touch-ups can always be done later, but it’s easier to work with the parts while they are separate.
I bought the Novus Plastic Polish Trio from The Container Store, of all places. You can buy this from amazon and also in larger sizes, but the 2 oz. bottles are perfect for small projects. The set includes #1 Plastic Clean & Shine, #2 Fine Scratch Remover and #3 Heavy Scratch Remover as well as polishing cloths. I used Q-tips in addition to cut pieces of the cloth due to the shape of the fenders.

The instructions indicate to use #1 to clean first, but I used it in between the steps as well to remove any grit or dust left behind. I used #3, cleaned with #1, used #2 next and finished with another cleaning of #1.
I wouldn’t say it eliminated all scratches, but the surface has a waxed and buffed finish that seems more realistic for scale. It also didn’t take nearly as long as the wet sanding process. If you’ve ever had a black car you know they never look as good as when they are new unless you spend countless hours waxing to remove scratches. I’m just glad I’m not making the whole van black.
It polished closer to the raised details that I couldn’t reach with wet sanding, so that was a positive for sure.
It’s just a tad more mirror-like as well – minimal halo effect reflecting the stove clock. :]

Categories: Model Cars, Vehicles
October 9, 2016 | 0 comments
NOTE: All content on otterine.com is copyrighted and may not be reproduced in part or in whole. It takes a lot of time and effort to write and photograph for my blog. Please ask permission before reproducing any of my content. (More on copyright)