


NOTE: All content on otterine.com is copyrighted and may not be reproduced in part or in whole. It takes a lot of time and effort to write and photograph for my blog. Please ask permission before reproducing any of my content. (More on copyright)

Categories:
Tamiya tool set – part 1
I’ve started working on the 1:12 scale Tamiya tool set.

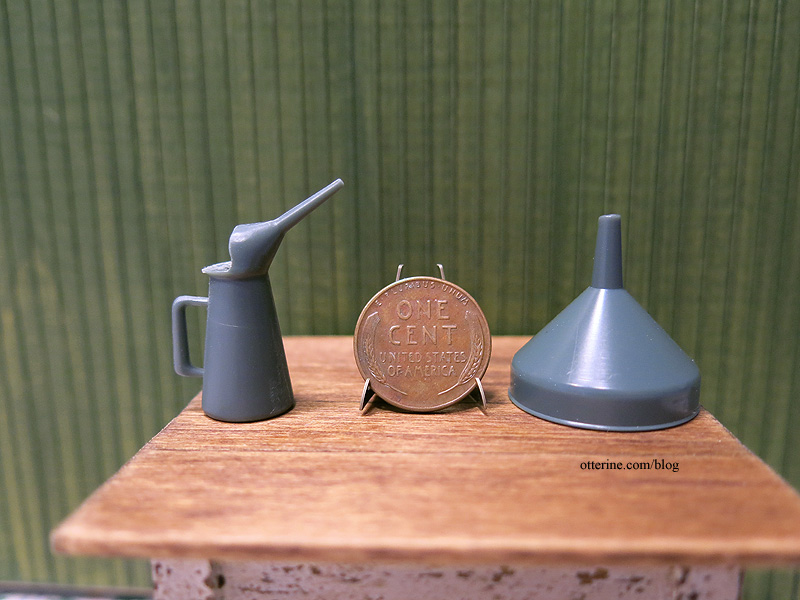
I might not make everything in the box, mainly because I already have better examples of these tools in metal and wood. The first bit of business is to remove the pieces from the sprue then sand or fill the imperfections.
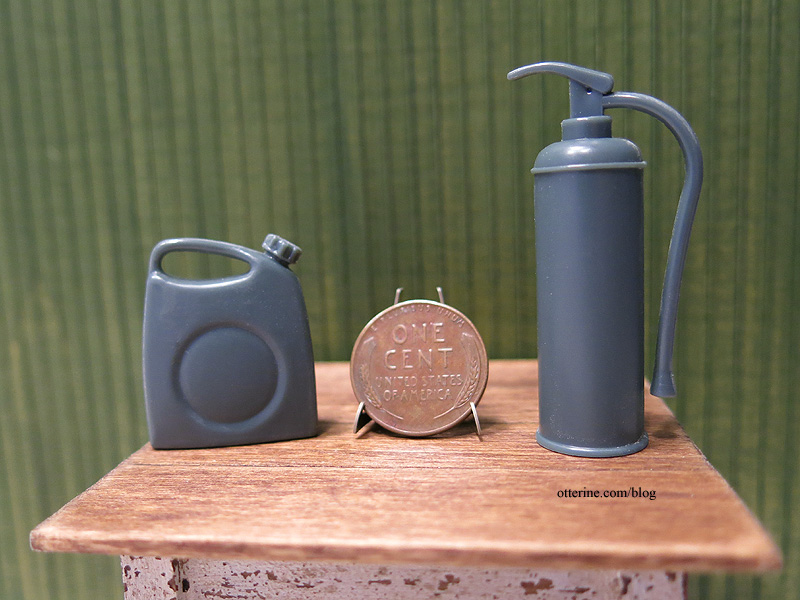
Many of the pieces are assembled with glue, so I’ve done my best to fill in the joins. I won’t know how successful I’ve been until after I spray on the primer. :] They are obviously visible, but they feel smooth and might disappear under the primer.

I’ll likely age these pieces, so that will give me some flexibility.
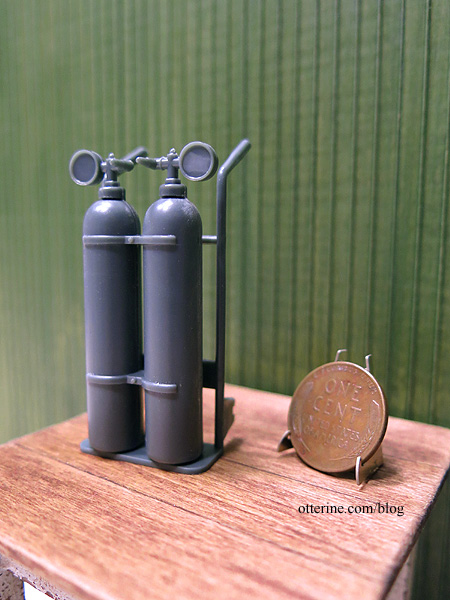
Depending on how the cart for the oxy-acetylene torch turns out, I might remake it in metal for better realism and weight. I plan to paint the wheels separately, so they are not attached to the cart yet.
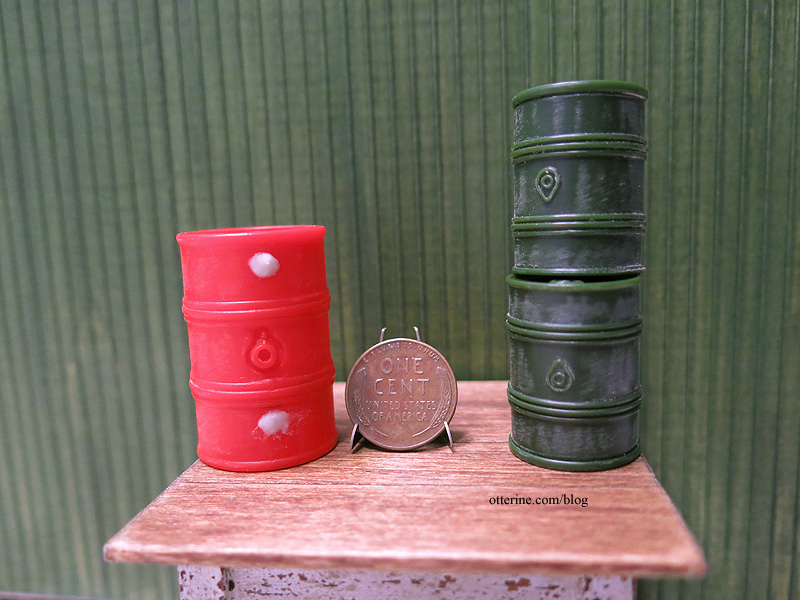
While I was at it, I’ve included the barrels from Bill. I’ve filled in a couple of holes in the red barrel with contour putty, which I will sand down once dry. I also removed the molded lines and injection marks. These have great detailing, so I hope the painting works out well.
Categories: Miniatures, Model Cars, Vehicles
June 9, 2015 | 0 commentsLicense plates in 1:12 scale
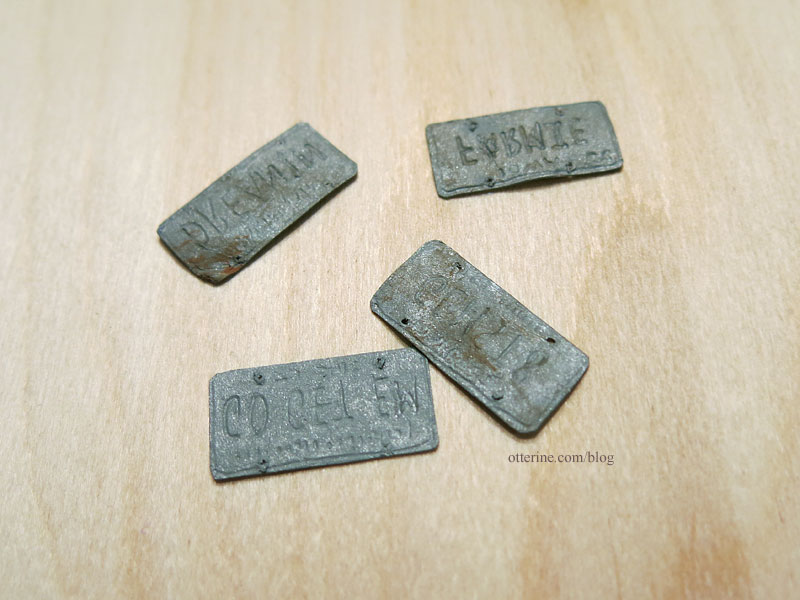
I’ve been trying out some new ideas for random farm junk and thought some old license plates would be appropriate for a barn find car. My first go around has been a success!

They are made from paper but look like metal with the embossed detailing. The letters are raised on the front, and the backs are metallic silver. They are somewhat flexible but need to be treated gently.
The GO GET EM plate is for the Datsun, so right now it is cleaner than the others. I will age it when I get to that part with the car. I also need to make another for a match set. :D
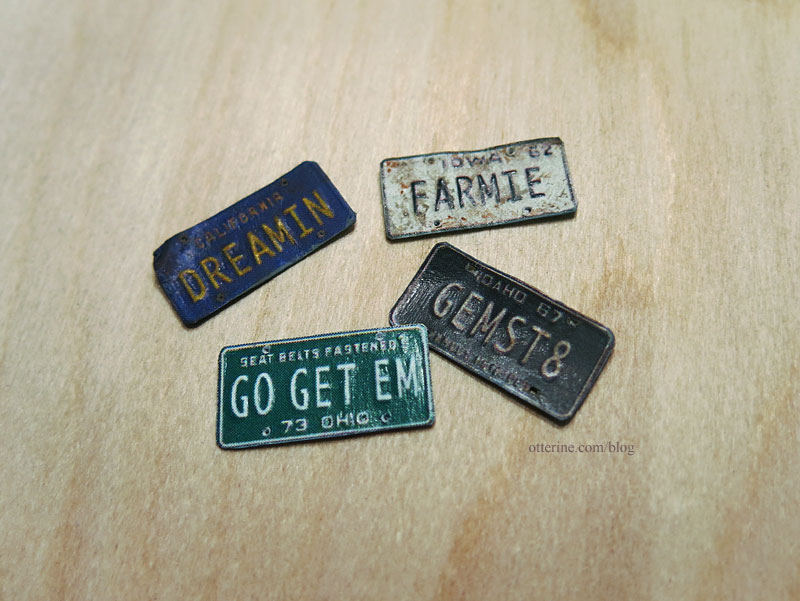
I’ve made a listing in my etsy shop for mini custom made license plates. There are some limitations for reproducing the plates in miniature. The image generator I use doesn’t have all years and some images work better than others, but with a good image I can try my best. The old tattered ones tend to look the most realistic as well. :D
Categories: Model Cars, Vehicles
April 4, 2015 | 0 commentsDatsun 240ZG – part 2 – color
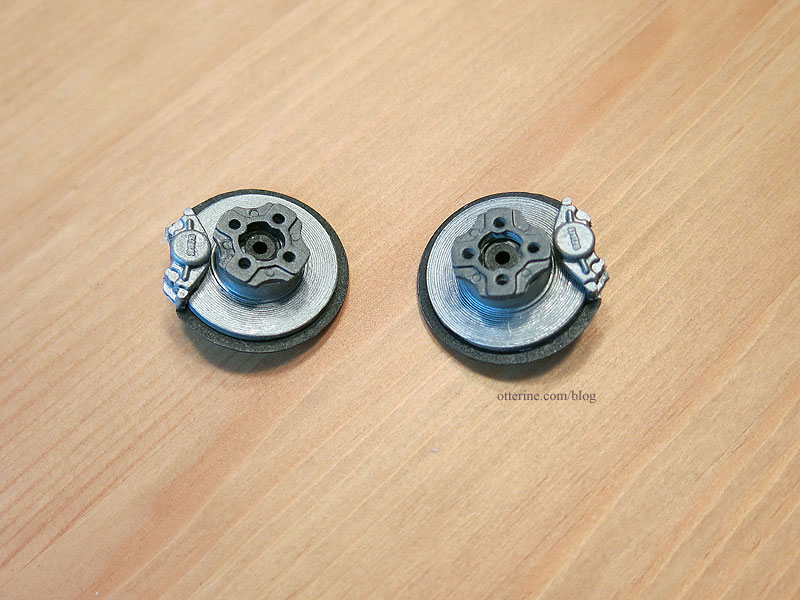
Continuing work on the 1:12 scale Datsun 240ZG by Tamiya. Once the front brakes are assembled, the parts are supposed to spin. Success so far! I’m mixing the different colors of metallic silver on the fly to achieve various types of metal. I think this adds realism even if these aren’t the truest colors for the parts. Obviously, these have not been dirtied up yet.
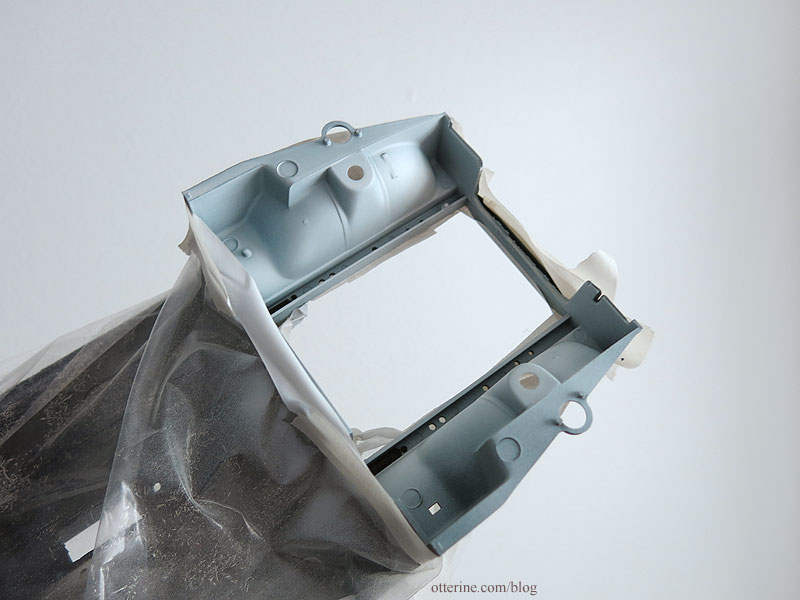
I spray painted the underside, wheel wells and engine compartment flat black. I then did a quick spray of flat grey in the engine compartment. I didn’t worry too much about overspray for the grey since this will be a grungy car when I’m done and grey will be part of the dirt process.
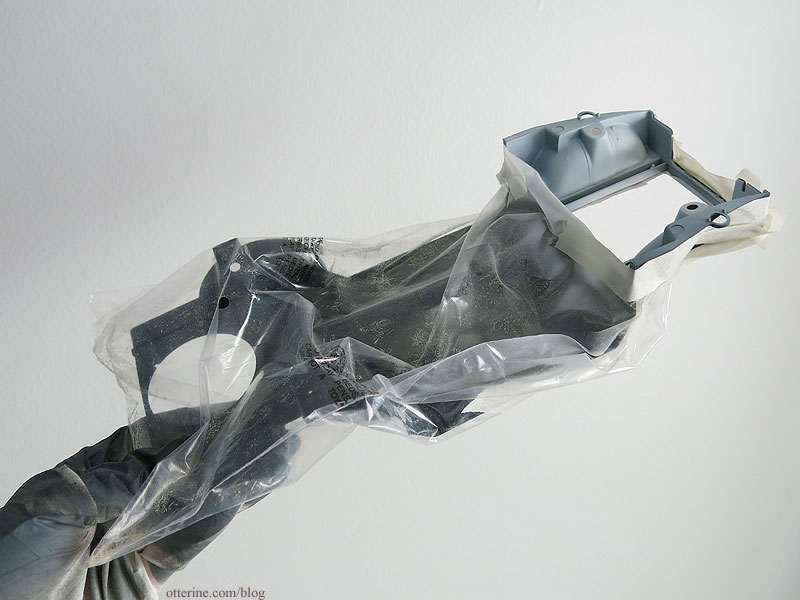
The engine compartment is supposed to be the same color as the exterior, however, so I needed to do some masking before doing that part. I used a bag to cover the majority of the molded chassis. I then taped off the wheel wells and front portions of the underside. I always wear a latex glove and hold pieces in my hand when spray painting for better control.
I sprayed a quick layer of flat white, not worrying too much about getting into the recesses. The black, then grey, then white layers will create some depth under the final paint color before I even get to the aging process.
Next up was the final coat of Testors Fiery Orange. Wow! This is one awesome color! :D
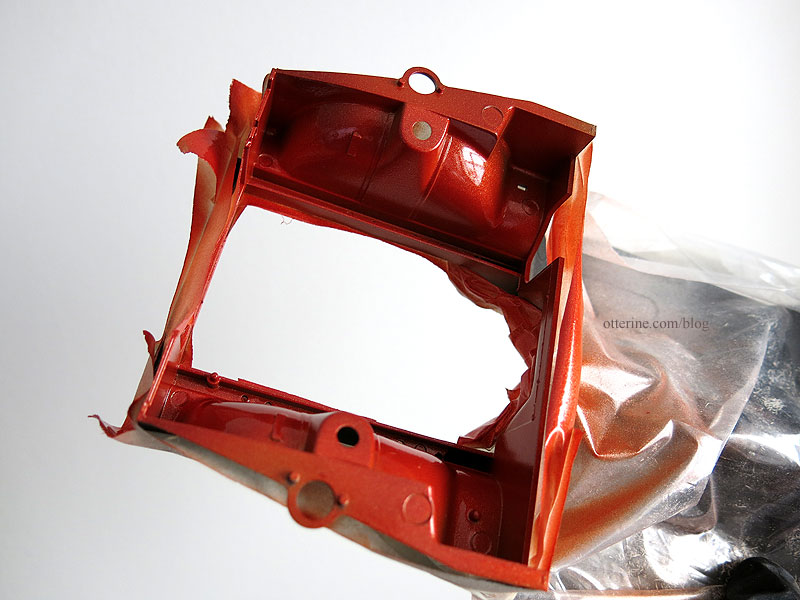
The engine compartment is now body color and the whole piece is ready for its place in the assembly.
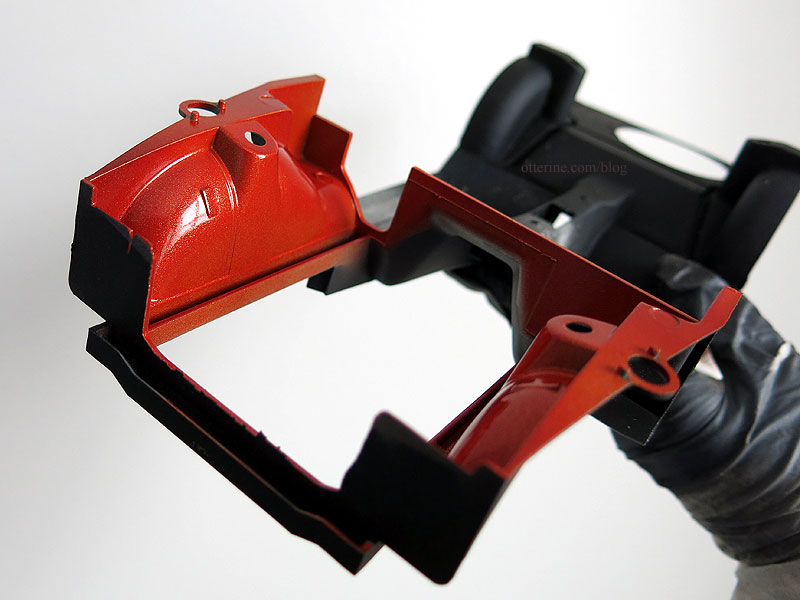
The nice thing about doing the engine compartment before painting the body is that I can try things out here. Even though this will be a barn find car, it’s better to experiment with the lesser seen places first. :]
Categories: Milo Valley Farm, Model Cars, Vehicles
April 2, 2015 | 0 commentsDatsun 240ZG – part 1
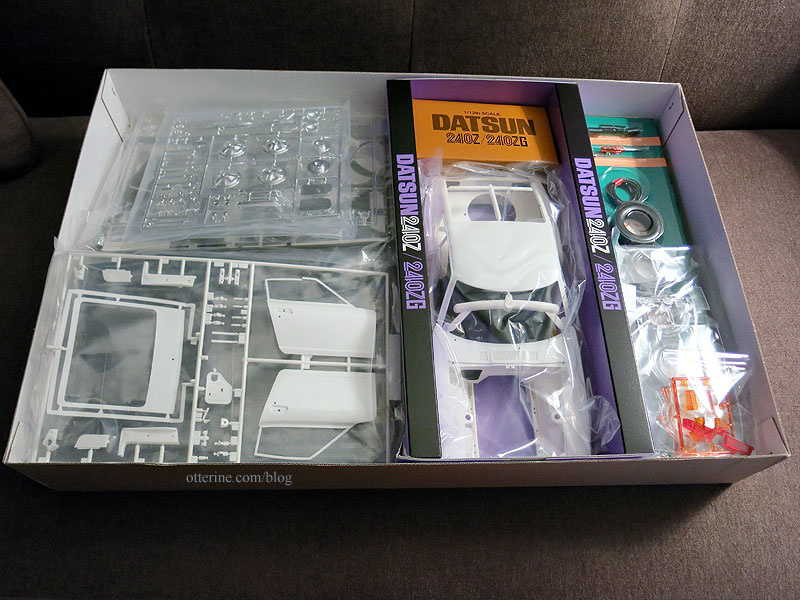
I’m going to start this build with a disclaimer: I am an artist, not a modeler. This is a very specific car, so be forewarned that I plan to take several liberties with it strictly for taste. I’ve scoured the internet and saved a bunch of photos of the real deal cars as well as some of the fantastic models done by top-notch modelers. There are some fantastic stock and modified builds out there, and I admire the dedication and thought that went into those projects. I will link to some these during my build. But, my end goal here is to create a barn find. How well-preserved or how dilapidated it ends up, who knows. One thing I do know…it won’t look much like the box art.
There are 14 sprues of parts with a smattering of other pieces. So far, I’m really impressed with this kit. I’ve not built a car this large, so the details are wonderful. There are also pre-colored light covers and rubberized parts beyond just the tires. I plan to build a complete model, but I’m not going to be a stickler for every last detail. I will be adding a few elements not included in the kit, though. A lot of this car will end up dirty, too, so some details will be lost in age and grime anyway. I will pick my battles. :D
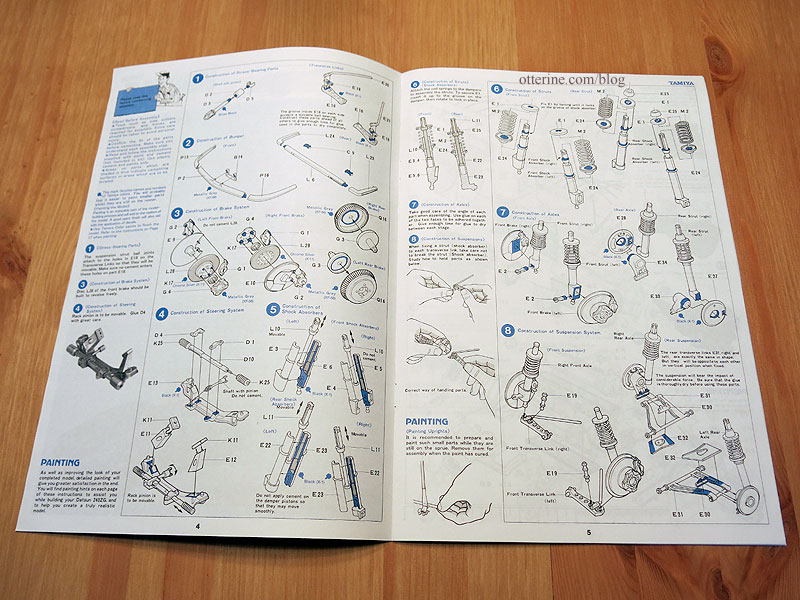
There are 14 pages of detailed instructions in building the model, one of which is the main body color chart.
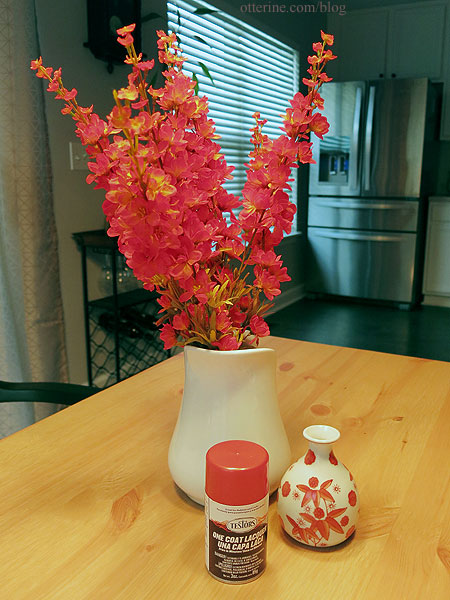
One of the first liberties I am taking is the body color. I bought Testors Fiery Orange. It’s a beautiful red orange metallic. It’s so lovely that I came so close to making this a well-preserved barn find. I’m going to have to spray *something* new in this beautiful color to satisfy that itch. I’m a fan of this color, just so you know.
If I were making a showroom new model, I would take more care to study all of the parts before priming. As it is, I primed whole sprues in a color close to their molded color. I like to work with primed plastic because I feel I can work more fluidly with colors and textures on a primed surface.
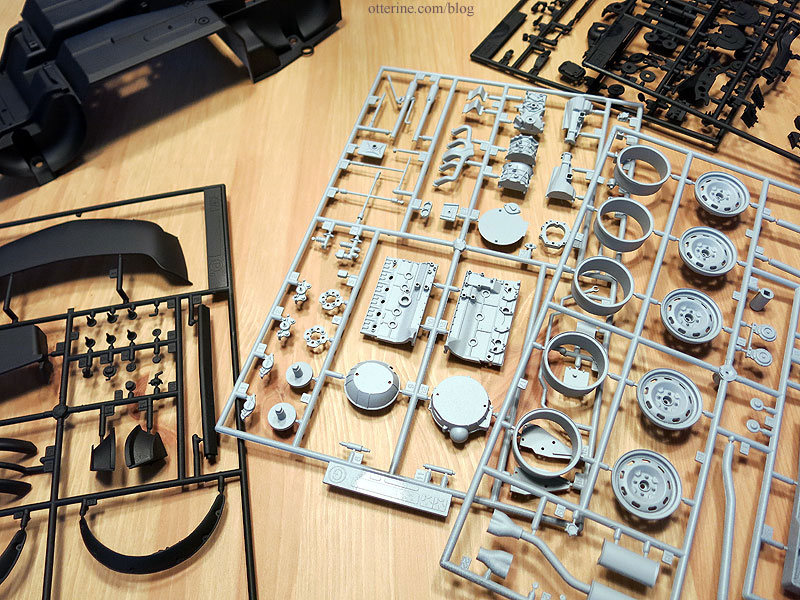
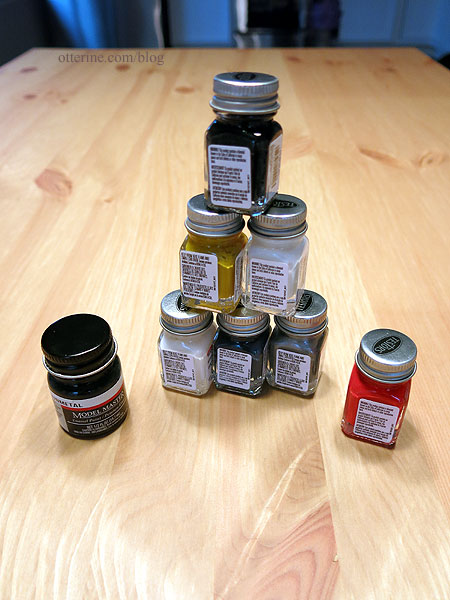
I bought a bunch of Testors bottled paints (plus one Model Masters) and have a few brushes on hand to start. No reason for Testors other than I like their paints and have some already in my stash. I will also be using craft paint acrylics.
I won’t be detailing every step of the build here on the blog but will post updates along the way. I’ll also make a recap post with links to the various steps as I get further along. So, that’s where I am now…primed sprues, instructions opened to step 1, sample photos ready.
Categories: Milo Valley Farm, Model Cars, Vehicles
March 22, 2015 | 0 commentsMilo Valley Farm – cars and scale
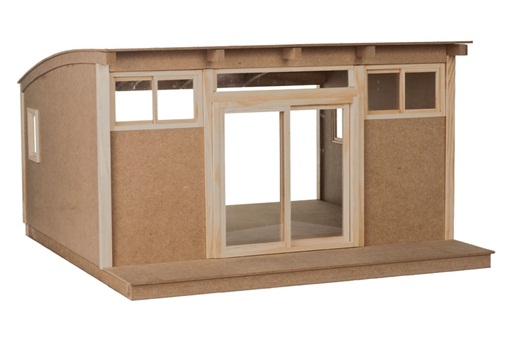
Whenever a contest build comes up, I often end up with two good ideas that are completely different and I have to choose one direction or another. Such is the case with the HBS Creatin’ Contest this year. I bought the kit for Denise’s City Cottage and have been working behind the scenes on my contest entry following one of my two ideas.
But, the other idea will now see the light of day thanks to HBS! They’ve kindly offered to send me a kit so I can blog publicly about my build. Now, this public build using the free kit won’t be entered into the contest to keep it fair to those who have purchased the kit to enter. But, my secret build will still be entered since it has already been started from the kit I purchased at the beginning of the year.
So, what’s the idea? A barn find! Here are two great examples of the look I’m going for: a 1961 Jaguar E-type and a 1952 Barn Find Cunningham C-3 Coupe #5209. Barn finds can be quite sad looking at first sight but turn into cash cows and museum gems.
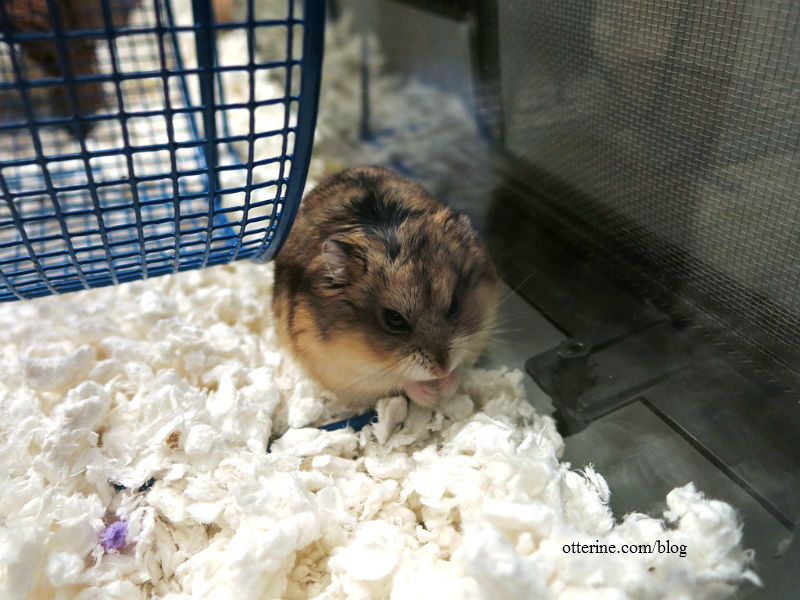
I’ve named this build Milo Valley Farm after my current hamster friend.
I found a great deal on a 1:16 scale Karmann Ghia, but it was in the UK. Pepper was kind enough to help me out, and the kit arrived in quick fashion.
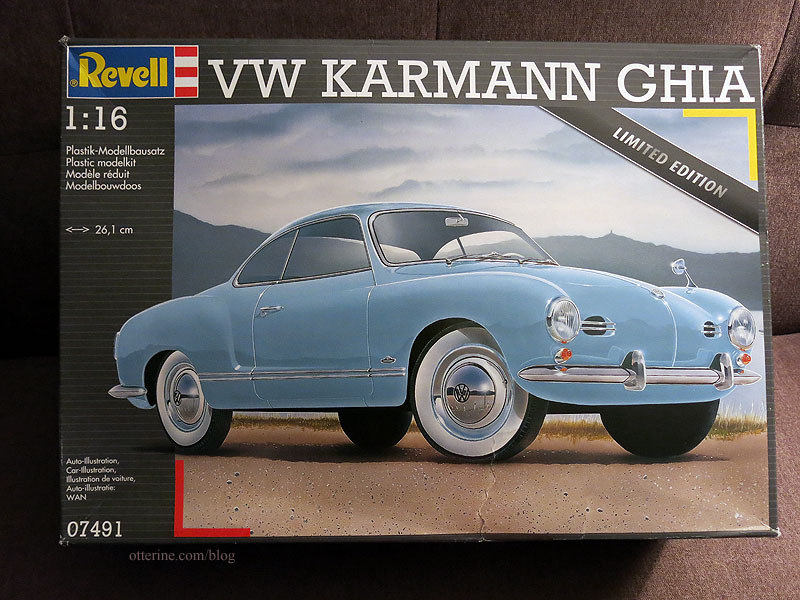
As big as the box is, the car itself is just a bit too small for the building. It leaves too much space to fill. I don’t want the barn to look like a flea market…the car should take center stage for the interior.
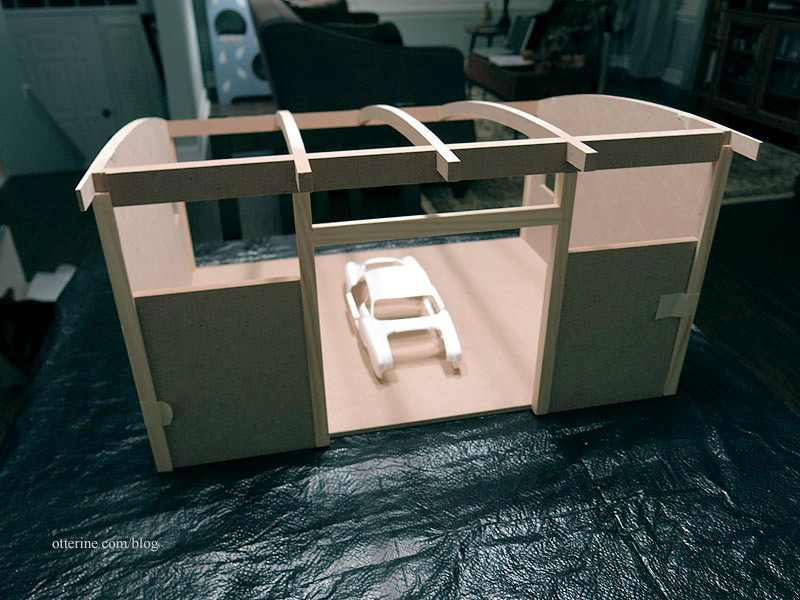
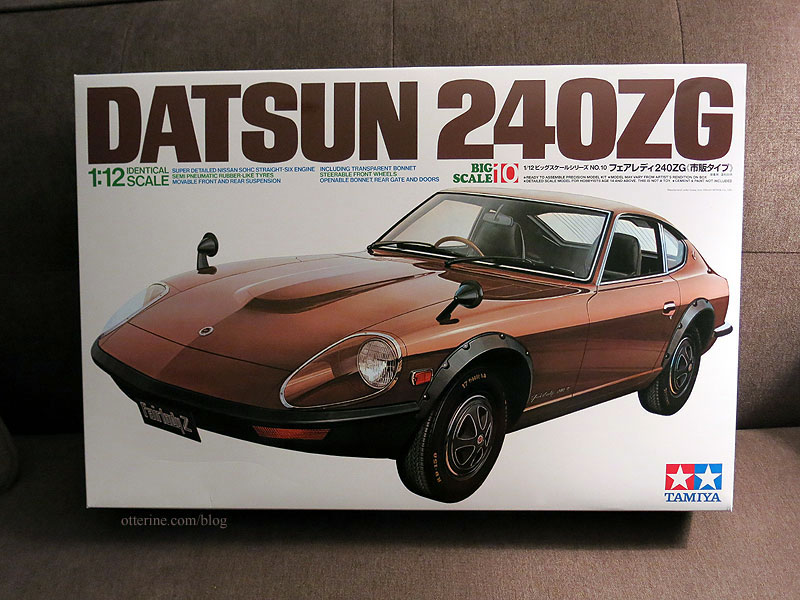
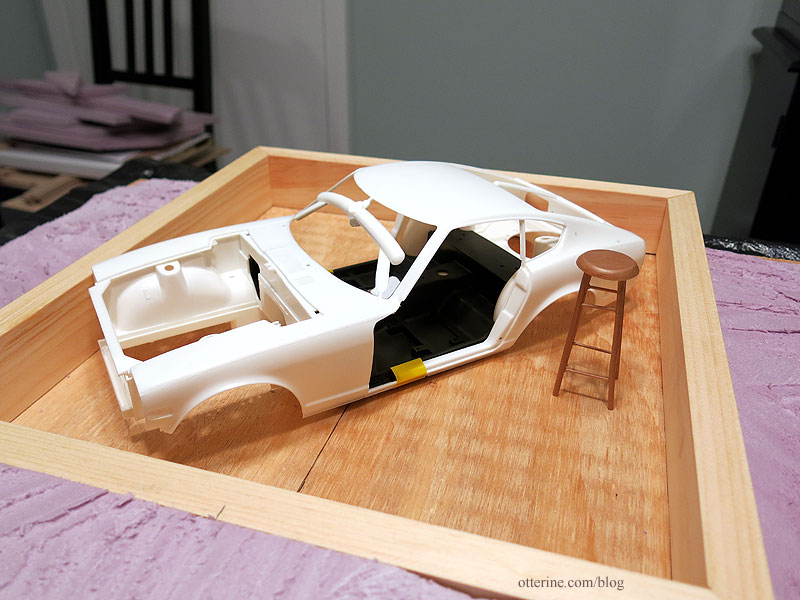
In truth, a 1:12 scale car works best inside a 1:12 scale garage. Makes sense, no? To that end, I chose a Datsun 240ZG. This is a 1:12 scale kit by Tamiya, and they can be pricey. I wouldn’t say the kit was cheap, but VRC Hobbies had a non-scalping price for it.
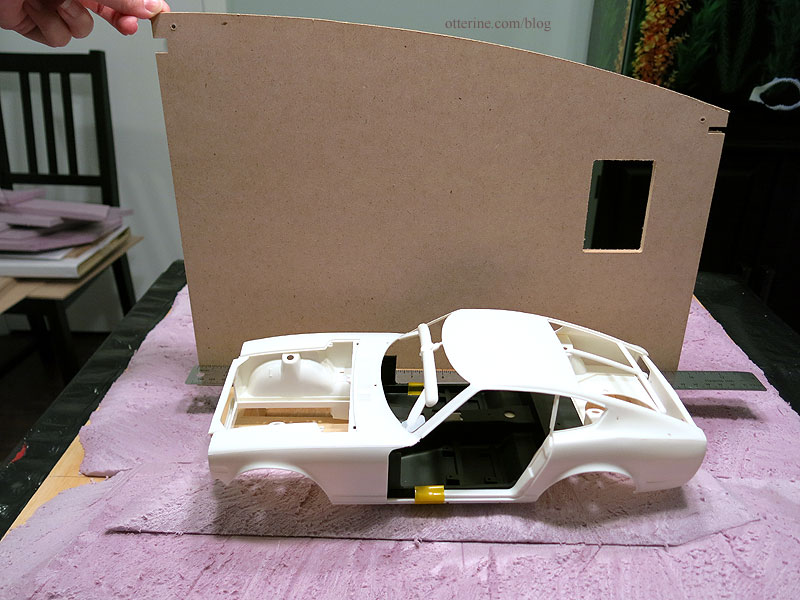
The 1:12 Datsun will be roughly 14.25″ long according to the info I’ve been able to find online. The interior depth of the kit is roughly 15.25″, which is not a lot of wiggle room. It looks fine here because the front end isn’t attached to the model yet.
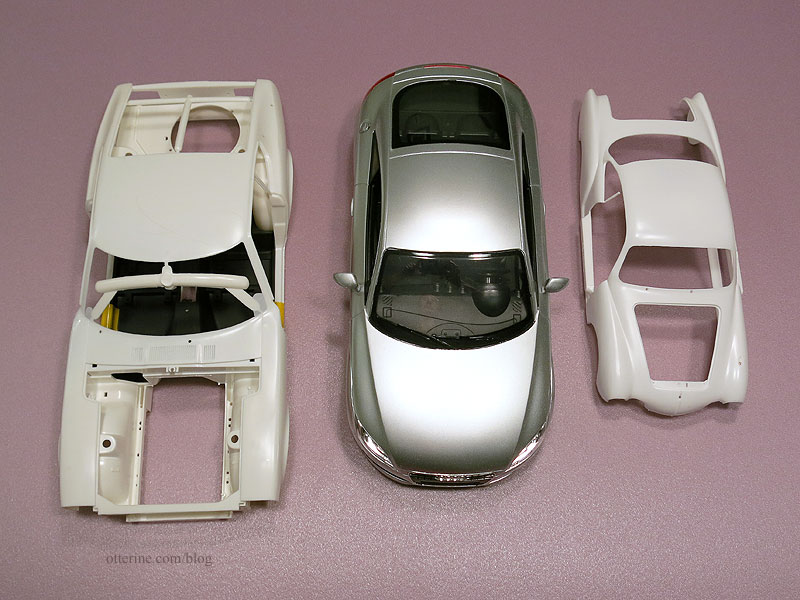
The 1:16 Karmann Ghia is better for depth with the side wall, though not necessarily for height.
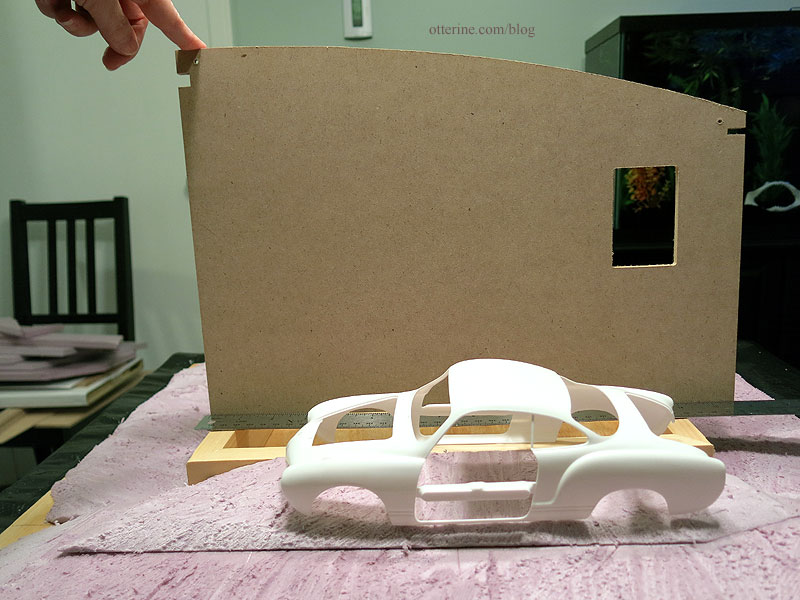
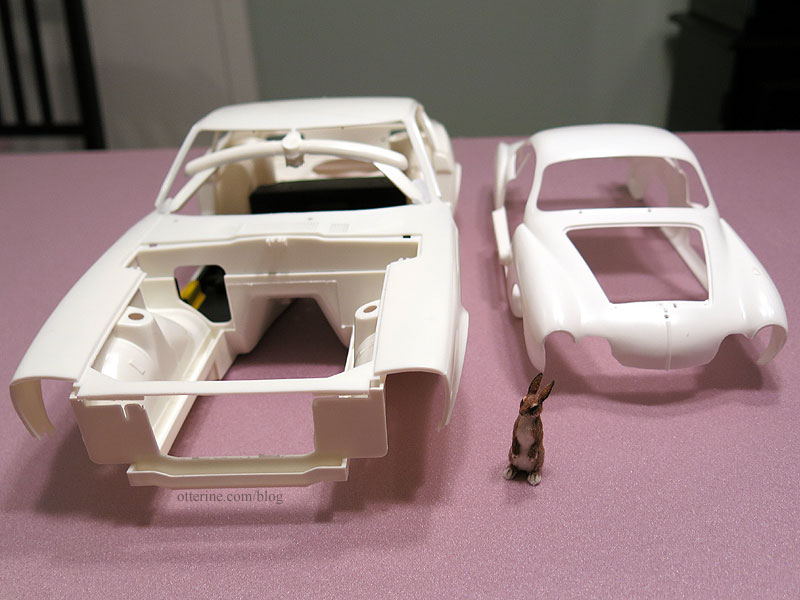
Once you add 1:12 scale items next to it, it fails the test completely. I don’t want to make everything else in 1:16 scale when I can just add a little depth to the kit.
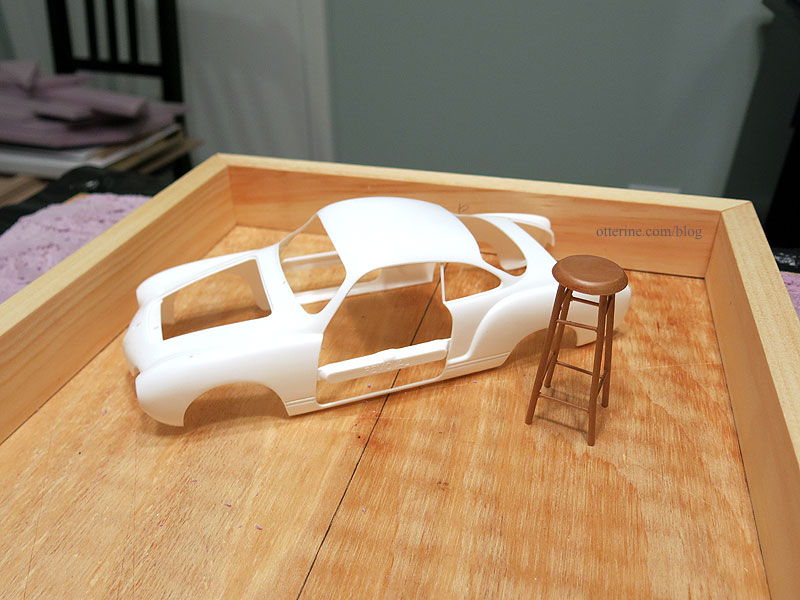
Better.
Looks like the 1:14 scale Audi TT would be a great happy medium, but it’s not a kit, too new to be a barn find and not something I want to wreck besides. As far as I know, there are no 1:14 scale model kits.
So, the Datsun wins! :D Friedrich approves.
I also picked up a 1:12 scale Tamiya kit with various tools on eBay.
Is it wrong that I got all giggly about having an oxy-acetylene torch in miniature? :D

Categories: Milo Valley Farm, Model Cars, Vehicles
March 11, 2015 | 0 comments
NOTE: All content on otterine.com is copyrighted and may not be reproduced in part or in whole. It takes a lot of time and effort to write and photograph for my blog. Please ask permission before reproducing any of my content. (More on copyright)