
Miniature cinder blocks on a pallet
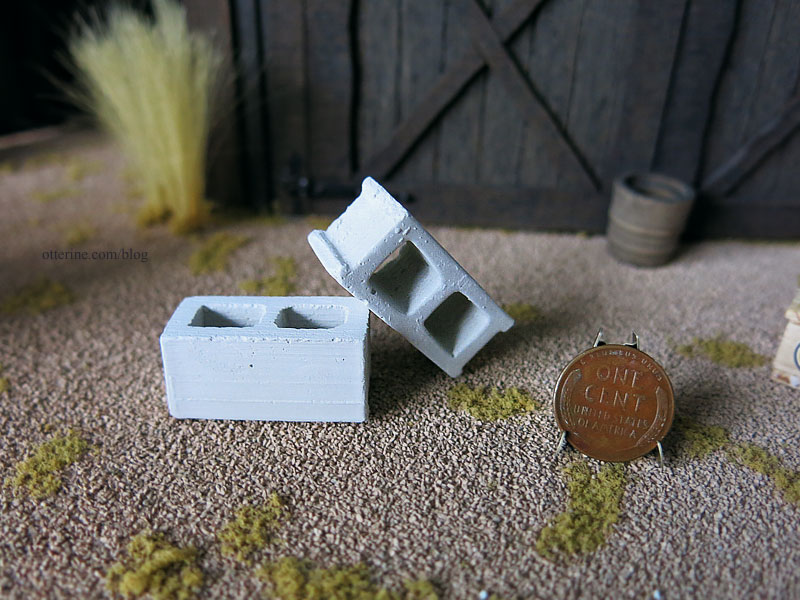
I was recently contacted by the folks at Mini Materials offering me a free sample of their miniature cinder blocks to try. Quite awhile ago, there were some cinder block fridge magnets for sale elsewhere but I missed out on those. I was overjoyed to know Mini Materials was making the real deal in 1:12 scale with no pesky magnet I would need to remove. They sent me a 24 pack on a wood pallet and a bag of loose broken blocks.
Awesome possum. April used that expression recently, and I have to say that perfectly describes these miniature cinder blocks. :D
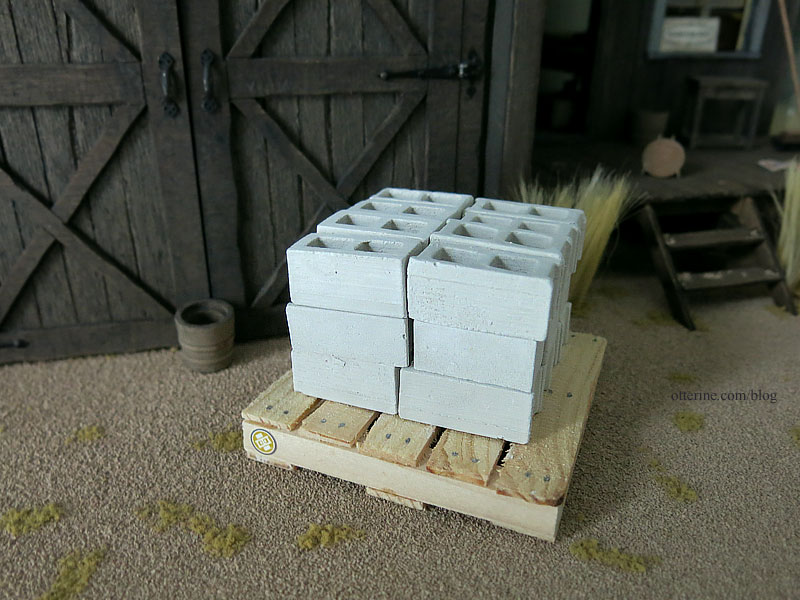
The 24 blocks come on a wood pallet…also awesome. :D
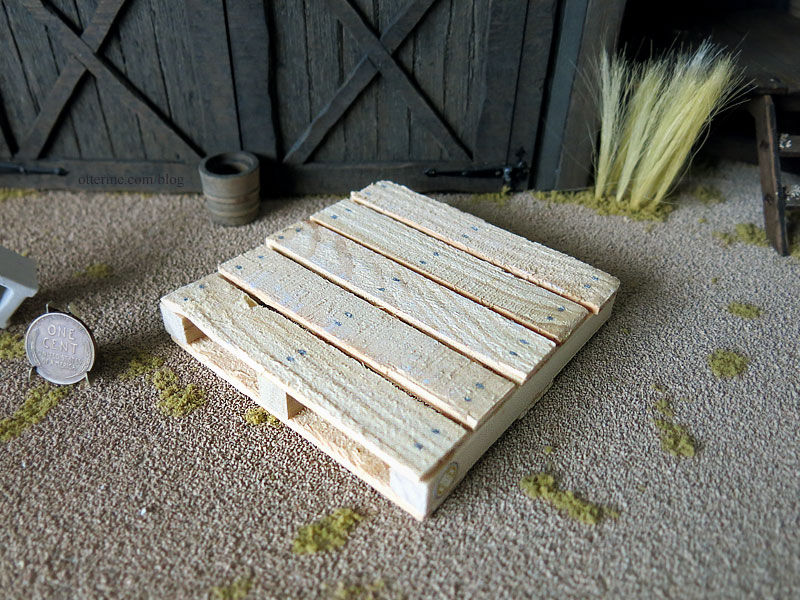
Yes, you can buy the pallets alone.
They even sell the random broken bits, which I think is brilliant. If you’re doing an old scene, like Milo Valley Farm, having broken bits is especially useful. Cuts down on waste for them, too.
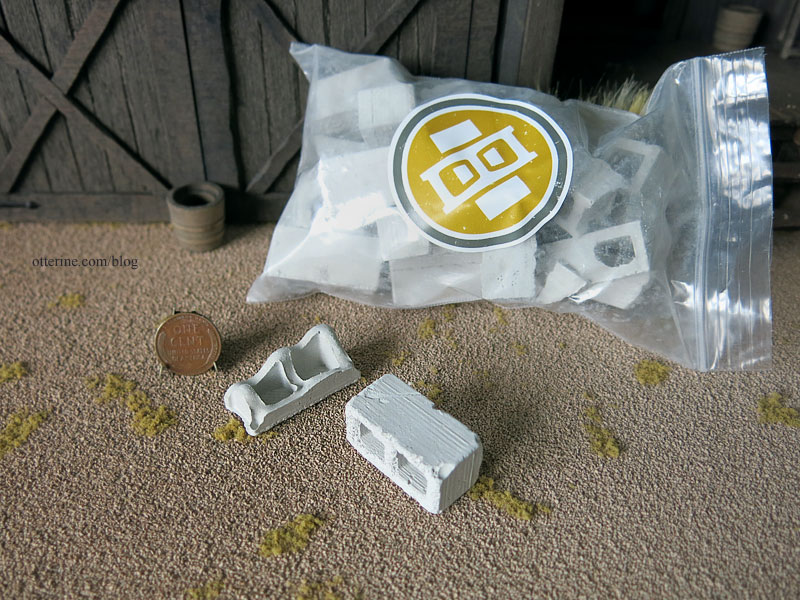
The pieces were well packed.
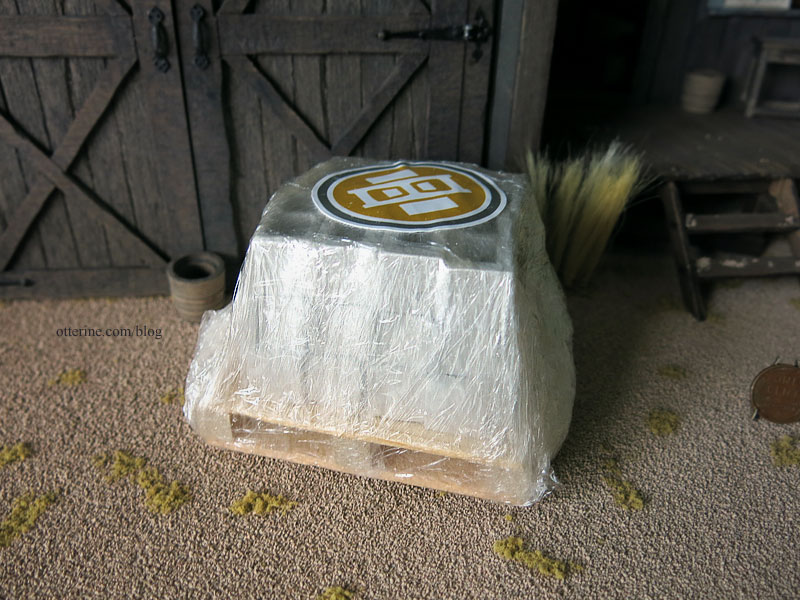
Thanks so much, Mini Materials, for sending along the blocks and pallet. I already have some ideas spinning. Who wants me to leave off a wheel on the 240ZG and prop a block under it? How else will I show off the fabulous work on the inner wheel parts?
Categories: Miniatures
April 15, 2015 | 0 commentsArjen Spinhoven Miniaturen
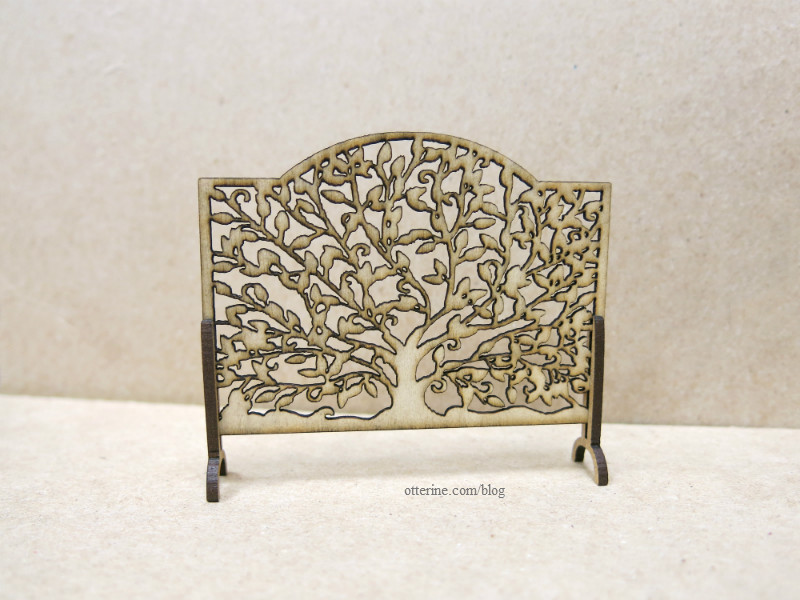
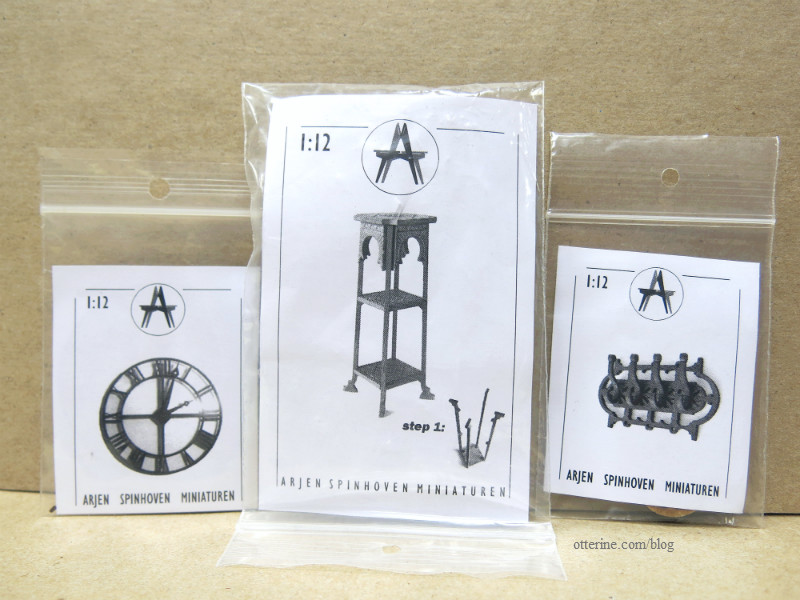
I apologize in advance to your wallets. I recently discovered a new kit supplier Arjen Spinhoven Miniaturen and all I can say is, “Wow!” Even if you resist spending the cash, you will be spending plenty of time admiring the beautiful offerings. He has a direct website and an etsy shop.
Tree firescreen
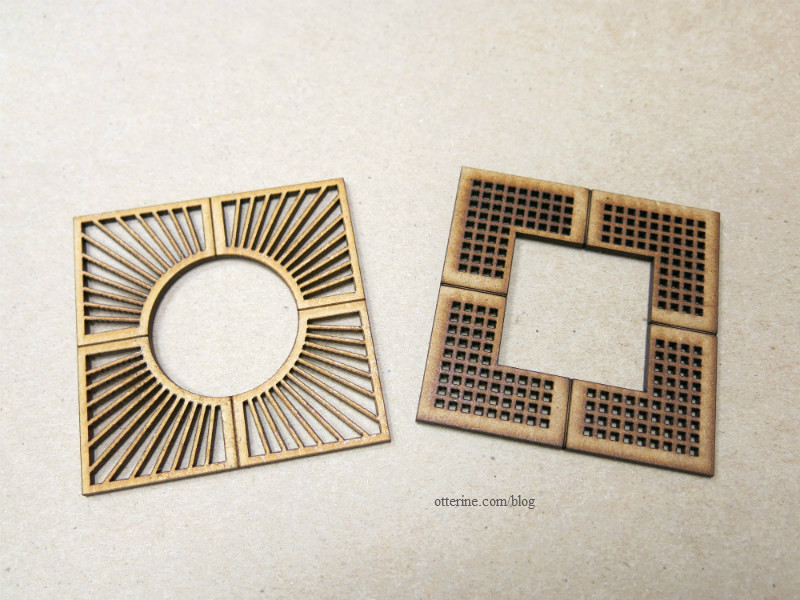
Tree surrounds in bar square and square holes.
Arts & Crafts table and chairs kits.
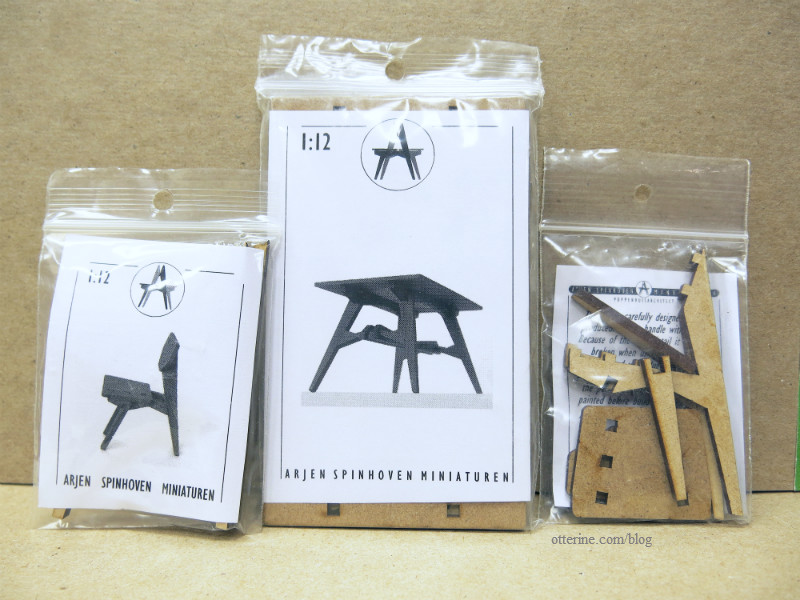
Plant stand kit – Clock – Coat rack.
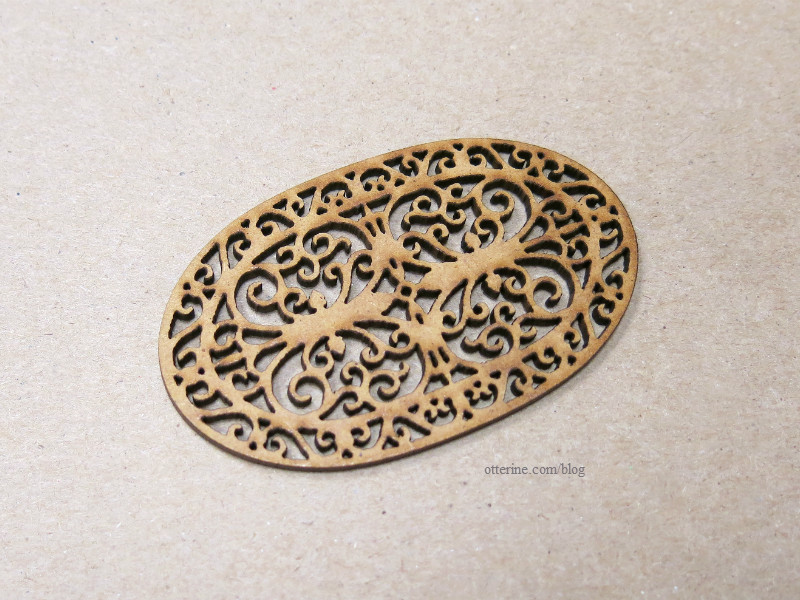
Oval doormat
Categories: Furniture, Miniatures
April 13, 2015 | 0 commentsGriffin box
I’ve been busy with other things, but tonight I had a little time and the itch to make a mini. I went into my box of small kits and took out the griffin box from Lisa’s Little Things bought at one of the local shows.

The pieces are already separated and ready for assembly.

I assembled the lower box and then brushed on Liquitex silver paint. The instructions recommend a sponge brush and lightly sweeping across the raised areas. I was so-so at it. I got a little silver on the inner portions.

I added a red paint wash to the recessed areas to bump up the richness of color. After the painting, I glued the top in place.

It’s a great kit and super easy to put together. The results look very rich.

Categories: Miniatures
February 24, 2015 | 0 commentsPhotos in a sleeve
This is a project I’ve wanted to do for a few years now and just got to it. :D
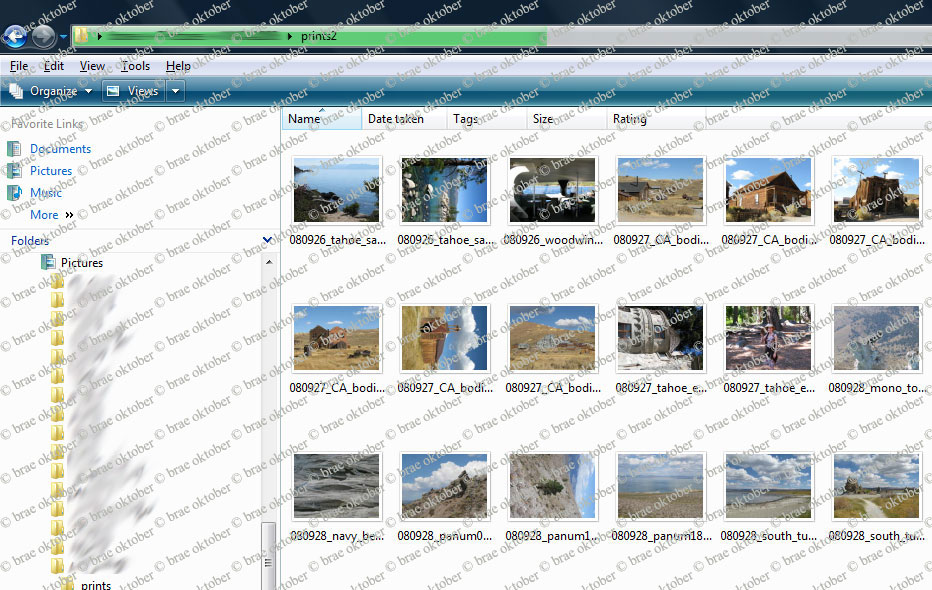
I found a great photo envelope online, though I plan to make up my own version when I get the chance. As for the photos, they are my own from a trip to California and Nevada back in 2008. I opened Windows Explorer and chose the “large icons” view. This gave me many photos on the screen already sized small. I did a screen capture/snippet and cleaned up the image in PhotoShop. This image shows only a portion of the capture.
I printed the envelope and the photos in Word, using Word to resize them to the final measurements.
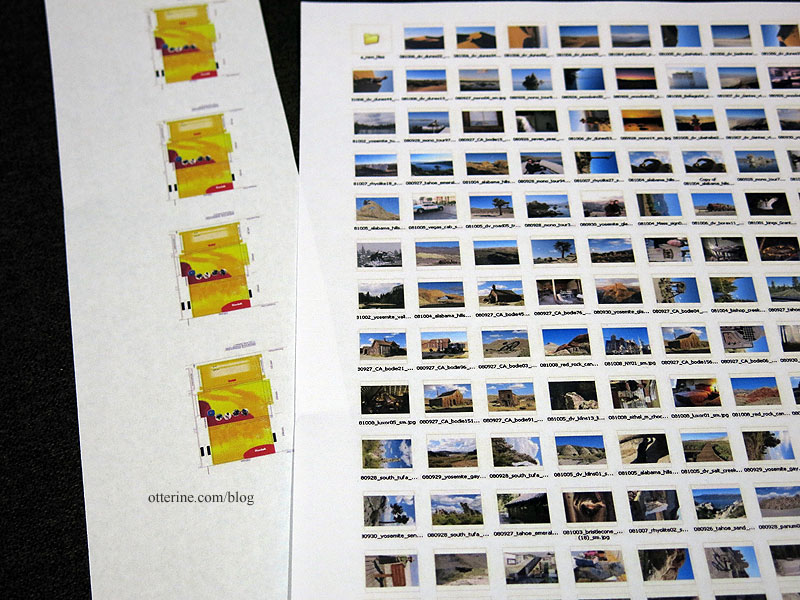
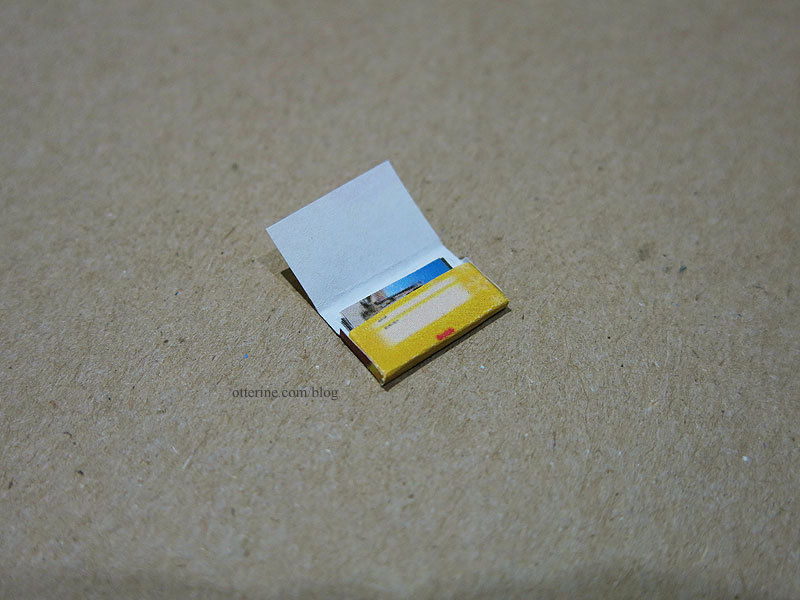
I folded the envelope, gluing the sides. I wasn’t especially careful with it since these are never perfect in real life.
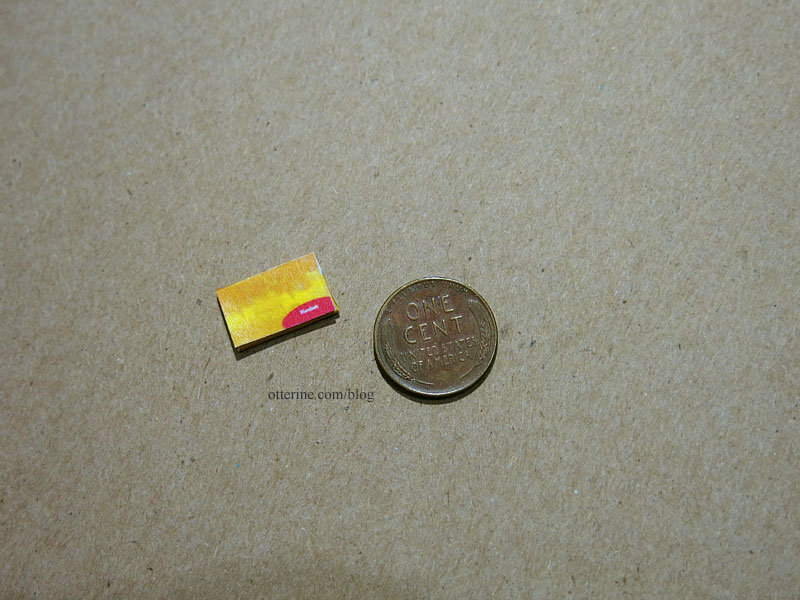
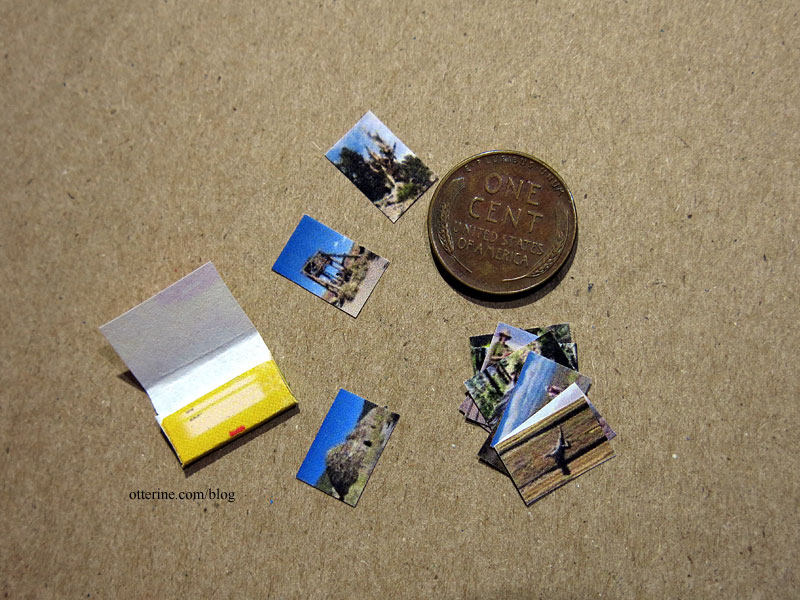
I cut twelve photos to fit inside the envelope.
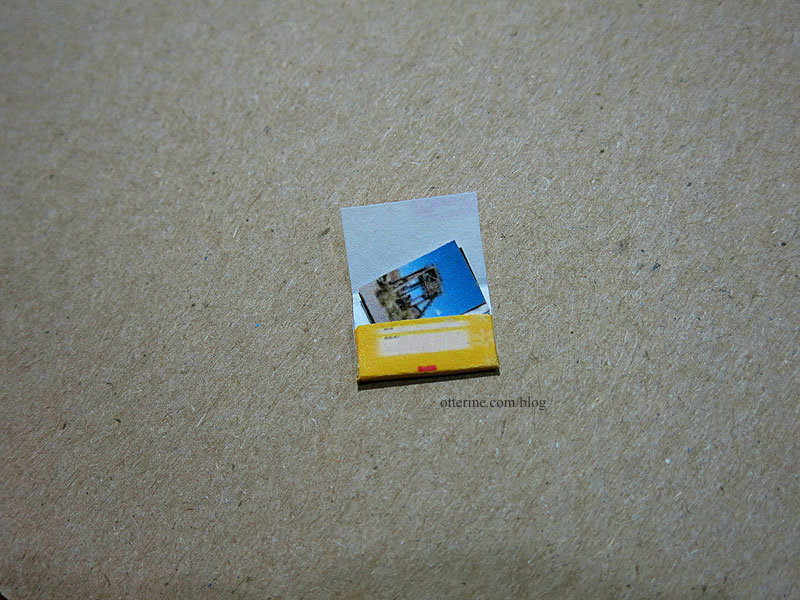
They stay put without having to be glued in place.
This way, they can be taken out and placed in a vignette. :D
Categories: Miniatures
January 14, 2015 | 0 commentsSpin cycle
I’ve always dreamed of building a mini mudroom with a washer and dryer, and now I have the perfect set, a generous gift from Barbara.
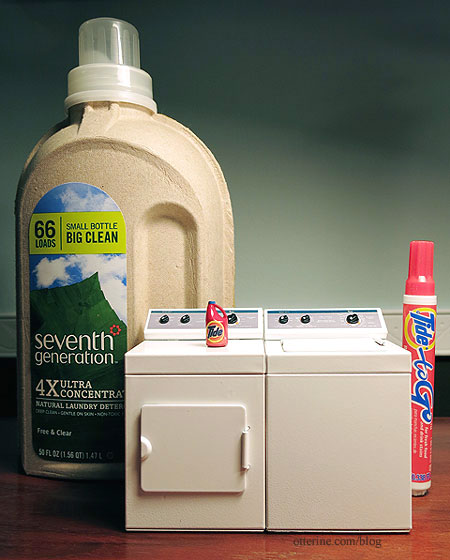
The set is by Town Square Miniatures, designed by Mary Beth Tumlin. In the package was a tiny bottle of Tide.
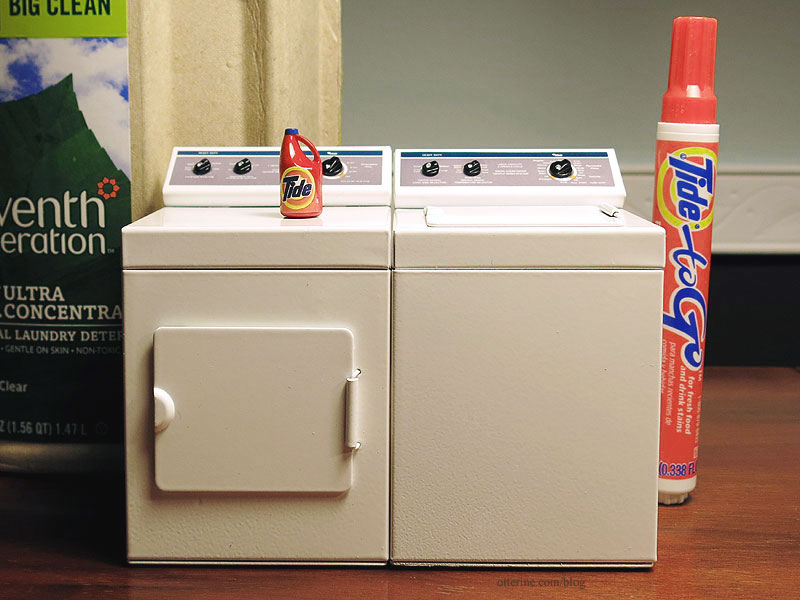
I’d never seen this set before, even though I’ve researched washer dryer sets in miniature. It’s a remarkable set with realistic detailing. There’s even an agitator in the washer!
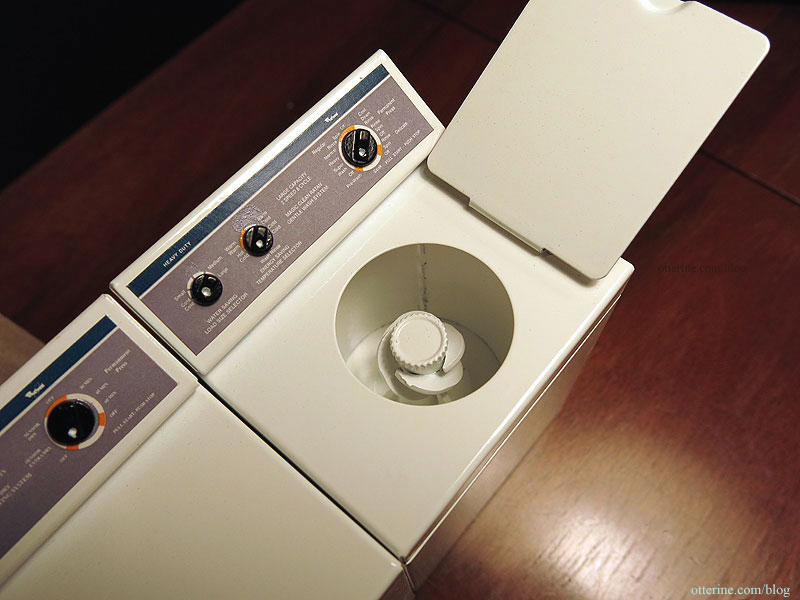
Thank you, Barbara! :D Funny how laundry can be fun…in miniature.
Categories: Miniatures
July 9, 2014 | 0 commentsWallpapers and luggage
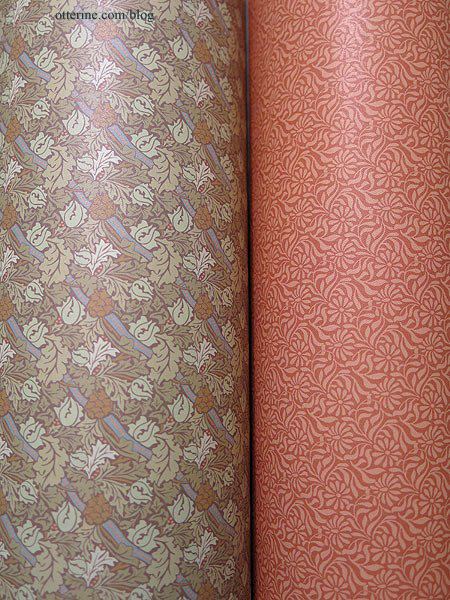
Barbara sent me another care package, this time including more fabulous Brodnax wallpapers. I’ll use a couple of these in The Brownstone for sure!
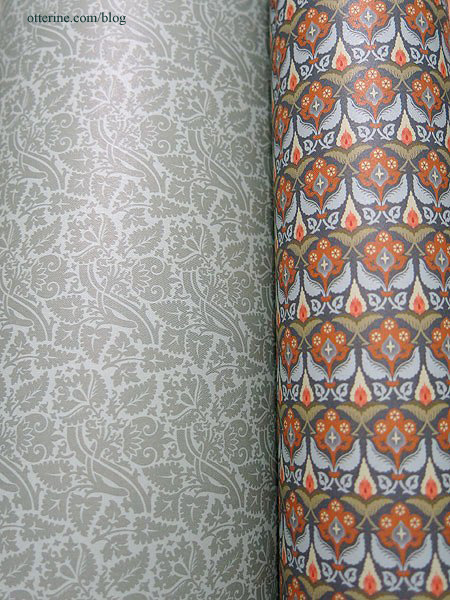
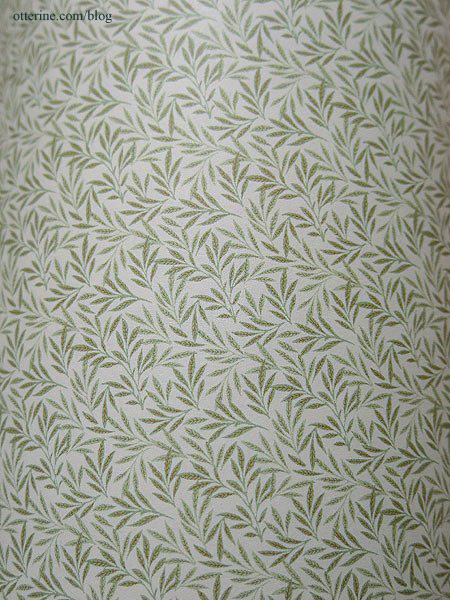
She also included two Heidi Ott luggage pieces, a trunk and a book of maps.
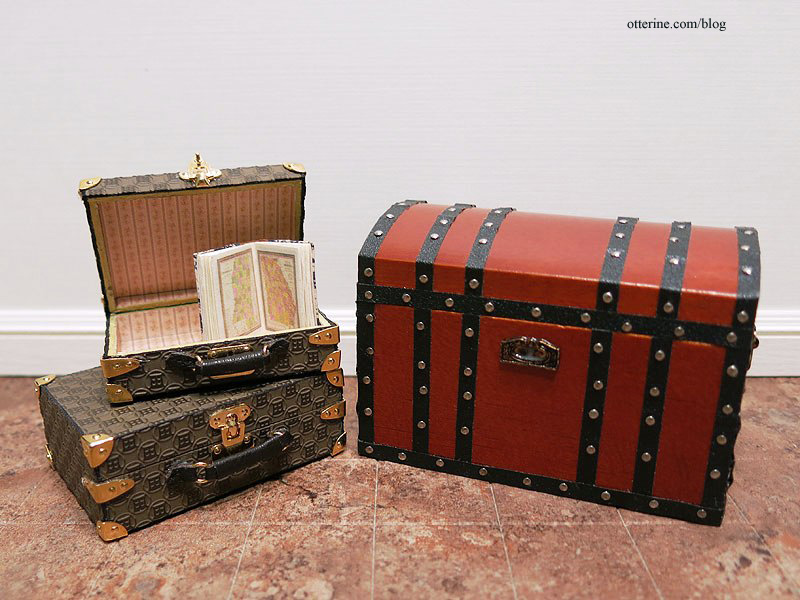
These are very well made and come with travel stickers as well…but I like the pieces shiny and new. I think Ophelia does as well.
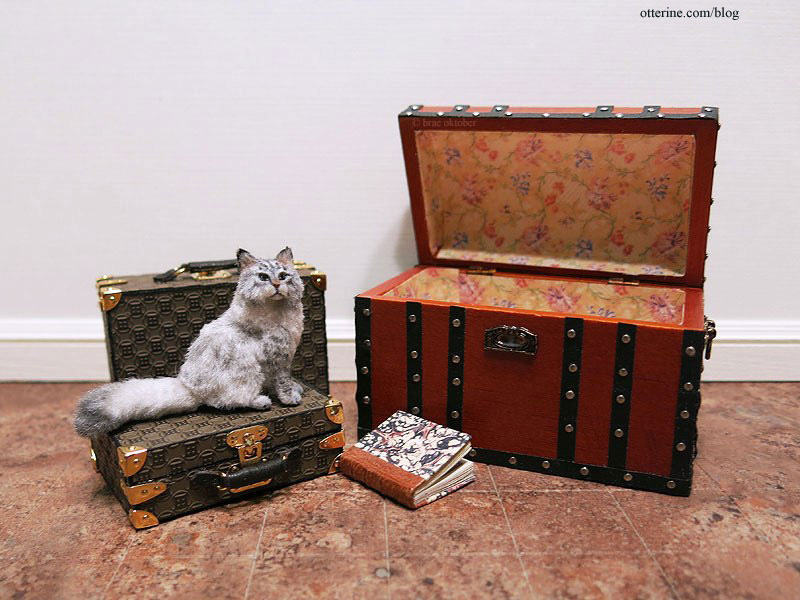
Thank you, Barbara!!!
Categories: Miniatures
April 30, 2014 | 0 commentsNew kitchen minis
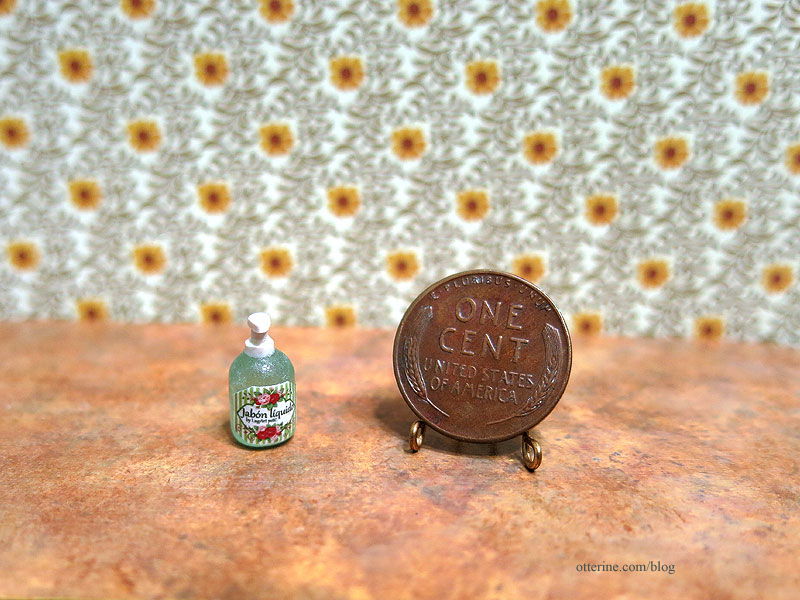
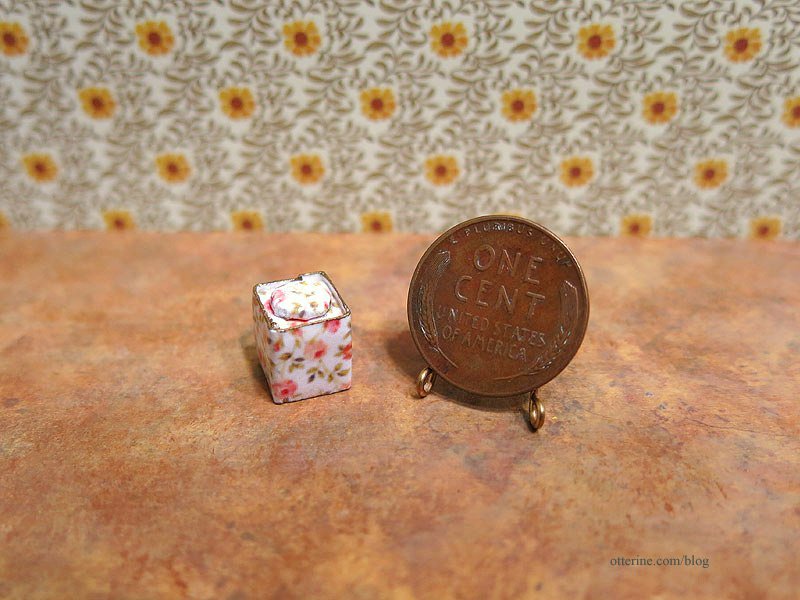
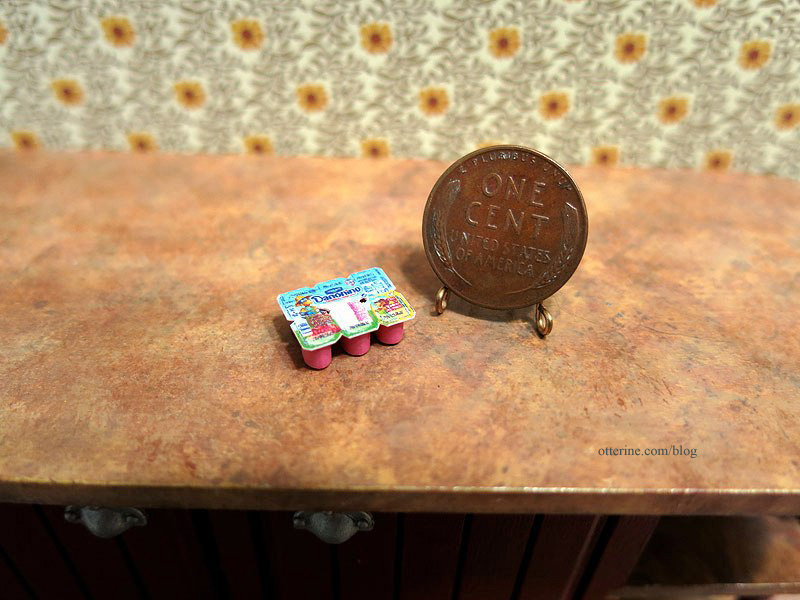
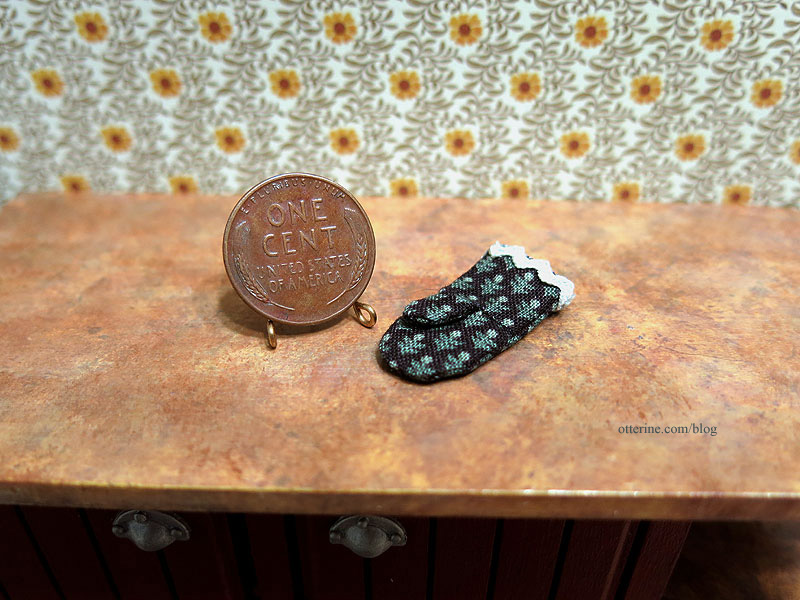
I recently purchased some lovely kitchen minis from LugArt Petit on etsy. They are unique and beautifully made.
A mini soap dispenser.
A lovely tea canister.
Tiny dessert cups…so awesome. :D
A cute oven mitt with pine trees.
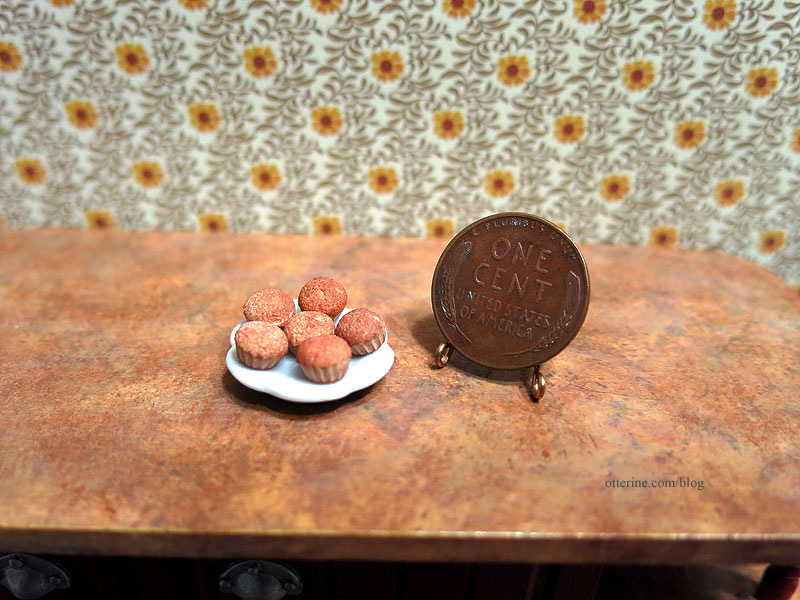
Tiny muffins on a flower plate.
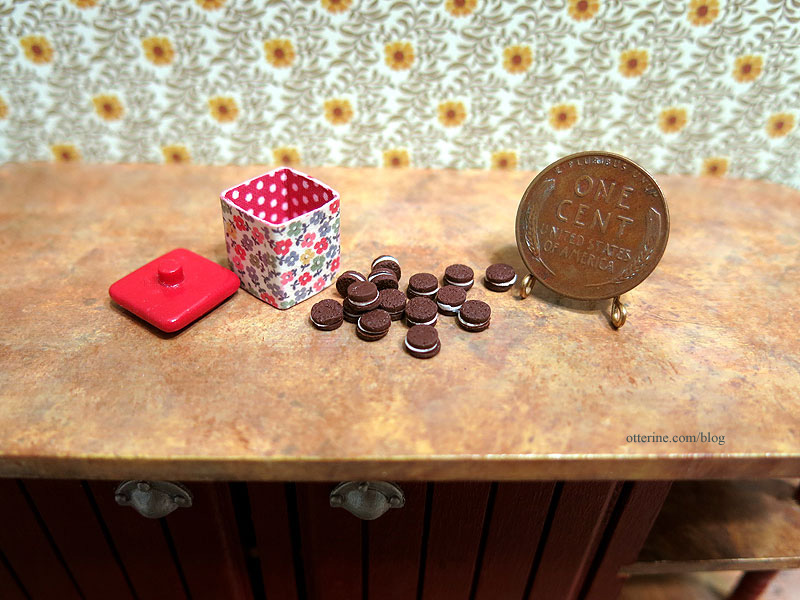
A canister with a removable lid that holds tiny chocolate cream filled cookies. :D
I think this calls for a full miniature set-up…time to dig through the boxes of minis. Be right back…
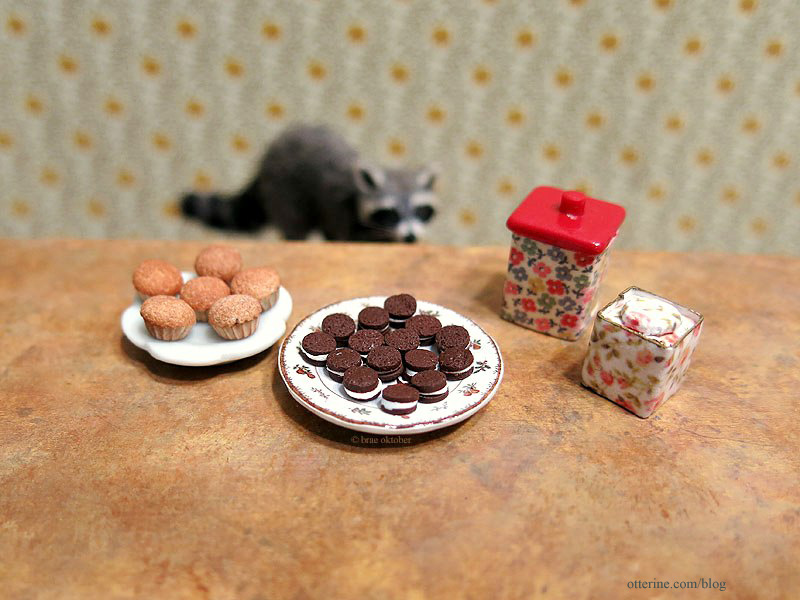
For the rest of the story…click here.
Categories: Animals and birds, Miniatures
March 26, 2014 | 0 commentsTomato – tomahto – Radio – rahdio
When people meet me in person, they often ask where my accent is from. These are people who live in the Midwest right along with me. I’ve lived in the Midwest my whole life, but I know I have an accent. This comes from the fact that I like the way people from other locations say certain words and I tend to pick that up. I’m good with some full-on accents, too, when I try. And, some words are just more fun said in a different way. One of these words for me is radio, which I like to say the way it sounds in German, rah-deeo. :D (Yes, I even like to say rah-diator in jest.)
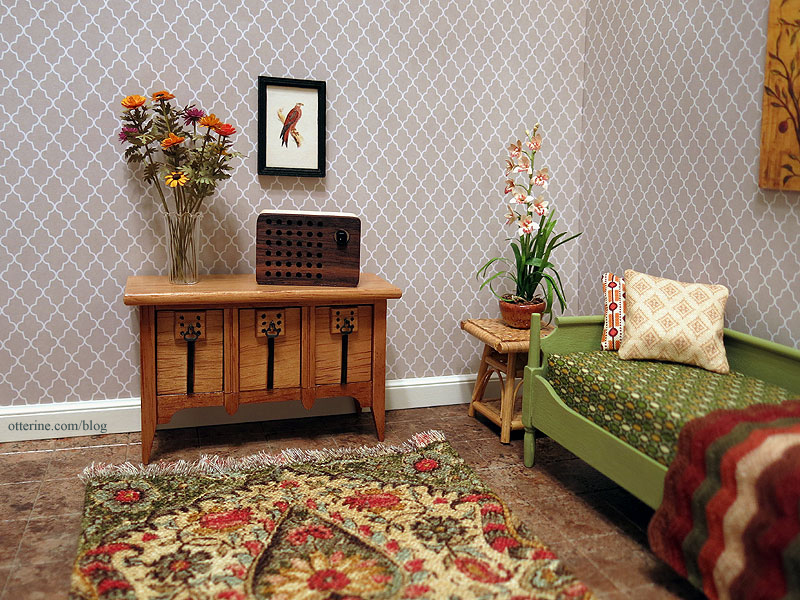
Anyway, this cute little radio isn’t necessarily meant as a dollhouse miniature, but look at it!!! It’s so tiny! And, yes, it works!
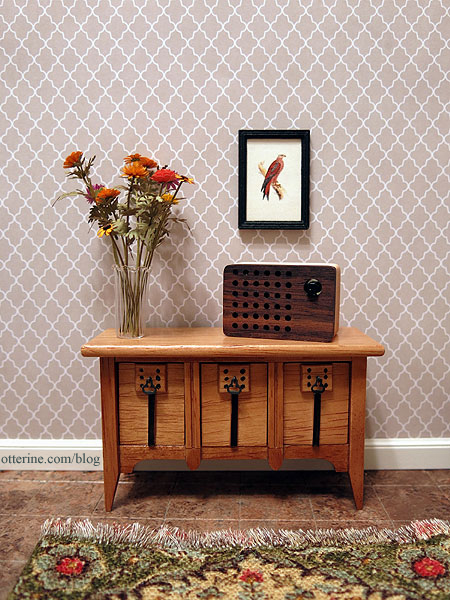
This is a Motz Wood Portable Speaker, FM Radio and MP3 Player. It supports micro SD cards, iPhone, iPad, iPod, MP3 players, laptops and other electronic devices with 3.5mm audio. They aren’t that pricey, but I used some rewards points to snag this fellow for $5. :D I had actually meant to get one earlier, but they sold out. I snapped one up as soon as the stock was replenished. There’s also one in the shape of an acorn.
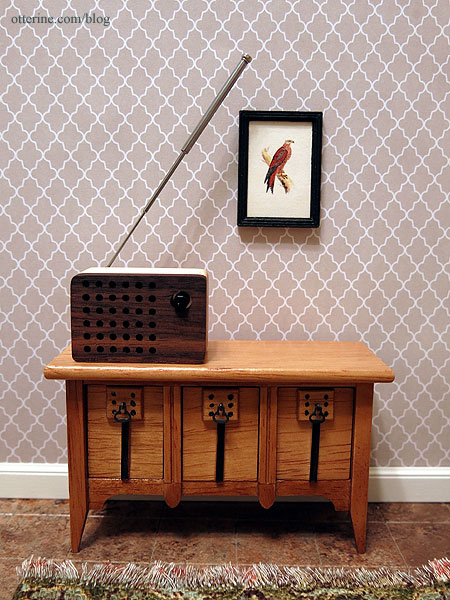
It has an antenna that moves about, even folding out of sight in the back.
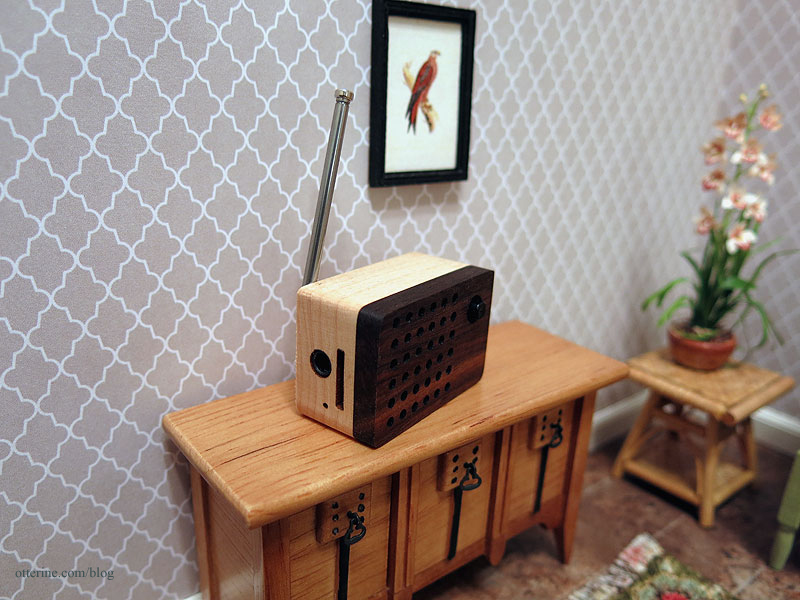
It also extends.
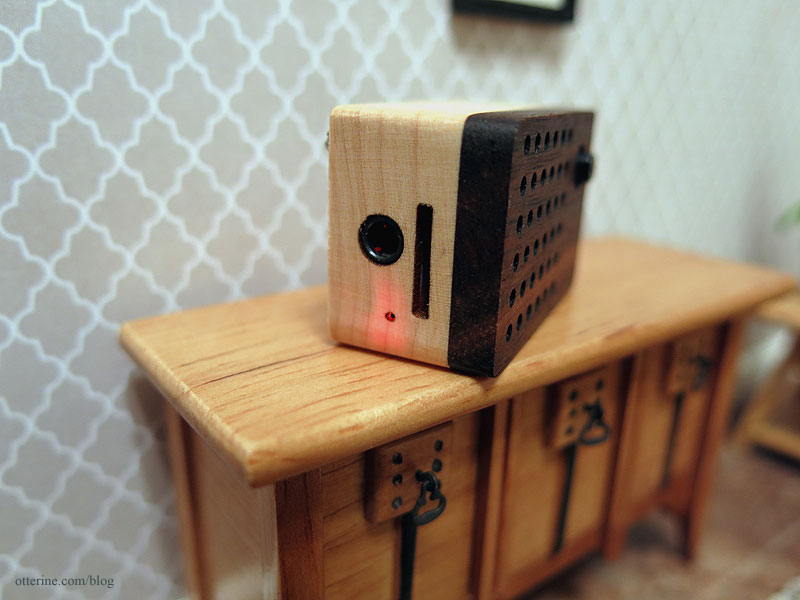
There’s the tiniest LED to show you that it’s working (red for on with the radio and micro SD card, green for charging).
It comes with a USB cord to recharge the battery by plugging it into a computer or USB charger.
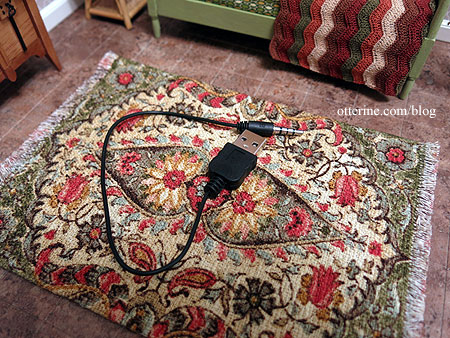
The other cord connects it to a sound system…like an iPod. It has good sound quality as an external speaker for the iPod if you don’t want to listen with earbuds. :]
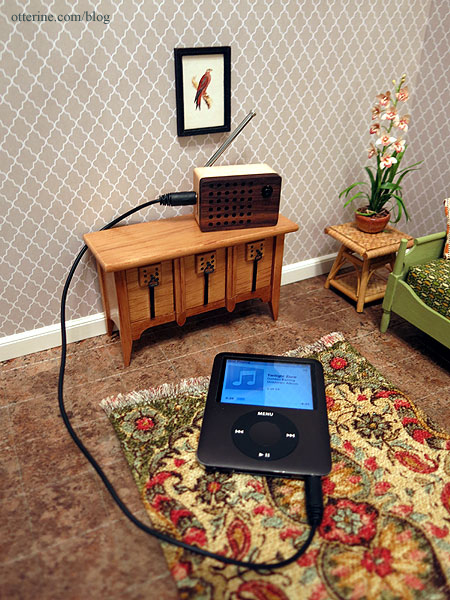
If you were to use this in a miniature setting, tuning in the FM radio or using the micro SD card with MP3 files on it would be your best bet. Or, you could just let it sit there being cute. :D
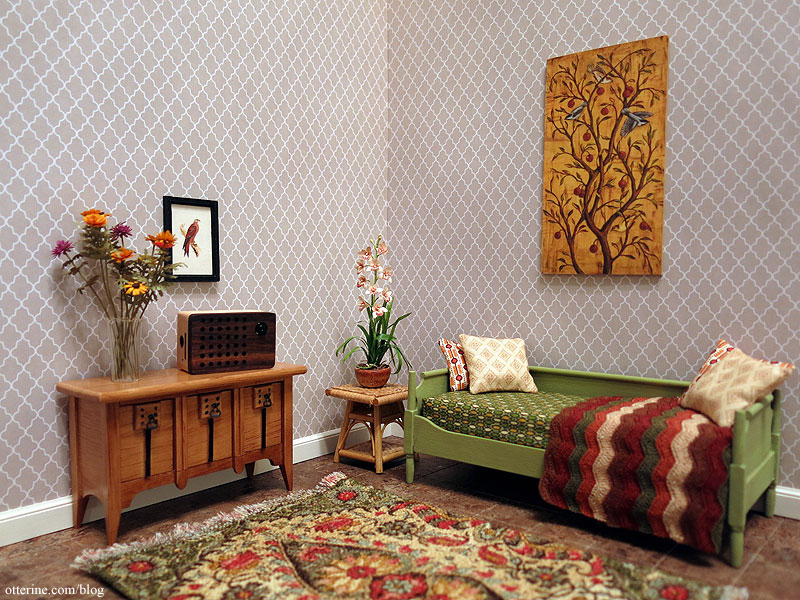
I don’t have a micro SD card, but I will have to get one now.
Categories: Miniatures
January 14, 2014 | 0 commentsTrash to trash (can)
Inspired by My Small Obsession’s trash to treasure page and Lyssa’s recent mouthwash cap garbage can in her fabulous Loblolly Westcott House, I’ve taken two empty creamer containers and sprayed them with Valspar Metallic Silver. :D
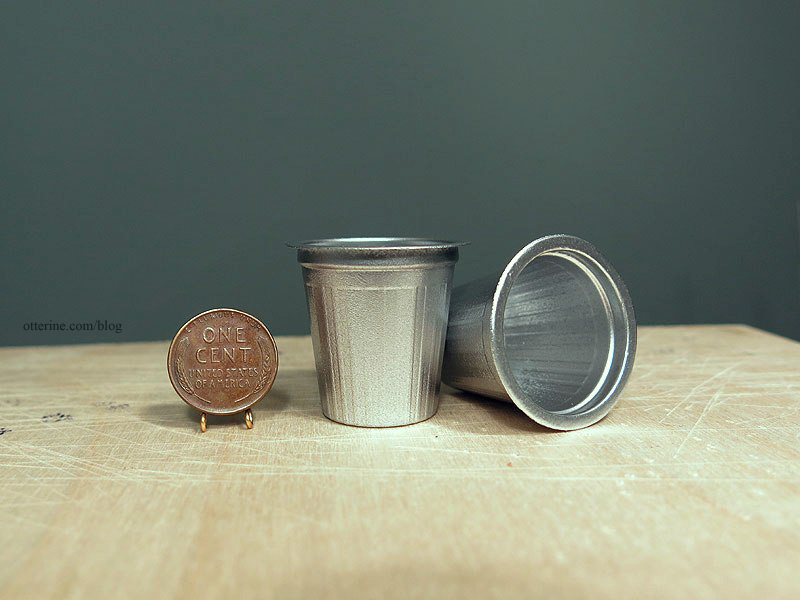
I like this paint, because it creates a nice visual texture in addition to the crisp silver color.
Categories: Miniatures, Walnut Bay Light
November 21, 2013 | 0 commentsVintage sewing patterns
This is a paper kit from Ann Vanture’s Paper Minis.
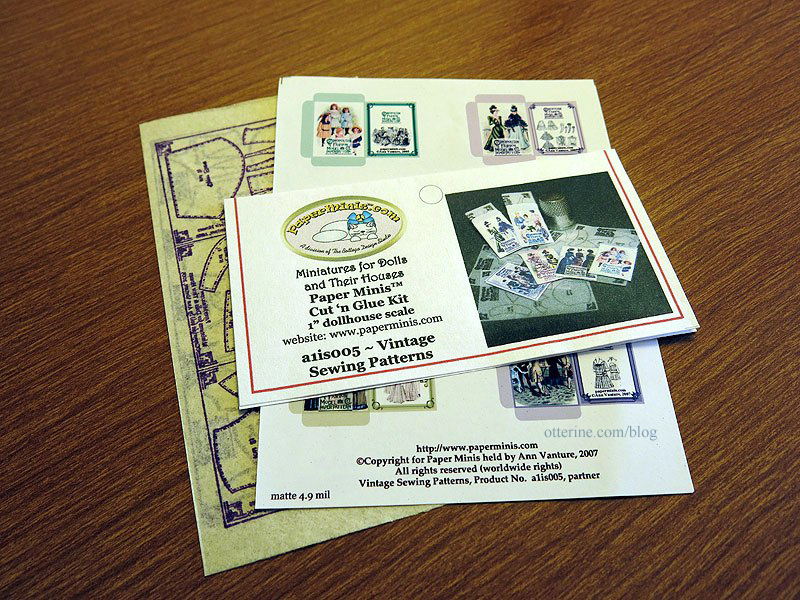
The kit makes six patterns, and it was easy peasy! Cut, fold and glue.
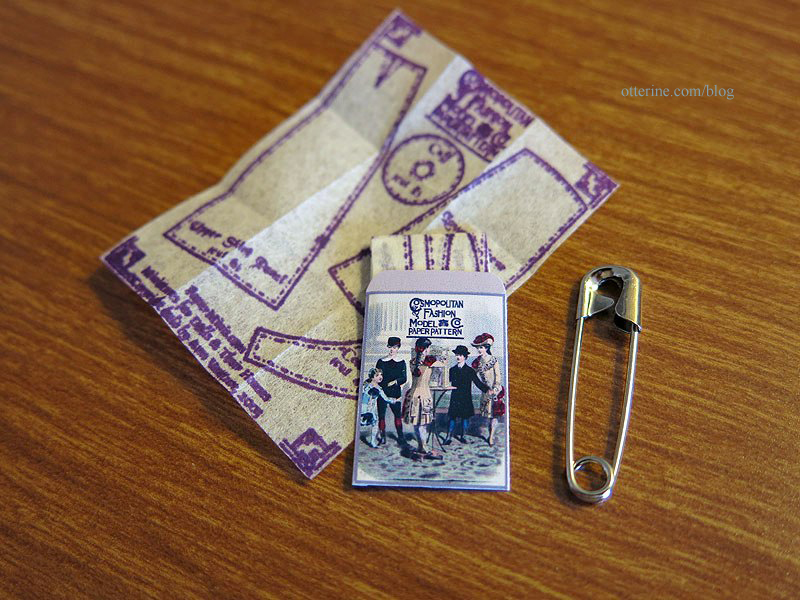
Since these will go in the Heritage attic, I took one and added a yellow paint wash after crinkling the paper. It’s just the right amount of age and wear. (The pattern envelope is colorfast, but the pattern tissue is not.)
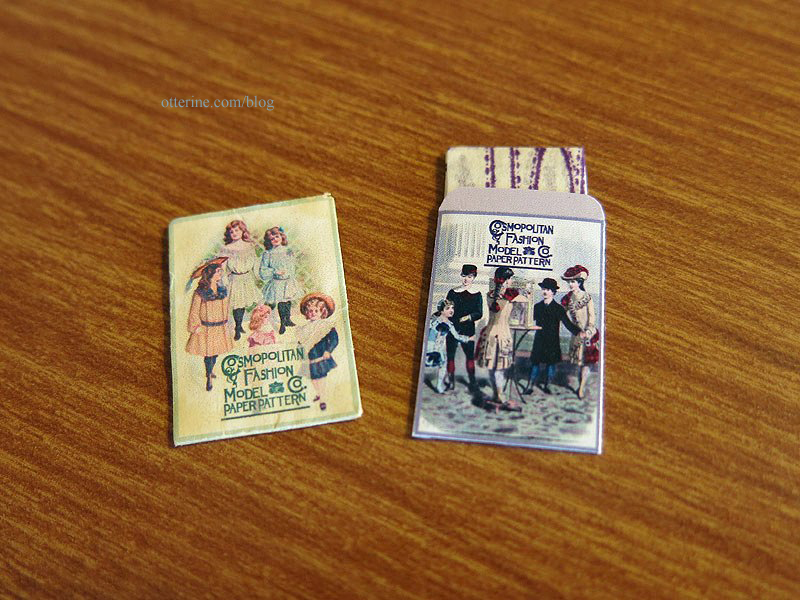
For one of the patterns, I removed the upper tab, made a tear in the front and repaired it with tiny strips of tape. :D
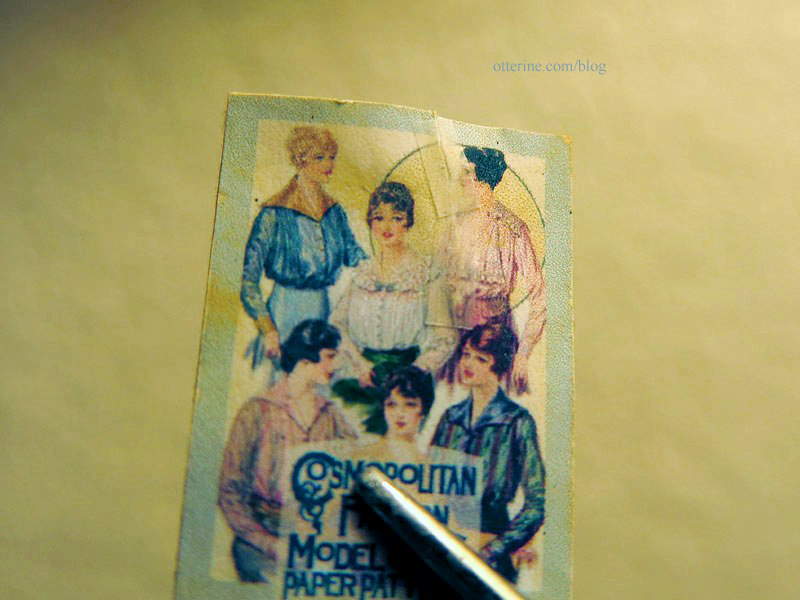
They are wonderful, no?
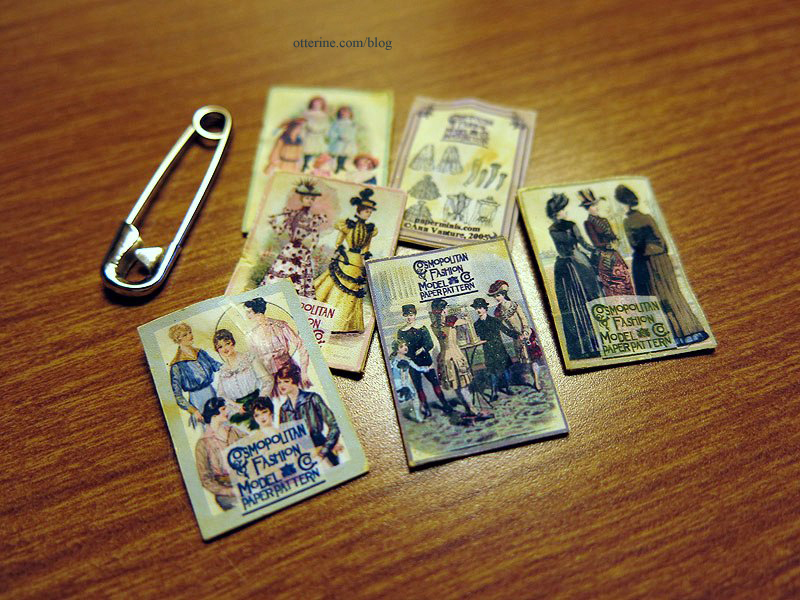
I kept two of the pattern sheets separate so I can use them with fabric for a future sewing room. It felt great to be creative again!
Categories: Miniatures
September 9, 2013 | 0 commentsFrom way back when…
I just received two Tinysaur kits that I ordered back in the Mesozoic Era…okay, February, but I was getting worried these would never arrive. There’s a mad backorder delay for these critters! :\ The Evolution Store kept in contact with me and let me know as soon as they were back in stock. I picked up the T-Rex and Stegosaurus.
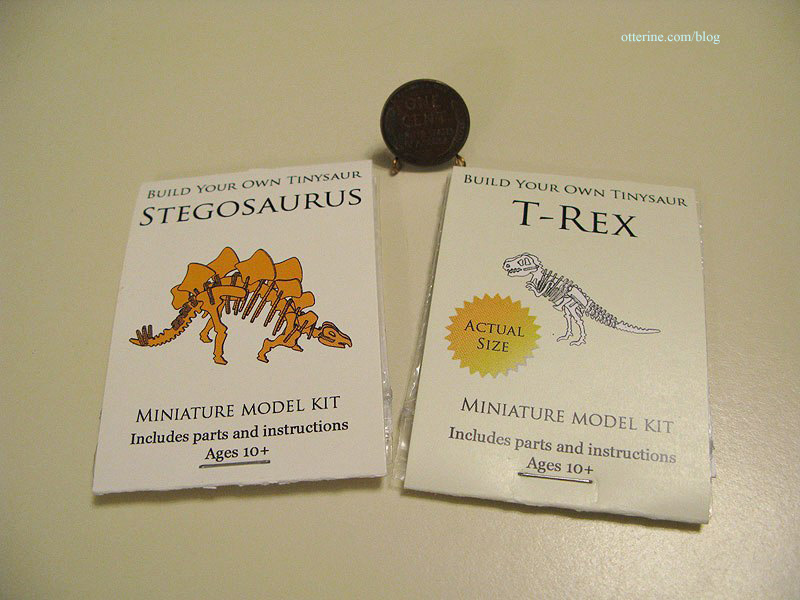
April has assembled the T-Rex before, which is where I first spotted these delightful mini kits. I put together one of the regular size wood models back when I was young, so it’ll be a nice trip down memory lane assembling these for my mini houses.
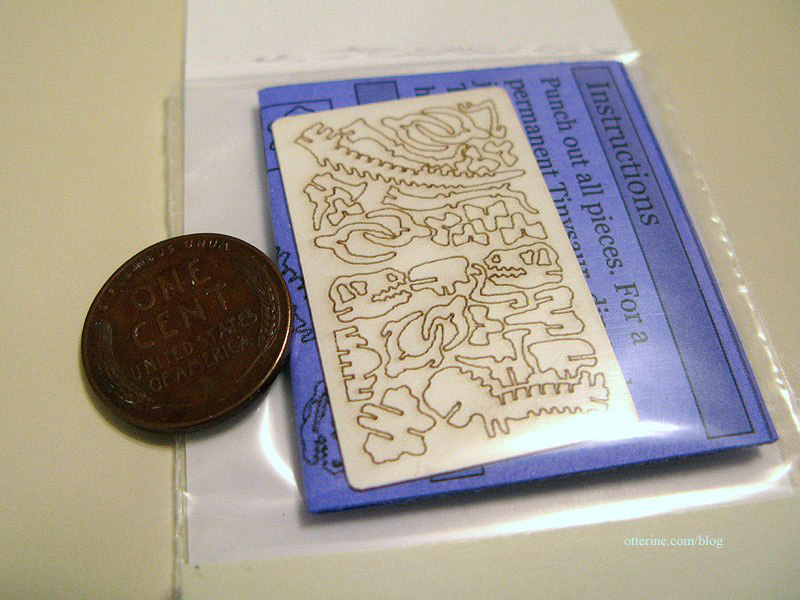
I was feeling a bit feisty today, so I decided to wait until another time when I had more patience. :D I mean, look how small the T-Rex head is!!! :O
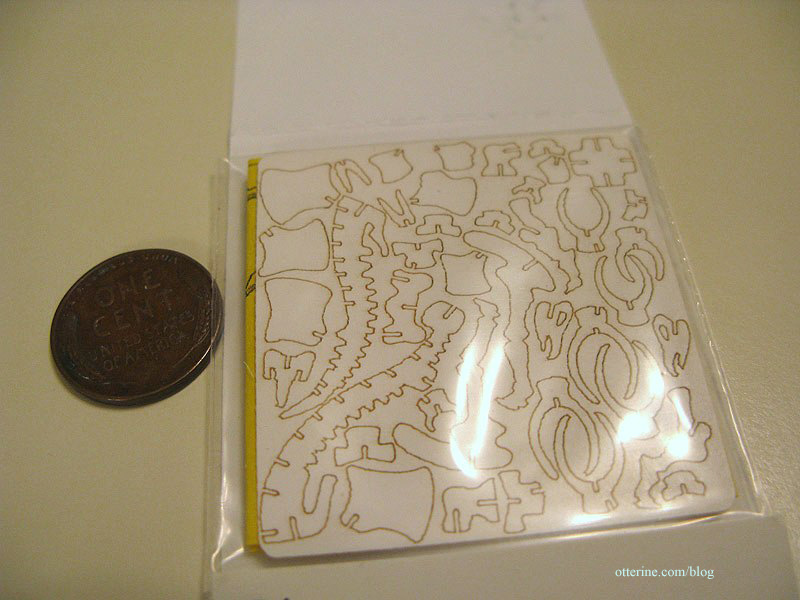
The Stegosaurus certainly has a lot of parts…oh, my!
You can also find these Tinysaur kits here. For my final assembly of the T-Rex, click this post.
Categories: Miniatures
June 11, 2013 | 0 commentsNew mini delights
In the midst of all the madness of completing The Artist’s Studio, I didn’t have the chance to write about some recent mini acquisitions and gifts.
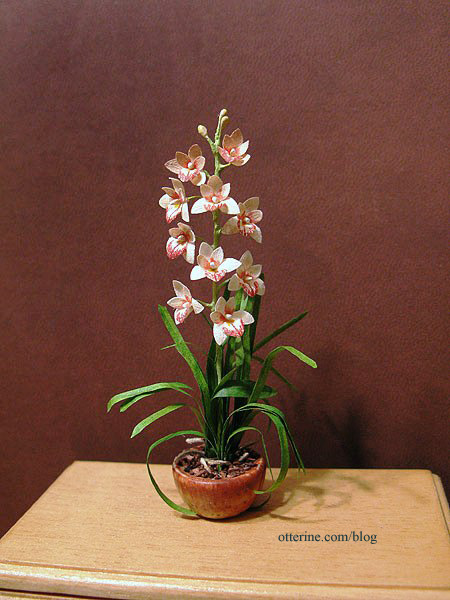
April sent me the most fabulous orchid as a gift. I’m blown away by her mini green thumb. It’s a stunning plant! :D Thanks so much, my friend!
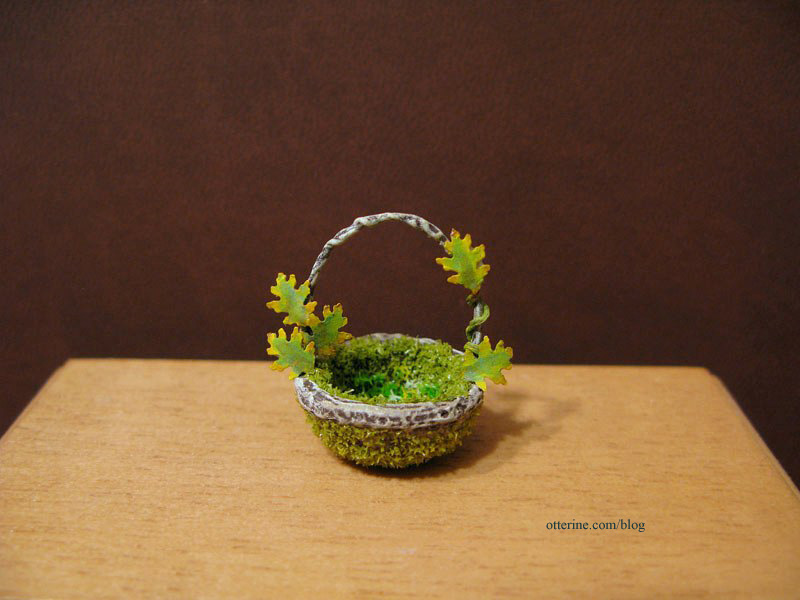
I bought two items from Nikki Rowe, who has unfortunately decided to stop selling miniatures for the time being. The first item is a lovely little basket. It’s calling for a chocolate bunny, I believe.
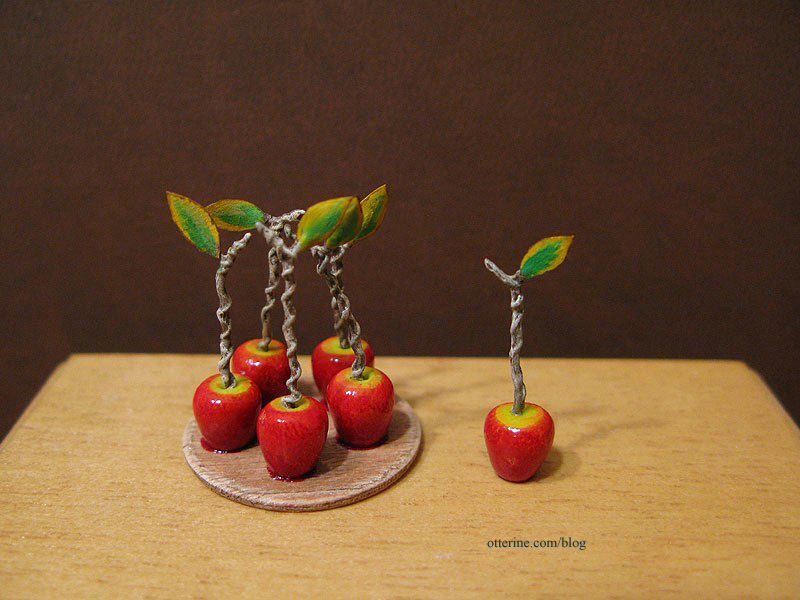
The second is a set of candied apples, one of which is loose to display however I like. :D They are wonderfully made items…very much out of a fairy tale.
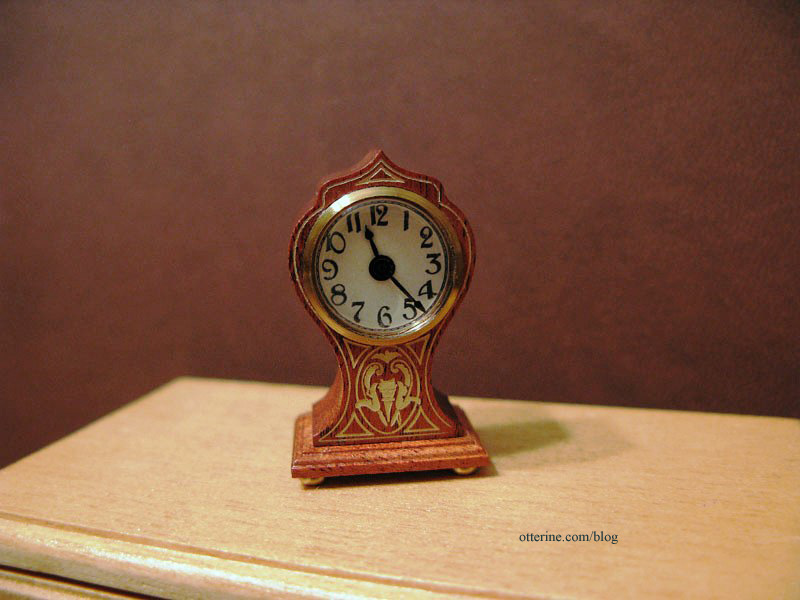
I also caved in and bought the Art Nouveau Mantle Clock by Halls Miniature Clocks. So beautiful!
Categories: Flowers, plants, and trees, Miniatures
May 7, 2013 | 0 comments
NOTE: All content on otterine.com is copyrighted and may not be reproduced in part or in whole. It takes a lot of time and effort to write and photograph for my blog. Please ask permission before reproducing any of my content. (More on copyright)
Categories:

Where we’re going, and thoughts on it
I recently purchased sketchbook and road atlas kits from Nancy Enge’s etsy shop. Nancy makes fine kits with detailed instructions. I’ve always loved tiny Moleskin journals, and her sketchbooks remind me of those. I made one straight out of the kit, changing only the book mark to red thread. I made a second one using map end papers from the atlas kit.

These two are clean and ready to use. Operator error caused one to be thicker than the other, so I had to add more insert pages. I’ve saved the last one to customize with writings, sketches and such, and I figured it would be easier to do most of that work while the pages were loose.

The road atlas kit was actually geared toward making two journals with map covers and blank pages, then one road atlas. There are enough parts in these kits to choose and make it all your own. I decided to make two road atlases, adding blank end papers and custom covers. I used the 2017 Rand McNally cover image, made a spine and added some of my own photos to the back using PhotoShop. I also cut two new cardstock covers from cream cardstock to replace the kit’s light green.

One of the pre-cut covers from the kit had a place called Stumpy Point. How could I not go there? I used one of the insert pages to cut it down to include inside the atlas instead of on the cover. I have actually been to that area, visiting Bodie Island Lighthouse and other locales there.

I curled this one to stay open and made the other closed. Even though I won’t open the other, I did put Newport as the center paper. :] That’s where I started this adventure with minis, with The Newport by Real Good Toys.

Looks like we’re ready to hit the road.

The blanket roll is by FranMadeMinis, and the keys are by WhimsyCottageMinis. The other minis were purchased at various times.
Categories: Miniatures
June 4, 2017 | 0 commentsHe’s just misunderstood
I grew up reading Dr. Seuss books and have always loved the whimsical characters. My childhood copy of The Lorax is still on my bookshelf and is in rather good condition. I’ve even been to the Dr. Seuss National Memorial in Springfield, Massachusetts. It rained the day I went, but I still had great fun viewing the sculptures.

So, I was over the moon when I discovered The Secret Art of Dr. Seuss (as an Amazon Associate, I earn from qualifying purchases). You can see many of the works here. My personal favorite was Cat from the Wrong Side of the Tracks. I contacted the folks at Dr. Seuss, and they granted me permission to reproduce this print in miniature for my personal collection. Hooray!

I think it will end up in the Brownstone ultimately, but it might make appearances elsewhere in the meantime. I also plan to make a frame for it eventually, so I made the art crate a little larger than the print. In this photo, you can see the slight texture of the scrapbook paper I used that gives it a canvas quality.

I made the art crate from basswood scraps darkened with a touch of brown paint mixed with staining medium. The nails are bronze paint. It is non-opening.

I cut a stencil using the Cricut to dry brush lettering and symbols. :] I used recycled office supplies for the material since it’s very close to true stencil plastic.

Considering the success with the small parts of the letters, I could likely make even smaller stencils. I did have to pause the cut a few times to remove tiny bits of plastic that popped out so they wouldn’t get caught or interfere with the blade.

The trial was a success.

I cut away the excess so they would sit flat against the wood.

These were relative large in scale, but the crate is large and needed clear markings.

One side turned out better than the other, so I have a definite right side. Yes, that’s a packing list pocket, bill of lading, invoice and certificate of authenticity. :D

Categories: Art and paintings, Miniatures
April 19, 2017 | 0 commentsBlanket Chest from Minimum World
The fine folks at Minimum World Dolls House Furniture Ltd contacted me about doing a feature on their unfinished furnishings and sent me a bare wood blanket chest free to try.

The wood was in great condition and needed minimal sanding to prep. I did use my Tweezerman tweezers to remove the hinge pins to make finishing easier, though this might not be possible for everyone to do.

I painted the chest a base color of Heritage Brick mixed with Staining Medium, both by Americana.

It’s a rusty red that will fit with just about any décor. I lightly sanded the chest with a scrap of paper bag material to smooth the surface raised by the paint application.

As with many pieces of unfinished furniture, there can be glue spots on the wood that don’t take stain well. Painting is no issue in covering these, and I’ve detailed methods for covering these spots in a past post. For me, it didn’t much matter since I wanted to try a different type of finishing. I scanned the front and sides of the chest and then printed templates from those scans.
I found wonderful art on The Graphics Fairy to add to the chest. I have hand painted designs previously, but I wanted to give this technique a try. I always print a few copies of the final images and then cut the panels to fit until I am happy with the end result.

I didn’t worry too much about being precise because the final finishing will cover minor mistakes and the shadow of the overhang will help disguise as well. I skipped the side panels, keeping the focus on the front. The panels are glued in place using MiniGraphics Wallpaper Mucilage and covered in a thin layer of Delta Ceramcoat Satin Varnish.

I also cut pieces of parchment paper for the interior and glued them in place with the same mucilage and varnish layer. I used a tiny bit of Antiquing Medium to age the crevices and give some depth to the piece. By varnishing the paper first, I could wipe away excess without marring the paper or over-staining it.

After a final coat of Delta Ceramcoat Satin Varnish inside and out, I was ready to reattach the lid. Blocks from Andrea Thieck.

Now I have a delightful country blanket chest for books and other treasures. The books are from L. Delaney, and the tin man doll is from Sir Thomas Thumb.

I am very pleased with the end result and would definitely recommend giving their unfinished furniture a try. Thank you, Minimum World! :]

As for the Putitto tabby cat, I blame Keli (and a complete lack of will power). :D

Categories: Furniture, Miniatures
March 1, 2017 | 0 commentsDrafting table
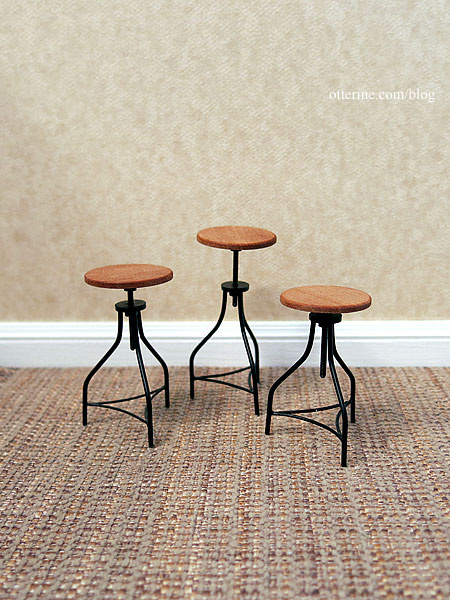
A few years ago, I saw a fabulous drafting table on Recréation Miniature. I put it on the someday to try list. I loved that it was a working, adjustable table. Another fine example is the table from Boutique Miniatures. I own two of the adjustable stools from this shop. I put the table on my wish list as a splurge in case I didn’t get around to making one.
Not too long ago, Mike Adamson was downsizing a few miniatures he didn’t intend to use, and the drafting table from Boutique Miniatures was one of those items. I was lucky enough to nab it. :D You must see the beautiful work that Mike does as well. His exacting replications for kitchens, living rooms and other modern settings are top notch!
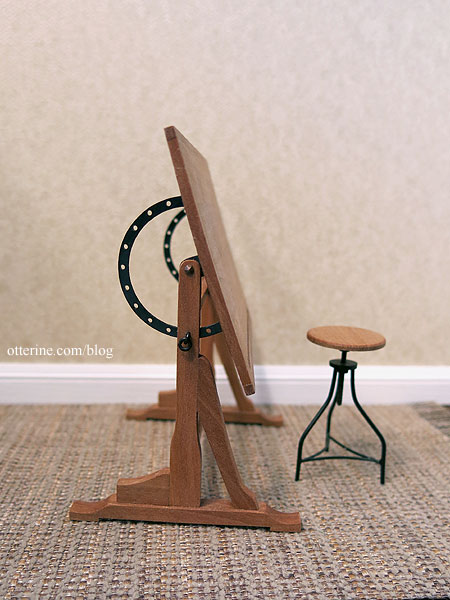
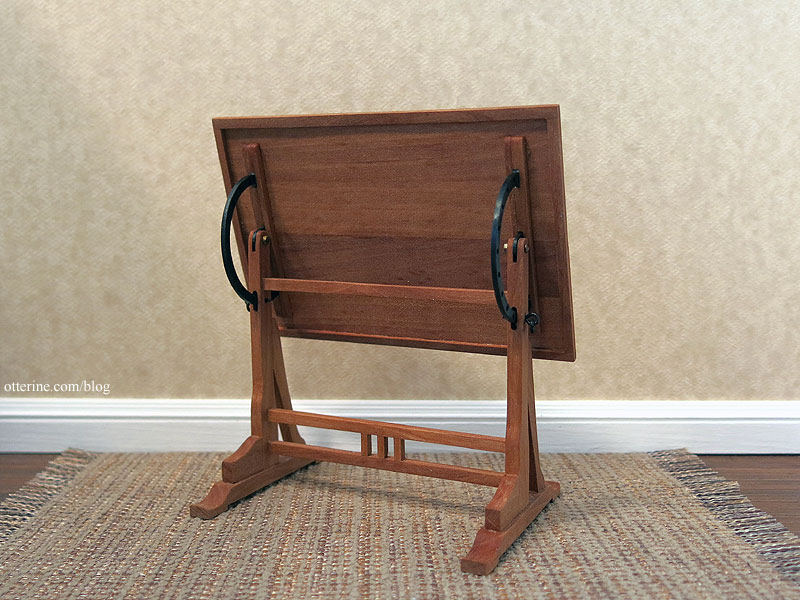
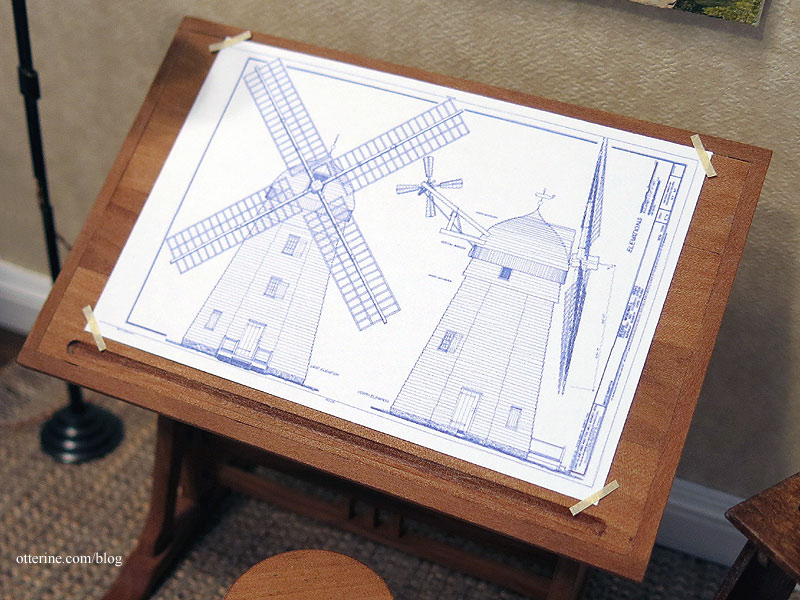
The table is a superb reproduction.
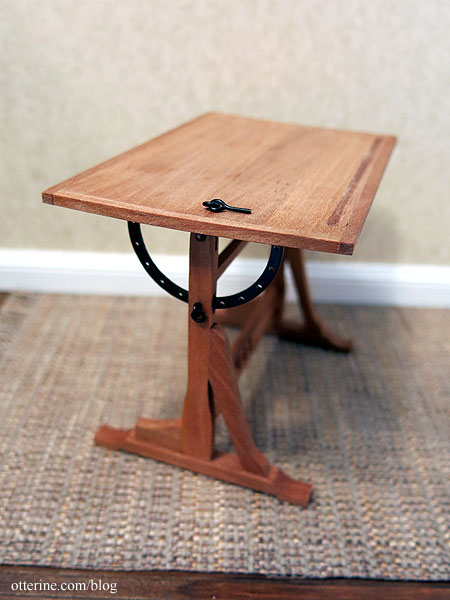
There are tiny ringed pins to adjust the table from flat to angled.
There was another stool in the set, so now I have three. The tops actually adjust up and down.
I’ve printed out a Beebe Windmill technical drawing for today’s scene, though I recolored it in PhotoShop.
Mike sent me one of his marvelous paintings as well. :]
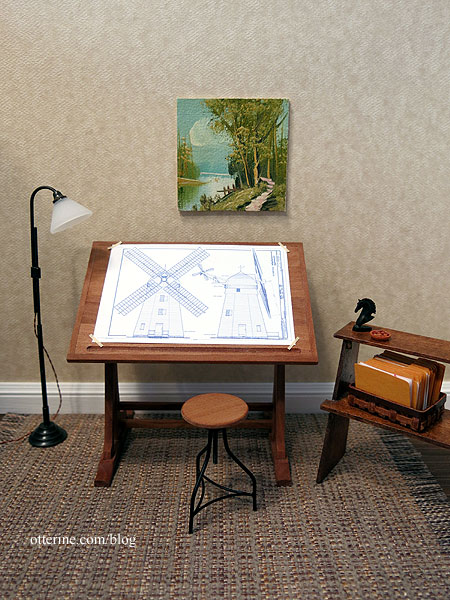
Lamp from Ray Storey, bowl of nuts from Hartland Miniatures, modern shelf from Debbie Ohm, rug from Iklectic Kollectibles, horse bust from Art Forge. I made the file folders. Windmill plans image from Wikimedia.
Categories: Miniatures
February 4, 2017 | 0 commentsEasy Cutter Ultimate
I bought an Easy Cutter Ultimate from Hobby Lobby back in 2009/2010. I raved about its usefulness and found changing the blade to be straightforward. It was a quality product that I recommended to other crafters.
I made a mistake and tried to cut something too hard, marring the plate. I knew I could change the blades but not the plate. It still worked well, but I had intended to replace it once it was time to change the blade again.
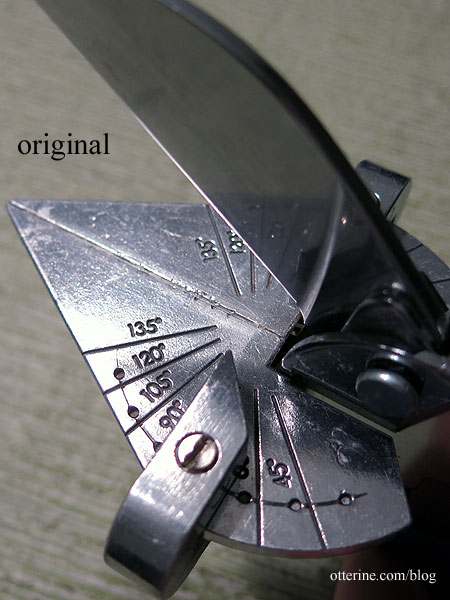
A few months ago, I bought a new one from Hobby Lobby then immediately returned it after opening the package. My previous one had a rivet on the bottom; the new one had a screw that kept loosening. The angle selector swung freely and had a lot of give in the newer version. I had to tighten the screw constantly but then it loosened when I changed the angle. This slows down the work and means I always have to have a screwdriver nearby.
Thinking it might be a fluke, I recently tried again from Amazon. This one had the same issue with the screw, so I returned it as well. I now understand why people I’ve recommended the tool to are not impressed with it.
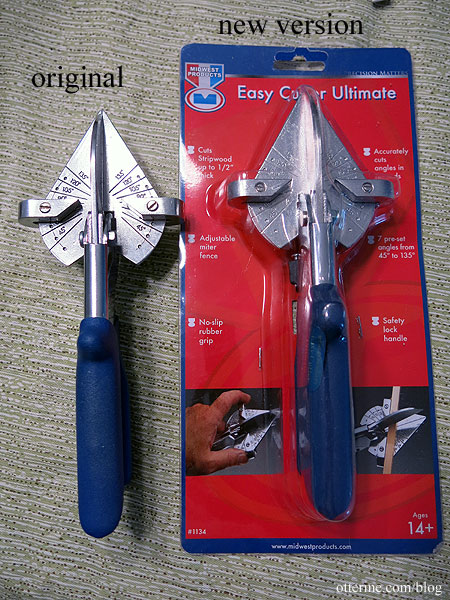
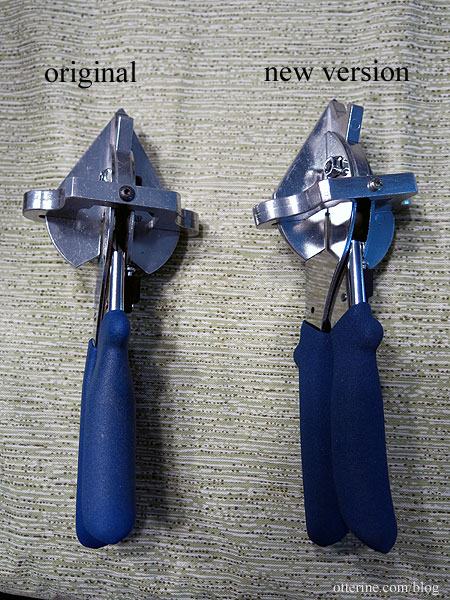
I just bought a new old stock Easy Cutter Ultimate with the rivet on the bottom from eBay. It has the same great quality of the original one I had.
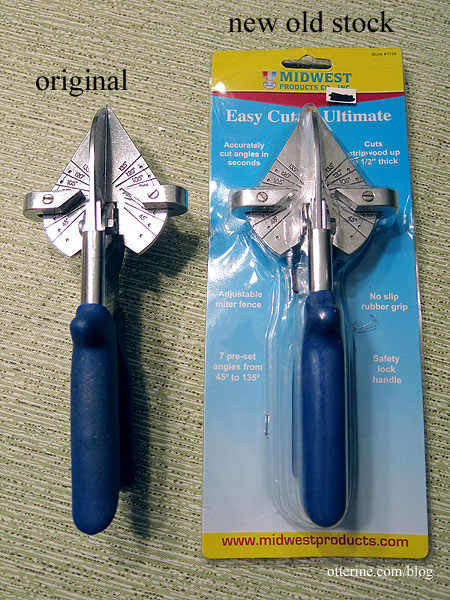
You can see the difference without opening the package since the rivet/screw sticks out from the packaging.
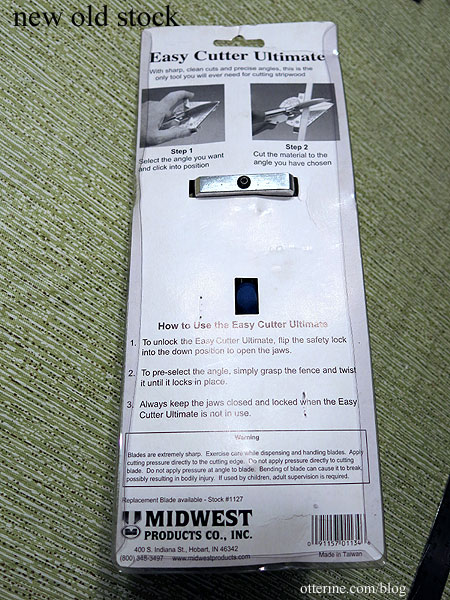
I’ve sent my concern to Midwest Products hoping they return the product to its former design. I’ll update this post if I receive a reply.
Categories: Miniatures
December 30, 2016 | 0 comments
NOTE: All content on otterine.com is copyrighted and may not be reproduced in part or in whole. It takes a lot of time and effort to write and photograph for my blog. Please ask permission before reproducing any of my content. (More on copyright)


