
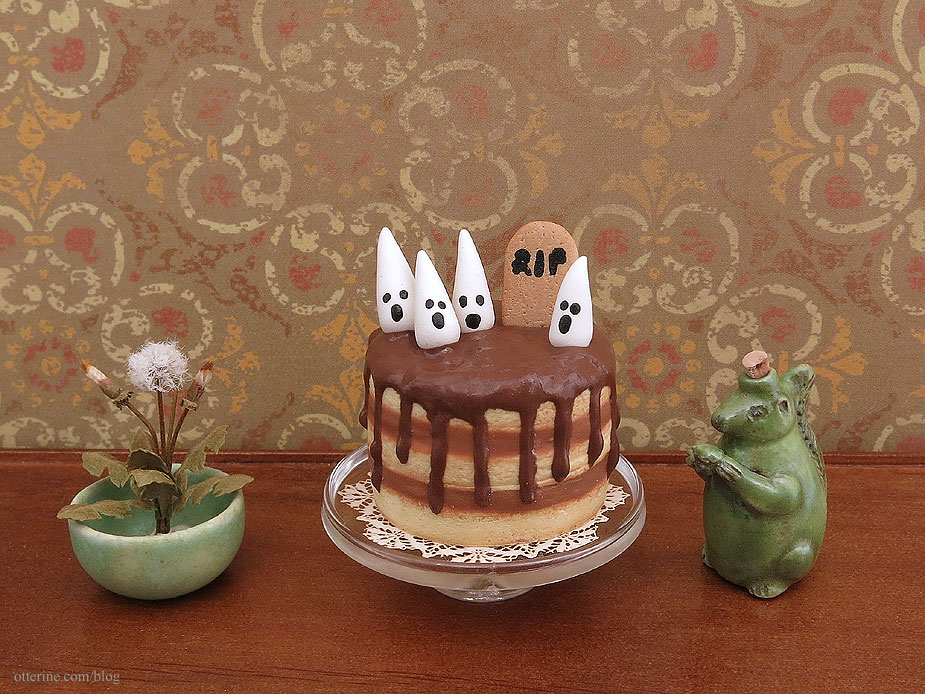
Halloween cake with wee ghosts
I made a cake following the tutorial by Maive Ferrando in Dolls House and Miniature Scene magazine. I had to change the method a bit for my own skill level and techniques I’m more comfortable with, and I’m happy with the end result. I made my cake whole and added a tombstone cookie.
Categories: Miniatures, Polymer clay
October 24, 2021 | 0 commentsZombie apple cookies
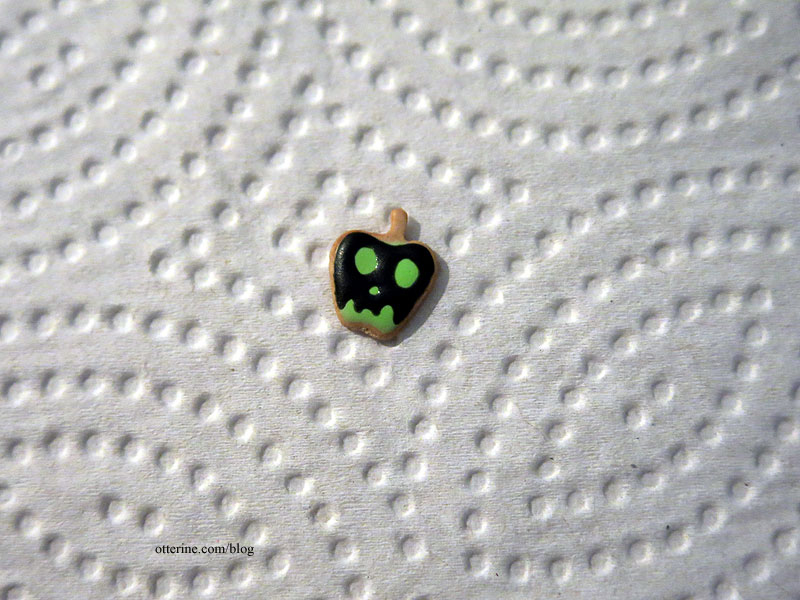
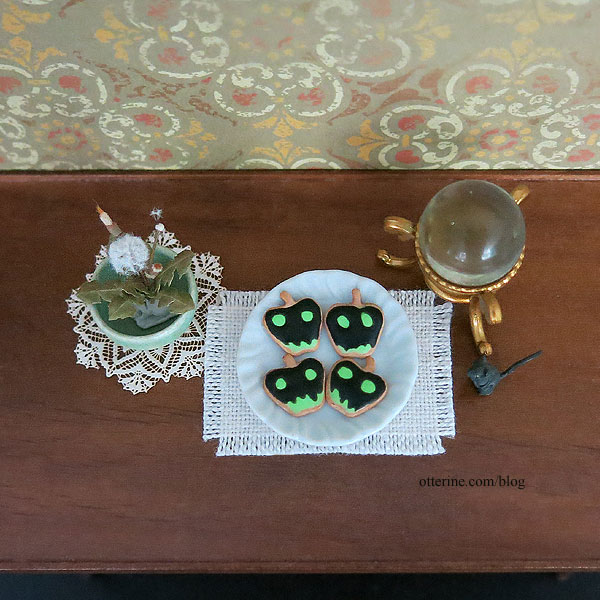
In continuing with my polymer clay adventures, I thought I would make some poison apple cookies to go with my poison apple cake. Well, the best laid plans….
After forming the apple cookies, painting on the green icing and then adding the black icing, all was going well. Until the black icing shifted more than expected during baking.
This is what I was going for, and this is the only one that turned out like my vision.
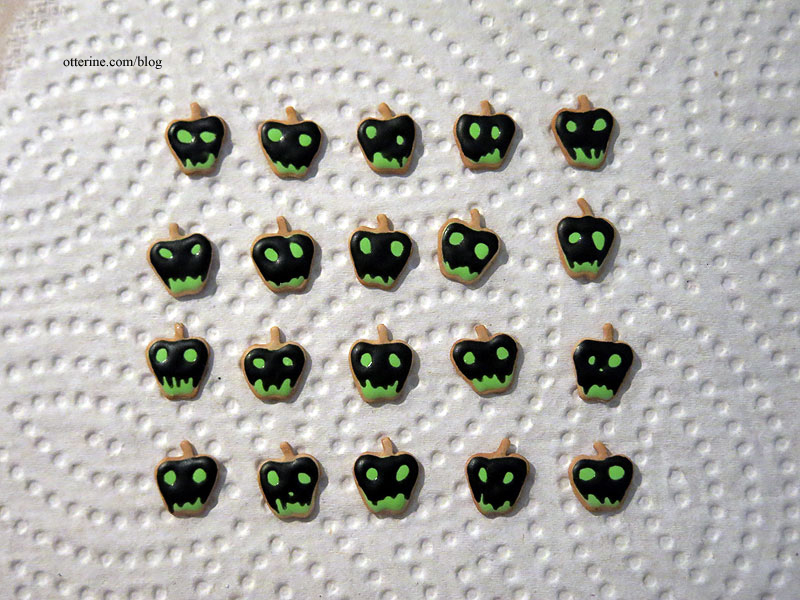
The remaining are these. I thought they were outright fails, until I showed them to my miniaturist group and they raved about them. :D Sometimes I think people are just being nice, but in this case, they bought them all up save four! It made me feel better about my perceived failure and turned these into a happy accident. Thus, the zombie apple cookie was born.
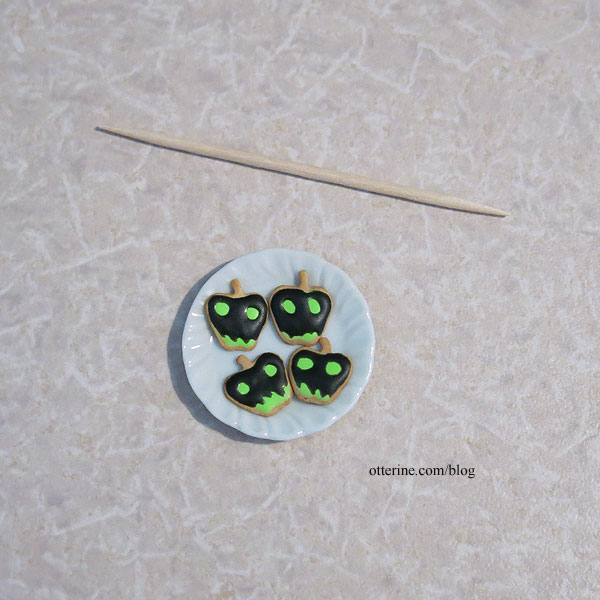
I did end up putting some sets on etsy if anyone else is taken with these zombified cookies.
Categories: Miniatures, Polymer clay
October 17, 2021 | 0 commentsPoison Apple Cake
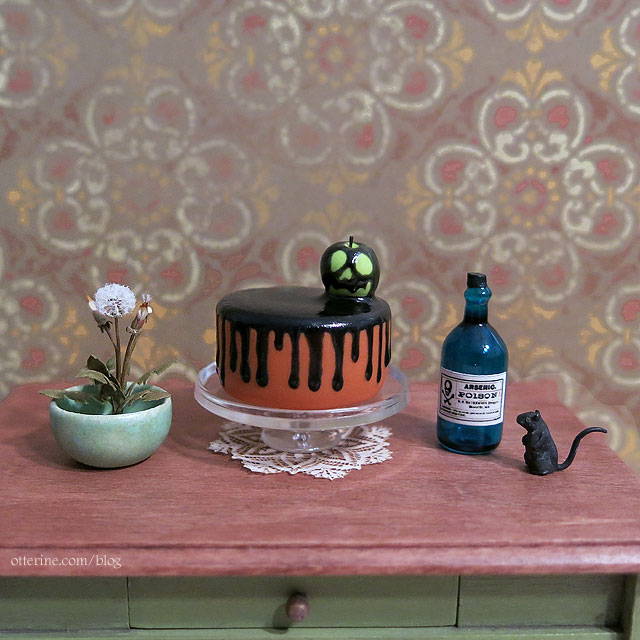
I’ve seen a few examples of poison apple cakes in real life and wanted one in mini. After a few failed attempts, I have a keeper!
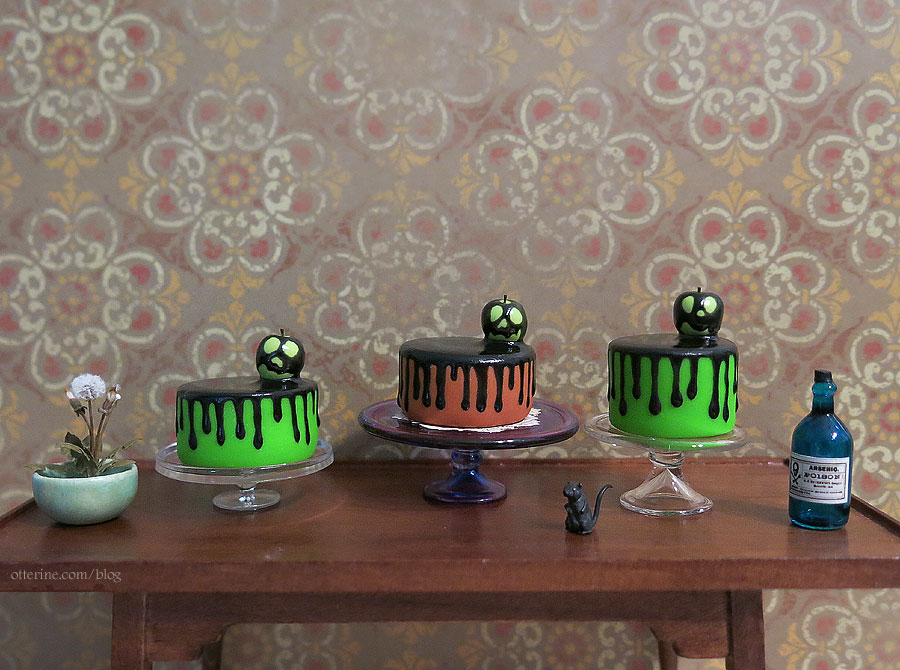
I made two more for a couple of friends. :D These are challenging but so much fun!
——
You can see the real life inspirations here and here.Dandelion by Lamis Minis, poison bottle from Four Little Walls, doily from Stewart Dollhouse Creations, mouse purchased years ago (unknown vendor).
Categories: Miniatures, Polymer clay
September 3, 2021 | 0 commentsAutumn Scarecrows
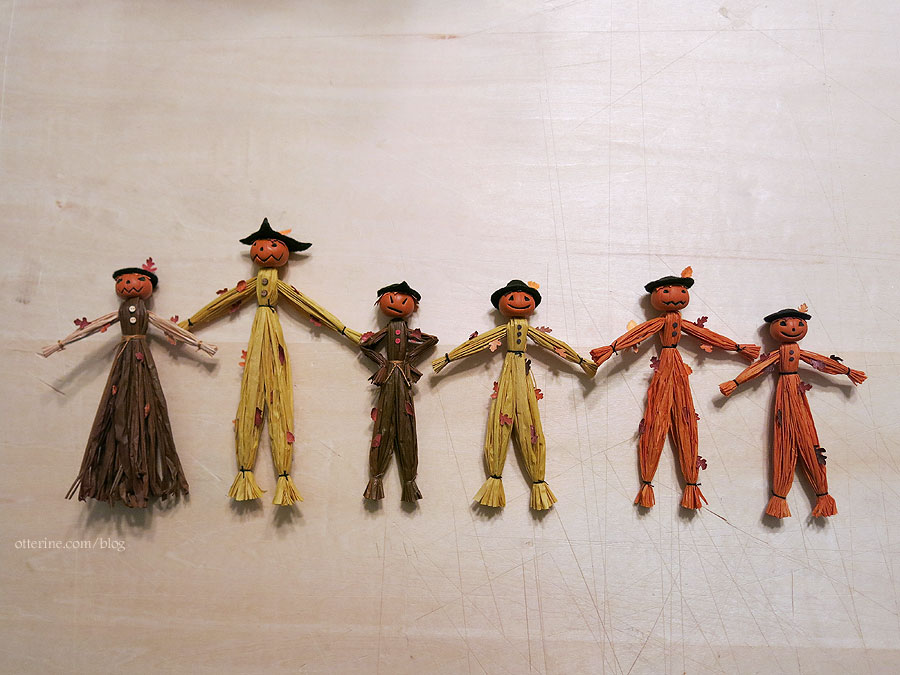
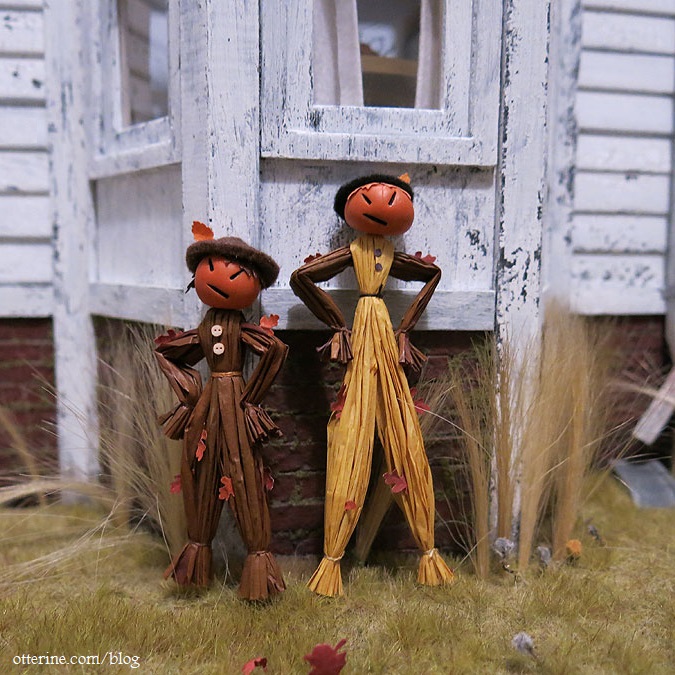
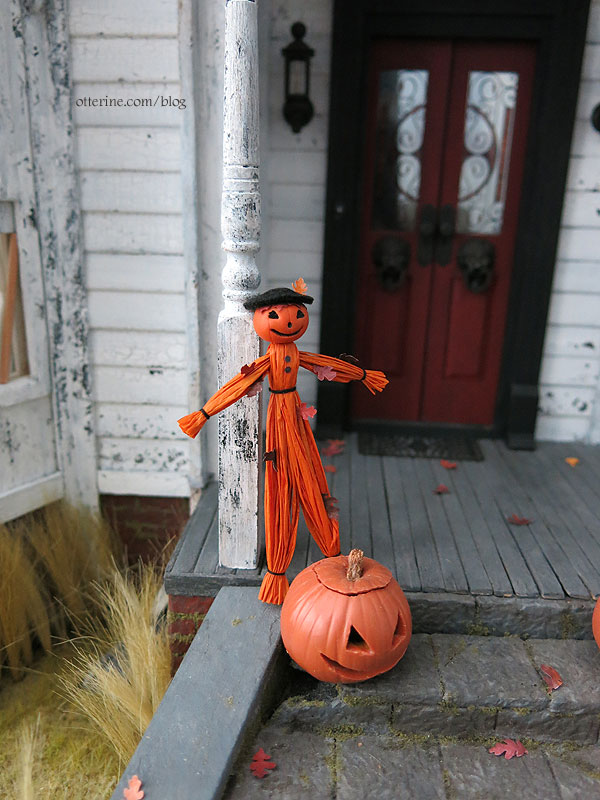
I made a fresh batch of scarecrows for the autumn season. Who’s looking forward to Halloween?! (meeee!)
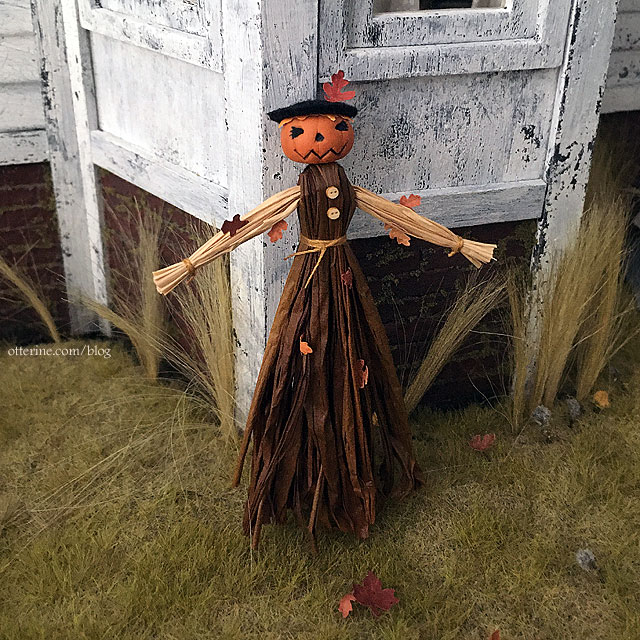
A few of these will be in my etsy shop when it reopens. I also have a few more in the works.
Categories: Miniatures
September 2, 2021 | 0 commentsBread dough bowls
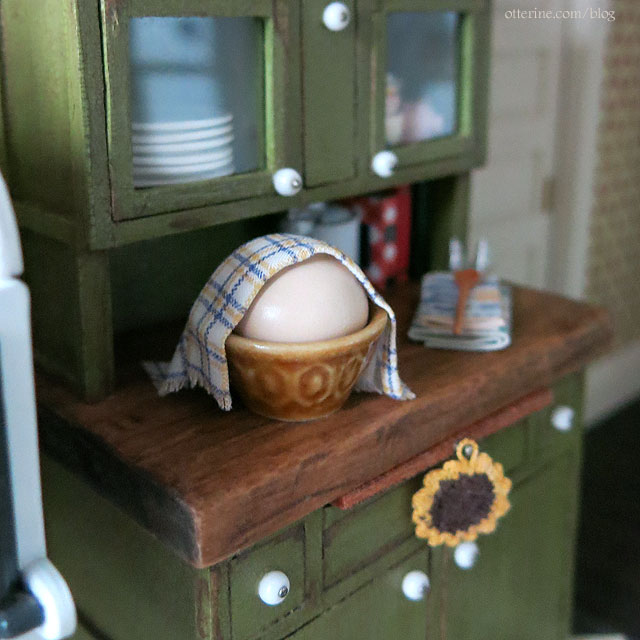
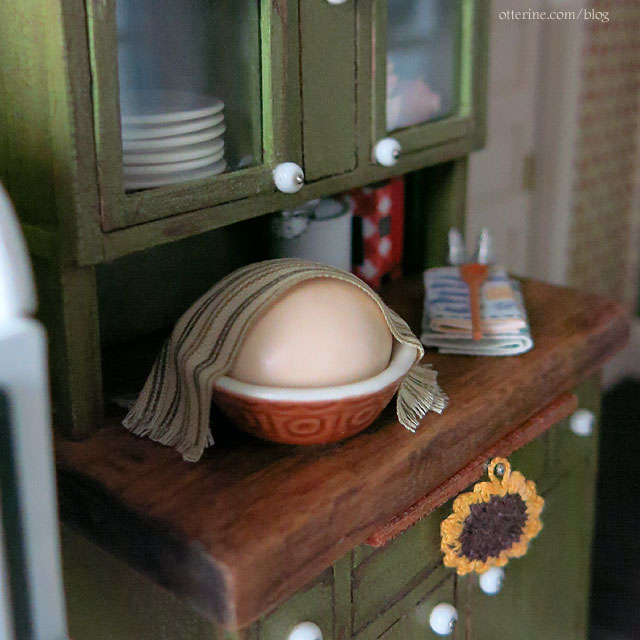
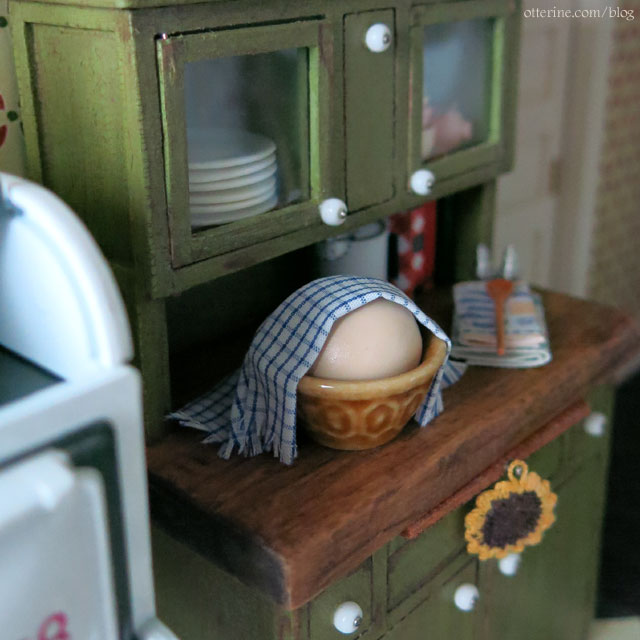
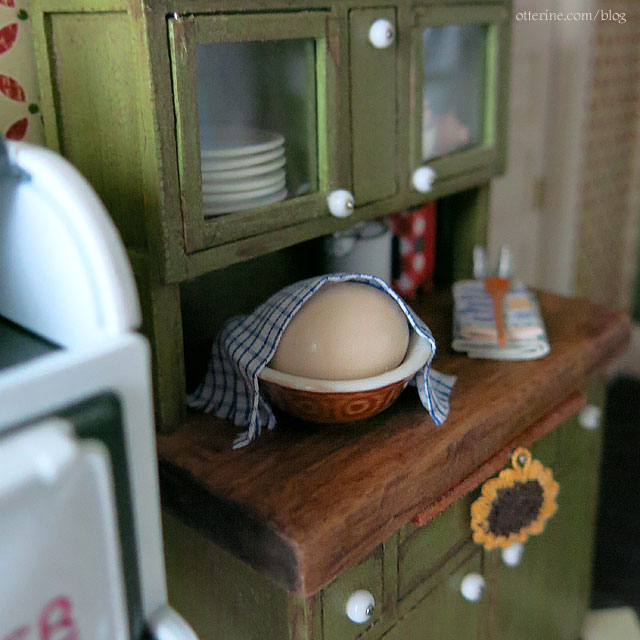
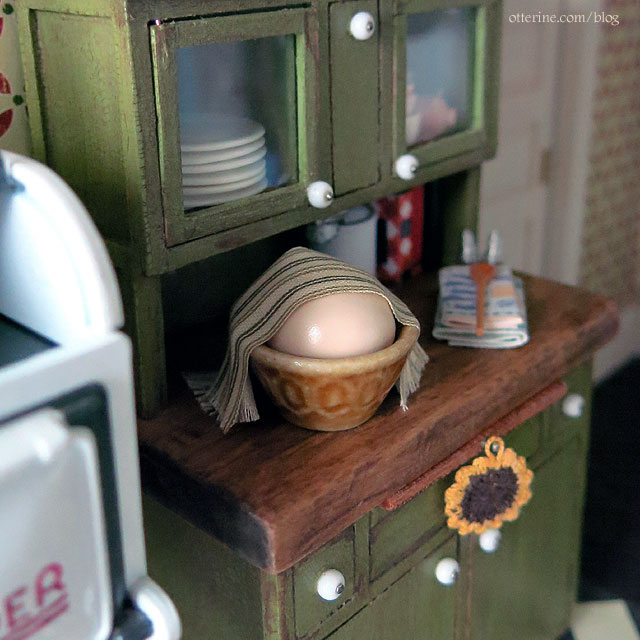
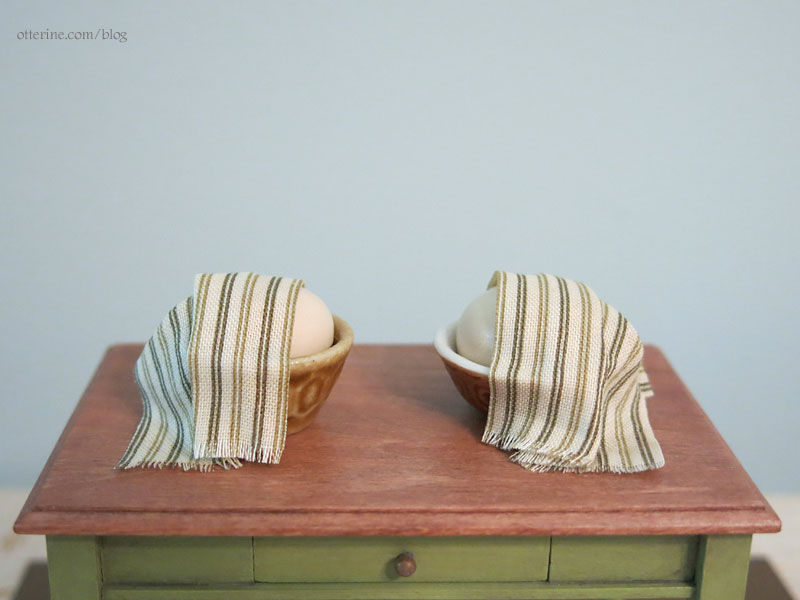
This past month, I made up some rising bread dough bowls using polymer clay. Today, I spent time making the kitchen towels used to cover them. In reality, the towel would cover them completely, but in mini, I let some of the dough peek out. Perhaps the baker is checking for readiness. One is for me, but the others will be in my etsy shop.
Categories: Miniatures, Polymer clay
August 28, 2021 | 0 commentsMemories and gifts
The miniature community lost a talented miniaturist and lovely lady, Elly in Amsterdam. I knew her through a petitpoint group and never met her in person, but she was one of the sweetest ladies and super fun. She’s definitely missed. One of her close friends is also a talented miniaturist and is looking after Elly’s estate. Josje has a blog of Elly’s miniatures for sale, and I bought two items to have something from Elly. :]
These cat matryoshkas are beautifully painted and actually function.

Too stinkin’ cute!

The coal scuttle is something I don’t have a plan for, but it is so well made it could be just an antique used for décor in a more modern setting. :]

One little coal was included.

Mom gave me two needlework books for Christmas that I’m sure Elly would have loved. The first is Embroidered Cats by Hiroko Kubota.

While it’s not an instruction book and not for beginners, the book illustrates the process of turning a photo into an embroidered likeness. I might need to see about making a needlework Jasper. With a little planning, it could probably be done in miniature to make a wall hanging.

The other book is Cluny Tapestry Rabbit, a counted cross-stitch pattern by Scarlet Quince. Elly made a similar one in miniature for a fire screen. This is a larger pattern, but with a high count fabric, it might be a good wall tapestry in miniature.

Categories: Books and media, Miniatures, Needlework - French knot rugs
January 24, 2019 | 0 commentsHappy New Year 2018!
I have a new toy! Mr. Meeseeks is from the Rick and Morty show. It’s a funny albeit crass show that isn’t for everyone, but I love it! Mr. Meeseeks is my favorite character so far. He comes with a gun and a golf club (makes sense if you’ve seen the show), but here he is about to enjoy some wine after completing his work. :D

Categories: Miniatures
January 8, 2018 | 0 commentsKitty tray
I treated myself to a splurge item just because. NAME Miniatures has a great collection of estate pieces, and I could not get this kitty out of my head. It’s a beautifully painted tray with a stand on the back that is held on with wax, so the tray could be displayed flat as well. But, who would cover that face?!! :] The work is signed HS 02. If anyone has information on the artist, I would love to know.
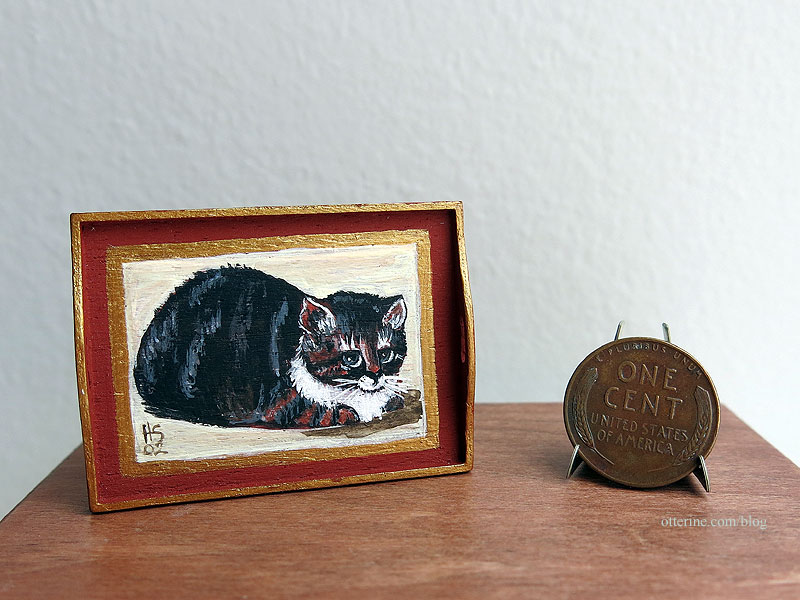
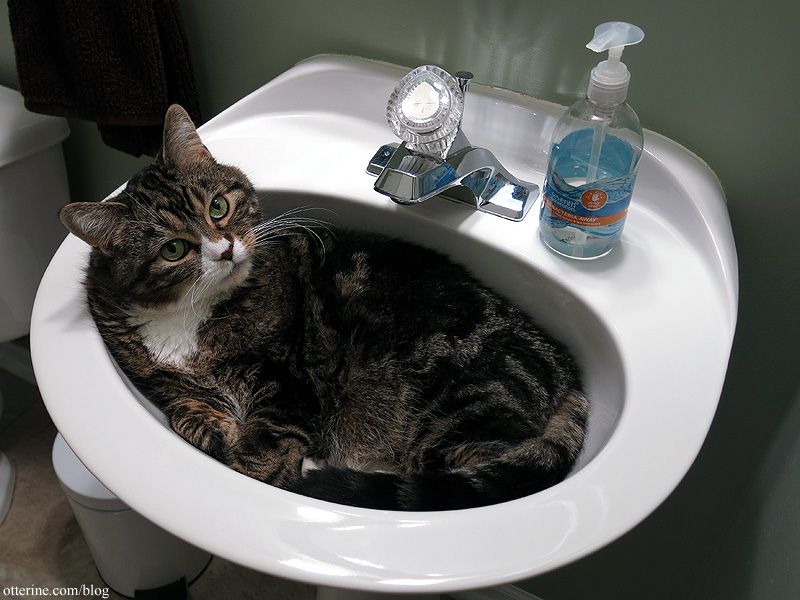
Now, if I could only figure out why that kitty seemed so appealing and familiar. Hmm…don’t tell me. It’ll come.
Categories: Miniatures
June 13, 2017 | 0 commentsWhere we’re going, and thoughts on it
I recently purchased sketchbook and road atlas kits from Nancy Enge’s etsy shop. Nancy makes fine kits with detailed instructions. I’ve always loved tiny Moleskin journals, and her sketchbooks remind me of those. I made one straight out of the kit, changing only the book mark to red thread. I made a second one using map end papers from the atlas kit.

These two are clean and ready to use. Operator error caused one to be thicker than the other, so I had to add more insert pages. I’ve saved the last one to customize with writings, sketches and such, and I figured it would be easier to do most of that work while the pages were loose.

The road atlas kit was actually geared toward making two journals with map covers and blank pages, then one road atlas. There are enough parts in these kits to choose and make it all your own. I decided to make two road atlases, adding blank end papers and custom covers. I used the 2017 Rand McNally cover image, made a spine and added some of my own photos to the back using PhotoShop. I also cut two new cardstock covers from cream cardstock to replace the kit’s light green.

One of the pre-cut covers from the kit had a place called Stumpy Point. How could I not go there? I used one of the insert pages to cut it down to include inside the atlas instead of on the cover. I have actually been to that area, visiting Bodie Island Lighthouse and other locales there.

I curled this one to stay open and made the other closed. Even though I won’t open the other, I did put Newport as the center paper. :] That’s where I started this adventure with minis, with The Newport by Real Good Toys.

Looks like we’re ready to hit the road.

The blanket roll is by FranMadeMinis, and the keys are by WhimsyCottageMinis. The other minis were purchased at various times.
Categories: Miniatures
June 4, 2017 | 0 commentsHe’s just misunderstood
I grew up reading Dr. Seuss books and have always loved the whimsical characters. My childhood copy of The Lorax is still on my bookshelf and is in rather good condition. I’ve even been to the Dr. Seuss National Memorial in Springfield, Massachusetts. It rained the day I went, but I still had great fun viewing the sculptures.

So, I was over the moon when I discovered The Secret Art of Dr. Seuss (as an Amazon Associate, I earn from qualifying purchases). You can see many of the works here. My personal favorite was Cat from the Wrong Side of the Tracks. I contacted the folks at Dr. Seuss, and they granted me permission to reproduce this print in miniature for my personal collection. Hooray!

I think it will end up in the Brownstone ultimately, but it might make appearances elsewhere in the meantime. I also plan to make a frame for it eventually, so I made the art crate a little larger than the print. In this photo, you can see the slight texture of the scrapbook paper I used that gives it a canvas quality.

I made the art crate from basswood scraps darkened with a touch of brown paint mixed with staining medium. The nails are bronze paint. It is non-opening.

I cut a stencil using the Cricut to dry brush lettering and symbols. :] I used recycled office supplies for the material since it’s very close to true stencil plastic.

Considering the success with the small parts of the letters, I could likely make even smaller stencils. I did have to pause the cut a few times to remove tiny bits of plastic that popped out so they wouldn’t get caught or interfere with the blade.

The trial was a success.

I cut away the excess so they would sit flat against the wood.

These were relative large in scale, but the crate is large and needed clear markings.

One side turned out better than the other, so I have a definite right side. Yes, that’s a packing list pocket, bill of lading, invoice and certificate of authenticity. :D

Categories: Art and paintings, Miniatures
April 19, 2017 | 0 commentsBlanket Chest from Minimum World
The fine folks at Minimum World Dolls House Furniture Ltd contacted me about doing a feature on their unfinished furnishings and sent me a bare wood blanket chest free to try.

The wood was in great condition and needed minimal sanding to prep. I did use my Tweezerman tweezers to remove the hinge pins to make finishing easier, though this might not be possible for everyone to do.

I painted the chest a base color of Heritage Brick mixed with Staining Medium, both by Americana.

It’s a rusty red that will fit with just about any décor. I lightly sanded the chest with a scrap of paper bag material to smooth the surface raised by the paint application.

As with many pieces of unfinished furniture, there can be glue spots on the wood that don’t take stain well. Painting is no issue in covering these, and I’ve detailed methods for covering these spots in a past post. For me, it didn’t much matter since I wanted to try a different type of finishing. I scanned the front and sides of the chest and then printed templates from those scans.
I found wonderful art on The Graphics Fairy to add to the chest. I have hand painted designs previously, but I wanted to give this technique a try. I always print a few copies of the final images and then cut the panels to fit until I am happy with the end result.

I didn’t worry too much about being precise because the final finishing will cover minor mistakes and the shadow of the overhang will help disguise as well. I skipped the side panels, keeping the focus on the front. The panels are glued in place using MiniGraphics Wallpaper Mucilage and covered in a thin layer of Delta Ceramcoat Satin Varnish.

I also cut pieces of parchment paper for the interior and glued them in place with the same mucilage and varnish layer. I used a tiny bit of Antiquing Medium to age the crevices and give some depth to the piece. By varnishing the paper first, I could wipe away excess without marring the paper or over-staining it.

After a final coat of Delta Ceramcoat Satin Varnish inside and out, I was ready to reattach the lid. Blocks from Andrea Thieck.

Now I have a delightful country blanket chest for books and other treasures. The books are from L. Delaney, and the tin man doll is from Sir Thomas Thumb.

I am very pleased with the end result and would definitely recommend giving their unfinished furniture a try. Thank you, Minimum World! :]

As for the Putitto tabby cat, I blame Keli (and a complete lack of will power). :D

Categories: Furniture, Miniatures
March 1, 2017 | 0 commentsDrafting table
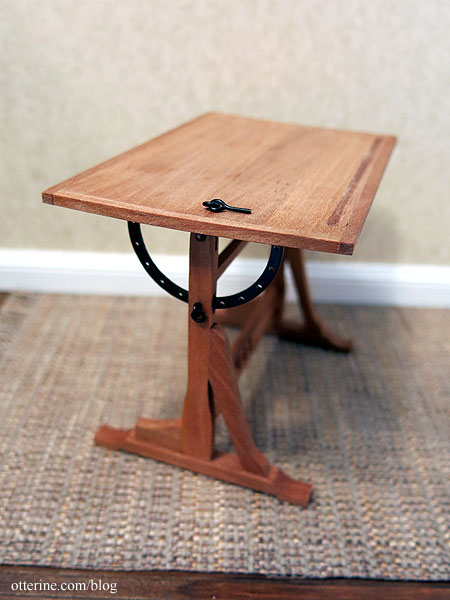
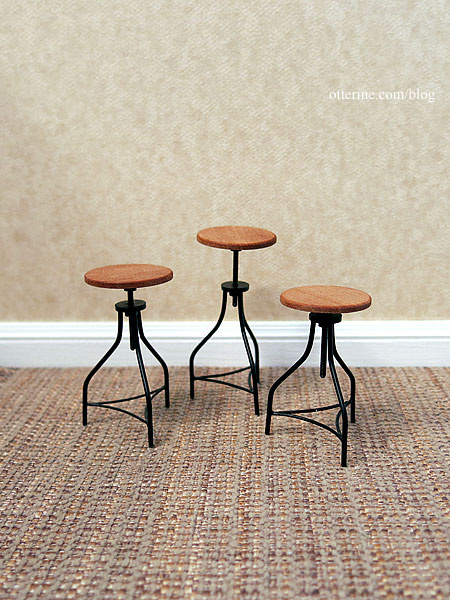
A few years ago, I saw a fabulous drafting table on Recréation Miniature. I put it on the someday to try list. I loved that it was a working, adjustable table. Another fine example is the table from Boutique Miniatures. I own two of the adjustable stools from this shop. I put the table on my wish list as a splurge in case I didn’t get around to making one.
Not too long ago, Mike Adamson was downsizing a few miniatures he didn’t intend to use, and the drafting table from Boutique Miniatures was one of those items. I was lucky enough to nab it. :D You must see the beautiful work that Mike does as well. His exacting replications for kitchens, living rooms and other modern settings are top notch!
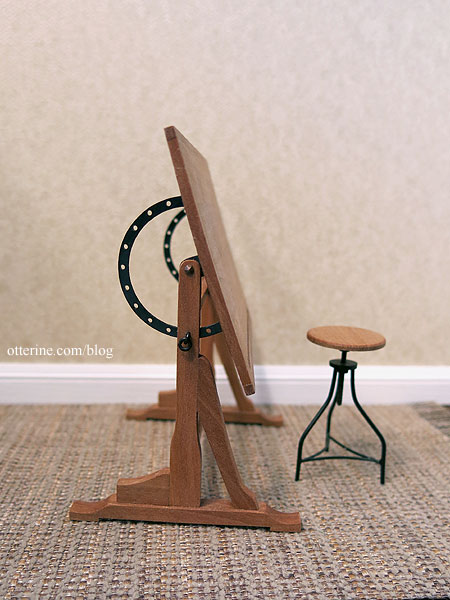
The table is a superb reproduction.
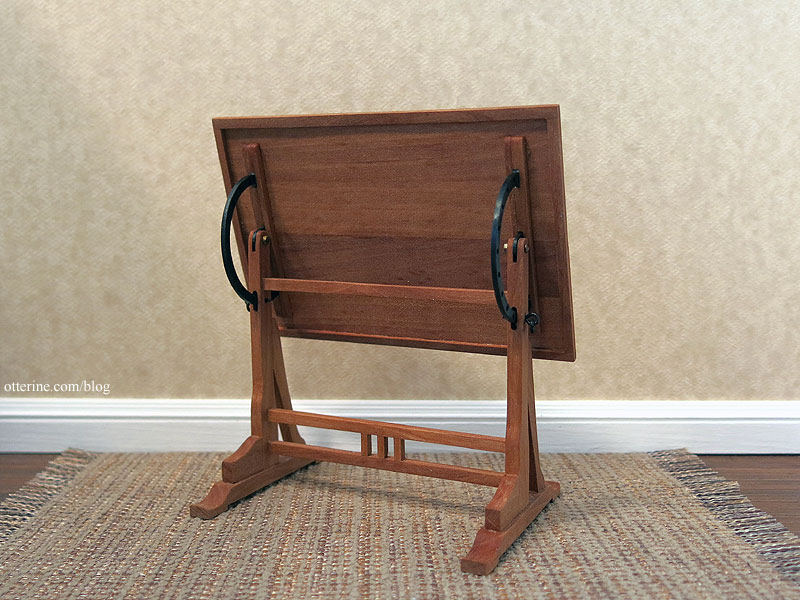
There are tiny ringed pins to adjust the table from flat to angled.
There was another stool in the set, so now I have three. The tops actually adjust up and down.
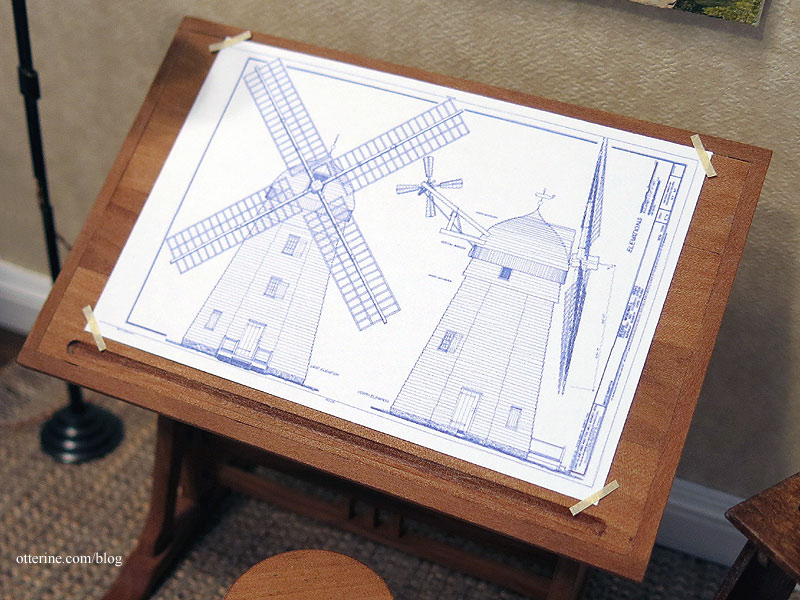
I’ve printed out a Beebe Windmill technical drawing for today’s scene, though I recolored it in PhotoShop.
Mike sent me one of his marvelous paintings as well. :]
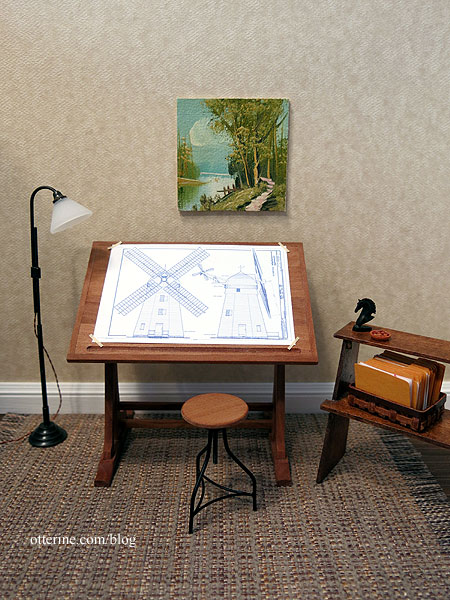
Lamp from Ray Storey, bowl of nuts from Hartland Miniatures, modern shelf from Debbie Ohm, rug from Iklectic Kollectibles, horse bust from Art Forge. I made the file folders. Windmill plans image from Wikimedia.
Categories: Miniatures
February 4, 2017 | 0 comments
NOTE: All content on otterine.com is copyrighted and may not be reproduced in part or in whole. It takes a lot of time and effort to write and photograph for my blog. Please ask permission before reproducing any of my content. (More on copyright)

An indispensable dispenser
A. Third hand
B. Swearing reducer
C. Masking tape dispenser
D. All of the above.
I can’t believe it has taken me so long to get one of these. :D
I’ve been swearing at minis for years trying to hold something in place while tearing off a piece of masking tape from a tape roll I can’t find, even though I just had it in my hand a moment earlier. I’m already happier having this new tool for my workspace.
Categories: Miniatures
February 27, 2022 | 0 commentsBeatrix Potter vintage books
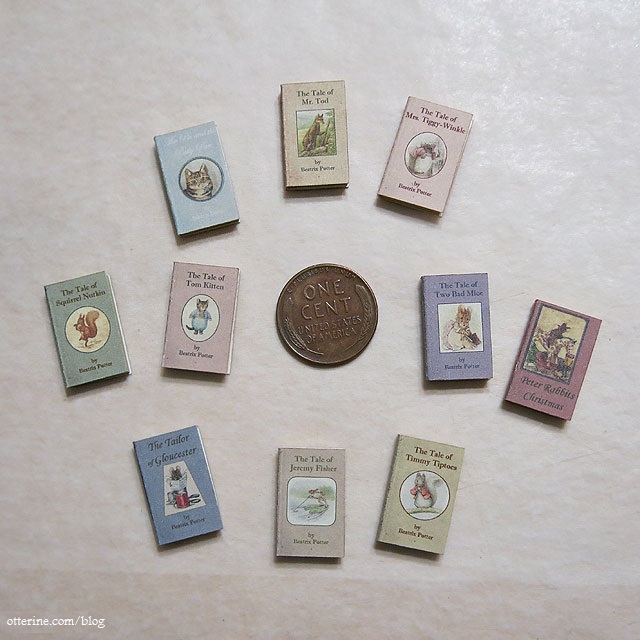
This Beatrix Potter book set from Art of Mini makes 20 books, but I have finished only 10 so far.
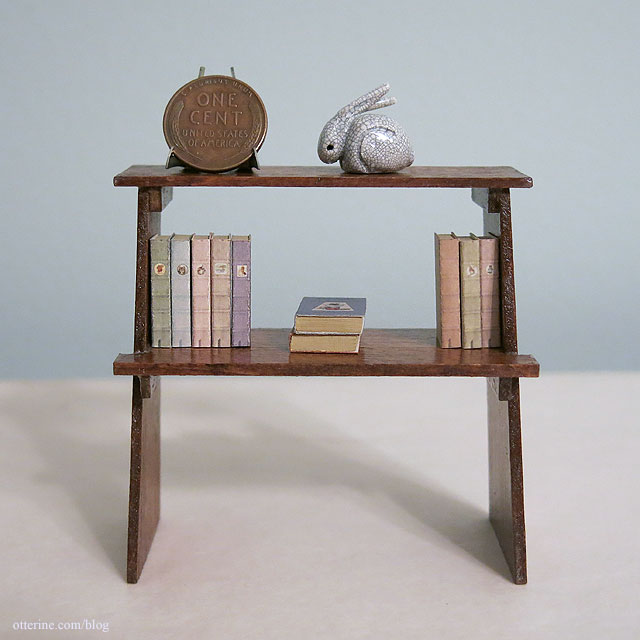
I love the vintage, well-loved look.
Categories: Miniatures
January 15, 2022 | 0 commentsHappy New Year 2022
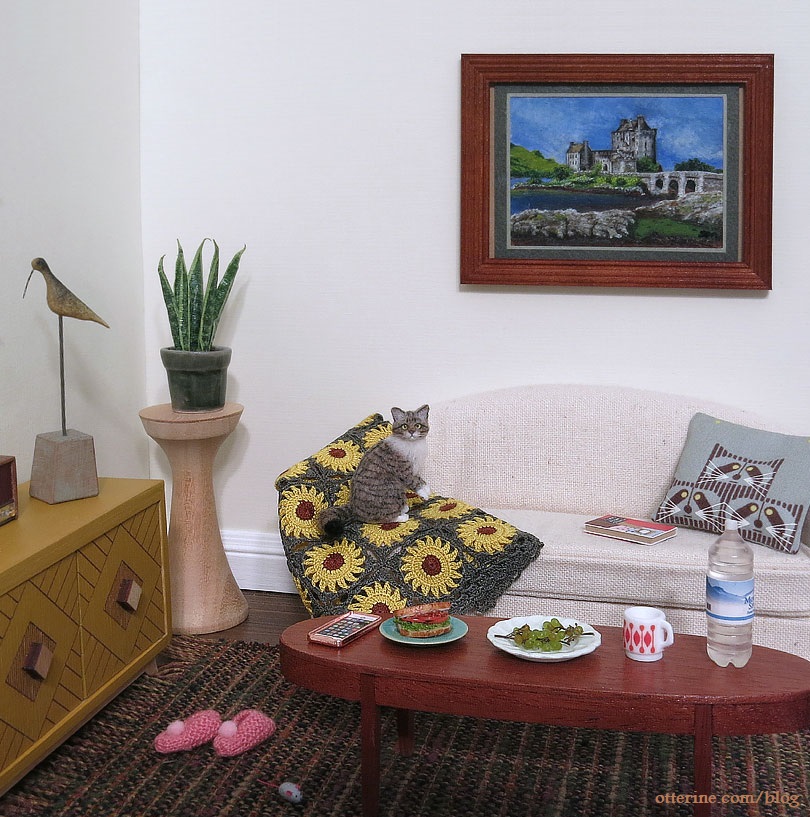
I spent some time over the New Year weekend making a mini scene and cleaning up my workspace for new projects. I’m excited to work on new minis for myself and for sale. :]
—–
Chester the cat by 2014erok; sideboard by Minterior; sunflower blanket by Gweaneth’s Dream; slippers by Freedom Miniatures; mouse toy by A. Smith Arts; bacon sandwich by Sugar Charm Shop; grapes by Rina Vellichor; mug by Woodland Trail Whimsy; water bottle from Shepherd Miniatures; painting by blueprintminiatures; coffee table by minisx2.Categories: Miniatures, Roomboxes and Mini Scenes
January 3, 2022 | 0 commentsA Coral Pink Christmas, part 4
Wishing you a very Merry Coral Pink Christmas! I finished just under the wire.
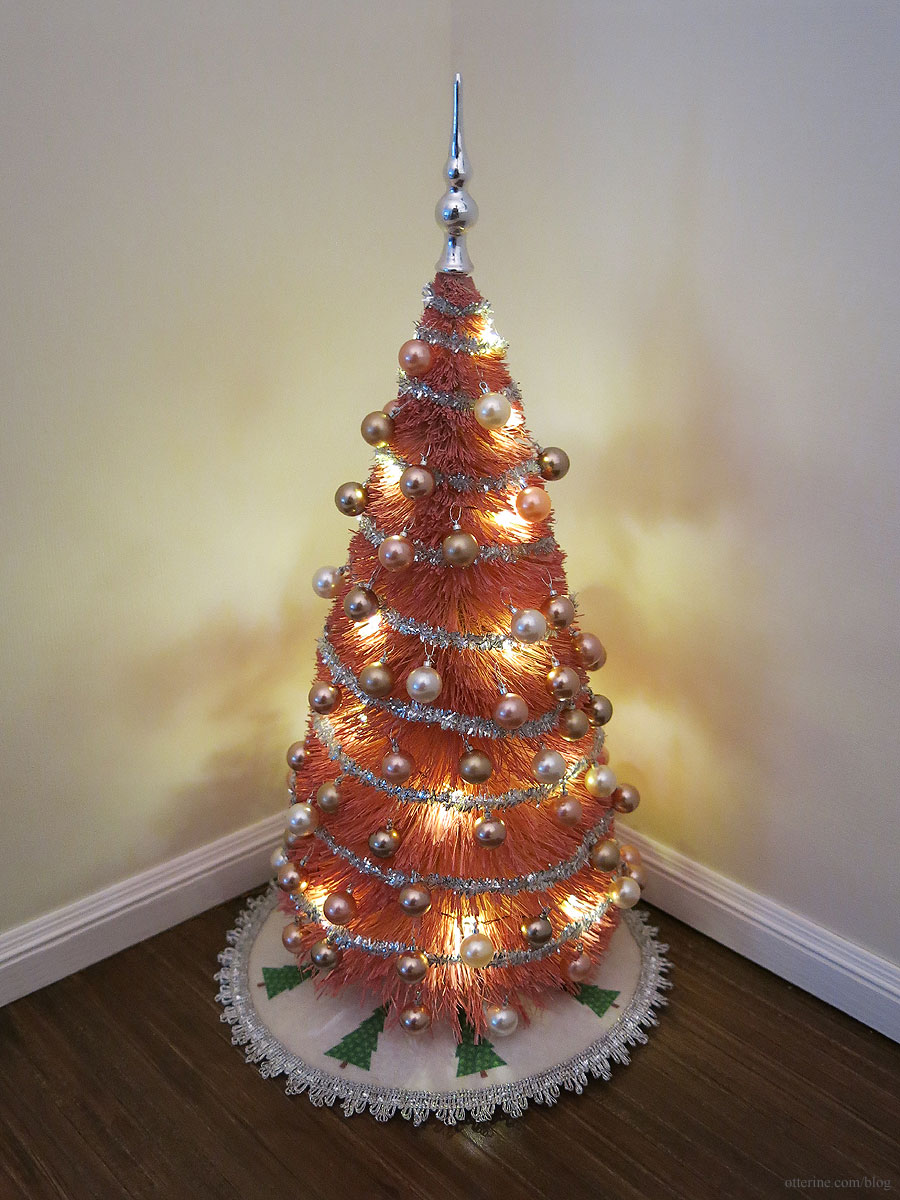
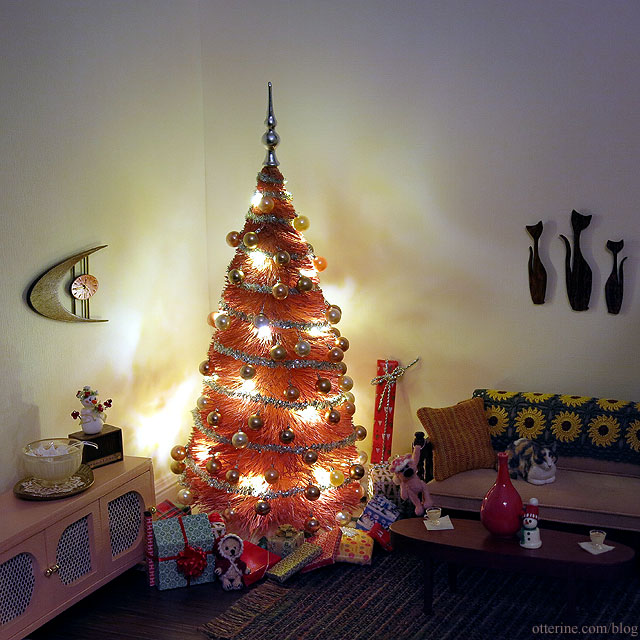
I had so much fun playing and digging through my stash for retro inspired minis! :D
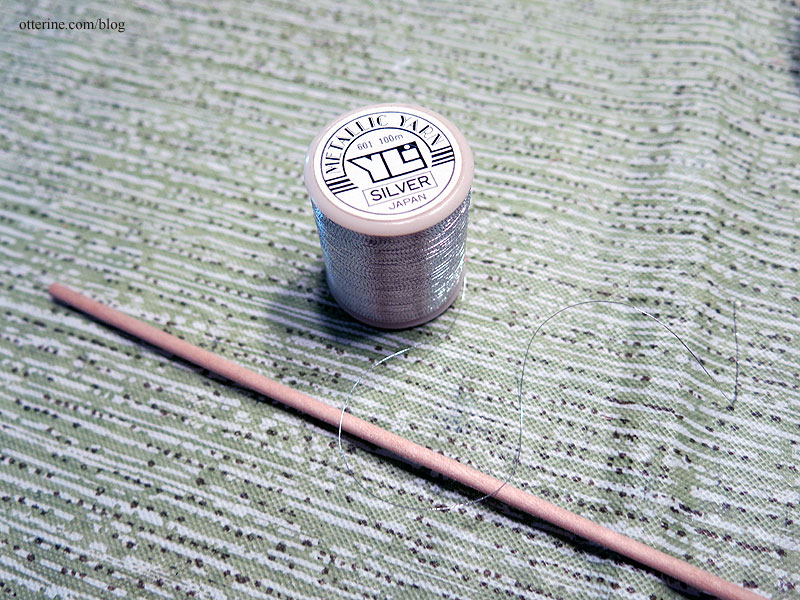
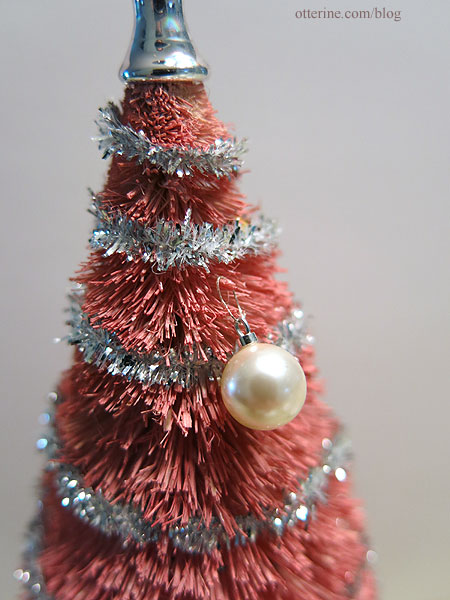
I opted for silver thread from my stash of sewing supplies. For being so fine, the thread is very strong and easy to work with.
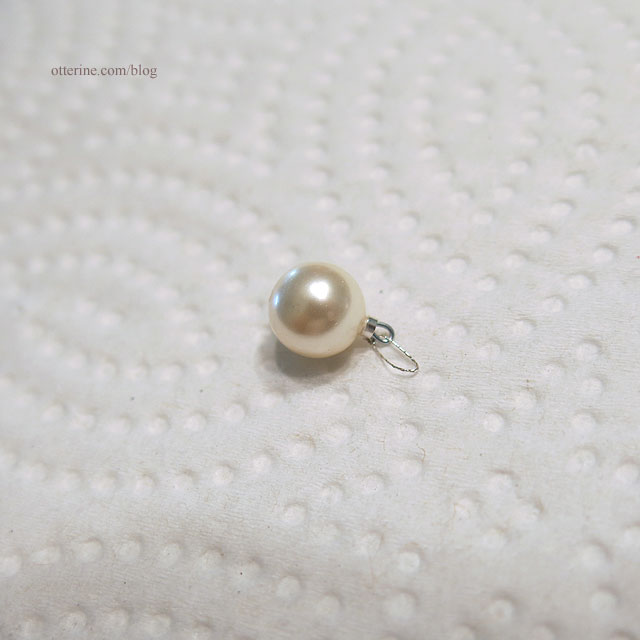
I glued the strings to the tree since the ornament beads are heavy and would not stay put on their own.
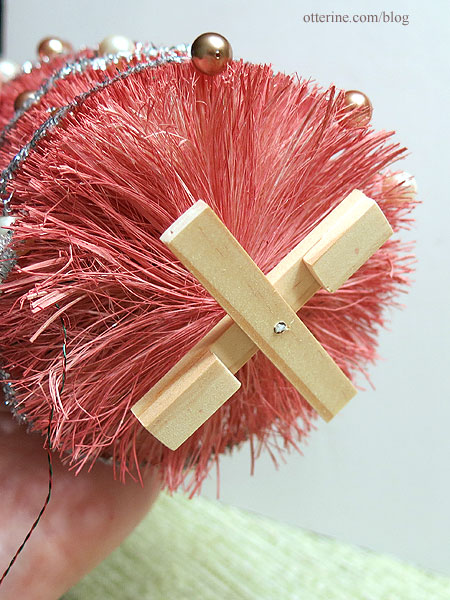
Here’s the new tree base to replace the original wood round. Just some scrap basswood cut to fit and glued to the center wire.
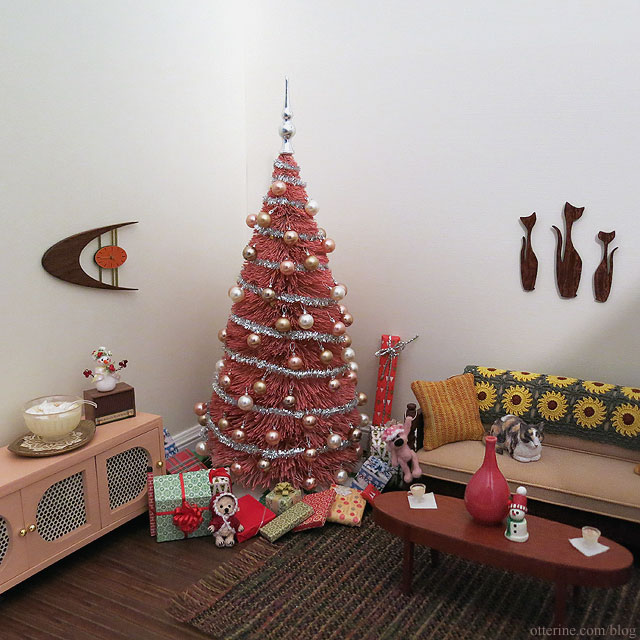
I used a tree skirt and presents from past scenes since I didn’t have time to make something new.
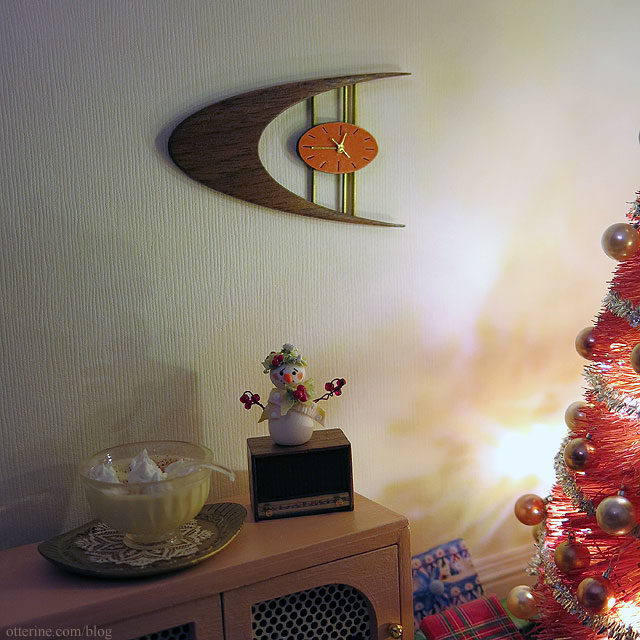
The retro clock (and the wood cats) were made by the talented Cyd of Mod Pod Miniatures.
———
Sideboard from Minterior. Sunflower afghan by Gweaneth’s Dream. Bear in red hoodie by Obscurely Small; pink bear by LugArt Petit. Calico cat by Paizley Paws. Snowman figure by Sherry Moller; plant pot snowman from Just Miniature Scale. Egg nog punch bowl and cups by Sue’s Little Things. Pink vase by Lorie Marsh. Doily from Stewart Dollhouse Creations. Coffee table by minisx2. Wrapped dollhouse by A Pocket Full of Wishes.Categories: Miniatures, Roomboxes and Mini Scenes
December 25, 2021 | 0 commentsA Coral Pink Christmas, part 3
Continuing work on the coral pink Christmas tree. On a side note, I had a big project come up in the past month, so I won’t be able to make two trees. I do still plan to make a second to sell, but it might not be this year.
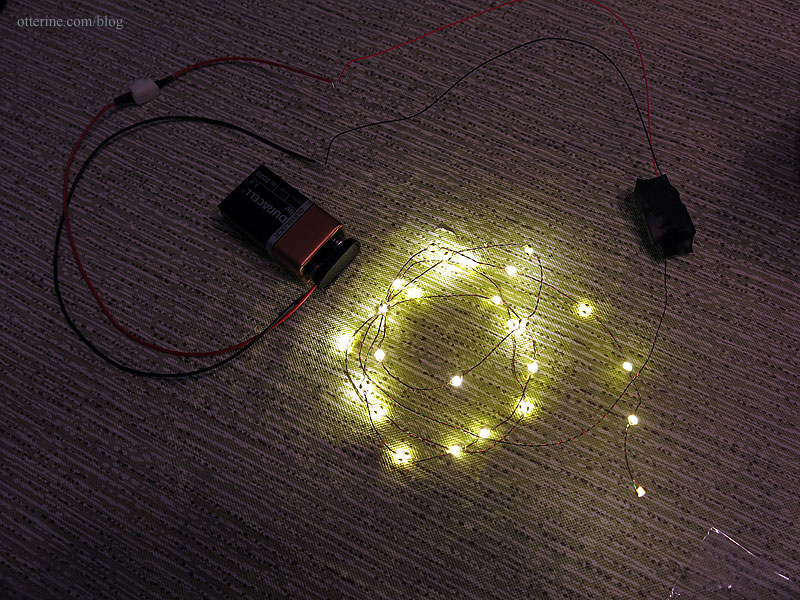
In getting back to the tree I had started, I did make a quick change to the lighting. I’m still using warm white string lights from Evan Designs, but I swapped out the 3V 26-light string for the 7-19V 26-light string (listed as 6-18V 26-light string on the website). The reason for this is the 7-19V string has a smaller circuit pack than the AA battery holder. I can make a faux gift box to hide the circuit more easily.
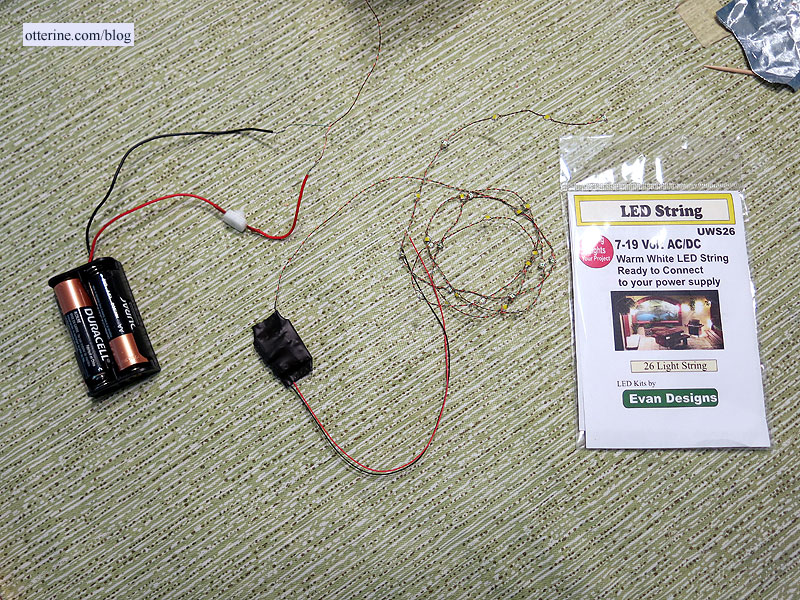
I used a 9V battery while working, though this string can be plugged into the 12V dollhouse system. The lights are plenty bright with the 9V battery. The switch can be purchased from Evan Designs as well.
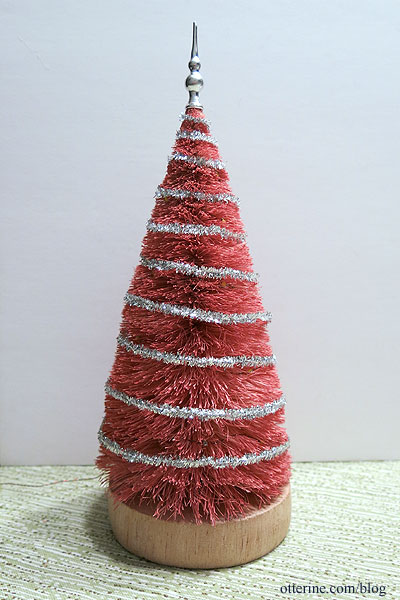
I opted for the silver Kreinik Micro Ice Chenille for the garland, tacking it in place with light glue here and there.
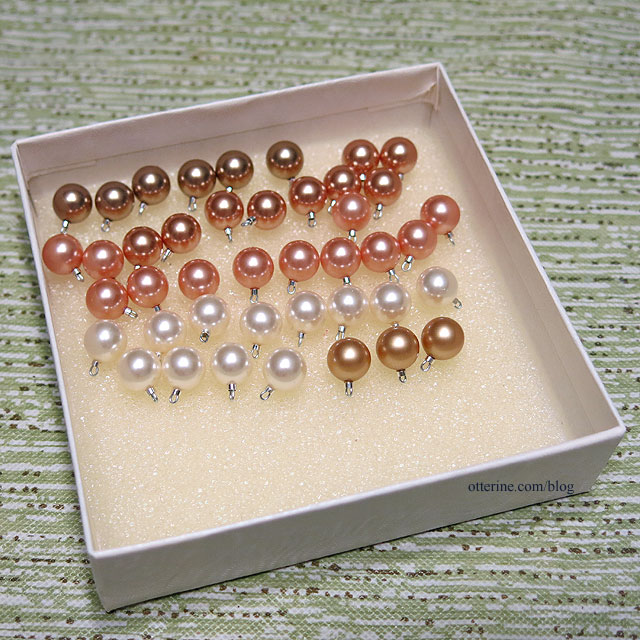
We are ready for ornaments now.
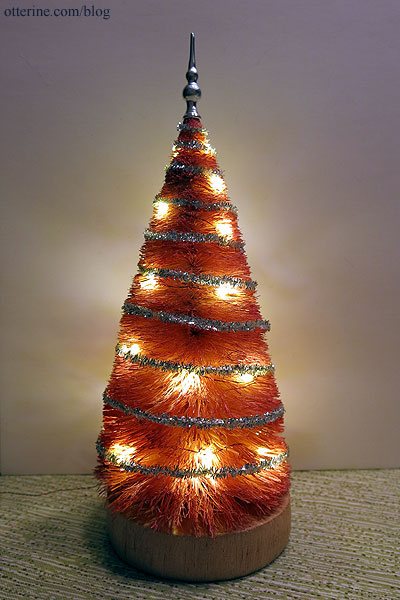
The various tones of the ornaments should work well with the pink and silver.
Categories: Miniatures
December 19, 2021 | 0 comments
NOTE: All content on otterine.com is copyrighted and may not be reproduced in part or in whole. It takes a lot of time and effort to write and photograph for my blog. Please ask permission before reproducing any of my content. (More on copyright)


