
NOTE: All content on otterine.com is copyrighted and may not be reproduced in part or in whole. It takes a lot of time and effort to write and photograph for my blog. Please ask permission before reproducing any of my content. (More on copyright)
Categories:

Scratch built table lamps
One of the bigger challenges in decorating a dollhouse in a more contemporary style is the limited amount of contemporary lamps and other accessories on the market. There are some modern fixtures, but most are brass or old-fashioned. The table lamp selection can be pretty good, but I wanted to see if I could custom build my own lamps.
I had the bases all figured out just from looking at real life and miniature lamps. Stack beads, feed a wire through, etc. Even making shades from paper seemed simple enough, but it was attaching the shades to the bases that had me scratching my head.
Store bought mini lamps usually have a plastic disk holding the bottom of the lamp shade. I could use acrylic disks, but I would be limited by the pre-cut size of them. Then I happened upon the handmade lamps by M Carmen at Mini Shabby. She had used a jewelry finding to hold her shade in place, and it looked like a great idea! I left her a comment on her blog, and she was kind enough to send me the information on where she found them.
The site was Bindels Ornaments, and let me tell you, they have great items and ideas! They sell components and kits for lights and accessories in small scale. They even have pages showing you how they built bottles, lights, trays and candlesticks from jewelry findings. I bought both the three-prong and four-prong findings, but I found the four-prong worked best for this particular project.
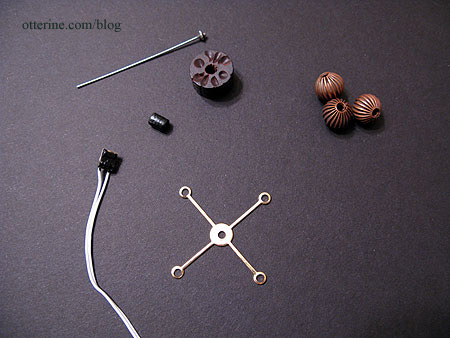
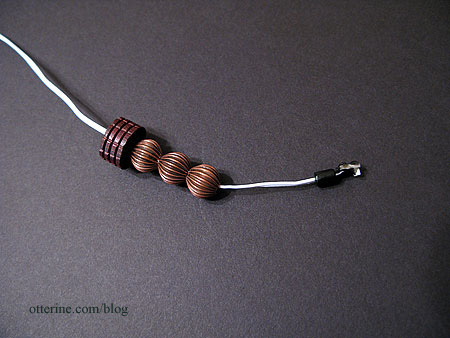
I started with a wood bead base, three copper colored beads, a NovaLyte LED and some miscellaneous jewelry findings.
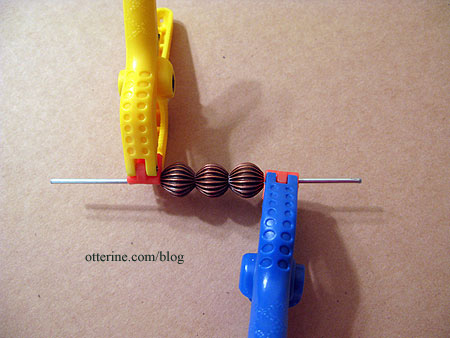
I first glued the three beads together, using a metal rod to keep them lined up as they dried. It’s not very stable, but it kept them from shifting around while working with them.
I glued the stack of three beads to the wood base. Again, the metal rod is only to keep things aligned and not glued inside the beads.
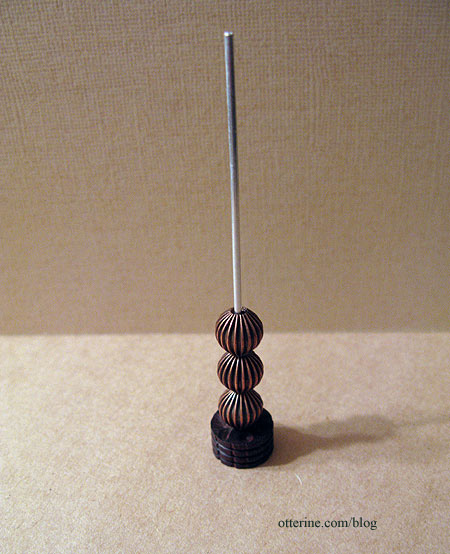
I had cut out a groove in the bottom to let the wire out the back and to keep the lamp bottom flat.
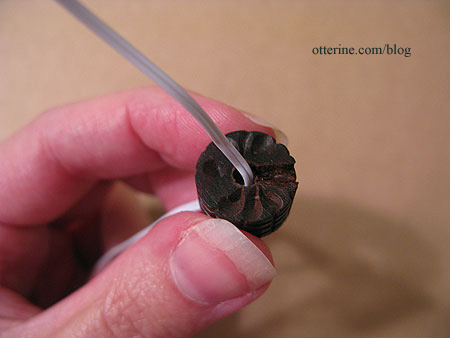
I fed a small black wood bead onto the LED wire and then fed the wire through the bead assembly.
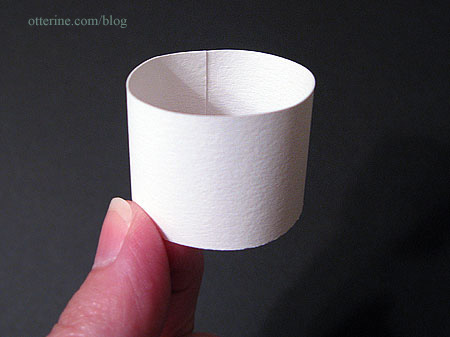
The shade is made from a strip of heavy paper 1″ wide and 4″ long, the ends lapped and glued.
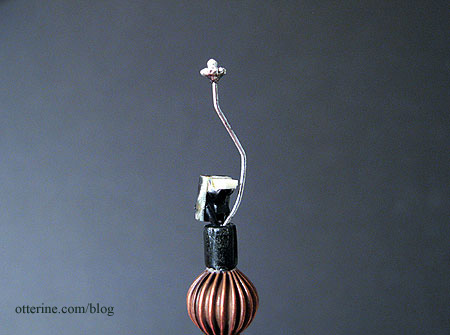
I formed a holder from a fancy head pin and glued it inside the short black bead under the LED.
Unlike how M Carmen made her shade, though, I cut off the four circles on the jewelry finding and used it to support the top of the shade, not the middle. Since the four-prong holder showed when the light was on, I glued a strip of black quilling paper around the top edge of the paper shade.
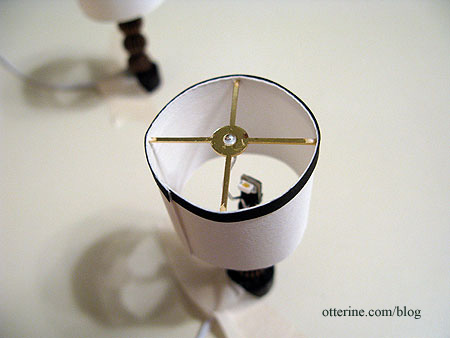
Here are the two lamps on either side of the master bed.
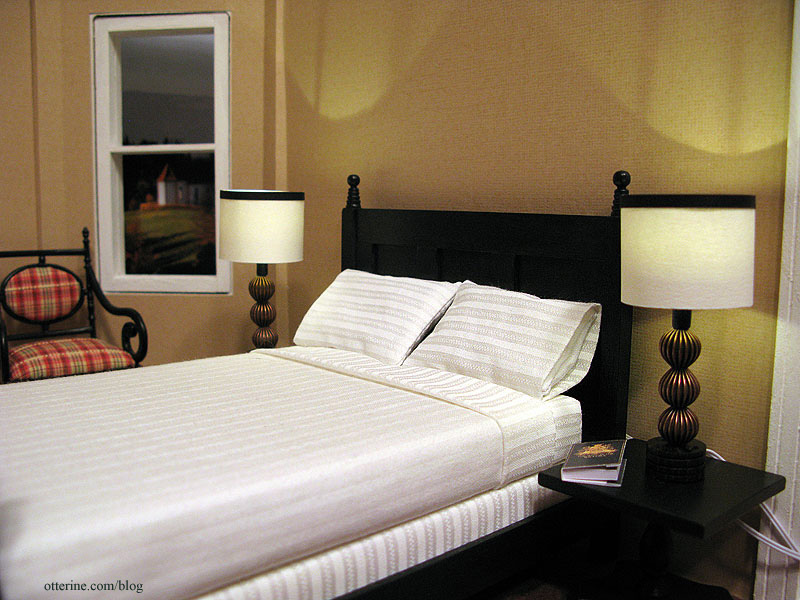
I love the way they turned out, and the LEDs provide great light not usually seen in miniature lamps.
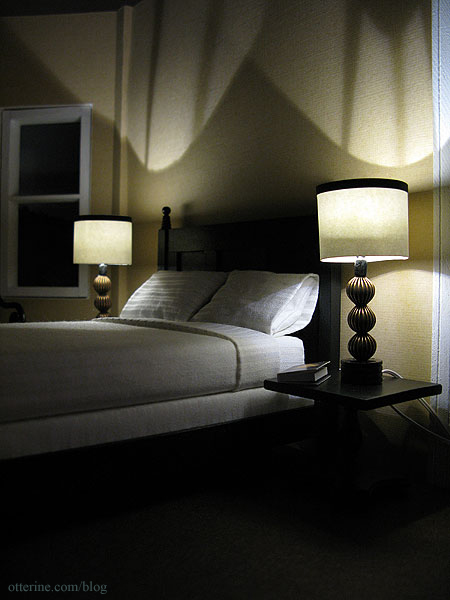
I didn’t save any money making my own lamps since I used pricier LEDs and had to buy more materials than necessary just for two lamps, but I have unique fixtures in a more contemporary style than what’s available on the market.
Categories: Miniatures, The Newport
August 10, 2010 | 0 commentsItalian shoes and matching handbag
I now own three things from Italy, though I have never been there. First is a Venetian mask I bought online about ten years ago. And, now…these beautiful shoes with a matching handbag from the wonderfully talented Patrizia Santi. :D I just love them!
I originally saw the shoes at the Bishop Show in Chicago back in April. I hesitated about buying them and lost out. The price was reasonable considering the outstanding workmanship and time involved; I just hadn’t wanted to go overboard with shopping on my first night at the show. When I went back later, however, the ones I wanted were gone.

After looking at the photo I took at the show over and over, I decided to write to the artist to find out what I had to do to get those shoes! She made a pair for me and (as a complete surprise to me) included a matching handbag. It was so thoughtful of her. I think the shoe box and shopping bag are so awesome, too. :D

I don’t typically carry handbags in real life, but I would carry this one and I would definitely wear those shoes! :D
Categories: Miniatures
May 22, 2010 | 0 commentsRya rugs and clover pitcher
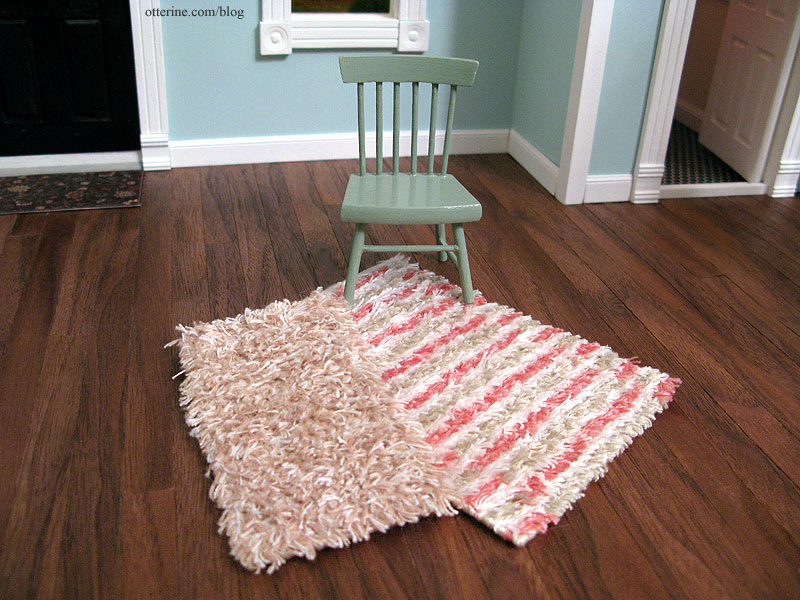
I’ve received a few minis from a two international miniaturists. First, two rya rugs made by the talented Glenda at Peppercorn Minis in New Zealand. They’re so soft and pretty I wish I were mini so I could run my toes through the pile! :D
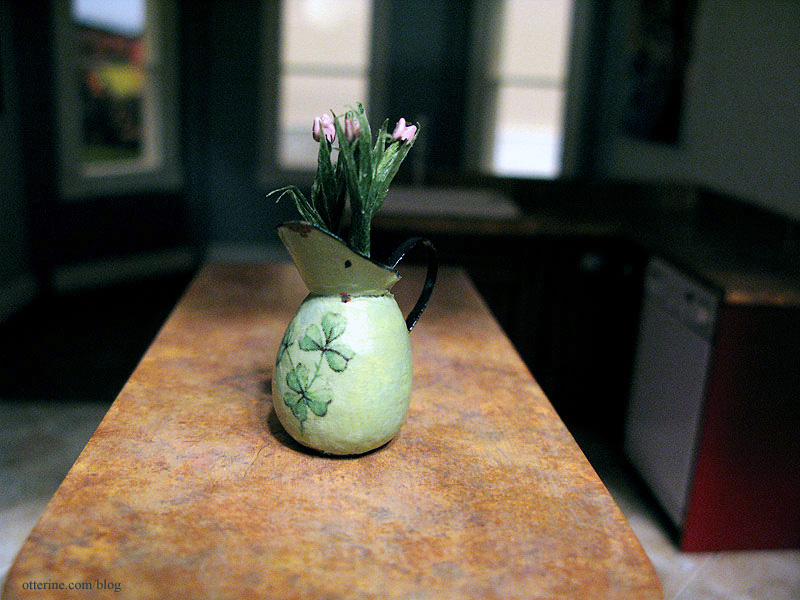
The second is a tiny pitcher with flowers from the gifted Sylvia at lotjesdollshouse in The Netherlands. I love the color and the clovers!
Categories: Miniatures
April 5, 2010 | 0 commentsFlipping the opening direction of a door
Houseworks has some of the best dollhouse components on the market, and their doors are fabulous in that they are premade and hung in frames. All you have to do is slide them into place. But, sometimes you want the door to open the other direction. As they are currently made, if the premade door is facing you, the door opens in to the right.

Here’s how I flipped one to open in to the left. First, I used masking tape to indicate the “up” direction and sides 1 and 2.

Since you are always keeping the “up” side in the right direction, this will work with other paneled doors where there is an obvious up direction. It’s less important with this type of door where the style is uniform up and down.

I removed the hinge pin on the bottom but left the pin at the top in the door.

I then measured where the original holes were and marked that same measurement on the opposite side. These need to be precise. I then used a pinvise to make the new holes. I slid my drill bit into the original hole to make sure I had the right size before drilling on the opposite side.

top of door frame 
bottom of door frame I installed the original door with side 2 facing me. The door now opens in to the left. The original holes can be filled or left in case you change your mind again.

Categories: Baslow Ranch, Miniatures
April 2, 2010 | 0 commentsPlant stand and mannequin
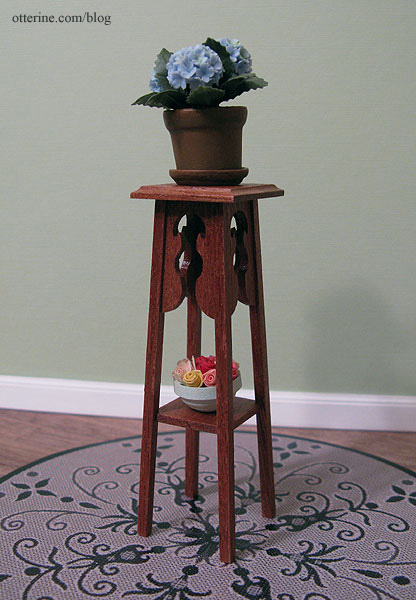
While buying supplies from a shop in the UK, I added a plant stand kit by McQueenie Miniatures to my order. It’s a beautiful kit made from mahogany that was very easy to put together. I sealed the wood with satin varnish by Delta Ceramcoat to bring out the grain of the wood.
The hydrangea plant is by Falcon Miniatures. I made the roses and bowl from quilling paper many years ago. The rug is a paper printout of the Piazza rug by Dynamic Rugs.
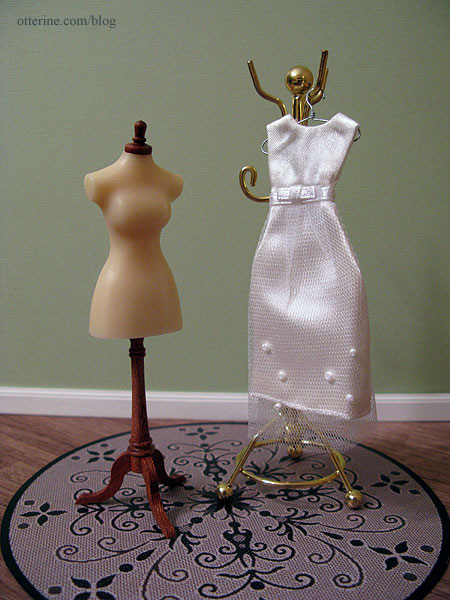
The other kit came from Hazel Dowd, a different supplier in the UK. The mannequins are sold premade as well, but I bought it unassembled at a lower cost. It was a very easy kit, again with a wood base and cap beautiful enough to varnish without modification.
The wire hanger is by Handley House and the dress is a scrapbooking item by Jolee’s by You. I plan to make some clothing myself but couldn’t pass up this beautiful dress in perfect scale. :D The brass coat rack came from a furniture lot a friend gave to me.
Categories: Furniture, Miniatures
March 13, 2010 | 0 comments
NOTE: All content on otterine.com is copyrighted and may not be reproduced in part or in whole. It takes a lot of time and effort to write and photograph for my blog. Please ask permission before reproducing any of my content. (More on copyright)


