


NOTE: All content on otterine.com is copyrighted and may not be reproduced in part or in whole. It takes a lot of time and effort to write and photograph for my blog. Please ask permission before reproducing any of my content. (More on copyright)

Categories:
Perfect mitred baseboards – a tutorial
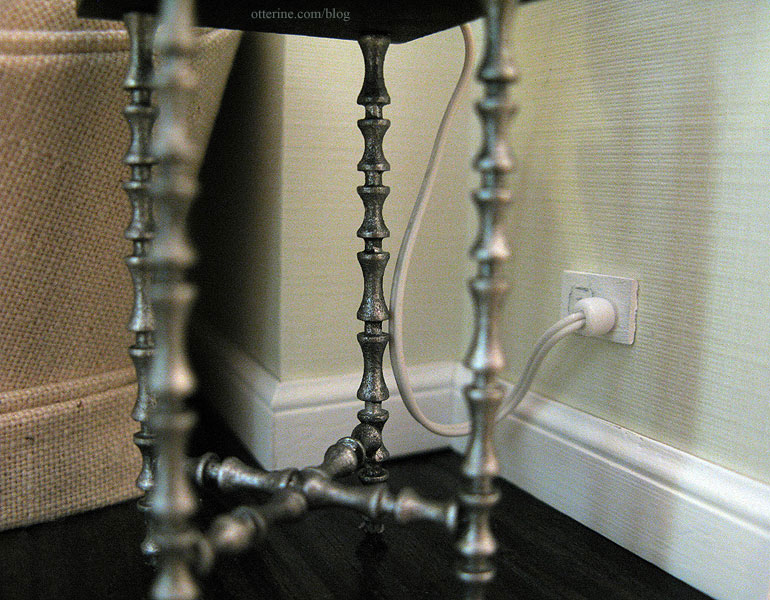
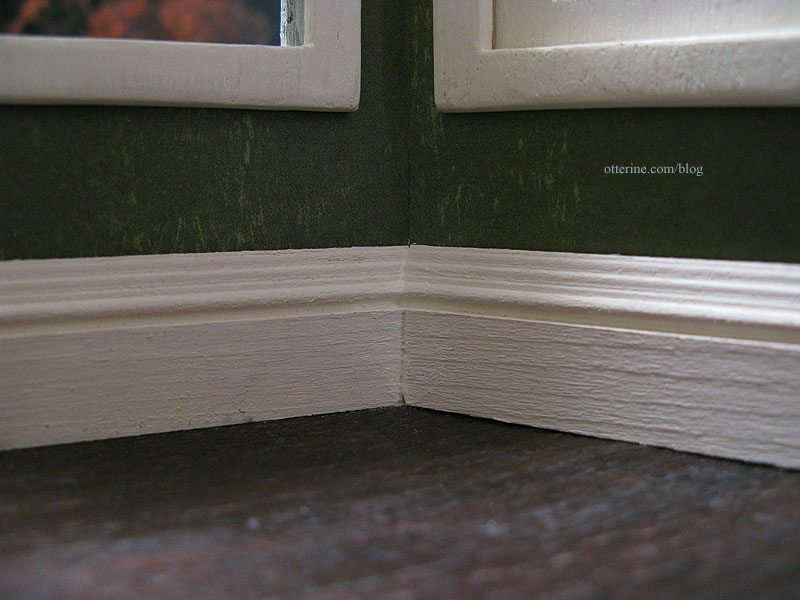
One of the best ways to achieve realism in a miniature setting is to add baseboards. But, nothing ruins that illusion more than big gaps at the joins. With a little patience, there’s a relatively quick fix to achieve perfect mitre joins, even if your cuts are off. (Note: for my tutorial on the electrical outlet, see this post.)
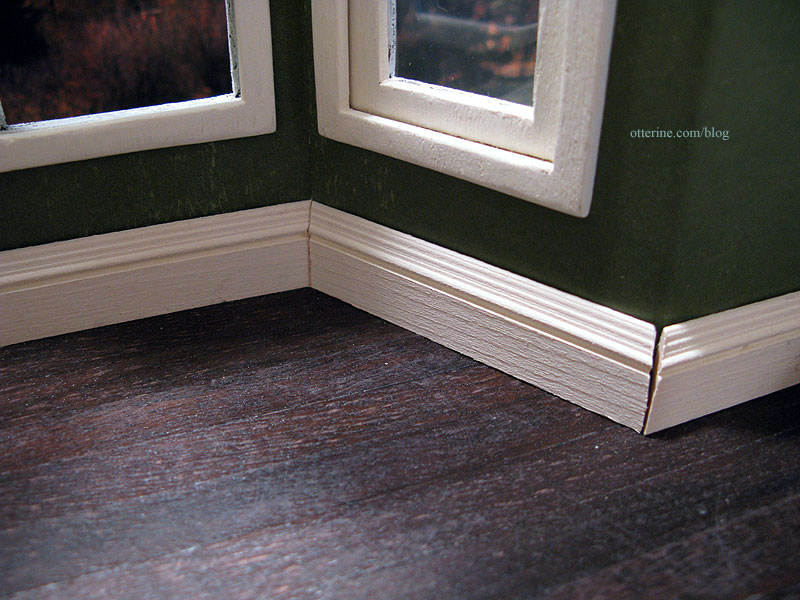
living room in Baxter Pointe Villa Here’s the process I followed in the Heritage kitchen, where the uneven angles of the bay window left rather noticeable gaps in the cut baseboard. Dollhouses are not often square, even with the best of intentions.
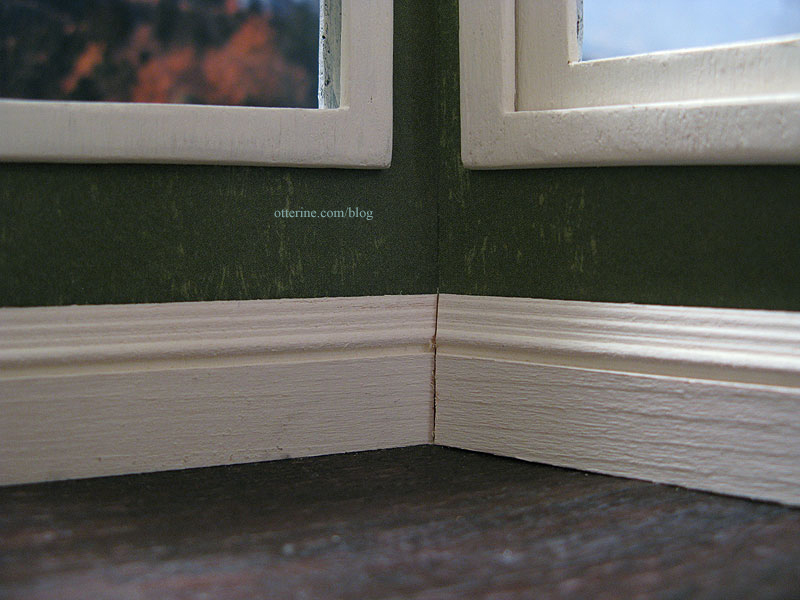
I use an Easy Cutter to make my mitre cuts in the first place, though this tutorial doesn’t cover that part of the process since I can’t photograph myself working on something that requires two hands! :D I’m starting at the point where you already have the best mitre cuts you could make. The baseboards need to be finished, cut and glued in place, matching the mitres as best as possible. I’ve left my baseboard relatively rough to reflect the age of the house.
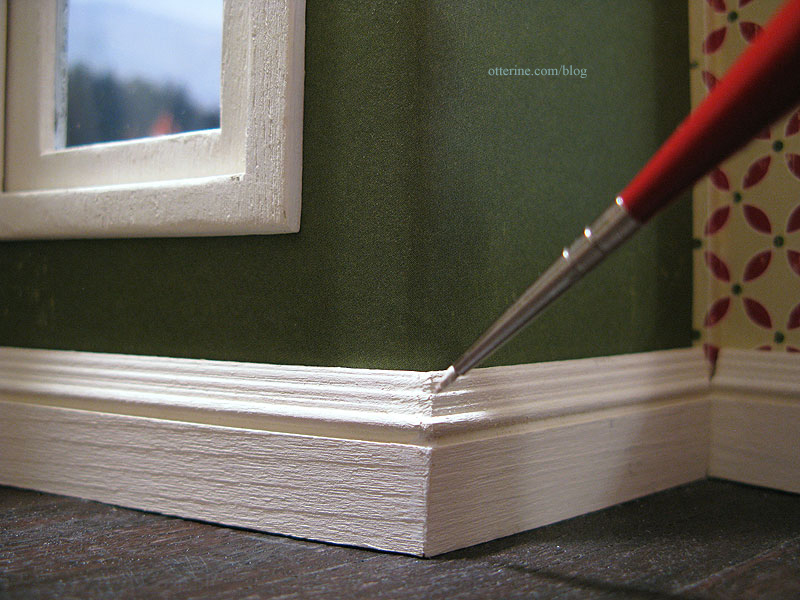
Inside corners usually have minor gaps, if any, and are the easiest to fix.
I take a tiny paint brush dipped into the same paint used on the baseboards and dab small amounts of paint into the crease.
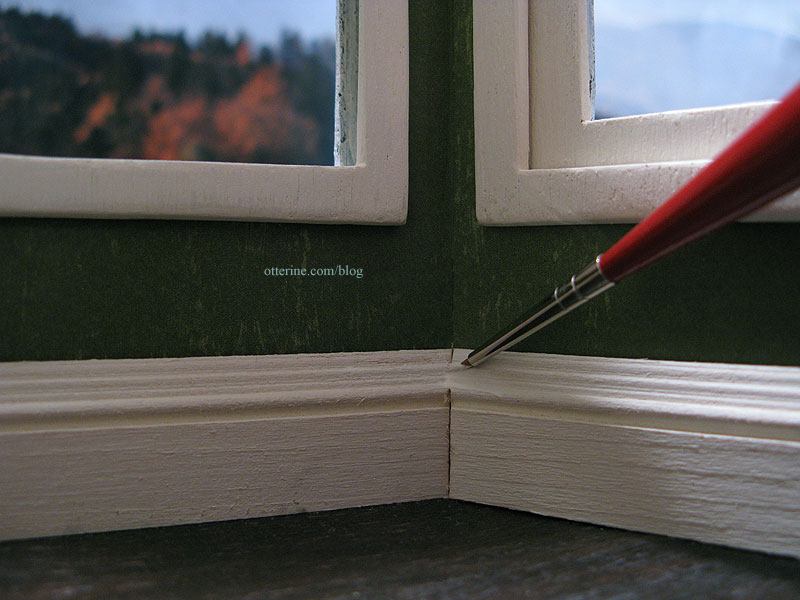
Be sure to blend the paint outward to eliminate bulk and obvious brushstrokes. In the photo, I could see I missed the very bottom – so I went back and filled that in later. :]
Be careful not to get any paint on the wall or the floor. If I get some stray marks, I usually wait until the paint has dried and gently chip off the paint from the wallpaper or flooring with the tip of an X-Acto blade. Wiping it while wet can often cause a bigger mess that’s harder to clean up.
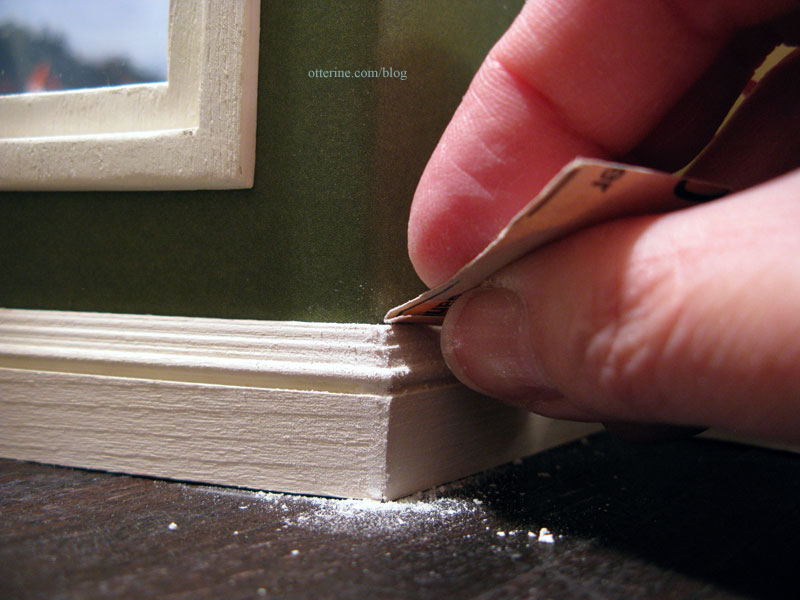
For outside corners, minor gaps can be filled in the same way, with paint. For larger gaps, I apply spackling compound into the gap using a palette knife.
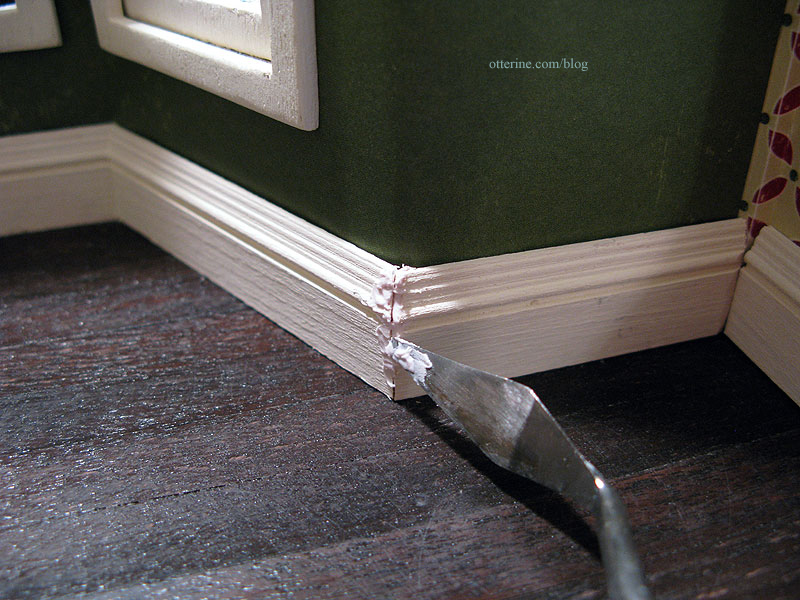
I then smooth the material with my finger and reapply as necessary. It’s better to build it up a little than to use too little.

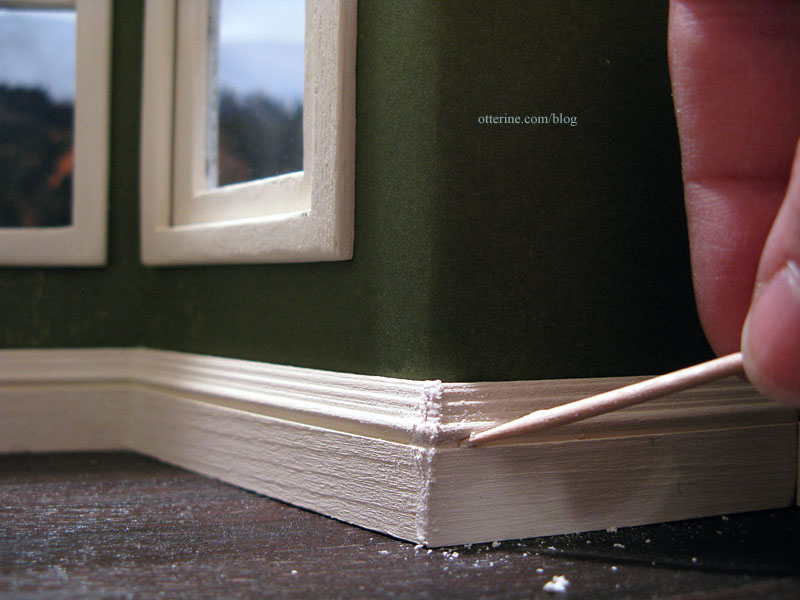
Before the compound dries, I use a toothpick to mimic the grooves of the baseboard. It doesn’t have to be perfect since sanding will take care of that.
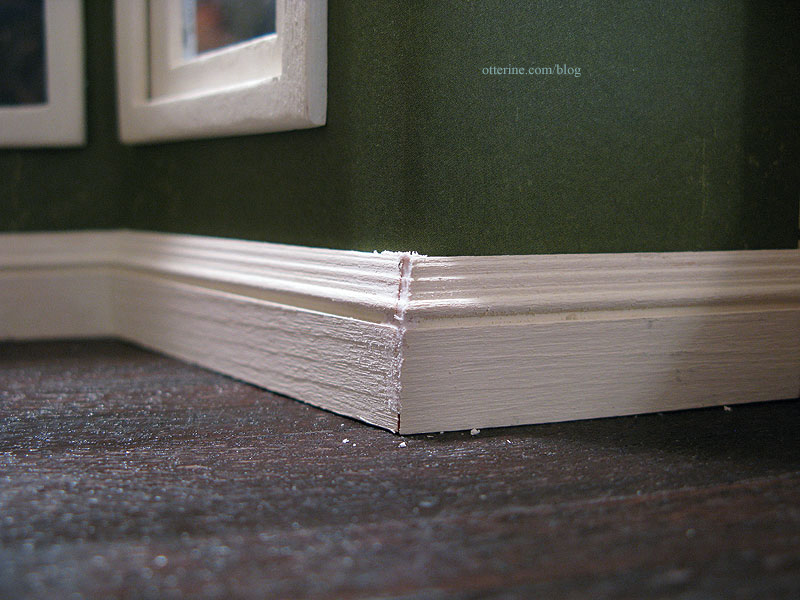
Once dry, I sand the spackling to a point at the corner. I do this by sanding the flat surface of each board toward the corner without sanding directly on the corner. I also fine tune any routed details with sandpaper in the same manner, though this time I follow around the corner.

I make sure the top is level by sanding.
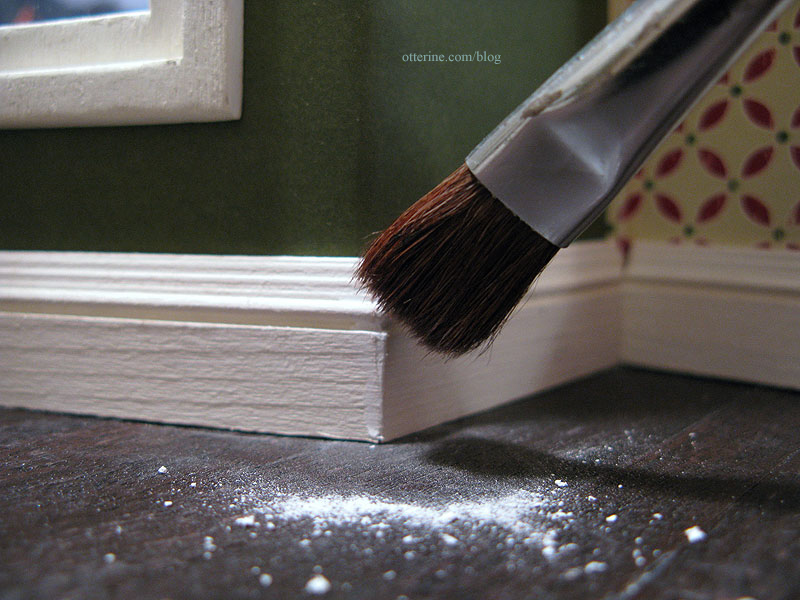
Using a clean, dry brush, I remove the excess dust from sanding and refine further. You can add more spackling if needed, let it dry and sand more.
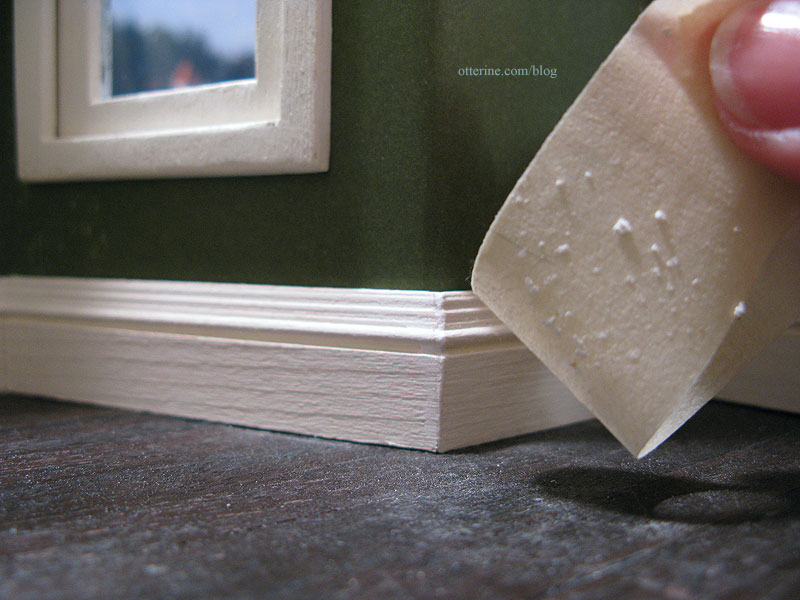
I use a piece of masking tape to pick up the dust.
Since this is an old house, I decided to leave the baseboard a little imperfect as though the corner has been knocked into repeatedly over the years. ;]
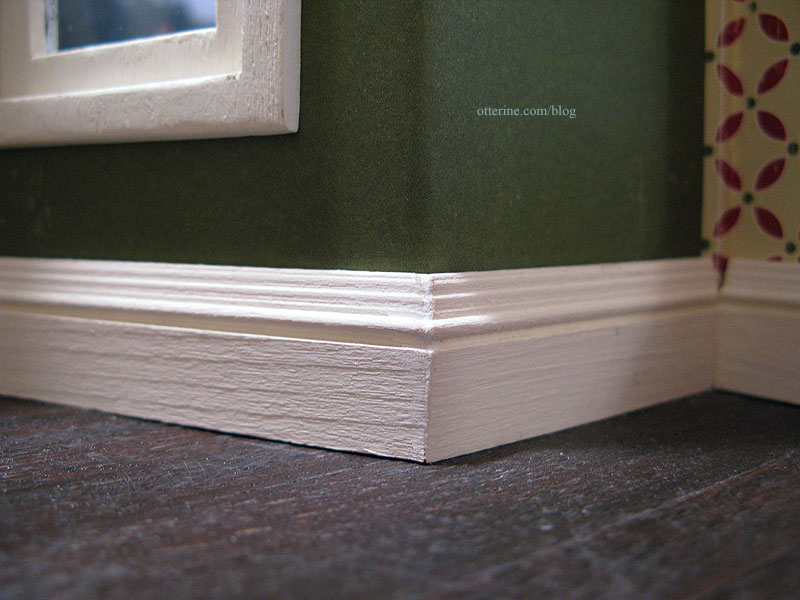
Once I have good form to the corner, I paint over the spackling compound, blending the paint along the baseboard.
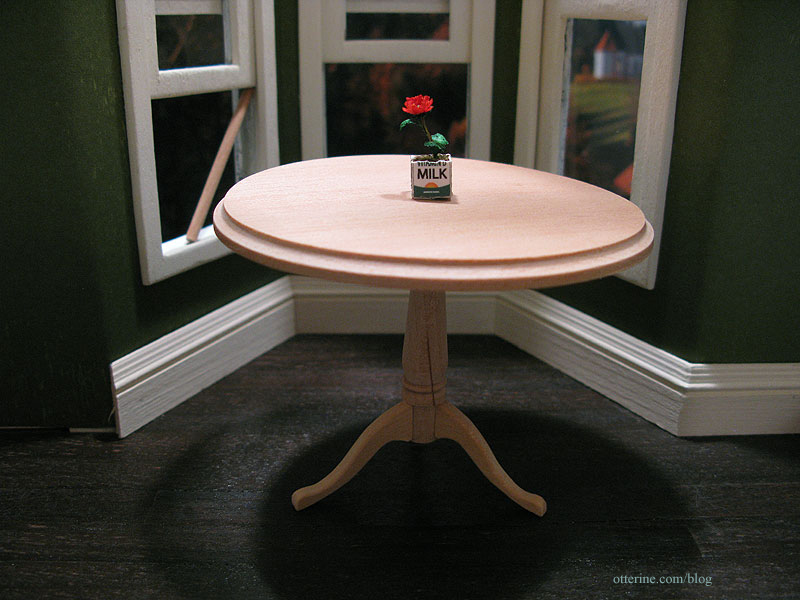
Now, the gaps are nearly invisible and won’t interfere with your miniature scene.
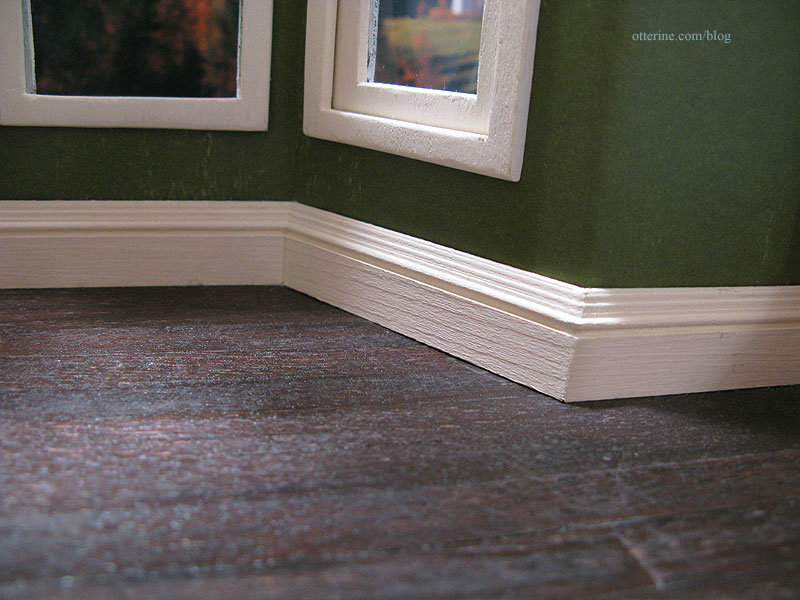
Your furniture and accessories become the focus, not bad mitre cuts! :D
This method is for painted baseboards, though it might be possible to use stainable wood filler to achieve the same results on stained wood. I’ve not tried that yet, though.
Categories: Miniatures
January 10, 2012 | 0 commentsBooks – a few of my favorite covers
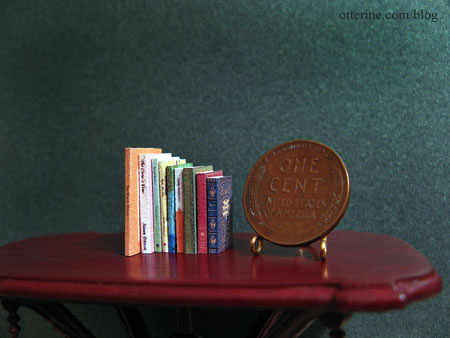
I always judge my mini books solely by the covers, though I do occasionally add books that I like for their content in real life. As I was making up books, I figured I’d share a few of my favorite covers. Some of these might be hard to see since I am photographing the minis I made. They do lose some legibility from printing so small, but I don’t want to violate any copyright laws by posting book covers that might not be in the public domain. You can always search for the titles online if you’d like a better look.
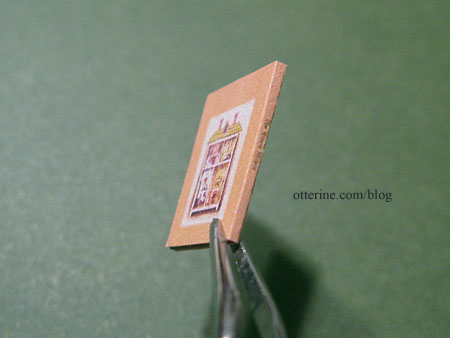
The House Mouse, by Dorothy Joan Harris and Illustrated by Barbara Cooney. This has a super cute dollhouse with a mouse occupant! I’d like to make the cover illustration as a wall hanging mini house.
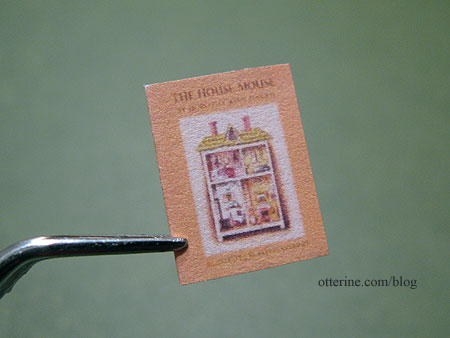
I was able to find only the cover, so I made the spine and back in Photoshop. For the back, I used the image again and eliminated the text.
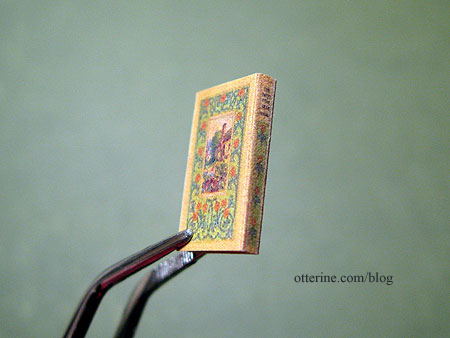
Sweet of the Year by Emily Ridgway. This came from abebooks.com, an excellent source of book covers and sometimes spines. I love the villa in the garden illustration.
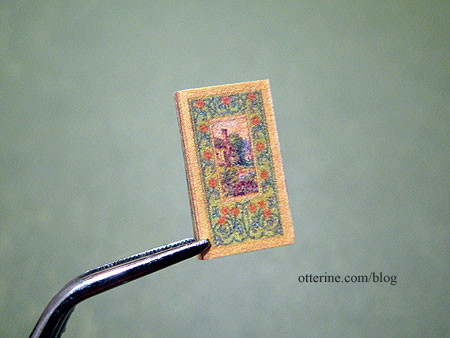
This one had the spine in the image, so I duplicated the front image for the back cover, flipping it in the opposite direction.
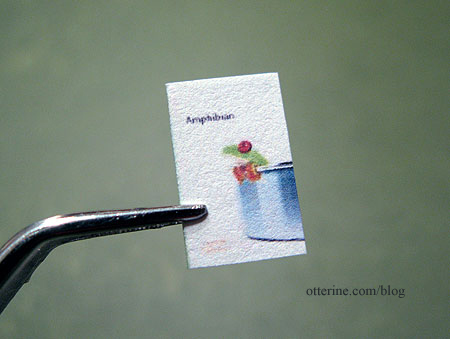
Amphibian by Carla Gunn. Froggy. Enough said. :D
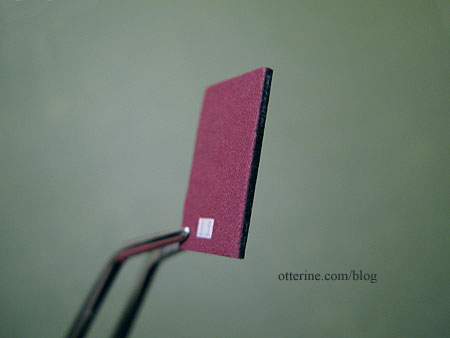
Return of the Bird Tribes by Ken Carey. Beautiful illustration.
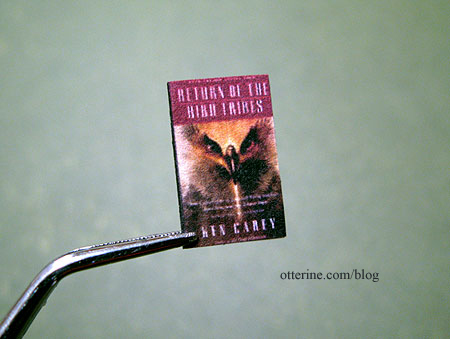
I made up the spine and back cover, this time using solid colors and dropping in a UPC box on the back cover. This is one of grandma’s many modern additions to her library. ;]
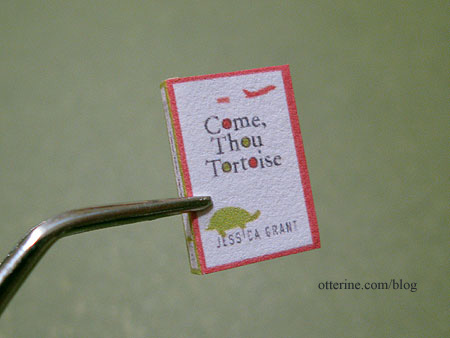
Come, Thou Tortoise by Jessica Grant. Lovely colors and graphics. This is apparently a funny book, but I’ve not read it.
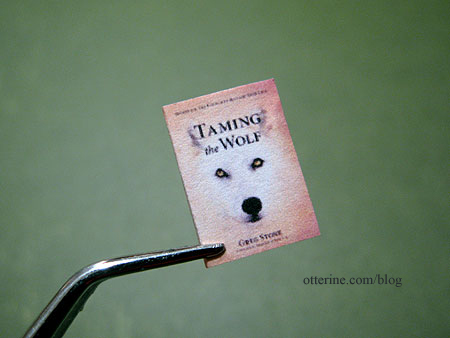
Taming the Wolf by Greg Stone. This is actually a self help book on resolving conflict, but the cover to me says adventure in the wilderness. I could see this cover being on the sequel to The Return of the Bird Tribes shown above. :D
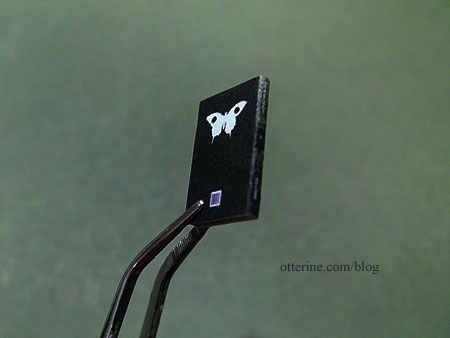
The White Mary by Kira Salak. Love this cover – the greens, the butterfly, the layout!
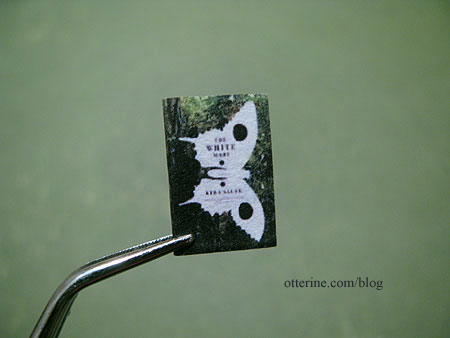
I made the back by copying the butterfly graphic, rotating it and removing the text. I made the spine by copying the green background, duplicating it in mirror image and adding text. I also added the UPC box again. I later found the actual spine and back cover, but I liked mine so well I printed it instead.
Utopia by Thomas Moore. This is a book first published in 1516, though I don’t believe this is the original cover. Ever After is one of my favorite movies for its fun take on the Cinderella story, not to mention the costumes, and this book plays a part in that movie. When I first stumbled onto the cover during my online searches, I knew I had to use it.
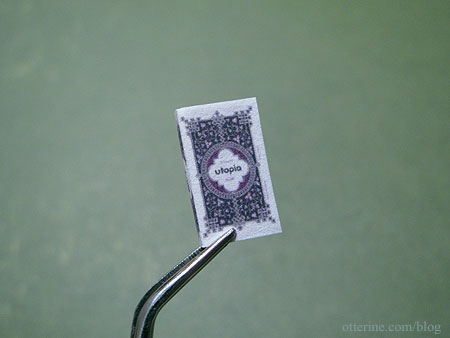
I created the back by mirroring the front, removing the text and copying some of the border design elements into the middle. The spine is a section of the front cover, with text replaced.
Obviously, I haven’t used any covers I don’t find appealing in one way or another, but these are some of the highlights.
Categories: Miniatures, The Haunted Heritage
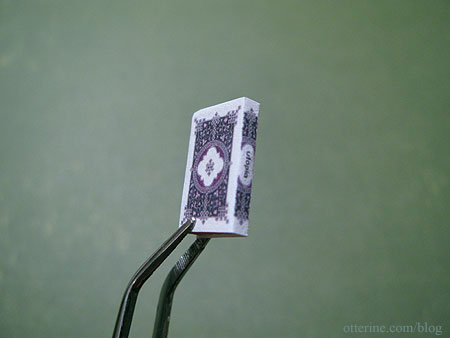
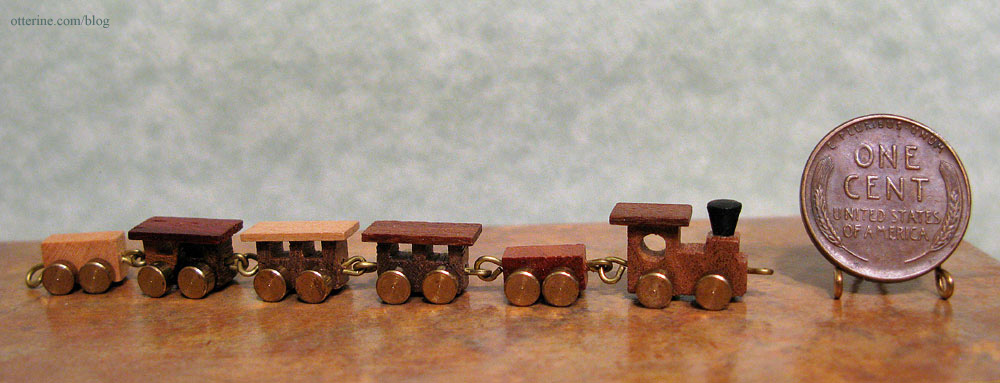
December 3, 2011 | 0 commentsWood and brass train
In a recent craigslist miniature lot purchase, there was a beautiful wood and brass toy train. The wheels spin and the cars are attached to one another with hooks. Isn’t it wonderful?! So tiny!
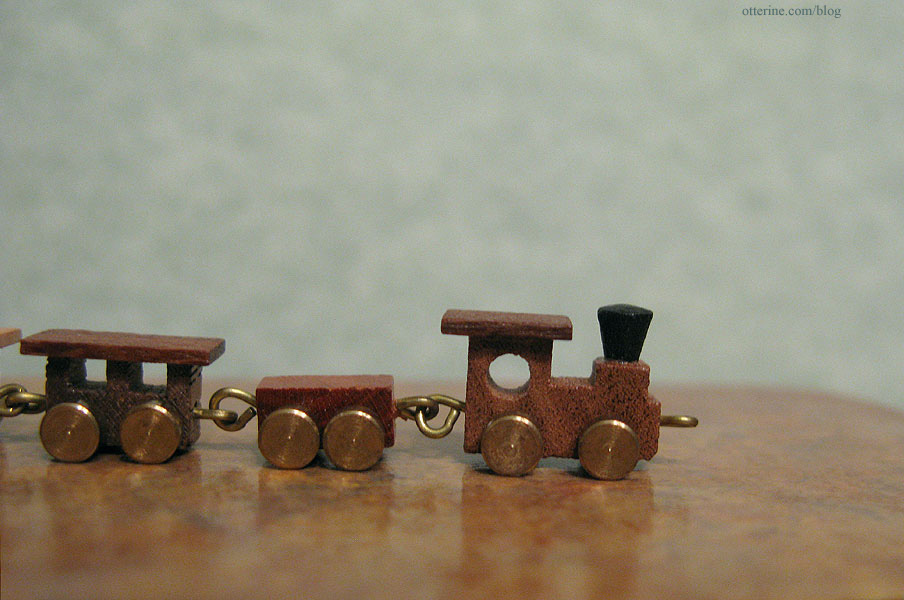
I’m not sure where I’ll display it, but I wanted to share it.
Categories: Miniatures
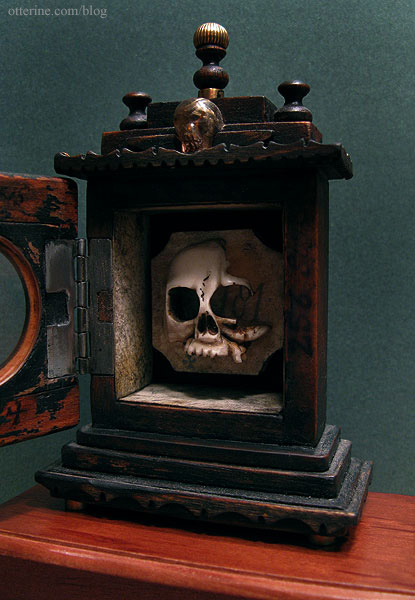
November 30, 2011 | 0 commentsMiniature Treasures: Catacombs Clock Case
I recently found my way to a blog on some of the most amazing miniatures I’ve ever seen. The artist uses old, sometimes ancient, pieces and creates wonderful works with such character. One of these works I instantly loved…his dark but beautiful debut miniature that he based on an old clock case and the French catacombs.
When Tony later posted on his blog that all of his works were for sale, I don’t think I could have sent that email to him any faster! :D He replied promptly, and after some email exchanges, all was set and that beautiful piece was on its way to me.
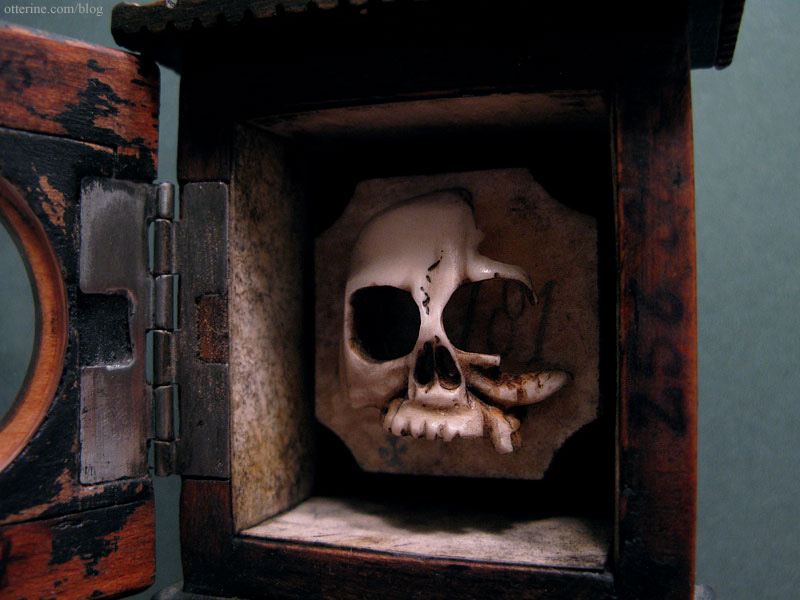
It soon arrived safe and sound. It’s just so gorgeous, so well made. I tell you – it even smells awesome!!!! :D It smells of wood and parchment and leather. The scent reminds me of ‘new car smell’ most of all.
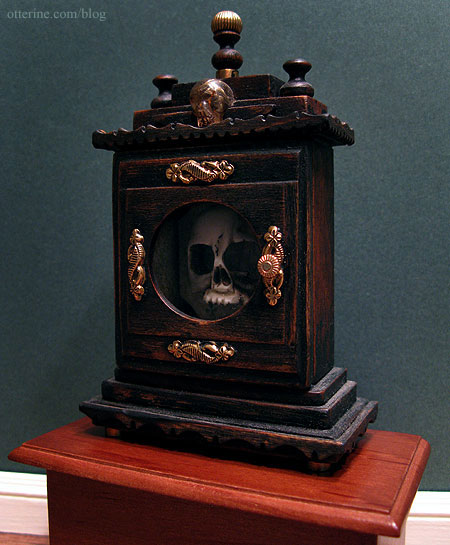
Tony used a skull carved from genuine bone, genuine 18th century vellum, optical glass from a pair of broken Victorian spectacles, a hand carved rutile quartz skull, and items from broken watches and clocks.
Thank you, thank you, thank you, Tony, for this beautiful work of art. I will indeed treasure it!

(As of 2024, his blog is no more, but you can find the artist here.)
Categories: Miniatures, The Haunted Heritage
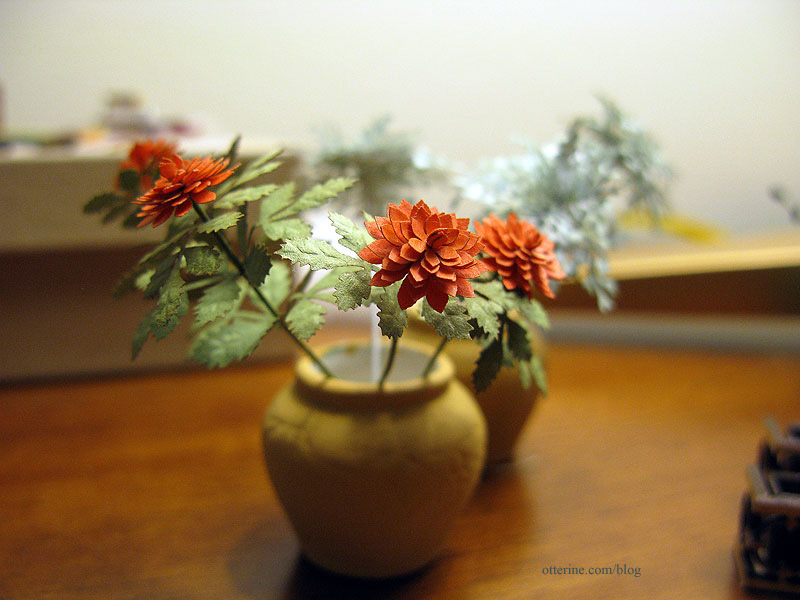
September 6, 2011 | 0 commentsFlowers and shells
I made some Bonnie Lavish Dahlias in orange. I made red ones previously but this time used Bonnie’s veiner for a much more realistic leaf texture. The vases are from Manor House Minis and were originally pale green.
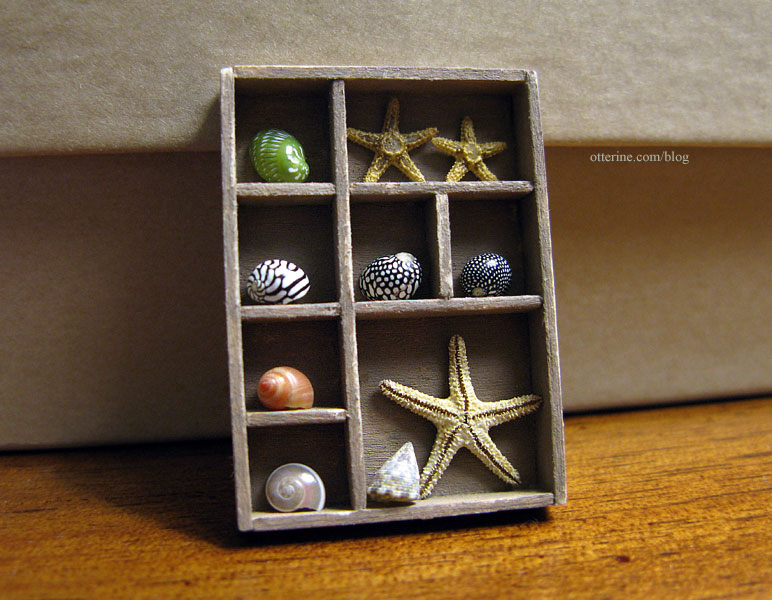
The second is a shadow box made from strip wood and painted Mushroom by Folk Art. I sanded the edges to make it more rustic. The shells are approximately 1/4″ and the largest starfish is about 1/2″ in size. :] All came from Marco Island Shells.
Categories: Flowers, plants, and trees, Miniatures
June 28, 2011 | 0 comments
NOTE: All content on otterine.com is copyrighted and may not be reproduced in part or in whole. It takes a lot of time and effort to write and photograph for my blog. Please ask permission before reproducing any of my content. (More on copyright)