


NOTE: All content on otterine.com is copyrighted and may not be reproduced in part or in whole. It takes a lot of time and effort to write and photograph for my blog. Please ask permission before reproducing any of my content. (More on copyright)

Categories:
Milo Valley Farm – knob and tube wiring, part 1
Yeah, that’s some scary stuff, right there. :O bzzzzzzzzzzzzzzt
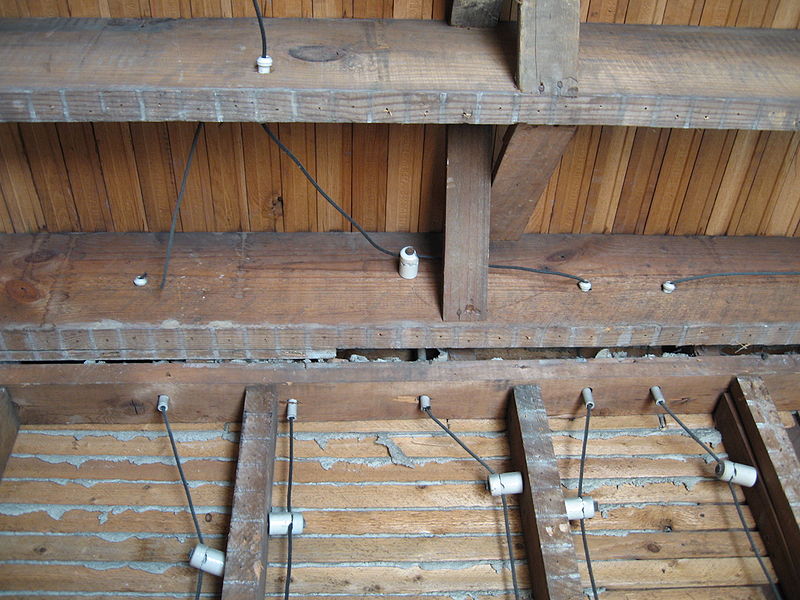
image from Wikipedia Knob and tube wiring is an old and outdated method of electrification, and if your home inspector finds it in your house, be prepared to spend a lot of money to remove and replace the electrical system. Here’s an excellent video on knob and tube from Edison Tech Center.
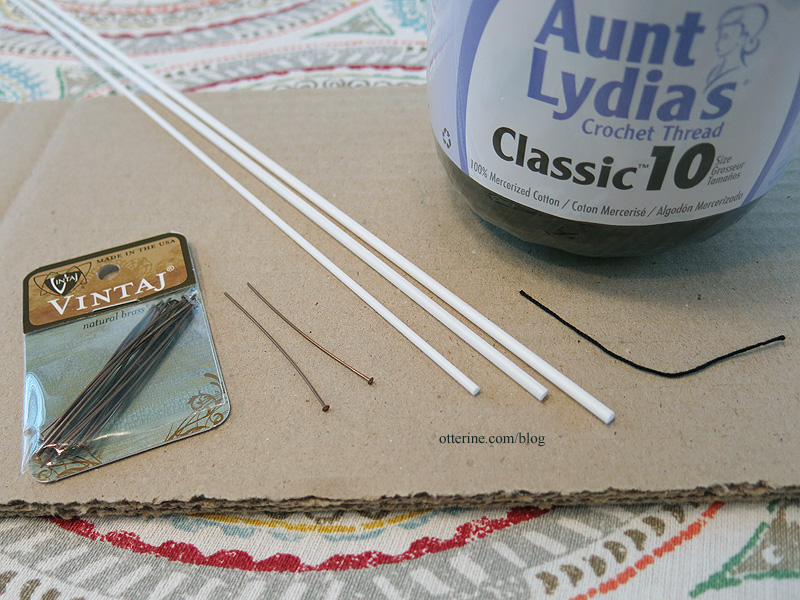
I have no idea when the barn on Milo Valley Farm was built. We’ll just say it’s way old since I don’t know when I will again have the chance to make this insanity in 1:12 scale. I have gathered crochet thread size 10, white plastic tubing in two diameters (I used only the smaller of the two), white plastic rod and copper colored head pins.
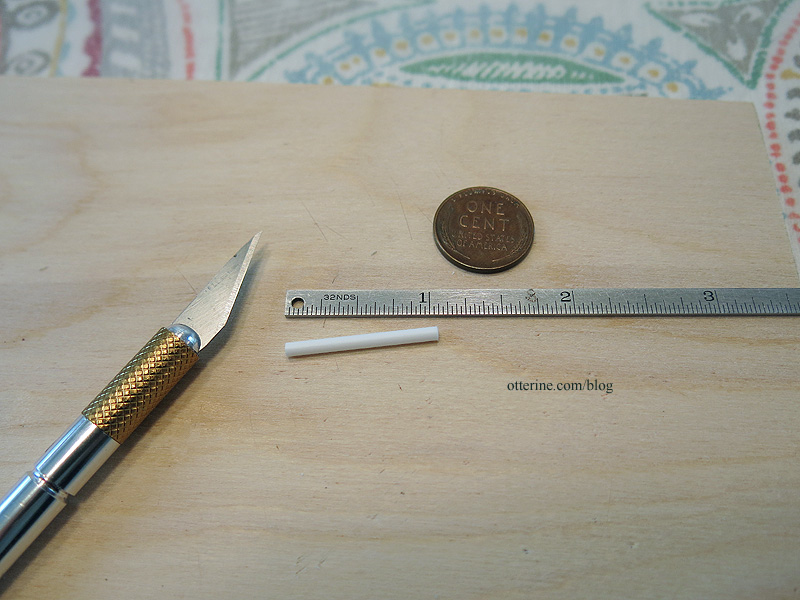
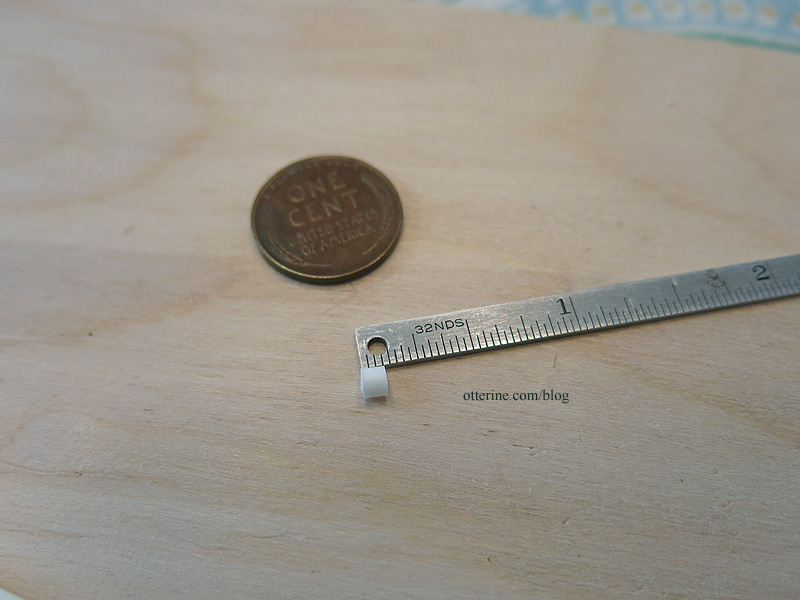
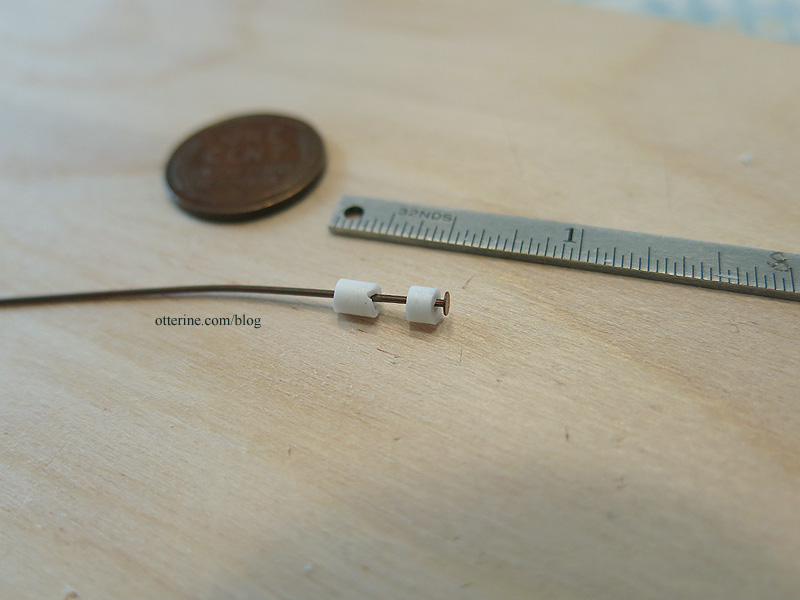
After some research, I was able to determine the dimensions for the knobs — just over 1″ wide and varying from 1.5″ to 2″ long with most being the longer measurement. Now, there’s true scale conversion and there’s just “getting the look” of something with proportional measurements. I’m going with the latter. To make the tubes, I cut 1″ lengths of 1/16″ plastic tubing. (The 1/16″ measurement would be 3/4″ in real life.)
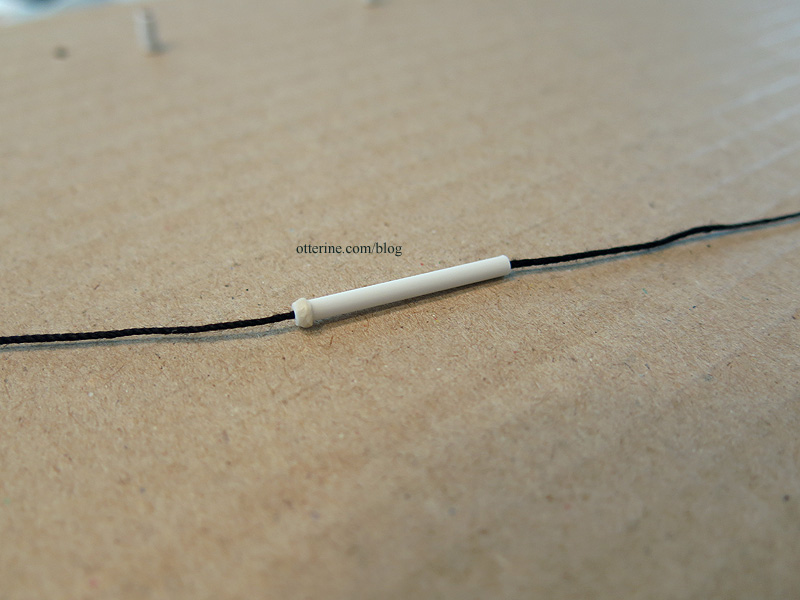
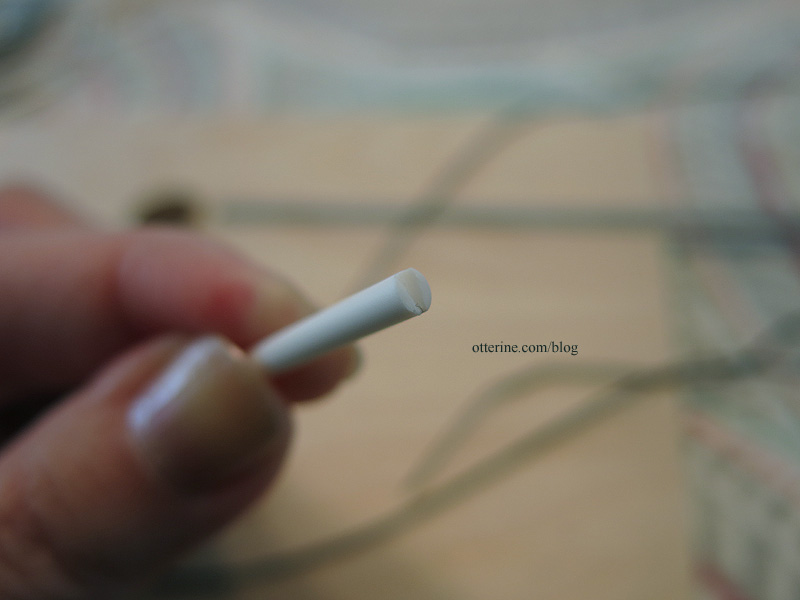
I applied Testors contour putty to the end with a toothpick and then shaped with my fingernail. The thread is fed through the tube. I applied glue to the thread end to make it stiff enough to go through the tube, but I might do this for the entire length when I install it since it makes it easier to handle and put in proper position. I will cut down the tubes to lengths needed to work in the various areas where I will install them.
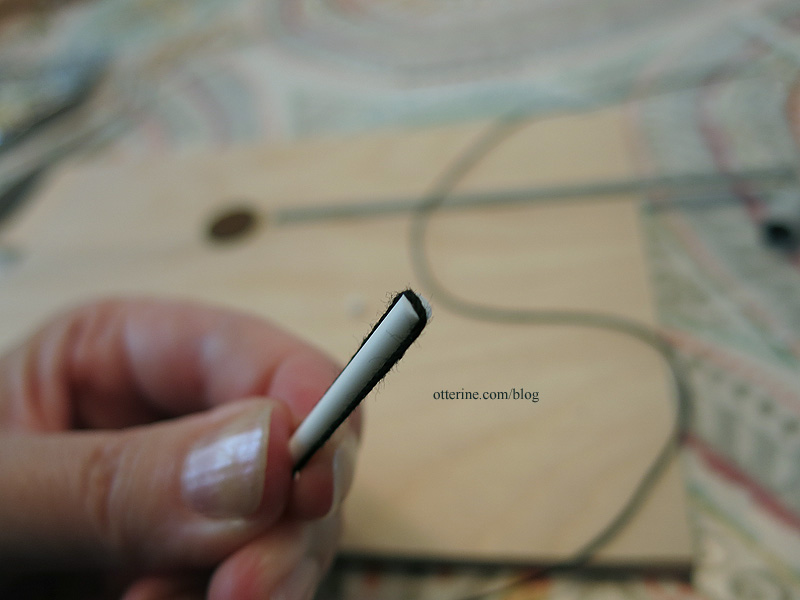
To make the knobs, I cut two pieces of 1/8″ plastic rod — one 3/32″ long for the top and one 1/8″ long for the base. Here is the top.
I made a small channel on the top of the remaining length of rod to make room for the thread. It was easier to do this detailing while I was able to hold the length of rod in my hand. The real life examples have two channels to keep the wire from touching the nail holding the knob in place, but I am going to use the nail to secure the thread in place. In other words, I’d be causing fires and electrocuting people if I were a mini electrician. :O
I then cut the longer of the two pieces. I drilled holes in each knob set to make way for the headpins.
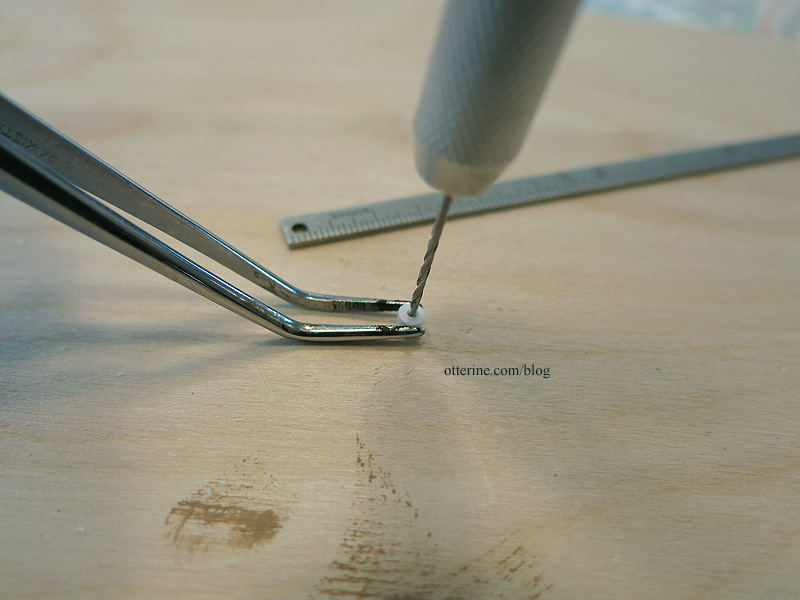
The reason I didn’t use open tubing for this is because I wanted a tight fit for the pins and the existing 1/8″ tubing had too large an opening. It was either fill in the open tubing or drill holes in the rods.
With a little give on the measurements, I ended up with a knob that would be 3″ long in real life.

The tube goes through the wall to bring in the wire. I fed the headpin through the thread to hold it in place.

I then pulled it tight on the other side of the cardboard test board. When I install these, I will glue and drill holes into the beam structure of the barn. The prototype worked out well. :D
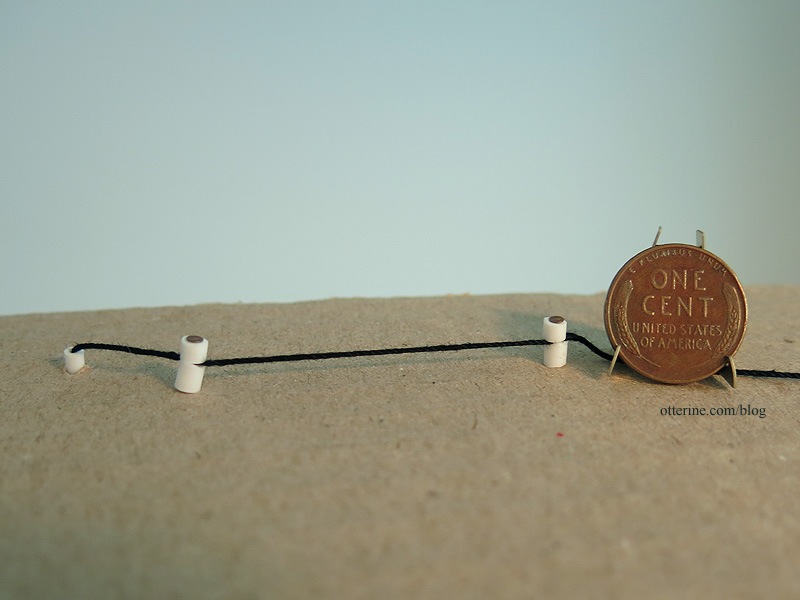
I don’t think I’ll bother painting these, even with the contour putty being a slightly different color. There won’t be more than a few tubes, besides. It seems a lot of hassle for very little return when they look good on their own.
Categories: Milo Valley Farm
July 19, 2015 | 0 commentsMilo Valley Farm – sea chest with a secret
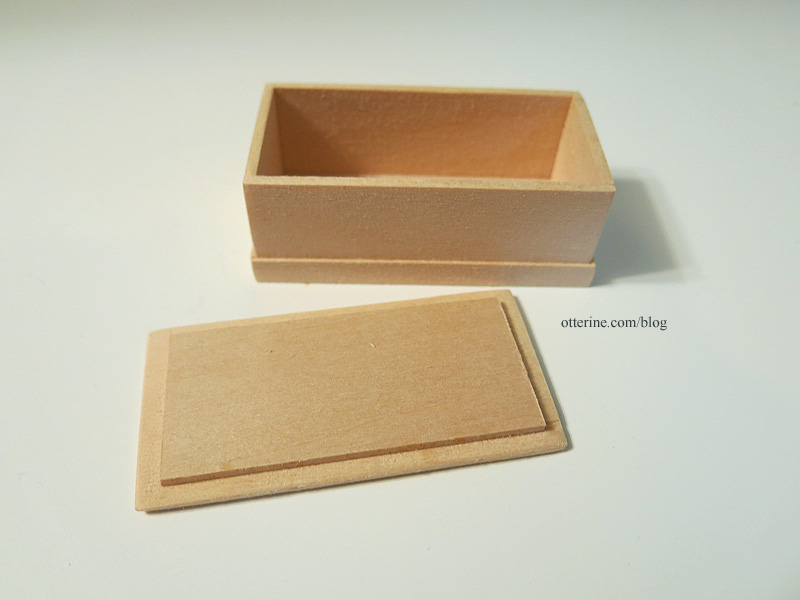
The sea chest is from a Realife Miniatures Country Living Room kit. I made the daybed from this kit for The Artist’s Studio. These kits have die cut wood compared to other kits such as The House of Miniatures and modern kits with their individual pieces, but they work well for rustic scenes right out of the box. For a finer finish, you’d have to spend a bit more time and effort.
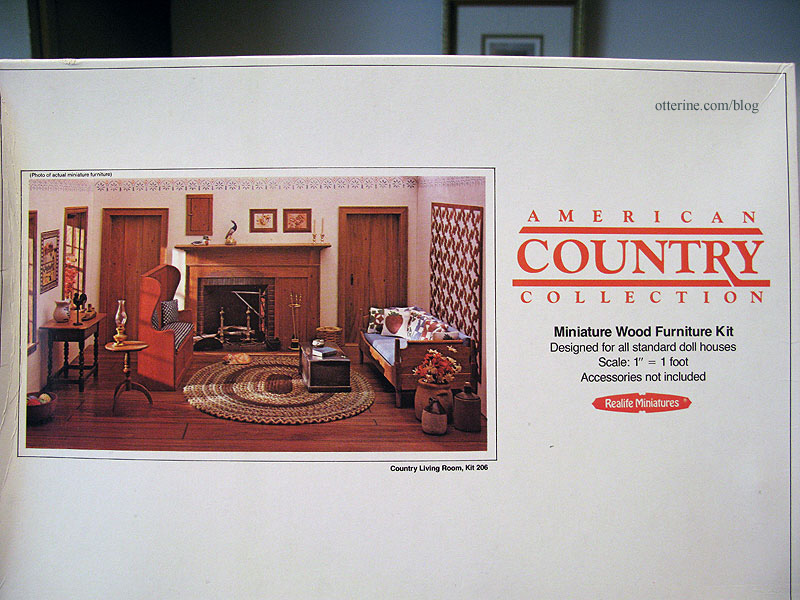
This is a pretty straightforward box. :D
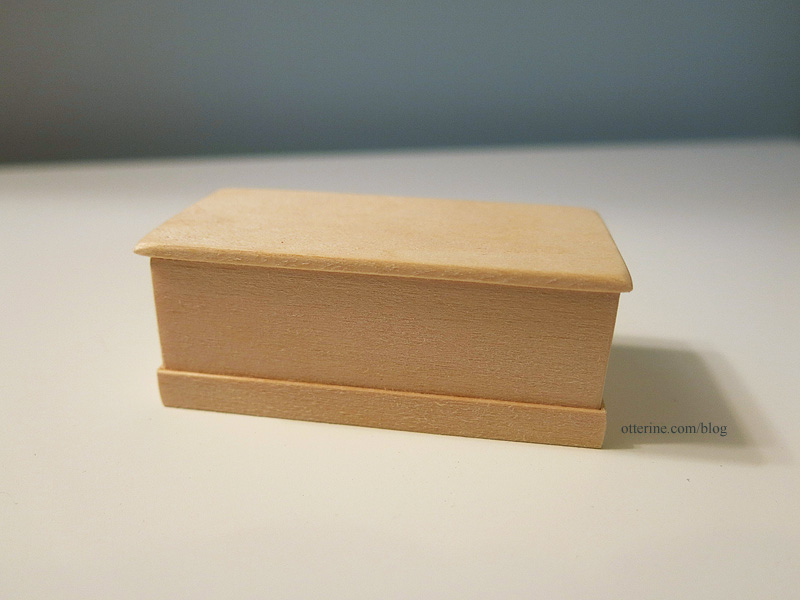
There is hardware included to hinge the top, but considering the use I have planned for it I opted to make a removable top. I added a piece of basswood cut to the size of the box opening and glued it to the underside of the lid. This will lock it in place but make for easy removal.
I spackled the rough joins to prep for painting.

I went with Plantation Pine by Americana with some aging. More aging will be added later, along with some hardware and maybe some logo and sticker detailing.
My trunk won’t hold old munitions (yikes) or mouse-riddled old clothing (bleh). Instead, it will disguise the Triple Receptacle Extension Cord with Plug from HBS. This way, I can lead all the wires from the lights to the sea chest, and one wire will exit the building to the power strip. You can see my floral wire lead behind the chest. I’ll drill holes in the chest as needed when I wire the lights.
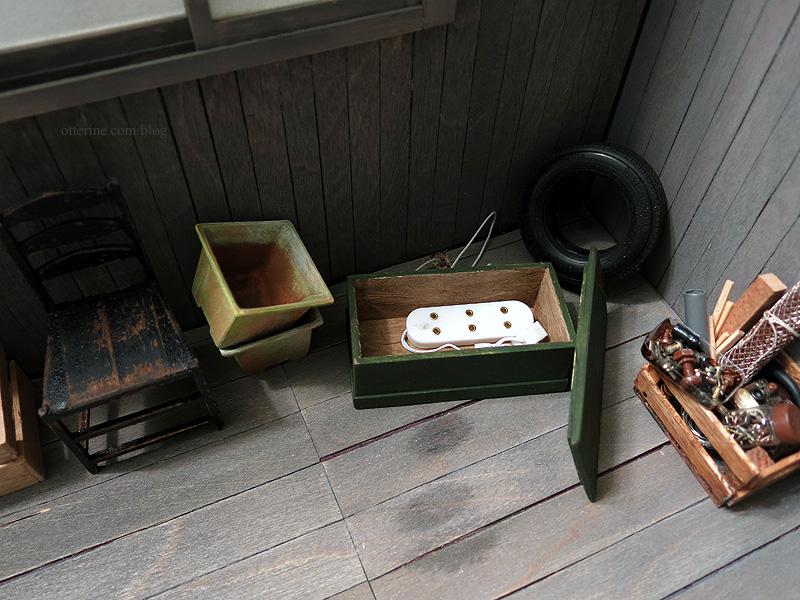
Having the receptacle inside the trunk will make it easier to deal with mishaps since I am using vintage lighting for some of the electrical work. When the lid is in place, it looks like any another random garage item. :]

Categories: Milo Valley Farm
July 15, 2015 | 0 commentsMilo Valley Farm – removable back wall, part 3
Continuing work on the removable back wall. I cut a new plywood wall for the back using the foam core board as a template.
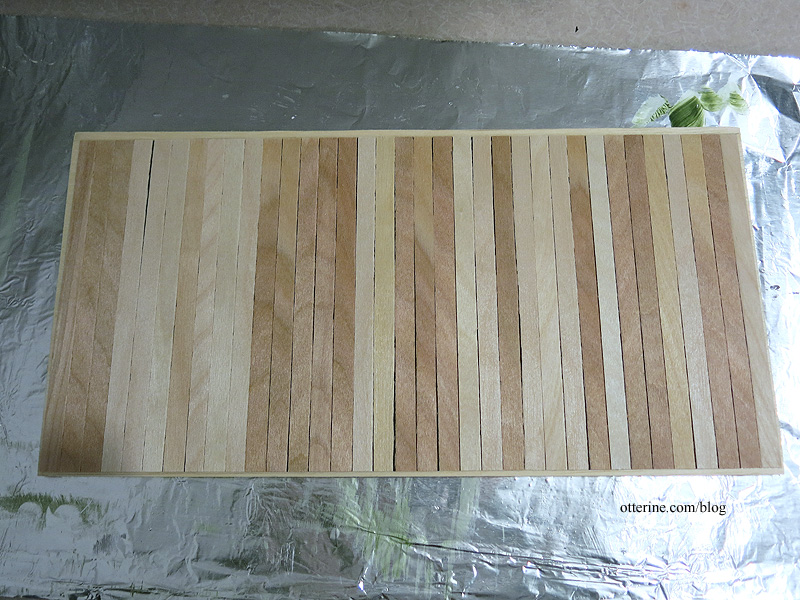
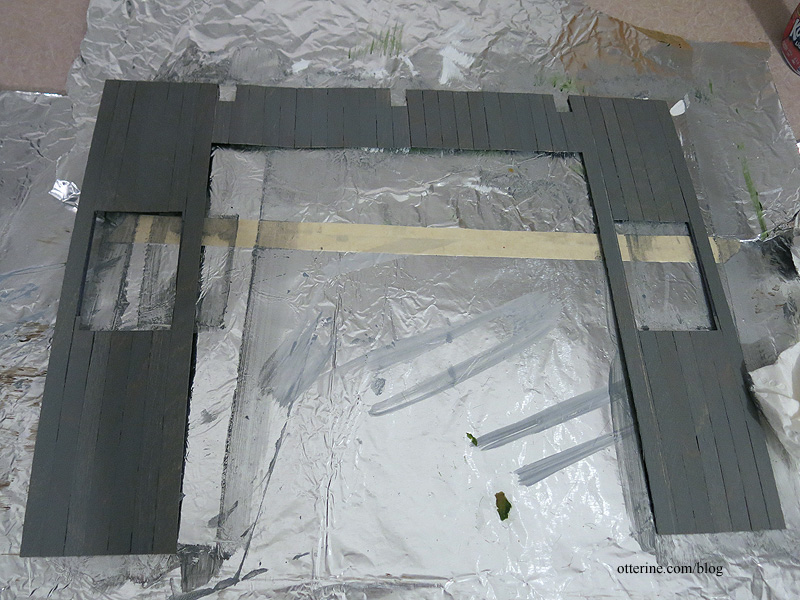
I made siding templates for the sliding back wall, interior and exterior.
I applied the siding to the templates and used the same paint glaze process as I had for for the side walls. Here it is in process.
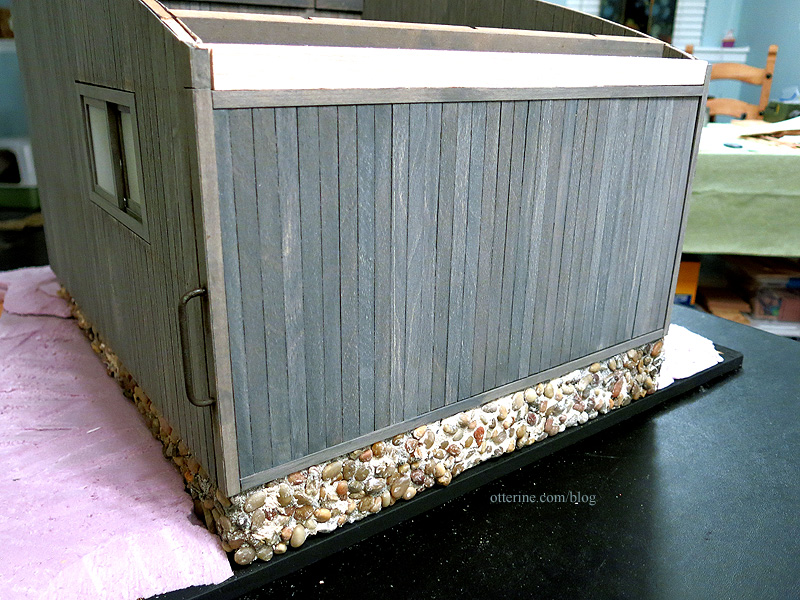
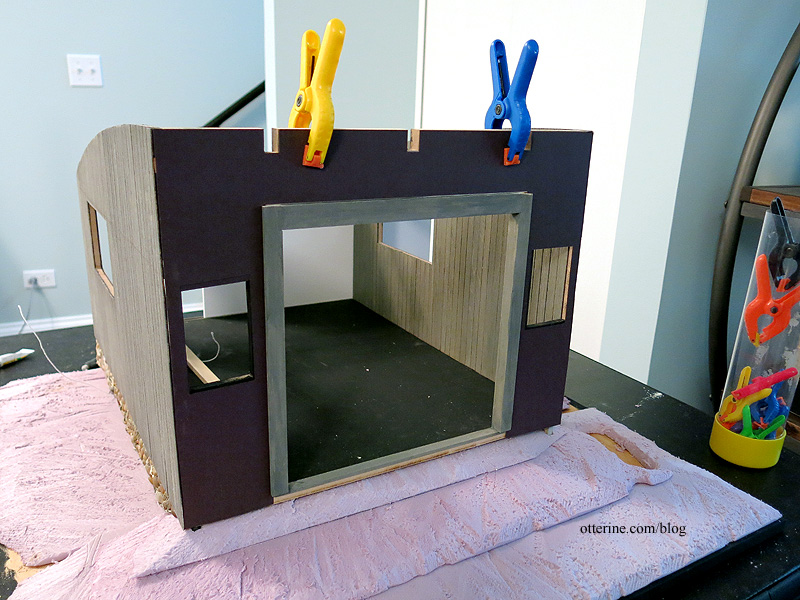
I glued the sliding wall panel to the free-moving side channel using Weldbond and super glue gel. This is the only place on the side wall that has a two-piece board, but it’s not an eyesore.
The final trim should disguise it even more. Plus, there will be other things going on that you might not notice at all.

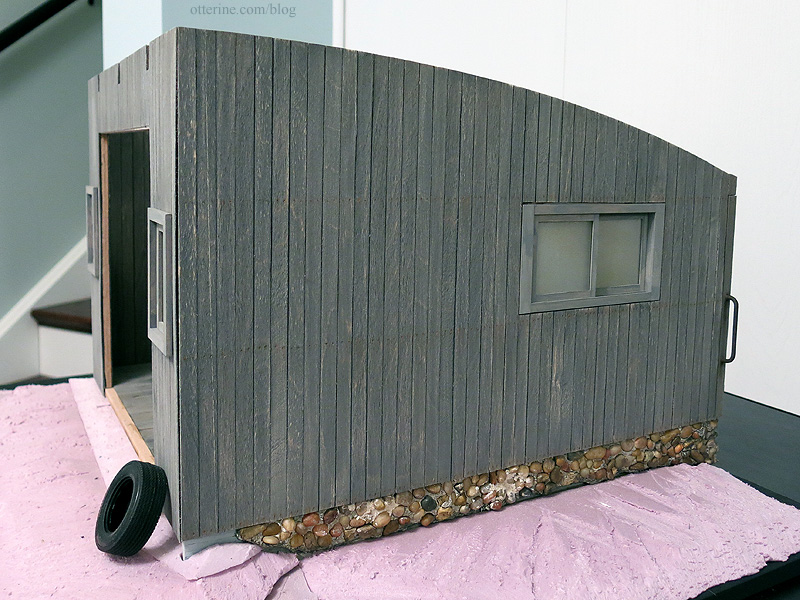
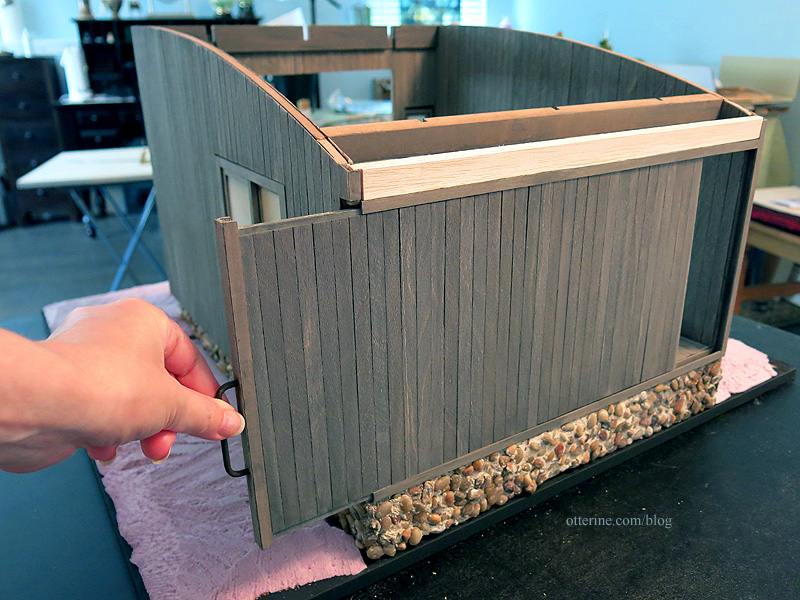
There will be finishing trim along the top back to hide the bare wood that’s there at the moment. The wall blends well on the outside. I spray painted the brass bar to look like old metal.
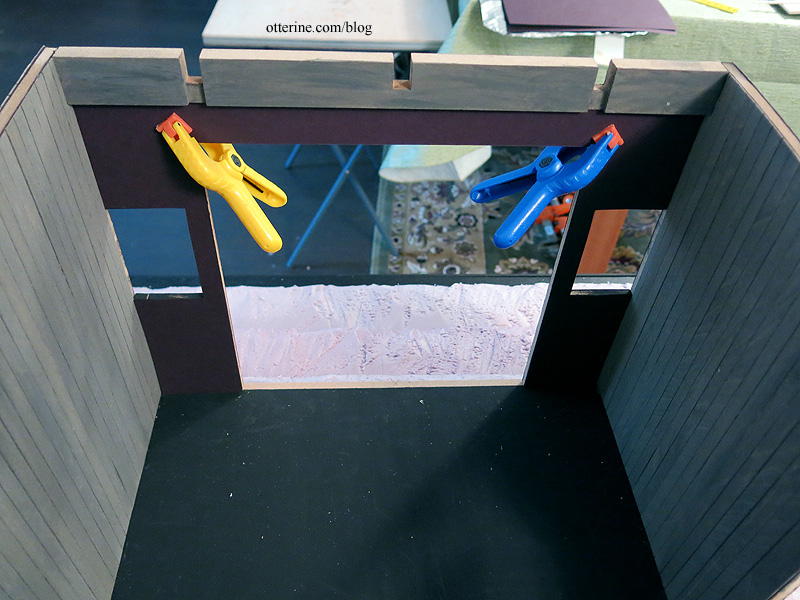
On the inside, the side breaks are mostly hidden. The studs and cross beams will disguise any remaining breaks. I will be finishing the bare wood here, too.
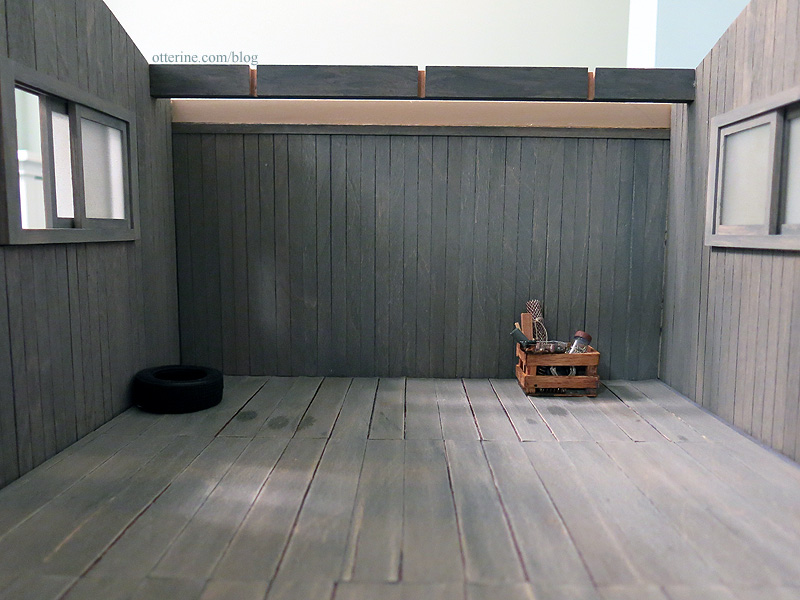
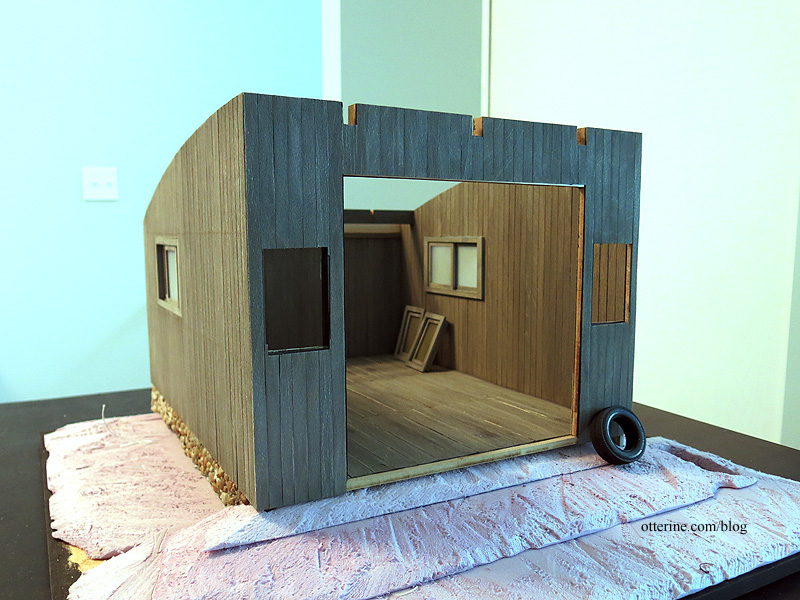
When open partially, it could serve as a back door opening for some interesting photos.

The mechanism runs relatively smoothly. :D
Categories: Milo Valley Farm
July 5, 2015 | 0 commentsMilo Valley Farm – siding, part 4
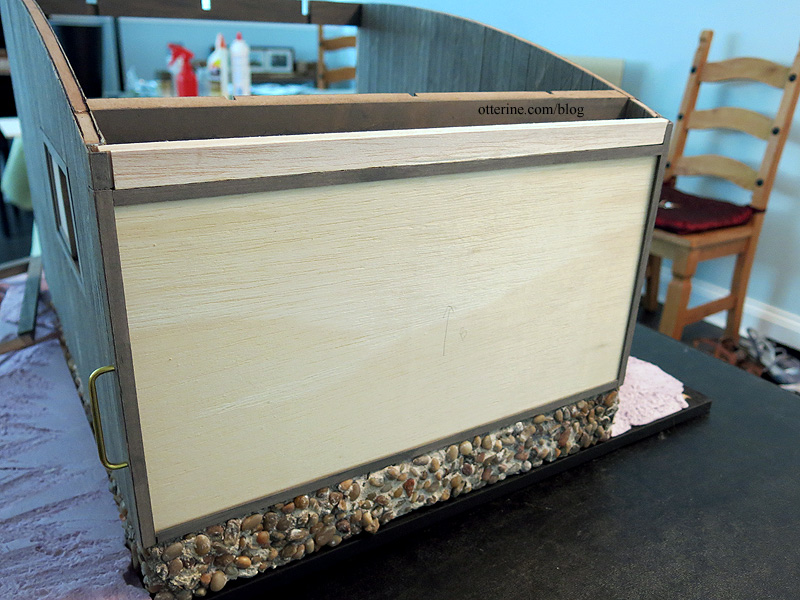
Continuing work on the siding. I glued the front insert walls to the middle upper insert while in dry fit, making sure not to glue any of the pieces to the main front cross beam. I used Tyvek pieces to reinforce the joins. The siding will cover the front cross beam on the exterior as well, so I made a single template to cover the entire front.
I made a similar template for the interior, leaving the main cross beam out.
I applied the siding to the templates and used the same paint glaze process as I had for for the side walls, while the walls were still able to be pressed flat for each step. The front piece, however, was left unattached until later. I will detail the back wall in a separate post.
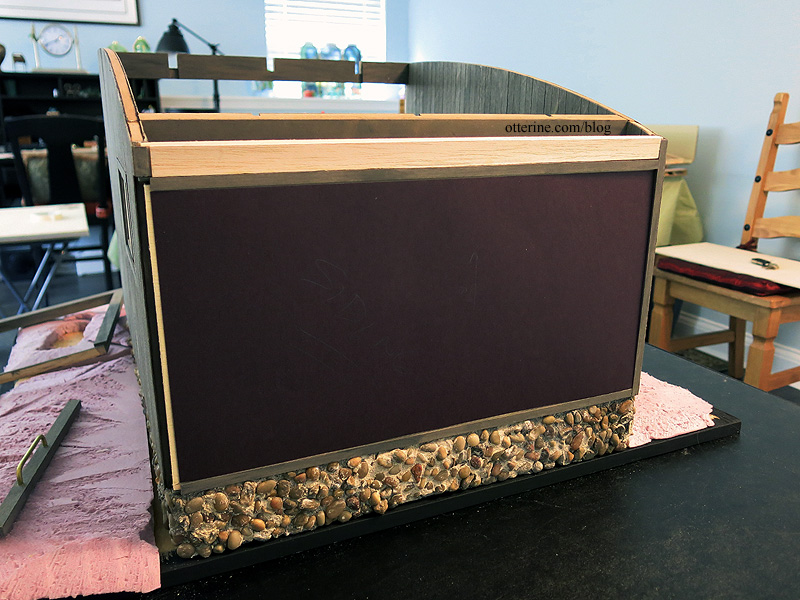
After gluing the interior siding template to the front wall, which stabilized the structure, I glued the wall in place. Here you can see the Tyvek reinforcements. There are also two of these on the other side under the siding.

I used 3M Super 77 spray adhesive to attach the front piece since it’s not water based and therefore would not warp or expand the paper backing or the wood. I haven’t added the nail detail to the front since I’m not sure how much of it will show once the trims and windows are in place. I plan to add it later.
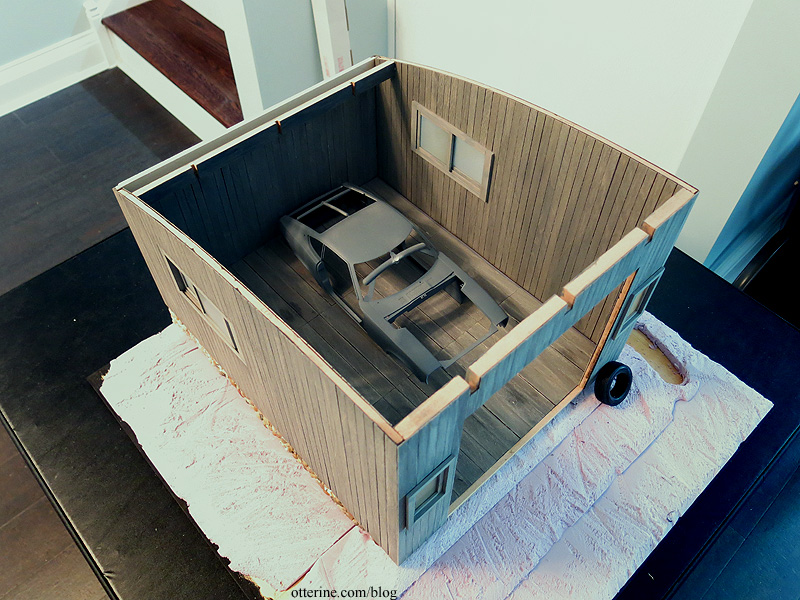
It’s starting to look like an old shed. :D
Categories: Milo Valley Farm
July 3, 2015 | 0 commentsMilo Valley Farm – window prep
The windows for Denise’s City Cottage come already assembled. This is good and bad. Good in that you don’t start with an overwhelming amount of small pieces and have to ferret out a window (or four) from said pieces. Bad in that you have no way to remove the acrylic inserts for painting or staining.
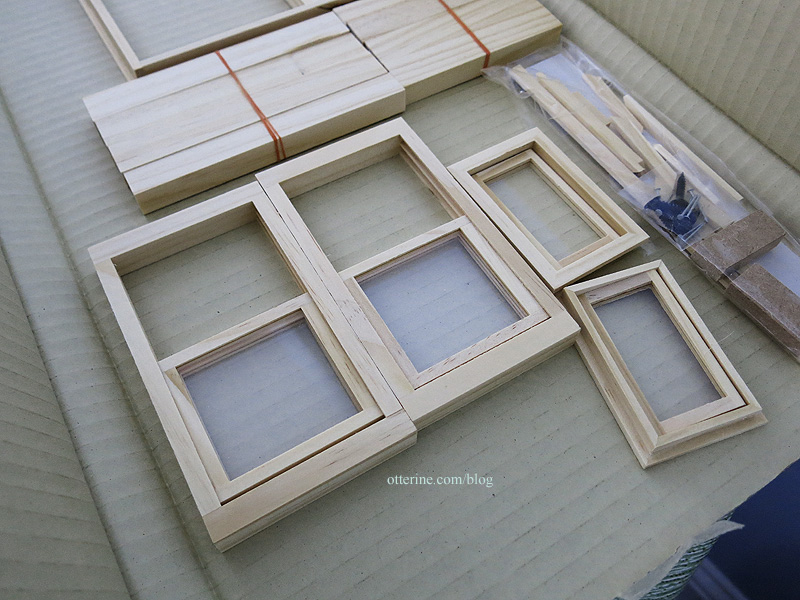
Some readymade windows on the market have solutions to this problem. They leave a hole to slip an insert in and out of a channel. Some I have seen have a thin piece of wood to remove to access the channel.
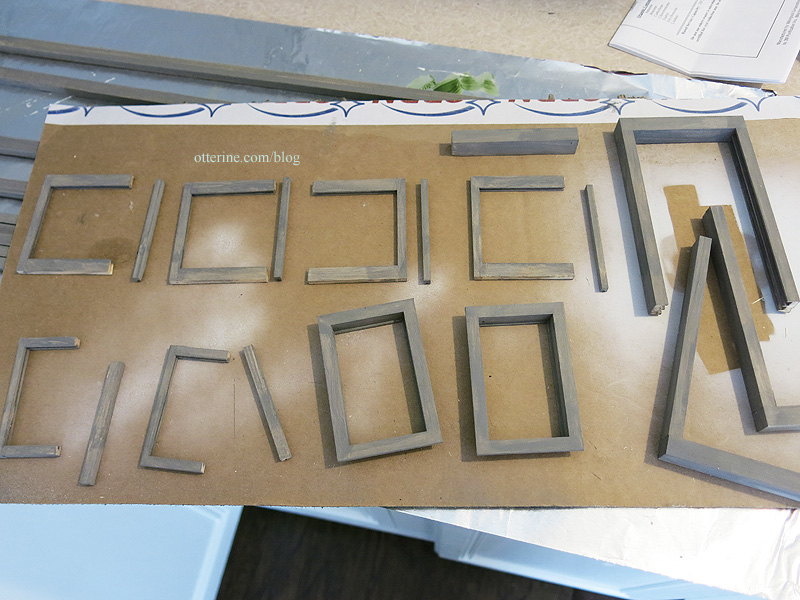
Twisting ever so lightly, I popped the sliding window frames apart.

For the swinging windows, I removed the hinge pins.

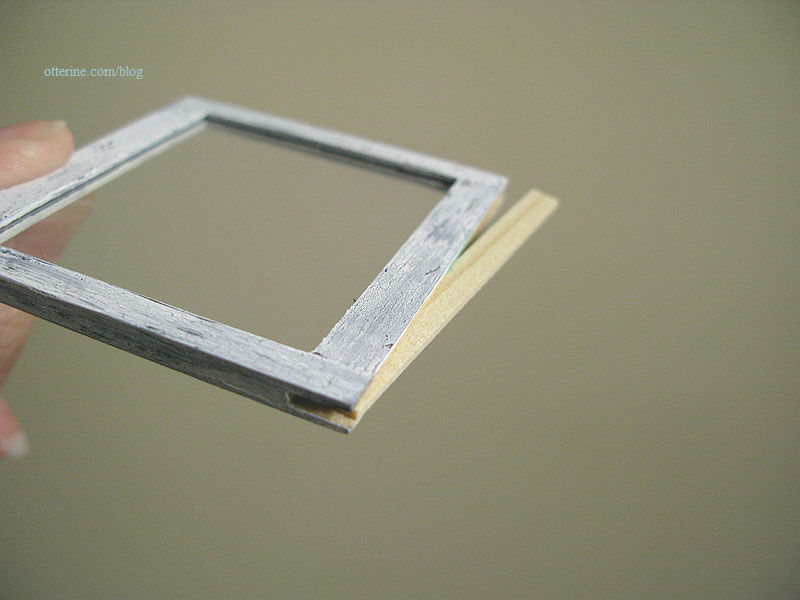
I added scant trim to the inside frame of the swinging windows to prevent the windows from swinging inward. This also added thickness. My front walls are thinner than the original kit walls, but I can use the extra depth. More on that later.

Masking does only so much since bare wood can show in the tracks around the window not to mention it takes so long to do a good masking job, so I took the individual panes apart as well. You can pop the windows into the microwave for a quick 10 second burst to loosen the glue. I keep each window with its completing piece in the proper direction throughout finishing to make sure they go back together easily.

I used the same painting technique as I had for the siding.
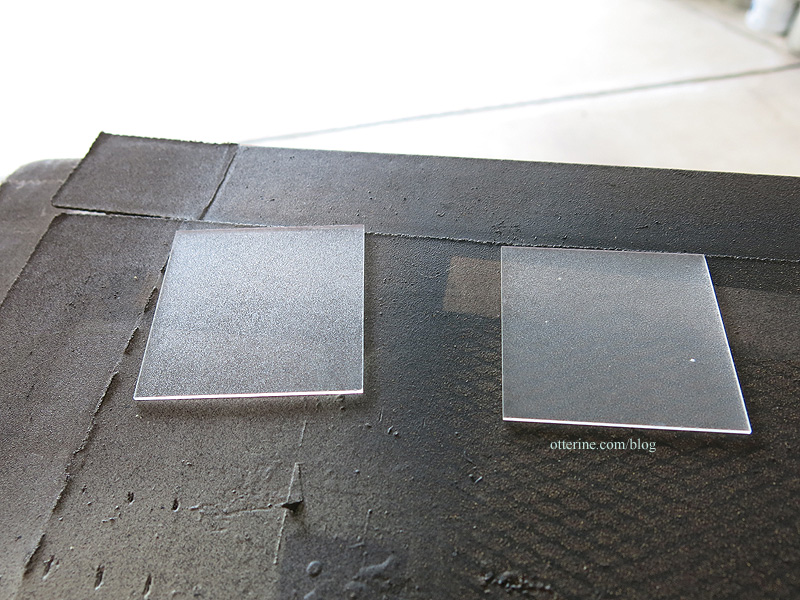
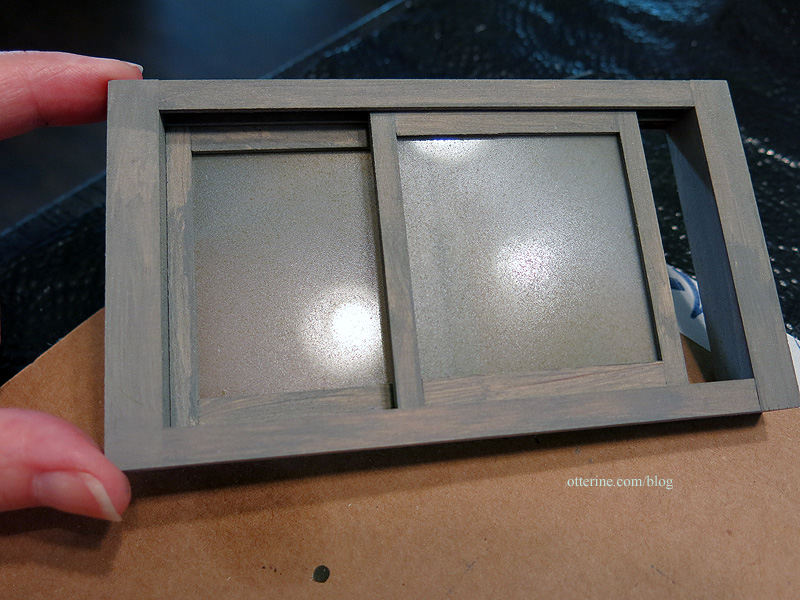
Now to mess up those clean inserts. I used Testors frosted glass, flat olive drab and Krylon grey primer. I didn’t wash the window inserts prior to finishing since any dirt or oil on them would just add to the imperfect finish in the end.

I first sprayed each side of the windows with the frosted glass finish. If you do this lightly, you will still have a moderate window reflection shine but a more obscured view through the glass.
For the two color spray paints, I sprayed under the windows on the board. This allowed for overspray to hit the glass. A few sweeps here and there are enough to cloud the glass, reduce the shine and add some color depth to the dust. You can always add more, but too much paint will look like…well…painted glass. These windows will be seen from the inside and outside, so I went with a lighter color to simulate dust.
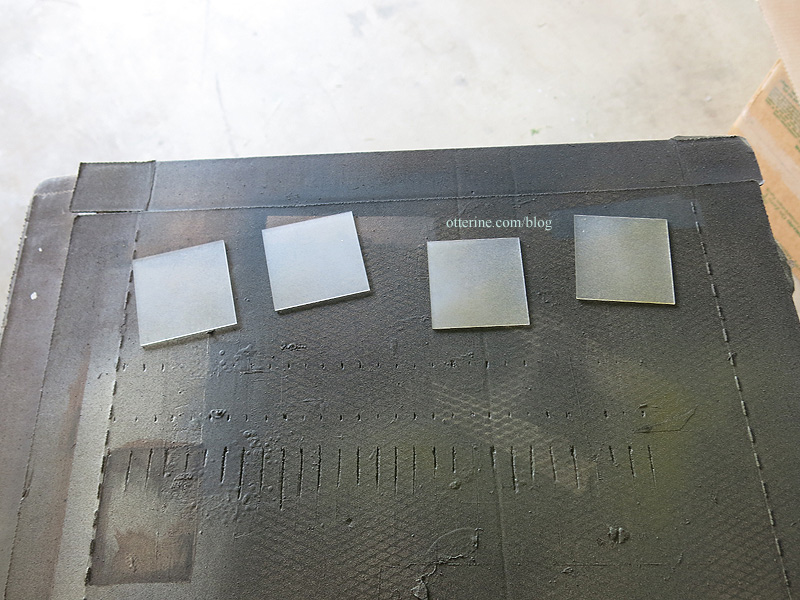
I used this technique on the cellar windows for the Heritage, but in that instance I used black paint and did only the interior portion.
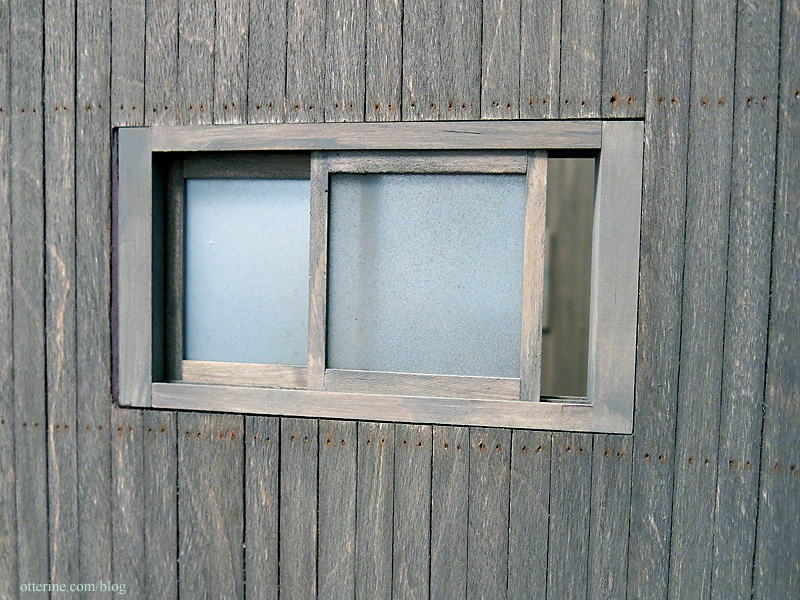
I put the windows back together once the inserts were dry. I left the shinier side on the outside and the dustier side on the inside. The exterior portions will be washed by rain from time to time.
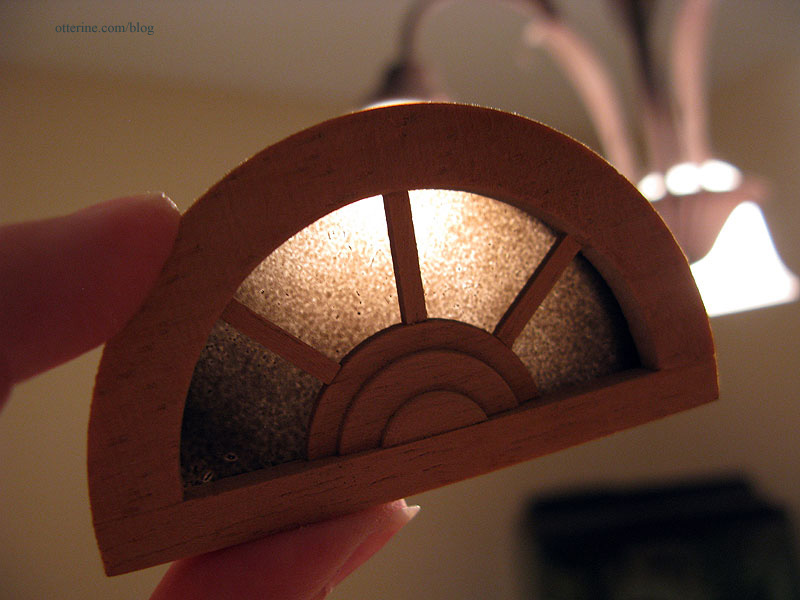
I’m not ready to install them just yet, but I tested them out on the building. Since the sliding windows were meant to be used with the thicker mdf of the front, they stick out inside. This won’t be an issue since I will be building a faux structure of studs.

The whole structure will get more aging later, including the windows. Looking good so far! :D
Categories: Milo Valley Farm
June 28, 2015 | 0 comments
NOTE: All content on otterine.com is copyrighted and may not be reproduced in part or in whole. It takes a lot of time and effort to write and photograph for my blog. Please ask permission before reproducing any of my content. (More on copyright)