


NOTE: All content on otterine.com is copyrighted and may not be reproduced in part or in whole. It takes a lot of time and effort to write and photograph for my blog. Please ask permission before reproducing any of my content. (More on copyright)

Categories:
Milo Valley Farm – modifying the base kit
Bashing a kit is an organic process for me. I like the trial and error method the best. Many of my ideas have come from happy accidents. :] This is the reason my builds tend to stay in dry fit for so long, often for months, as I figure out processes and solutions to problems.
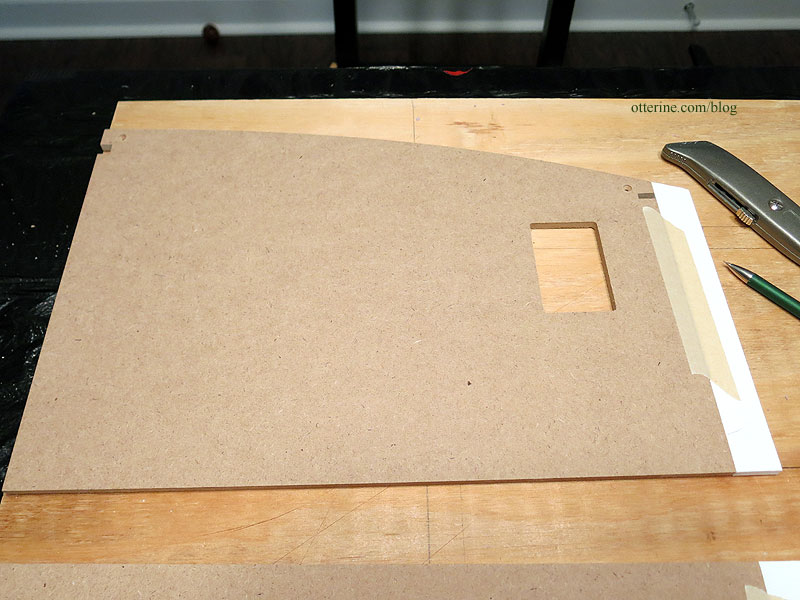
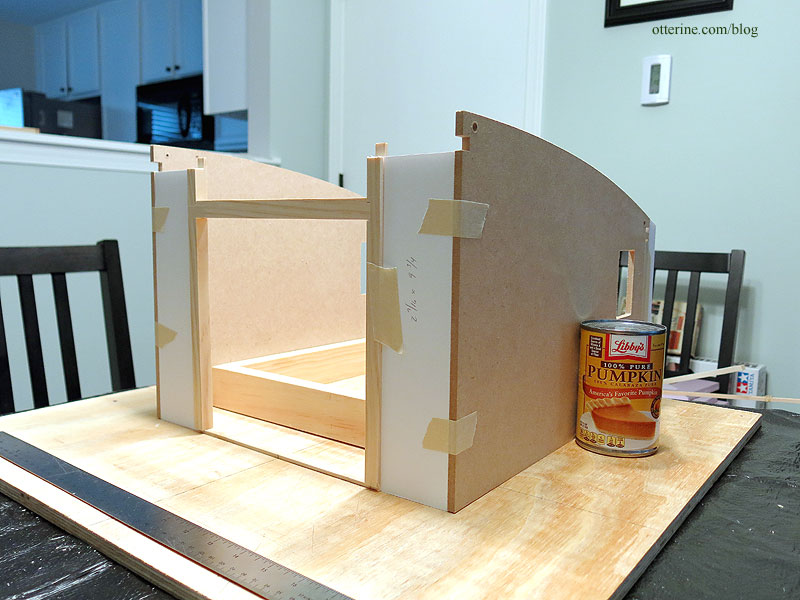
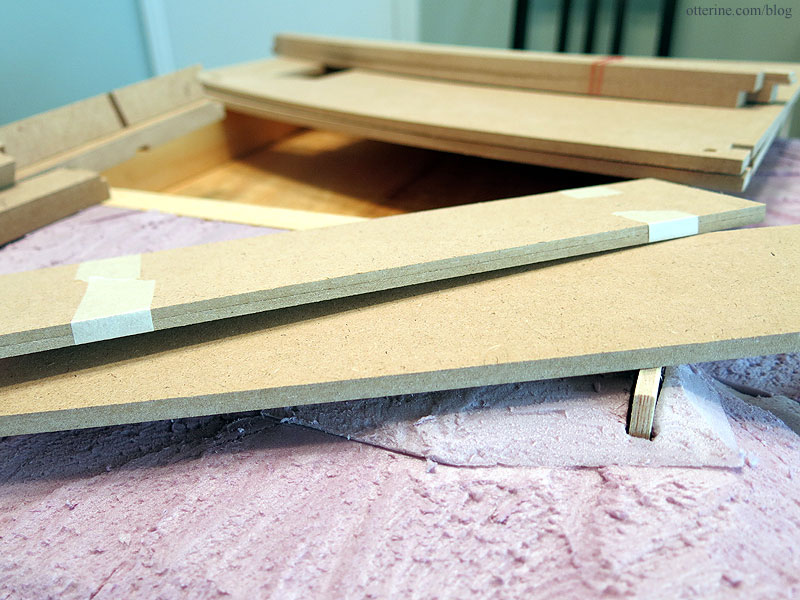
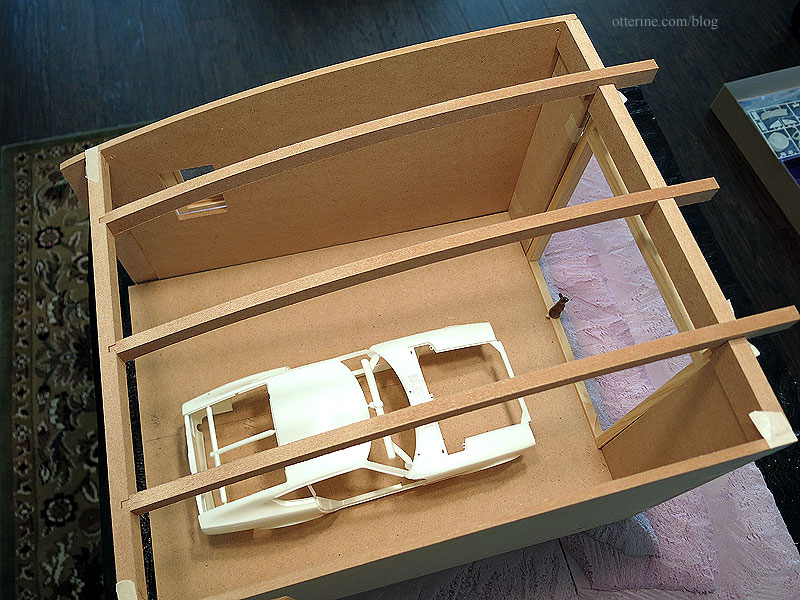
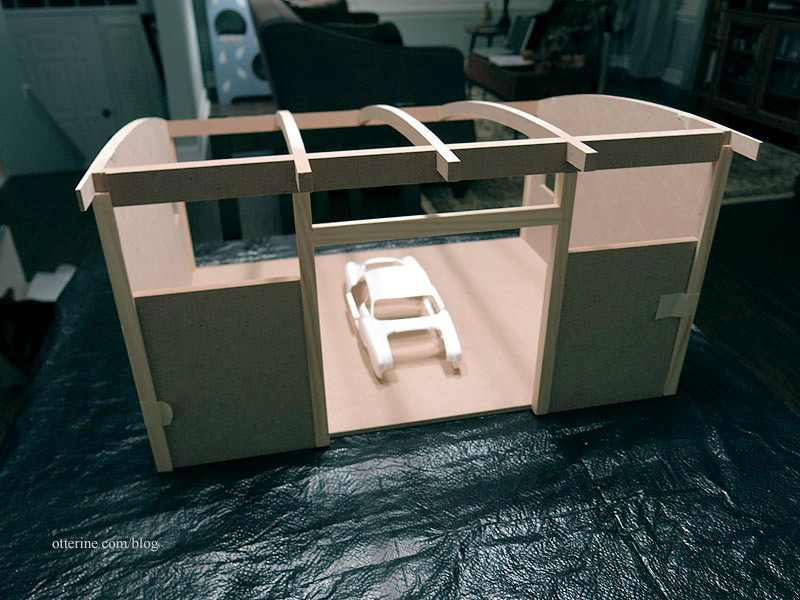
With the car model now selected, I can work on modifying the overall size of the barn. The 1:12 Datsun will be roughly 14.25″ long according to the info I’ve been able to find online. The interior depth of the kit is roughly 15.25″, which is not a lot of wiggle room. I will add 1″ to the back, shown here in foam core board.
The 2″ gap between the car length and the room inside the barn should be enough. The car will be parked mainly down the middle, but the wide door should allow for slightly offset placement as well. My thought is this is a shed on a larger property. This isn’t the main barn.
When I was young, I lived on a farm (now a built-up suburb), and it had all these old sorts of places. Here is one such example from some photos taken around the time we moved. I’ll have to scour some of my parents’ photo albums for more pics. I’m sure there are a few from when we actually lived there. The main house was the inspiration for The Haunted Heritage.
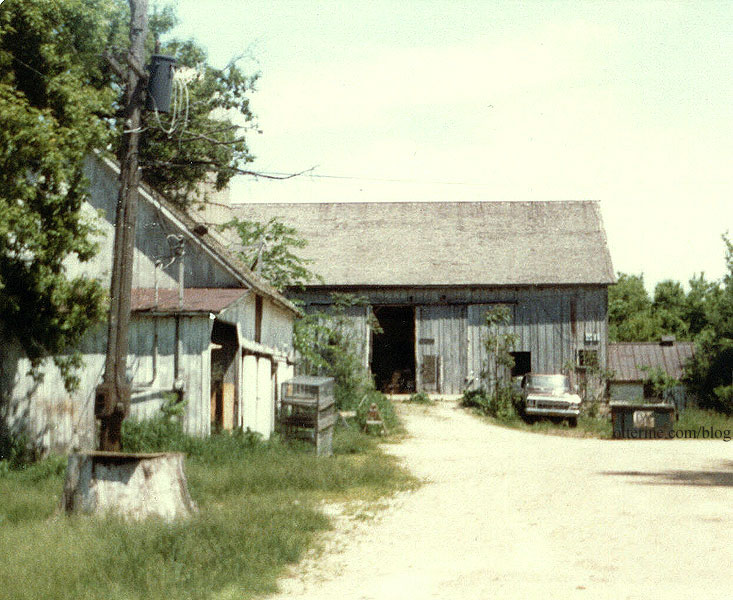
the main barn with side buildings 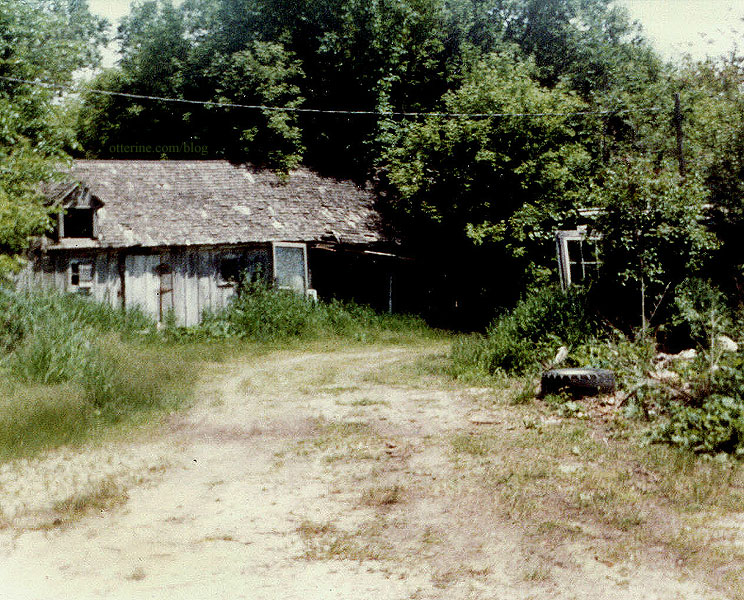
smaller sheds on the property I will also be adding a removable back wall. I made two for Baslow Ranch – one for the barn and one for the room for rent, but I know more now. If I could change one thing about that build it would be to have the removable walls be part of the build and not just propped against the back. For this build, I’m thinking channel molding and a sliding wall. This will add 3/8″ to the exterior measurement beyond the added 1″ for the depth.
The stone texture will add roughly 1/4″ in thickness all the way around the foundation. I’ve already noted to scoot the back of the foundation 1/4″ away from the back edge of the base board to accommodate the stone. I thought it would look odd to have a painted back foundation, so I will carry the stone all the way around the back.
This means I need to add 2.5″ to the front of the foundation. Back to the scrap wood stash….
What about the landscaping foam, you ask? I just marked the outline and cut away the necessary amount. The floor board will hide the foam at the front, no problem. The landscaping will continue to be modified as the build goes on. Besides, I need a rabbit hole for Friedrich now.
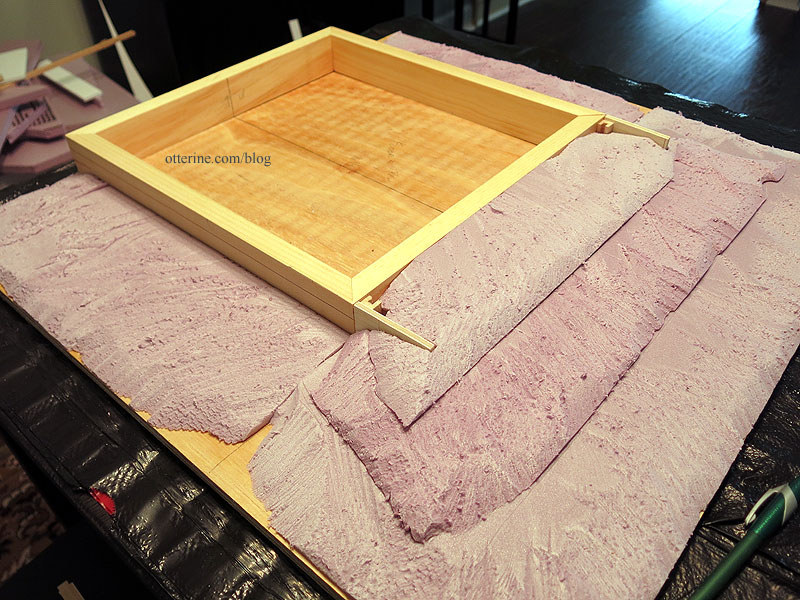
The mdf side walls are 1/4″ thick so they will sit directly above the stone finish except for a tiny bit on the elevated foundation. This isn’t an issue since the side walls will be glued to the floor board and ceiling beams. On the off chance there ever is any sagging of the walls, floor or roof, it will just work in my favor.
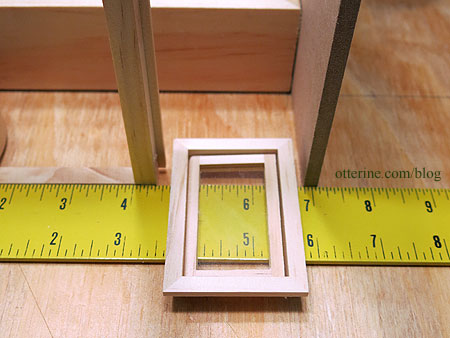
For the ease of measuring, I’ve placed the side walls against the base foundation since they are the same thickness as the stone finish. I plan to keep the kit door frame, but the sliding glass door obviously won’t work for a barn. This leaves me with front wall inserts 2 7/16″ wide. I like to use foam core board when making changes instead of just cutting the kit down. Helps me work out an idea without ruining any kit pieces in the process.
I’d like the use the side windows on the front, which will work here. The windows will require some filler around them, so will cut completely new inserts 9 3/4″ tall to fill the space under the front cross beam.
As an aside, I type out all these measurements in my blog not so much for my audience but for myself. That way I don’t have to write them down anywhere; I can just look them up on the blog.
I cut down the original floor board to fit the new dimensions plus a little additional in length, just in case. I will cut this down after I fine tune the rest of the build. Some of the excess from the floor board was used to make the back extensions for the side walls so that the material matches seamlessly in thickness. I glued this on with wood glue.
Interestingly, the other remaining piece from the floor board ended up being the exact width of the front wall inserts! :O Unfortunately, there was only enough length to cut one from this piece. I cut the other front wall insert from the unused deck board. It’s half the thickness of the other wall/floor materials, so I needed two layers.
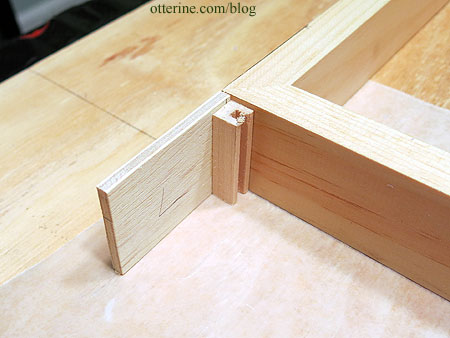
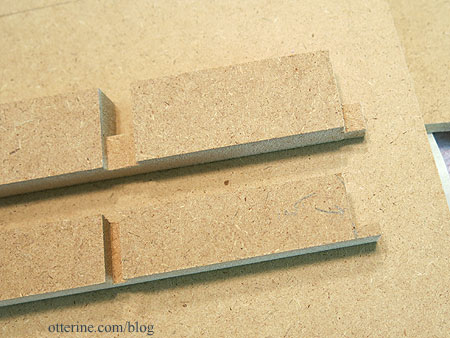
Now for the ceiling support beams. Since I want the door to remain centered, I needed to make my adjustments to the ends. I like the tabs for stability, so I cut those into the shortened ends. I will also need to cut the wood supplemental support beams, but I will wait until I’m further along for that.
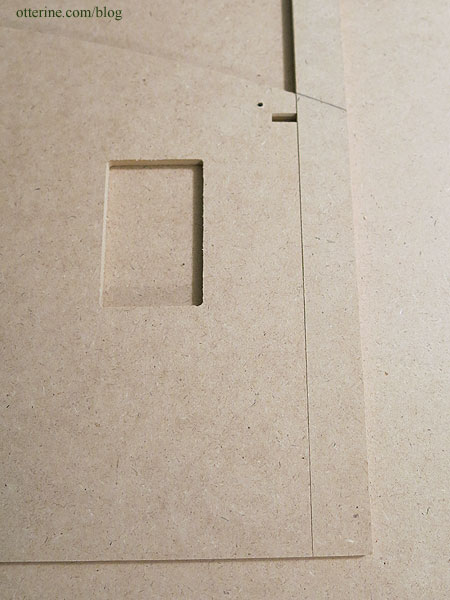
Since I used the side windows up front, I will cut larger openings to use the front windows on the sides.
The front-to-back beams still work because I didn’t change the location of the cross beams when I added the 1″ in length to the back.
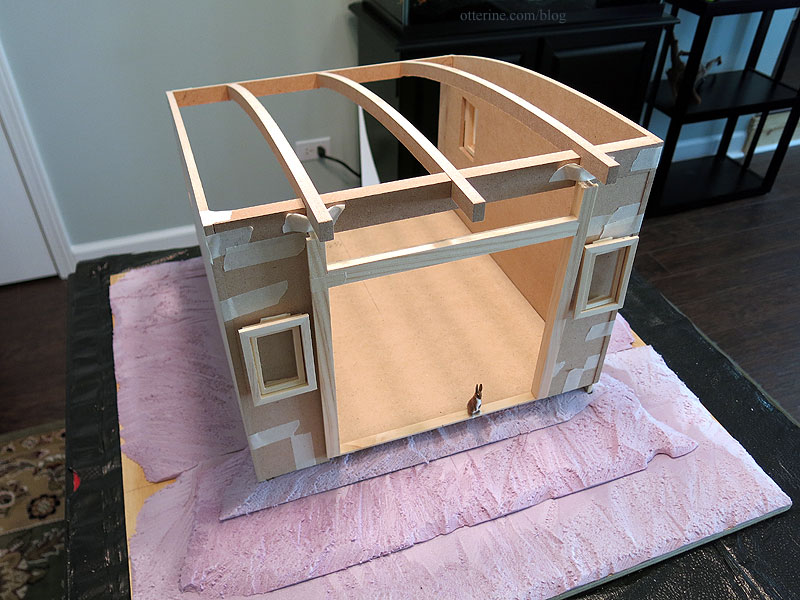
Looks like there is plenty of room in the barn without having a ton of space to fill. I’ll have enough to make it look like forgotten clutter but not so much as to overwhelm. A fine balance.
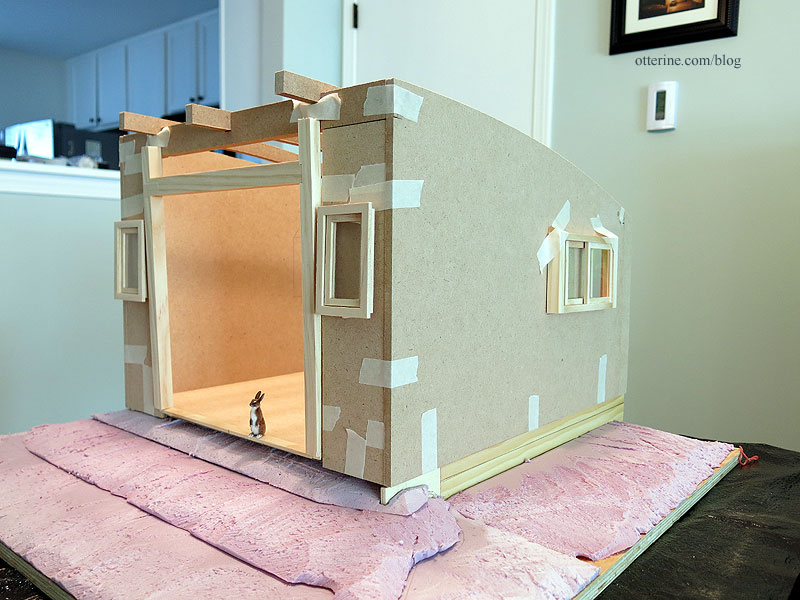
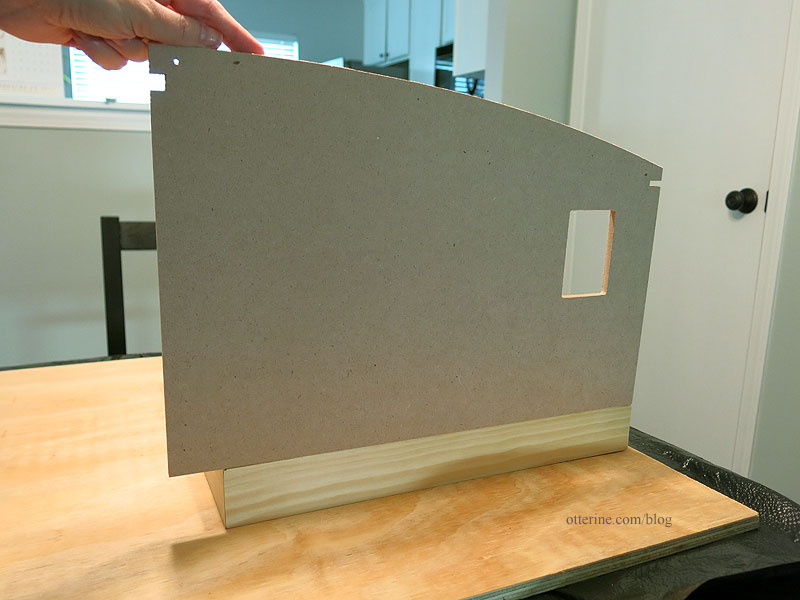
I will have a front outside light, and the best place will be above the door, so I cut an mdf insert to close up the area where the window would have been. I cut down the door frame to fit below the main front cross beam. I also cut the window openings. I centered them from side to side based on adding the side walls (not shown in place here).

I made the front windows the same height as the side windows.

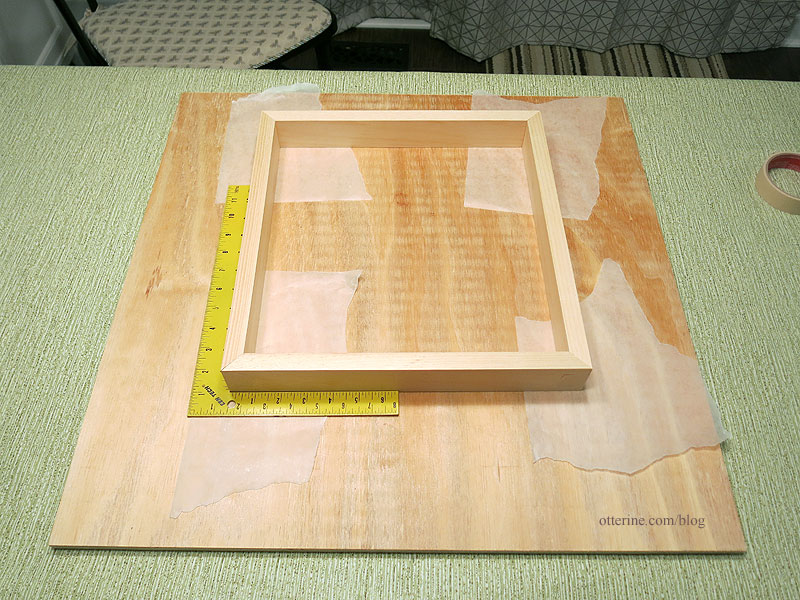
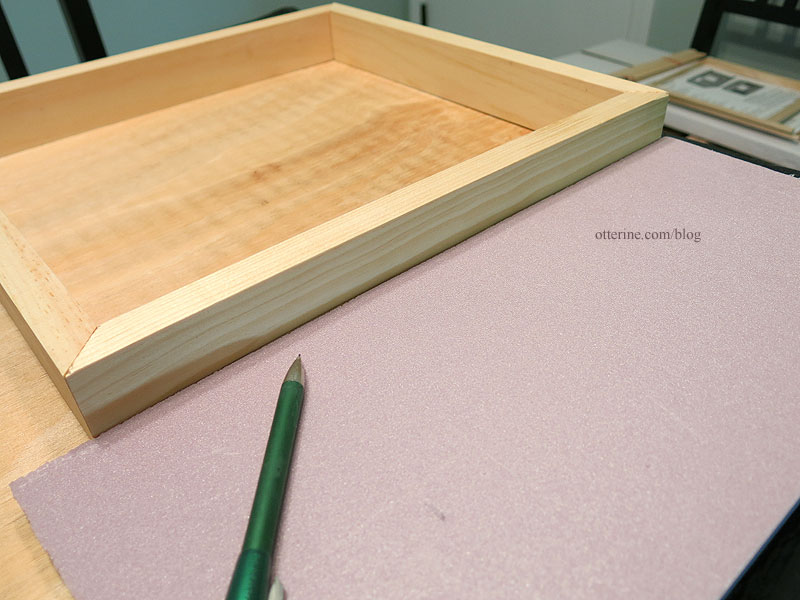
Before I start gluing pieces to the baseboard, I wanted to prep the edges. For a few builds, I’ve left the baseboard unfinished but painted on the edges. For others, I’ve added strip wood. This time around, I’m trying something new: iron-on veneer edging.

It turned out so well I wish I had thought to do this for my previous builds. Ah, well. Now I know.

Categories: Milo Valley Farm
March 21, 2015 | 0 commentsMilo Valley Farm – base and foundation, part 1
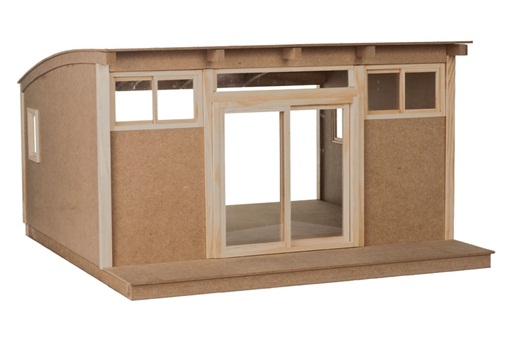
I’m starting with a 15/32″ thick plywood base board measuring roughly 24″ square purchased at Home Depot. In general, I use bases that will fit through a standard doorway so I can move the finished builds around my house without issue. Once I get through the first few rounds of dry fitting, I can determine if I will cut the base board down from this original size.
Even though I will be working with a 1:12 scale model car, I’m still going to cut the kit down a little to better fit my idea. Since this kit doesn’t have a solid front wall, making changes to the width has a few more steps but is still pretty easy.
I’d like to have an elevated foundation, so I won’t be using the existing foundation pieces from the kit. I tend to keep unused and/or extra pieces from previous kits, so I dug out the foundation pieces from the Foxhall Conservatory — the kit I used to make the Newport garage. These are 1 3/4″ tall and form a rectangle that measures 13 5/8″ x 14 3/8″.
This foundation is just a bit too short depth wise, but that’s easy to remedy.
I will be using 1/2″ thick builders foam (from Home Depot) to form the main landscaping base. The foam is closer to 9/16″ in actuality so that leaves 1 3/16″ of foundation showing.
I usually use egg carton brick for foundations and stonework can easily be done with the same material, but I wanted to give a real stone foundation a try since I wanted a different sort of look that only 3D pebbles will give. :] So, I bought some aquarium gravel.
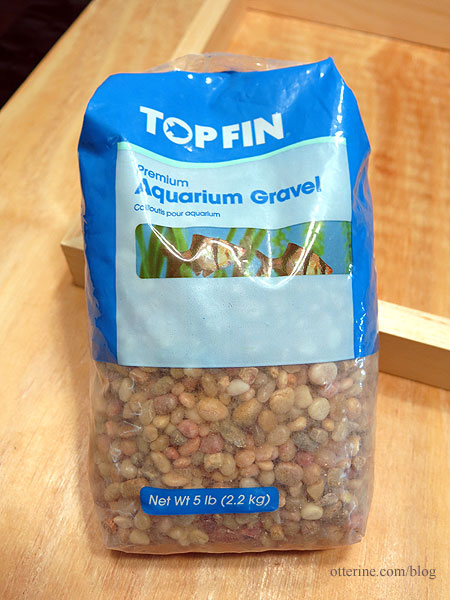
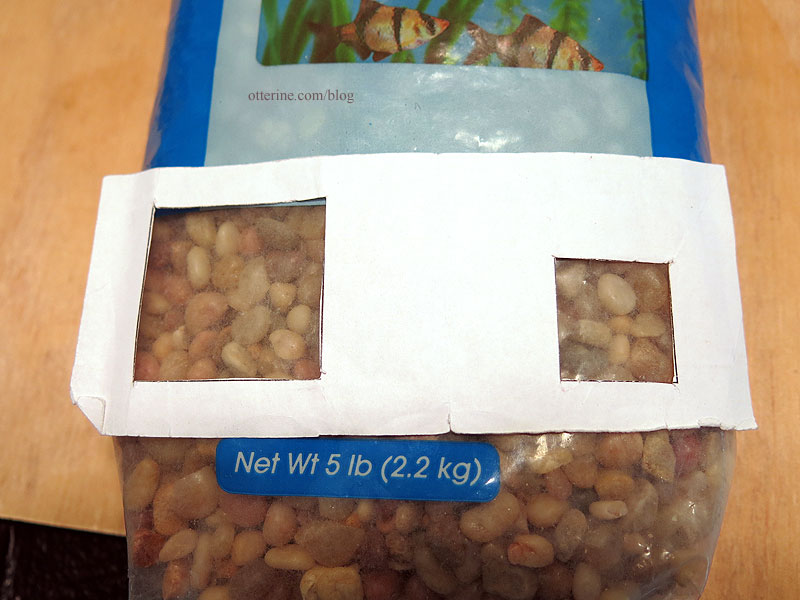
They do sell smaller bags but the pebbles were also smaller. I used my handy cutout template to determine that these were a better fit for scale. The template has 2″ and 1″ squares.
I’m a big fan of test samples just in case it’s not the look I wanted or has unforeseen disastrous results. I can also test out further finishes on my sample as I go instead of risking the work already put into a build.
I took a piece of scrap wood and spread some leftover stucco patch (from Home Depot) that was used for Walnut Bay Light in a 3/16″ thick layer.
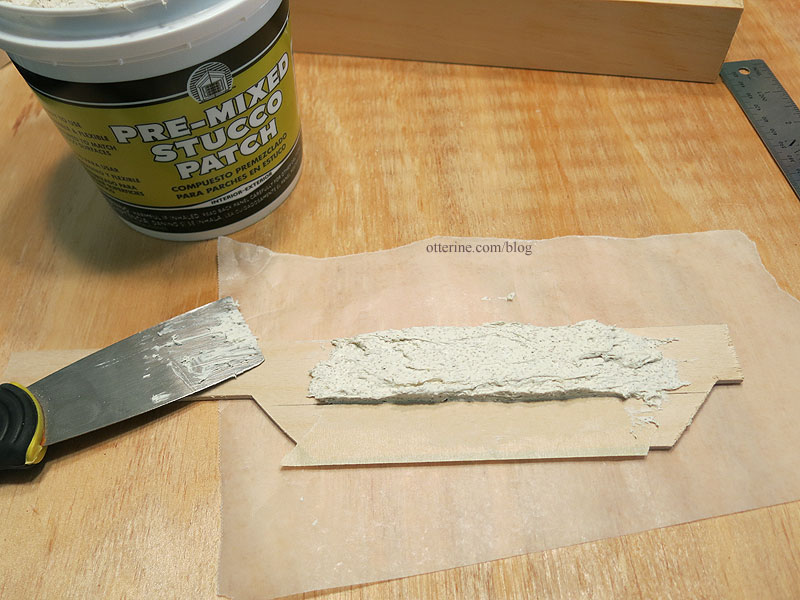
I did two tests: one with an added brushed-on thin coat of Weldbond and one without. I wanted to see if the glue was needed for secure adhesion.
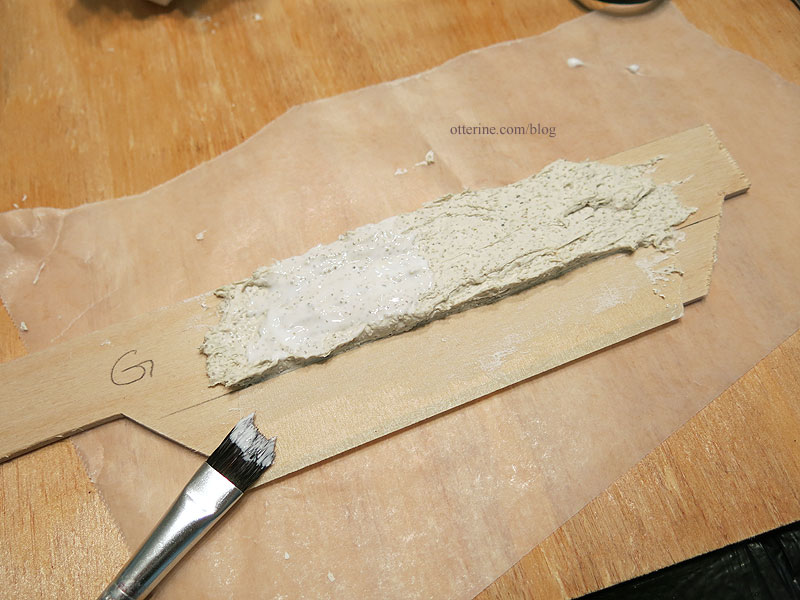
I pressed the pebbles in place. I used my putty knife to tidy up the edges. I’m already thinking the glue won’t be needed and, if anything, it will make it more difficult to age the grout. I can probably get away with a thinner coat of stucco as well.

The glued portion dried shiny, so I’ll use the stucco patch alone. It’s a solid mass, but a Greenleaf forum member suggested I prime the wood first for longevity, so I will do that on the final go around.
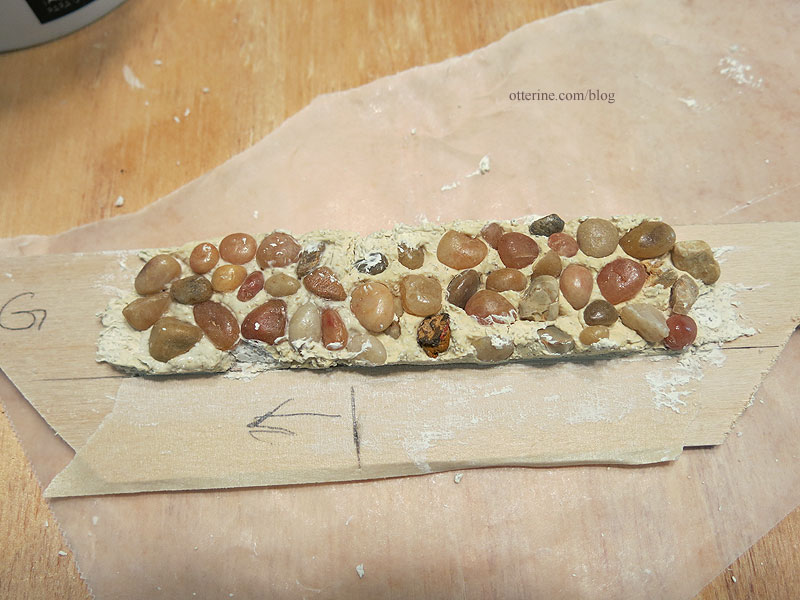
The pebbles are a good size for scale.

Categories: Milo Valley Farm
March 16, 2015 | 0 commentsMilo Valley Farm – cars and scale
Whenever a contest build comes up, I often end up with two good ideas that are completely different and I have to choose one direction or another. Such is the case with the HBS Creatin’ Contest this year. I bought the kit for Denise’s City Cottage and have been working behind the scenes on my contest entry following one of my two ideas.
But, the other idea will now see the light of day thanks to HBS! They’ve kindly offered to send me a kit so I can blog publicly about my build. Now, this public build using the free kit won’t be entered into the contest to keep it fair to those who have purchased the kit to enter. But, my secret build will still be entered since it has already been started from the kit I purchased at the beginning of the year.
So, what’s the idea? A barn find! Here are two great examples of the look I’m going for: a 1961 Jaguar E-type and a 1952 Barn Find Cunningham C-3 Coupe #5209. Barn finds can be quite sad looking at first sight but turn into cash cows and museum gems.
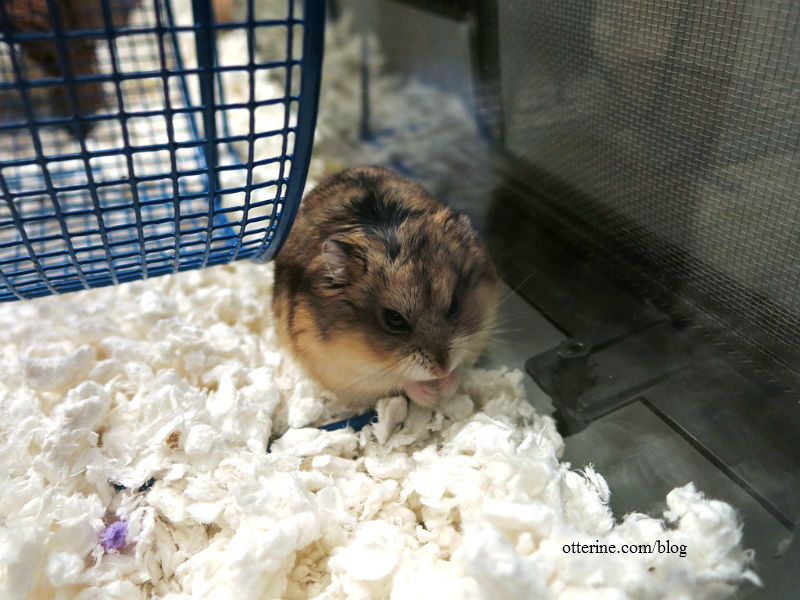
I’ve named this build Milo Valley Farm after my current hamster friend.
I found a great deal on a 1:16 scale Karmann Ghia, but it was in the UK. Pepper was kind enough to help me out, and the kit arrived in quick fashion.
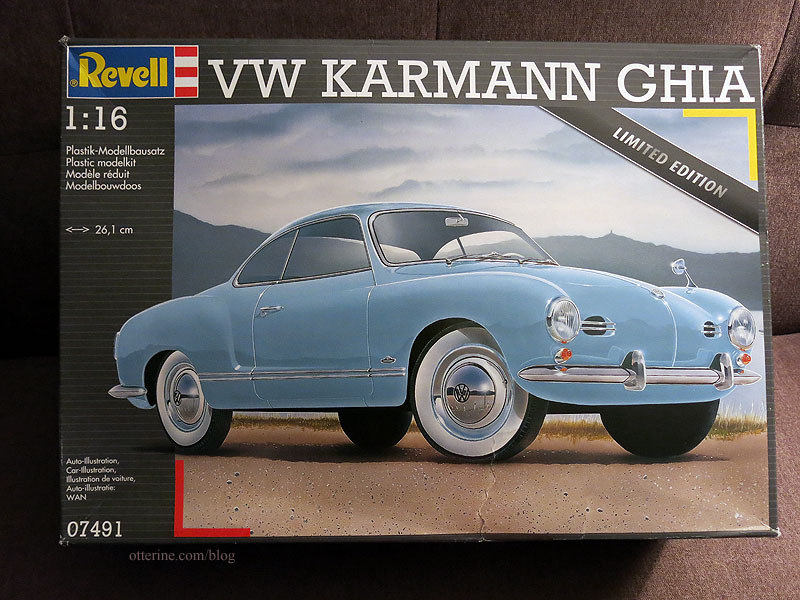
As big as the box is, the car itself is just a bit too small for the building. It leaves too much space to fill. I don’t want the barn to look like a flea market…the car should take center stage for the interior.
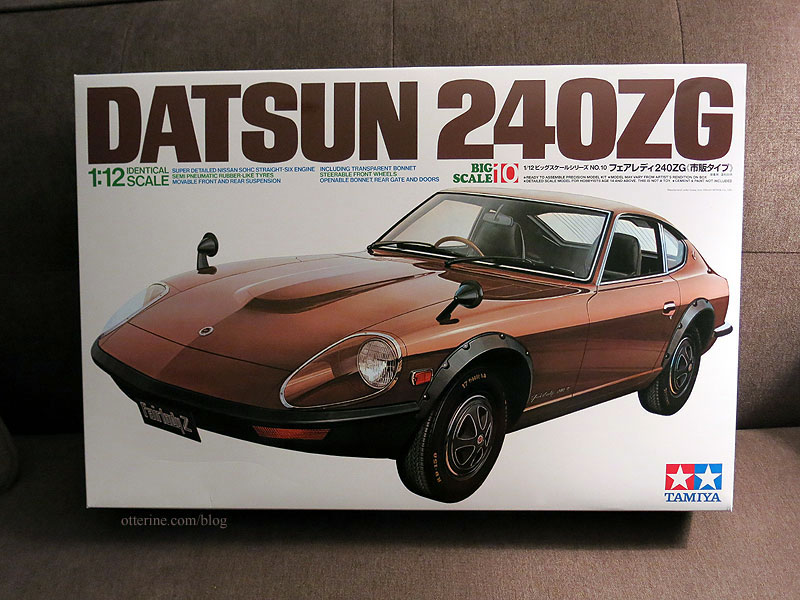
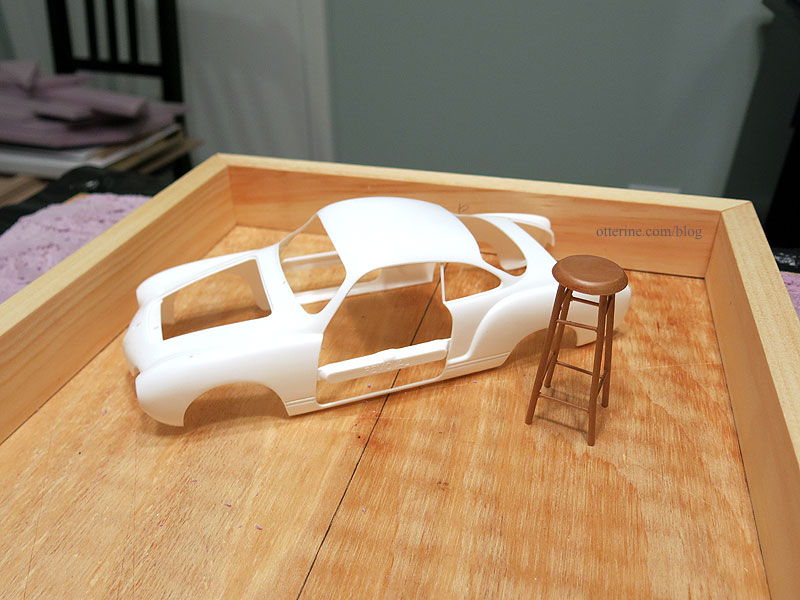
In truth, a 1:12 scale car works best inside a 1:12 scale garage. Makes sense, no? To that end, I chose a Datsun 240ZG. This is a 1:12 scale kit by Tamiya, and they can be pricey. I wouldn’t say the kit was cheap, but VRC Hobbies had a non-scalping price for it.
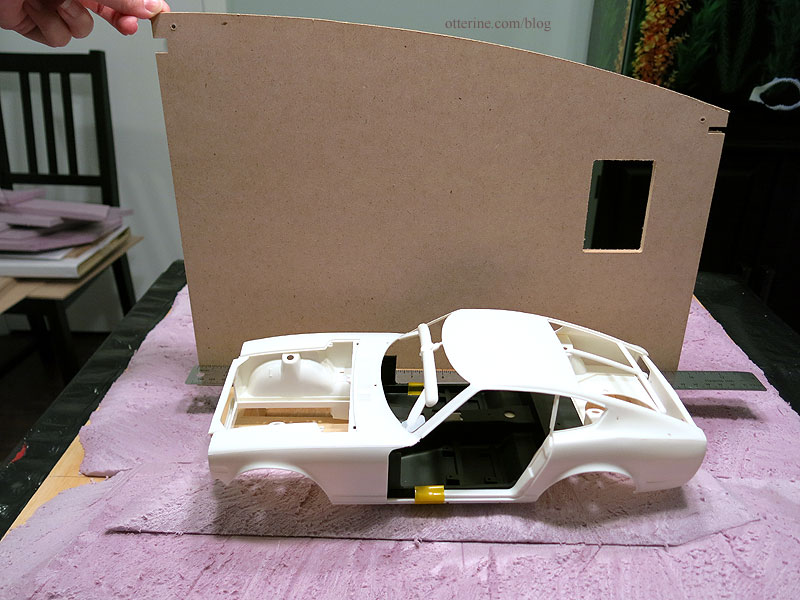
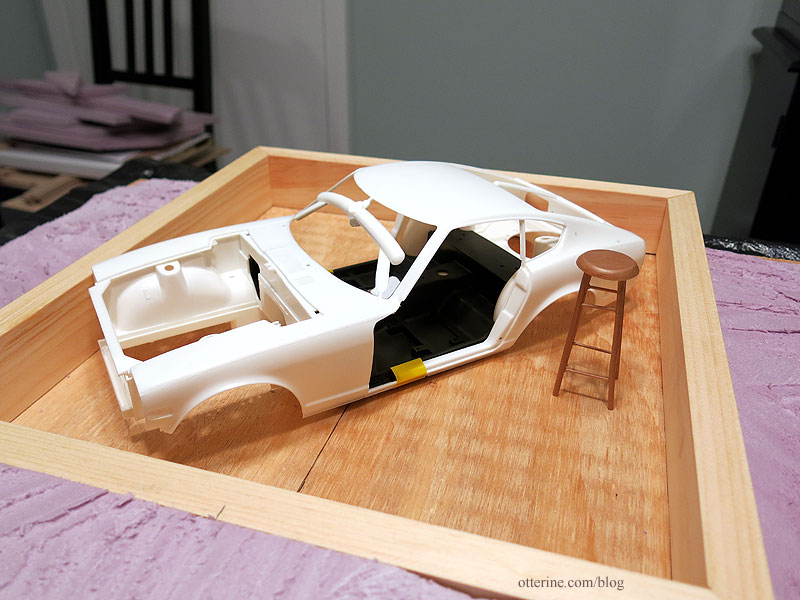
The 1:12 Datsun will be roughly 14.25″ long according to the info I’ve been able to find online. The interior depth of the kit is roughly 15.25″, which is not a lot of wiggle room. It looks fine here because the front end isn’t attached to the model yet.
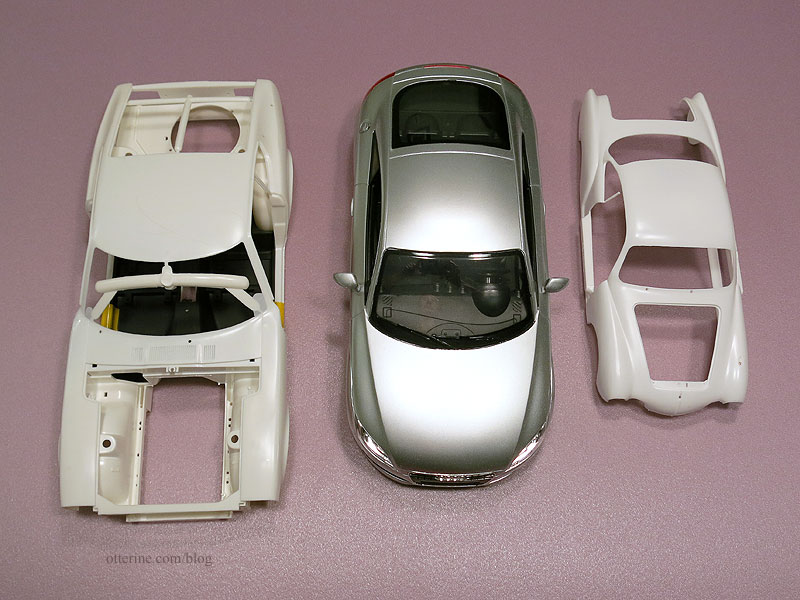
The 1:16 Karmann Ghia is better for depth with the side wall, though not necessarily for height.
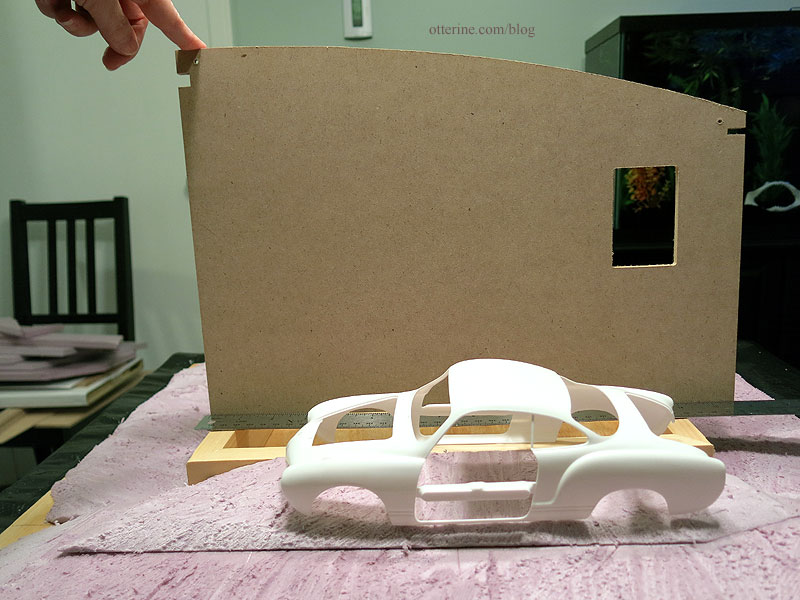
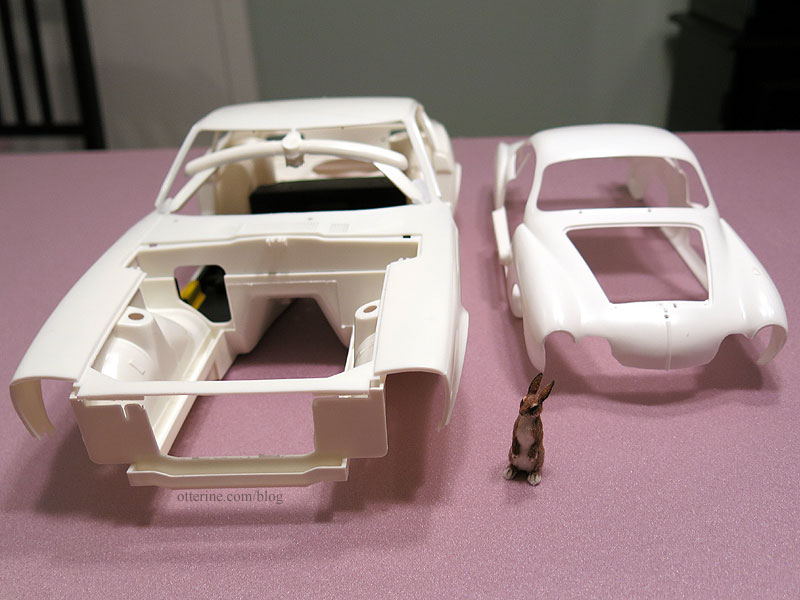
Once you add 1:12 scale items next to it, it fails the test completely. I don’t want to make everything else in 1:16 scale when I can just add a little depth to the kit.
Better.
Looks like the 1:14 scale Audi TT would be a great happy medium, but it’s not a kit, too new to be a barn find and not something I want to wreck besides. As far as I know, there are no 1:14 scale model kits.
So, the Datsun wins! :D Friedrich approves.
I also picked up a 1:12 scale Tamiya kit with various tools on eBay.

Is it wrong that I got all giggly about having an oxy-acetylene torch in miniature? :D

Categories: Milo Valley Farm, Model Cars, Vehicles
March 11, 2015 | 0 comments
NOTE: All content on otterine.com is copyrighted and may not be reproduced in part or in whole. It takes a lot of time and effort to write and photograph for my blog. Please ask permission before reproducing any of my content. (More on copyright)