
NOTE: All content on otterine.com is copyrighted and may not be reproduced in part or in whole. It takes a lot of time and effort to write and photograph for my blog. Please ask permission before reproducing any of my content. (More on copyright)
Categories:

Ivy Hollow – gable bump out finishing
After making a base for the bump out on the gable, I put the building in dry fit to see if the depth was enough.

I added a slab of 1/8″ inch thick plywood over the base.

I popped the gable window in place while adding the siding on the adjacent edge of the gable bump out.

I then added siding to the front. I’ll finish the lower portion once I have the porch ceiling board in place.

As for the gable window, the thickness of the wall with the applied siding left a gap on the interior.
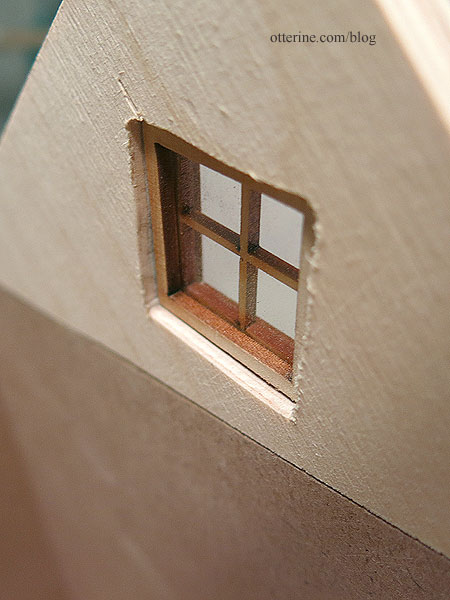
I added strip wood around the inner edge of the window to fill this gap.
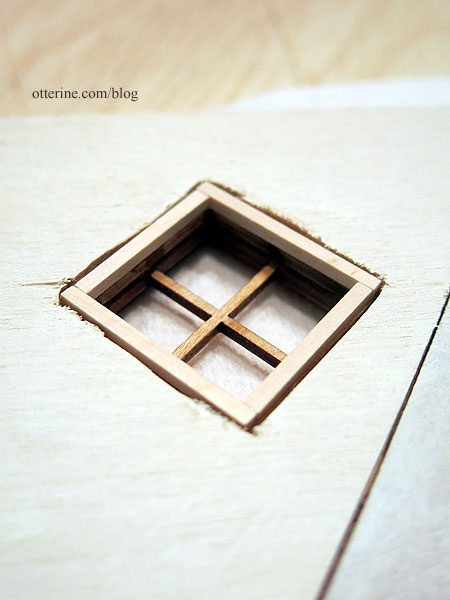
I painted all the siding Vintage White by Folk Art (I’ve colorized the roof in the below pic since the white foam core board was rather stark). The windows and doors are Woodland Green by Americana. More on the other windows and doors to come.

Categories: Ivy Hollow RFD
August 16, 2019 | 0 commentsIvy Hollow – screen door, part 5
Continuing work on the screen door. I sprayed the screen on both sides with the Rust-Oleum Self-Etching Primer as tested last time. The coverage wasn’t quite as uniform over a larger patch of the material, but it’s pretty great. It looks like a dusty screen, perfect for my rural setting.
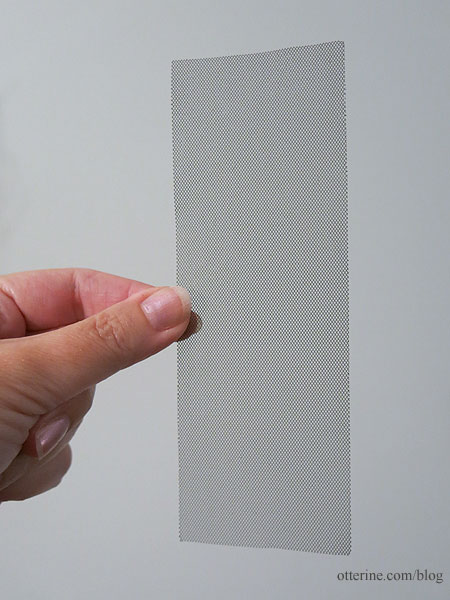
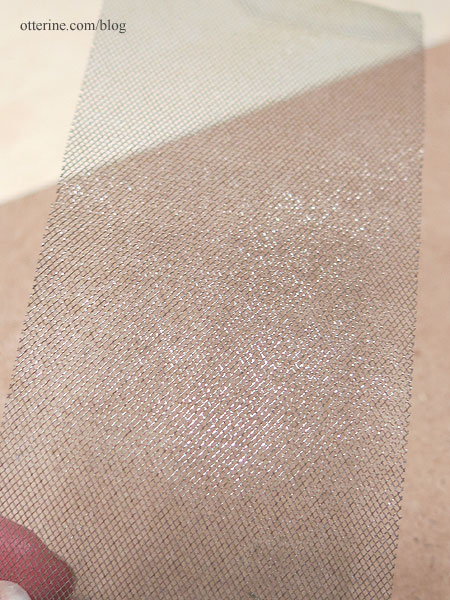
It’s even a little shinier on the interior side, where it would be more protected from the elements. This might have been why I had trouble painting it in the past. I might have tried to paint the shinier side instead of the dull side.
I glued the screen door boards together, then cut cross board detailing.
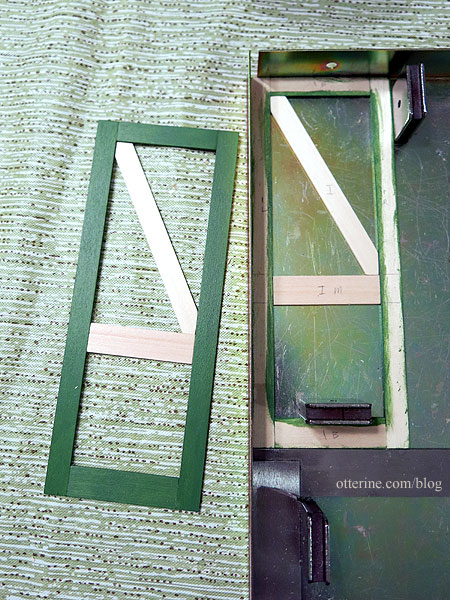
I painted those pieces while unattached, then added them to the previous assembly. I glued the three layers together – two wood frames with a cardstock/screen portion sandwiched between.
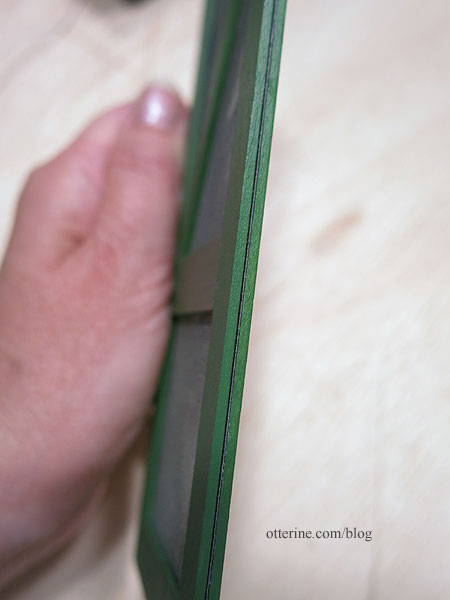
Here’s a reminder of the middle layer setup since I had to work fast and couldn’t photograph that part.
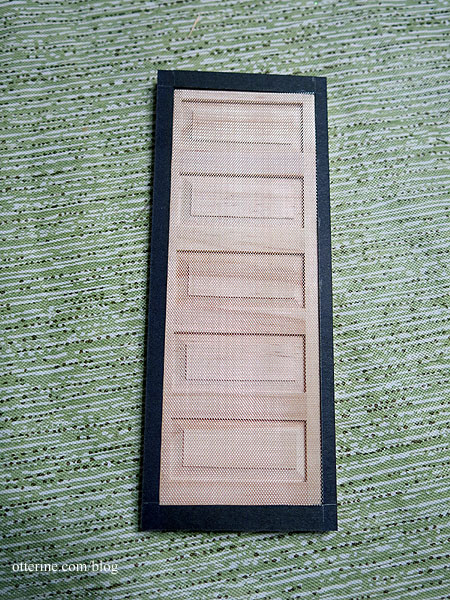
Once thoroughly dry, I gently sanded the four outer edges.
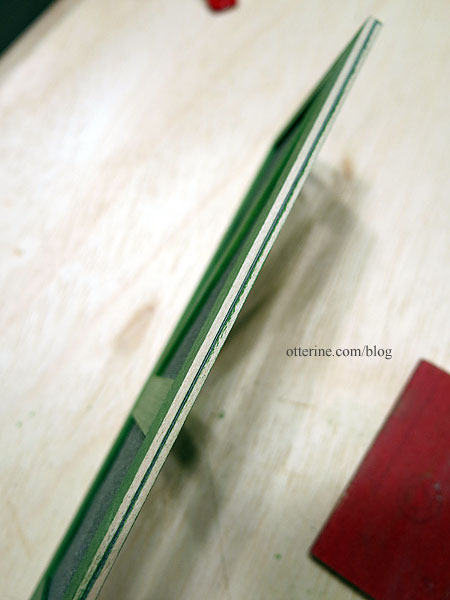
I filled any minor gaps with spackling.
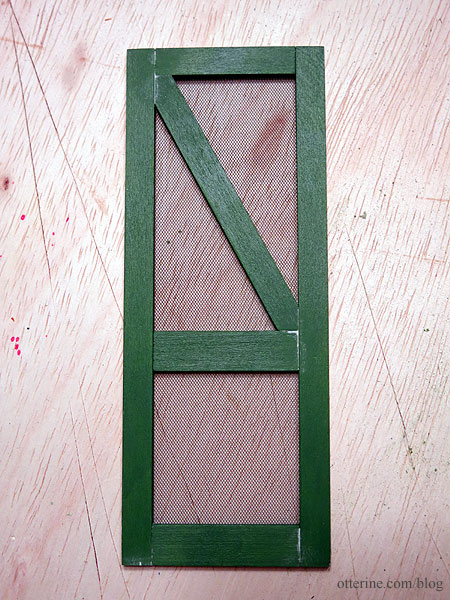
I touched up the paint overall and painted the sides of the door.
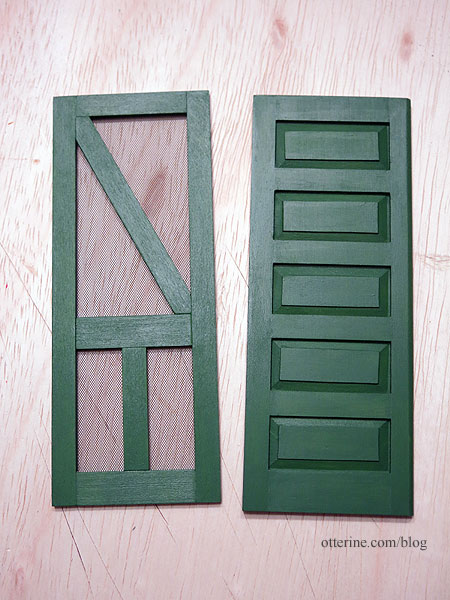
Next up, building a frame to house both the screen and solid doors.
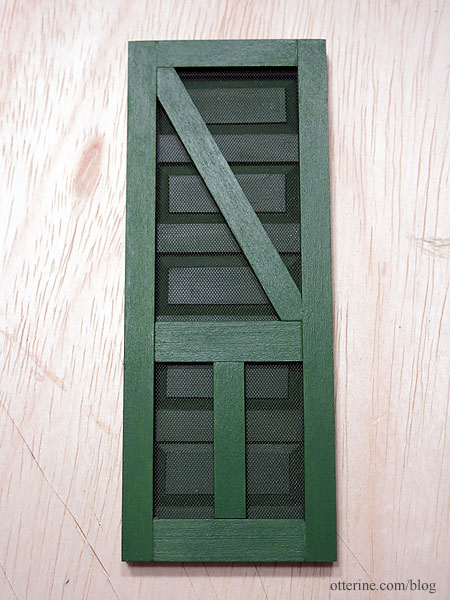
Categories: Ivy Hollow RFD
August 15, 2019 | 0 commentsIvy Hollow – potbelly stove, part 3
Continuing work on the potbelly stove. I left the glue and ice cubes to dry for roughly a day and a half. The glue turned out not clear/not white, which was just fine. There were a couple of bare spots, so I glued in a couple of ice cubes with super glue gel. I super glued the wire into the groove of the front leg. This will be painted black and go through the floor then to the power strip in back, sight unseen once the stove is installed.
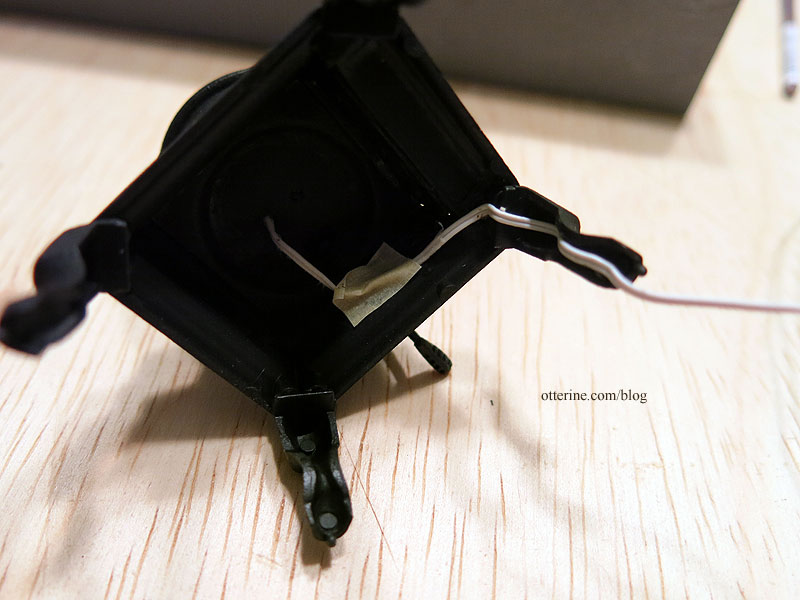
I added some texture to the inside of the stove where it might be seen. I glued the front door shut, though the kit does allow for a swinging door. I find it simpler to just keep it closed with the damper glued in the open position to see the lights inside. The stove lid is removable, though.
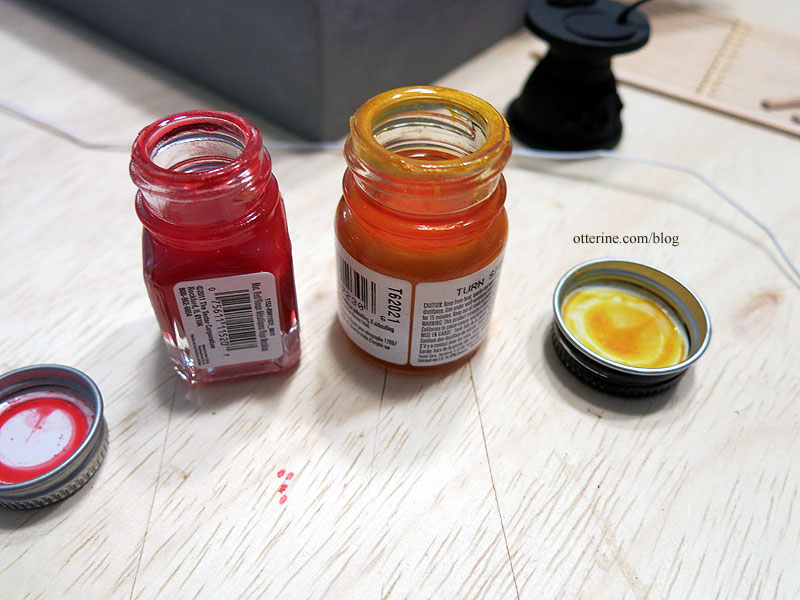
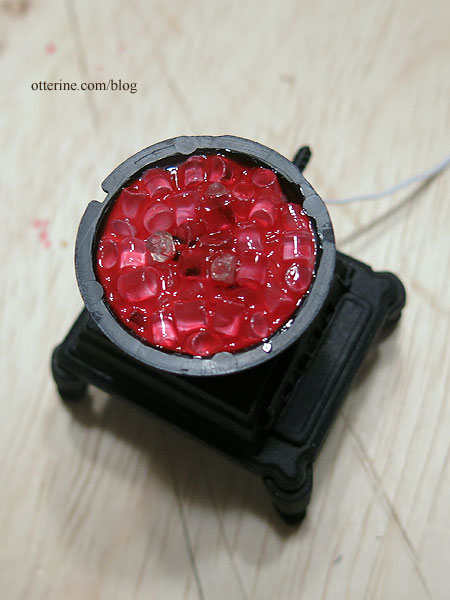
I used Testors model paints to add red and orange over the top of the ice cube/glue surface and let that dry completely. The trick is not to shake or stir the paint but use the transparent colored liquid after the paint has settled. This was taught to me by the helpful folks at the local HobbyTown USA.
Mmm…watermelon candies! :D
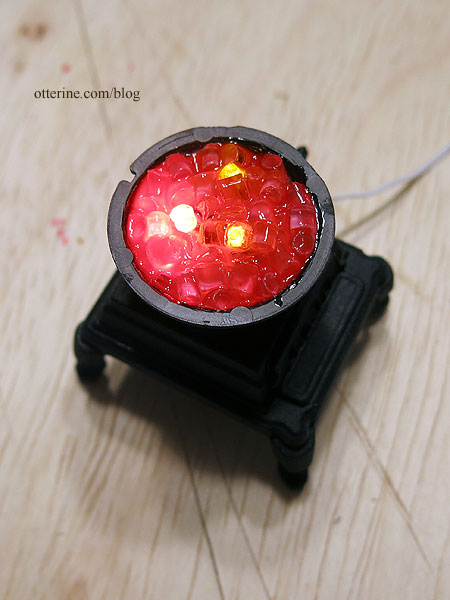
Working slowly with a small paintbrush and the lights on, I painted the surface flat black in spots. It’s easier to add more paint than take it away.
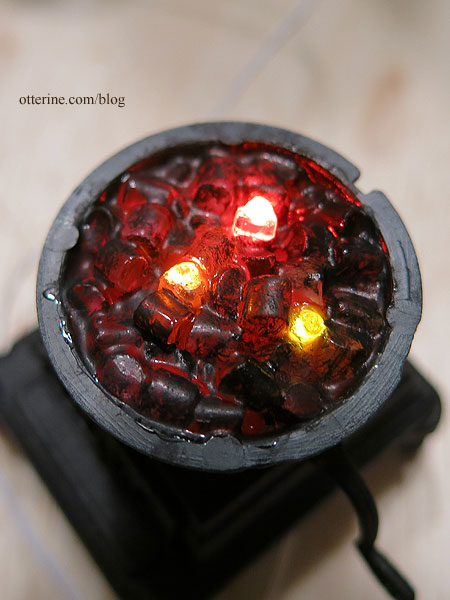
I carefully removed the masking from the bulbs. The yellow LED was a bit too bright in relation, so I toned it down with the Testors paint. If I were to do this again, I would make the third flickering bulb orange instead of yellow.
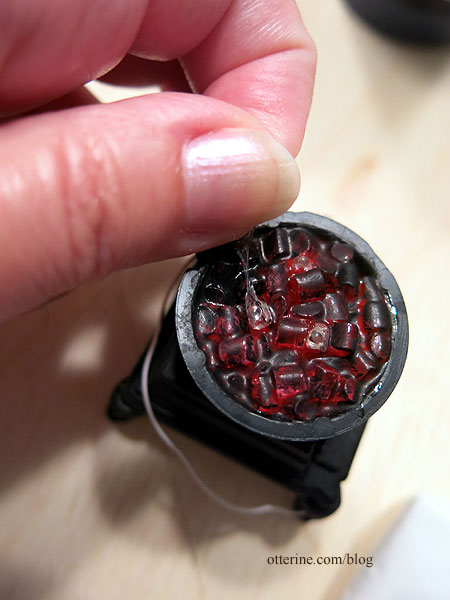
I fine-tuned the surface with greys and a bit more black, covering the tops of the LEDs to mask them.
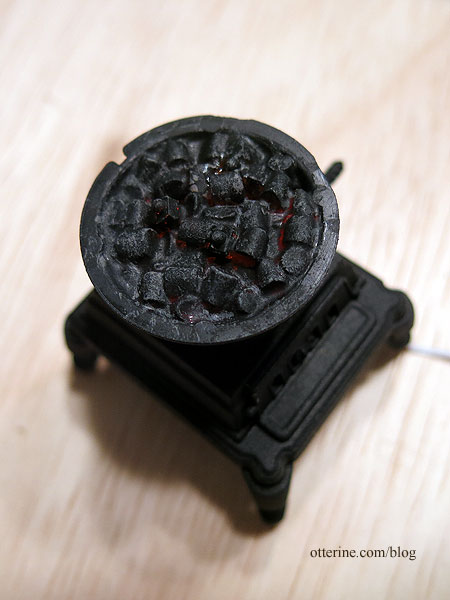
It might seem too dark in the photo, but the effect in real life is lovely.
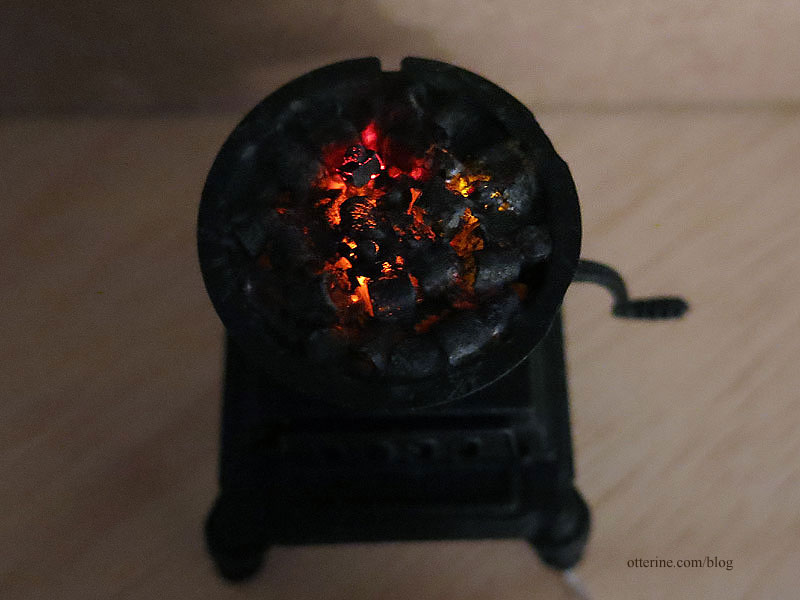
Glowing embers…
Of course, you really won’t be able to see much of them once the stove is in place, but I know they are there…and the next time I need embers, this is the method I will use.
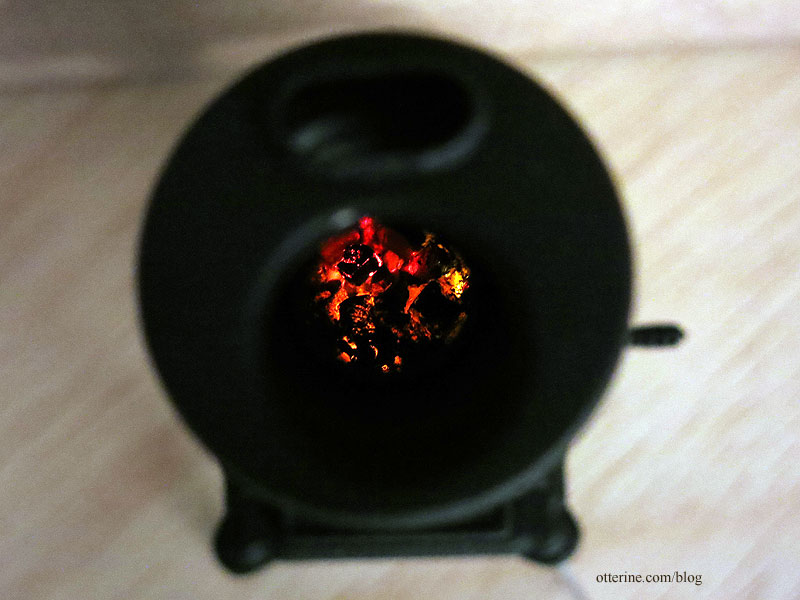
Next up is the stove pipe and adding a smidgen of dust.
Categories: Ivy Hollow RFD
August 13, 2019 | 0 commentsMail Wagon – part 7
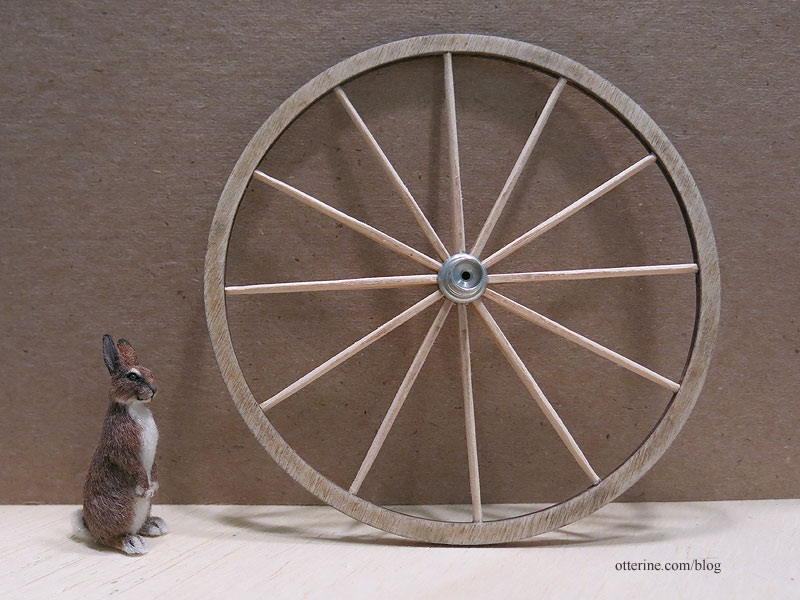
Continuing work on the Mail Wagon. With the replacement wheel parts received, I was able to assemble all four wheels. I decided to use the “scrap” wheels that were cut between the thin true parts. The scrap wheels are more substantial for a mail wagon versus a doctor’s buggy, and I will be handling the wagon and therefore the wheels a lot during the cabin construction. As expected, the replacement scrap wheels are slightly smaller than the original wheels, but this works without issue. I’ve seen mail wagons with all the same size wheel and those with smaller wheels in the front.
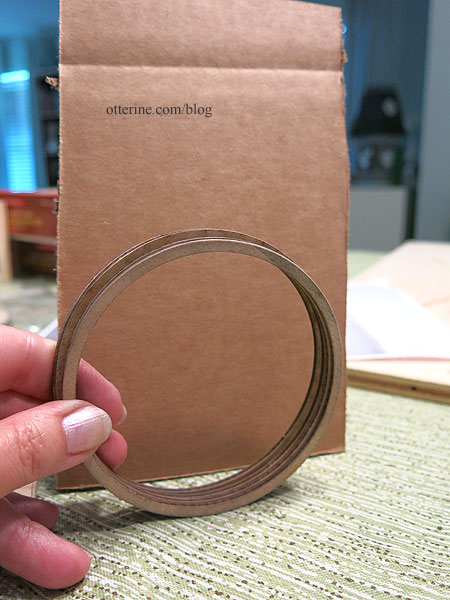
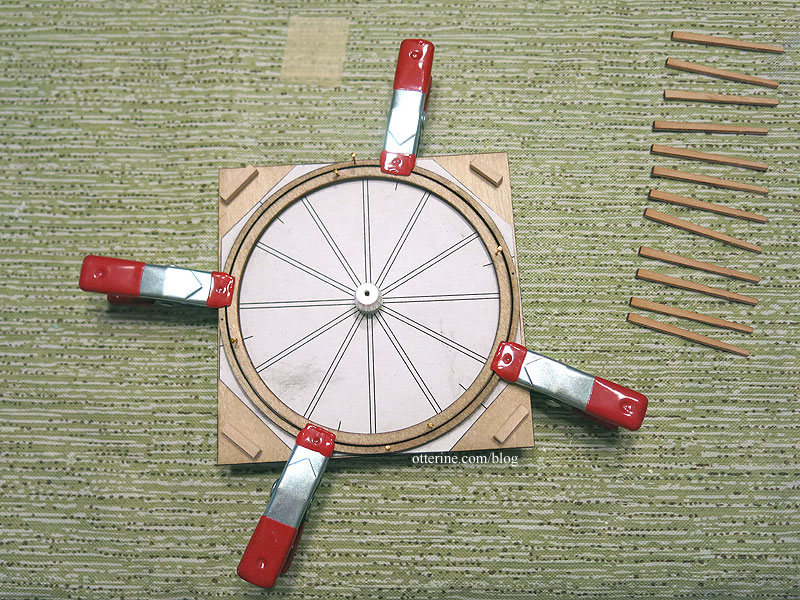
I left the previous large wheel on the jig and fit its corresponding scrap wheel inside since the paper pattern isn’t meant as a guide for the scrap wheels. I’m using only the long spokes, measuring and cutting them to fit one at a time. While there are two extras in each set of spokes in case of disaster, I am assembling the larger wheels first. If I get a spoke too short for these, those shortened pieces will likely work for the smaller wheels.
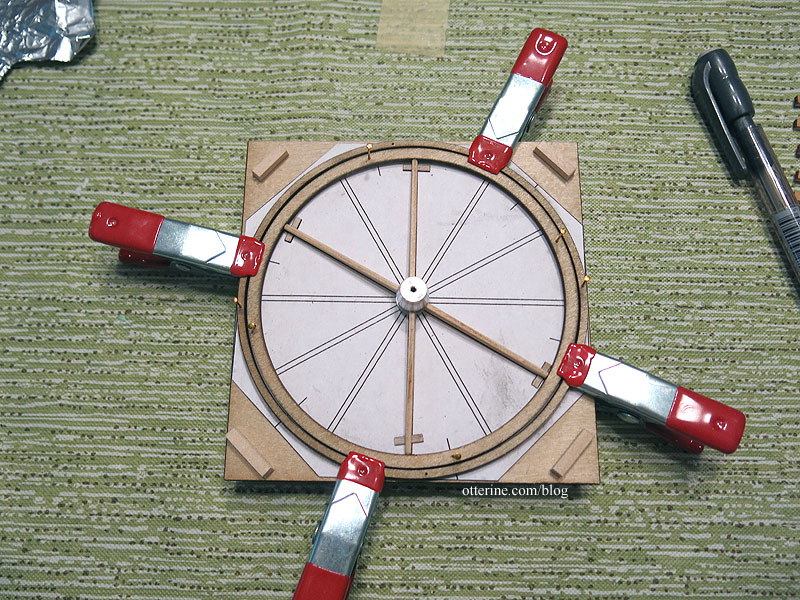
You are to complete the spokes in opposing pairs so the wheel stays uniform and flat. I built in a little tension to help the minimal amount of super glue gel used, but too much tension can make the wheel buckle.
The assembly was actually very sturdy once removed from the jig.
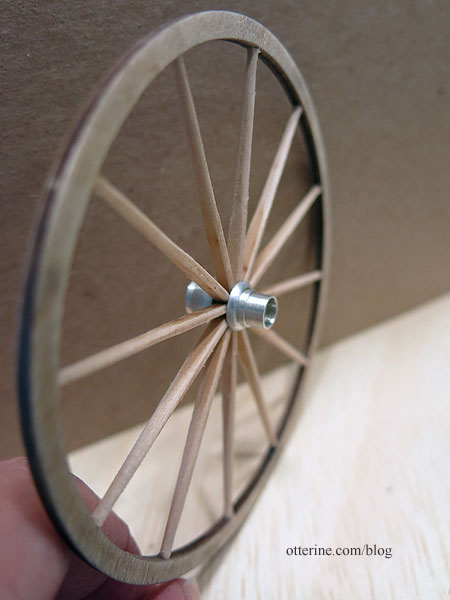
While I did round the edges a touch before assembly, the instructions indicate to fine-tune the small ends into rods. This worked only so well in that each one will always turn out differently. Once painted and with added grime, they should be fine. I filled the nail holes with wood putty.
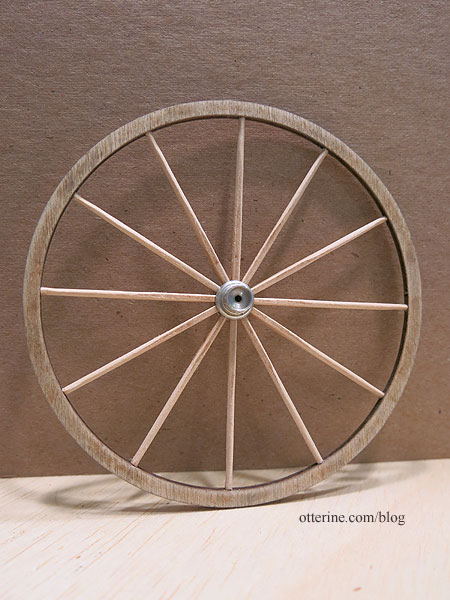
Three more to go….
Categories: Ivy Hollow RFD, Model Cars, Vehicles
August 10, 2019 | 0 commentsIvy Hollow – potbelly stove, part 2
Continuing work on the potbelly stove. This is the reference photo for the finish I’m after (under the dust).
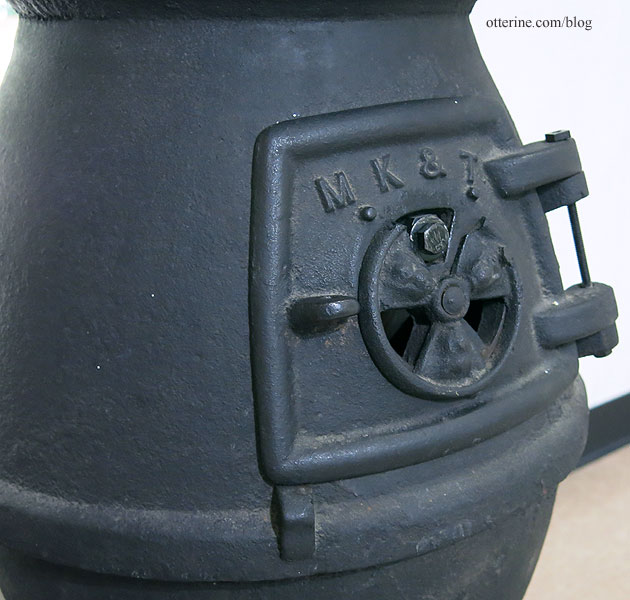
Even the sanding and flat black spray paint didn’t take away all of the sheen and smoothness of the plastic stove, so I stippled on a base coat of satin black by Americana. I then stippled on alternating layers of flat black and satin black, ending on flat black. Using the satin finish base made it look more like iron, which does have a slight sheen. My Baslow Ranch stove doesn’t have this texture, because I didn’t think of it at the time, but all the grime on it disguises that fact.
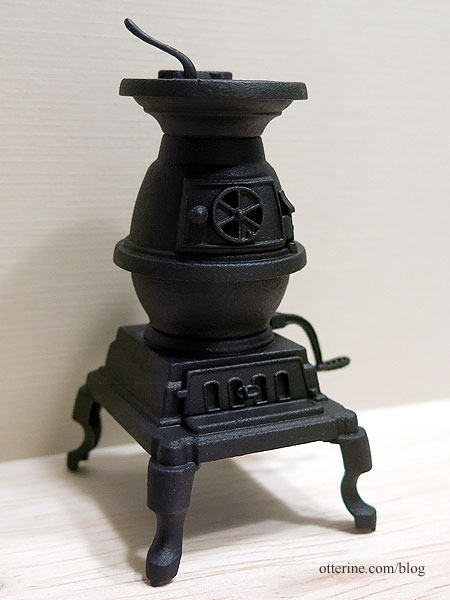
The stippling effect was important to do in thin layers to make sure the texture was in scale. I’ve turned plastic into iron. :]
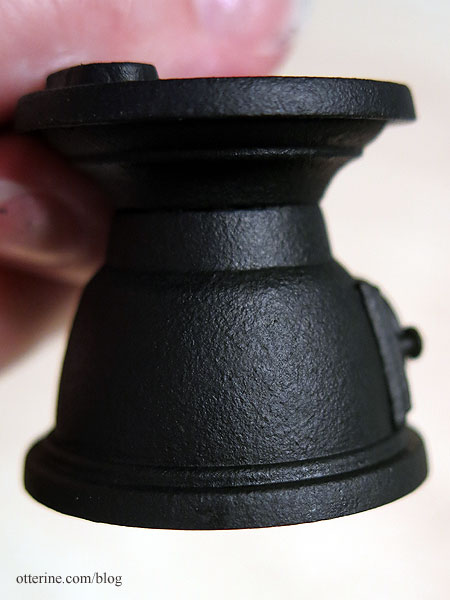
I patched the open holes in the pot except the one for the wire using Squadron Products White Putty, then painted the patches black once dry.
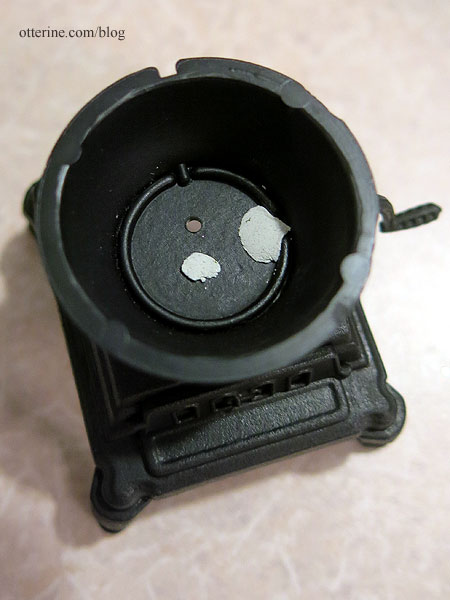
After feeding the wire through the remaining hole, I glued in the wire bundle with Aleene’s Quick Dry supplemented with super glue gel. I kept the lights on the 3V battery while working so I would know if any of the LEDs failed during the process.
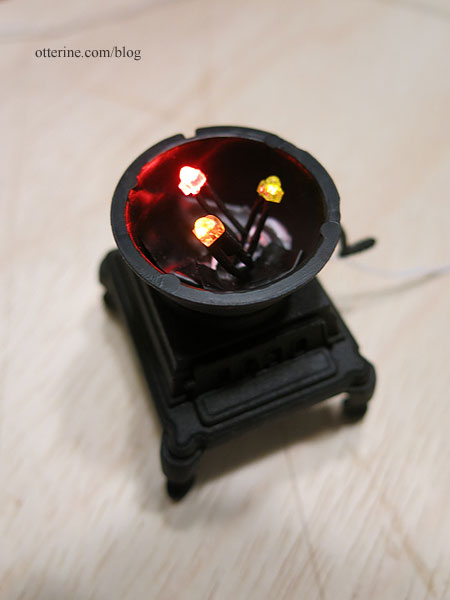
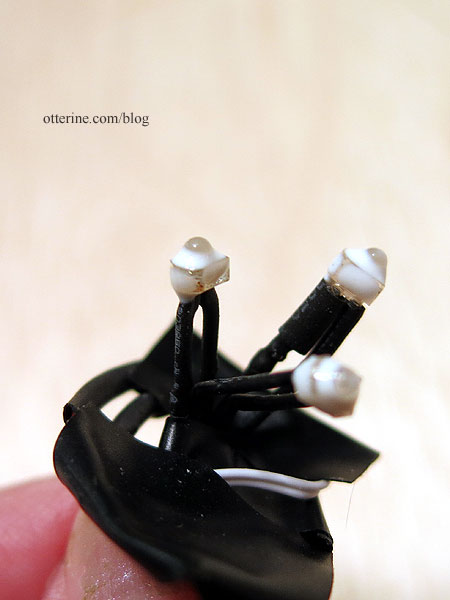
I had dabbed Winsor & Newton Masking Fluid on the LEDs to protect them for the next steps. Here the fluid is still wet; it dries clear.
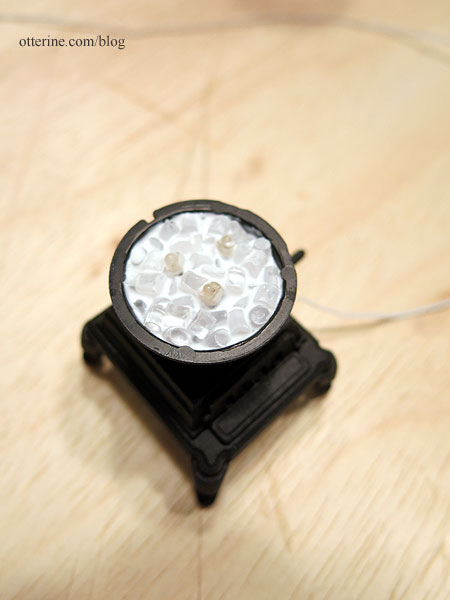
Working in two layers, I added some Aleene’s Quick Dry glue then poured in some ice cubes from Alpha Stamps into the pot, using a toothpick to arrange and settle the pieces.
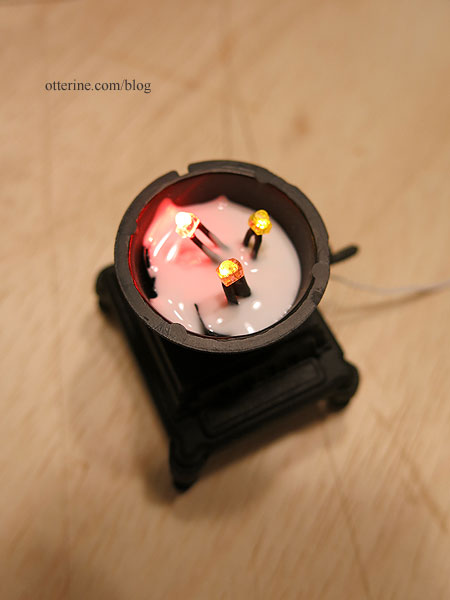
The upper layer of ice cubes is even with the bulbs.
The steady red bulb is the strongest of the three (showing as near white on the left below), but the flickering yellow (upper right) and flickering orange (lower right) bulbs add some nice depth already.
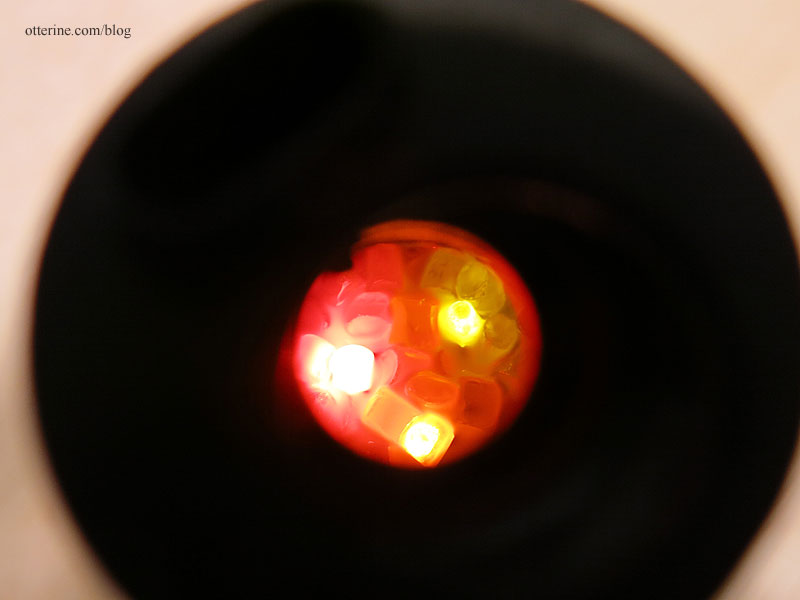
Next up, turning Malt-O-Meal into burning embers. :D
Categories: Ivy Hollow RFD
August 9, 2019 | 0 comments
NOTE: All content on otterine.com is copyrighted and may not be reproduced in part or in whole. It takes a lot of time and effort to write and photograph for my blog. Please ask permission before reproducing any of my content. (More on copyright)


