
NOTE: All content on otterine.com is copyrighted and may not be reproduced in part or in whole. It takes a lot of time and effort to write and photograph for my blog. Please ask permission before reproducing any of my content. (More on copyright)
Categories:

Mail Wagon – part 8
Continuing work on the mail wagon. With the front and rear axle assemblies and wheels made, I can start to build the cabin. I’ve pretty much been researching mail wagons since I started down this path, and there was no standard type of wagon over the years. RFD was such a novel thing, though horse wagons were not, it really was each man for himself. So, I get a lot of room to play.
There were sliding doors and front windows that could be lowered into the front wall.
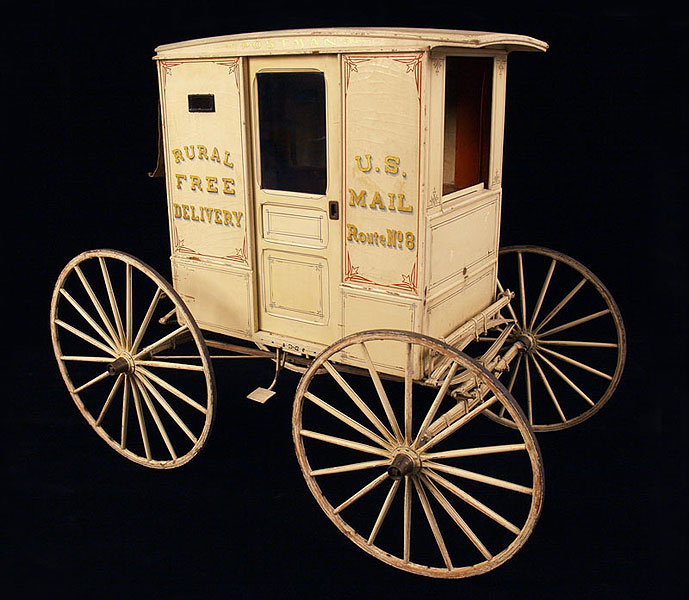
image from The Smithsonian There were hinged doors.
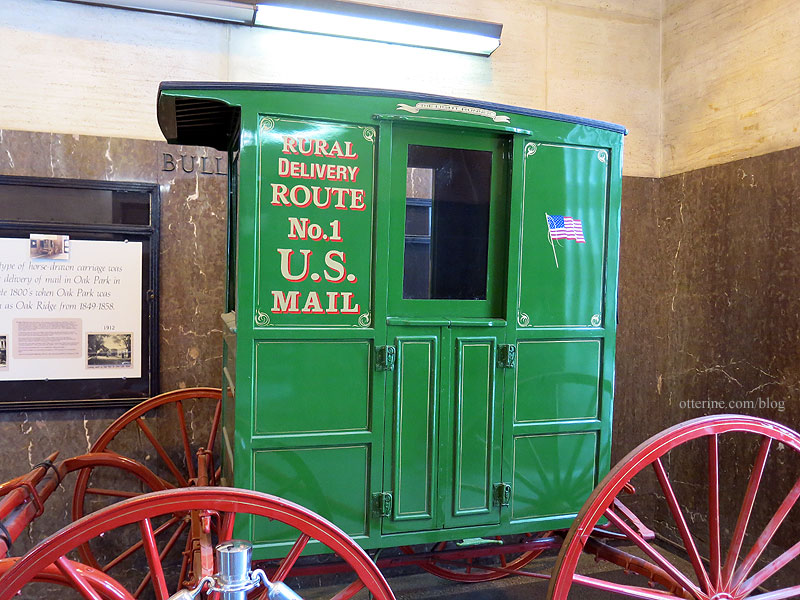
There were hinged windows and mail slots.
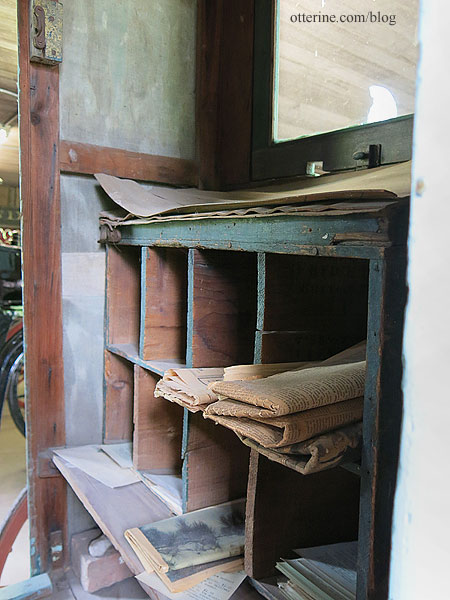
If you look at the original wagons from the postcard, there was no room in front – just the window wall.
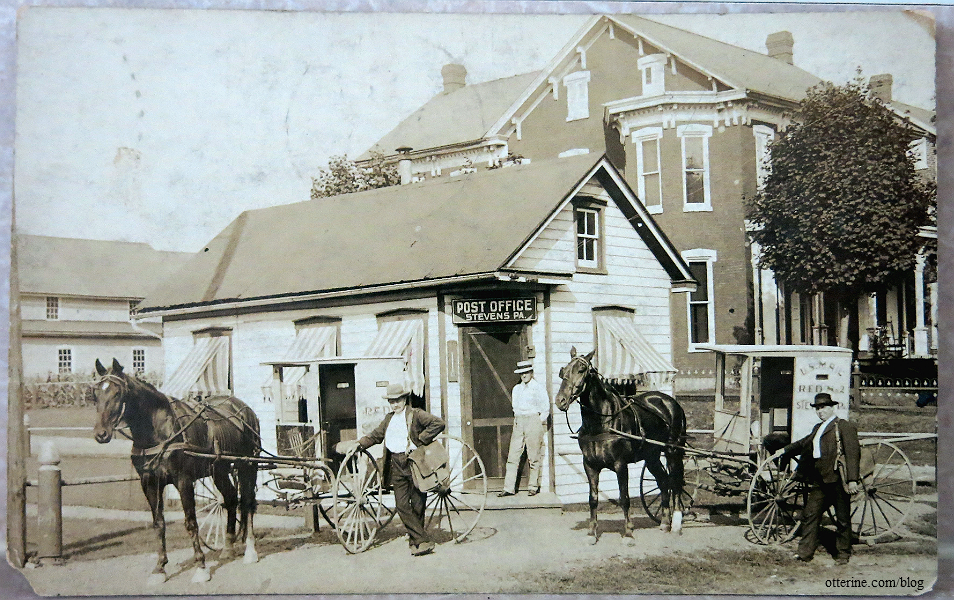
There were built in heaters and portable heaters.
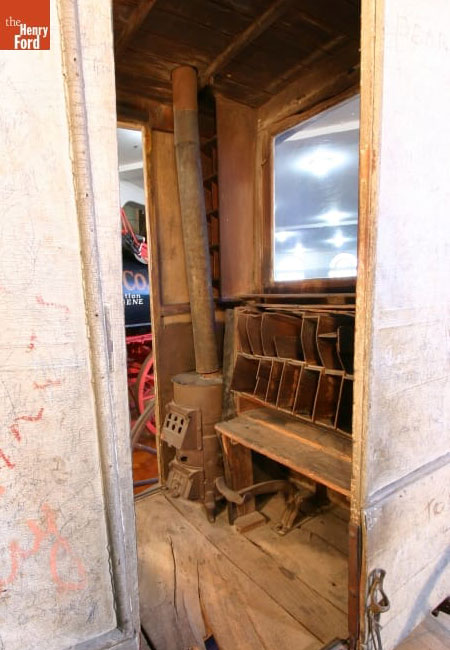
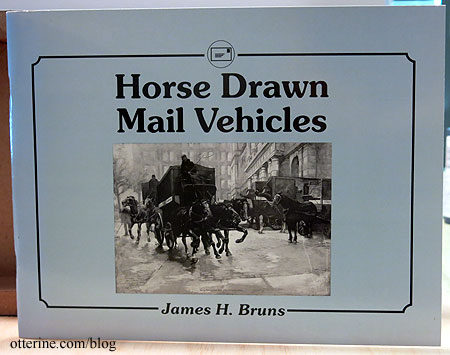
image from The Henry Ford One great source is Horse Drawn Mail Vehicles by James H. Bruns (as an Amazon Associate, I earn from qualifying purchases).
Look at this tiny thing that’s barely a box built around a chair and a heater! Where did the mail fit? I’m also pretty sure only one horse was needed. :]
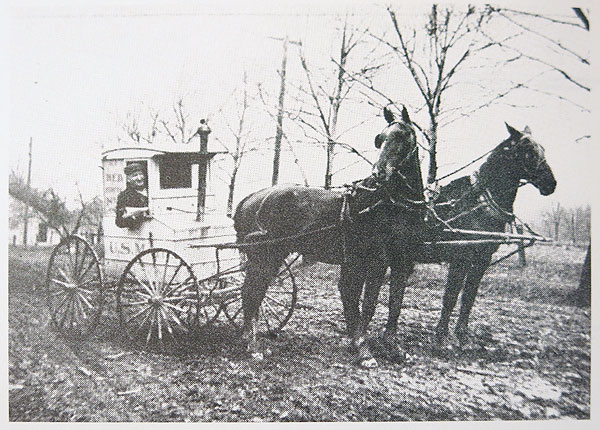
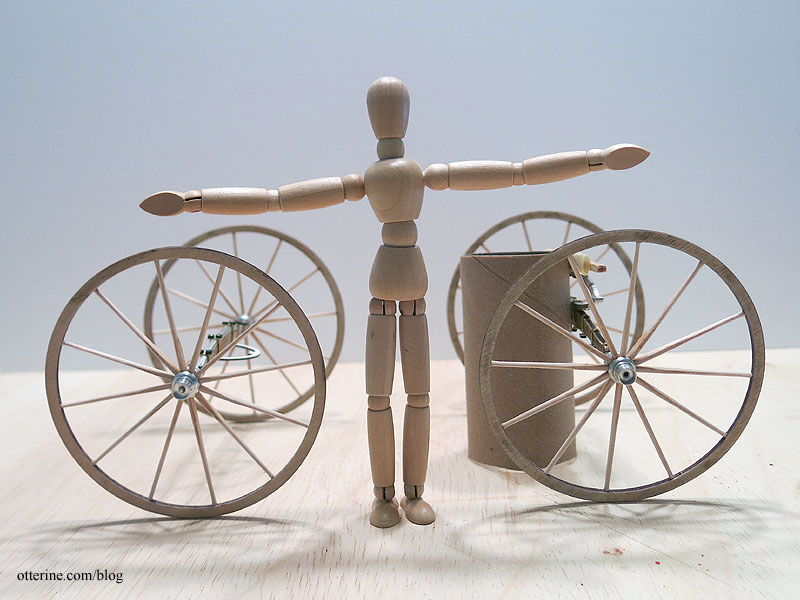
from Horse Drawn Mail Vehicles by James H. Bruns I set up my wheels and axles with Jebediah and one of my artist models. I can probably back Jebediah to the wagon a bit more, but this total span is 17 inches from his nose to the back of the wheels.
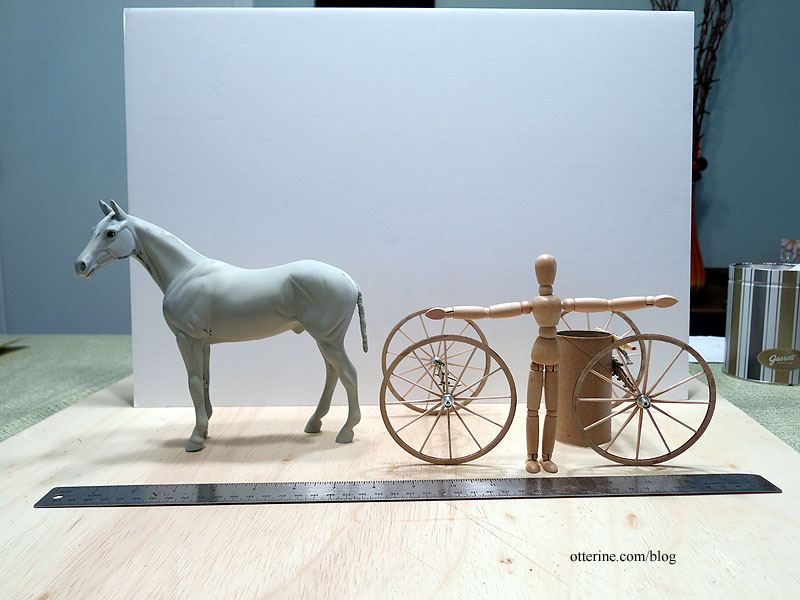
The span from the axle centers is 5.5 inches. Having a very narrow space between the wheels for the mail carrier to enter the wagon was not uncommon.
I won’t be using the Rondel kit, but here is that cabin in dry fit for size comparison (obviously not this tall).
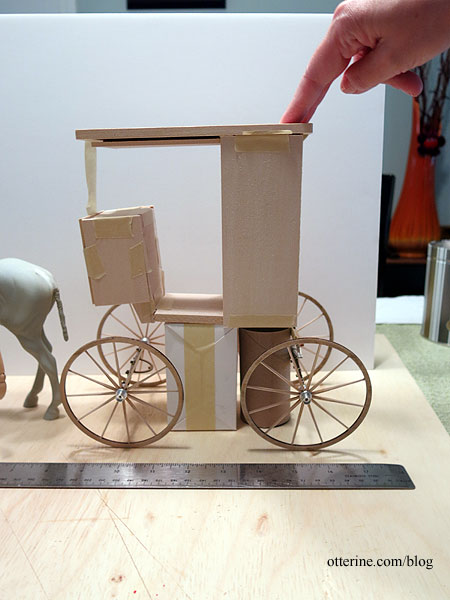
This should be a good gauge for overall size, though.
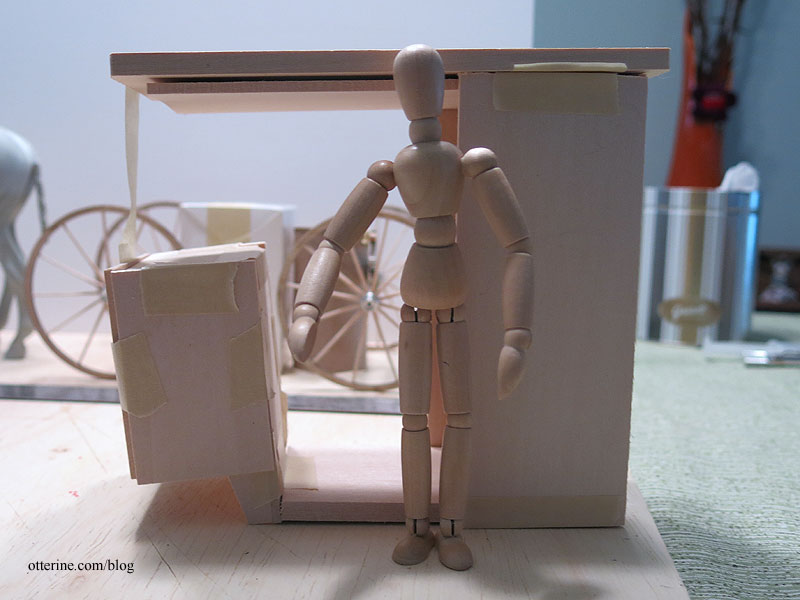
I’ll need to make the cabin as light as possible since the axles are fairly delicate, but I can layer thin wood to get good detailing without adding a lot of weight.
Categories: Ivy Hollow RFD, Model Cars, Vehicles
September 1, 2019 | 0 commentsIvy Hollow – screen door, part 7
Completing work on the screen door. My base wall with siding gives me a wall 3/8″ thick, so I need to pad the interior wall further. Being that this is an angled wall, it’s not as simple as it would have been on a straight wall. I have some ideas on disguising the added wall thickness modification, but more on that to come later when I glue the structure together.
I painted the frame Woodland Green to match the doors, and the threshold is stained using Bittersweet Chocolate mixed with Staining Medium by Americana. I’ll do more for the threshold once I get the porch and interior floor completed, but I wanted some color on it while finishing the doors.
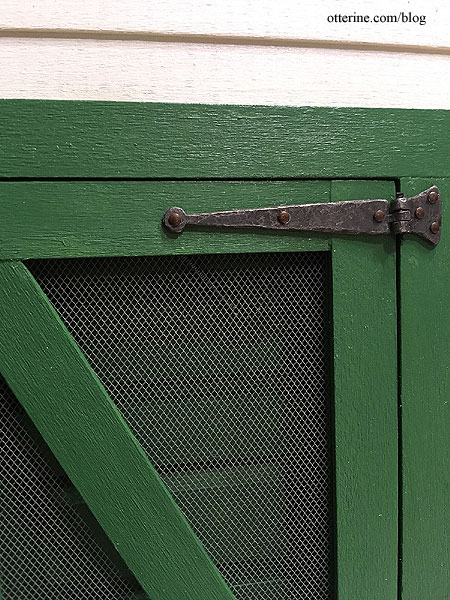
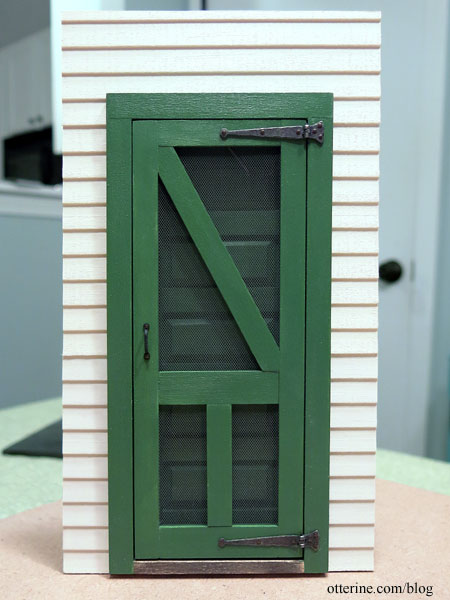
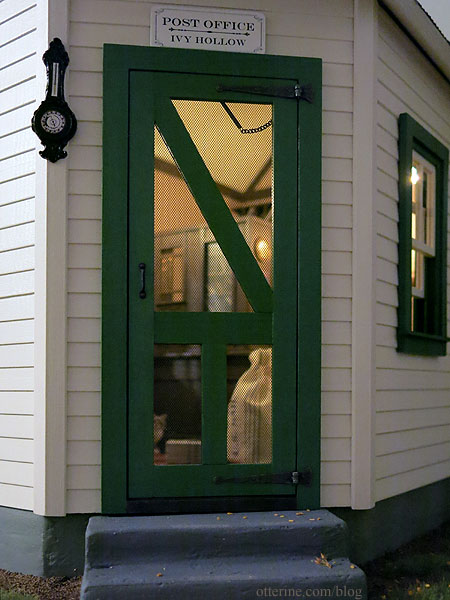
I installed working Pennsylvania strap hinges by Olde Mountain Miniatures for the screen door.
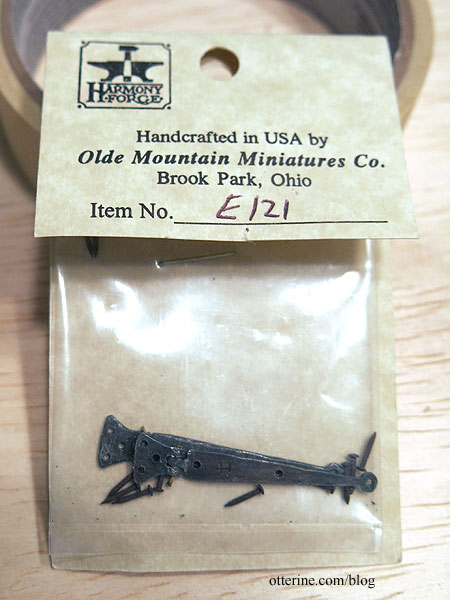
I replaced the nails from the package with tiny threaded brads by Classics.
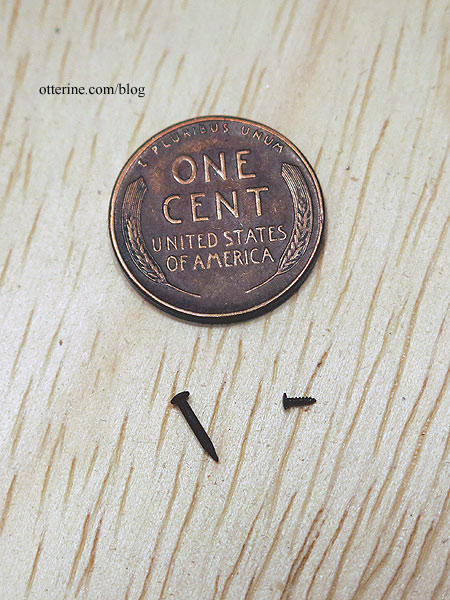
The hinges might be a bit heavy for a screen door, but the more modern ones just didn’t look right for shape or finish. Perhaps these were reused from a broken down shed in the area. The hinges have brass pins, which I touched up with black paint once installed.
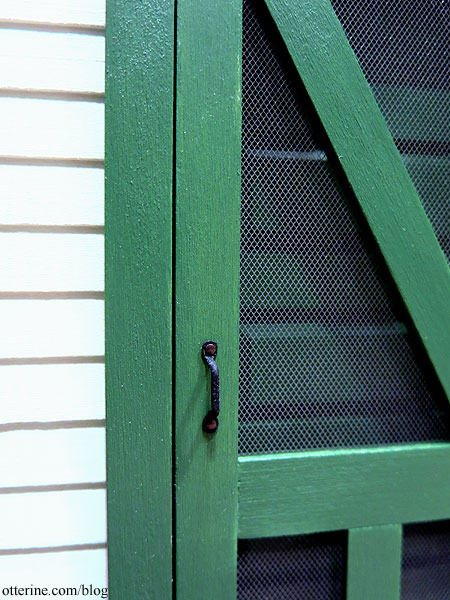
For the handles, I used window pulls by Classics, making sure to install them higher than the door knob of the solid door. Though they started as gunmetal, I painted them flat black with a satin finish. The front one has the tiny brads, but I faked the nails on the interior with glue and paint. My door wasn’t thick enough to have back-to-back nails.
I tried to research the history of screen door hardware, but I ran into a lot of sites selling refurbished or reproduction hardware without much commentary on what was used when. The most interesting pieces were the antique spring-loaded hinges in some beautiful designs. I’m going with what I remember from my childhood farm memories – a spring and hook latch. :]
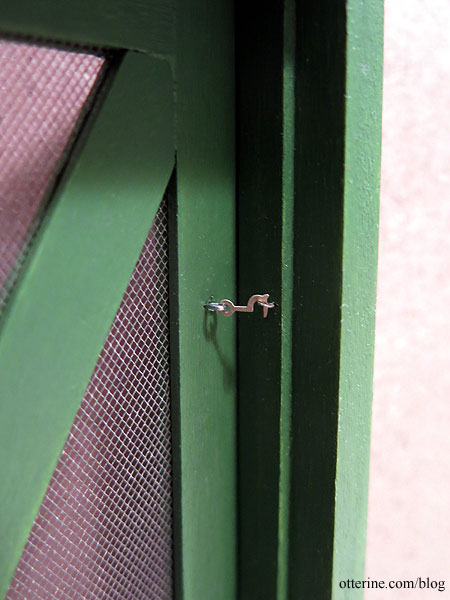
The hook latch and eyelets come from The Ironworks.
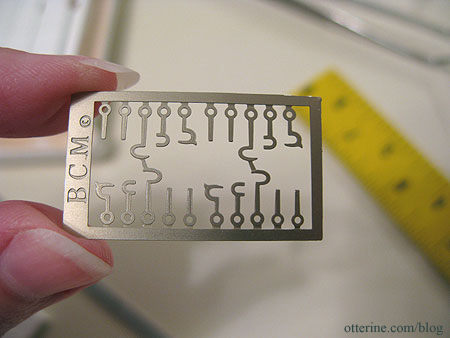
Bill sent me length of thin spring awhile back, and I put it in the bits-n-bobs box for a time such as this. I opted not to install this so that opening the screen door will actually pull the spring for two reasons. The spring is likely to stretch out of shape over time, but more to the point, the spring has a tension force greater than the strength of tiny eyelets and some glue. boioioioing!
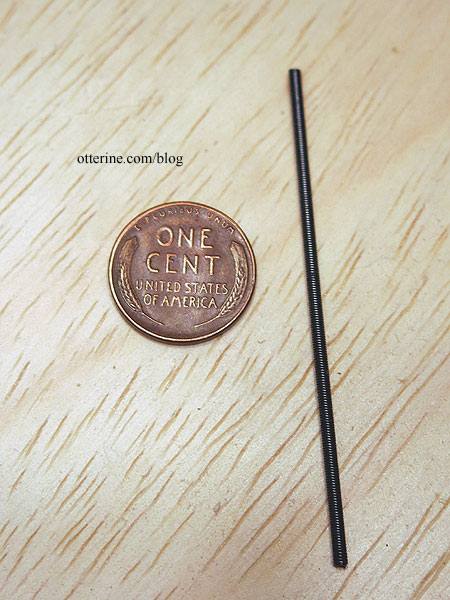
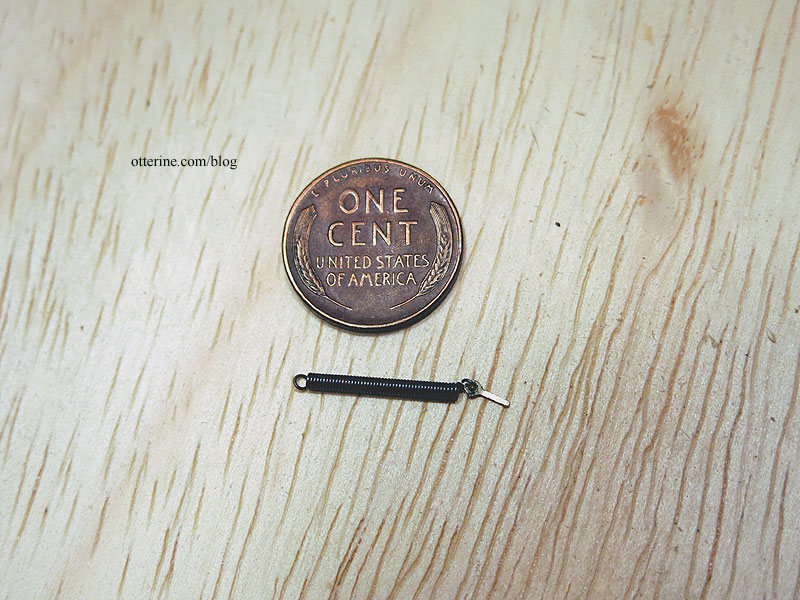
So, we fake it! I’m actually doing a mix of a typical screen door spring and storm door stop chain. This is probably more modern, but it will add visual interest overall. I cut down the spring and used an X-Acto blade to force the end rings open to make eyelets at each end. I threaded one spring end onto one of the laser cut eyelets.
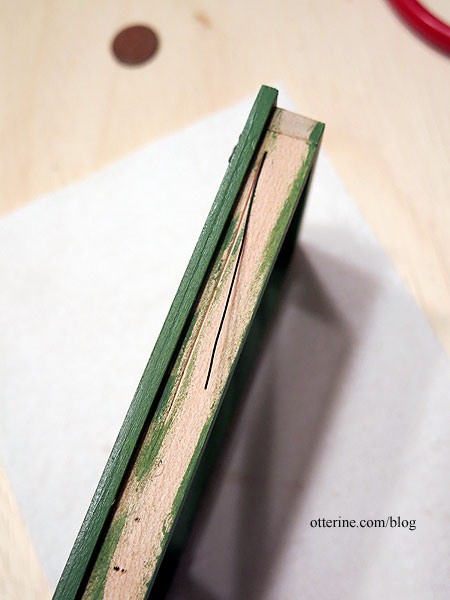
I made another eyelet at the end of a length of thin black wire, determined where the chain would connect to the door frame, drilled a hole and inserted the wire through. The length gives some added durability just in case the chain gets pulled too hard. I cut a channel for the wire and taped it in place.
The chain hooks into this eyelet as well as one end ring of the spring.
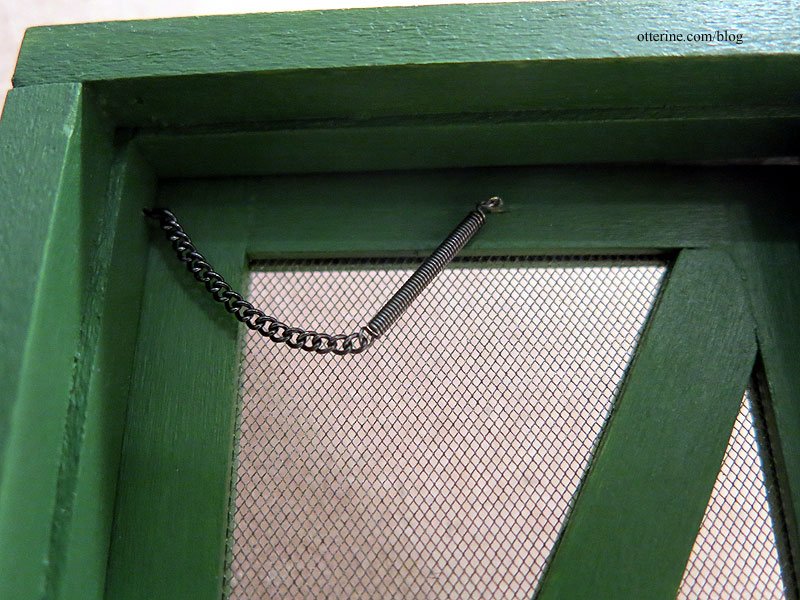
I glued the eyelet into the screen door, being careful not to drill through to the front side.
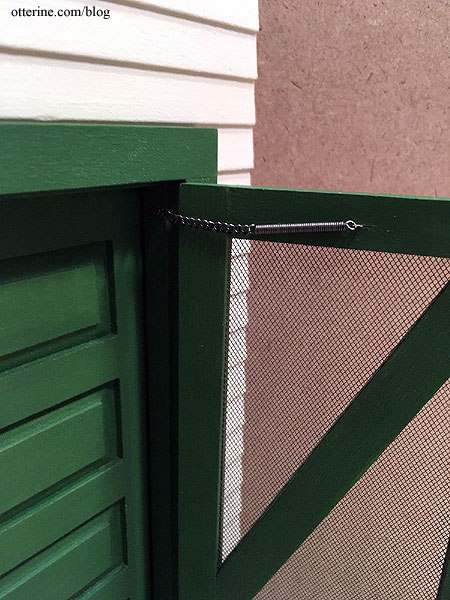
I love the way it looks, just visible through the screen. :] It will be more prominent when the solid door is open.
And, finally the hook and latch. This also has a handmade eyelet on the door with the laser cut hook and eye. This is not easy to hook, mainly for having to use tweezers to do so, but even a hook latch hanging loose adds some realism.
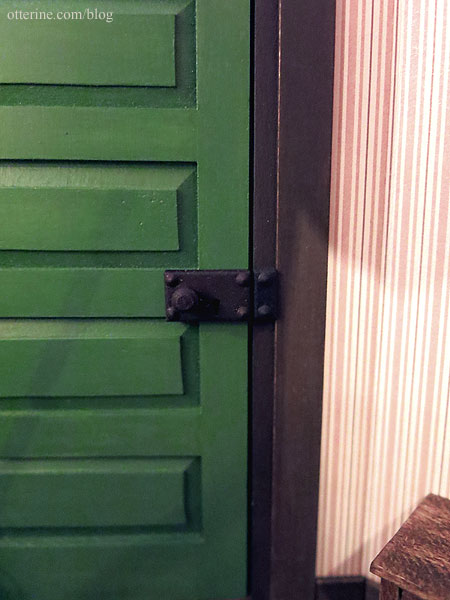
During final assembly, I added the door hardware to the solid door.
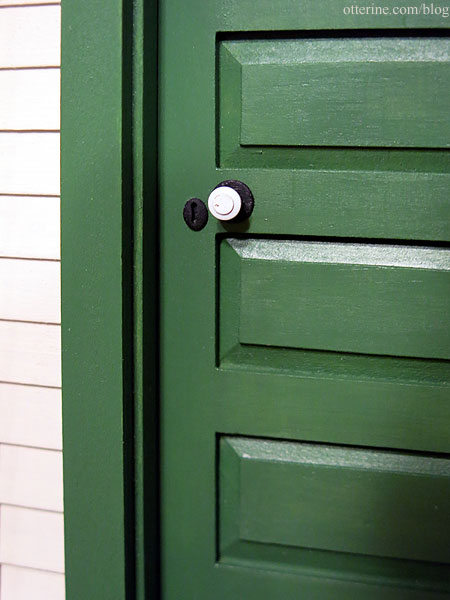
Since the lock rail and the lock box are roughly the same height, I decided to not inset the lock box for fear of making a mess of it. This hardware is so hard to see on the interior as it is, it was hardly worth the risk, but I filed the idea away for another time and another door.
It was a lot of work, but I will definitely make another screen door in the future.
Categories: Ivy Hollow RFD
August 26, 2019 | 0 commentsIvy Hollow – screen door, part 6
Continuing work on the screen door. As I’ve mentioned before, I write detailed measurements on my blog so I don’t have to keep a written log somewhere else. Feel free to ignore the fractions.
I needed to build a new door frame to hold both the 5-panel traditional door and the screen door. The original frame from the Houseworks door was broken and had warped in storage, but beyond that, I also needed some added depth to accommodate both doors. With the hardware selected, I could measure the depth added by the door knob and its escutcheon (~7/32″).
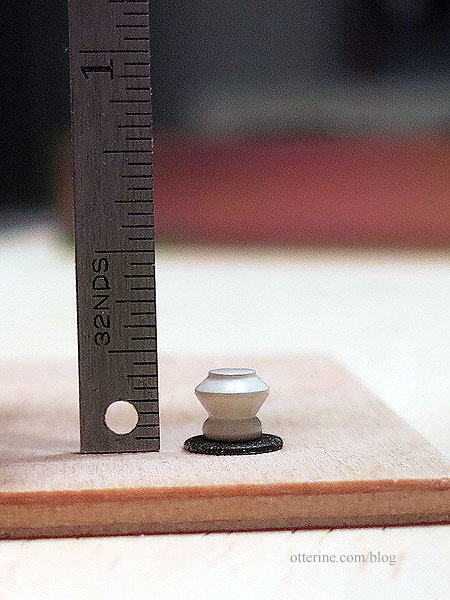
I measured the screen door and solid door together (~13/32″). Altogether, this means I need a minimum of 5/8″ (20/32″) in depth on the door frame. I also need to make sure there is enough room allowed so the screen door doesn’t hit the door knob when closed. The most depth I’ve seen on ready-made components is 1/2″ (16/32″). There are ways to mask the depth, which I will get to later.
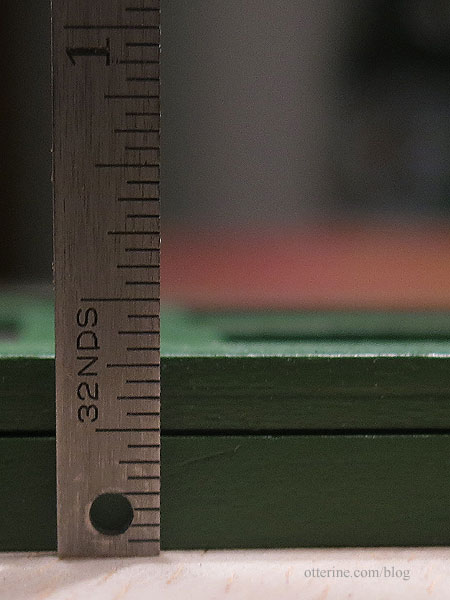
On with the maths! I measured the solid door alone at 7/32″.
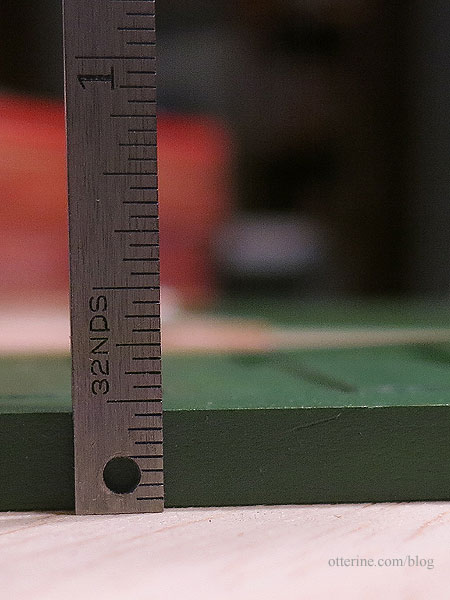
The door with the door knob and escutcheon measures 7/16″ (14/32″).
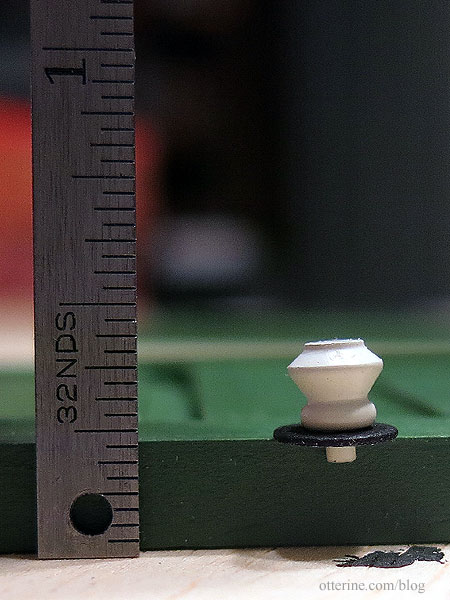
To make things easier (on me) and more uniform in the end, I’m building the frame in layers instead of just using 5/8″ wide boards. To accommodate the solid door and its exterior door knob and escutcheon, I used 1/2″ x 1/4″ basswood for the top and sides and 1/2″ x 1/8″ basswood for the bottom threshold. Using pin hinges, I drilled the appropriate holes for the solid door. The frame is built close around the door while allowing it to move freely.
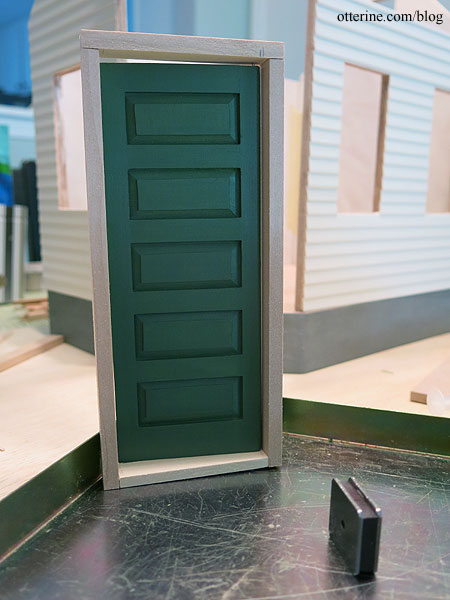
I added strips of 1/4″ x 1/16″ basswood to create the stop, which keeps the doors from swinging freely and keeps the drafts out. The threshold trim is 1/4″ x 1/32″ for added realism in proportion.
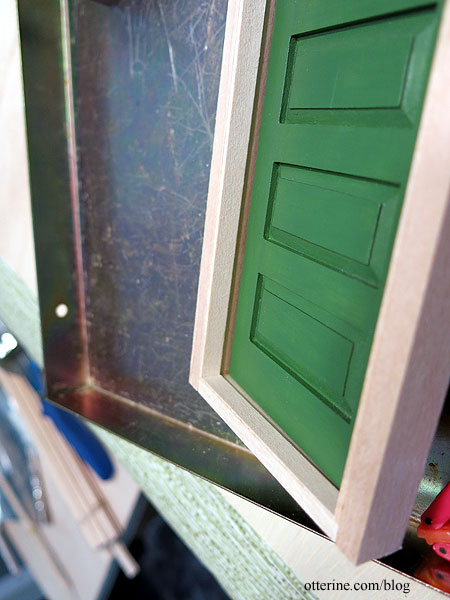
I measured the screen door at 5/32″.
I built up the next layer using 3/32″ x 1/4″ basswood around the sides and top.
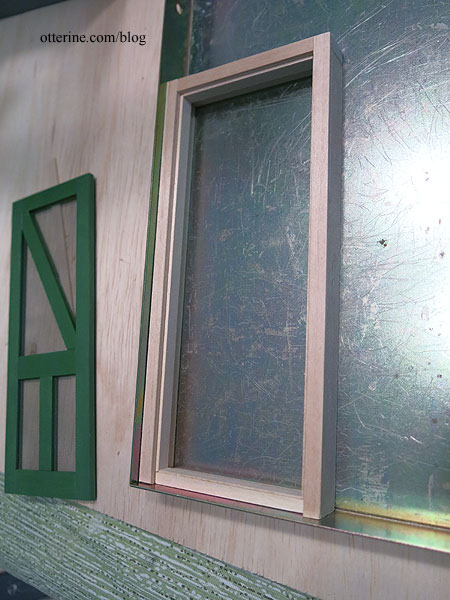
I needed trim to finish the exterior surface and build up the final amount needed for the screen door. This I built in two layers from basswood. The first layer sits on top of the door frame and was made from 1/16″ x 3/8″ basswood around the sides and top.
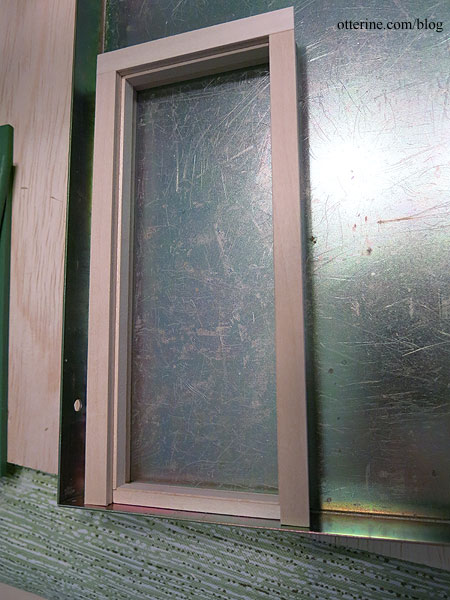
The second layer is installed under the top trim and around the door frame. It pads the first frame and is made from 3/32″ x 3/32″ basswood.
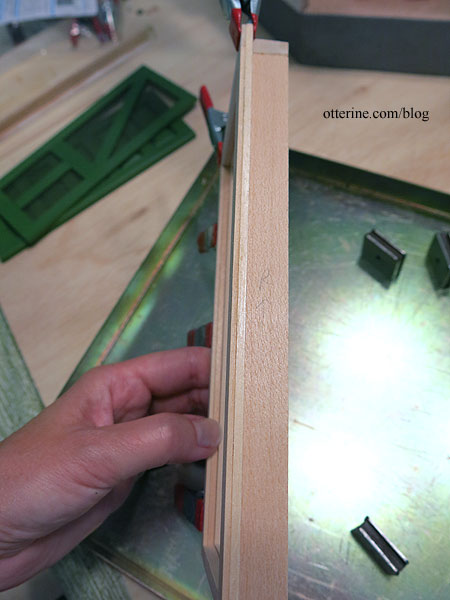
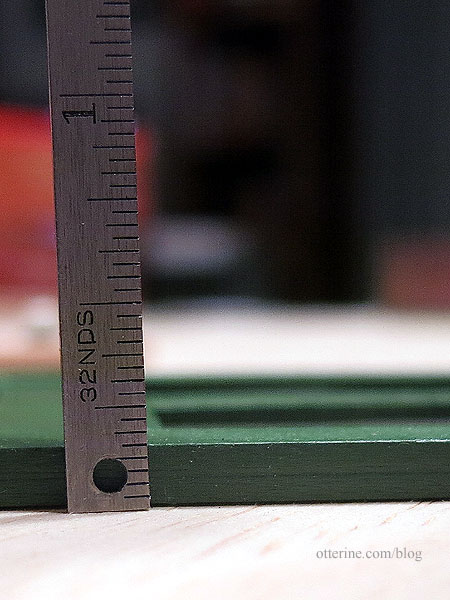
The final depth of wall needed to accommodate my frame is now just over 1/2″ – very manageable.
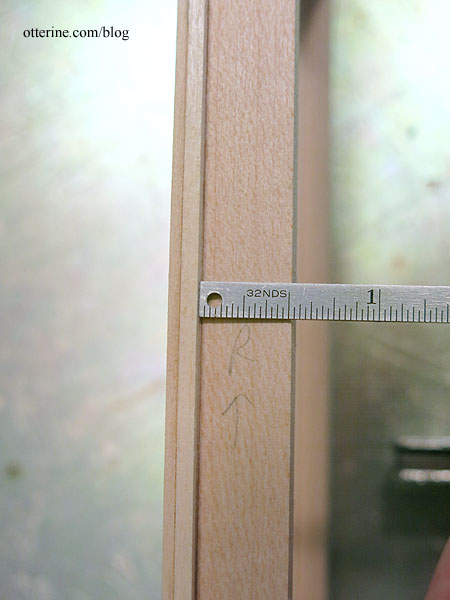
The final part of the threshold is 1/4″ x 1/4″ basswood sanded down to be flush with the exterior trim.
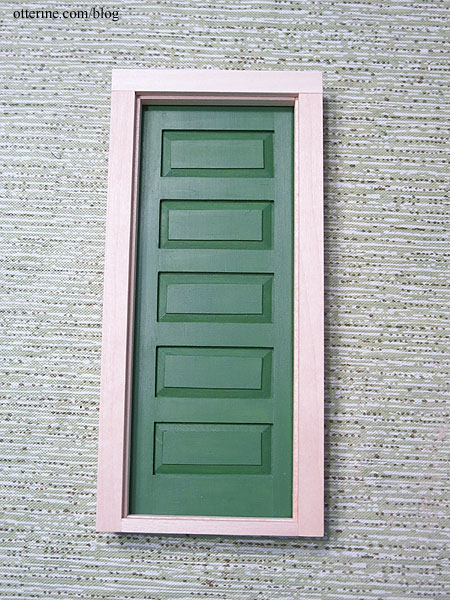
Even without the screen, this looks like a real door frame, don’t you think?
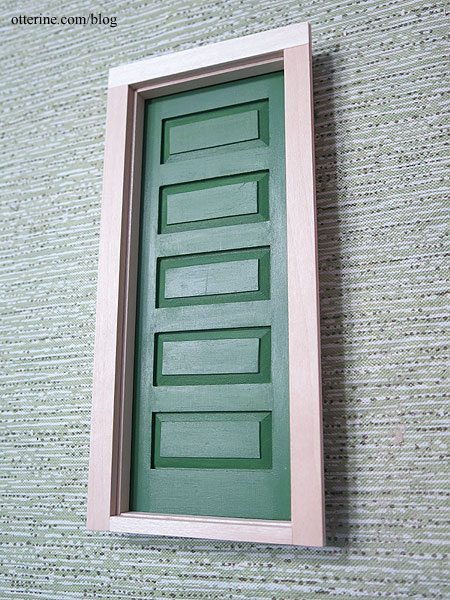
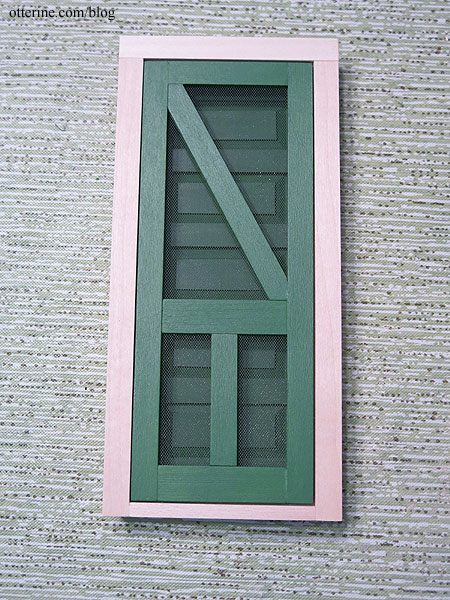
Next up, painting the frame and adding hardware.
Categories: Ivy Hollow RFD
August 24, 2019 | 0 commentsIvy Hollow – door hardware
While touring the Wade House Stagecoach Hotel in Greenbush, Wisconsin, I took some photos of door hardware that rather appealed to me – a simple door knob and keyhole.
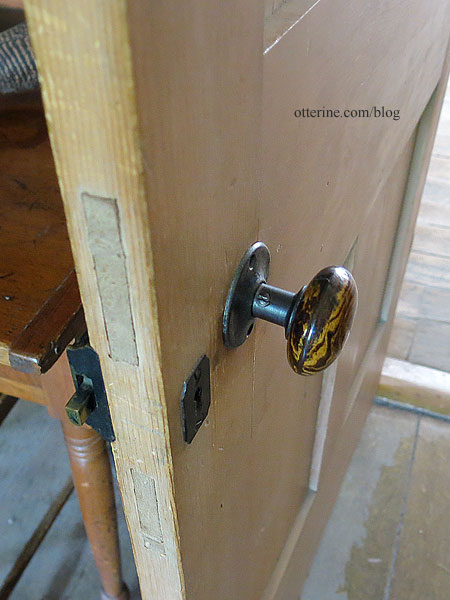
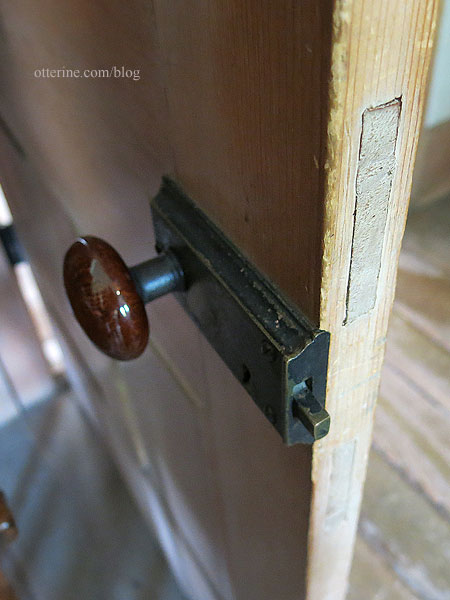
On the other side, there’s an inset lock box with the opposite door knob and keyhole.
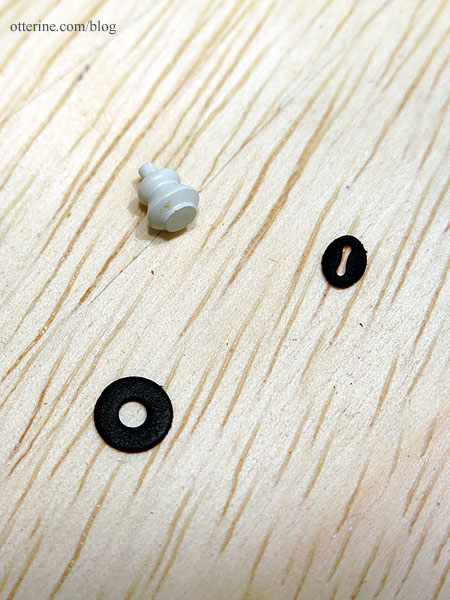
I dug through my stash and took out a white door knob, a previously painted keyhole and a washer. I spray painted the keyhole and washer with flat black then finished with a satin sealer. I chose a white knob with a little wear so I wouldn’t have to age it any further.
I also found a package of Houseworks door knob lock boxes. Since there were two, I tried to remove the door knob to see if I could make the door knobs match on either side of the door, but it damaged the casing. So, I was left to spray the lock box and lock plate the same flat black with a satin sealer.
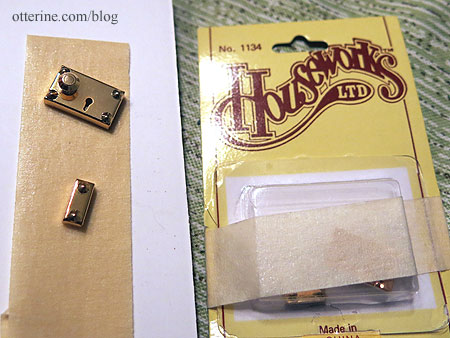
I had to hand paint inside the keyhole since the spray didn’t reach the inside.
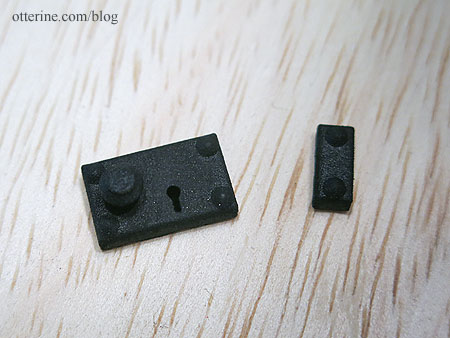
Since the lock rail and the lock box are roughly the same height, I am opting to not inset the lock box for fear of making a mess of it. This will be so hard to see on the interior as it is, it’s hardly worth the risk, but I will file the idea away for another time and another door.
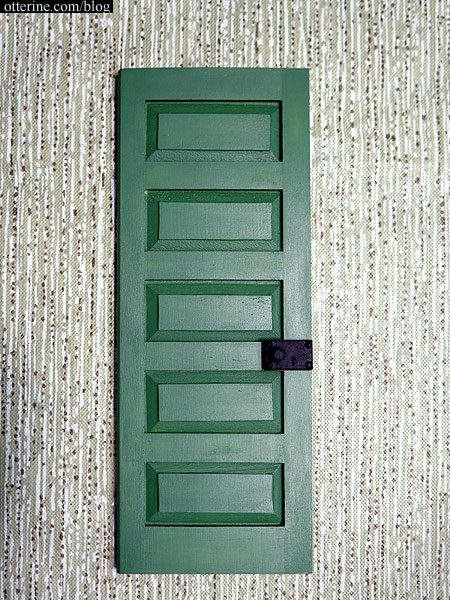
I’ll need to build the door frame before I can glue the lock box in place, just in case I need to adjust the placement or use different hardware if this doesn’t look right in the end.
Categories: Ivy Hollow RFD
August 22, 2019 | 0 commentsCarriage Days and Galloway House
I spent part of my birthday weekend in Wisconsin. When previously touring the Wesley W. Jung Carriage Museum, we were told about the carriage days event in August, which coincided with my birthday weekend. The event was interesting – the drivers compete for ribbons and come decked out in their finest. It was not easy to capture a good photo of the carriages in motion, and when they were still, they were all grouped together. It was great to see these vintage vehicles in motion, to hear the creak of the wood and leather as they moved over the grass.
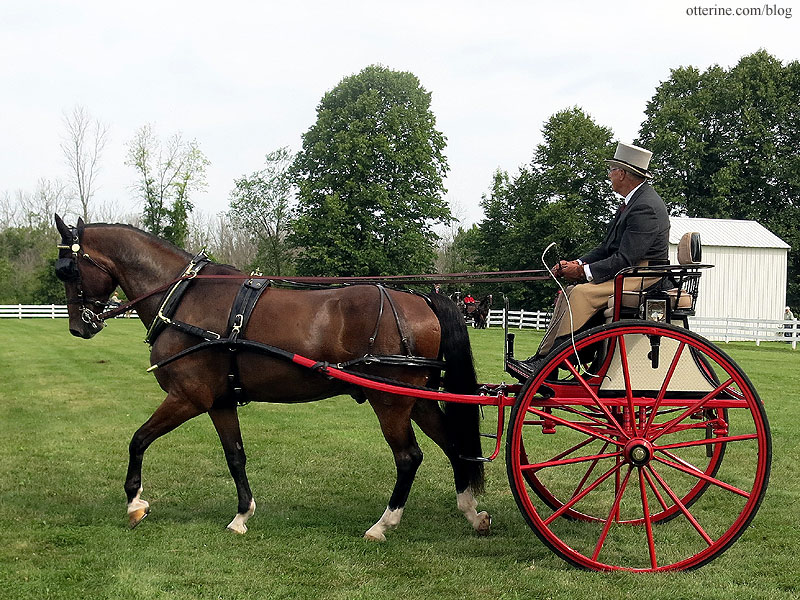
The event included a horse-drawn carriage ride around the grounds to the event circle, the historic Wade House Stagecoach Hotel, the blacksmith shop and saw mill. Things were a little disorganized, but it was still a great day to tour and see interesting historical attractions. The hotel tour was a little long, so we skipped around to take photos and left early. It’s definitely worthwhile to visit both the museum and the surrounding property.
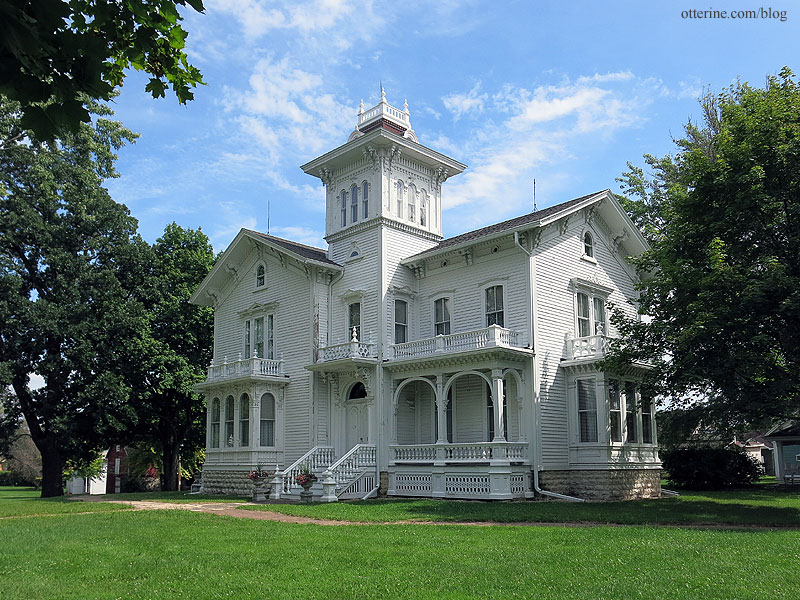
After that we headed to Galloway House and Village in Fond Du Lac, Wisconsin. What a beautiful house!
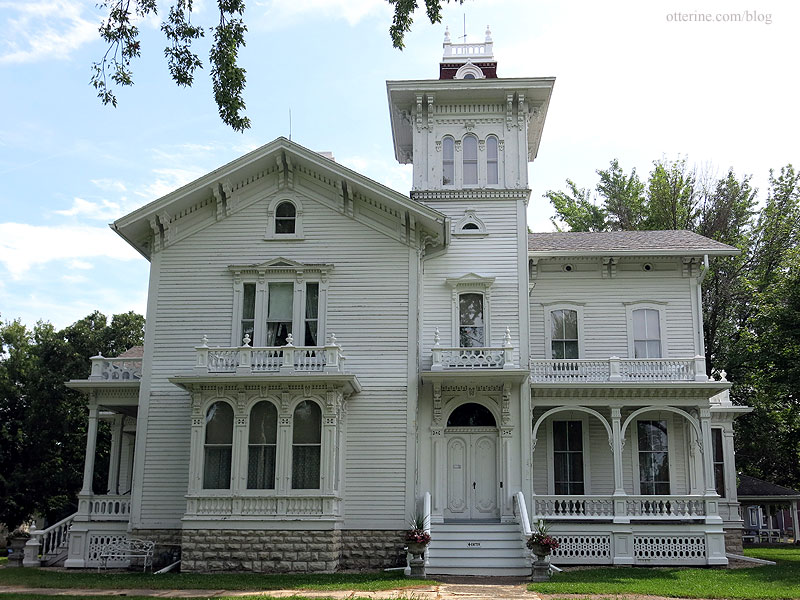
There were not many people around, so we were able to take our time. I spied this interesting lamp in the parlor.
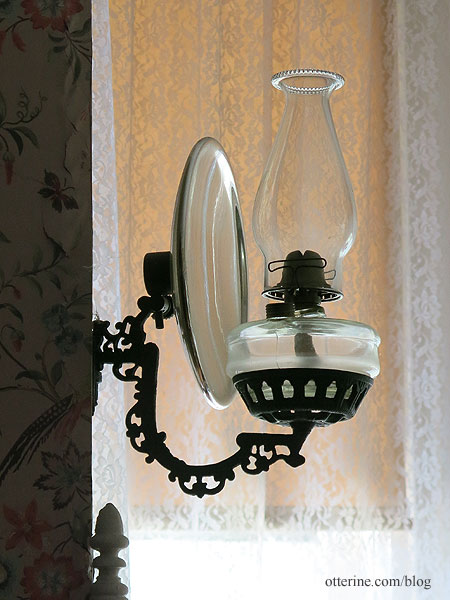
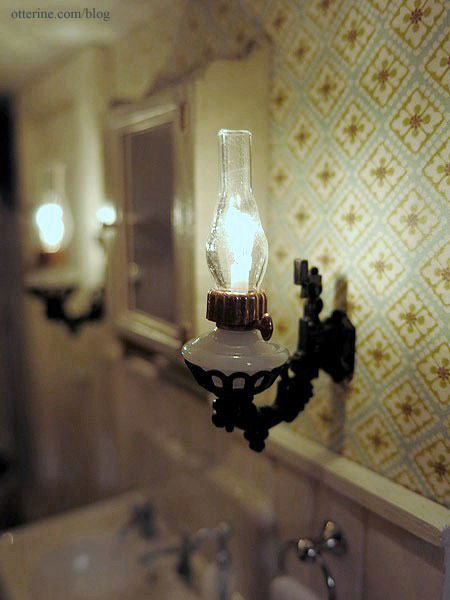
Just like the Chrysolite lamps I made for the Haunted Heritage bathroom (I left off the reflectors for mine).
There are a lot of surrounding buildings you can tour (self-guided). What was interesting to me were the antique items intended for actual handling by guests, something that is rather rare. Of course, the main attraction for me was their old mail wagon.
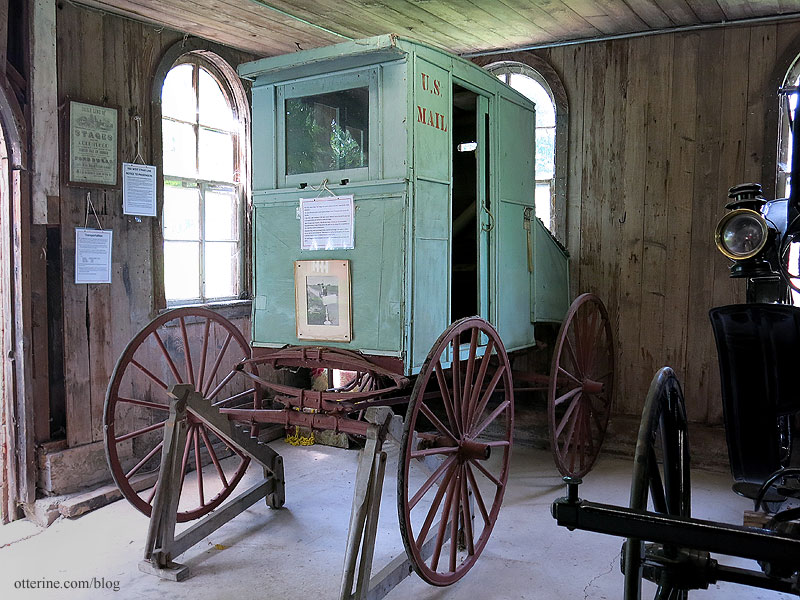
It’s in rather rough shape, but it was great to be able to see inside and get close.

The sign on it reads:
This 1921 horse drawn mail buggy was used to deliver mail for 7 years by Mr. Frank Brodzeller.
This was a 38-mile route in rural Lomira, Dodge County, Wisconsin and served 165 families.
In late 1927, after traveling 5,794 miles using 4 different horses, Brodzeller gave way to the automobile and retired his horse and buggy.
After 39 years and 7 months, 400,000 plus miles, 4 horses and 20 automobiles, Brodzeller retired. A safe driving award was given to him along with an excellent service award by a Lomira Citizen group.
Brodzeller then, with a borrowed horse, used this mail buggy once again to deliver his last mail to Lomira Route #1. There were many of his friends waiting for the mail, to bid this final farewell. All relived the early days of 1921.
This buggy was later donated by Brodzeller to the Galloway Carriage House Museum.
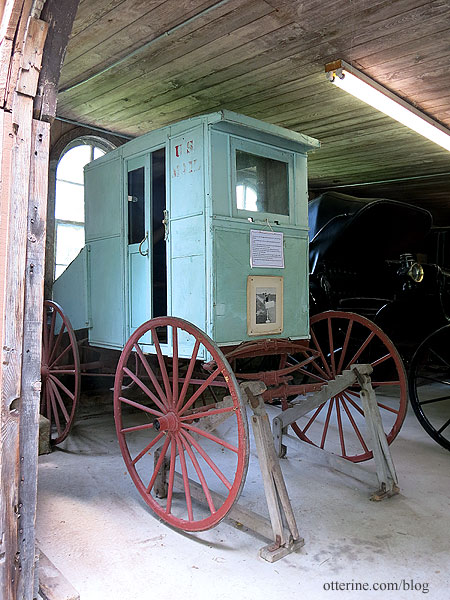
There is so much more than these two highlights, and I highly recommend a visit if you like history and antiques even in the slightest.
Categories: Ivy Hollow RFD
August 21, 2019 | 0 comments
NOTE: All content on otterine.com is copyrighted and may not be reproduced in part or in whole. It takes a lot of time and effort to write and photograph for my blog. Please ask permission before reproducing any of my content. (More on copyright)


