
NOTE: All content on otterine.com is copyrighted and may not be reproduced in part or in whole. It takes a lot of time and effort to write and photograph for my blog. Please ask permission before reproducing any of my content. (More on copyright)
Categories:

Ivy Hollow – new foundation
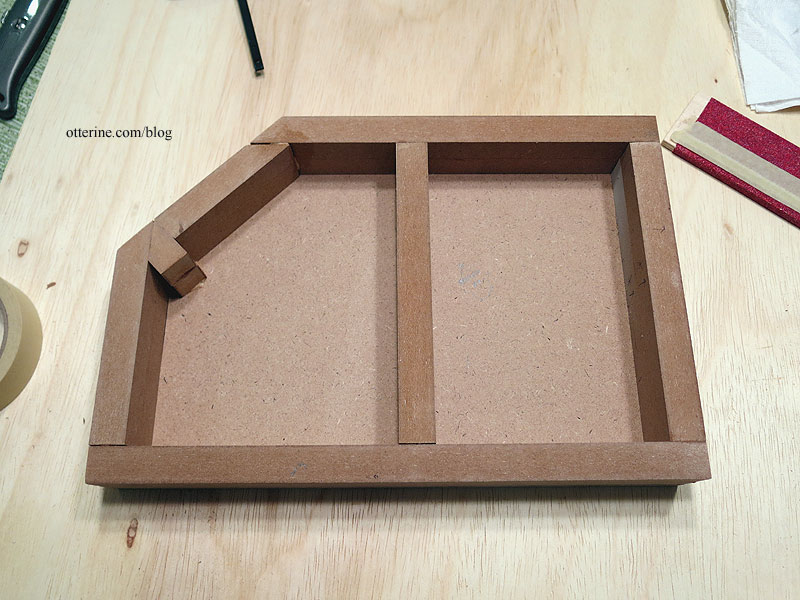
The first order of business is building up the foundation. I had to raise the base because the horse is so tall, and the building looked out of proportion with the horse standing in front. I will build up the landscaping in the ends so the height of the foundation is not quite so obvious.
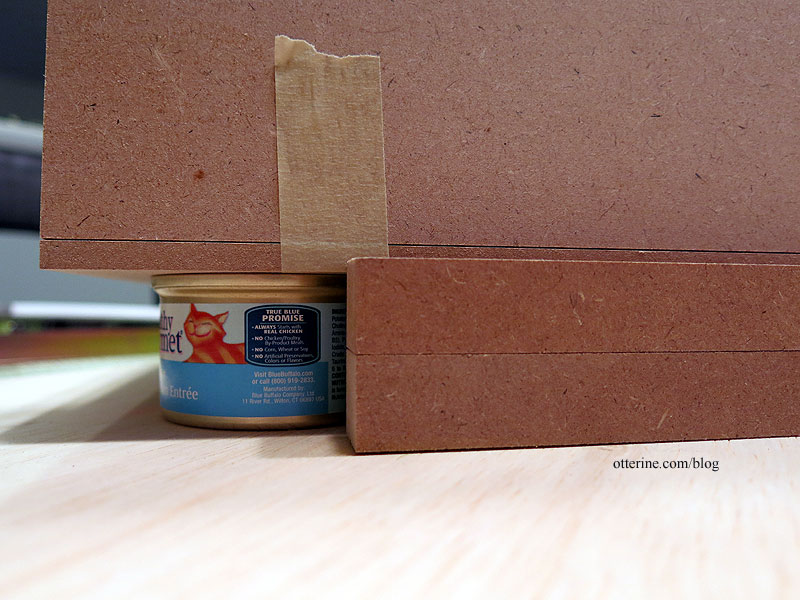
The cat food cans are 1 15/32″ tall. I had some square lengths of mdf from a former Creatin’ Contest kit foundation that measure 1 17/32″ tall when double stacked. I don’t think I can get closer than that.
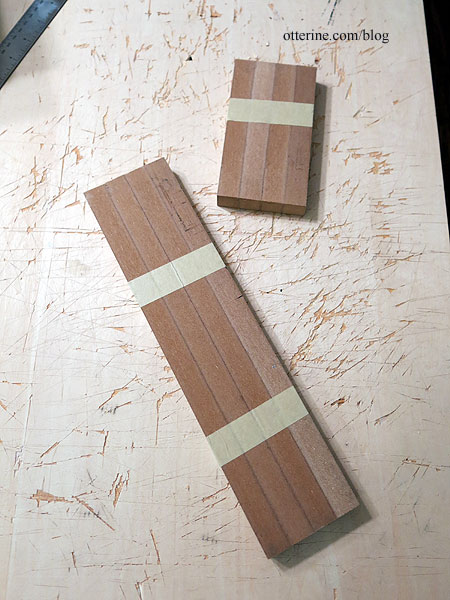
I taped four lengths together to cut at the same time. While the scroll saw is not the best tool for the job, it gives a reasonably straight cut with some patience. There will be a final finish on these, so close is good enough.
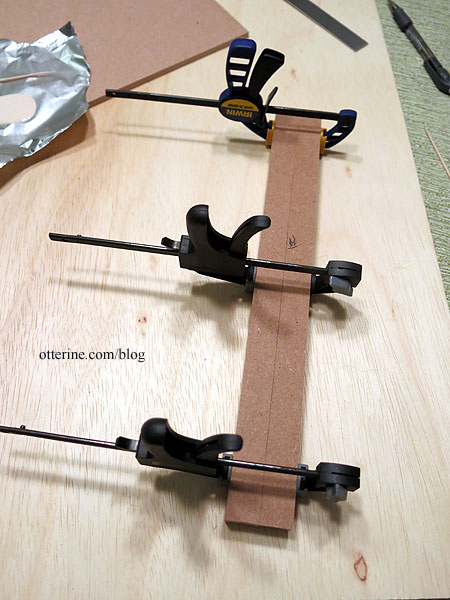
I glued two lengths together…
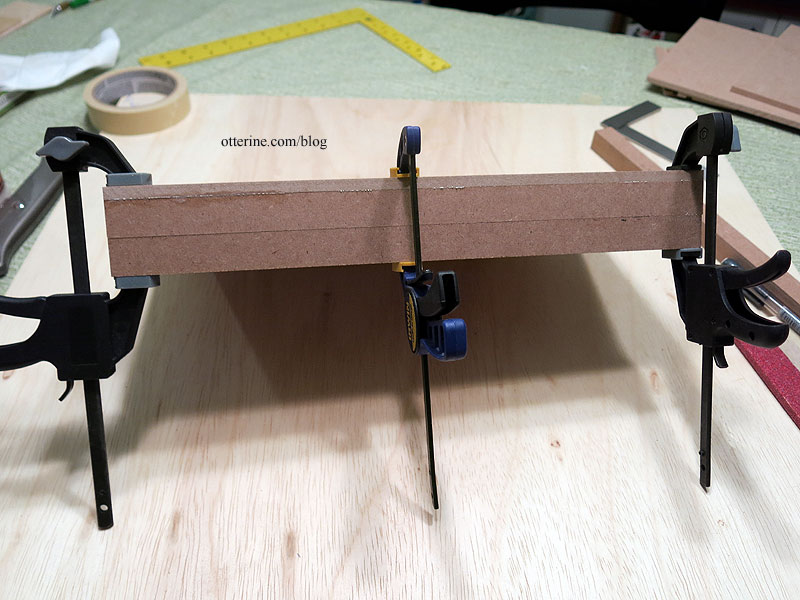
…and then to the floor board.
I continued with the rest of the cuts to fit the altered floor board. Since the scraps from the angle cuts fit reasonably well, I decided to use them as is instead of cutting “full” lengths for the space. This portion will be covered by the front step anyway. I also added an inner set of supports for stability.
After looking up the history of concrete to make sure it would be appropriate for 1917, I coated the edges with spackling. I put it on thick so I can work with it after it dries.
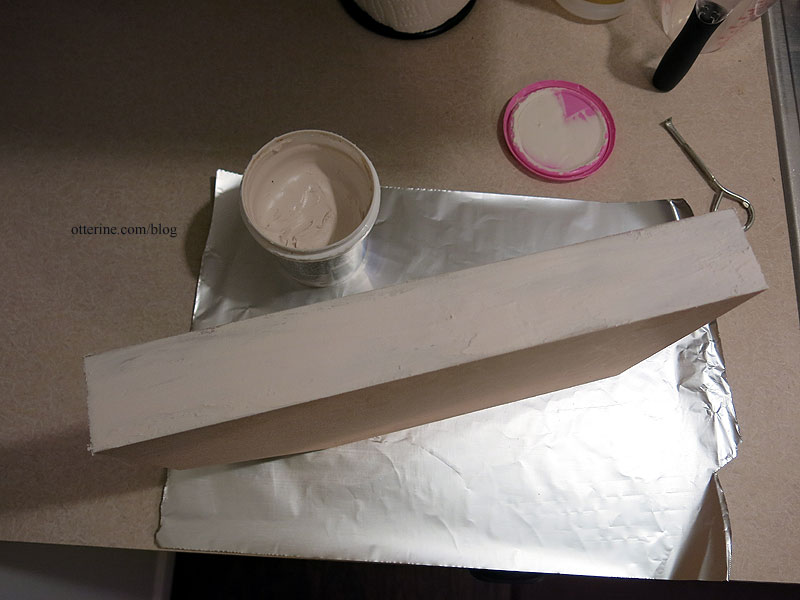
I sanded the foundation just enough to remove the roughness and excess spackling from the base.
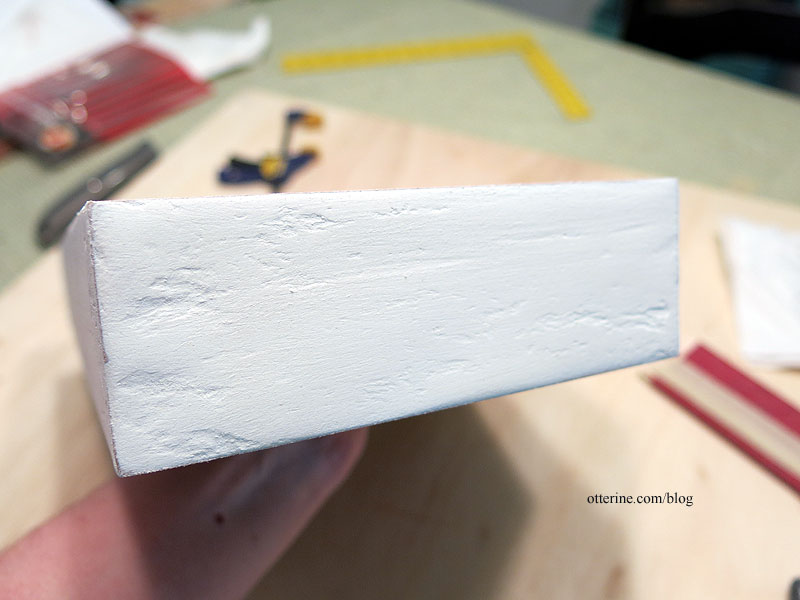
After wiping it down with a damp cloth, I patted on some matte gel medium. This added texture that was more in scale than the original spackling roughness.
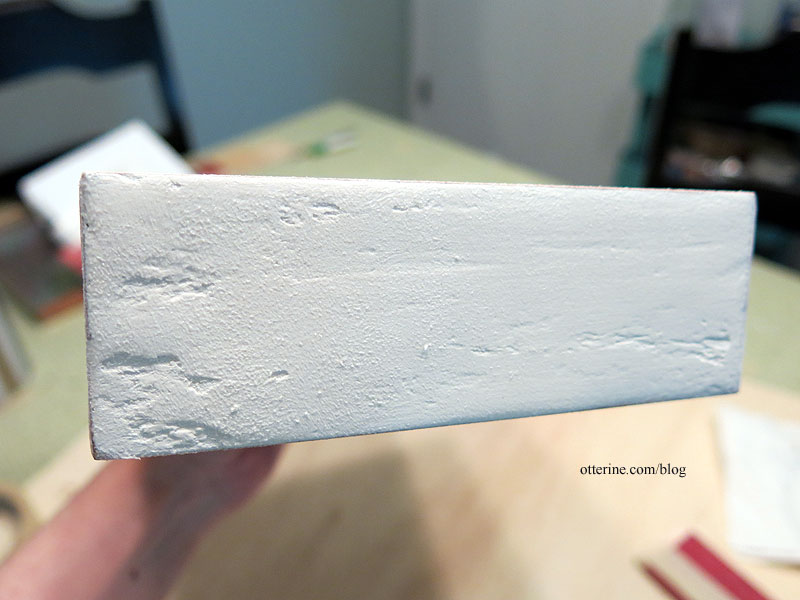
I then painted a base coat of neutral grey. After some washes, the finish is now varied and has more depth. I sprayed the base with Testors Frosted Glass spray to move the acrylic paint sheen. I’ll add dust and dirt during the landscaping phase.
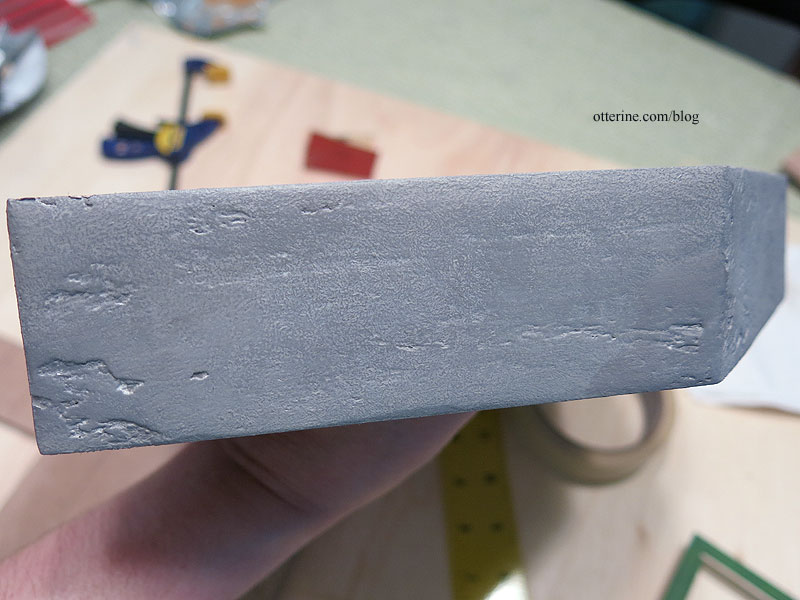
Now it will sit until I put the building on it.
Categories: Ivy Hollow RFD
June 29, 2019 | 0 commentsMail Wagon – part 5
Continuing work on the Mail Wagon. I put together the rear axle assembly.
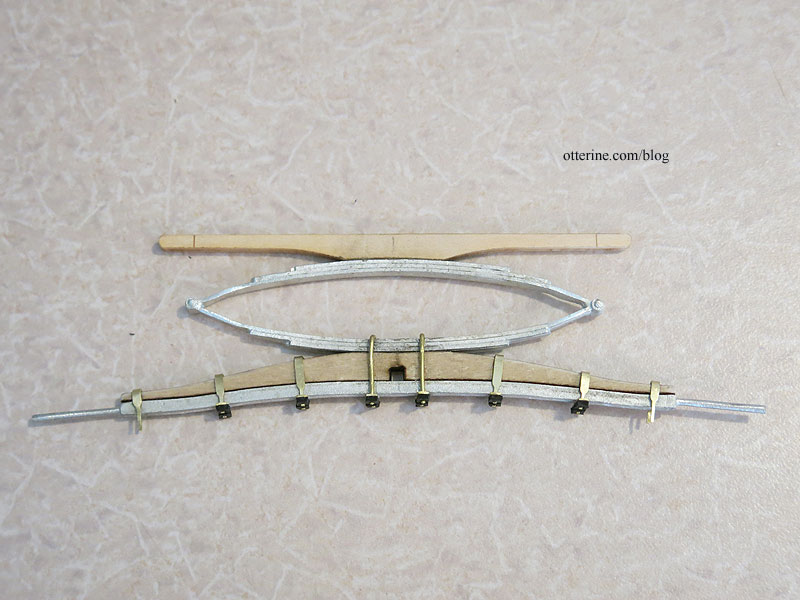
The front assembly required drilling a hole using the provided jig. I was able to use my hand tools – a pin vise – to make this hole. For the rear assembly, the metal was thicker and the pinvise was no match. I got a blister and two shallow pilot holes for my efforts. :\
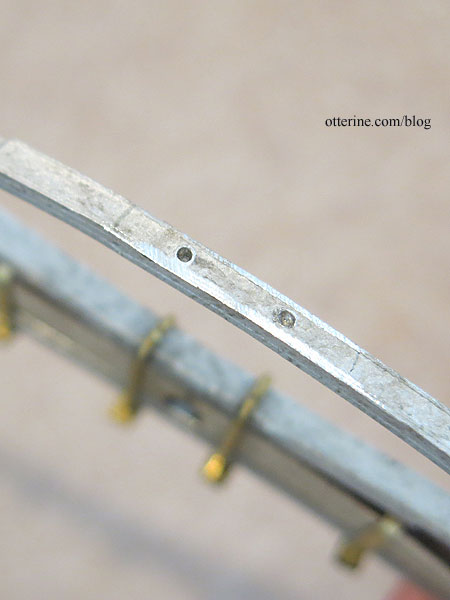
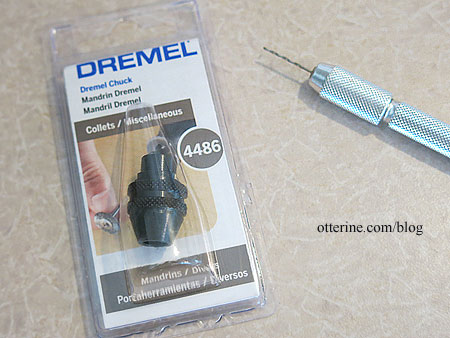
To finish drilling the holes, I bought the Dremel chuck #4486, which holds bits with 1/32″ to 1/8″ shanks. The buggy kit provides a 1/32″ drill bit (shown here in the pin vise).
Since the metal parts are delicate and easily marred by pliers, I had to figure out a way to safely hold the assembly while also not breaking any of the parts already assembled. I folded a small hand towel to protect and brace the assembly. I attempted to drill, and the metal wagon spring heated up fast, so I added a tipped clamp to hold and protect my fingers from the heat.
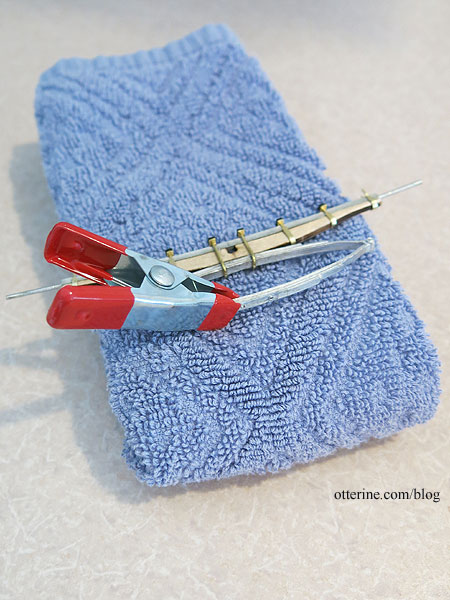
The first hole worked great since I had been able to get further into the metal with the pin vise. The other hole wanted to wander, so I had to work more with the pin vise to get the pilot hole deeper and in the right line. The excess hole will not be visible after assembly.
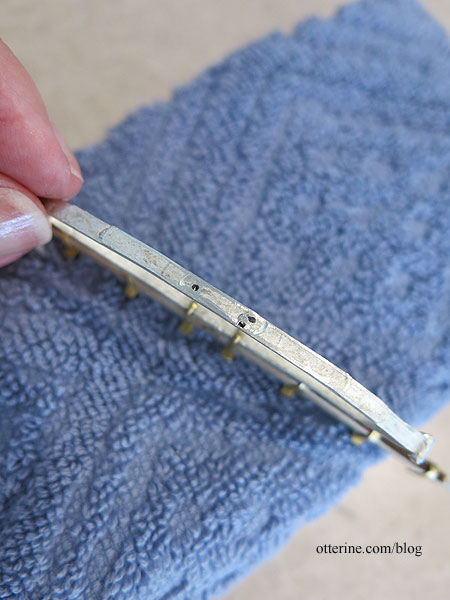
I reapplied the epoxy to the wood piece that sits on top of the wagon spring. I added the brass rods right away to make sure everything lined up properly while the epoxy set.
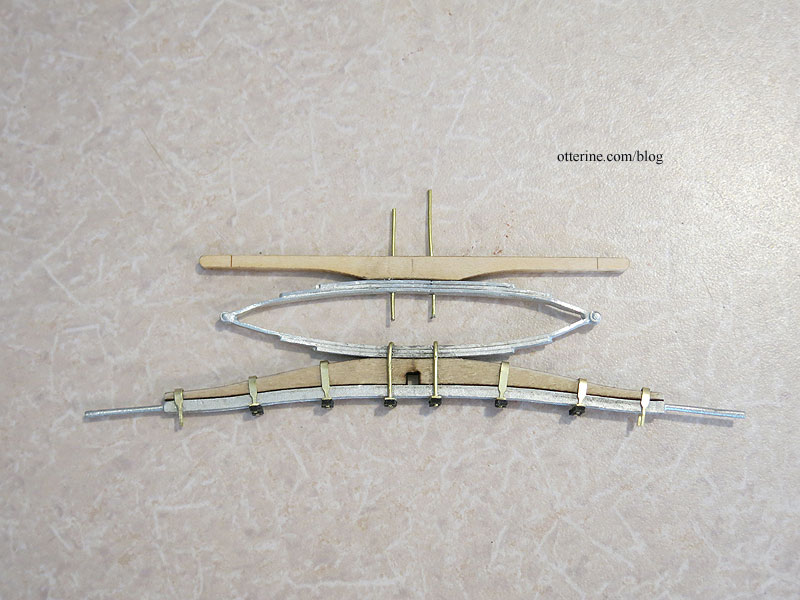
I added the square nuts and trimmed the brass rod to complete the rear axle assembly. It’s not very level or straight, but that is a limitation of the cast metal spring. It’s somewhat pliable, so it doesn’t want to hold the proper shape. I think it will be barely noticeable once the parts are painted a uniform color and the wagon cabin is added.
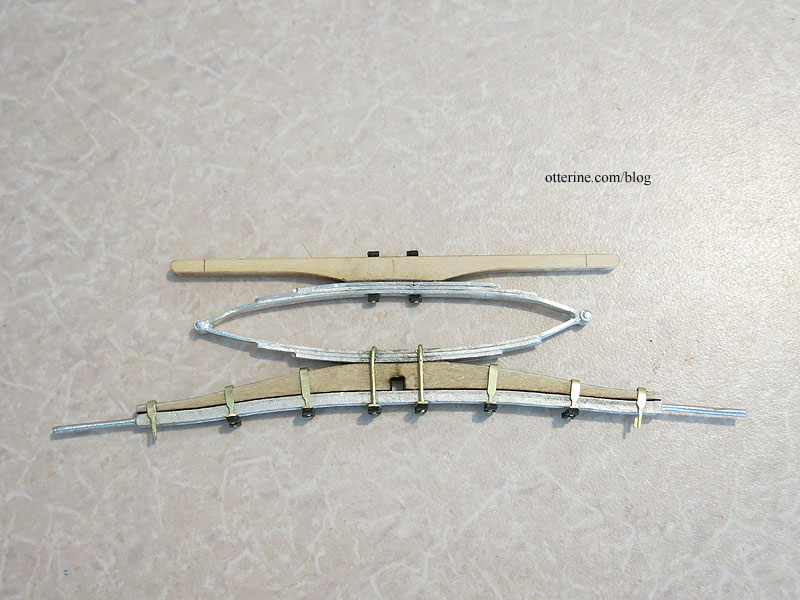
There is a spring for the front axle assembly, but that will have to be added later since I’m not using the reach (the rod that connects the front and rear axle assemblies). I’ll be making my own reach once I have the wagon cabin built, so the front spring will have to wait for now. Next up will be working on the wheels, which seems like it will labor intensive. If all turns out, they should be beautiful.
Categories: Ivy Hollow RFD, Model Cars, Vehicles
June 9, 2019 | 0 commentsMail Wagon – part 4
Continuing
to swear atwork on the Mail Wagon. To make it easier to work on the next part, I took closeup photos of the large schematics and printed the sections I needed. This eliminated the need to keep walking into the kitchen to look at the blueprint sized papers. I could sit and work in one area.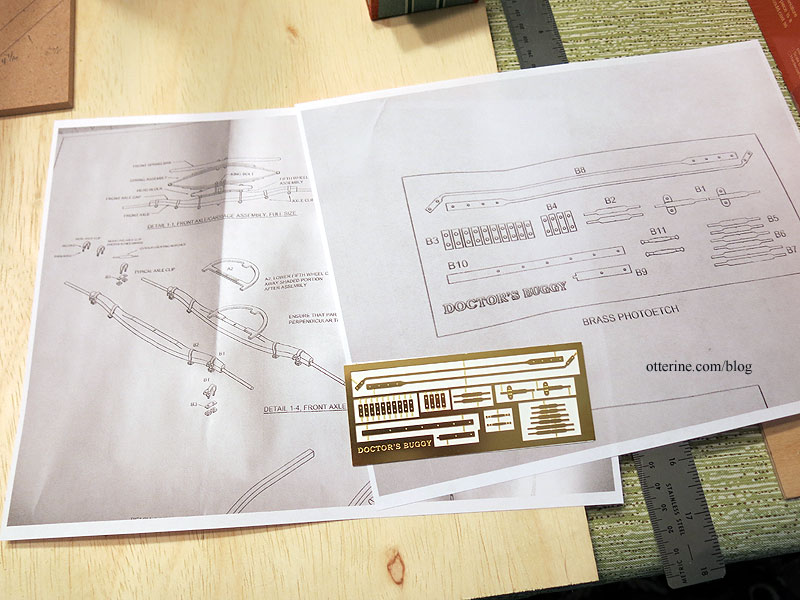
The laser etched brass pieces add fantastic detail, but they are tiny and challenging to work with.
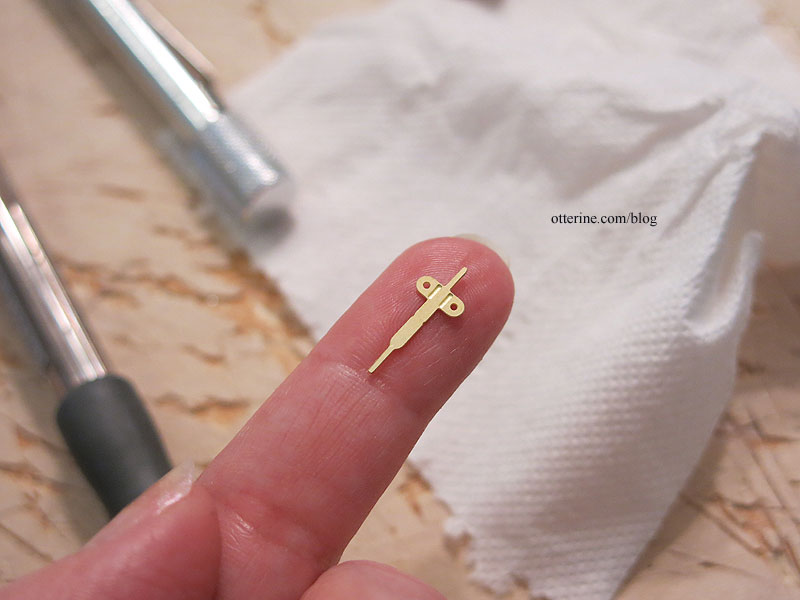
They fit well once you wrangle them into submission. I do worry about the longevity, even with using super glue. I think that’s because of how delicate the parts seem.
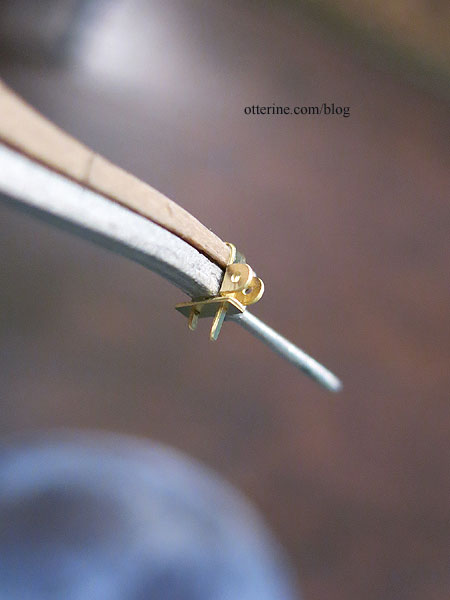
The bolts are made from another type of laser cut material. Fiddly, but again the detailing is wonderful.
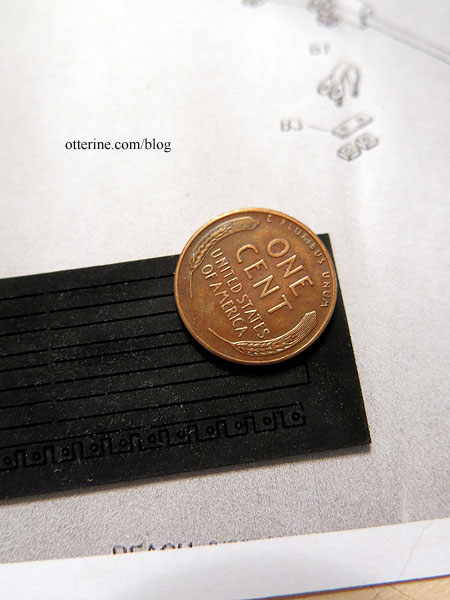
I clipped the excess brass as recommended, and they do now look like tiny bolts. :]
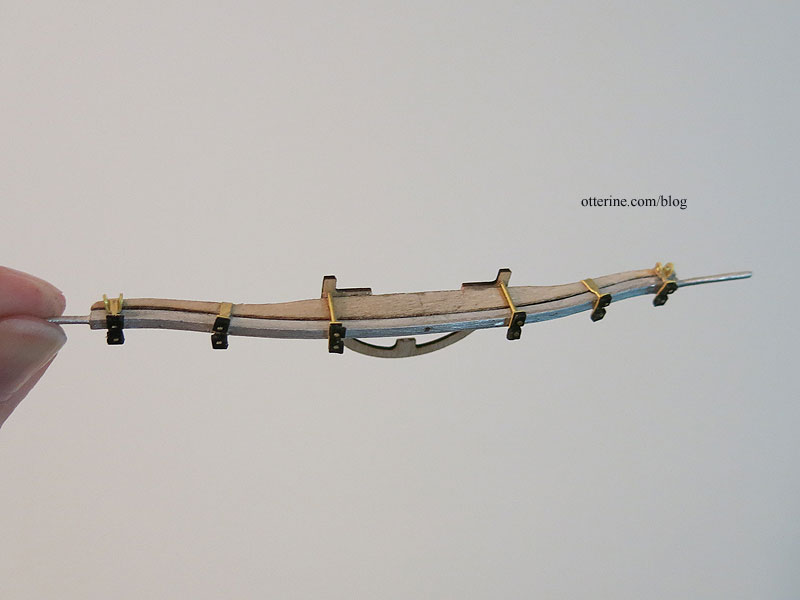
The front axle assembly is done.
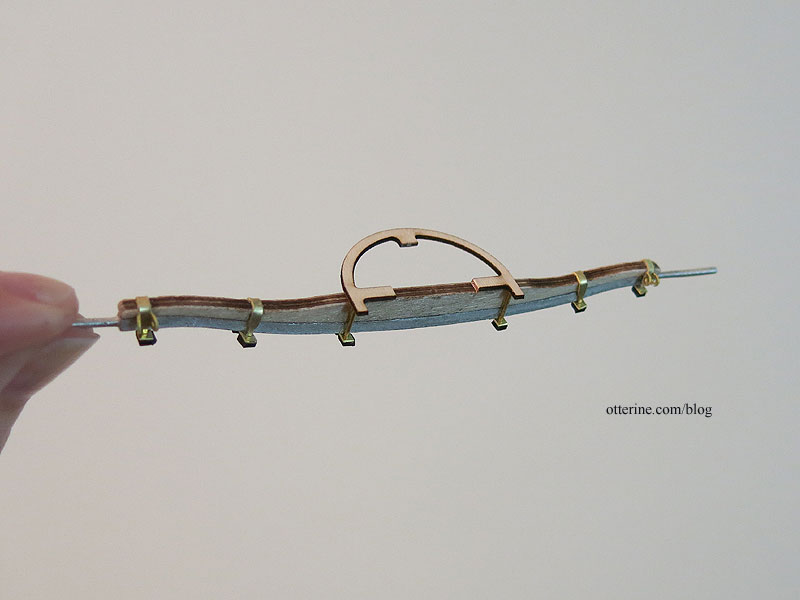
Next up, the rear axle assembly and wheels.
Categories: Ivy Hollow RFD, Model Cars, Vehicles
June 8, 2019 | 0 commentsMail Wagon – part 3
Continuing work on the Mail Wagon. I’m starting with the Doctor’s Buggy by Model Trailways. What I like about the kit are the well made parts, the detailed instructions and good pictures. I’m not much of a fan of the huge blueprint sized diagrams, though. I suppose it is easier from a manufacturing standpoint, but there isn’t always a lot of room to spread these things out while working. I have to keep them in another room and walk over to view them since I don’t want to keep clearing my workspace as I move back and forth between steps. As nice as it is to have large diagrams, the huge sheets are cumbersome. As usual, though, I made a photocopy of the regular sized instructions and diagrams so I can mark them up as needed.
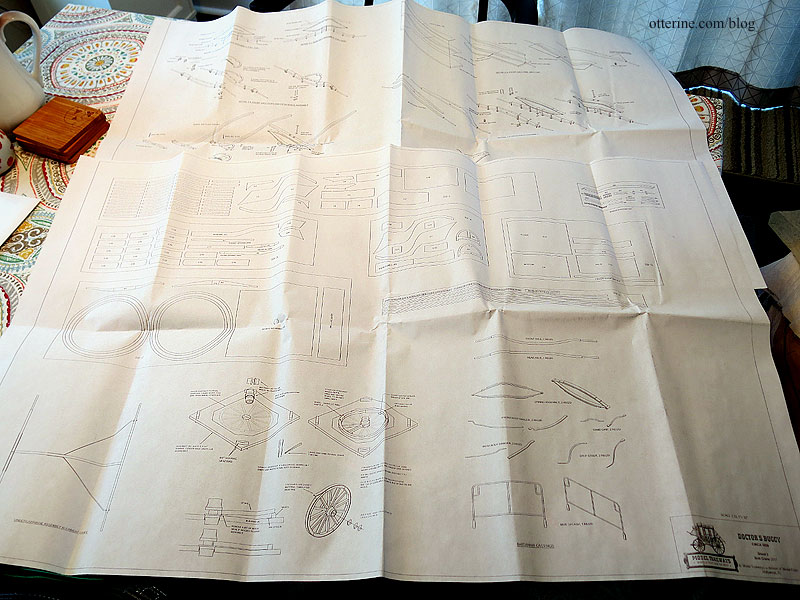
Another issue is the lack of numbering on the individual parts on the wood sheets as well as the detailed diagrams. The detailed diagrams call the parts by their functional name but don’t indicate a number, so you have to look for a part that resembles the drawing among the wood sheets. It’s doable but inefficient. If I didn’t have the model building experience I do, this might be a bigger issue.
As noted before, I plan to make the front and rear axle assemblies, including the wheels, and then build my wagon cabin to suit. The instructions start with the axle assemblies, so that’s where I begin. You make a jig to help with drilling an accurate bolt hole. It’s a great feature of the kit.
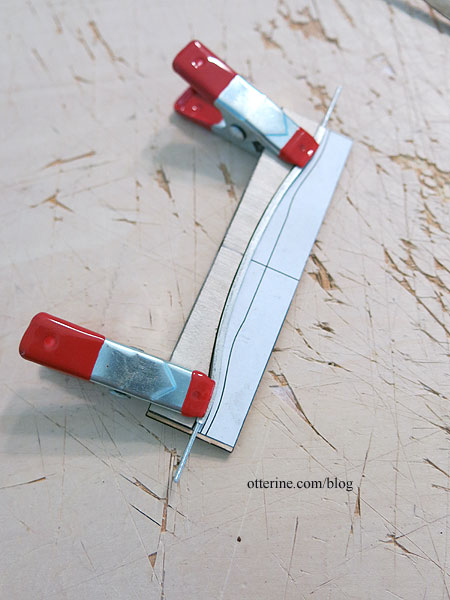
The laser cut front axle cap is longer than the metal front axle, so I had to trim it to match the photo. The instructions mention nothing about this trimming, so luckily I had studied the photo.
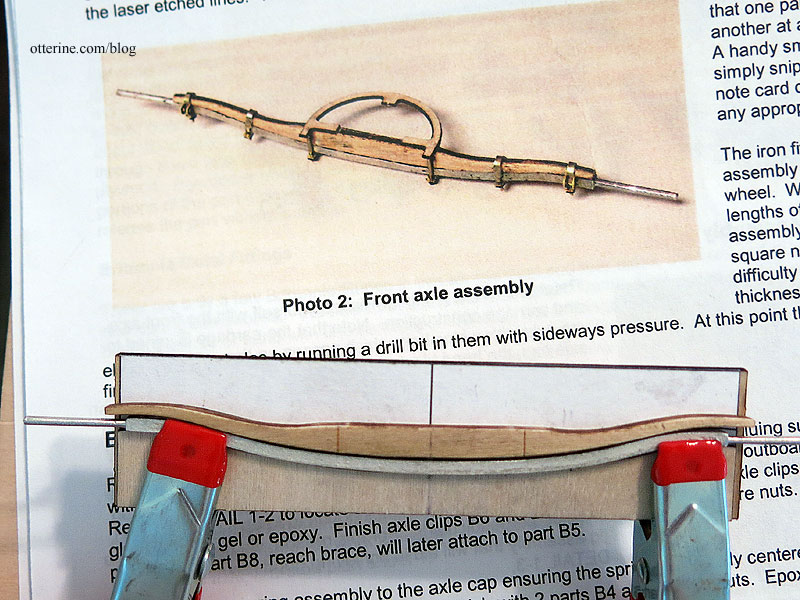
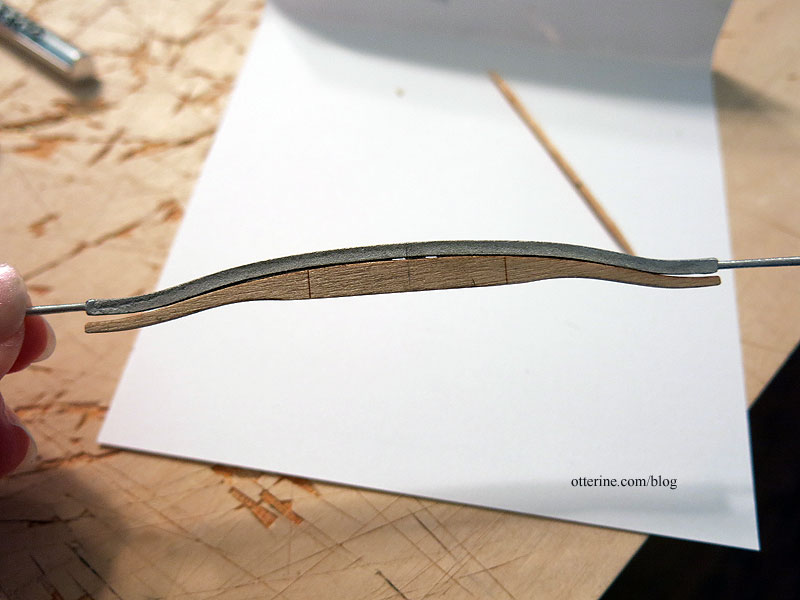
In addition, the laser cut front axle cap and the metal front axle have slightly different bends. While the metal is somewhat pliable, it wasn’t possible to get a bond without gaps. After painting, this should be no issue. Since clamping was not possible without a lot of shifting (I used my fingers to hold the parts until the epoxy set), I glued the middle portion first.
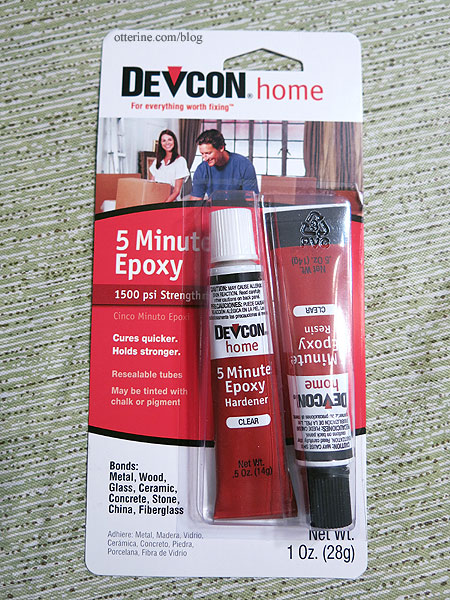
I used Devcon 5 Minute Epoxy from amazon (as an Amazon Associate, I earn from qualifying purchases). This stuff stinks to high heaven with the hardener smelling like rancid, rotten eggs, but it is as advertised.
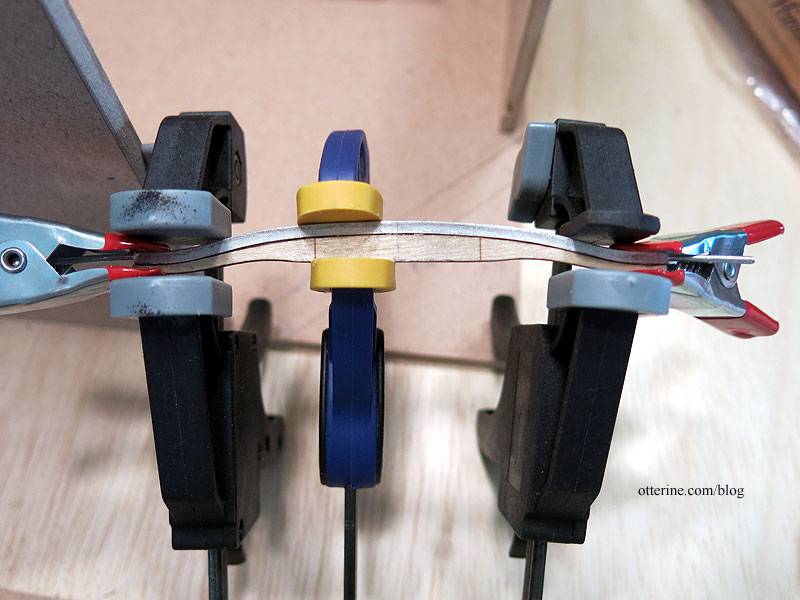
Once the epoxy set on the middle portion, I was able to go back and glue the ends. I held the pieces until the epoxy set, then for the final curing time, I clamped the hell out of it. :D
The rear axle cap and rear axle fit much better, but I had to trim the ends of the wood part here as well.
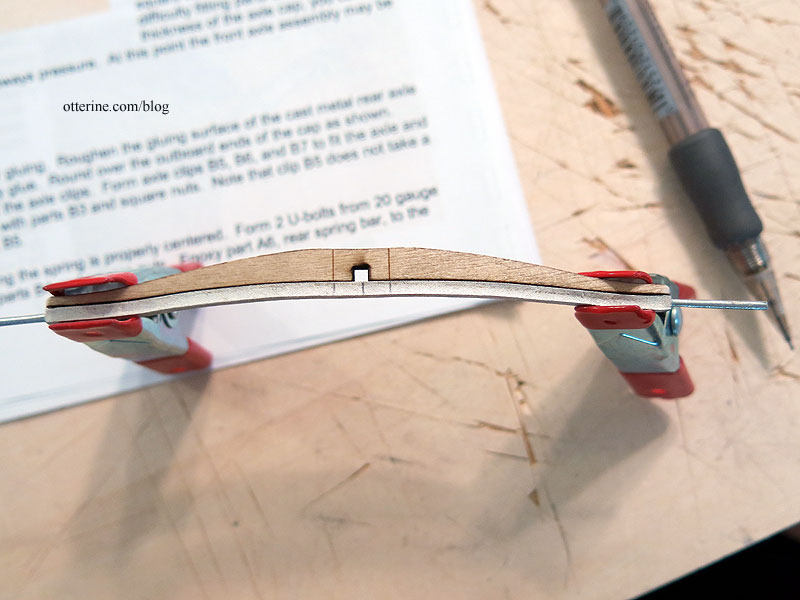
I need to swear at the instructions some more to figure out the next steps. Back soon…
Categories: Ivy Hollow RFD, Model Cars, Vehicles
May 25, 2019 | 0 commentsIvy Hollow – screen door, part 2
Continuing work on the screen door. I’m likely going to jump around a lot as I get going on the post office structure, furnishings, mail wagon and horse.
I had already ordered the Aluminum Black when Sheila said it worked well for her. She was right about the fumes, so into the garage this went. Bleh. (As an Amazon Associate, I earn from qualifying purchases.)
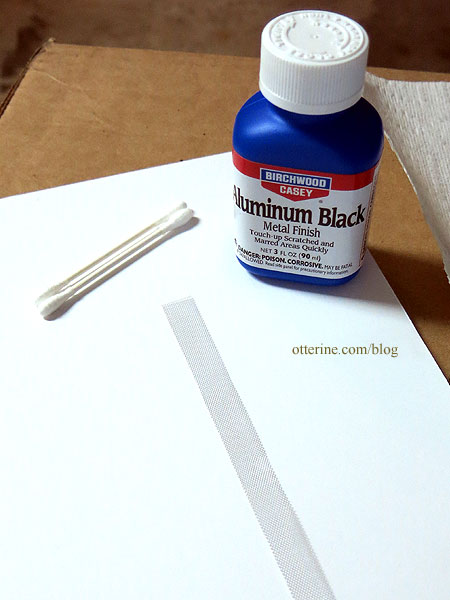
I did test it on a scrap first and the color seemed great.
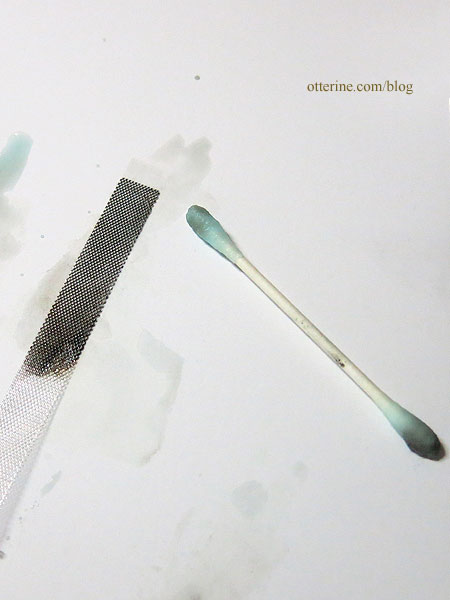
I applied to the larger piece, and it was splotchy. I added a couple of coats, and that caused some issues. I even saw a puff of smoke or vapor at one point. :\
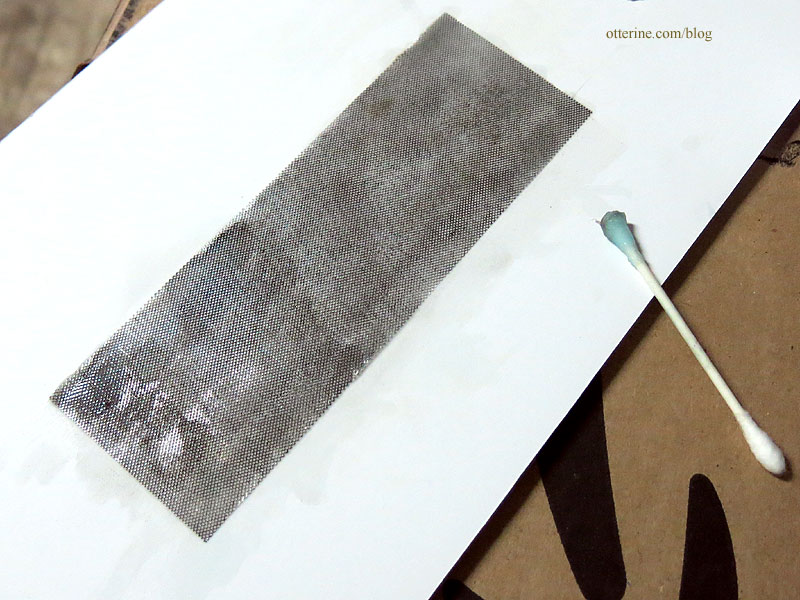
In the end, it didn’t work because the chemical was caustic enough to weaken the delicate screen. I can see how this would work well for more substantial material, but this material was just too thin. I cut a new screen insert and decided to just go with the original finish. I considered pouring some of the chemical into a dish, dipping it and then removing it, but I worried the finish would be splotchy again. Plus, it might still weaken the metal with only a quick dip. I have a few ideas.
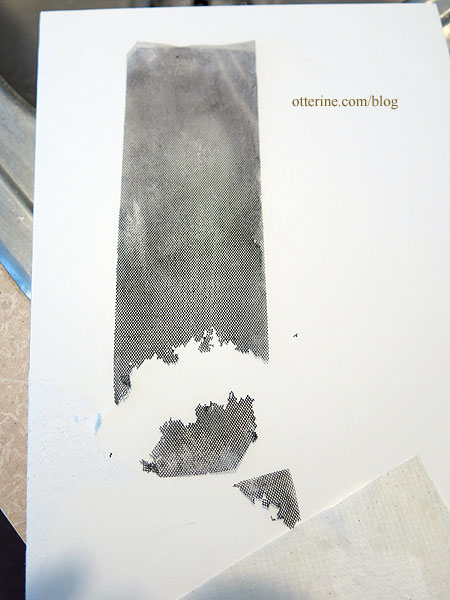
Of course, now I know how to make an old deteriorating screen. :D
Categories: Ivy Hollow RFD
May 17, 2019 | 0 comments
NOTE: All content on otterine.com is copyrighted and may not be reproduced in part or in whole. It takes a lot of time and effort to write and photograph for my blog. Please ask permission before reproducing any of my content. (More on copyright)


