
NOTE: All content on otterine.com is copyrighted and may not be reproduced in part or in whole. It takes a lot of time and effort to write and photograph for my blog. Please ask permission before reproducing any of my content. (More on copyright)
Categories:

Miss Lydia Pickett Cottage Clock – part 6
Continuing work on the Miss Lydia Pickett Cottage Clock in 1:12 scale by Robin Betterley’s Miniatures.
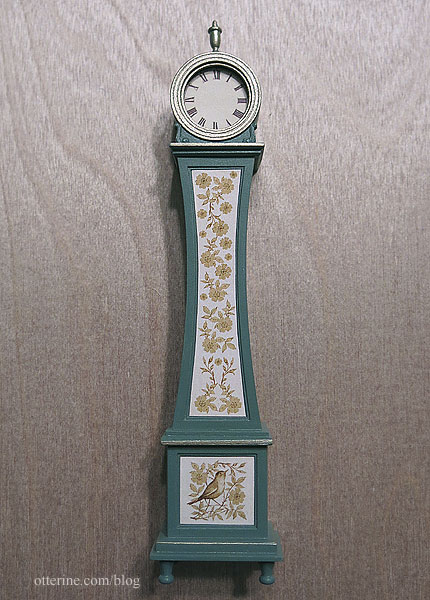
After sanding down the gesso primer coat, I painted the clock Greenscape by Folk Art and finished with Delta Ceramcoat Satin Varnish. The artwork for the body and base is from The Graphics Fairy. I used the image as is for the base but then used elements from the original to create a design for the body in PhotoShop.
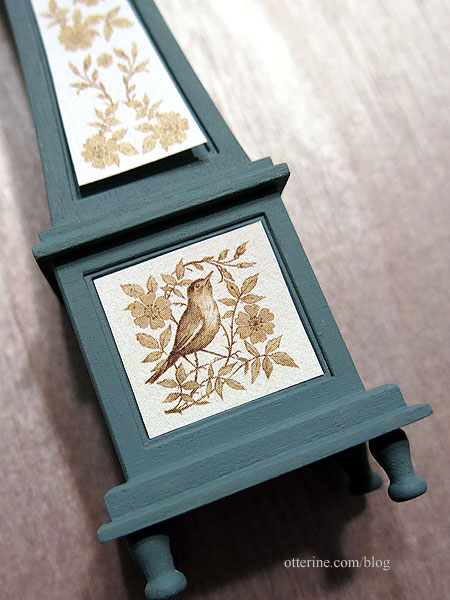
I printed on paper and then cut the pieces to fit. The inserts were later glued in place using Mini Graphics Wallpaper Mucilage. As you can see, the clock face pendant no longer worked since it was darker than the artwork and seemed to be lost.
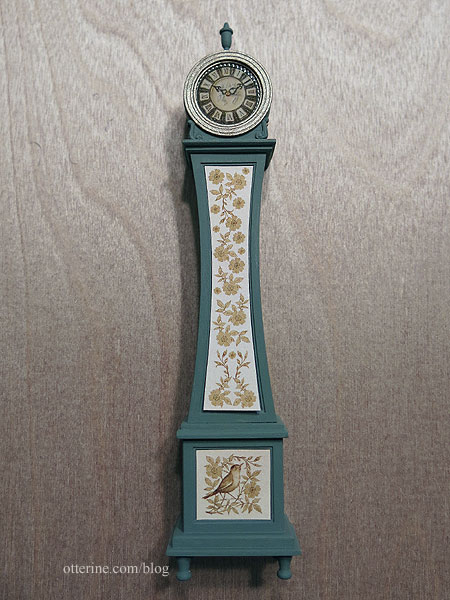
I printed a regular clock dial in a similar color to the body art as a replacement. Much better.
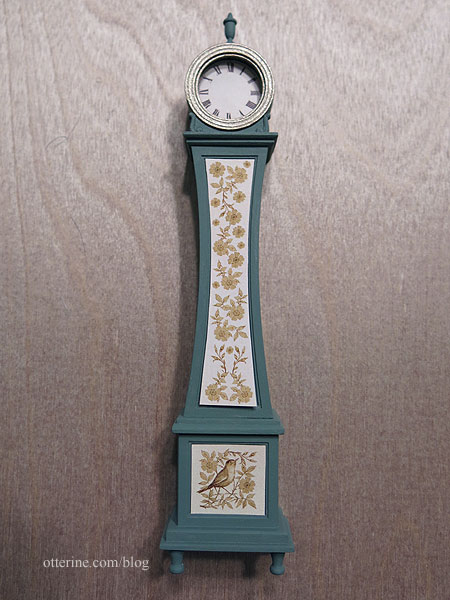
I painted the clock face trims and the finial Taupe Metallic by Folk Art. I painted some accents in the same color on the body and base.
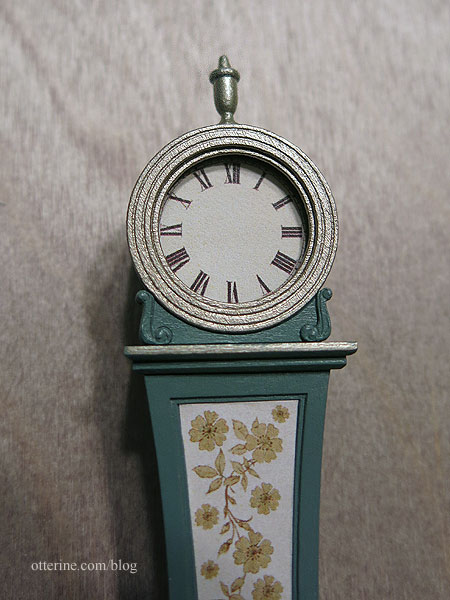
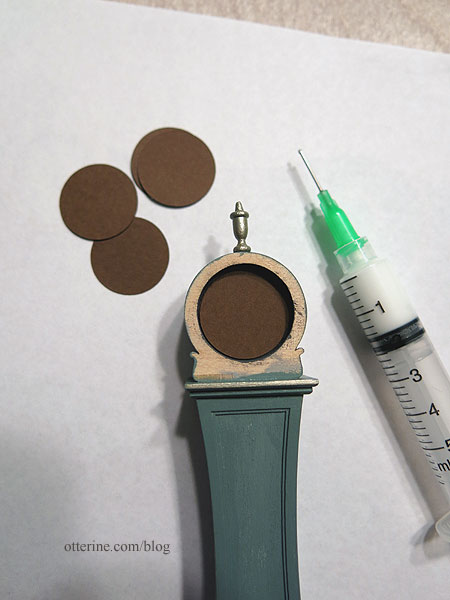
I used the Cricut to cut cardstock circles to fill in the upper hole. I glued these in place with tacky glue before gluing the clock face with Mini Graphics Wallpaper Mucilage.
The final steps include adding the hands, the glass insert and other small details that are too much for tonight. :D Back soon…
Categories: Half Clocked
May 22, 2018 | 0 commentsMiss Lydia Pickett Cottage Clock – part 5
Continuing work on the Miss Lydia Pickett Cottage Clock in 1:12 scale by Robin Betterley’s Miniatures.
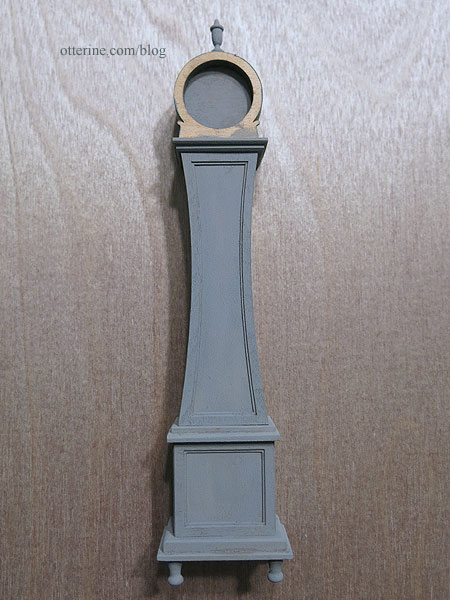
I primed the main body, finial and feet with gesso. This helped me to see any flaws that needed to be addressed. I rather like the grey. :]
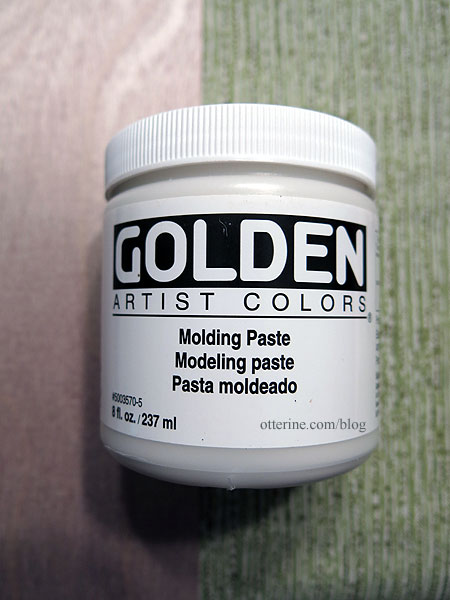
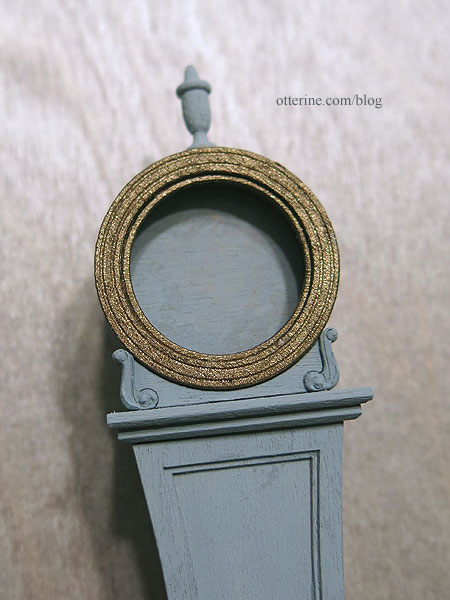
I glued the scroll pieces to the main face trim, leaving the final circle trim unattached. In order to give the scrolls more depth, I built them up with dabs of Golden Molding Paste.
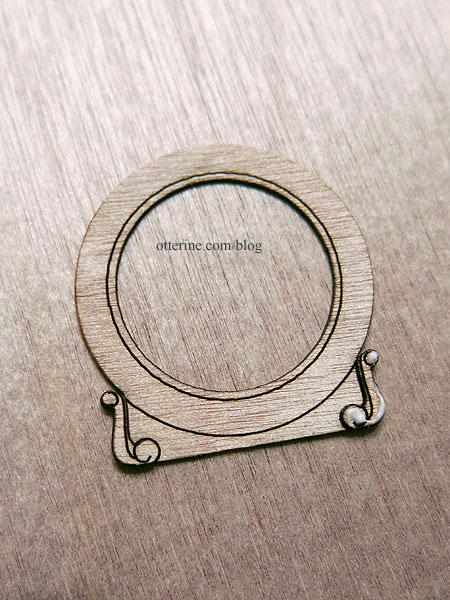
Once primed, they look more dimensional. I’ve painted an initial coat of Liquitex Iridescent Bronze to the circle trims. This will all get some fine-tuning, but it’s a good start.
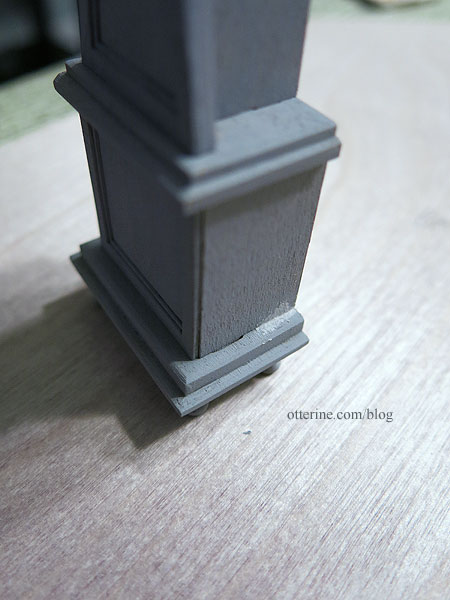
I applied spackling with a toothpick and smoothed it into gaps and partially exposed mortises.
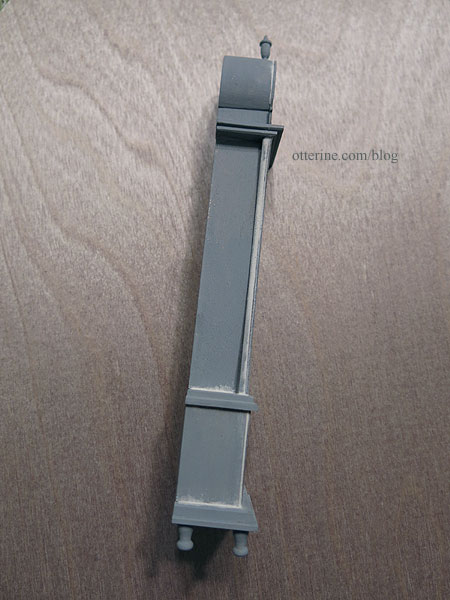
The spackling smooths the edges where multiple layers are joined as well, like the sides of the curved front.
Next up, painting and artwork. :]
Categories: Half Clocked
May 16, 2018 | 0 commentsMiss Lydia Pickett Cottage Clock – part 4
Continuing work on the Miss Lydia Pickett Cottage Clock in 1:12 scale by Robin Betterley’s Miniatures.
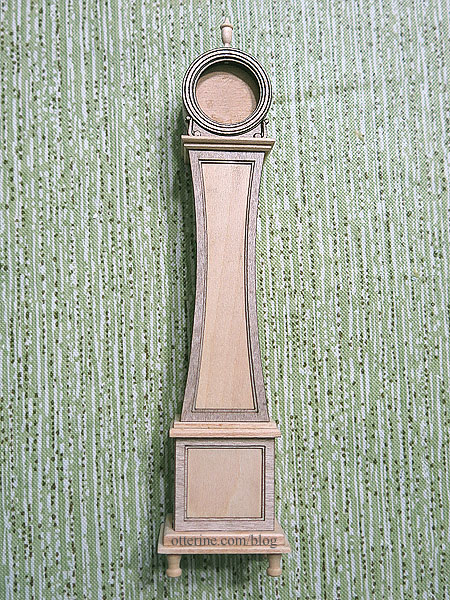
The top has been sanded smooth. I didn’t do the best job keeping the bottom portion straight, but there is trim to cover it. :]
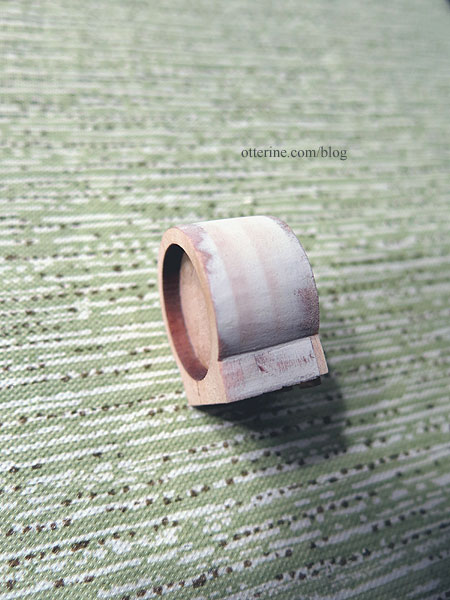
I cut the first layer of trim to a rounded top to match but left the small scrolls on the sides. I could not have left those on the original front piece since I glued it second in line. I think it will still work as delicate detailing since there are two more layers to build it up. You are to leave the clock face trims off until final assembly since they hold the clock face in place. That worked anyway since I want to paint it a different color from the body. I later cut the top scroll on this piece as well.
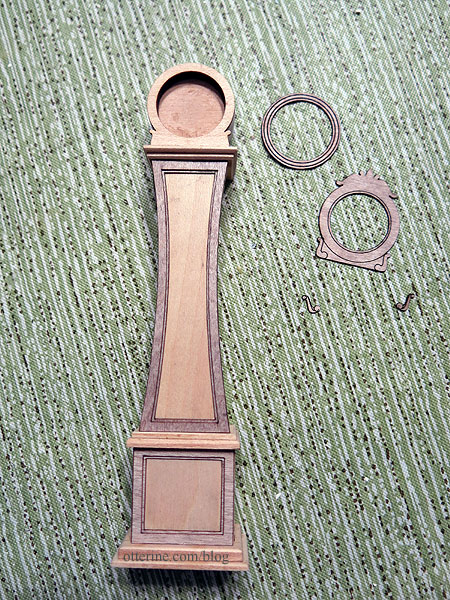
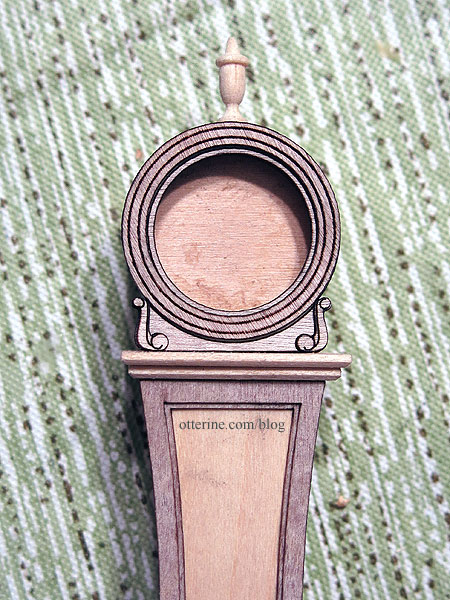
I love the round top, but it is missing something without the scrollwork there. A modified Houseworks finial on top finishes it off perfectly. I drilled a hole to keep it in place but won’t glue it until the end since it’s easier to sand separately (and in case I break it and have to make another). Here the clock face trims are just set in place without glue.
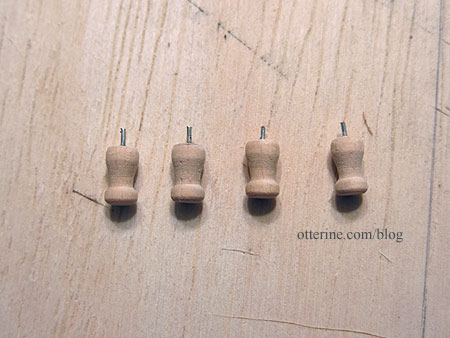
I added pins for the bun feet, leaving these unglued until the end as well.
So far, it’s turning out as I hoped. :D I have some art in mind for the body and base, though the original kit art is still an option. Now I have to visit the craft store to find that perfect shade of dusty teal.
Categories: Half Clocked
May 14, 2018 | 0 commentsMiss Lydia Pickett Cottage Clock – part 3
Continuing work on the Miss Lydia Pickett Cottage Clock in 1:12 scale by Robin Betterley’s Miniatures.
While I was looking through my stash of craft goodies, I found this package of clock face pendants.
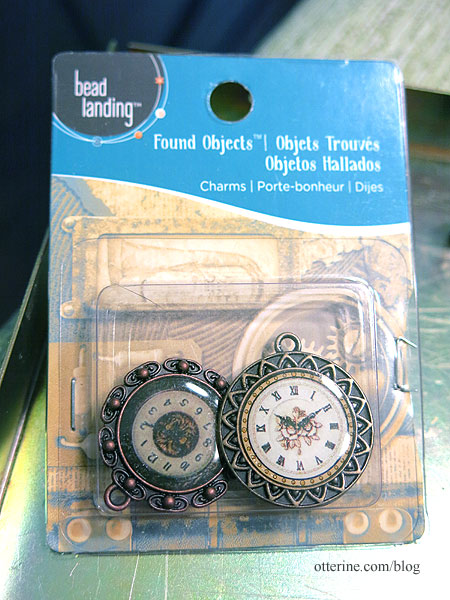
I cut the bails from the sides and filed the edges smooth. It fits perfectly, so perhaps it was meant to be. I’ve set it aside as a strong possibility for the final clock face. I know there are watch movements that can be added, but I’m opting to forego making this a working clock.
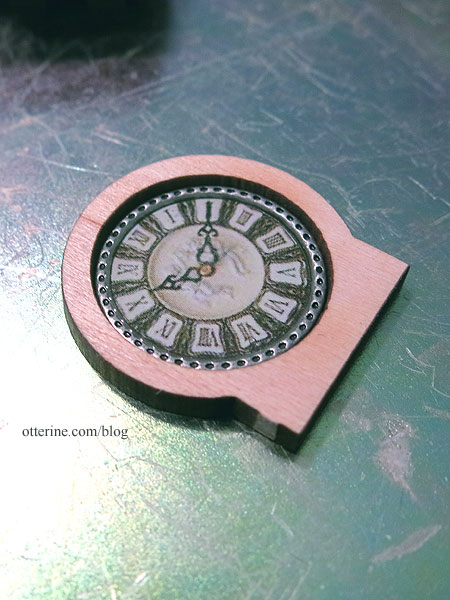
The instructions have you bevel the top edge of the base, but I beveled the top edges of the lower base, lower top and body base for added detailing.
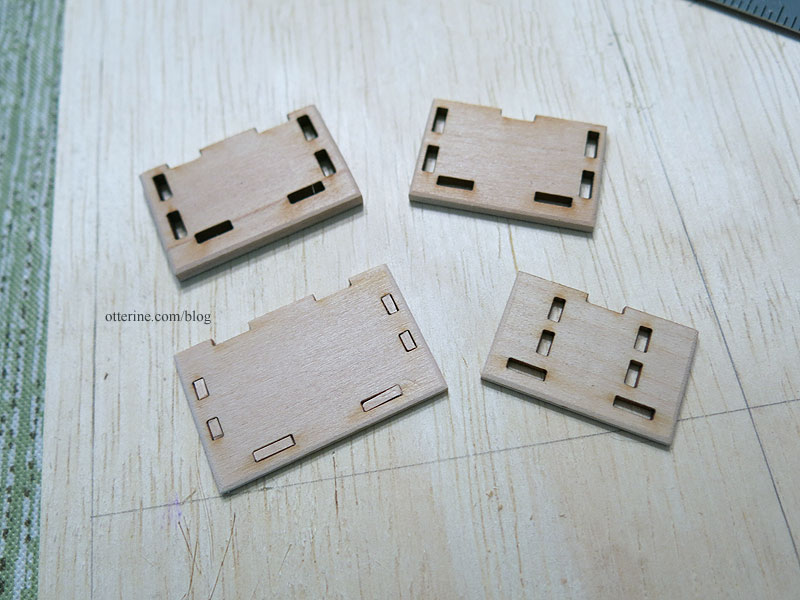
For the top part of the clock, I beveled the lower edge of the body top and head base.
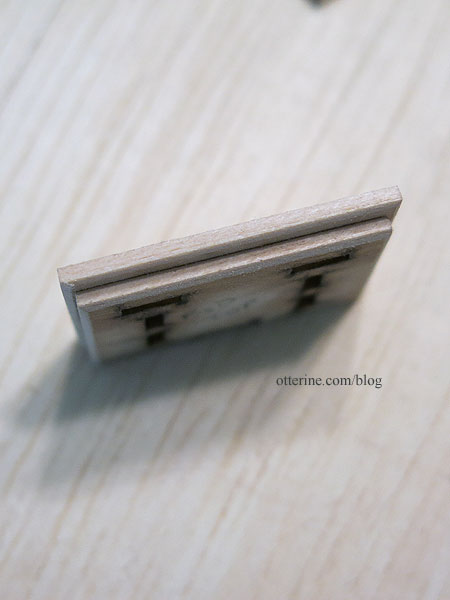
The base and body are simple boxes that needed very little adjustment before gluing.
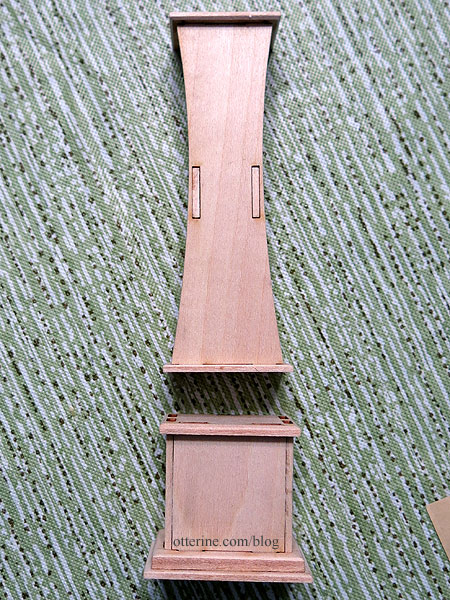
The curved door doesn’t open and making opening doors wasn’t something I wanted to spend time on, but there’s no reason you can’t add faux detailing. :D I took some 3/16″ hinges and made notches to insert them later after painting.
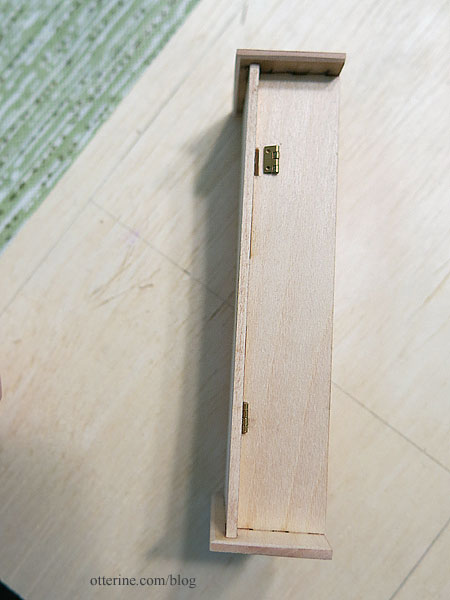
I added the body and base trims, beveling them slightly on the inside edges.
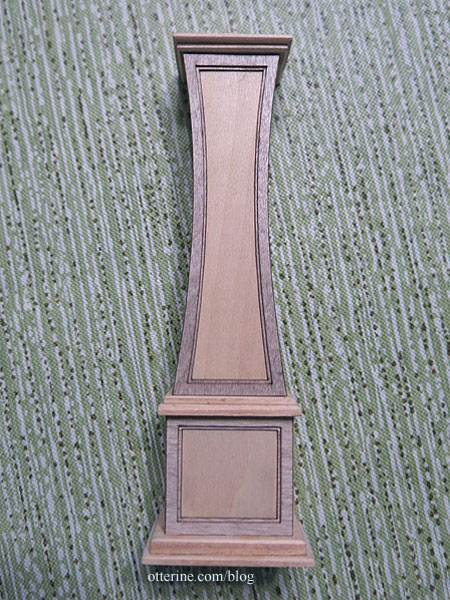
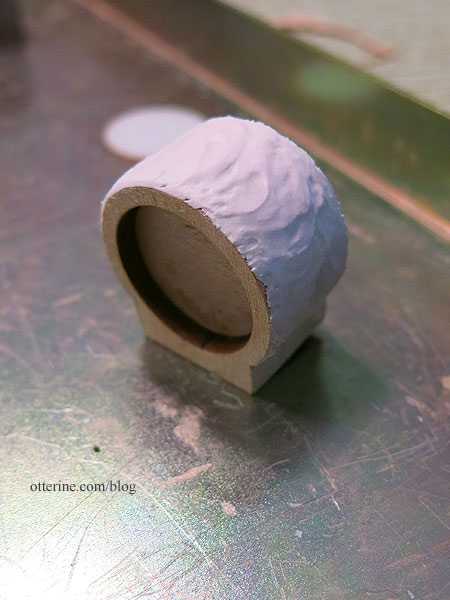
I got the clock head glued together and slathered it with spackling after the initial sanding. It rather looks like a petit four. :D The spackling should make the curve smoother once sanded.
Categories: Half Clocked
May 13, 2018 | 0 commentsMiss Lydia Pickett Cottage Clock – part 2
Starting work on the Miss Lydia Pickett Cottage Clock in 1:12 scale by Robin Betterley’s Miniatures.
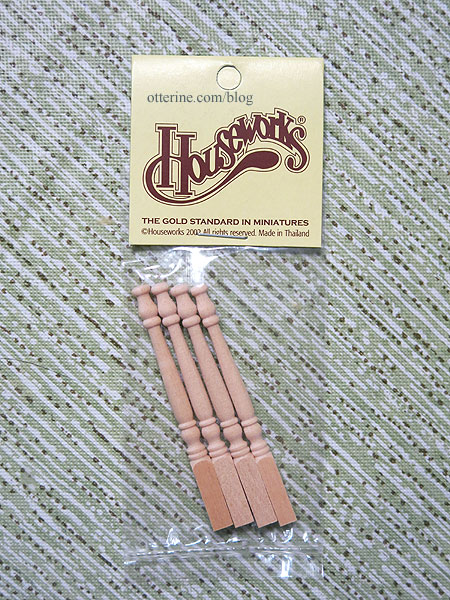
The instructions are very clear and have photos to help with assembly. I will make a few changes, though, first in omitting the scrollwork at the base. Instead, I made bun feet from Houseworks 2 1/2″ legs (Item No. 12009).
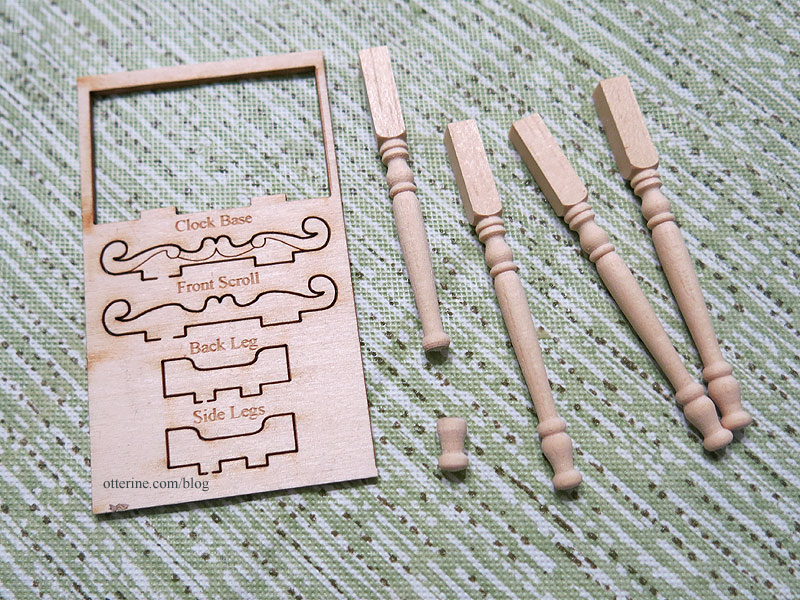
I added some bits of wood to the base to fill in the mortises to increase the gluing surface. They won’t show later, but it should keep glue from oozing later on. I’ll fill in the back mortises later since those will show.
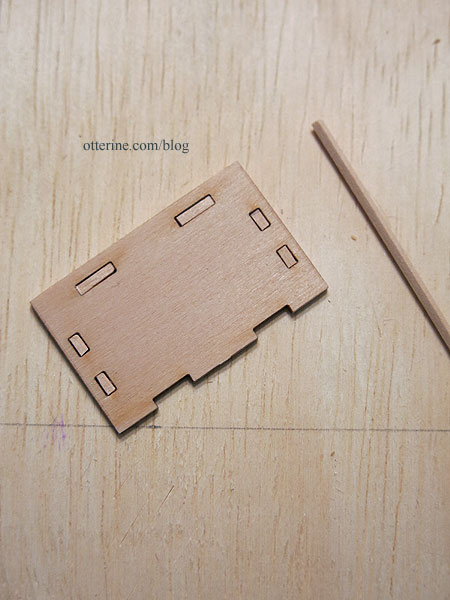
While I like the scrollwork on the top of the original kit, a fully round head appeals to me more. So, I used the back as a template, and altered the front piece to match. It didn’t have to be a perfect cut since you sand this assembly as a whole once it’s glued together.
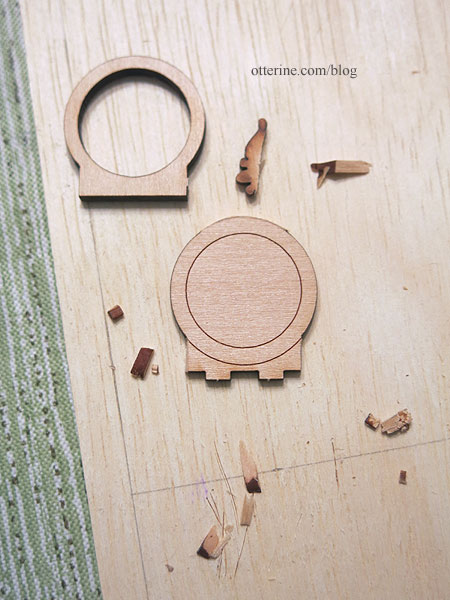
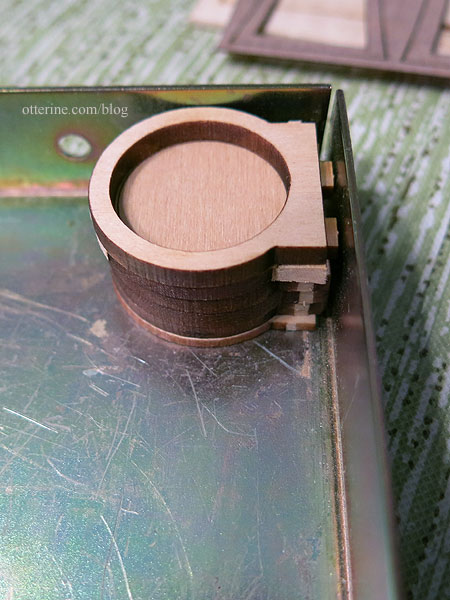
Thinking ahead (always read the instructions through and stare at the kit cover photo before starting), I wondered about giving the clock face more realism. The front piece is solid in order to have a gluing surface for the clock face artwork. An acrylic circle sits over the art to give the illusion of glass. While the included art is convincing, I wanted to go a step further and add actual hands. This would require more clearance behind the acrylic. Since I altered the front to match the other pieces, I could glue the front piece second in line. If I need to bump the clock face forward, I can just cut circles from paper until I reach the appropriate depth.
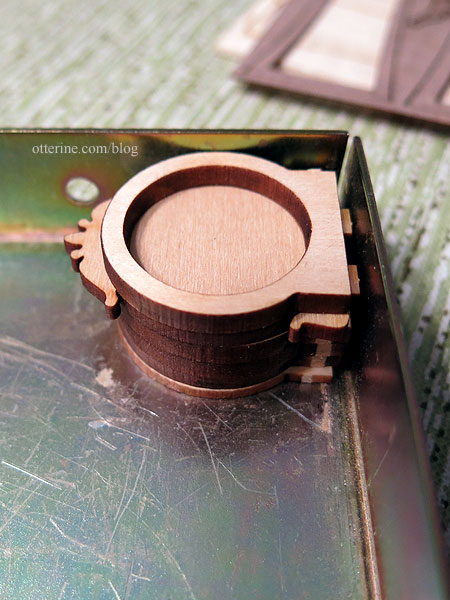
I’ll have to cut the tabs off the front piece now that it is in second position because the base has mortises already cut.
Categories: Half Clocked
May 12, 2018 | 0 comments
NOTE: All content on otterine.com is copyrighted and may not be reproduced in part or in whole. It takes a lot of time and effort to write and photograph for my blog. Please ask permission before reproducing any of my content. (More on copyright)


