
NOTE: All content on otterine.com is copyrighted and may not be reproduced in part or in whole. It takes a lot of time and effort to write and photograph for my blog. Please ask permission before reproducing any of my content. (More on copyright)
Categories:

House of Miniatures Hutch Cabinet to bath cabinet
love House of Miniatures kits for their adaptability. This can be a quite formal piece, but with some soft Italian Sage paint by Folk Art and some copper knobs made from jewelry headpins it turns into a pretty bathroom cabinet.
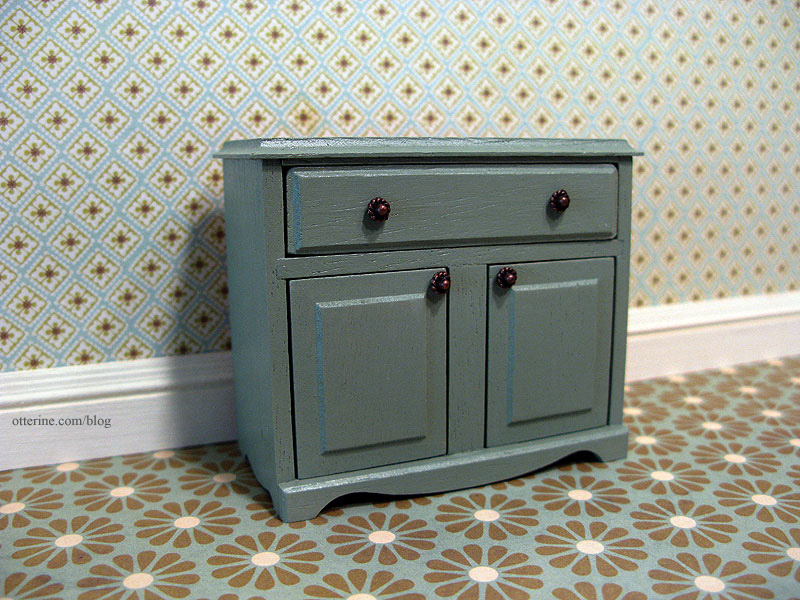
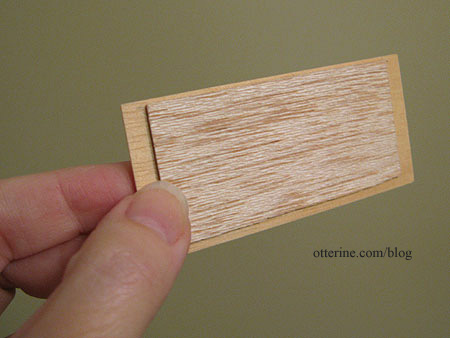
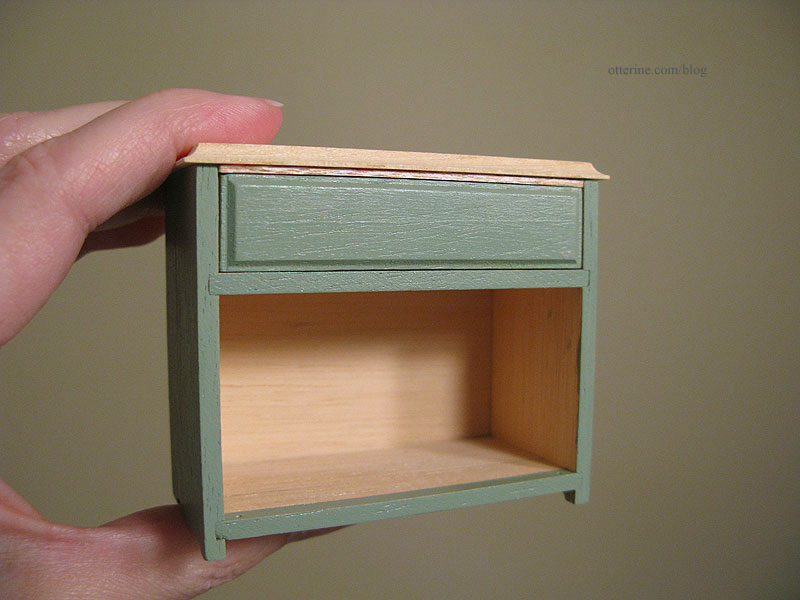
I’ve made one of these cabinets before, for the Newport. As with that cabinet, I added an extra piece of wood to fill in the gap between the drawer and the cabinet top.
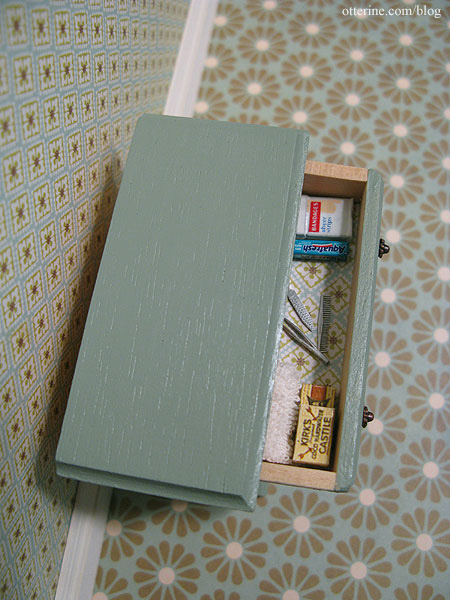
Now grandma has an attractive storage solution for all her necessities. :D I plan to put different items inside the cabinet but had these already on hand. I love hidden details even if they aren’t readily seen.
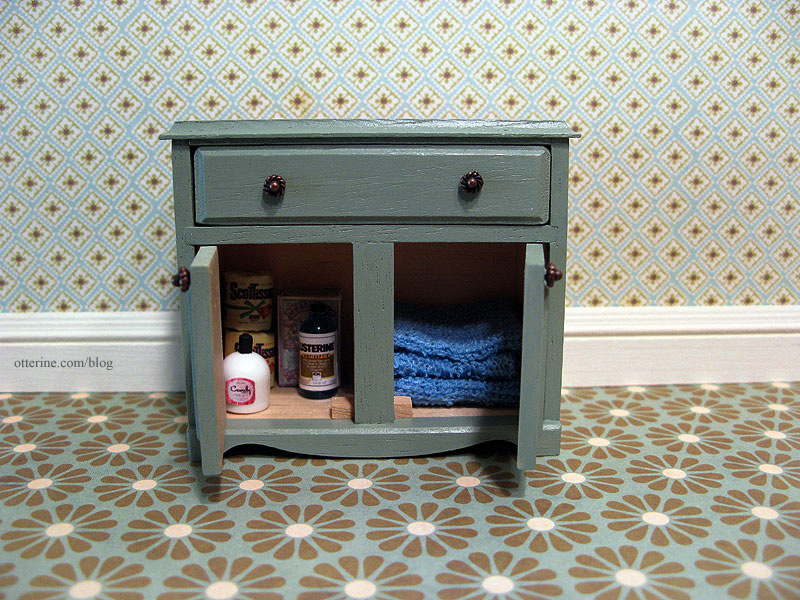
I lined the drawer with a scrap of Cute Little Diamonds paper by The Paper Studio, the same paper I’ll be using for the wallpaper. Grandma is frugal and has found a use for her leftover wallpaper scraps!
The bookshelf and African violets I made earlier will sit here. I also made up another jewelry finding tray as I had for the bedroom vanity. I will make new bottles specifically for this room but borrowed these from the Newport.
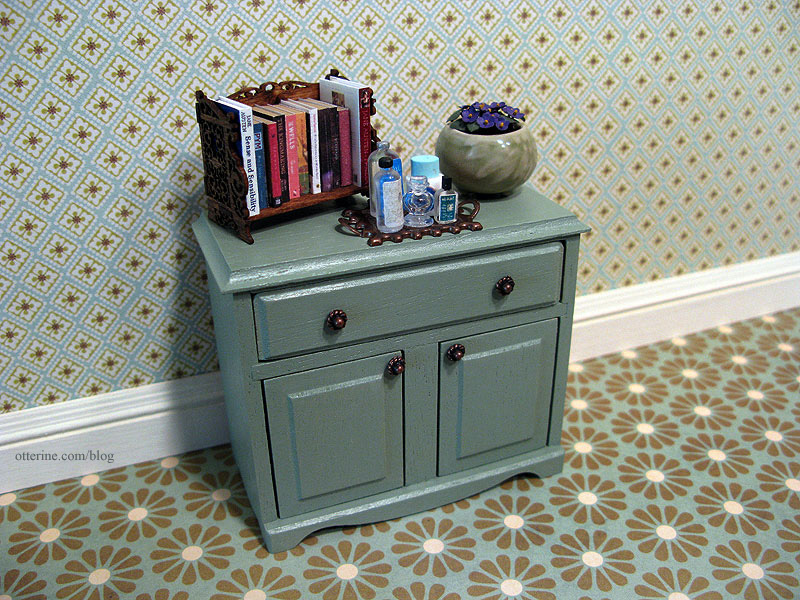
I found that I rather like the loud Flower Frenzy paper by We R Memory Keepers for the flooring. Adding sealer will yellow it a bit, but that will only add to the age of the floor.
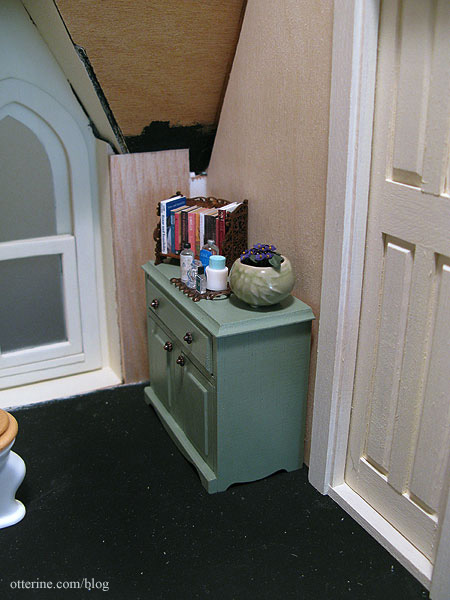
I’m not sure if the cabinet will sit next to the door or next to the bathtub on the opposite wall. I’ll have to get the room put together before I make that decision.
Categories: Furniture, The Haunted Heritage
April 6, 2012 | 0 commentsHouse of Miniatures Hepplewhite Side Table
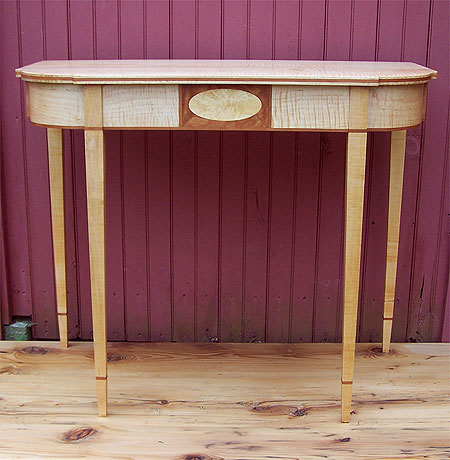
I did a quick google search for painted Hepplewhite tables and found three great inspiration pieces. I was looking for lighter finishes to stand out in the hallway. For a fantastic painted version of this table kit, check out Wasting Gold Paper. Fabulous!
First, this lovely c.1790 North Shore, Massachusetts Hepplewhite side table from Wiederseim.com. This real life table sold at auction for $3,000.
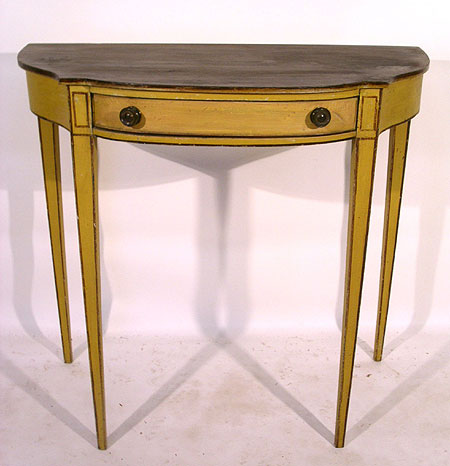
Second, a contemporary version by Craig Thomas White.
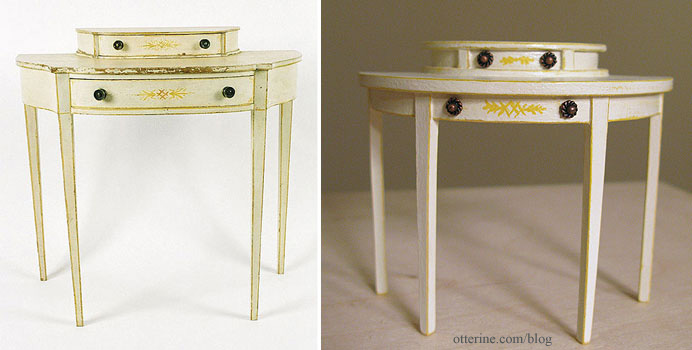
And, lastly, this c.1790 American Hepplewhite dressing table from antiques.com.
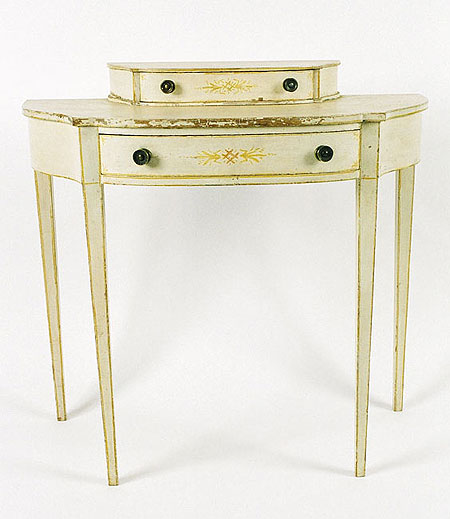
The last one is the clear winner for me. There is no drawer on the House of Miniatures table, but there’s no reason it can’t be faked with some drawer pulls.
For the additional top detail, I used a Woodsies circle. To get the true center, I slipped it into a circle template I had from my art school days.
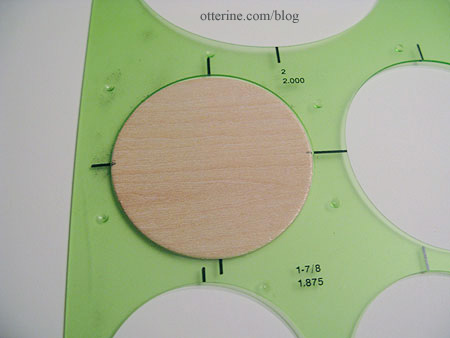
These markings then allowed me to measure how much of the circle I wanted for the top using some of the items I might use for display.
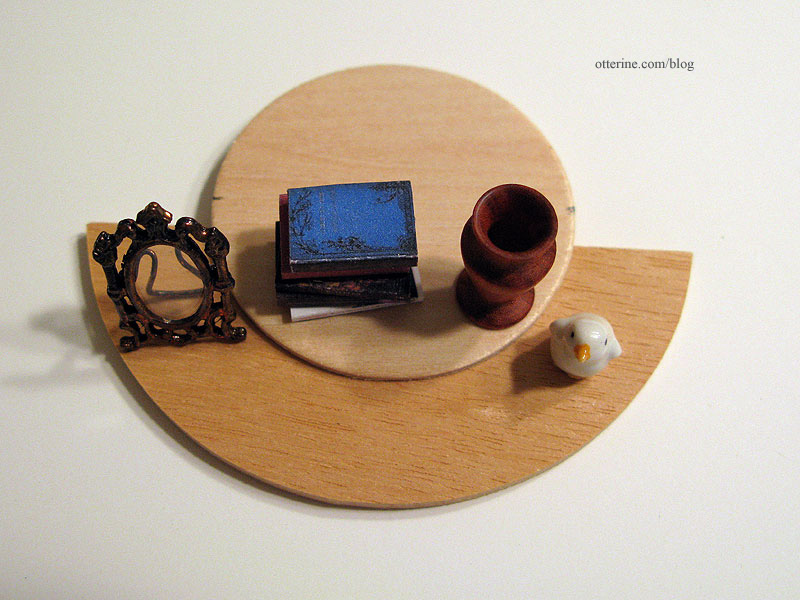
The middle is a scrap of balsa cut slightly smaller than the Woodsies half circles.
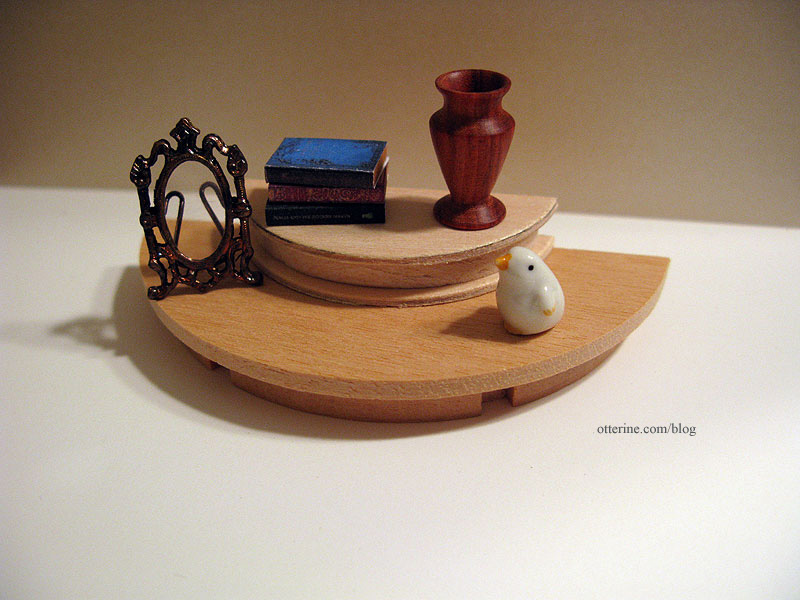
Since I wasn’t sure if I would like my addition once finished, I made another quick vignette with the border trim in place. I had to move the artwork up on the wall and added some of the accessories. As you can see, I added two small scraps of wood on the smaller top assembly to delineate the faux drawer. I think it’s going to be lovely.
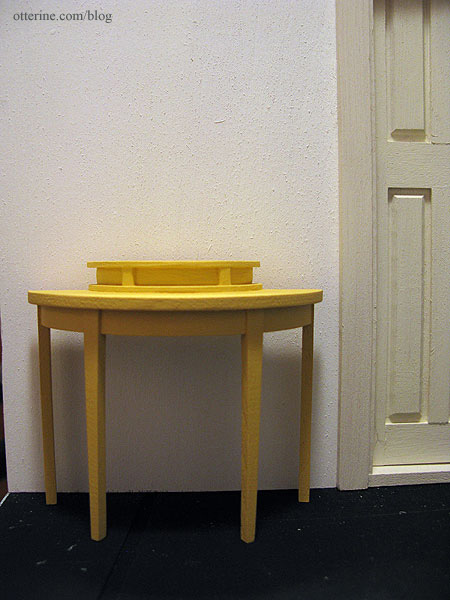
I didn’t think I’d have a steady enough hand to paint only the edges with the yellow detailing, so I started with a full under layer of Moon Yellow by Folk Art. This took two thin coats of paint with a light sanding in between.
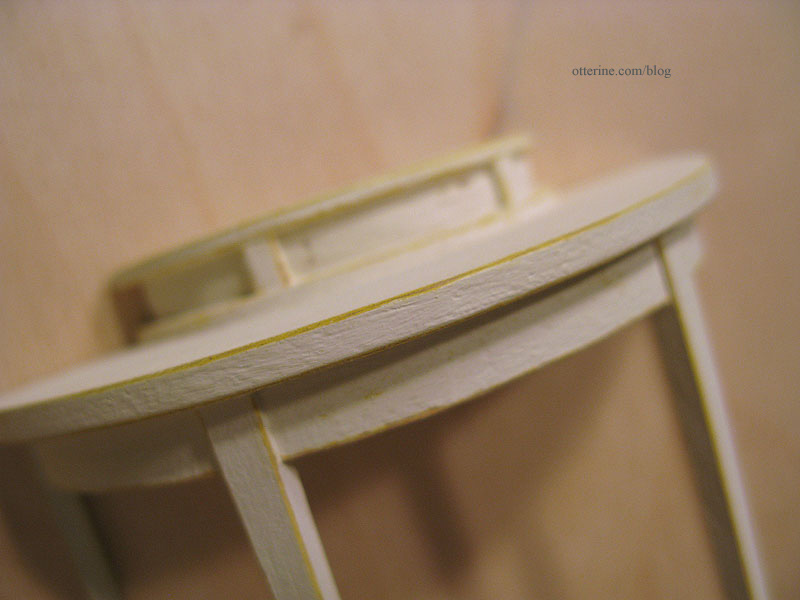
I covered this with Tapioca by Folk Art. Again, two thin coats of paint were needed. I used fine sandpaper to lift the lighter top coat to reveal the yellow beneath, some parts to the original wood for an extra bit of wear.
I added aged copper knobs (fancy head pins for making jewelry) and painted the wheat and crisscross details with a fine tip brush. I don’t think I did a half bad job considering I’ve not painted freehand tiny designs before.
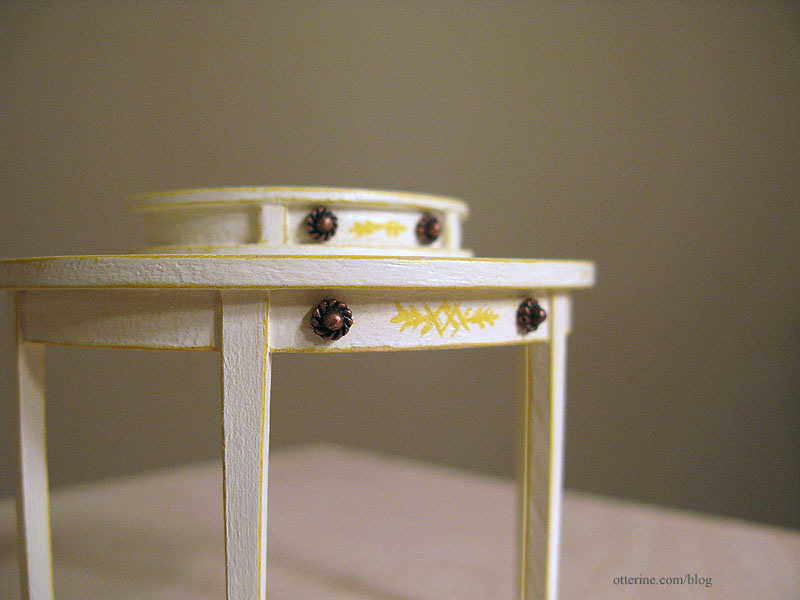
I then covered the table with a very thin coat of Delta Ceramcoat satin varnish.
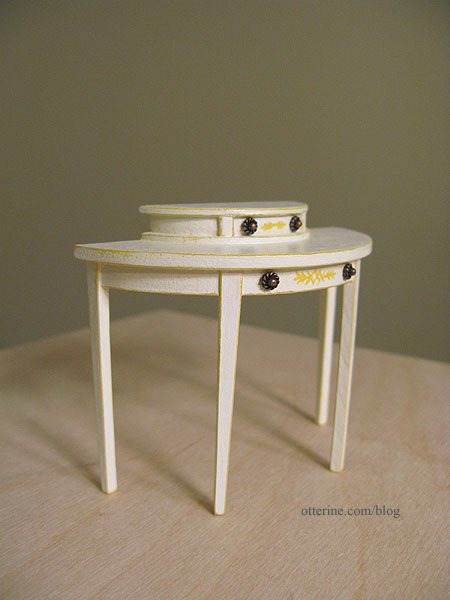
I love the way this table turned out! :D
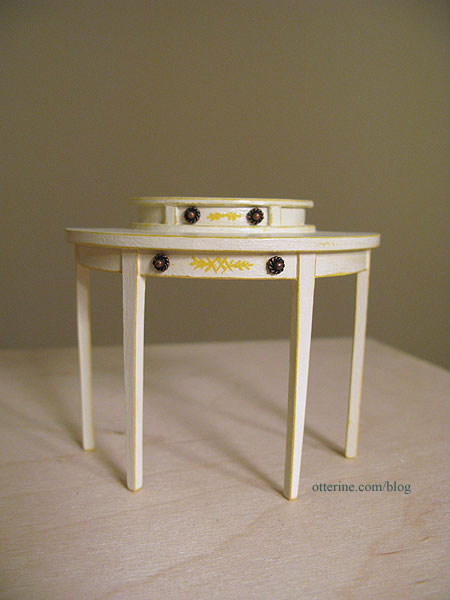
It has the same delicate look as the original.
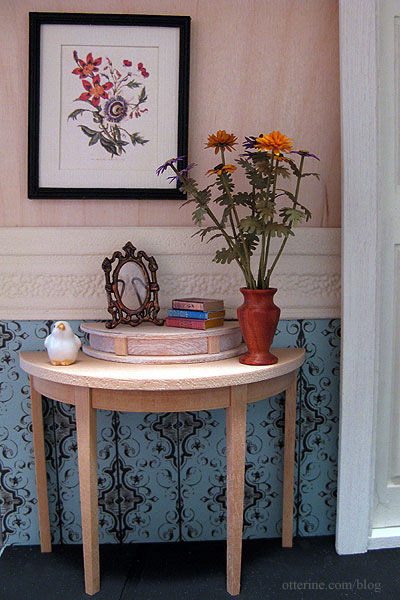
Here it is later in the finished upstairs hallway.
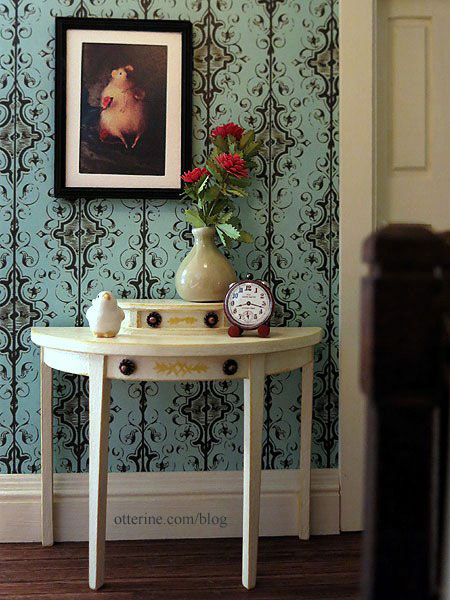
The artwork is a photograph from artisan Natasha Fadeeva. She makes the most amazing little animals. I just swoon over her mice!!! :D I contacted her about using the vintage mice photos in the Heritage, and she graciously gave me her permission. I made the tiny red alarm clock and the Bonnie Lavish red dahlias. The vase and bird figurine were purchased awhile ago, but I’m no longer sure of the vendor.
Categories: Furniture, The Haunted Heritage
April 4, 2012 | 0 commentsBeautiful Bespaq vanity and heart-shaped chair
Those of you who know me in real life know that I wear skirts and dresses 360 days a year, even in the dead of a Chicago winter. But, my home isn’t excessively girly or feminine. It’s more New England cottage meets French Country rustic.
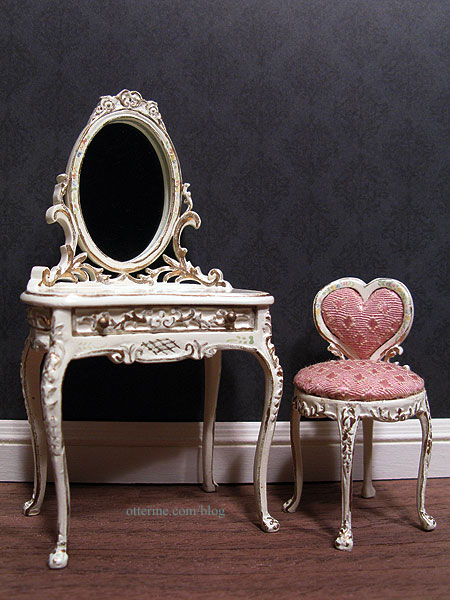
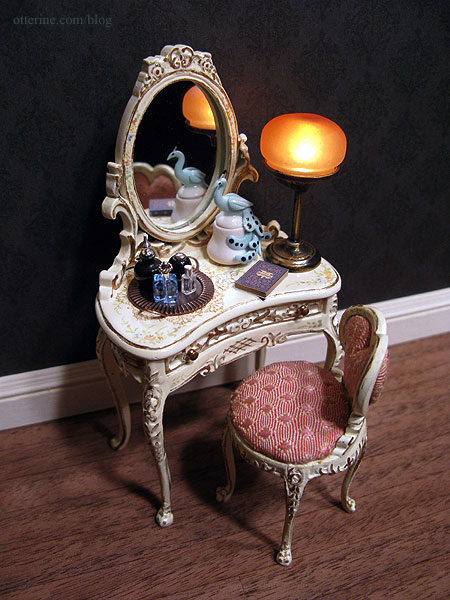
However, I am head over heels for this tiny, ultra feminine Bespaq vanity and heart-shaped chair. :D It’s from Small World Miniatures. I think they look wonderful against the Out of Time scrapbook paper by Recollections that I plan to use as wallpaper in the bedroom. The hand painted details are incredible.
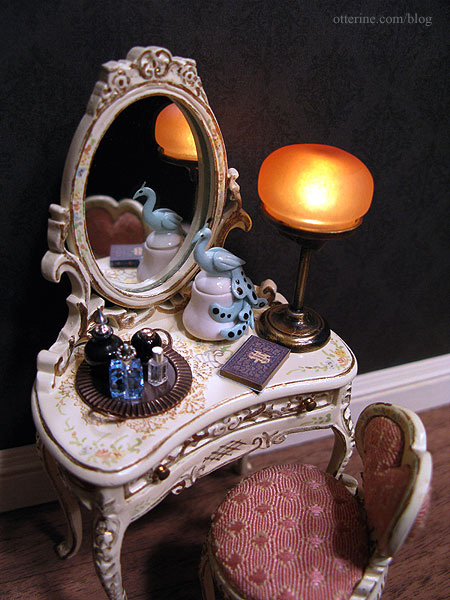
The vanity tray I made fits perfectly on one side with the C. Rohal peacock box and Art of Mini lamp on the other. Not much room for anything else besides a small book. At first I thought the lamp might be too big for the vanity, but I rather like it. It has a warm glow and the perfect vintage feel.
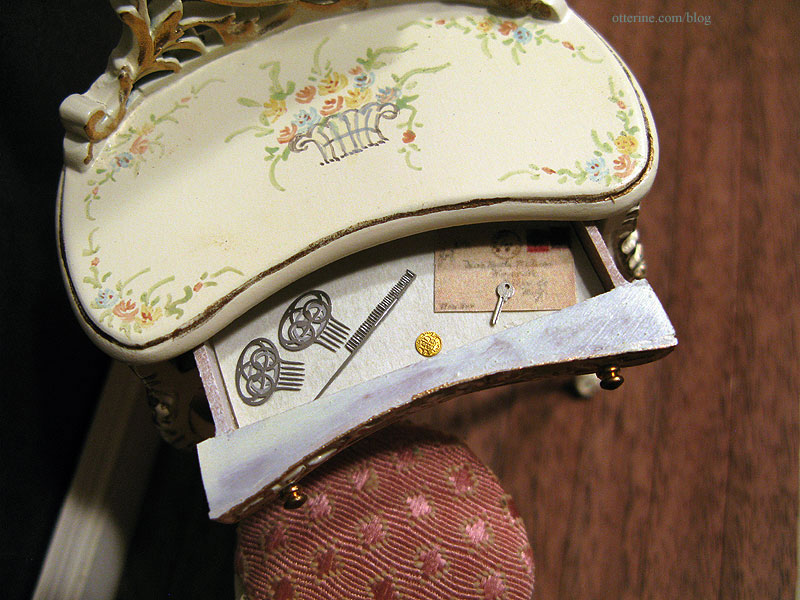
I’ve lined the drawer with pretty parchment paper and added a few things I had on hand. The laser cut hair combs are from The Dolls House Mall. The letter is just a paper cutout for now, but I’ll have to make a pretty opening envelop and letter for the drawer. The laser cut key is by le mini di Pierliugi, purchased at one of the Bishop shows. Grandma’s lucky gold coin is made by Phoenix Models.
The vanity and chair are the perfect pieces I was looking for and will be wonderful in the Heritage bedroom!
Categories: Furniture, The Haunted Heritage
March 8, 2012 | 0 commentsBespaq furnishings and lovely handbags
I was fortunate enough to win Audra‘s giveaway recently. As the prize, she offered a gift certificate to a miniatures shop called Happily Ever After.
Some time ago, I bought a Bespaq Royal Marrakesh settee in walnut and have been searching for a matching chair since. I saw that Happily Ever After that a photo of the entire living room set on their site, so I wrote to Lori there to see if she had what I was looking for. She sent me a photo and a few days later, it arrived! :D
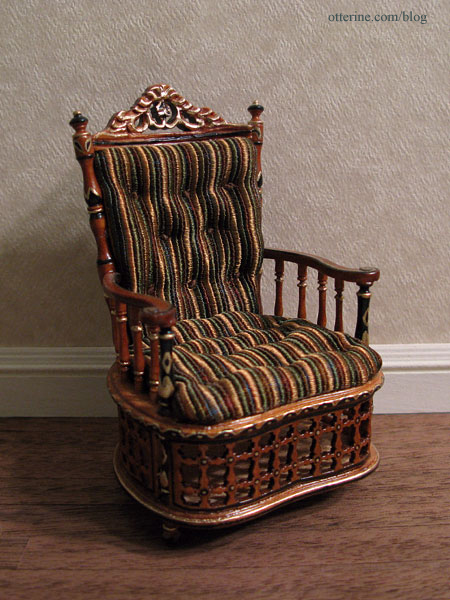
Here’s the new chair with settee I already had. This set will be for a future build.
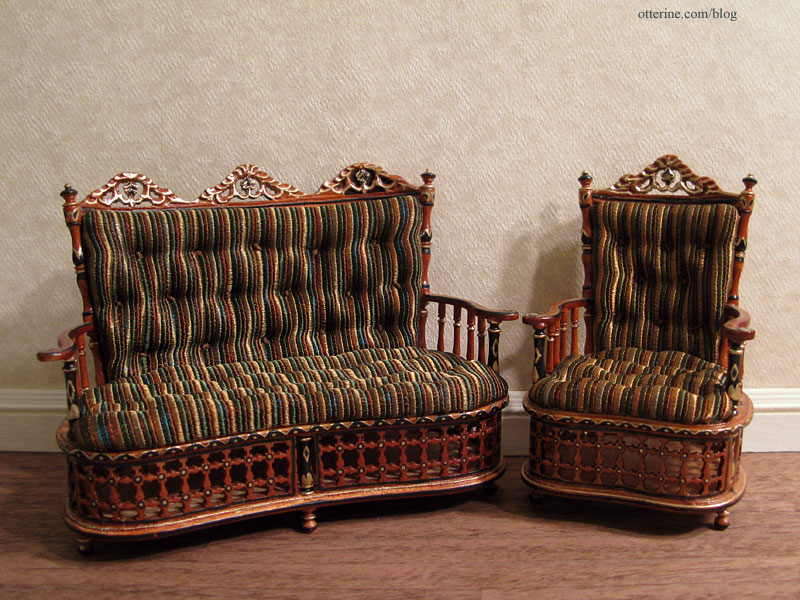
The wood and painted details match perfectly, though there is a slight difference in the fabrics. No matter to me since they are very close so dollhouse lighting and added accessories should make up that difference. Thank you Audra and Lori for a wonderful giveaway!
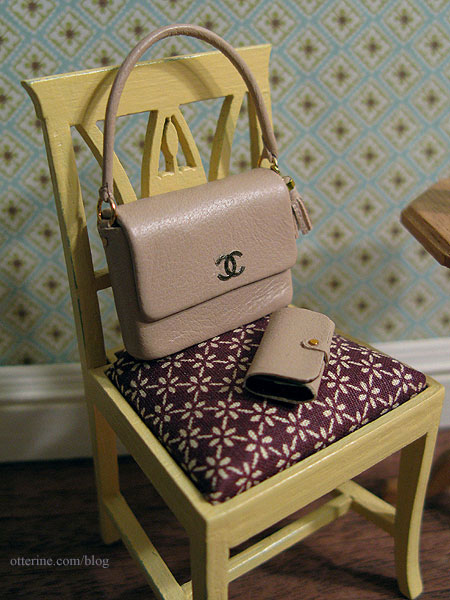
Another package arrived with the new chair today. In it were two handbag sets from Dollhouse Ara. The first is a pale pink Chanel replica handbag and wallet. They are so well made and have a nice weight to them. Included in the package was a lovely vase with dried natural flowers. Very pretty.
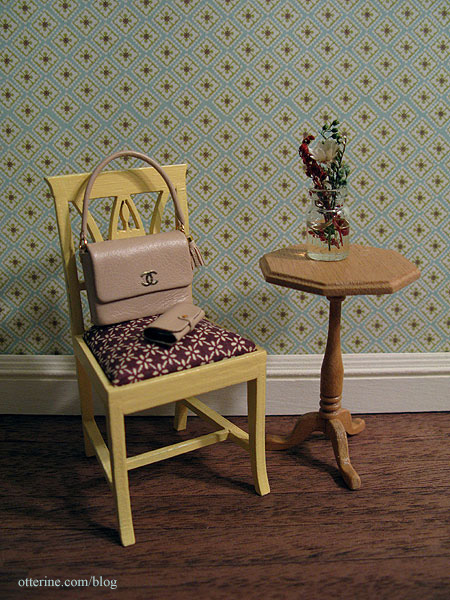
This set will go in the Heritage since they are a nice classic style that shouldn’t interfere with the era of the house. Grandma has good taste! :D
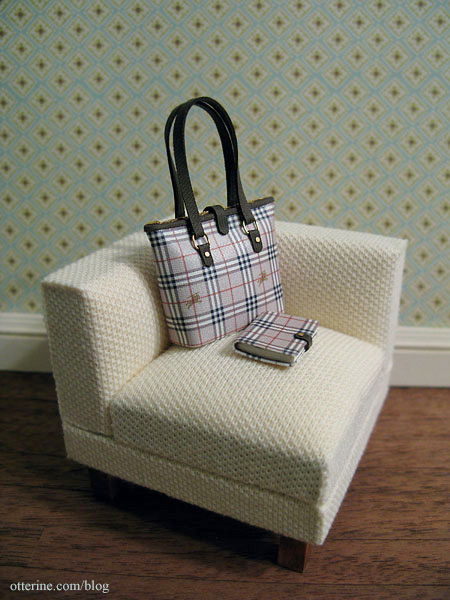
The other set is a Burberry tote bag with a covered journal. So lovely. This set will be included in a more modern build to come.
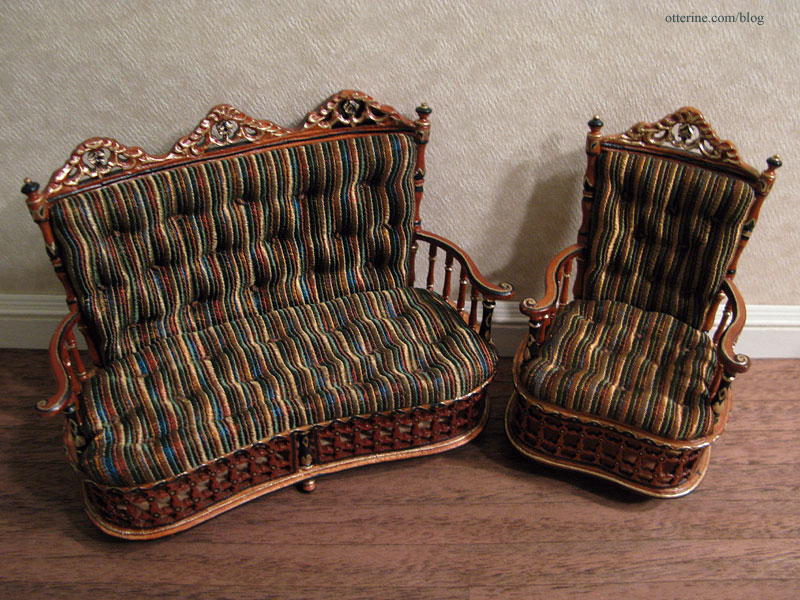
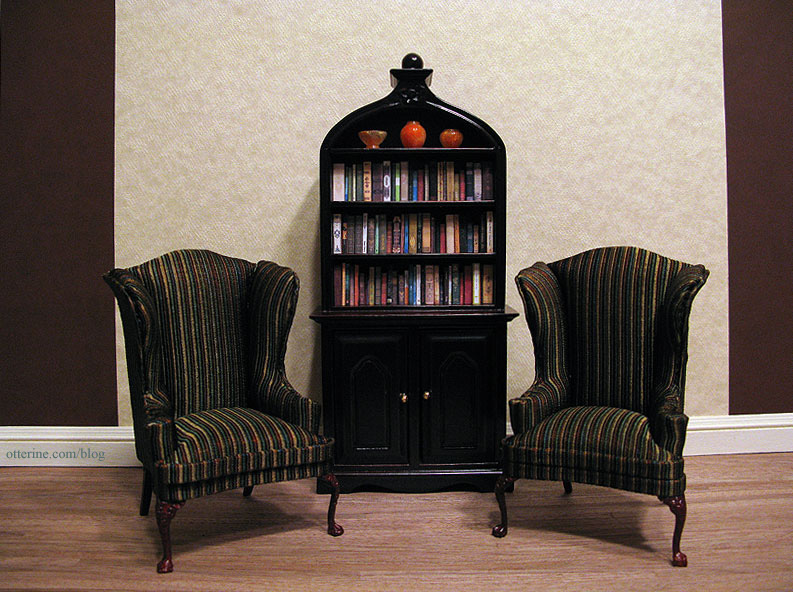
Next up, a beautiful green striped Bespaq sofa and matching chairs. Dejoux Miniatures had an awesome sale right before Christmas, and since I’ve had my eye on these for some time now, I took the plunge. I added a Bespaq coffee table to complete the set, though the color doesn’t work all that well.
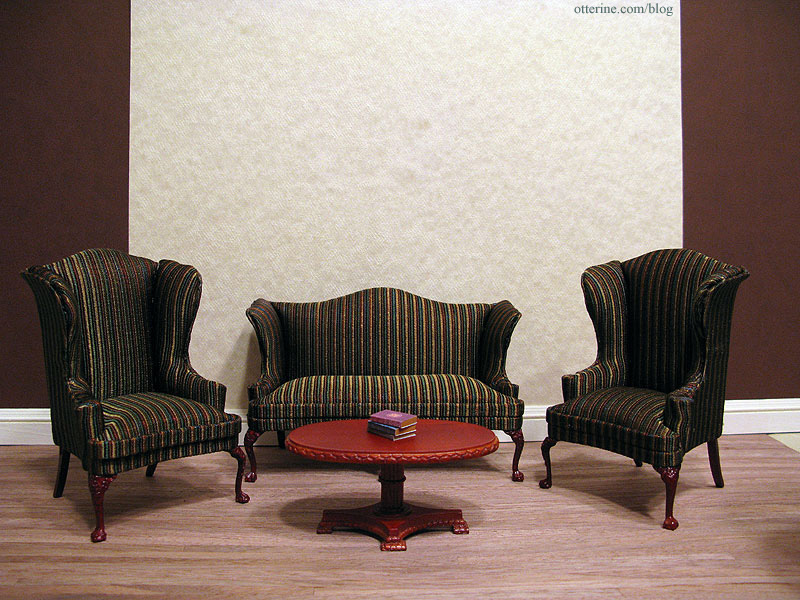
Quite honestly, I’m considering breaking up the set to use the pieces in separate projects. I could see a fine study with the two chairs. The chairs somewhat overpower the sofa when used as a whole set.
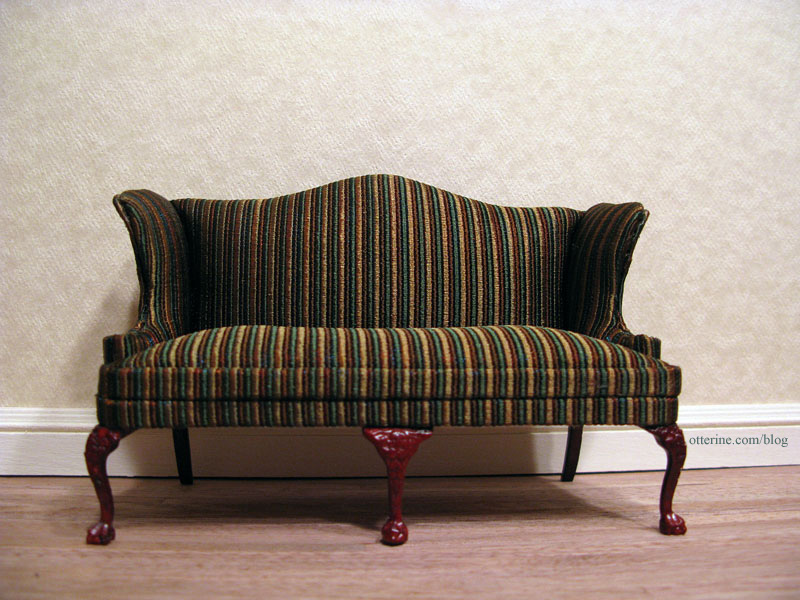
The sofa is beautiful and a perfect standalone piece. It could be easily coordinated with wood carved accent chairs.
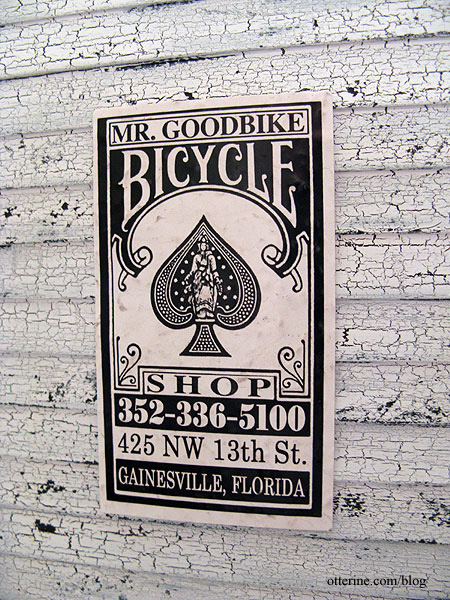
The next item is not a purchase but a lucky find…sometimes the best kind of mini. I went to visit Lyssa in Florida. When I returned to the hotel one night, this card caught my eye. It’s a business card made with vintage playing card imagery. It had been run over a bit but the gloss finish is intact.
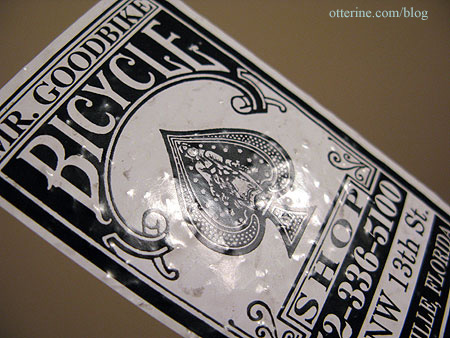
It reminds me of an old metal sign you’d see on the side of a building. :D Into the mini stash it goes!
Categories: Furniture, Miniatures
March 3, 2012 | 0 commentsBagnall tall case clock
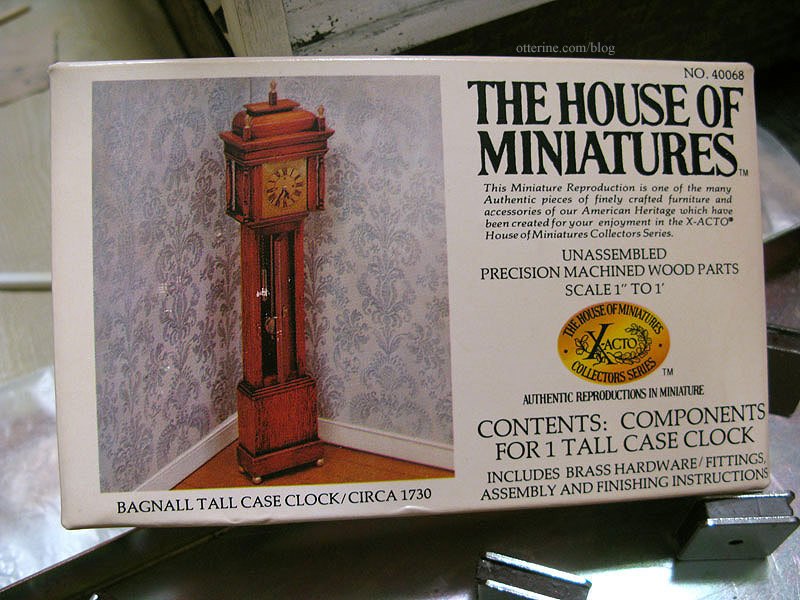
I am a huge fan of House of Miniatures kits because they can become anything you want – traditional or modern. I stumbled upon the Bagnall clock when I was searching for other House of Miniatures kits and started stalking eBay for a good price. This is a more difficult kit to find.
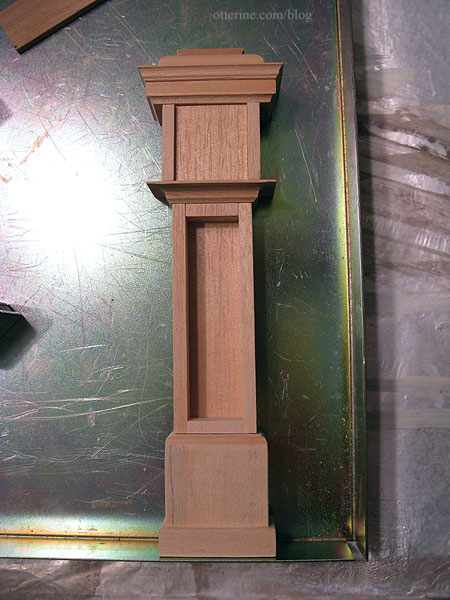
The assembly is more challenging than other House of Miniatures kits I’ve put together, but I am taking my time and using Minwax wood filler to smooth any rough edges and mask the seams. So far so good.
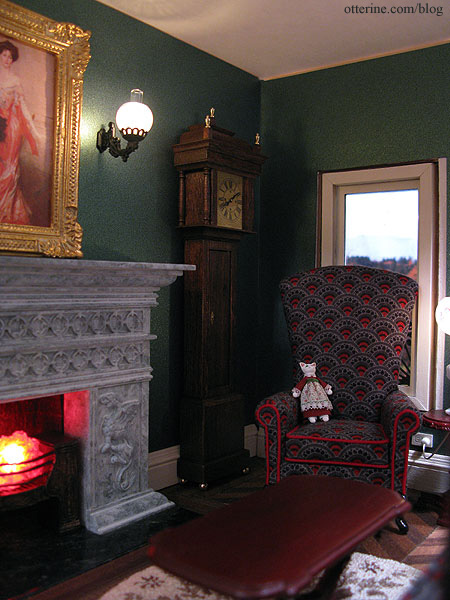
I knew it would be perfect for the Haunted Heritage, but I couldn’t wait to put it in the parlor just to check the size and positioning. The stained finish will be darker than the natural wood shown here, but I think it will brighten the far corner in this dark-walled room.
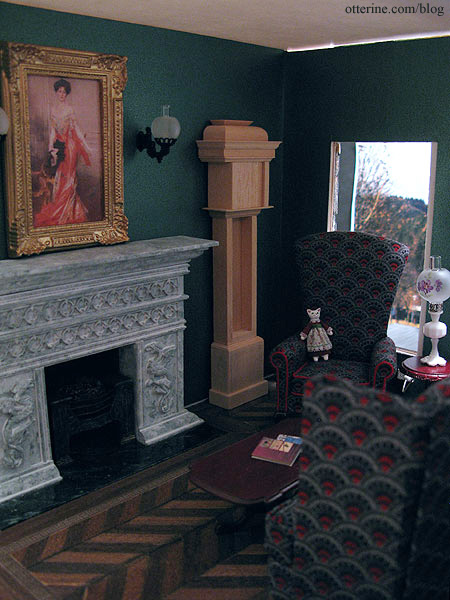
It might be a shame to stick it in the corner between the fireplace and The Chair, but I can just imagine hearing the gentle clicks and whirs of a clock in this room. My grandparents had clocks in their house, and I loved when it was quiet and all you could hear were the subtle sounds of the various clock movements.
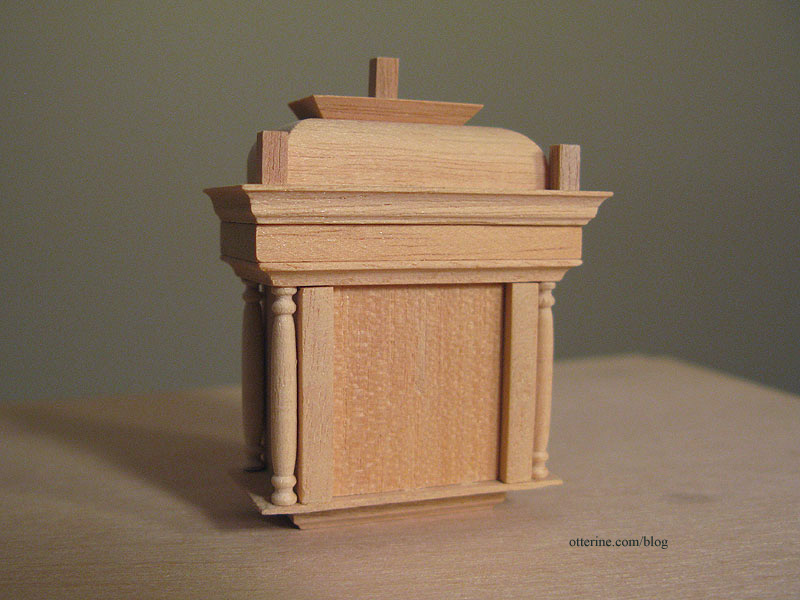
I finished the preliminary assembly by adding the turned posts and toppers.
Marlene mentioned making the kit a working clock, but I hadn’t even thought to do that since I liked the face that came with the kit. Interestingly enough, I stumbled across a blog post detailing how to make a House of Miniatures grandmother clock kit into a working clock. I bought a pocket watch from Hobby Lobby and took it apart the same way.
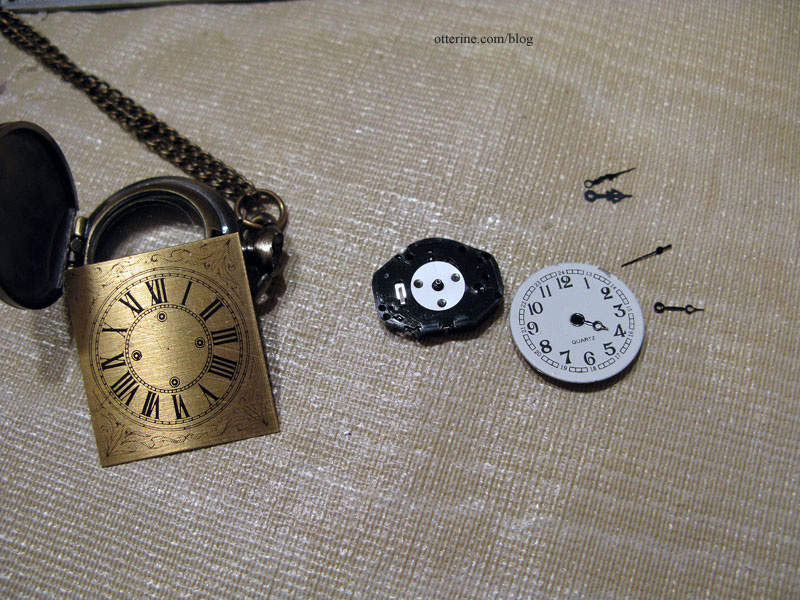
I had even bought one with fancy hands so I could use the mechanism as a complete unit.
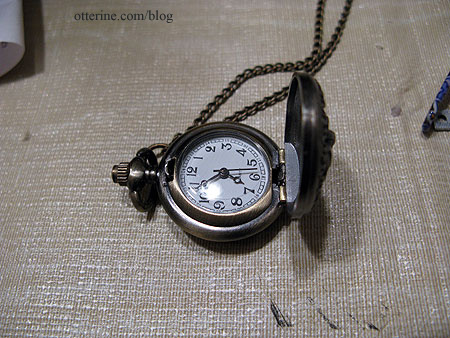
Unfortunately, it wasn’t that simple to just swap out the faces. At least, I don’t know enough about watch movements and placement to get it to work. I could see what needed to be done. It just didn’t work for me. (What didn’t work for me was that the pocket watch face had two metal spacers on the back keeping it a certain distance from the mechanism. The kit face didn’t have these spacers, so there was no way to keep the face the right distance from the mechanism. Too close, and the hands couldn’t move correctly. Too far away, and the hands would just hang loosely and not turn at all.)
All was not a waste, though, since I was able to salvage the watch battery for the Reutter Porzellan clock I bought awhile ago, and I’ll keep the clock hands and chain from the watch in my materials stash.
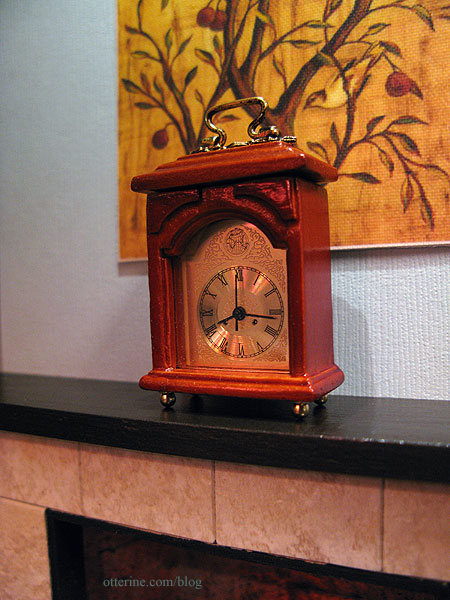
I thought about buying another Reutter clock just for the face, but it really wasn’t that important to me to make the Bagnall clock a working clock. It was the overall design that drew me in to begin with, including the beautiful face included with the kit (shown here with the plastic protective covering still in place).
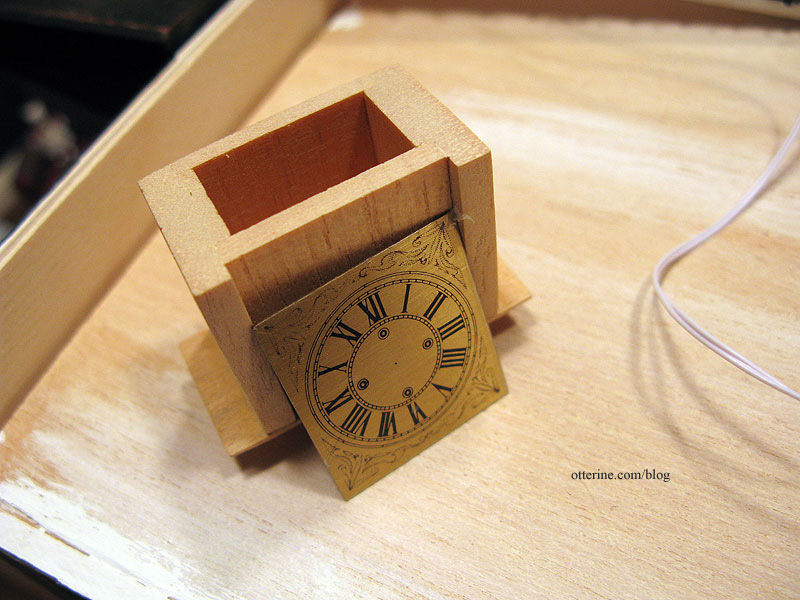
So, I’ve gone ahead and stained the parts with Minwax English Chestnut to keep moving forward with the project. I had used this stain on the parlor floor, but I originally bought it for this clock kit.
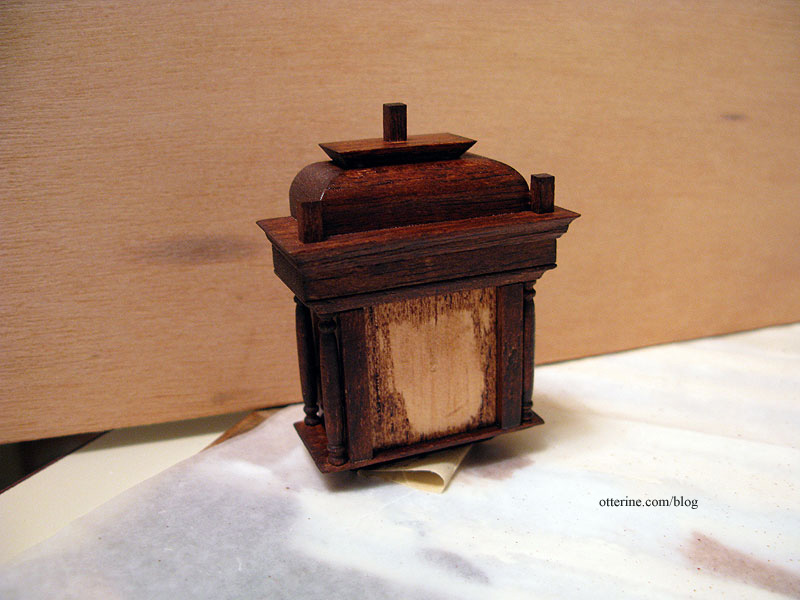
The wood took the stain unevenly because some of the surfaces are the “ends” of the wood and some are the “faces” of the wood grain. I’ll address that once the stain dries, but so far I love it!
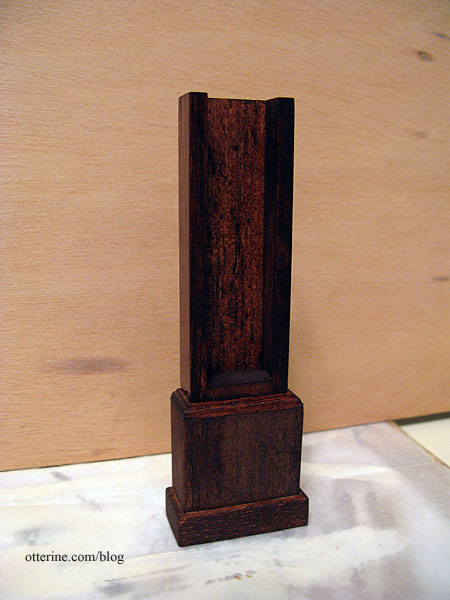
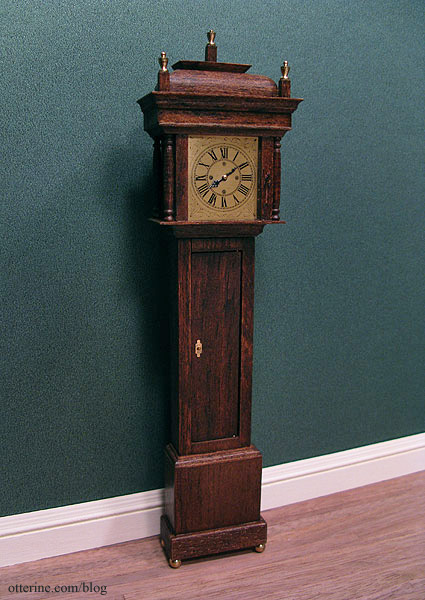
After the stain dried, I used antiquing medium to fill in the more obvious portions of uneven stain and then sealed the wood with two thin coats of Delta Ceramcoat satin varnish. It brought out the beauty of the wood and deep color of the stain for a perfect antique finish.
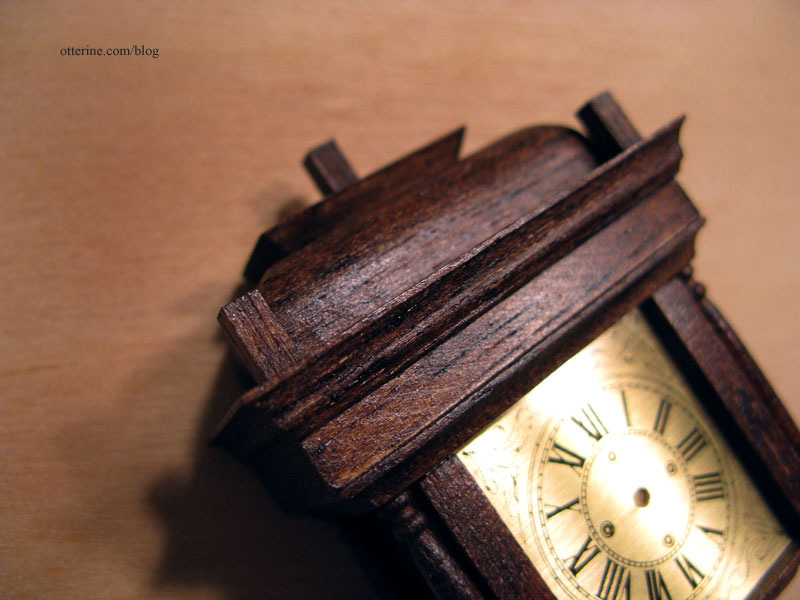
Since I had attempted to make this a working clock and drilled a hole in the kit face, I had to use a brass brad to fill in the middle point where the hands met. It still looks natural to me.
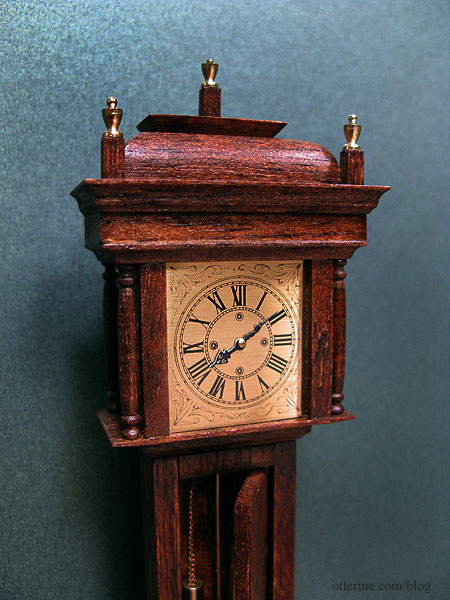
The brass components included with the kit, while not easy to install, are high quality and really make all the difference.
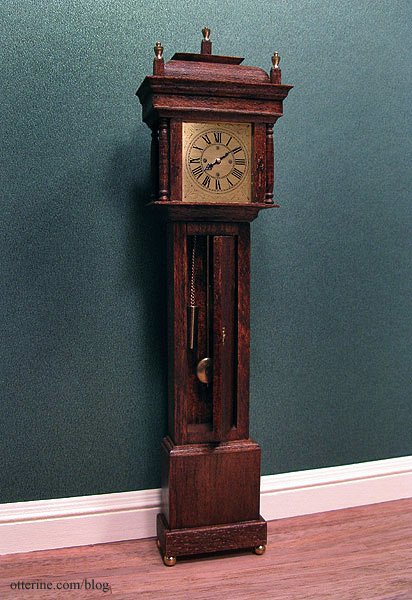
The door hides the weights and pendulum, but it looks beautiful closed as well. One of the things I liked about the kit was you could assemble it so the door could open the other way – say, if you were putting it on a wall where you couldn’t see the pendulum when the door was open.
It fits the parlor wonderfully. :D
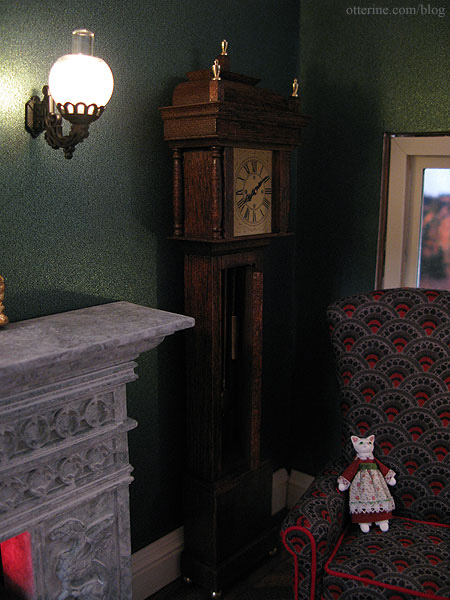
It’s a beautiful clock.
Categories: Furniture, The Haunted Heritage
February 17, 2012 | 0 comments
NOTE: All content on otterine.com is copyrighted and may not be reproduced in part or in whole. It takes a lot of time and effort to write and photograph for my blog. Please ask permission before reproducing any of my content. (More on copyright)


