
NOTE: All content on otterine.com is copyrighted and may not be reproduced in part or in whole. It takes a lot of time and effort to write and photograph for my blog. Please ask permission before reproducing any of my content. (More on copyright)
Categories:

House of Miniatures Chippendale 3-Drawer Chest
I scratch built a mirror from frame strip wood and plastic mirror sheet by Darice. This inexpensive material is awesome…it is thin enough to be cut with scissors to any size or shape and it has a perfect mirror finish. Much easier than using real glass mirrors for minis. The mirror looks scratched and cloudy in the photos since I haven’t removed the protective film yet.

The House of Miniatures dresser is mocked up here without the drawers…or glue for that matter. :]

I finished the pieces with IKEA antique pine stain to match the bed and side table, also shown in the photo.

I sealed the stain with satin varnish by Delta Ceramcoat. It gives the wood a soft, subtle finish that I think looks very realistic in miniature.

The dresser kit went together flawlessly. I’ve used jewelry findings for the knobs.

I just love the finish and details of this dresser…

Categories: Furniture, The Newport
July 17, 2010 | 0 commentsBaslow Ranch – Mattress construction
My mattress tutorial was featured in the June edition of the Greenleaf Gazette! :D There is a wealth of information in their newsletter so be sure to check out the archive as well.
———
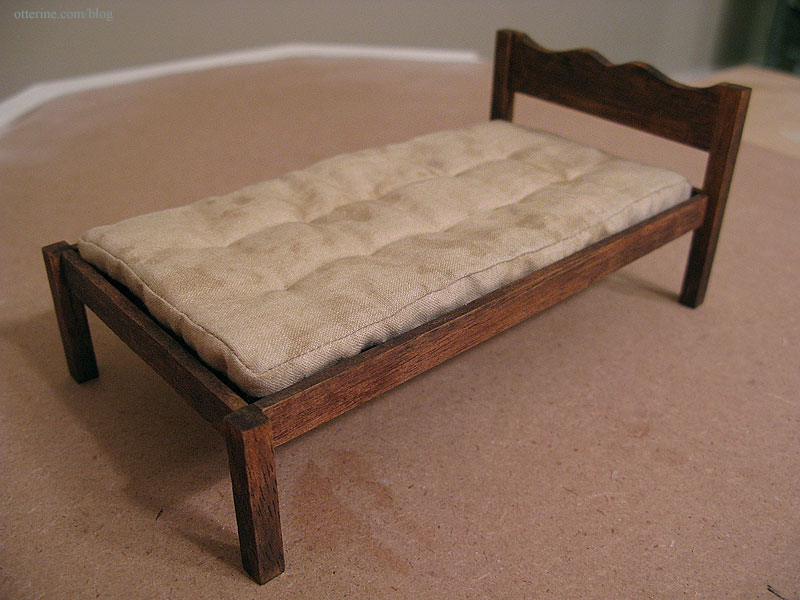
For my Greenleaf 2010 Spring Fling entry Baslow Ranch, I made a mattress to fit the House of Miniatures single bed. I started with calico cotton fabric that had an old, stained look to it but this method can be used with newer looking fabric as well.
The inner measurements of the bed frame were approximately 3 1/4″ x 6 3/8″ so I cut two pieces of fabric measuring 3 1/2″ x 6 3/4″ (figuring in a 1/4″ seam allowance). I also cut a 19″ long strip of fabric 3/4″ wide; this gave me a mattress about 1/4″ thick.
For a different sized bed, I am afraid to say there will be math involved. If you want to cover the mattress with thick bedding, you will need to make your mattress smaller than the bed frame. You’ll also need a longer strip of fabric to make it all the way around a larger mattress. If you want a thicker (taller) mattress, you will need to cut a wider strip of fabric.
Here are the steps I used to put the mattress together. Use a small stitch so it will look more in scale when complete. With right sides together, pin the two ends of the fabric strip together and sew a 1/4″ seam. This will give you a loop of fabric. Pin one edge of this loop to the edge of one of the base pieces, clipping at the corners.

Sew all the way around using a 1/4″ seam and then clip the excess fabric across the corners. This will cut down on the bulk in the corners when the mattress is turned right side out.

Pin and sew the second base piece to the remaining edge of the long loop of fabric (again clipping at the corners), leaving about two to three inches open in the seam for stuffing the mattress.

Turn the mattress right side out. Use a pointy (but not sharp) object to make sure the corners are squared and open completely.

For the stuffing, I used thin batting that is meant for millinery (I had some left over from previous projects). It’s similar to felt and can usually be found in fabric stores. Felt would work just as well, though you may need more or less depending on the thickness of the material. I cut four pieces measuring 3″ x 5 3/4″ of the millinery batting for my mattress. I rolled them all together into a tube shape, inserted the tube into the opening and then flattened the batting out inside the mattress cover. It will take a bit of effort to get them straight and flat inside, but you won’t get the right look without it.

Once stuffed, I blind stitched the opening to close up the mattress.

I marked a grid of one inch squares on the mattress and used thread knots through all thicknesses to quilt the mattress. You can make the grid smaller or larger to suit your tastes.

Here’s the completed mattress on the bed. Though it doesn’t translate in photos, this really feels like an old, lumpy mattress. But, I bet it would feel perfect after a hard day’s work at the ranch! :D
Categories: Baslow Ranch, Furniture
July 13, 2010 | 0 commentsNewport – guest bed, part 1
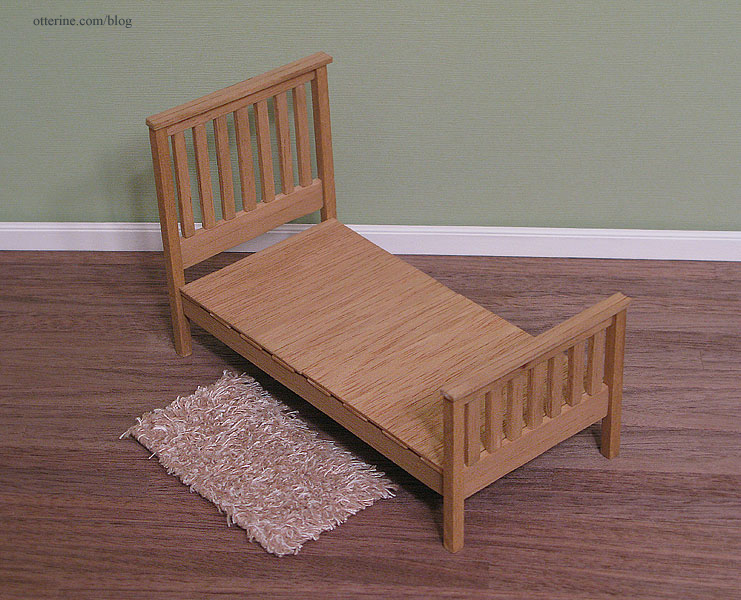
One of my favorite dollhouse furniture books is Thirties & Forties Miniatures in 1:12 Scale by Jane Harrop. There are a lot of great projects in this book that are both classic in design and usable in a more modern setting. I plan to make several of the items, but I decided to start with one of the more straightforward designs listed as “beginner” level: the single bed.
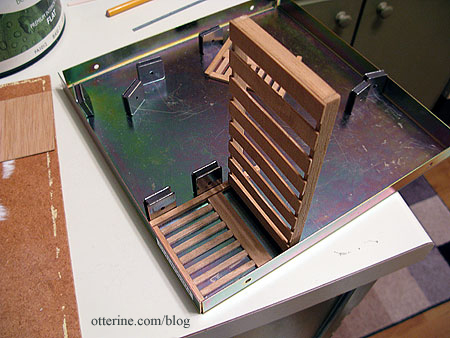
I used balsa wood for the build since I am not sure where I would find the obechi wood the book indicates. Balsa can damage easily, but I love the way it looks once stained. It’s also very easy to cut. (Note from the future – I would no longer use balsa to build, and this bed has suffered damage over the years.)
I love the look of the bed with the high headboard. I used antique pine stain from IKEA.
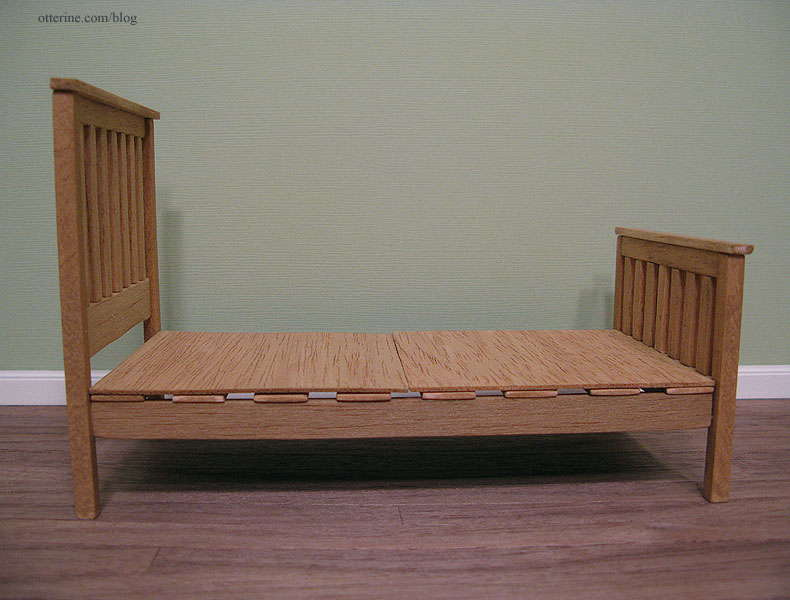
The most difficult part of the whole process was making sure the slats on the headboard and footboard were measured exactly.
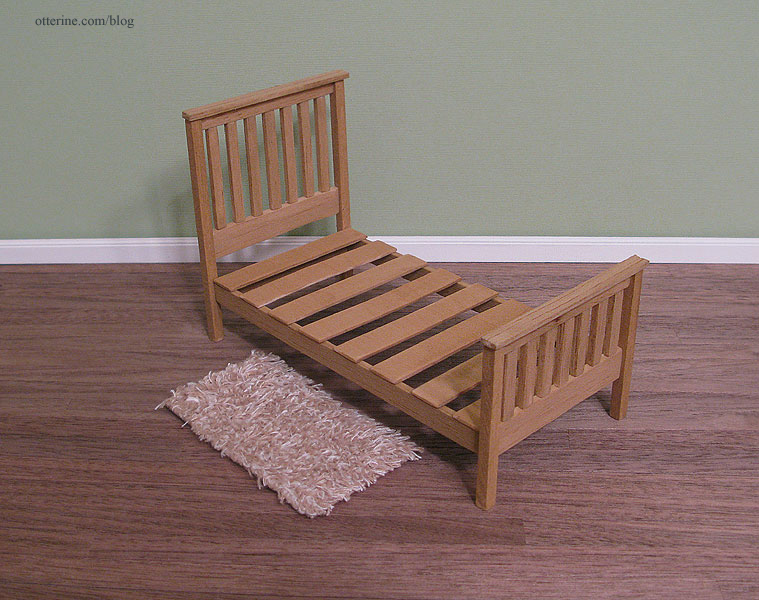
The bed has two flat boards (shown above) that I left unattached. Once I figure out the bedding, I’ll decide if I need them or not.
Categories: Furniture, The Newport
April 10, 2010 | 0 commentsPlant stand and mannequin
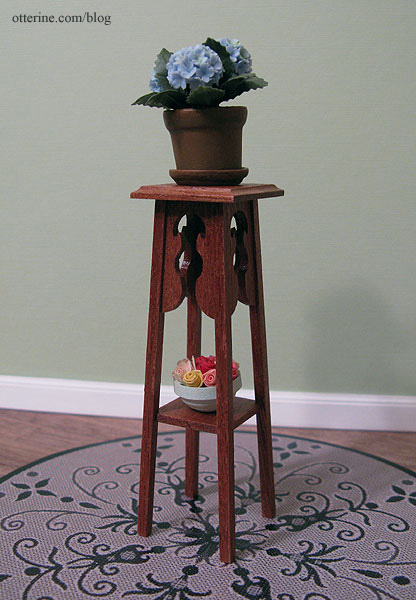
While buying supplies from a shop in the UK, I added a plant stand kit by McQueenie Miniatures to my order. It’s a beautiful kit made from mahogany that was very easy to put together. I sealed the wood with satin varnish by Delta Ceramcoat to bring out the grain of the wood.
The hydrangea plant is by Falcon Miniatures. I made the roses and bowl from quilling paper many years ago. The rug is a paper printout of the Piazza rug by Dynamic Rugs.
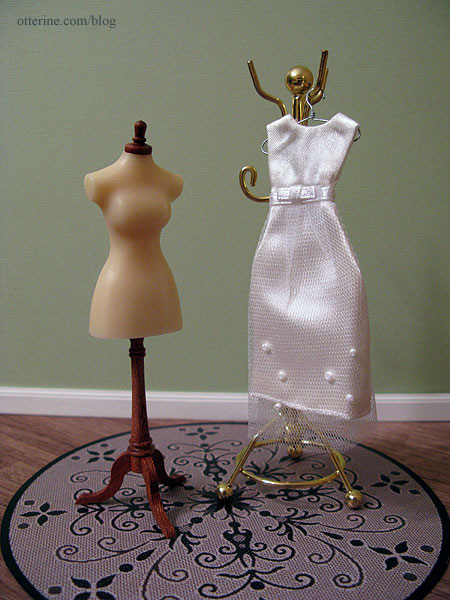
The other kit came from Hazel Dowd, a different supplier in the UK. The mannequins are sold premade as well, but I bought it unassembled at a lower cost. It was a very easy kit, again with a wood base and cap beautiful enough to varnish without modification.
The wire hanger is by Handley House and the dress is a scrapbooking item by Jolee’s by You. I plan to make some clothing myself but couldn’t pass up this beautiful dress in perfect scale. :D The brass coat rack came from a furniture lot a friend gave to me.
Categories: Furniture, Miniatures
March 13, 2010 | 0 commentsDivan and tray
I had no idea what a divan was, but when I saw one in Dolls’ House Furniture: Easy-to-make projects in 1/12 scale by Freida Gray I knew I had to have one. :D

I used the instructions in the book as a starting point but ended up making my divan a different size and height. I also changed the way it was put together compared to the book’s construction.
I eyeballed the size I wanted and cut the top and base from 1/2″ balsa. I added a frame of 1/4″ balsa to the base to make it thicker.

I used 1/2″ wood blocks for the feet, painting them Bittersweet Chocolate by Americana.

I hemmed a strip of fabric and wrapped it around the base, leaving just a tiny bit of the legs exposed.

This project was made much easier by using Peel-n-Stick Fabric Fuse. It’s an adhesive on a paper backing that you stick on, peel away the backing to expose the other side of the adhesive and then press in place. It comes in different widths; I bought a 5/8″ wide roll. I tacked the excess fabric on top of the base with tacky glue and set it aside.
I put a thin layer of batting on the top piece.

I have a vintage Tot 50 stapler by Swingline, and this is the first time I’ve used it in years. :] It made it very easy to upholster the top and get a taught surface over the batting.

I glued the top to the base with tacky glue and set the assembly aside.
In order to create the band to cover the seam between the top and bottom pieces, I used a strip of crinoline covered by fabric. Crinoline is a stiff fabric that makes it very easy to get a crisp band of fabric with no wrinkles.

I used the Peel-n-Stick fabric fuse to attach the band. There is a seam for both the bottom fabric and the band, but you would have that on a real life upholstered piece as well.

I love it! It now serves as the coffee table for the study.
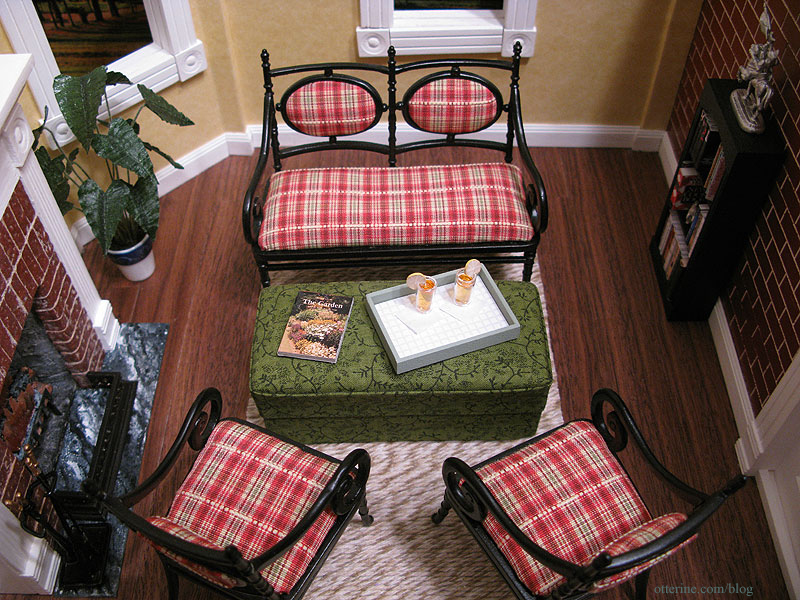
The green of the divan fabric brings out the green in the Bespaq plaid furniture in the room.

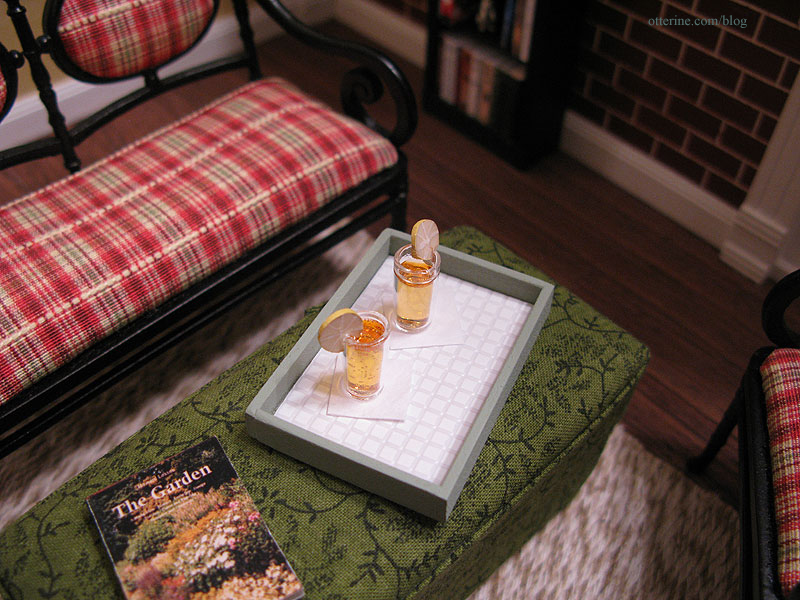
The tray is a replica inspired by the shabby chic trays made by Pei Li, an artisan who makes some absolutely beautiful 1:12 scale miniatures.
Categories: Furniture
February 15, 2010 | 0 comments
NOTE: All content on otterine.com is copyrighted and may not be reproduced in part or in whole. It takes a lot of time and effort to write and photograph for my blog. Please ask permission before reproducing any of my content. (More on copyright)


