
NOTE: All content on otterine.com is copyrighted and may not be reproduced in part or in whole. It takes a lot of time and effort to write and photograph for my blog. Please ask permission before reproducing any of my content. (More on copyright)
Categories:

Vintage Millie August furniture kits
I found these two kits at a local hobby store that was having a moving sale. The fabric seemed a bit rough for scale, though the finished photos on the kits looked wonderful.
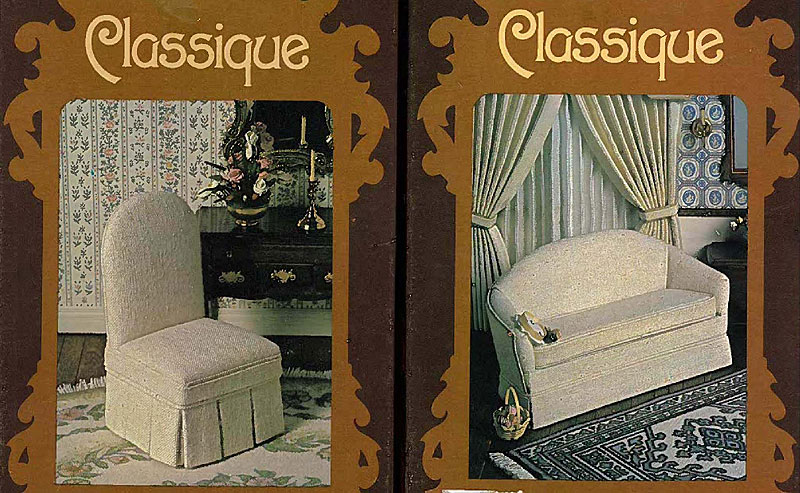
I had some ivory muslin in my fabric stash that seemed softer, but I stuck with the original fabric in the end and was glad I did. :D
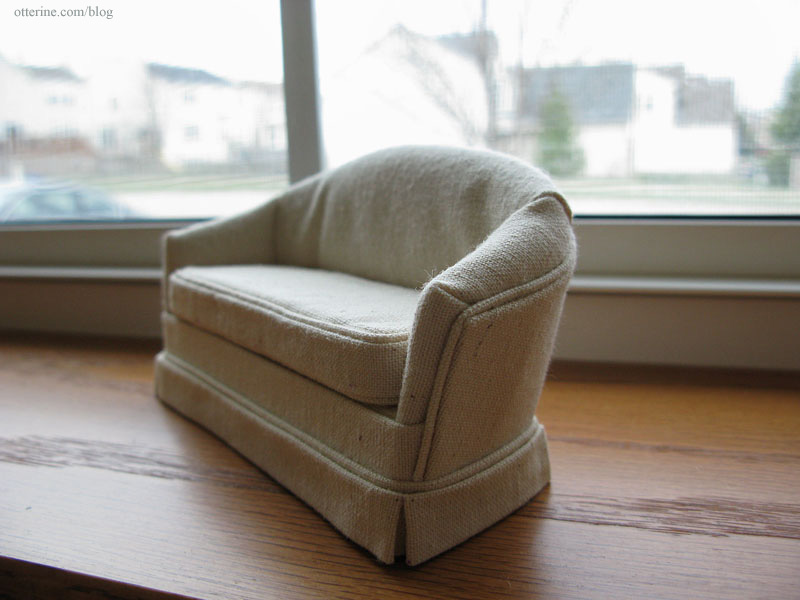
My general impression was these kits are very thorough and have excellent detailed instructions, though there were parts that had no illustrations when you could have used some. I chose to make a photocopy of the pattern pieces before cutting them just in case I had to start over with my muslin fabric. I also copied the figure drawings so I didn’t have to keep flipping the paper over between the instructions and the drawings, which happened to be on opposite sides from one another.
I tackled the couch first, and it went well from the start. Since the kit was old, the foam had yellowed significantly, so I lined the sides and front of the couch with natural muslin before adding the finished fabric. I didn’t want to take the chance that the yellow would show through once the couch was complete.
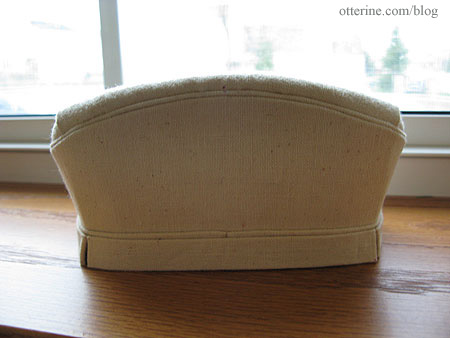
The most challenging part was creating the welting, or cording, but it’s the one element that really adds to the realism of the piece. Real life sized upholstered furniture has this detailing and it was worth the frustration and effort to get it to work.
All in all, the couch took me the better part of a day to put together, so I haven’t gotten to the chair just yet.
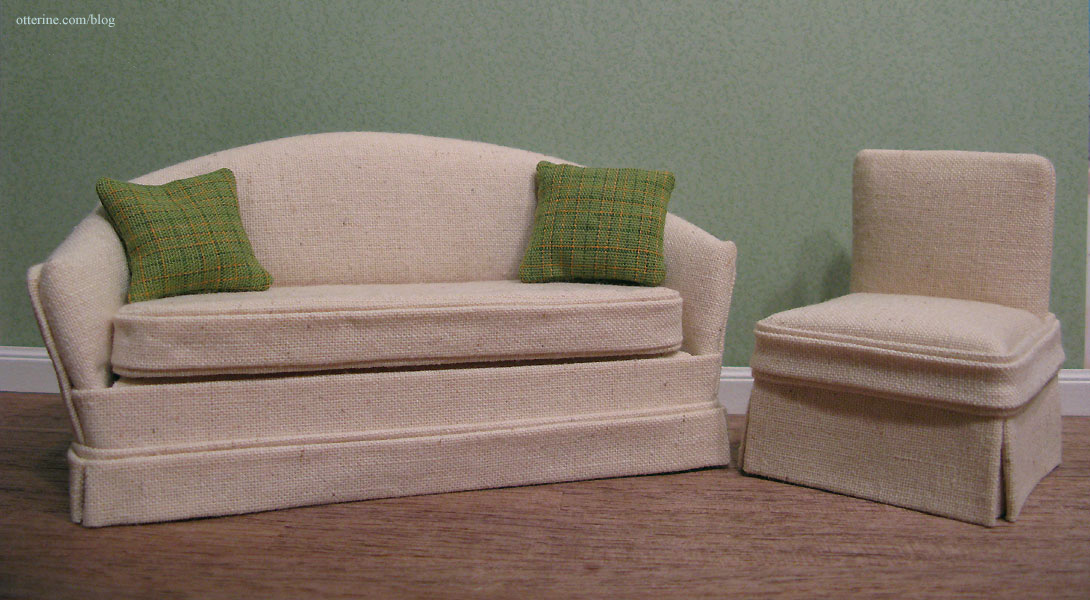
I added some green plaid pillows.
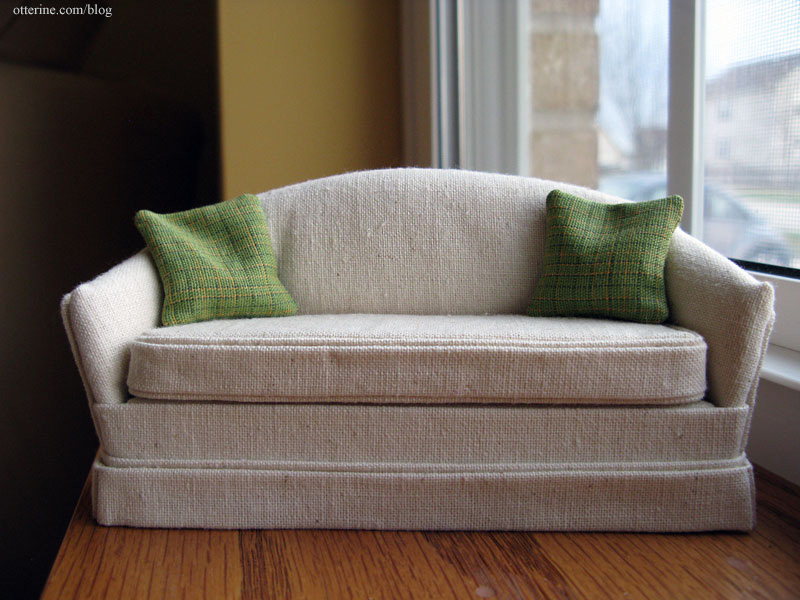
The kit has you build the couch as you would build one in real life size. I learned a lot putting this kit together and will put these skills to use the next time I make an upholstered item.
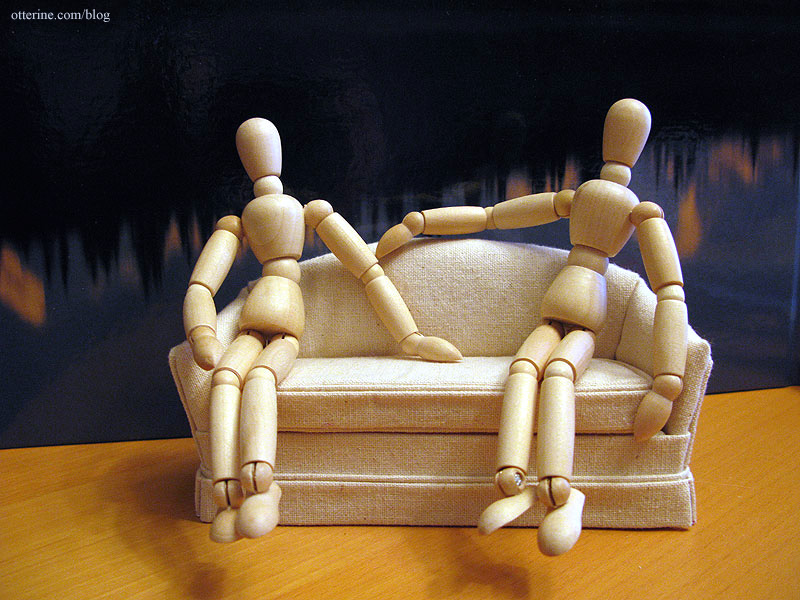
Ara, who has a blog called Addams Family Mini-Mansion, uses a small wood artist’s model when she builds custom furniture. I thought this was a brilliant idea, so I bought a couple myself from Barnes & Noble to use when either making kits as in this case or for when I get around to scratch-building more furniture. They are 5 3/4″ tall, so they equate to a person about 5’9″, which is perfect for getting the proper scale of things. They don’t articulate all that well, but they do a good job for me since I have no actual dolls to put in my miniature dwellings. :]
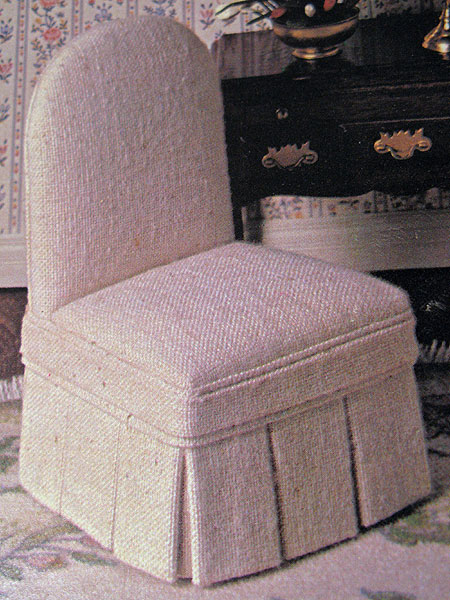
For the chair, I found the instructions to be a little lacking in comparison to the couch, so I was glad I finished the other kit first. It helped me figure out what to do when I wasn’t sure about the directions. The couch didn’t have an exact side chair counterpart, but I thought this would work well as an alternative. But, I didn’t want it to look like a vanity chair so much as a comfortable modern chair.
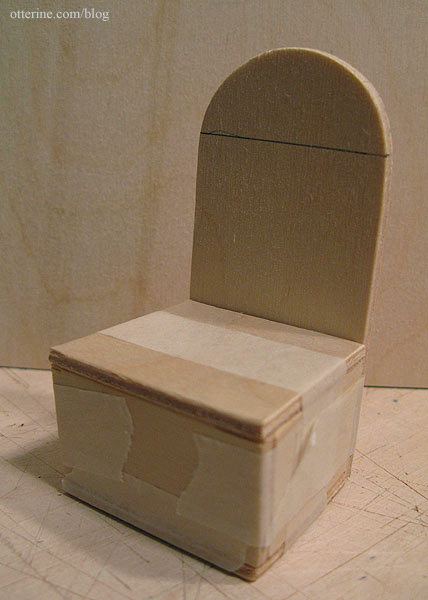
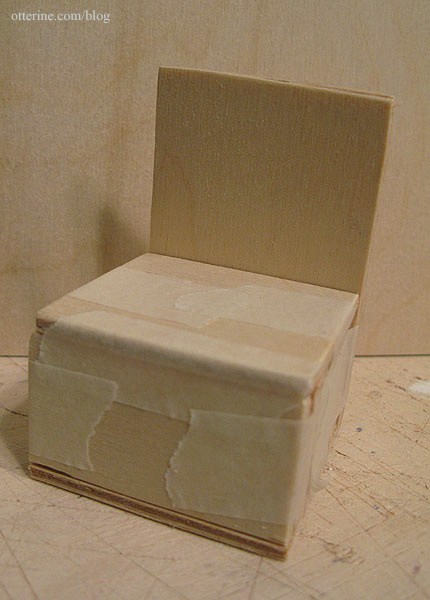
To that end, I cut off the top curve on the back.
Initially, instead of doing the multiple pleats around the chair, I mimicked the skirting I had done for the sofa to tie the two pieces together.
It turned out okay, but I felt it didn’t have the same polish as the couch. The problem was that the original design took all the extra fabric from pleated skirts into consideration and therefore the seat was cut large. I didn’t cut the seat down when that step came around not thinking about this end result…so my skirts ended up looking too thin for the overall lines of the chair. I didn’t care for the bulge in the middle.
My only real option was to remove the outer trim and the skirts and cut new pieces from the spare fabric included in the kit, because removing the seat assembly to cut it down would have meant tearing the whole thing apart. Not at all tempting.
I still didn’t want the multiple pleats, but I had to assemble one to see how thick it was. Once I had that measurement, I was able to figure out how much thickness I needed to add around the base to make up for the lack of the pleats. I added 1/16″ thick balsa wood around the sides and front.
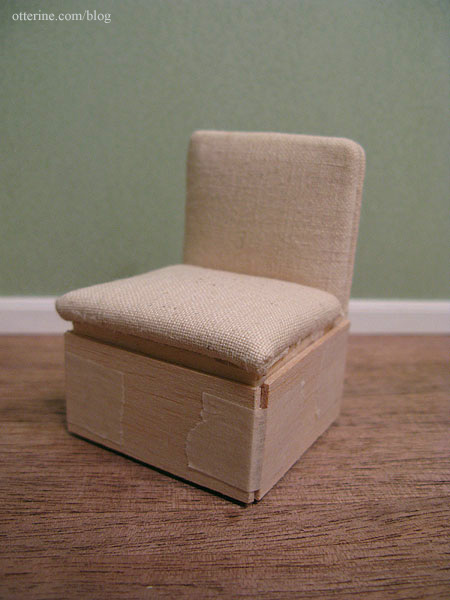
I cut new corner pieces, skirts and the thin finishing trim. I was able to salvage one piece of trim from the first go around, but it was a little short in the back once fully assembled…but we won’t look at the back. I reassembled the skirts and trim and ended up with a much better result.
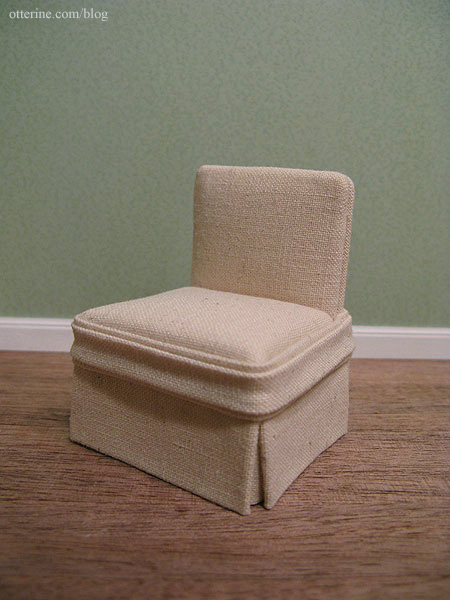
I still like the couch better overall, but the chair fits with the couch nicely enough, I think.
Categories: Baxter Pointe Villa, Furniture
April 10, 2011 | 0 commentsNewport – master bedroom bed linens
In a previous post, I wrote about making the box spring for the Daisy House double bed kit I built. Tonight, I started dressing the bed. Using the same process as I had for the guest bed, I made a fitted sheet and flat sheet to cover the mattress. This time, I used the same fabric as I had for the box spring.
The pillows are made from white cotton sateen and filled with beads. Here they are uncovered.

The fitted sheet is glued in place, but the top sheet is only taped down. I am still deciding on bedding materials, so I need it to be removable for now.

I made the pillow cases a little larger this time around. I like the way they’re a little baggier than the one on the guest bed.

Anyone else feel suddenly sleepy? ;]
Categories: Furniture, The Newport
August 6, 2010 | 0 commentsHouse of Miniatures Chippendale Chest of Drawers
I’ve officially decided I love House of Miniatures kits! :D If you finish an antique piece in a more modern color scheme and update the hardware, you end up with something that works well in a contemporary setting. It’s like thrifting in mini!
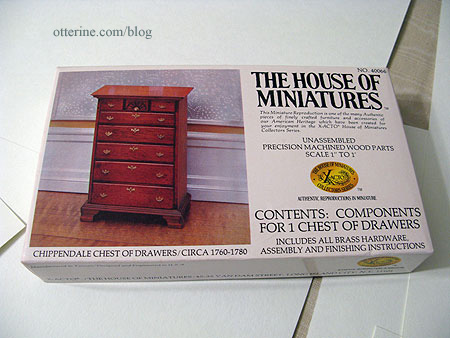
Here’s the box image for the master bedroom dresser. Very traditional.
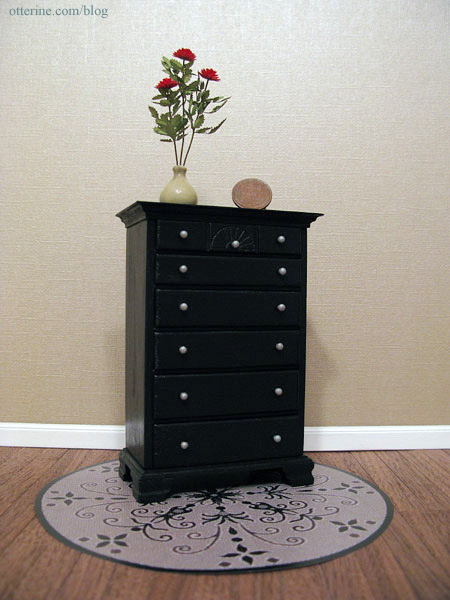
And, here is the kit after finishing. I used black paint followed by a satin varnish and wooden knobs painted silver for the hardware. The flowers are part of the Bonnie Lavish dahlias I made last week.
Categories: Furniture, The Newport
July 31, 2010 | 0 commentsNewport – guest bed, part 2
Continuing work on the guest bed. I had originally planned to follow the same method that I used for the Baslow Ranch bed but decided to make the mattress with foam core board as I had done with the box springs. I tried dressing the mattress I made for Baslow Ranch as a mockup for the guest room, but it didn’t look right. There needed to be more structure under the bed coverings, and foam core board provided that. It also allowed me to use up some of the scraps I had laying around.
I cut three layers of foam core board slightly smaller than the box springs to allow for fabric coverings.
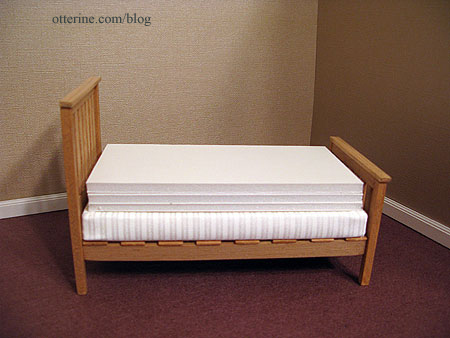
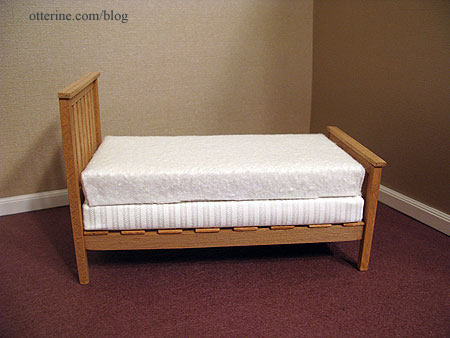
Using the thin batting I had used to stuff the Baslow Ranch bed, I covered the top and sides of the foam core board to give the mattress a softer appearance.
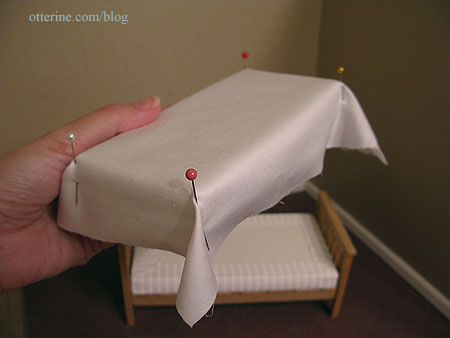
I pinned a scrap of white cotton sateen over the covered mattress and then sewed the corners to make a fitted sheet.
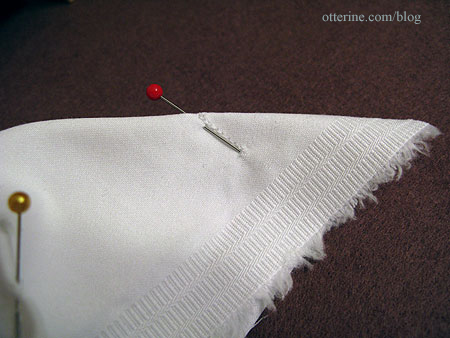
I turned it right side out, stretched it over the mattress and then glued the excess under the mattress.
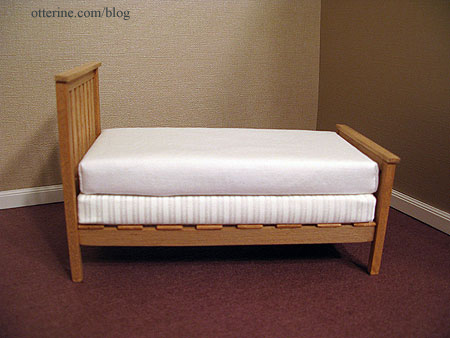
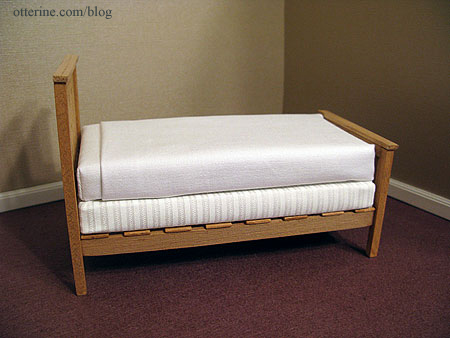
Using the same fabric, I made a flat sheet, turning the edge under near the head of the bed. I didn’t sew the corners on this sheet. Instead, I folded the corners and glued the excess under the mattress.
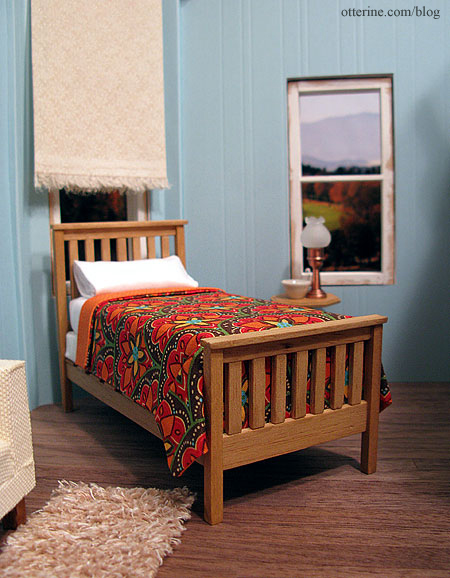
I made a blanket for the bed using two coordinating cotton prints that came in a set from Joann Fabrics. I didn’t use any batting since the double thickness seemed to have enough weight. I pressed it into shape on the bed and dabbed a tiny bit of glue where needed to keep the blanket flat on the bed.
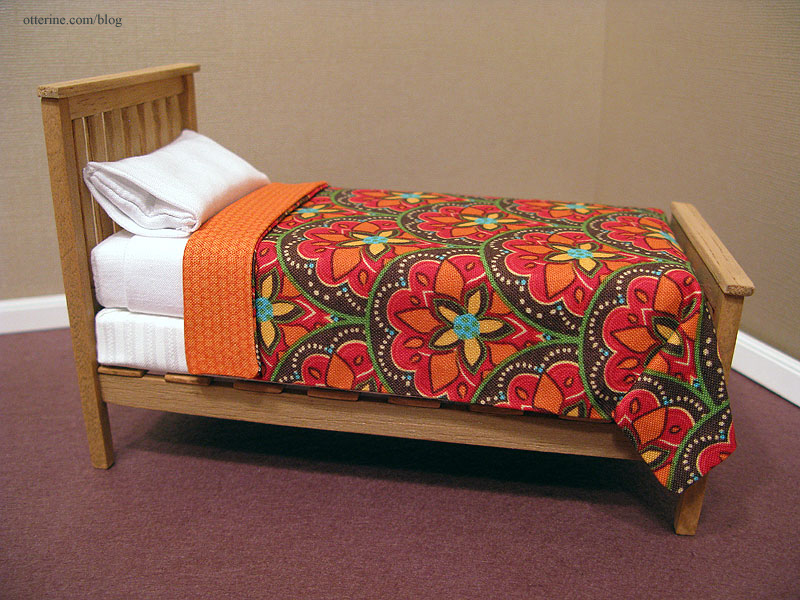
I made a pillow for the bed using the white sateen, filling it with beads. I then sewed a pillowcase out of the same fabric and squeezed the stuffed pillow into it. I like the way the pillow is bowed inside the crisp pillowcase; I think it adds a bit of realism.
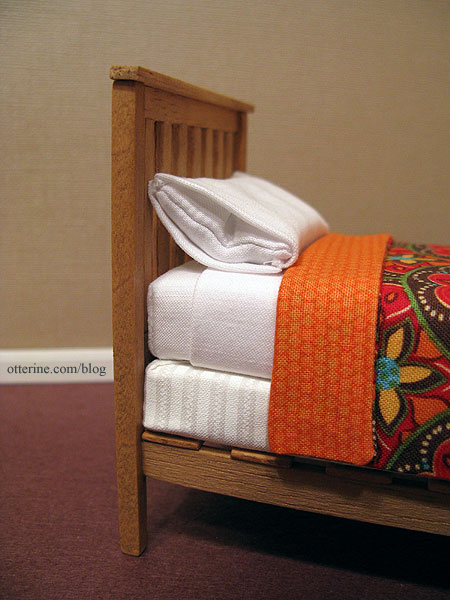
My first dressed bed! Hooray!
Categories: Furniture, The Newport
July 21, 2010 | 0 commentsNewport – master bedroom bed and box springs
I bought a Daisy House full bed kit before I knew I had the knack for scratch building furniture, but I still like it and think it was worth it. :D The wood in the kit was high quality, and it went together beautifully. The kit even comes with sandpaper, toothpicks and cotton swabs to help with assembly and finishing.
Instead of finishing the headboard and footboard with the supplied flat wood, I used the leftover carved post toppers from the House of Miniatures single bed kit I used for Baslow Ranch. I painted the bed black and sealed it with satin varnish by Delta Ceramcoat.

Interestingly enough, it looks a lot like our real life bed! :]

Even though I am mainly working on the guest room for the moment, I wanted to finish the master bed so I could complete some of the same steps needed for both beds at the same time…namely the mattresses and box springs.
For the box springs, I used three layers of foam core board glued together with tacky glue. I cut them smaller than the bed frames to leave room for fabric coverings.

I prepared a long strip of fabric by using HeatnBond (a fabric adhesive) to create a double thickness of material. The fabric would have been too thin to use a single layer.

After gluing one end of the strip to one of the shorter ends of the foam core board stack, I wrapped the strip all the way around the bed without using any glue until I got back to where I started. I didn’t want the sides to look glued down or for the layers of board to show through.

I clipped the corners on the top and bottom edges and then glued the flaps down on either side.

The result is a covered box spring pretty enough to show. The mattresses will cover the tops, so only the pretty fabric sides will show.

Categories: Furniture, The Newport
July 18, 2010 | 0 comments
NOTE: All content on otterine.com is copyrighted and may not be reproduced in part or in whole. It takes a lot of time and effort to write and photograph for my blog. Please ask permission before reproducing any of my content. (More on copyright)


