
Beautiful flower in a milk carton planter
I’ve added a little bit of life to the Heritage from a True2Scale kit. It comes with the glossy printed milk carton bottom, clay, synthetic soil, a stem and a little paper sheet with leaves and flower petals you color yourself. I chose to make mine a vibrant red orange, my favorite color. I added a bit of the soil included with the kit to the center of the flower as well as a light sprinkling of the foam I’ve been using as moss on the chimney.
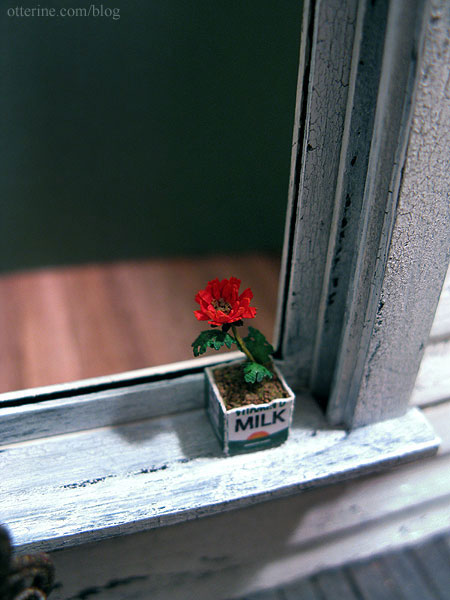
The kit was very simple to put together and the results are so realistic! :D Love!!!!

Categories: Flowers, plants, and trees
November 28, 2011 | 0 commentsLeaves!
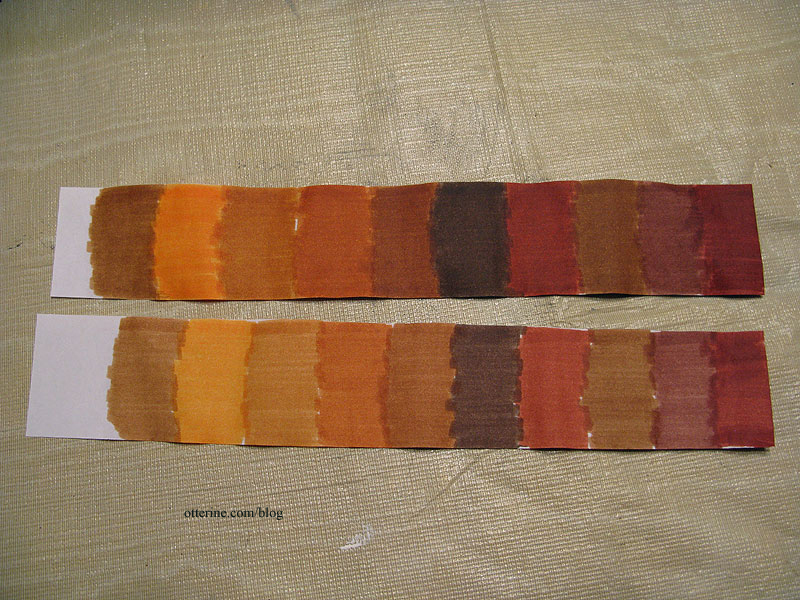
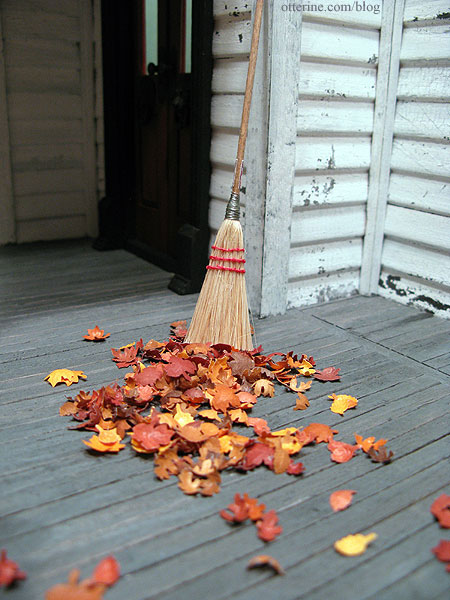
I tried another experiment, too. I want autumn leaves around in my scene, but I want them to be realistic. I ended up using regular printer paper, markers in various reds, browns, oranges and yellows, and a Fiskars leaf corner punch to get some great results.
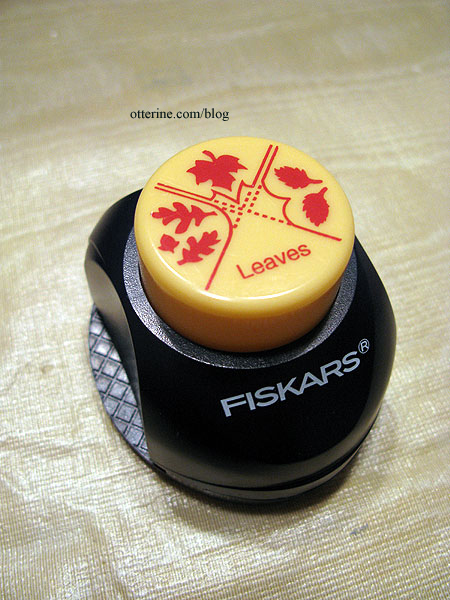
I cut strips of paper wide enough to give me two good corner punches. I colored the paper on both sides with the markers and let it dry almost completely. I then went over the paper a second time with the same color, again on both sides, and let it dry completely. I wanted a variety of colors as you can see. :]
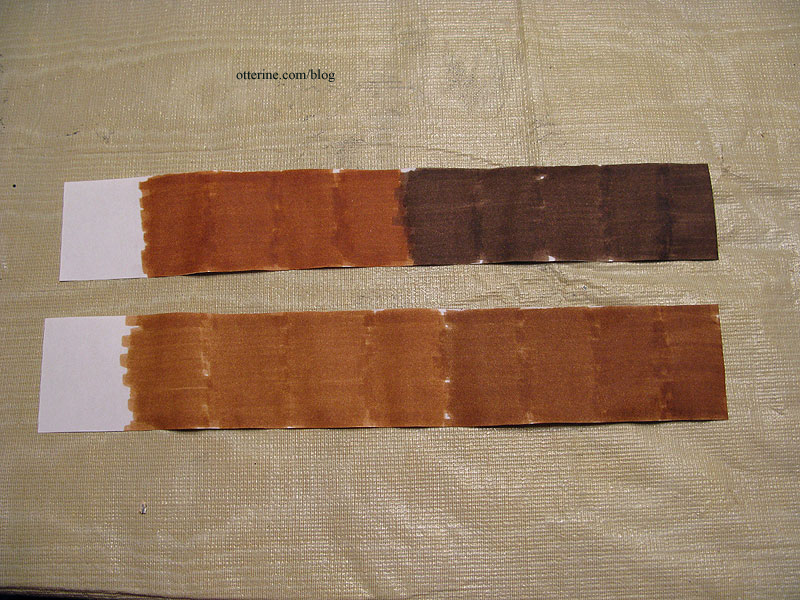
I also made two strips of browns only.
Using all three leaf shapes, I punched out leaves from both corners at the end of the strip and then cut the paper above the holes left behind. I then punched the next section and so on. The markers had curled the paper a bit, which added some nice texture to the punched leaves.
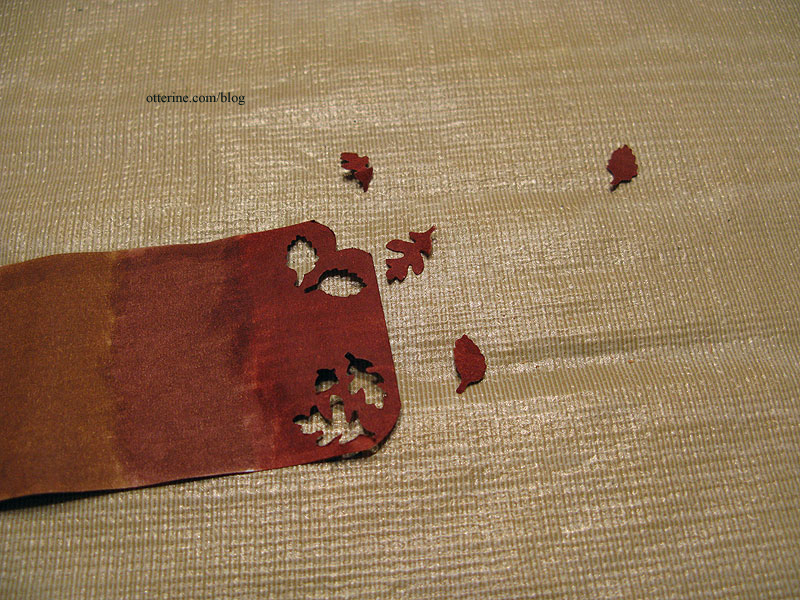
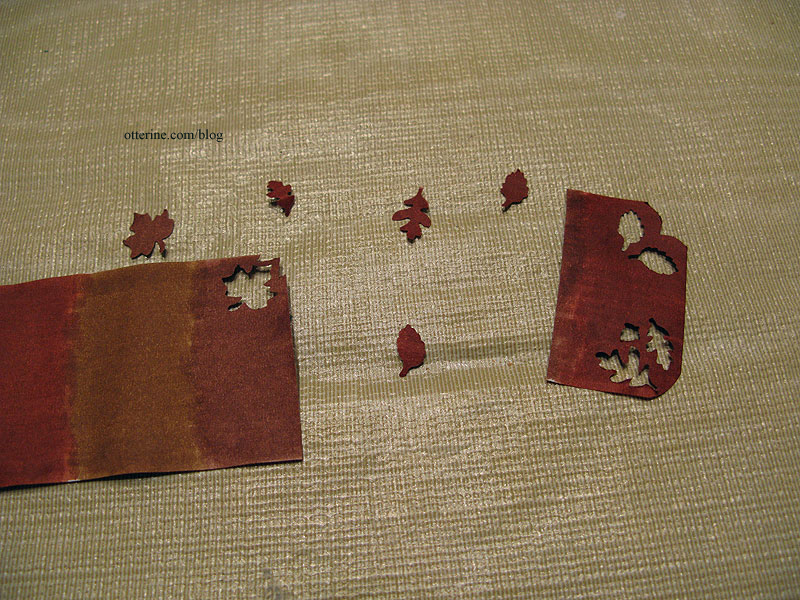
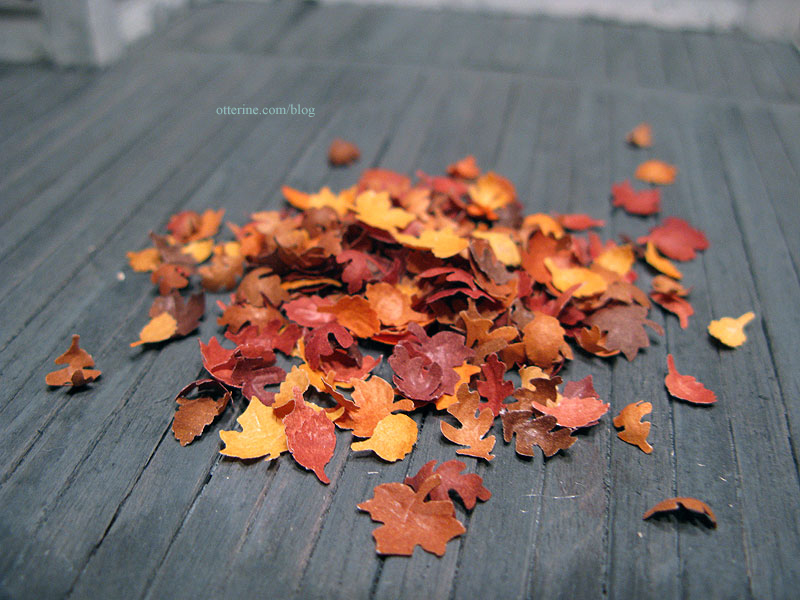
Nice little pile of leaves with good variegated color and thin texture. :D
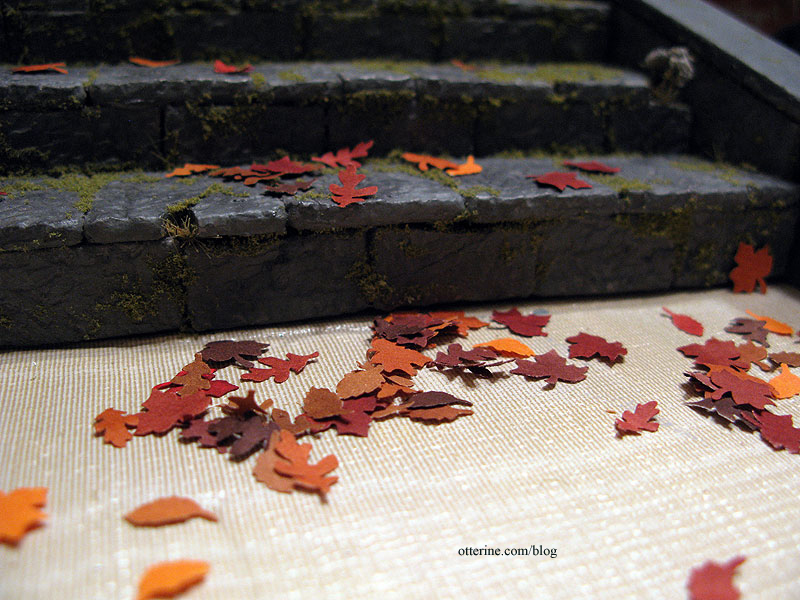
I have more in store for these leaves to add to the realism, but it’s a good start!
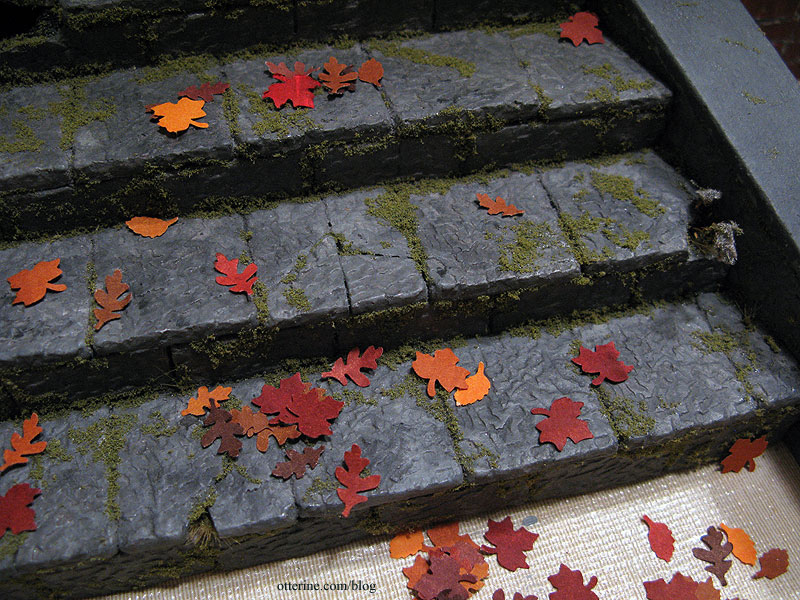
As you can see, I’ve been making all sorts of colors, some deep in hue and some faded. I absolutely love the way they turned out!
I used a ball stylus to create veins in the leaves. The stylus not only curled them but it made the top side shiny.
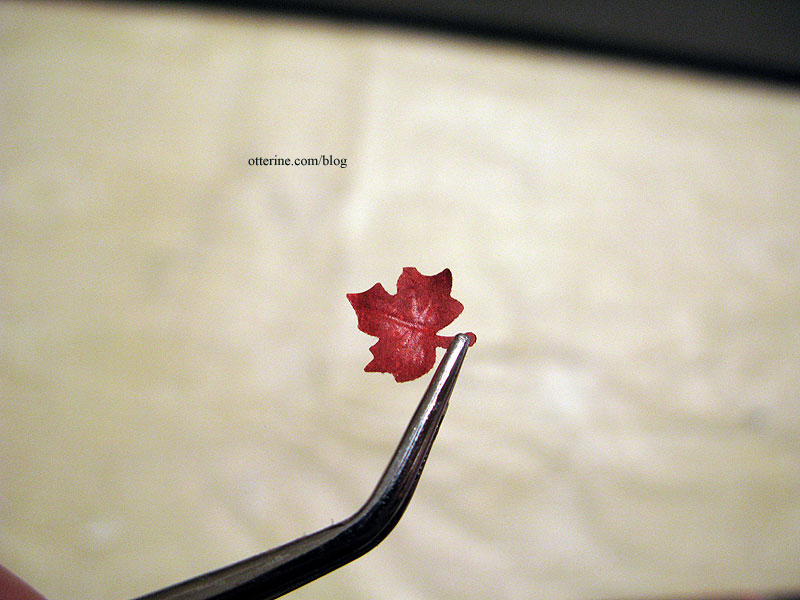
It also left raised veins on the backs.
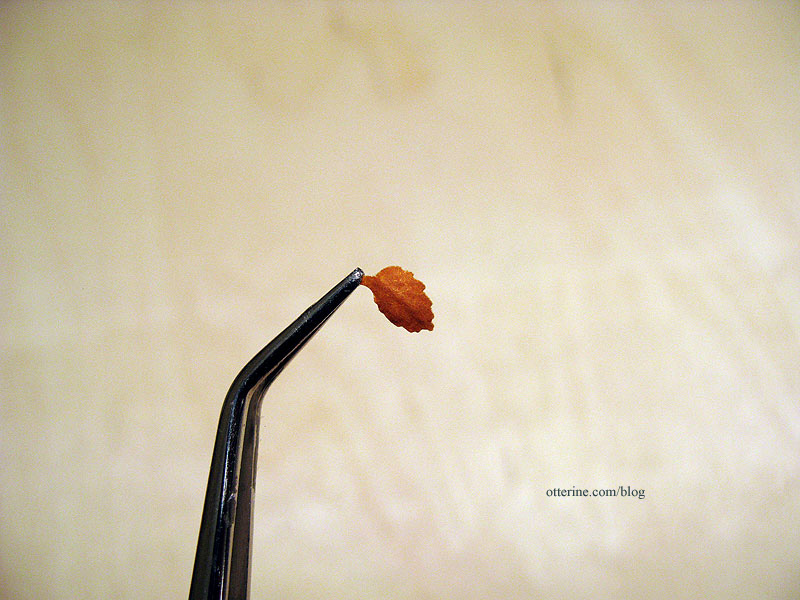
The only thing that gives them away up close is the large stem. I could cut each one down and color it darker, but really? I have to draw the line of sanity somewhere. I’m already adding veins to each one individually.
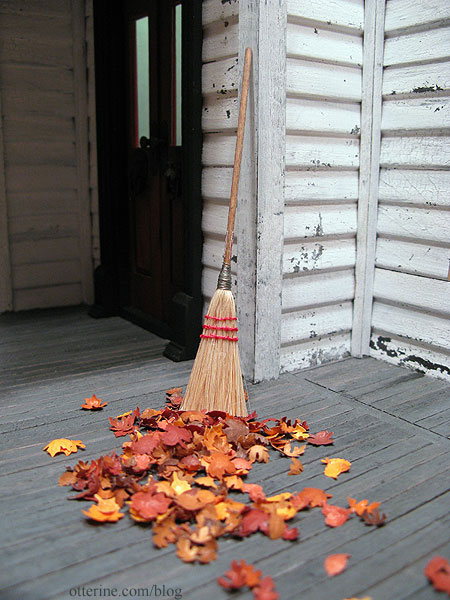
Besides, they are very convincing when viewed as a group. :D
Categories: Flowers, plants, and trees, The Haunted Heritage
October 20, 2011 | 0 commentsSnake Plant
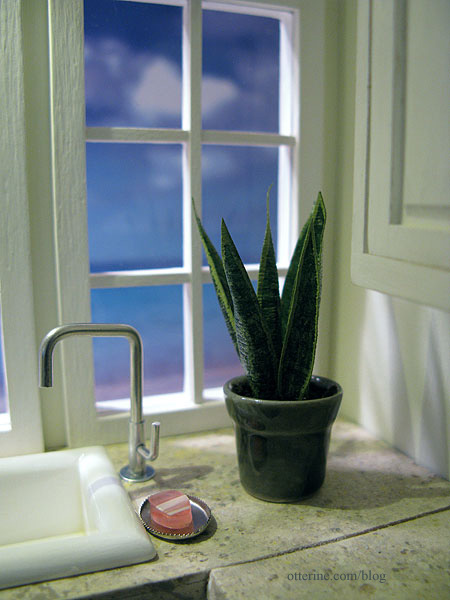
One of the few remaining items from my earlier dollhouse days is a book on making miniature plants out of florist tape called Miniature House Plants by Ruth Hanke. I made an elephant ear plant from a DVD called Master Miniaturists: Flowers & Plants. It has a similar approach.

There are a ton of house plants in this 1988 book, and I know I’ve made at least one of them before. This time around, I opted for the snake plant.

For the dirt, I glued in a piece of styrofoam into a ceramic pot. I then covered the surface with tacky glue and sprinkled on earl grey tea. It has a nice peat moss quality.

In the book example, while the author did include painting the rough stripes of the plant, she didn’t include the wide light green outer edges so I added those based on the real deal. :D I then sealed the leaves with Delta Ceramcoat Satin Varnish.

I poked holes in the styrofoam base, clipped the long wires and glued each leaf in place. The plant stand is a McQueenie Miniatures kit I made previously.

I rather like how this plant turned out. :D I think I’ll be making a few more examples from this book.
Note: for those of you who work in half scale, this book includes both 1″ and 1/2″ scale patterns.
Categories: Flowers, plants, and trees
July 19, 2011 | 0 commentsFlowers and shells
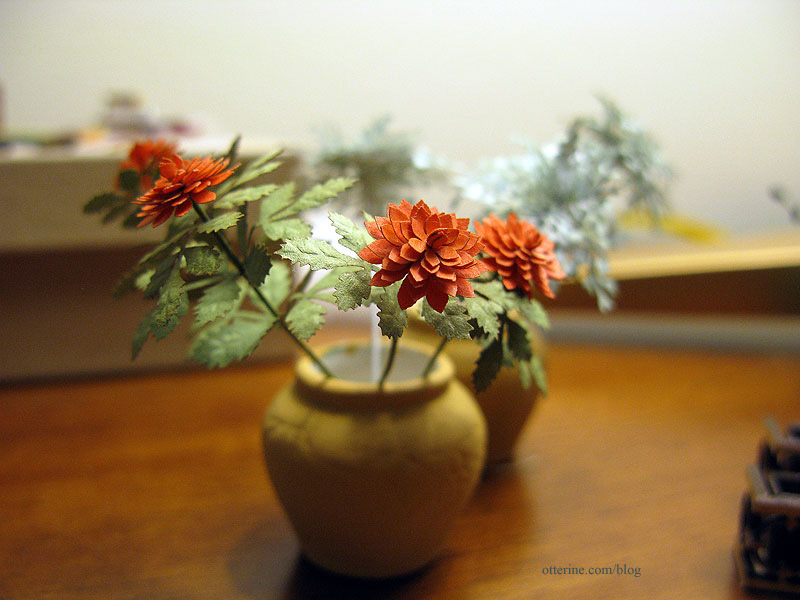
I made some Bonnie Lavish Dahlias in orange. I made red ones previously but this time used Bonnie’s veiner for a much more realistic leaf texture. The vases are from Manor House Minis and were originally pale green.
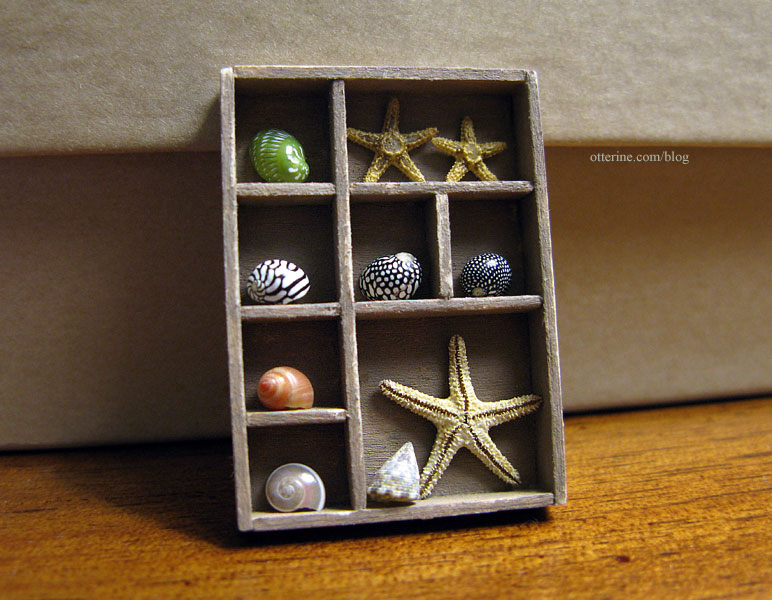
The second is a shadow box made from strip wood and painted Mushroom by Folk Art. I sanded the edges to make it more rustic. The shells are approximately 1/4″ and the largest starfish is about 1/2″ in size. :] All came from Marco Island Shells.
Categories: Flowers, plants, and trees, Miniatures
June 28, 2011 | 0 commentsBonnie Lavish Sunflowers
Bonnie Lavish kits are super easy, and today I made sunflowers. There’s a field on the way to work that has sunflowers planted about every other year, sometimes two years in a row. So pretty.
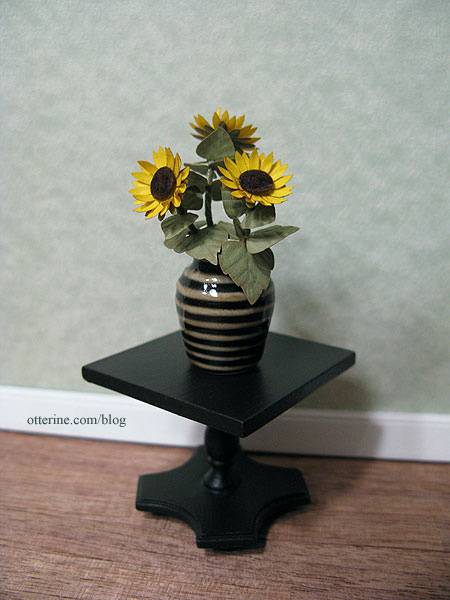
The vase is from Manor House Miniatures. It reminds me of a bee. :D The table is a Concord miniature I refinished. The kit instructions suggested adding flocking or sand to the centers, so I made some flocking using DMC 3371 and sharp scissors.
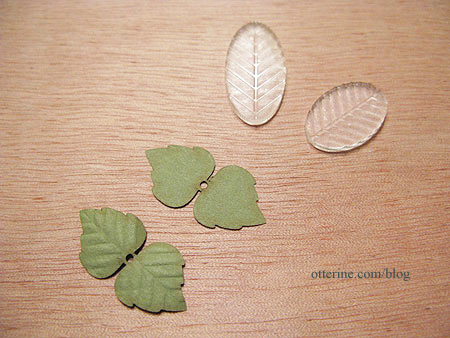
I purchased a set of stylus tools as well as Bonnie’s leaf veiners, which I think are the bee’s knees! These made life so much easier. Here are two leaf pairs…one before and one after using the veiner.
In addition to loving sunflowers, I love the German name for them, too! Sonnenblumen. :D
Categories: Flowers, plants, and trees
June 3, 2011 | 0 commentsElephant Ear Plant
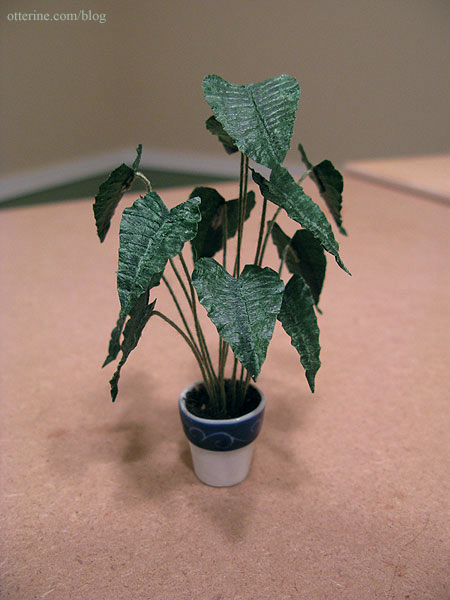
I made an elephant ear plant following the instructions on a DVD called Master Miniaturists: Flowers & Plants. I love this whole series. There are a lot of great books out there, but there is nothing like watching someone demonstrating a technique.

I’m not going to post a tutorial on this plant since I made it based on someone else’s work, but here is the finished product. It is made with floral tape and covered wire. I bought the planter and used cinnamon plum tea for potting soil. :D
The plant was supposed to be made of light green tape (see the DVD cover above), but dark green was what I found at the craft store. I am very pleased with the result regardless of the difference in color. The one thing I will do that wasn’t mentioned on the DVD is use a sealer on the tape once the glue has completely dried. The surface of the leaves is still sticky, and I think sealing it might keep the dust from clinging to it. It will also enhance the waxy appearance of the leaves.
Categories: Flowers, plants, and trees
November 24, 2009 | 0 comments
NOTE: All content on otterine.com is copyrighted and may not be reproduced in part or in whole. It takes a lot of time and effort to write and photograph for my blog. Please ask permission before reproducing any of my content. (More on copyright)

Making a tree – part 2
Continuing work on the tree. The water putty dried hard overnight. Some of the thin binding wires showed through the layer as expected and the texture was smooth due to the watery consistency of the first application.

I mixed more water putty, this time thicker than the consistency of pancake batter. I had to work quickly since the mixture wanted to set fast. I used a stiff brush to apply the putty, making bark-like texture with quick brushstrokes as I went.

I did this for the main branches and trunk, leaving the thinner branches with the lighter coat from yesterday. The paint will seal any bare spots on the thin branches, and I didn’t want to build any more bulk on those wires. This will also make the end wires more easily shaped and trimmed as needed. You can bend the putty covered wires a little, but you risk cracking the surface of the hardened putty.

I hadn’t covered the base of the trunk all that well initially since it was hard to hold the tree while the putty was wet on the upper portions.

This time, I filled in more and added the bark texture. I might need to fill in underneath once this layer dries to make the base solid.

Next up, paint will be applied and the tree should really come to life.
Categories: Flowers, plants, and trees, Ye Olde Taxidermist
May 29, 2016 | 0 commentsMaking a tree, part 1
Note: I began making the tree and then the process changed when I reached the foliage part, so there are some further alterations later in the process.
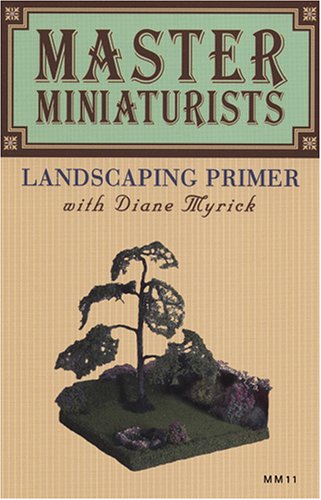
For the tree structure, I am following the same process as the ones I did for the Heritage maple and the dogwood, using the tutorial from the DVD Master Miniaturists: Landscaping Primer with Diane Myrick.
I bought a bulk of 22 gauge cloth covered wires that included 240 18″ pieces. I wanted a few small roots to help plant the tree, so I extended some pieces of 18 gauge floral wire below the main trunk of 80 wires. I used 28 gauge wire to tie the main wires together.
I want a relatively full tree, so I might need to add a few more branches. Currently, the height is 18″ from the bottom of the trunk to the top branch tip. There’s Friedrich at the base for size reference.

I added 7 more 22 gauge wires to the skeleton, making a few branches in the middle and on top. I also bent the trunk to make it more natural.

I mixed and applied Durham’s Water Putty to the wire skeleton. I bought a 4-pound container from Home Depot for roughly $8 back when I did the first tree, and there are still a lot of trees left in the container. The Durham’s Water Putty site shows some of the creative things you can do with it.

You can’t put this stuff down the drain, so the cups and brushes you use must be thrown in the trash. But, I did save the cup to reuse for the duration of the project. I’ll just mix new putty on top of the hardened putty left in the cup. No sense in wasting multiple cups. I buy short plastic cups from Dollar Tree. Very economical.
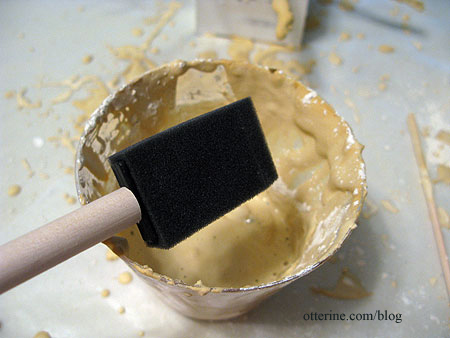
I mixed two heaping tablespoons of the powder with water to create a mix the consistency (and look) of pancake batter. The first coat is thin and incomplete. It’s mainly meant to seal the cloth covering on the wires and harden the joints. I used those super thin 28 gauge wires to avoid having obvious rings around the trunk, and it worked well.

It’s amazing how the putty transforms the wire skeleton. I didn’t apply the putty to the roots since those will be buried in the landscaping.

Once this dries, I’ll touch up the putty and work on the texture.
Categories: Flowers, plants, and trees, Ye Olde Taxidermist
May 28, 2016 | 0 commentsQuilling
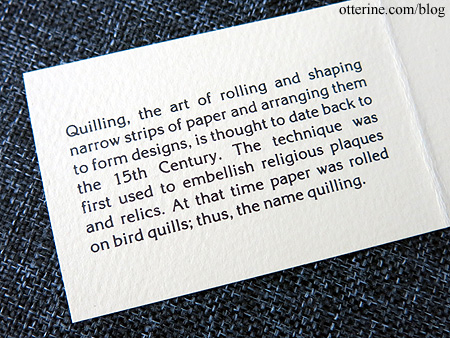
I recently inherited a large tub of quilling supplies that included tools, paper packs and kits. The art of paper quilling is a beautiful decorative art that can cross over into the miniature realm. My grandma Grace taught me this art when I was young.
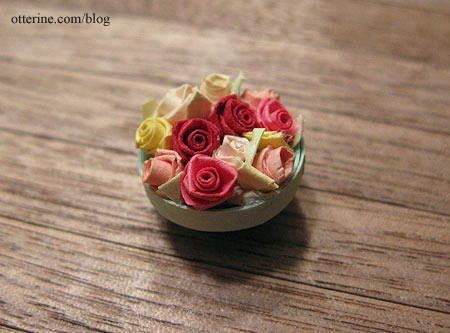
I always liked the miniature flowers the best, especially paper roses. Here’s a bowl of roses I made with grandma.
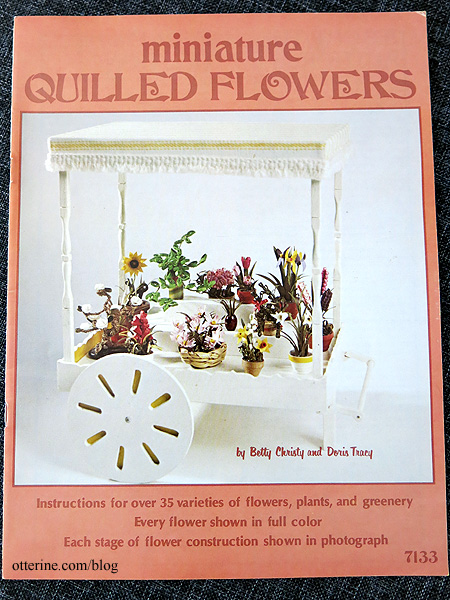
I remember this book from my art sessions with her. :]
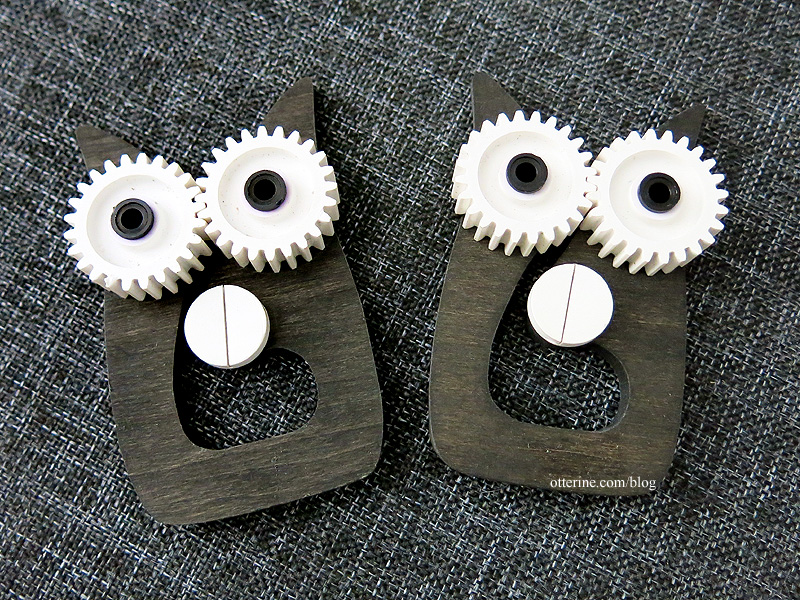
I always loved the crimper tool since it looks like an owl. :D
I will be listing some of the decorative art kits on eBay, but these are the ones I am keeping for future projects.
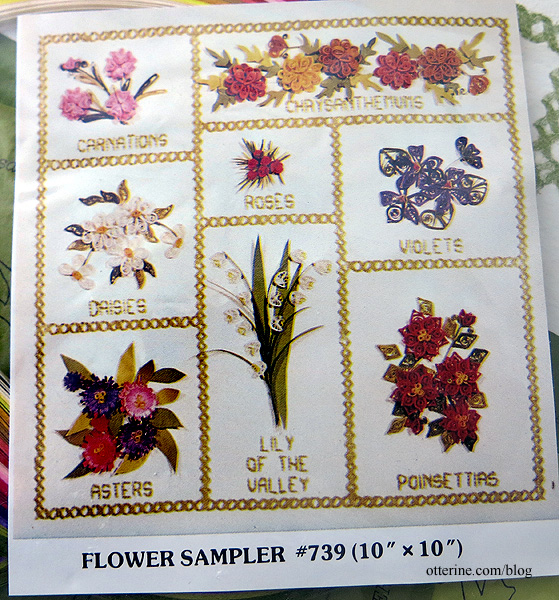
Some plants are more realistic than others, but I even like the appeal of the more artful ones.
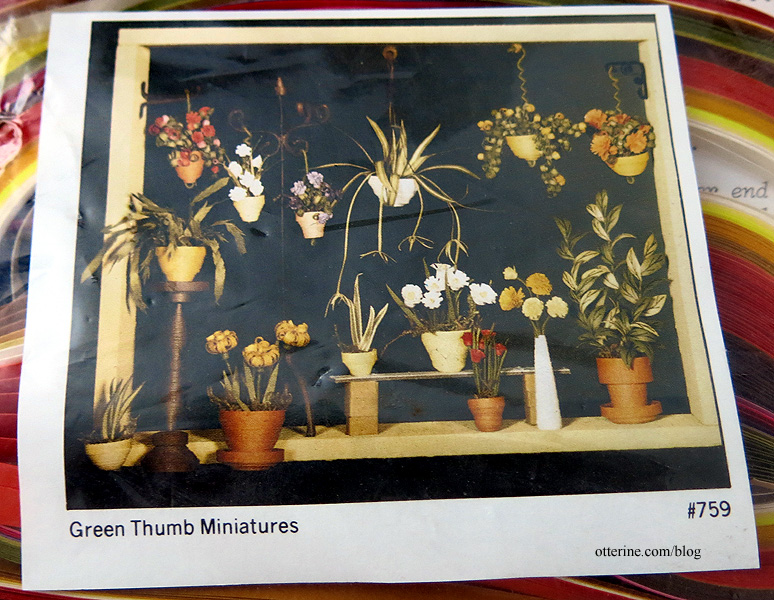
I haven’t opened them, but I think some of the kits have the materials to make the wall boxes, too.
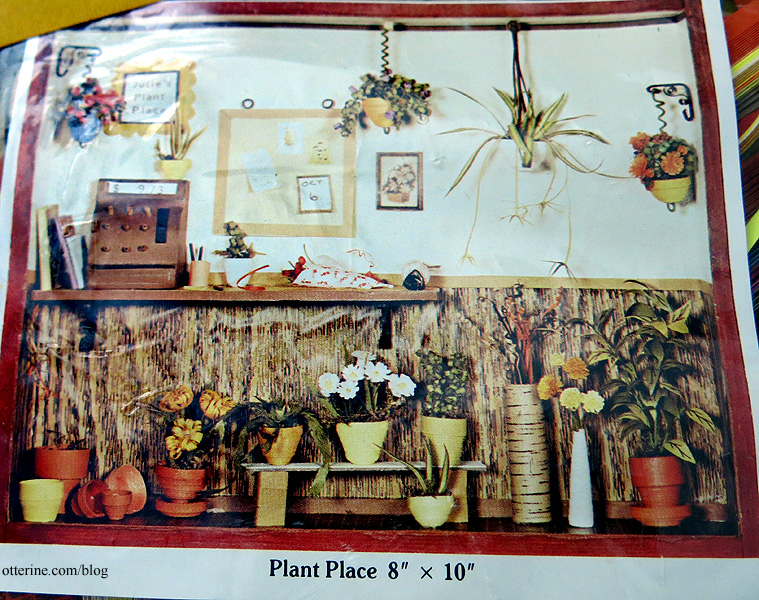
Even if I don’t make quilled paper bowls, the plants themselves will work well in miniature scenes.
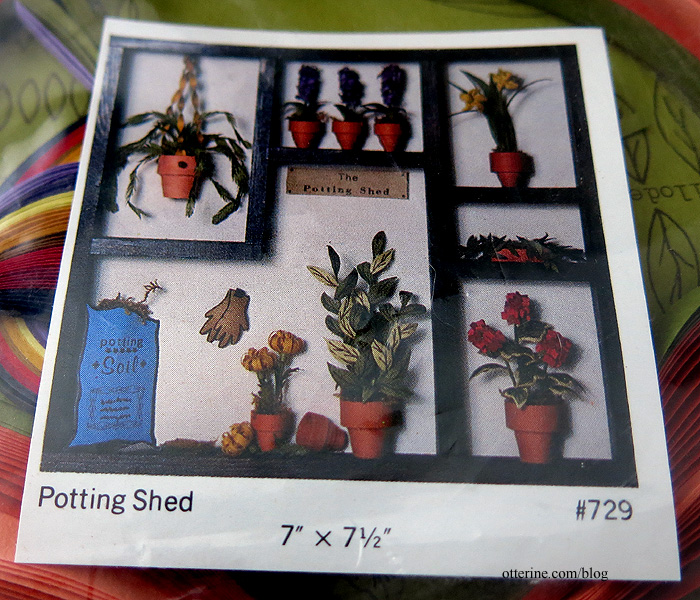
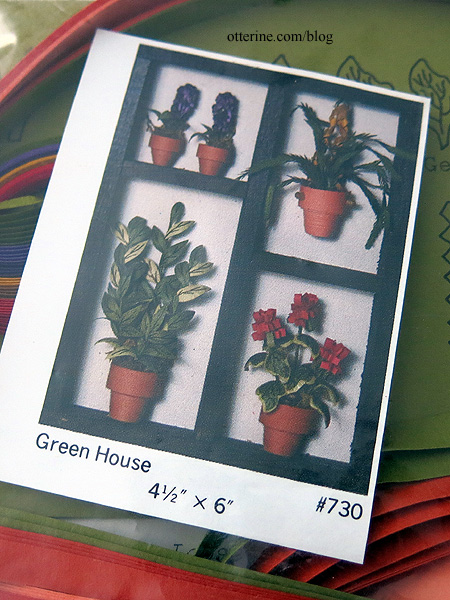
With my true miniature flower kit experience, I am sure these can be made into some great plants.
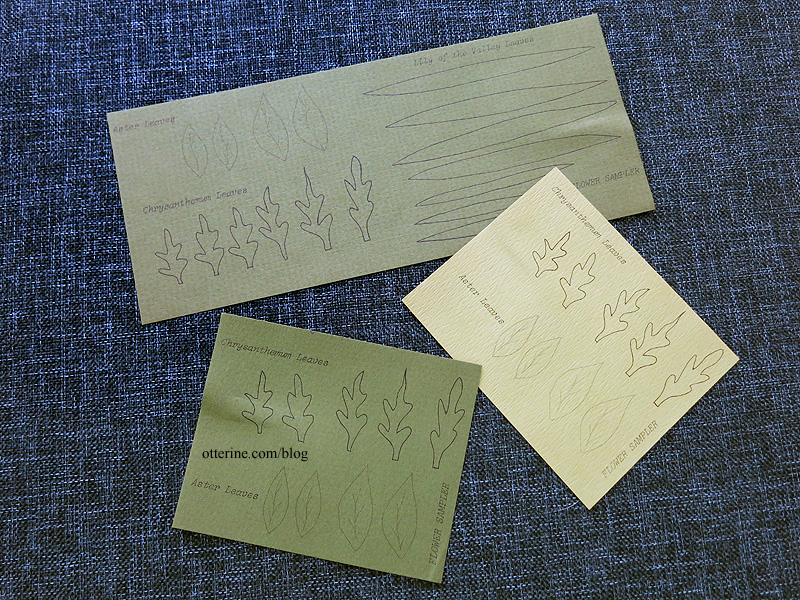
In addition to the kits, there were several sample packs of pre-drawn leaves. These will come in handy for miniature plants.
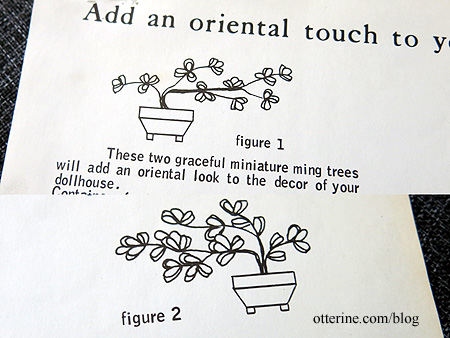
There were also loose instruction sheets for plants. I have plenty of color paper packs to make these in any combo I like.
There were also two kits with miniature accessories.
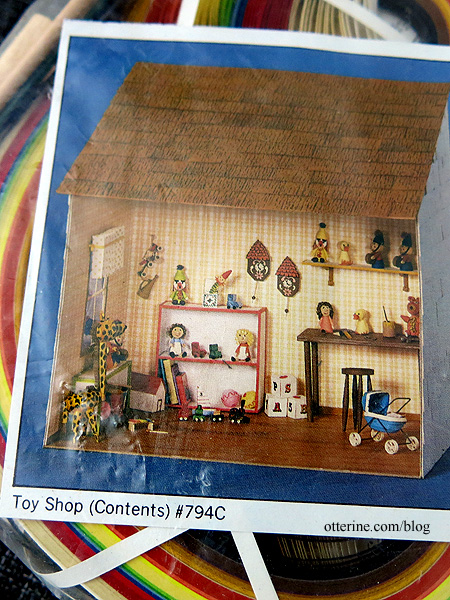
I think these are just paper kits without the minis included.
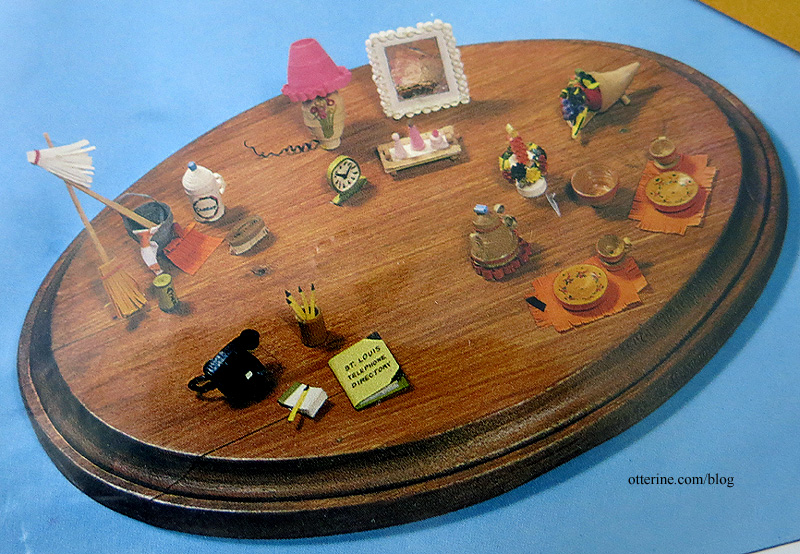
Categories: Flowers, plants, and trees, Miniatures
January 23, 2016 | 0 commentsRetro snake plant
I made a smaller snake plant back in 2011. I used the technique found in a book on making miniature plants out of florist tape called Miniature House Plants by Ruth Hanke. In the book example, while the author did include painting the rough stripes of the plant, she didn’t include the wide light green outer edges so I added those based on the real deal. :D I then sealed the leaves with Delta Ceramcoat Satin Varnish.

Last time, I used tea for the dirt. This time, I used fine ballast from Woodland Scenics and used Scenic Cement to keep it all together.
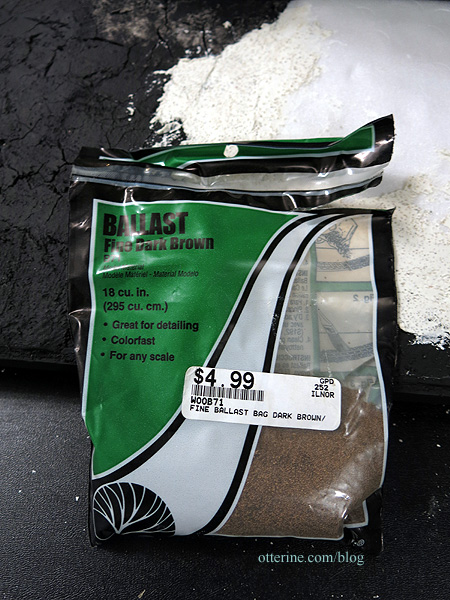
The pot and stand came from Mod Pod Miniatures, but I sprayed the bucket a deep metallic orange.
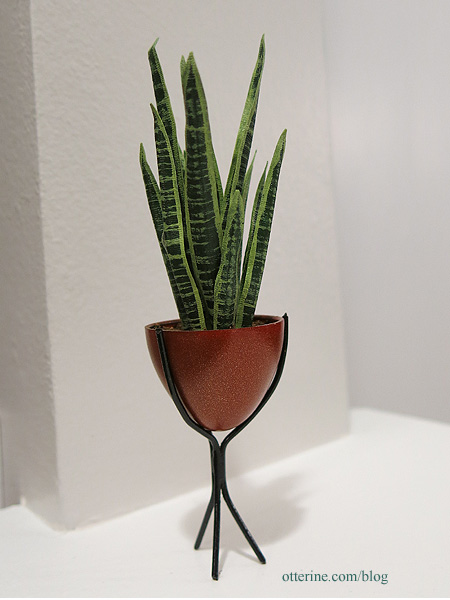
Categories: Flowers, plants, and trees
December 11, 2015 | 0 commentsMilo Valley Farm – landscaping – flowers, part 1
I’ve got something up my sleeve which will require a lot of tiny white flowers. *a lot* I’m starting with tiny pre-cut impatiens from Small Talk (no website, purchased at the local shows). They have some imperfections in punching, but they will work well overall. I’ll clean them up a bit as needed.

I also punched out tiny green stars using a Martha Stewart multi star punch.

Keli recommended some green origami paper for the calyxes. It’s a great paper, slightly textured and just the right weight. You get four pages each of 12 shades of green. (As an Amazon Associate, I earn from qualifying purchases.)

My punch makes multiple sizes of stars, but I saved the larger ones for projects down the line. I got 86 calyxes from one 6″ x 6″ sheet, which was a pretty good yield considering I used only the smallest stars.

I shaped each flower with a stylus.

I poked a hole in each tiny flower with a sewing pin. I found it easiest to put the flower on a paper towel and poke the pin through.

I cut wire stems 2 inches in length. This will give me room to trim when I put them in place. The wire is very thin, purchased at a local miniature show.

I topped the stem with a tiny drop of glue then dipped into fine landscaping foam.

The foam is from A Little More in Miniatures, purchased at the local miniature show.

I put two flowers on each stem, followed by one green star to form the calyx. I’ll worry about leaves later.

This will be one of those side projects to do until I’m ready for these. These are tiny, tiny, tiny, and I can stand to make only so many at a time. :D

I now have 81. It doesn’t look like a lot, though, so I will need to keep going. :]
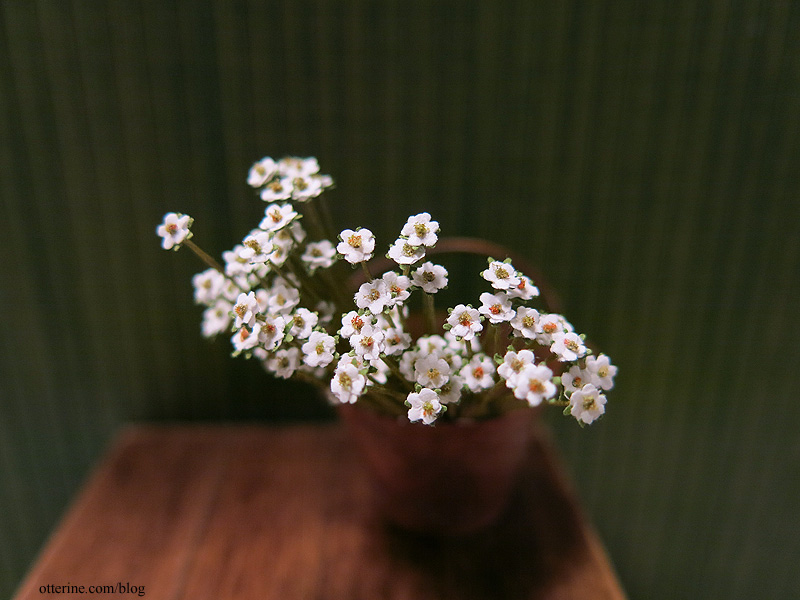
Categories: Flowers, plants, and trees, Milo Valley Farm
July 20, 2015 | 0 comments
NOTE: All content on otterine.com is copyrighted and may not be reproduced in part or in whole. It takes a lot of time and effort to write and photograph for my blog. Please ask permission before reproducing any of my content. (More on copyright)


