
Flowers and plants
Just some highlights of various plants, flowers and trees I’ve made.
——–
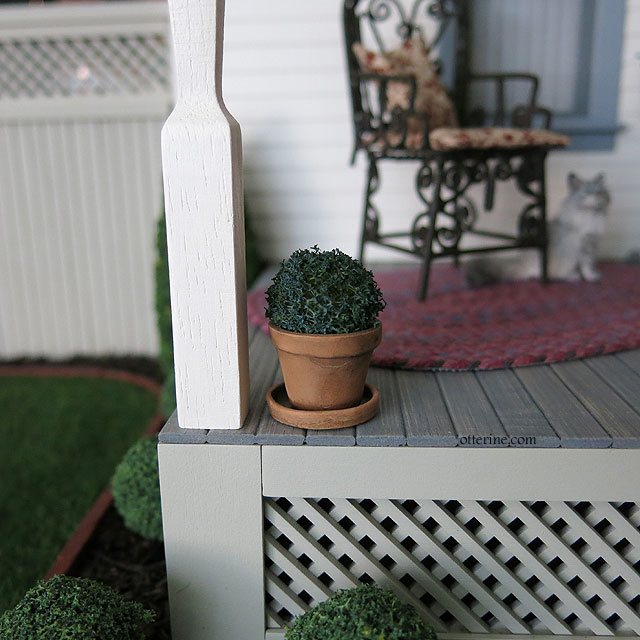
Potted plants – available in my etsy shop
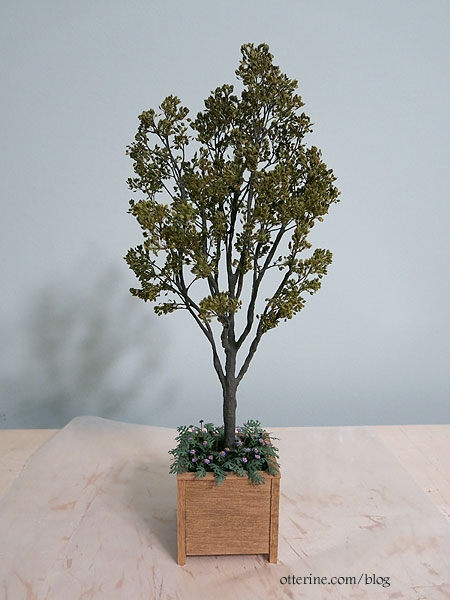
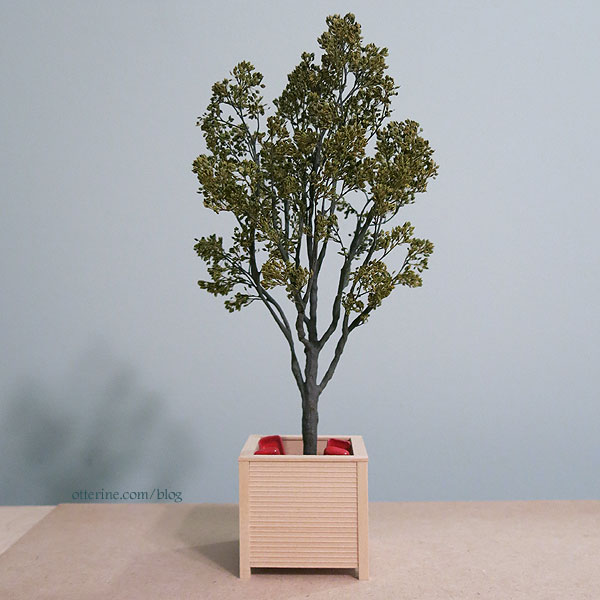
Container tree at Whinnie’s Terrace – (the process ends here, but you can click back through the links at the beginning of each post to see the full process)
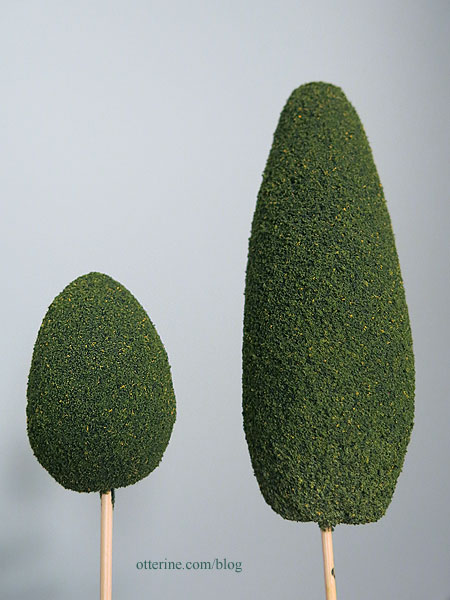
Homemade shrubbery – an otterine original, tutorial available in my etsy shop
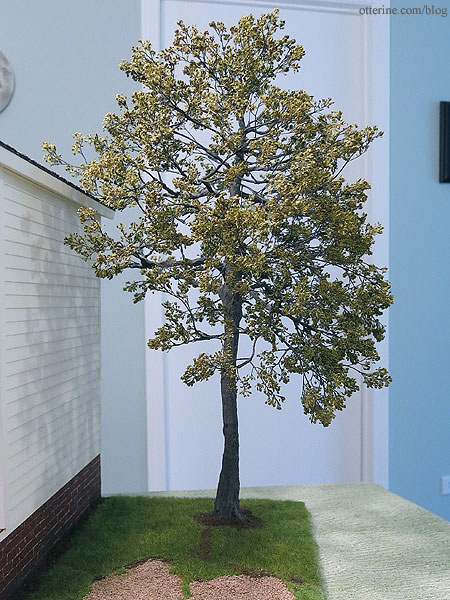
Making a tree – (the process ends here, but you can click back through the links at the beginning of each post to see the full process)
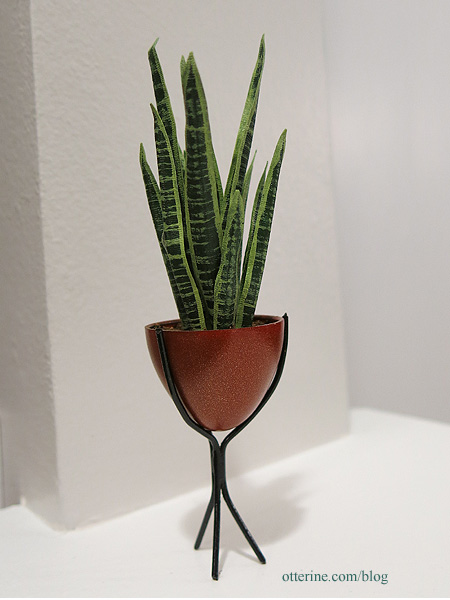
Snake Plant – Ruth Hanke design
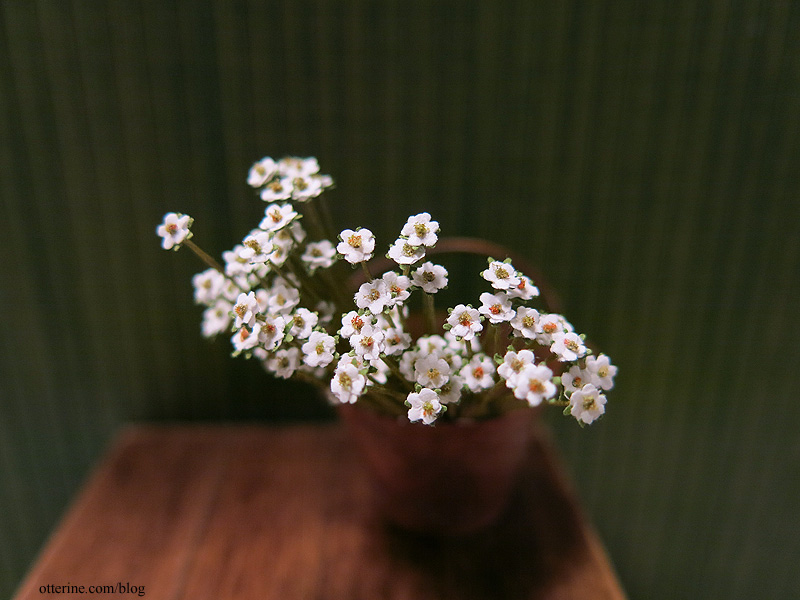
Tiny white flowers — work in progress
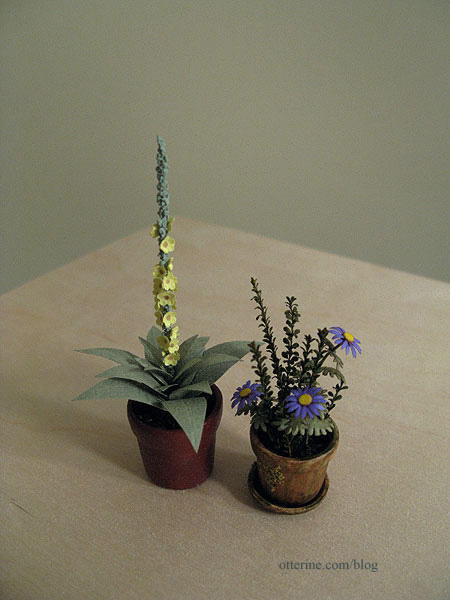
The Miniature Garden verbascum and Bonnie Lavish purple daisies
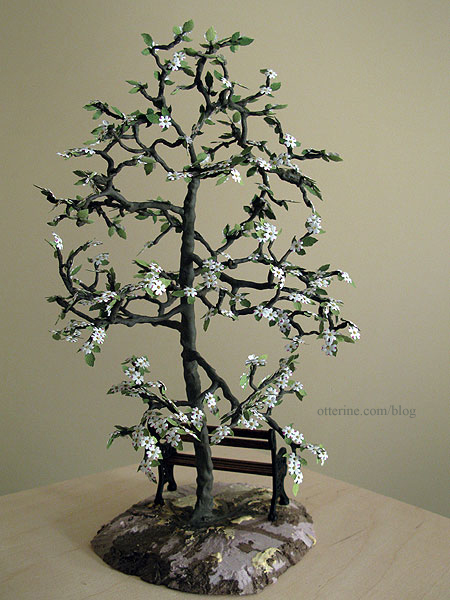
Dogwood tree – for The Aero Squadron Lounge
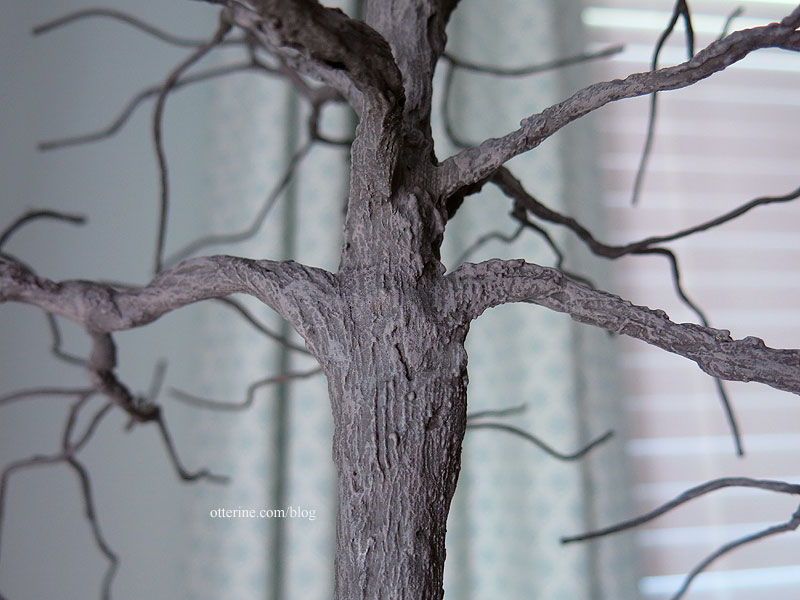
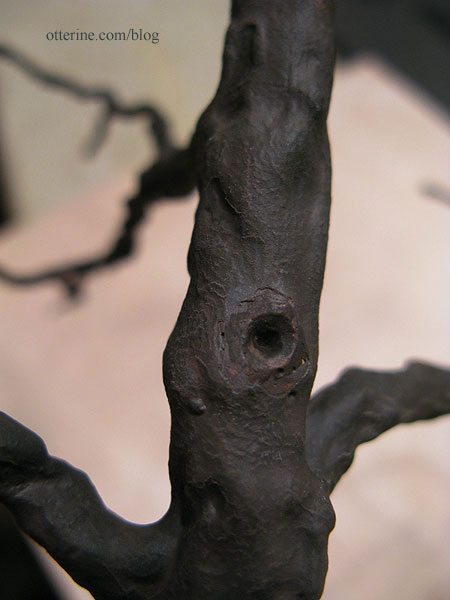
The Tree – creepy old tree for the Haunted Heritage
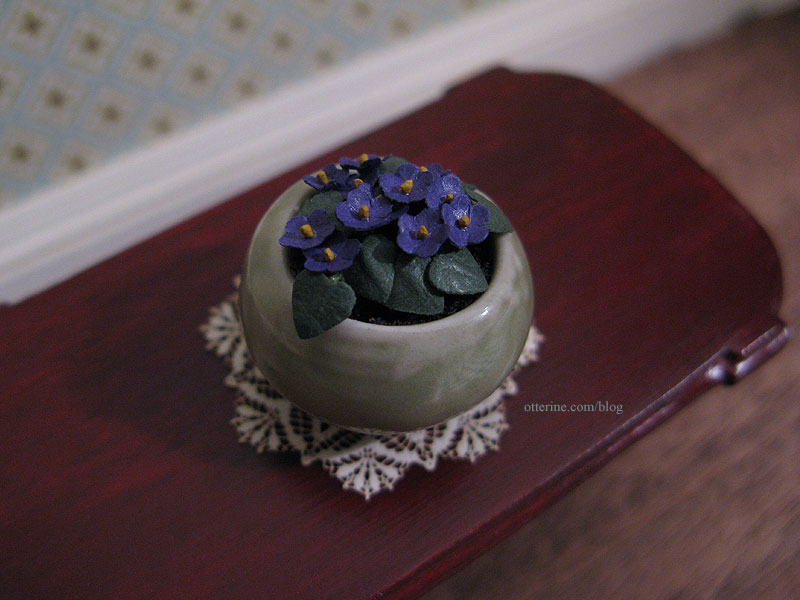
African violets – The Miniature Garden kit
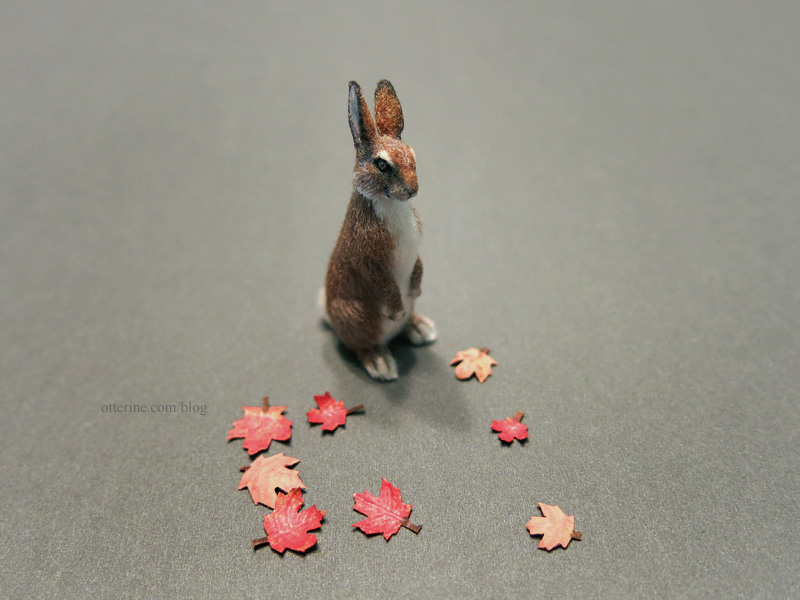
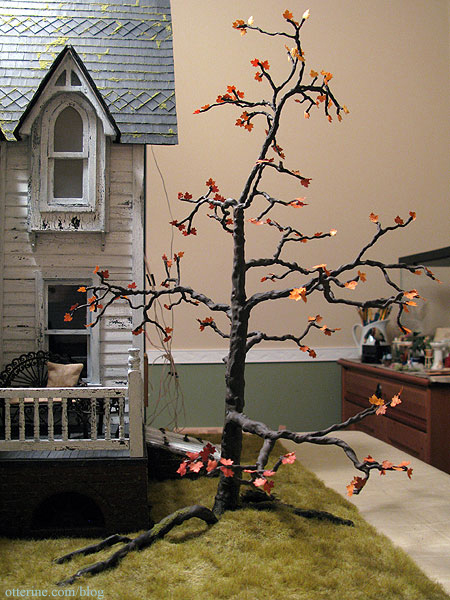
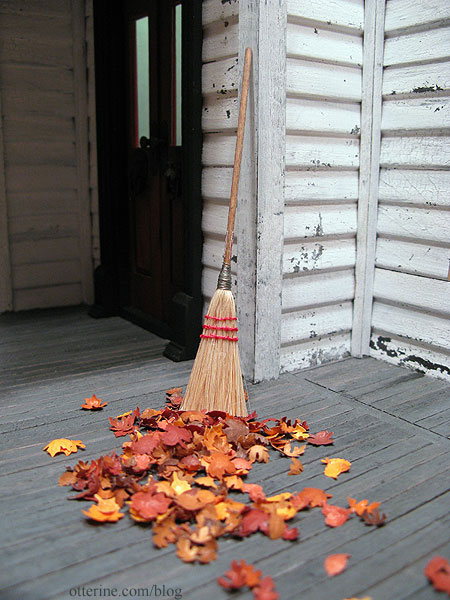
Autumn leaves – an otterine original
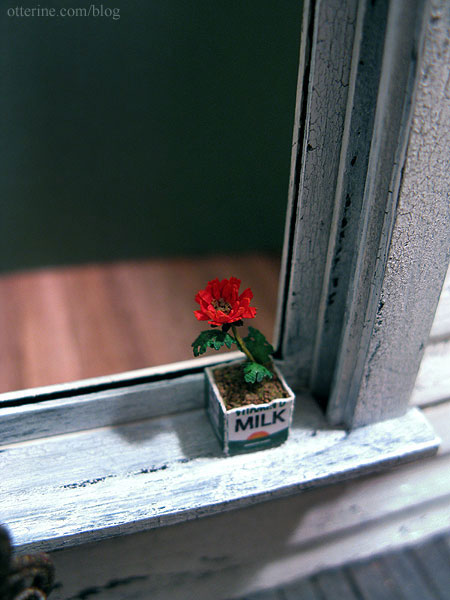
Flower in a milk carton – True2Scale kit
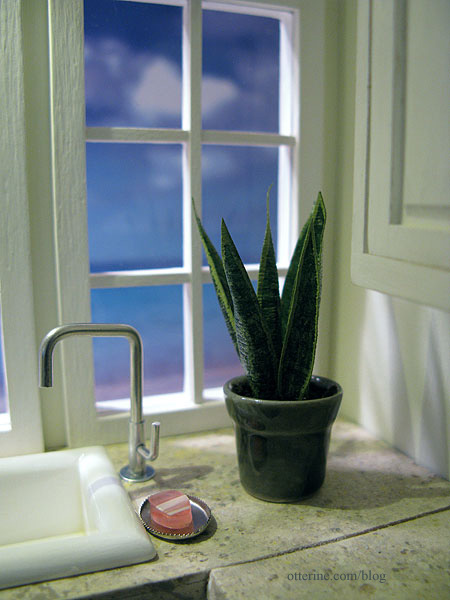
Snake Plant – Ruth Hanke design
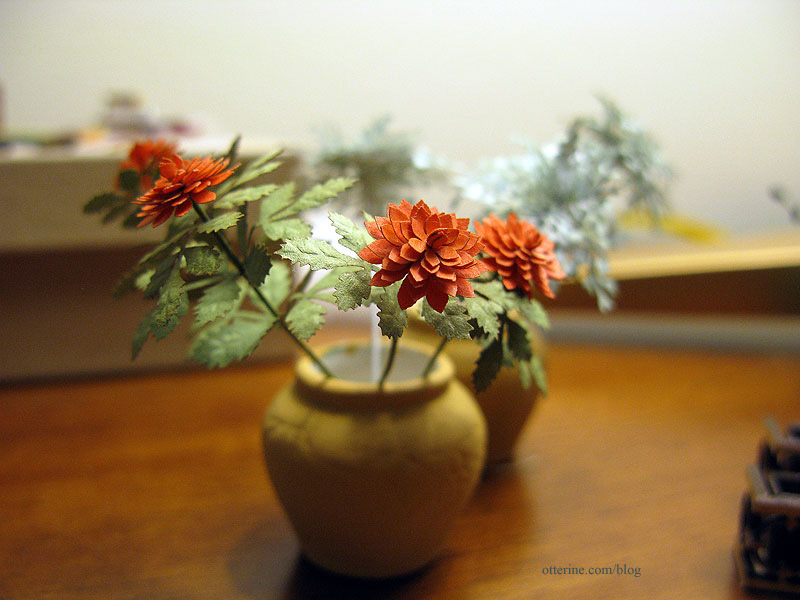
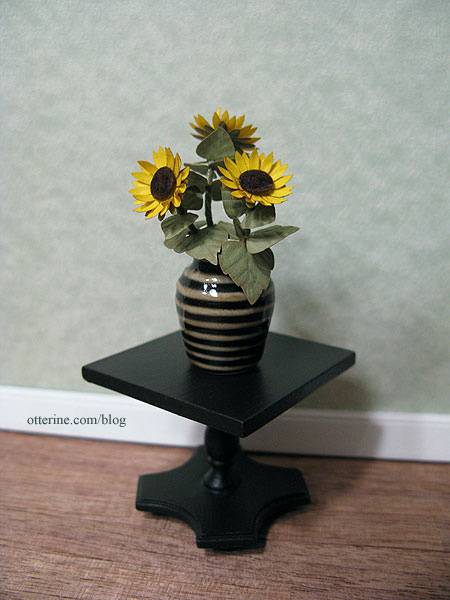
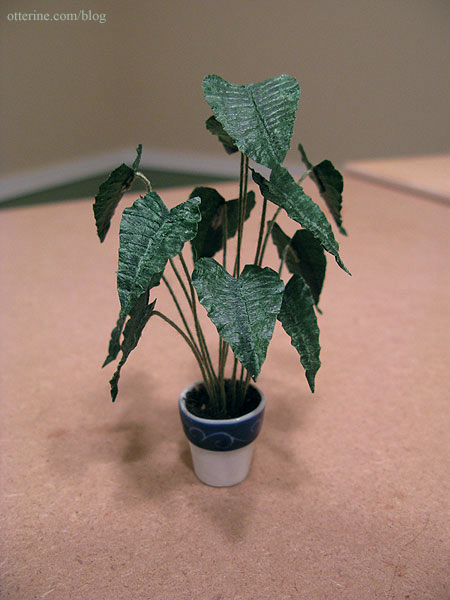
Elephant Ear plant – Shirley Vallas design
Categories: Flowers, plants, and trees
April 20, 2024 | 0 commentsRabbit topiary
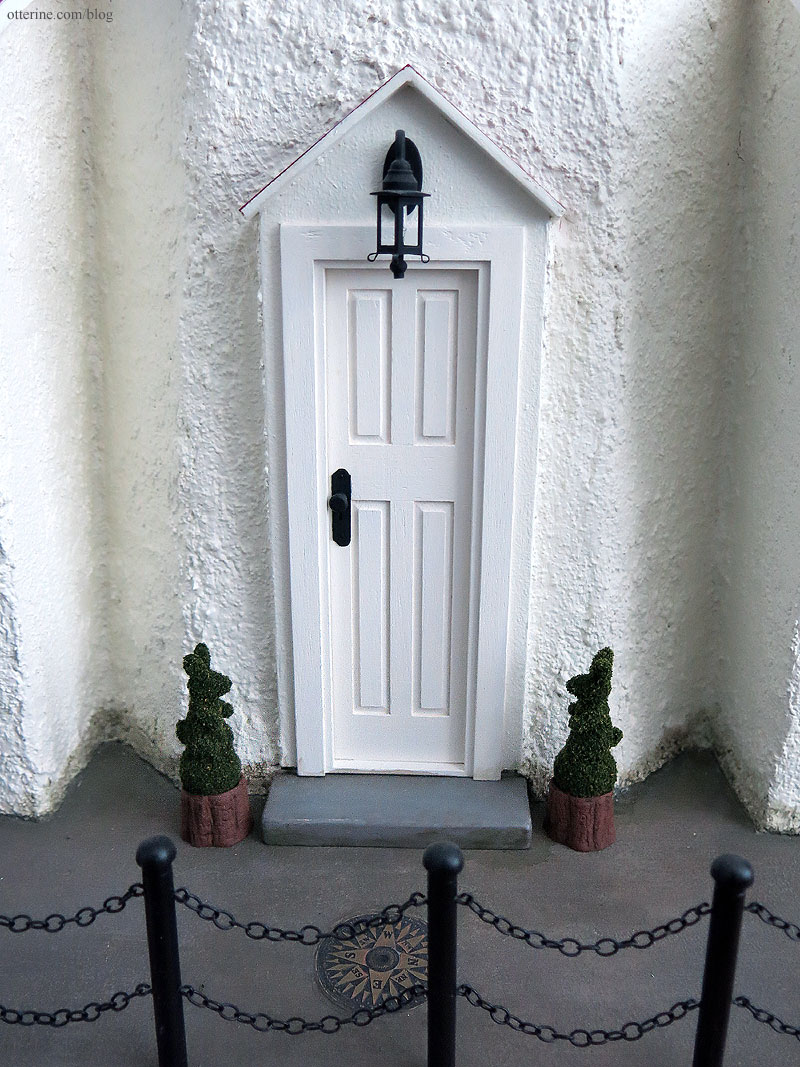
These are a revisited creation from years back. I made only a handful, but now that I have the process down I might make more if they end up being popular.
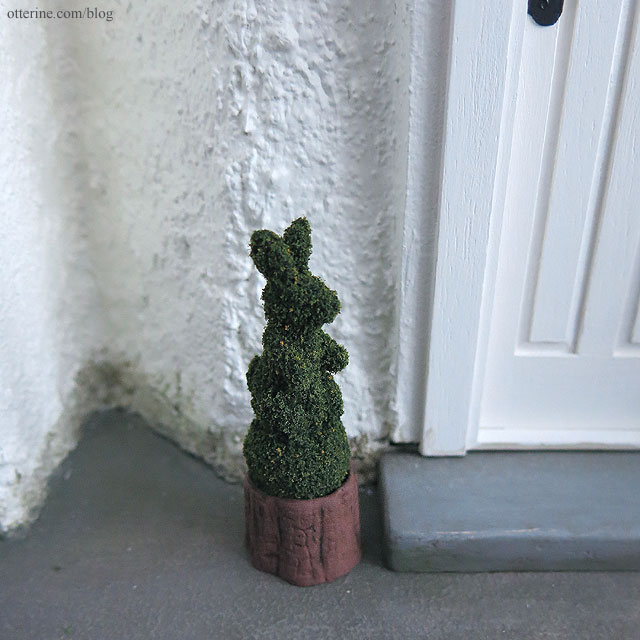
Friedrich certainly thinks they are handsome. :D
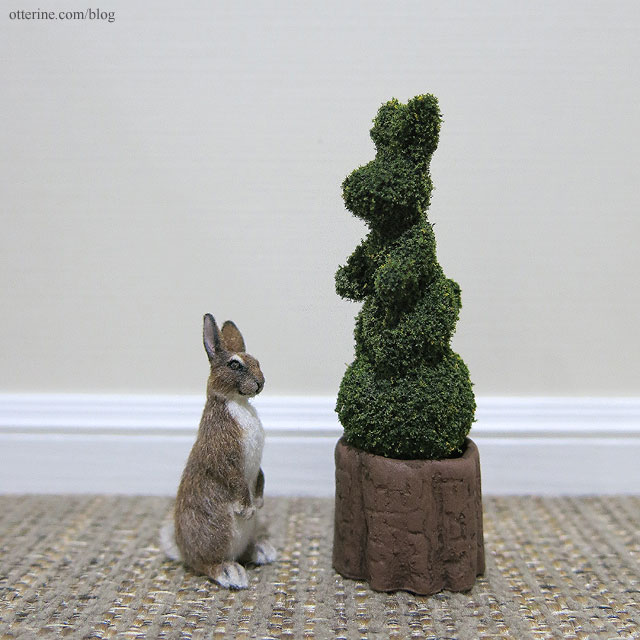
These are available in my etsy shop.
Categories: Flowers, plants, and trees
April 14, 2022 | 0 commentsJack-o’-lantern Pumpkin Bouquets
I recreated my pumpkin bouquet from last year. These will be in my etsy shop when it reopens.

Here’s the original from last year. :]

Dresser by Dollhouse Smithery, black bottle from CW Lubin, doily from Stewart Dollhouse Creations, mouse purchased years ago (unknown vendor).
Categories: Flowers, plants, and trees
September 1, 2021 | 0 commentsContainer tree, part 2
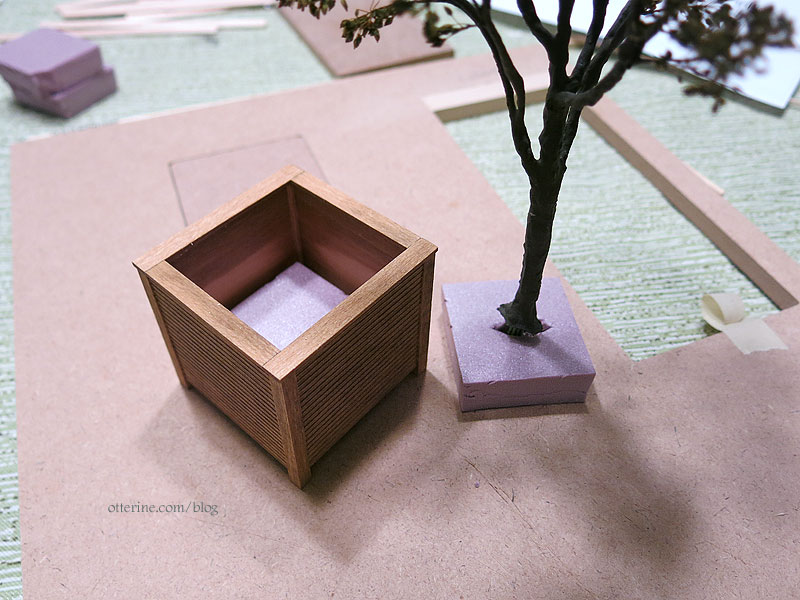
Completed the container tree. I built up the interior of the container with glued-in layers of foam, first thick layers of builders foam (shown below) and then thinner layers of white foam sheet to get to the right height.
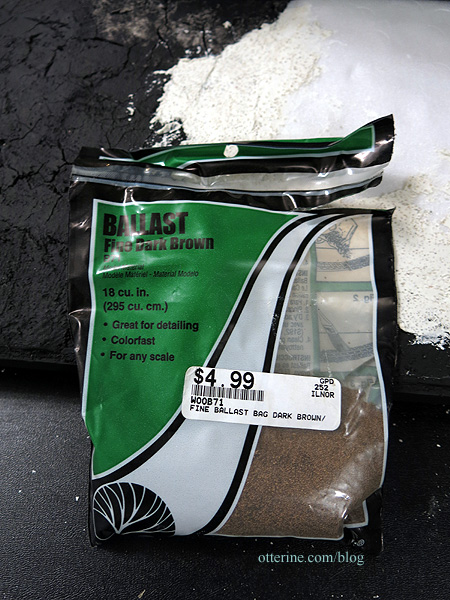
I filled the spaces around the foam with ballast glued in with Woodland Scenics scenic cement. My local go-to store is HobbyTownUSA.
I topped the ballast with loose underbrush foliage, again glued with scenic cement.

The flowers were made from pre-cut impatiens flowers purchased from a local show, loose yellow foliage and calyxes punched from origami paper.


I made leaves from a dusty miller punch and origami paper.

I attached the leaves and flowers to thin floral wire then planted these around the base of the tree to fill the container before the scenic cement had time to cure.
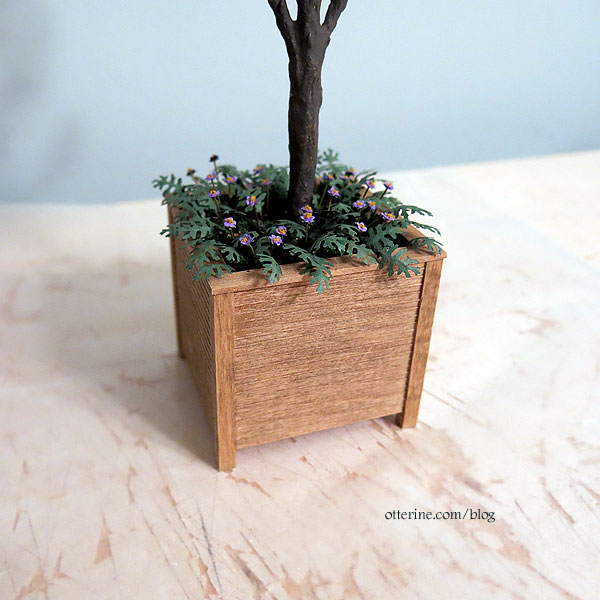
It’s just enough to finish the look of a container tree.

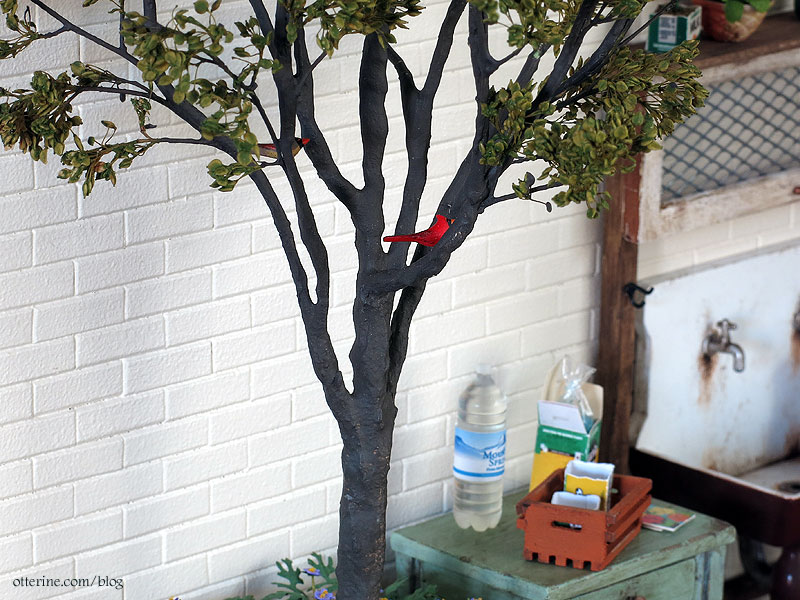
I added a pair of cardinals by Mini Gems, too. :D
Categories: Flowers, plants, and trees, Whinnie's Terrace
December 19, 2020 | 0 commentsContainer tree, part 1
I made a small tree, but instead of planting this one in the ground, I wanted a container tree that I could reposition. I’m using the same wire and putty technique I’ve used in the past for the trunk, and candytuft for the foliage – notes at the bottom.
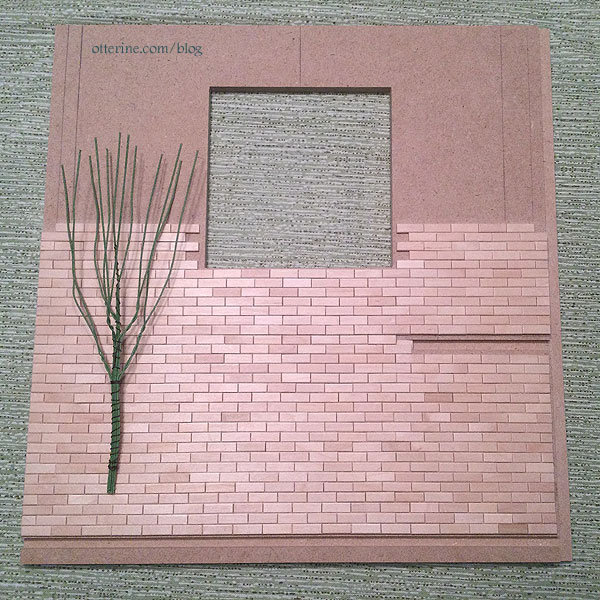
I measured the wire structure against the wall to make sure I had good height.
I used a clamp covered with plastic wrap to hold the tree while protecting the clamp.

Applying the putty.

Painting the tree.

Painting the separated candytuft branches — I ended up making quite a few more than shown here.

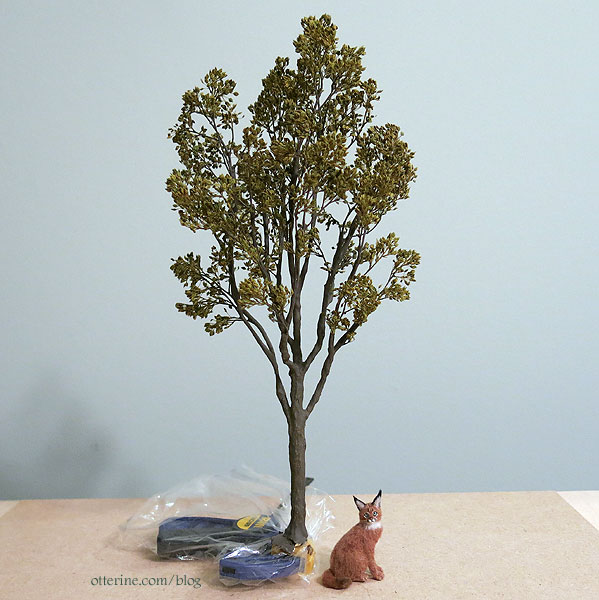
Ghost is modeling to show the smaller stature of the tree.
I built a container from basswood and small scale siding from my box of scraps.

I wanted something compact but believable in proportion to the tree.
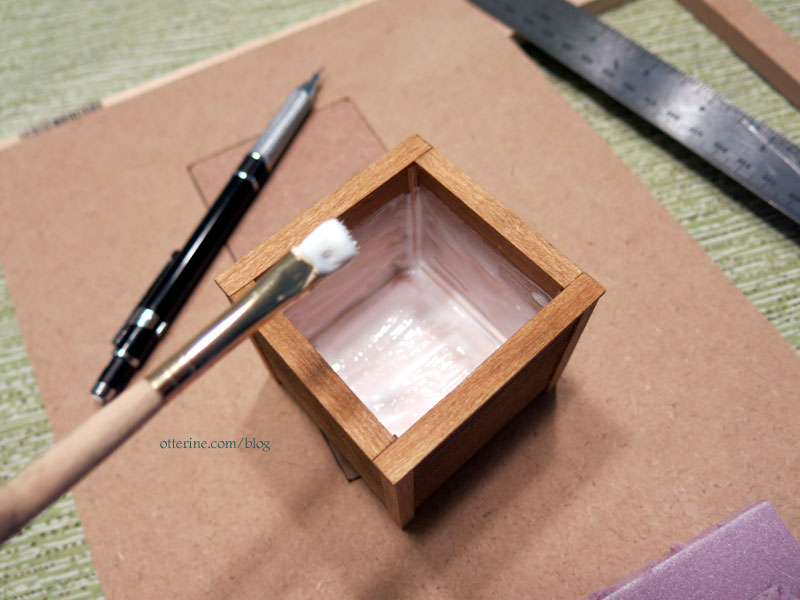
I stained the planter box with Minwax stain; the color is Fruitwood.

I coated the interior with a heavy layer of tacky glue. This will seal it for when I get to planting the tree.
Update: finishing the container tree here.
———
Notes: Link to the first tree I made using this technique – follow the links in the first sentence back through the process. For the trunk, a good starting source if you can find it is the DVD Master Miniaturists: Landscaping Primer with Diane Myrick. I found mine through interlibrary loan. This whole series is just awesome! For the foliage, I used a tutorial by Connie Sauve on using candytuft, but the tutorial link is no longer active. I bought the candytuft from Scenery Solutions, but they no longer sell it.Categories: Flowers, plants, and trees, Whinnie's Terrace
November 20, 2020 | 0 commentsIvy Hollow – autumn tree
I’m working on another tree this year. I used the same wire and putty technique I’ve used in the past for the trunk, and candytuft for the foliage – notes at the bottom.
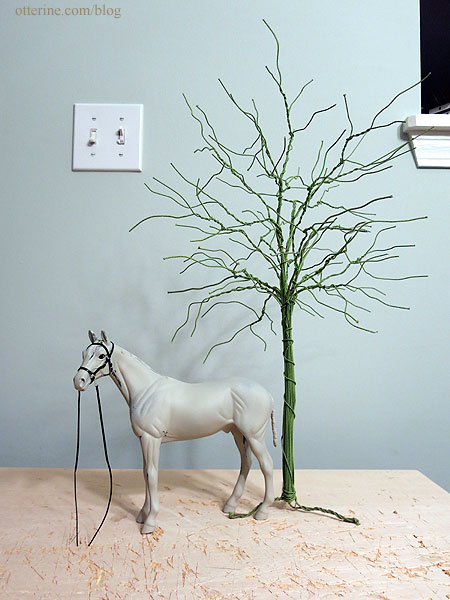
The first layer of putty is on with at least one more to go, where I will add texture.
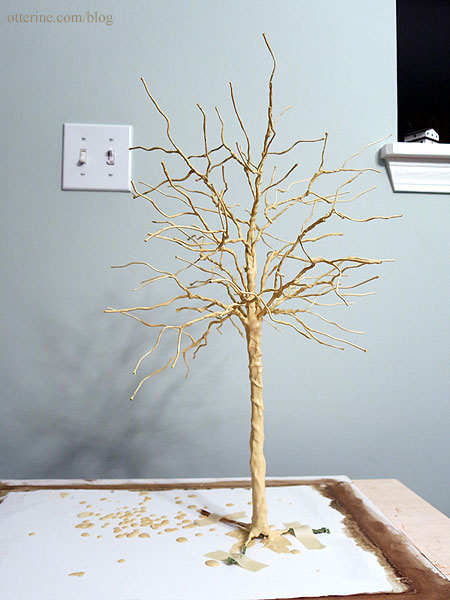
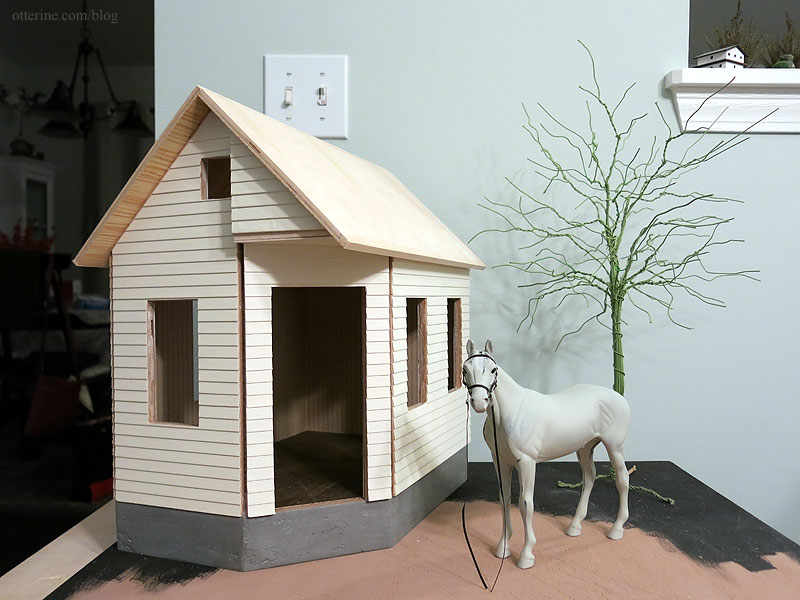
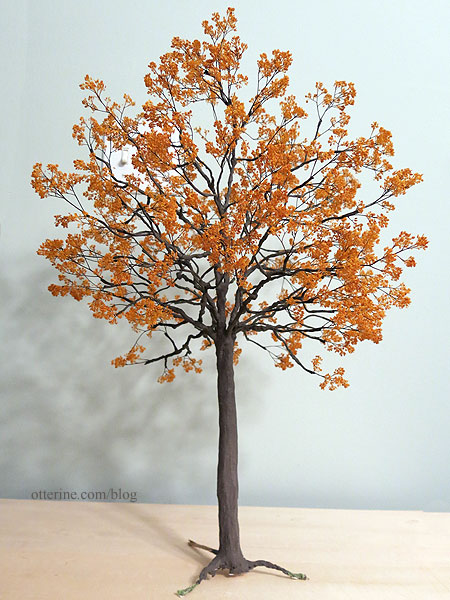
I like how the tall tree forces the perspective. Jebediah looks more in scale with the tree in place.
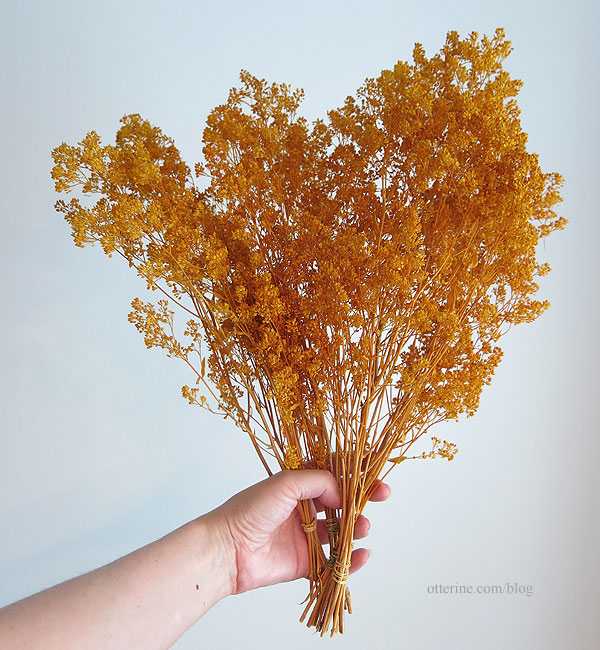
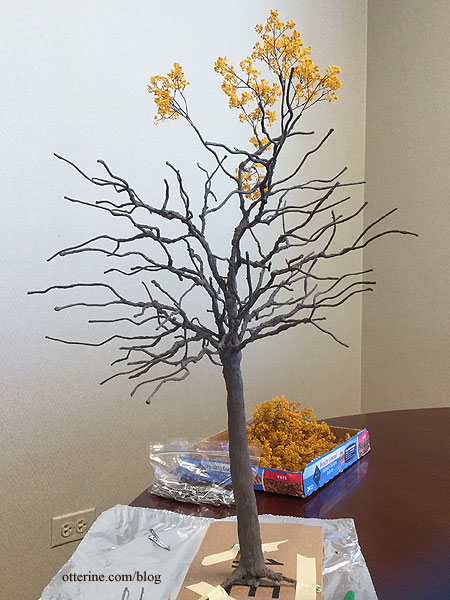
I used candytuft for the foliage. This is autumn gold candytuft from Scenery Solutions (no longer available).
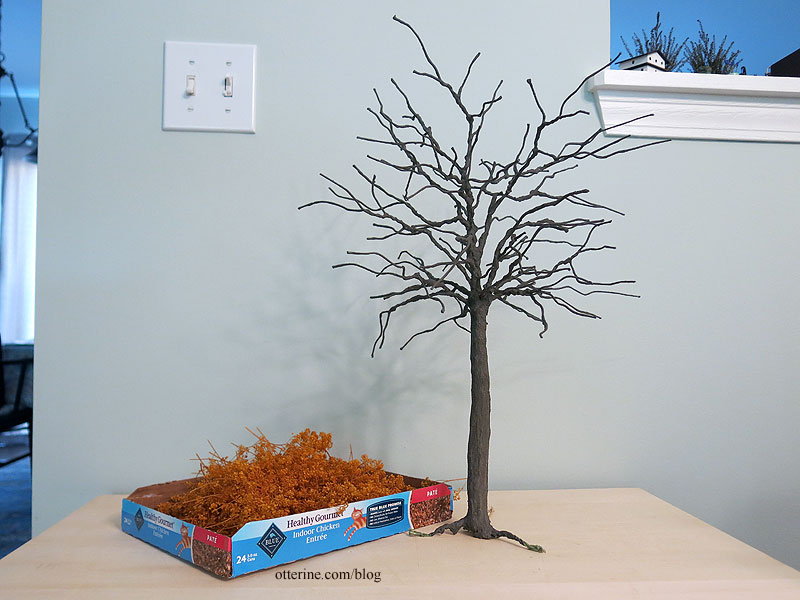
I painted and detailed the trunk and separated the foliage branches from two bundles of candytuft. Too bad I can’t just say “alakazam” and have the foliage appear on the tree.
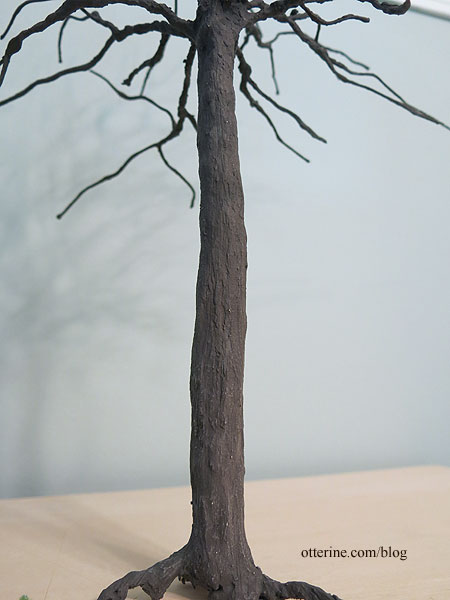
The trunk is somewhere between grey and brown. I mix at random and fine-tune until I get there since there isn’t a good color straight out of the bottle.
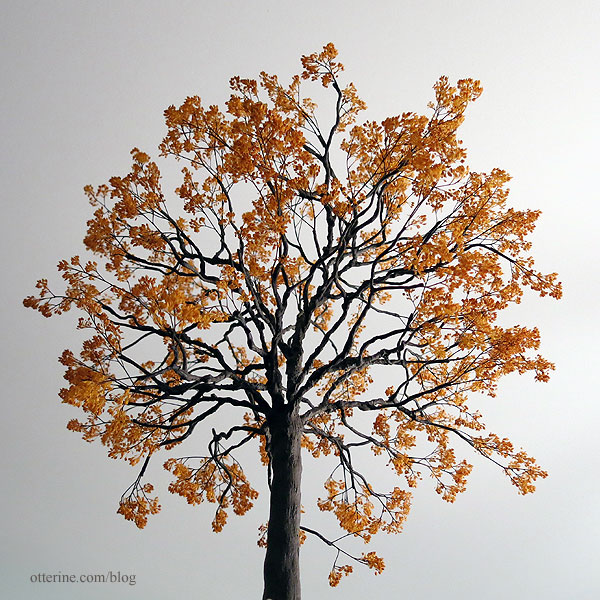
Good thing I chose autumn, so my tree can be sparse.
And, finished….
Love looking up through the branches.
———
Notes: Link to the first tree I made using this technique – follow the links in the first sentence back through the process. For the trunk, a good starting source if you can find it is the DVD Master Miniaturists: Landscaping Primer with Diane Myrick. I found mine through interlibrary loan. This whole series is just awesome! For the foliage, I used a tutorial by Connie Sauve on using candytuft, but the tutorial link is no longer active. I bought the candytuft from Scenery Solutions, but they no longer sell it.Categories: Flowers, plants, and trees, Ivy Hollow RFD
December 11, 2019 | 0 commentsWatson Mill – tulips
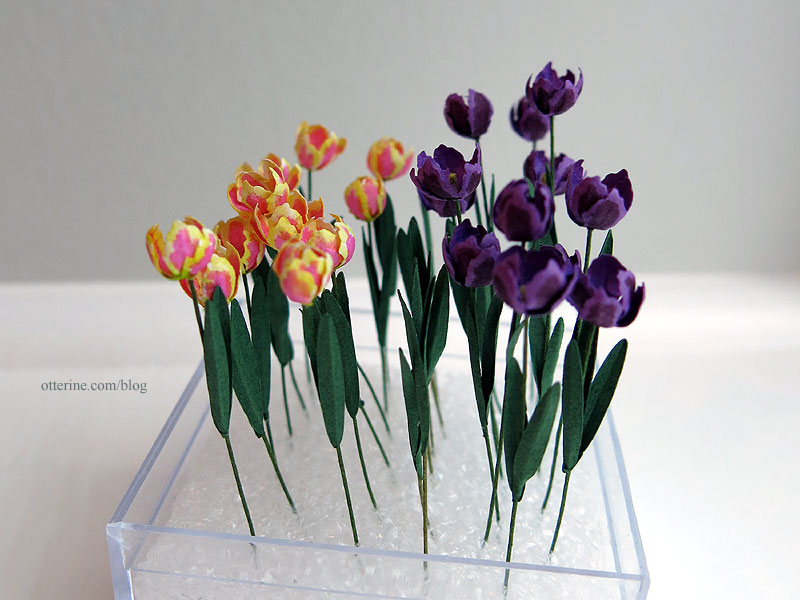
What else could Gustav need for Watson Mill but tulips? Debora made me tulips for my birthday last year, and I have had them in mind for the Mill.
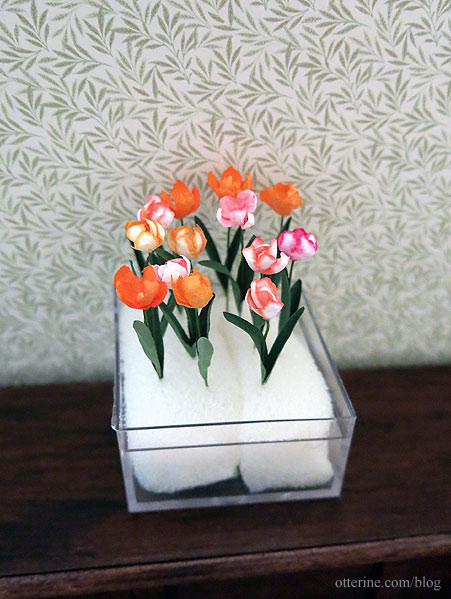
She offered to make some more, and they just arrived. :D So beautiful! Thank you, Debora!
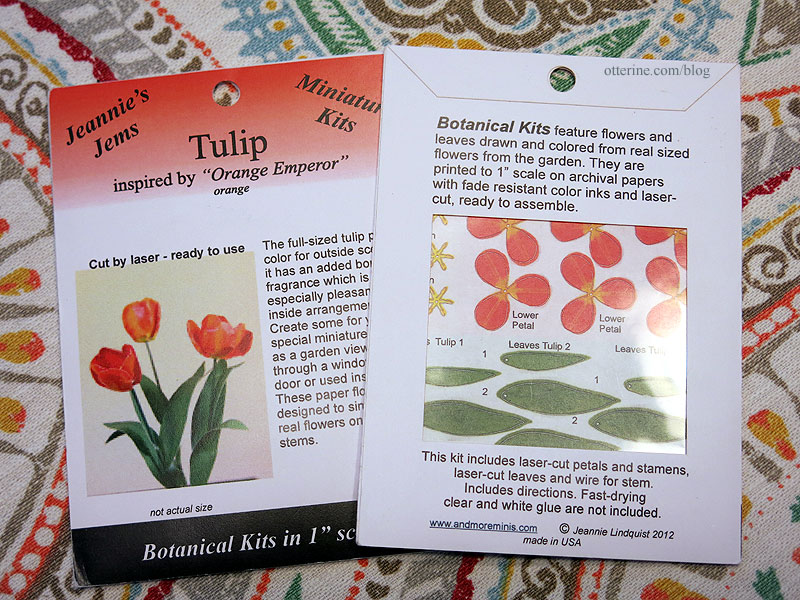
I have two paper kits, which will add another 6 tulips to the bunch.
Categories: Flowers, plants, and trees, Watson Mill
June 29, 2017 | 0 commentsMaking a tree – part 4
I stumbled across a wonderful tutorial by Connie Sauve on making realistic trees. (As of 2024, it seems her tutorial is no longer online.) She used a natural leaf material called candytuft.
I ordered candytuft in basil green from Scenery Solutions. I looked at the local floral shops, but the floral sprays they had were different and not really workable. I bought two bunches since I wasn’t sure how much I would need. I probably should have ordered more for this tall tree in the first place, and I did end up ordering three additional bunches. I will likely use three bunches overall, so I’ll have some leftover for next time and other projects.

Detail of the “leaves” shows the variegated color that works well for visual interest. (Unfortunately, as of 2024, candytuft is no longer readily available.)

Since I started with green, I had to paint only the stems. Quick and dirty, no fine detailing here. It transformed them immediately. I can certainly see why these are so popular in model railroading.
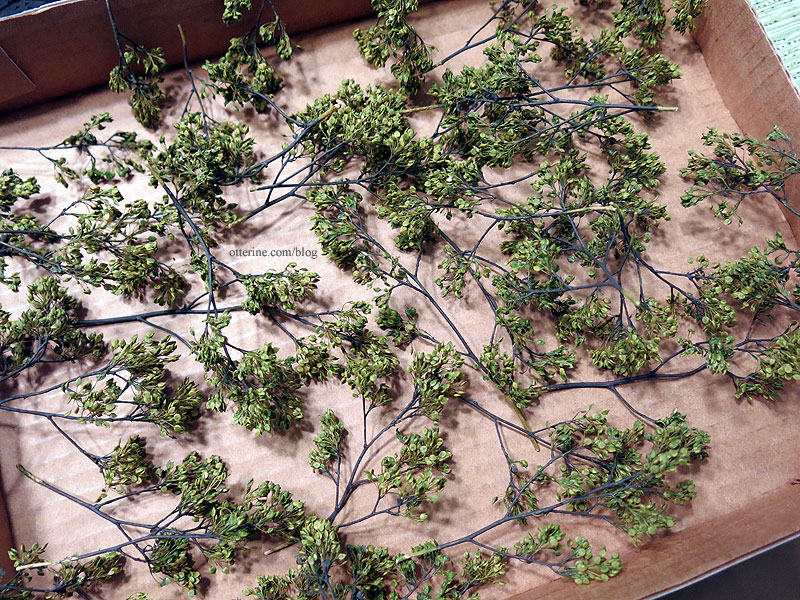
Since I changed the type of foliage, I ended up clipping a lot of the wire branches I added since the candy tuft flares out and works better with a shorter base branch. I bought clips at Michaels and used Aleene’s Quick Dry.

Adding the branches was actually less of a pain than one-at-a-time leaves with a quicker payoff.

I touched up the paint around the glued bits to blend in with the tree branch tips. Hooray! :D

Looks full until I turn it to the side.

Once the additional candytuft arrived, I was able to finish the tree and plant it.

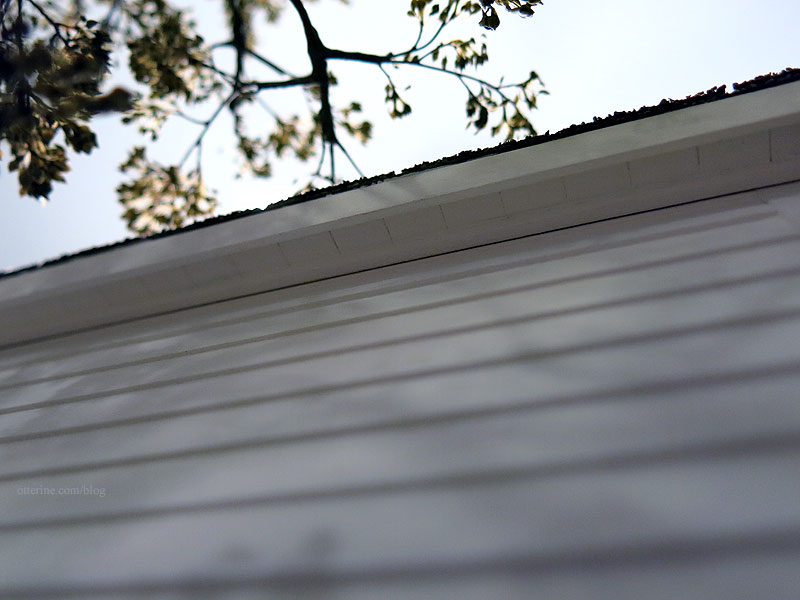
I made one branch to fit over the roof, because who is going to climb a ladder to trim it?
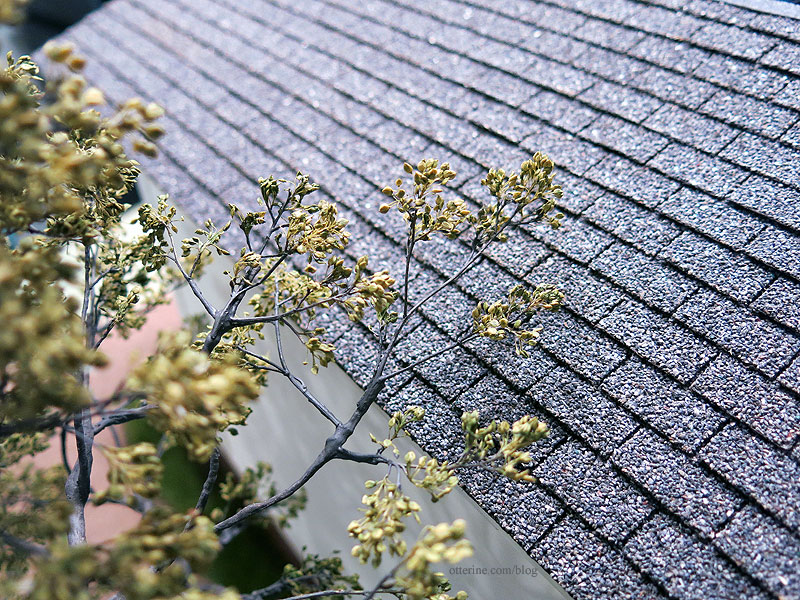
After trying out this method of foliage, I will have a hard time going back to any other way.
Categories: Flowers, plants, and trees, Ye Olde Taxidermist
November 26, 2016 | 0 commentsLovely flowers and garage minis
I received a birthday package from Debora today. She sent me some of her gorgeous handmade flowers along with some Chrysnbon kits (she knows my weakness). These are all ready for planting, so I’ll have to decide whether they will go in a planter or be part of the landscaping for a build. Thank you so much, Debora! :D

Jasper helped unwrap, of course.

I also picked up two fun eBay items for Milo Valley Farm this past week: a compressor and a drill press. These are heavy items, but there are no maker marks.

Categories: Flowers, plants, and trees, Miniatures
August 12, 2016 | 0 commentsMaking a tree – part 3
Continuing work on the tree. I filled the bottom of the trunk with water putty to make a solid base. I wasn’t worried about it toppling over, but I didn’t want the outer shell to crack if it were bumped or squeezed in the wrong way.

To achieve a good base color for the bark, I mixed Zinc and Bittersweet Chocolate by Americana. I stippled the paint onto the tree to avoid leaving obvious brush marks. After letting the paint dry, it was easier to see which areas were missed in the first go around.

I dry brushed some Zinc mixed with Mississippi Mud to highlight.

The lighter paint brought out the bark detail. It looks solid and treelike, no? :D
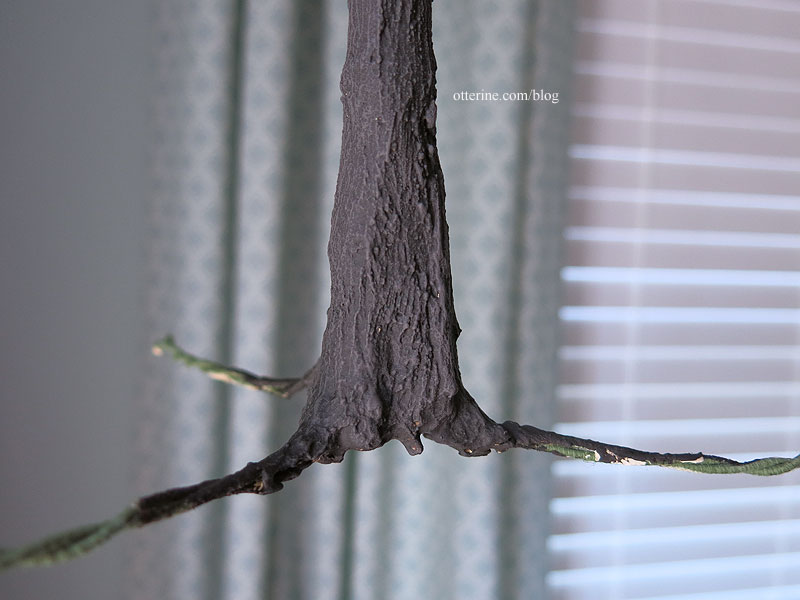
I like the slight bend in the trunk…seems much more natural.

A real tree has a great deal more branches than the base I’ve created, and those branches taper into batches of leaves. My purpose is to get the general feel of a tree and to accent the landscaping.
I have 95 base branches, which may seem like a lot, but there will be bare spots if I leave it as is. Adding branches after the putty has dried is not impossible, but there are some drawbacks and limitations. Yes, you can start out with more wires to have more base branches, but then you end up with more of the bulky base branches and not thin branches at the ends where they are needed the most. Carrying thin wires with the larger wires still adds bulk to the base branches.
I took short lengths of 30 gauge brown wire and curled them around the base branches where needed, adding 120 small branches. Now I have 215 branches for a much fuller tree.

I mixed Durham’s Water Putty again and covered the joins. This does create bulk and you can somewhat see the twists since I didn’t go overboard with the application, but this shouldn’t be a focal point once the putty is painted to match the bark and the foliage is added. I didn’t add these before finishing the base tree and branches because it is hard to paint the interior with all these fiddly branches on the outer surface. Much easier to just touch up the paint where needed.

Categories: Flowers, plants, and trees, Ye Olde Taxidermist
June 2, 2016 | 0 commentsMaking a tree – part 2
Continuing work on the tree. The water putty dried hard overnight. Some of the thin binding wires showed through the layer as expected and the texture was smooth due to the watery consistency of the first application.

I mixed more water putty, this time thicker than the consistency of pancake batter. I had to work quickly since the mixture wanted to set fast. I used a stiff brush to apply the putty, making bark-like texture with quick brushstrokes as I went.

I did this for the main branches and trunk, leaving the thinner branches with the lighter coat from yesterday. The paint will seal any bare spots on the thin branches, and I didn’t want to build any more bulk on those wires. This will also make the end wires more easily shaped and trimmed as needed. You can bend the putty covered wires a little, but you risk cracking the surface of the hardened putty.

I hadn’t covered the base of the trunk all that well initially since it was hard to hold the tree while the putty was wet on the upper portions.

This time, I filled in more and added the bark texture. I might need to fill in underneath once this layer dries to make the base solid.

Next up, paint will be applied and the tree should really come to life.
Categories: Flowers, plants, and trees, Ye Olde Taxidermist
May 29, 2016 | 0 commentsMaking a tree, part 1
Note: I began making the tree and then the process changed when I reached the foliage part, so there are some further alterations later in the process.
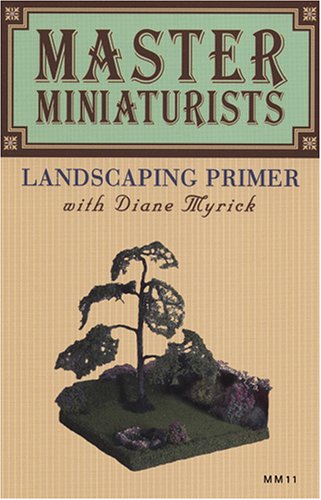
For the tree structure, I am following the same process as the ones I did for the Heritage maple and the dogwood, using the tutorial from the DVD Master Miniaturists: Landscaping Primer with Diane Myrick.
I bought a bulk of 22 gauge cloth covered wires that included 240 18″ pieces. I wanted a few small roots to help plant the tree, so I extended some pieces of 18 gauge floral wire below the main trunk of 80 wires. I used 28 gauge wire to tie the main wires together.
I want a relatively full tree, so I might need to add a few more branches. Currently, the height is 18″ from the bottom of the trunk to the top branch tip. There’s Friedrich at the base for size reference.

I added 7 more 22 gauge wires to the skeleton, making a few branches in the middle and on top. I also bent the trunk to make it more natural.

I mixed and applied Durham’s Water Putty to the wire skeleton. I bought a 4-pound container from Home Depot for roughly $8 back when I did the first tree, and there are still a lot of trees left in the container. The Durham’s Water Putty site shows some of the creative things you can do with it.

You can’t put this stuff down the drain, so the cups and brushes you use must be thrown in the trash. But, I did save the cup to reuse for the duration of the project. I’ll just mix new putty on top of the hardened putty left in the cup. No sense in wasting multiple cups. I buy short plastic cups from Dollar Tree. Very economical.
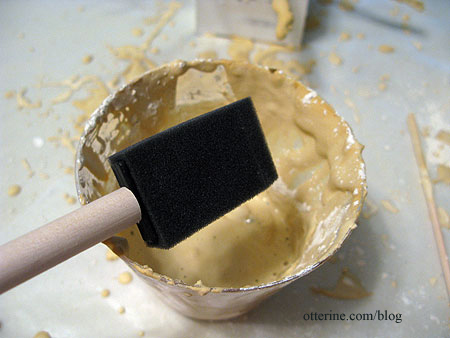
I mixed two heaping tablespoons of the powder with water to create a mix the consistency (and look) of pancake batter. The first coat is thin and incomplete. It’s mainly meant to seal the cloth covering on the wires and harden the joints. I used those super thin 28 gauge wires to avoid having obvious rings around the trunk, and it worked well.

It’s amazing how the putty transforms the wire skeleton. I didn’t apply the putty to the roots since those will be buried in the landscaping.

Once this dries, I’ll touch up the putty and work on the texture.
Categories: Flowers, plants, and trees, Ye Olde Taxidermist
May 28, 2016 | 0 comments
NOTE: All content on otterine.com is copyrighted and may not be reproduced in part or in whole. It takes a lot of time and effort to write and photograph for my blog. Please ask permission before reproducing any of my content. (More on copyright)

Flowers and plants
Just some highlights of various plants, flowers and trees I’ve made.
——–
Potted plants – available in my etsy shop

Container tree at Whinnie’s Terrace – (the process ends here, but you can click back through the links at the beginning of each post to see the full process)

Homemade shrubbery – an otterine original, tutorial available in my etsy shop

Making a tree – (the process ends here, but you can click back through the links at the beginning of each post to see the full process)


Snake Plant – Ruth Hanke design

Tiny white flowers — work in progress


The Miniature Garden verbascum and Bonnie Lavish purple daisies

Dogwood tree – for The Aero Squadron Lounge

The Tree – creepy old tree for the Haunted Heritage


African violets – The Miniature Garden kit

Autumn leaves – an otterine original

Flower in a milk carton – True2Scale kit

Snake Plant – Ruth Hanke design


Elephant Ear plant – Shirley Vallas design

Categories: Flowers, plants, and trees
April 20, 2024 | 0 commentsRabbit topiary
These are a revisited creation from years back. I made only a handful, but now that I have the process down I might make more if they end up being popular.

Friedrich certainly thinks they are handsome. :D

These are available in my etsy shop.

Categories: Flowers, plants, and trees
April 14, 2022 | 0 commentsJack-o’-lantern Pumpkin Bouquets
I recreated my pumpkin bouquet from last year. These will be in my etsy shop when it reopens.

Here’s the original from last year. :]

Dresser by Dollhouse Smithery, black bottle from CW Lubin, doily from Stewart Dollhouse Creations, mouse purchased years ago (unknown vendor).
Categories: Flowers, plants, and trees
September 1, 2021 | 0 commentsContainer tree, part 2
Completed the container tree. I built up the interior of the container with glued-in layers of foam, first thick layers of builders foam (shown below) and then thinner layers of white foam sheet to get to the right height.

I filled the spaces around the foam with ballast glued in with Woodland Scenics scenic cement. My local go-to store is HobbyTownUSA.

I topped the ballast with loose underbrush foliage, again glued with scenic cement.

The flowers were made from pre-cut impatiens flowers purchased from a local show, loose yellow foliage and calyxes punched from origami paper.


I made leaves from a dusty miller punch and origami paper.

I attached the leaves and flowers to thin floral wire then planted these around the base of the tree to fill the container before the scenic cement had time to cure.

It’s just enough to finish the look of a container tree.

I added a pair of cardinals by Mini Gems, too. :D

Categories: Flowers, plants, and trees, Whinnie's Terrace
December 19, 2020 | 0 commentsContainer tree, part 1
I made a small tree, but instead of planting this one in the ground, I wanted a container tree that I could reposition. I’m using the same wire and putty technique I’ve used in the past for the trunk, and candytuft for the foliage – notes at the bottom.
I measured the wire structure against the wall to make sure I had good height.

I used a clamp covered with plastic wrap to hold the tree while protecting the clamp.

Applying the putty.

Painting the tree.

Painting the separated candytuft branches — I ended up making quite a few more than shown here.

Ghost is modeling to show the smaller stature of the tree.

I built a container from basswood and small scale siding from my box of scraps.

I wanted something compact but believable in proportion to the tree.

I stained the planter box with Minwax stain; the color is Fruitwood.

I coated the interior with a heavy layer of tacky glue. This will seal it for when I get to planting the tree.

Update: finishing the container tree here.
———
Notes: Link to the first tree I made using this technique – follow the links in the first sentence back through the process. For the trunk, a good starting source if you can find it is the DVD Master Miniaturists: Landscaping Primer with Diane Myrick. I found mine through interlibrary loan. This whole series is just awesome! For the foliage, I used a tutorial by Connie Sauve on using candytuft, but the tutorial link is no longer active. I bought the candytuft from Scenery Solutions, but they no longer sell it.Categories: Flowers, plants, and trees, Whinnie's Terrace
November 20, 2020 | 0 comments
NOTE: All content on otterine.com is copyrighted and may not be reproduced in part or in whole. It takes a lot of time and effort to write and photograph for my blog. Please ask permission before reproducing any of my content. (More on copyright)


