
Making a 1/12 scale horse – part 3
Continuing work on the 1/12 scale model horse. I found a great tutorial about removing the tail and building up with Apoxie Sculpt, though this technique ends with a sculpted tail instead of fiber. This site directed me to two additional tutorials on Rio Rondo – one for adding a tail and one for hairing (these links are no longer active as of 2024). The hairing for this example does not drill holes for the mane, so I will be on my own for that, but it is good to see the prep work involved.
I ended up going with the wrapped wire tail from the second tutorial using 18 gauge copper wire (as an Amazon Associate, I earn from qualifying purchases).
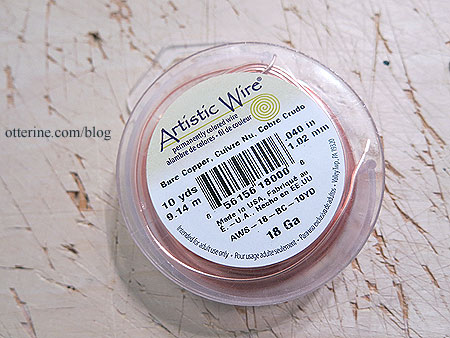
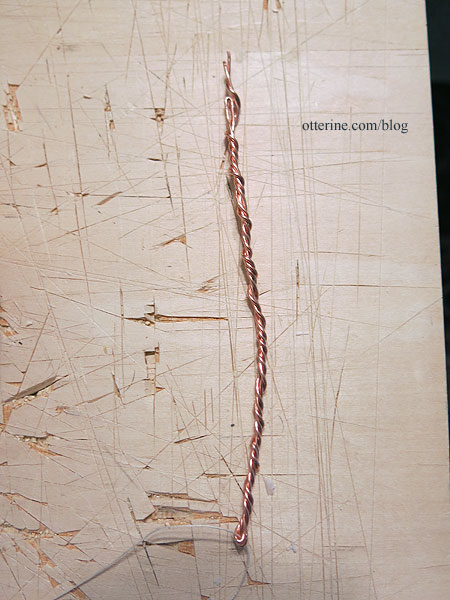
I followed the tutorial, but mine ended up looking a little different.
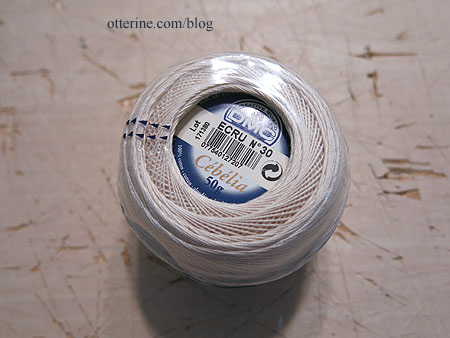
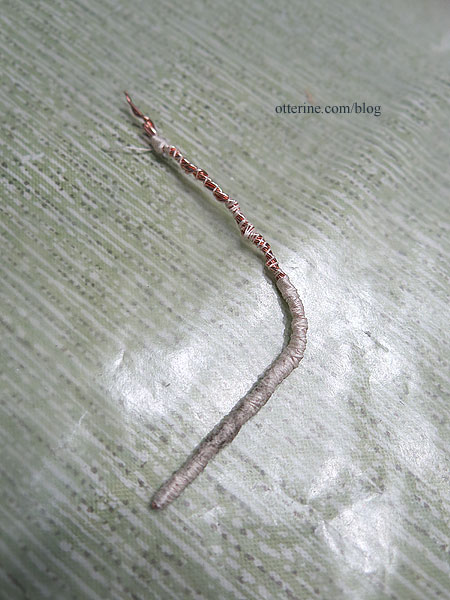
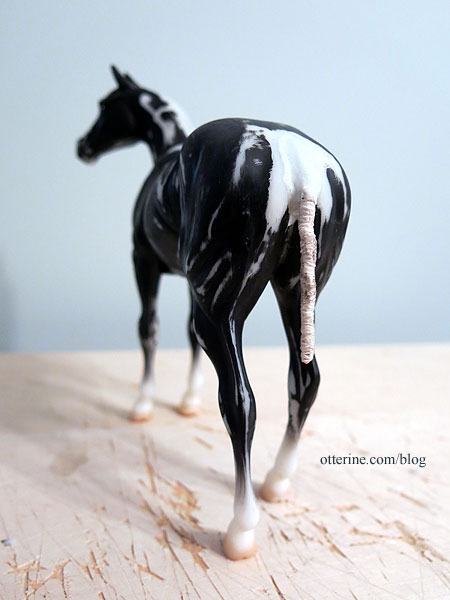
I wrapped the wire with DMC cotton using Weldbond adhesive.
I left it long since the horse body is partially hollow, and I thought the added length would be good for stability. When I inserted the wire, I added Weldbond and super glue gel to the top since it would likely come in contact with the body inside. Every bit helps.
I used Apoxie Sculpt for the next part (as an Amazon Associate, I earn from qualifying purchases).
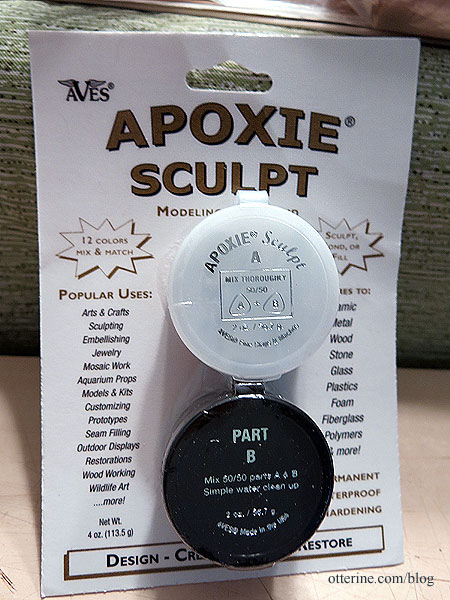
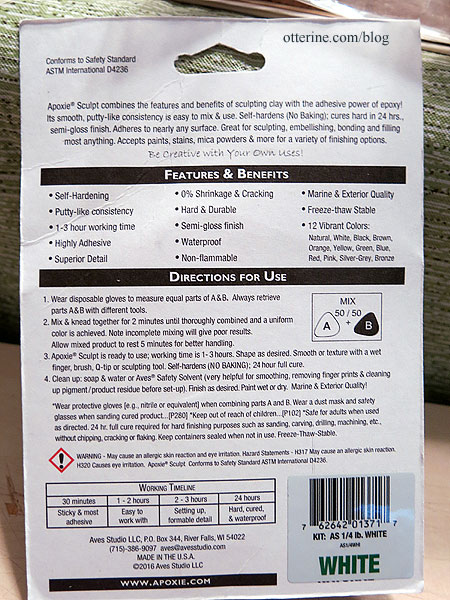
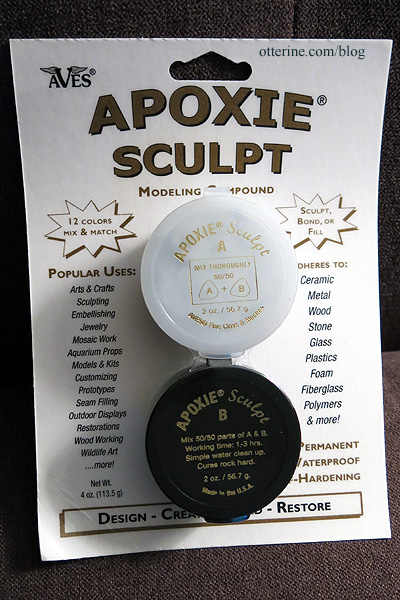
Some of the attributes listed on the back are promising: highly adhesive, 0% shrinkage and cracking, 1-3 hour working time, and 24-hour full cure. There’s a nifty table showing how the putty changes over the working time. It also comes in colors, which is less of an issue for me since I plan to paint the whole horse anyway. I’m using white putty.
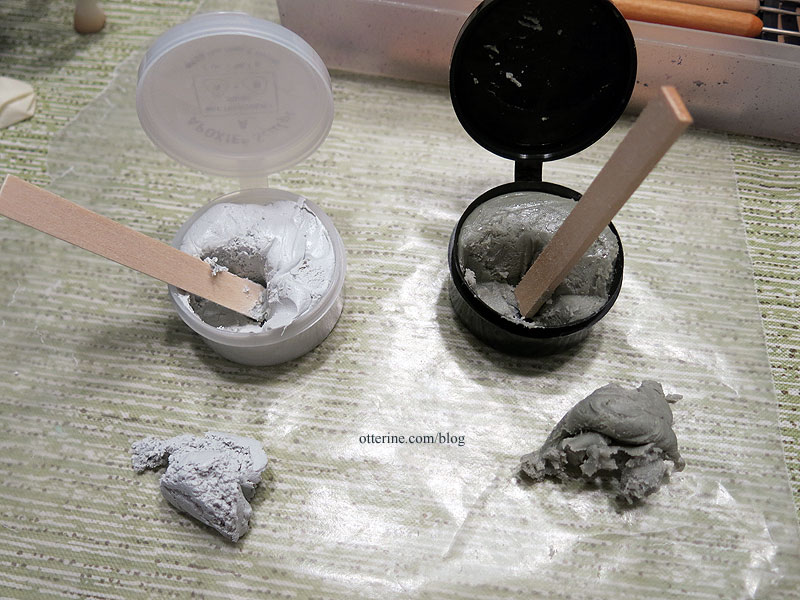
Part B was very stiff and sticky coming out of the cup, but it mixed easily. (Yes, I made way more than I needed, but I didn’t want to have to start over if I needed more.) I did use latex gloves while mixing but used my bare hands when working the putty into place. You can use water to smooth it, and the website recommends freezing unused portions to extend the life.
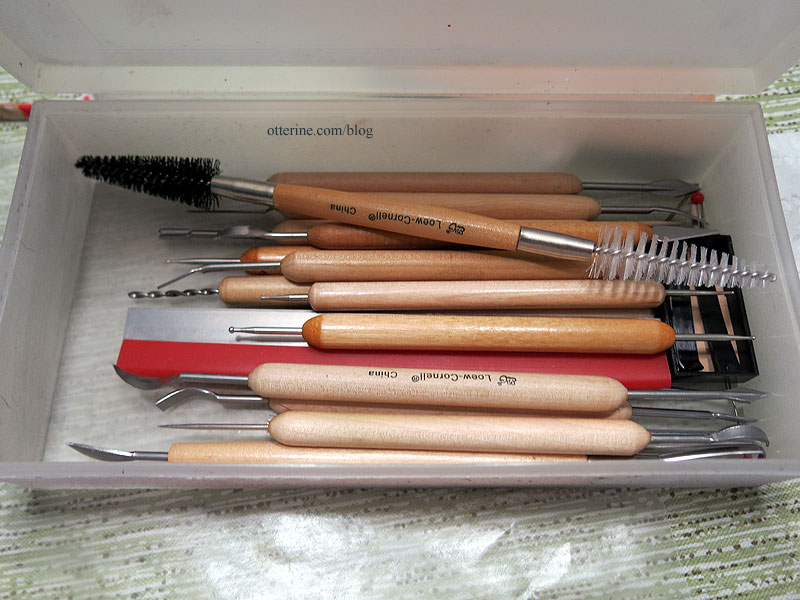
I also have a good set of sculpting tools from way back in my art days. :]
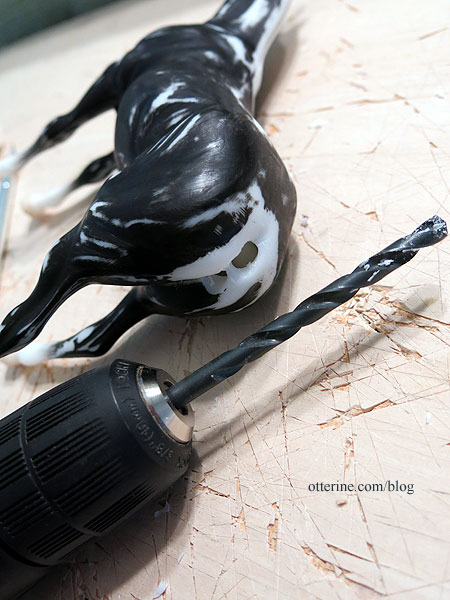
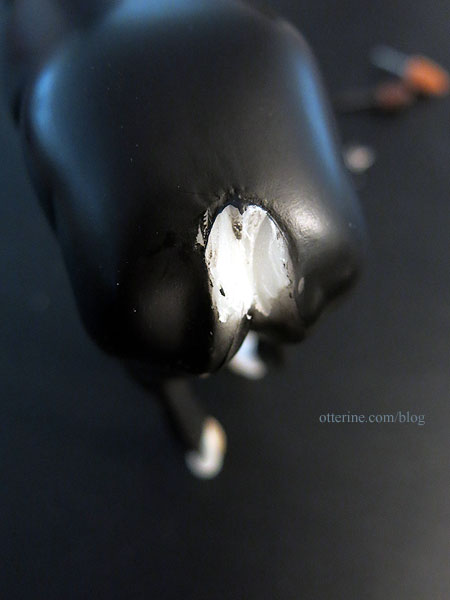
Using a 1/4″ drill bit, I drilled a hole for the wire, making it large enough to also add the putty. As you can see, I got the first hole too low. The drill bit wanted to slip on the smooth plastic.
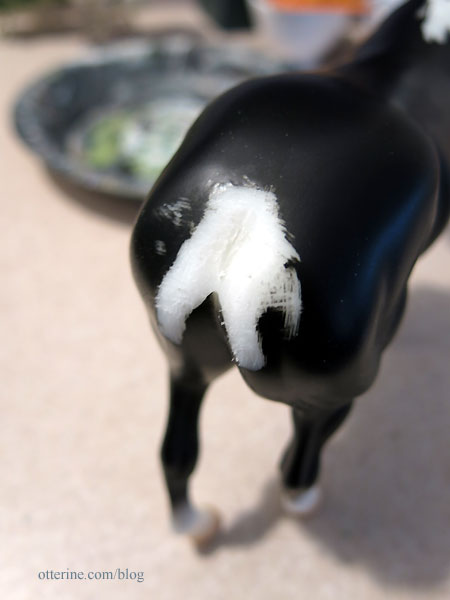
I sculpted the tail definition from the body to the wire and plugged the extra hole. Mine looks different from the tutorial, but I think it will work just fine. You can sand the putty once it’s cured, so I will smooth it out even more later.
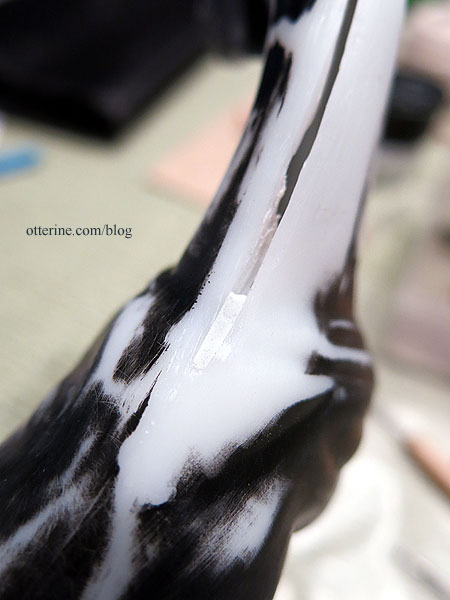
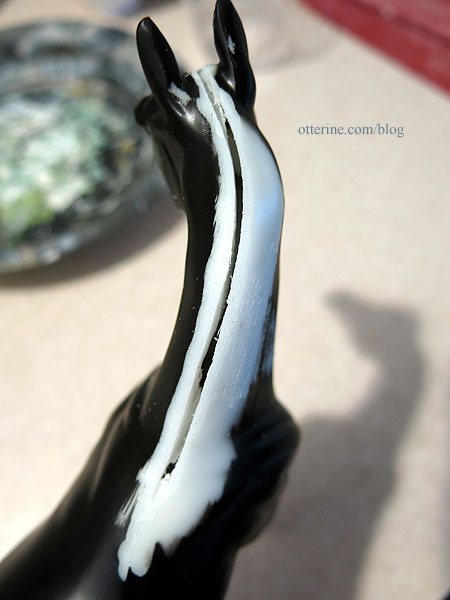
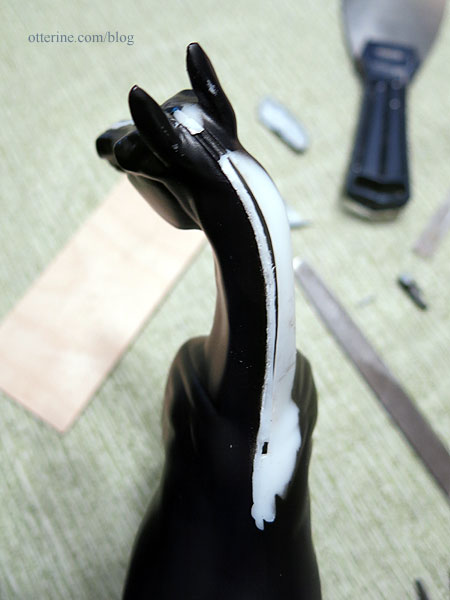
I used the same putty to fine tune the slit along the neck at the withers…
…and at the forehead.
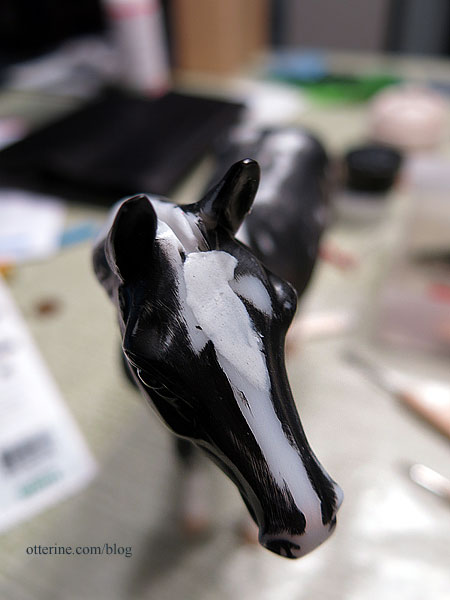
Now, I leave the putty to set.
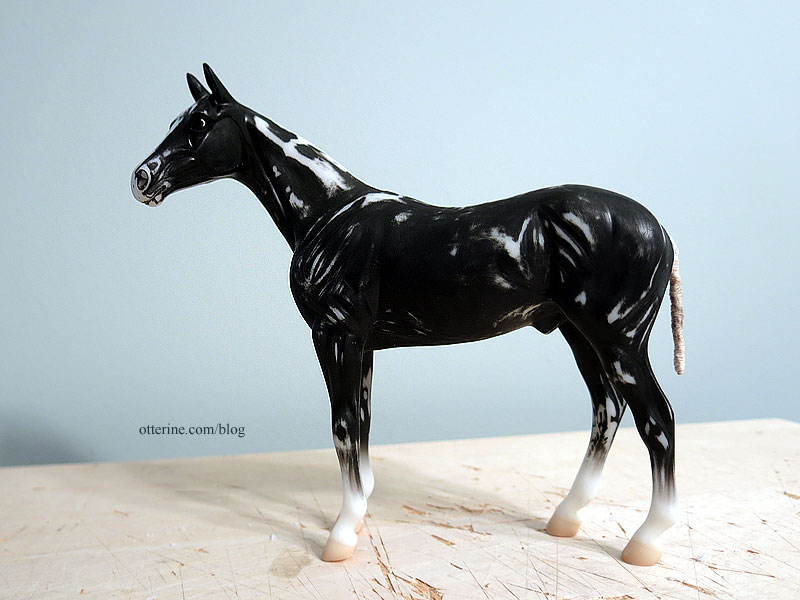
Categories: Animals and birds, Ivy Hollow RFD
February 21, 2019 | 0 commentsMaking a 1/12 scale horse – part 2
Continuing work on the 1/12 scale model horse. Once I removed the mane last time and saw the slit in the neck, I thought it might be easier to leave the slit to add the mane. I could glue the hair deeper into the body for a more secure bond. The slit does go to the top of the head, so I’ve cleaned it out and widened it to the withers.
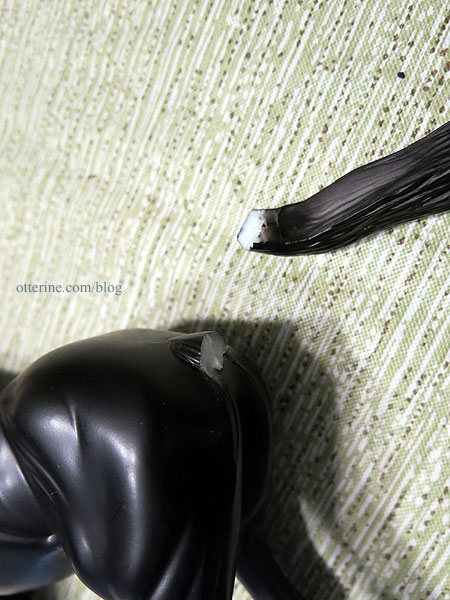
I used the Dremel to remove the tail nub left behind from breaking it off.
I then sanded the tail area. I’ll be repairing the area when I attach the tail support so I didn’t worry about the exact shape.
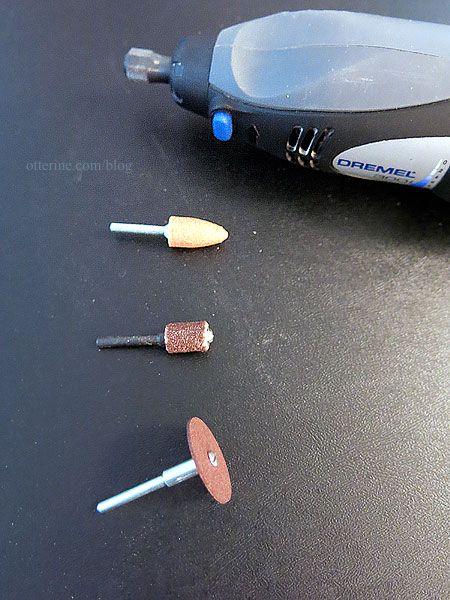
Here are the three bits I used in the process. The Dremel did melt the plastic as I worked, so I was sure to use protective glasses and a mask. I also made quick cuts and pulled the melted plastic as I worked.
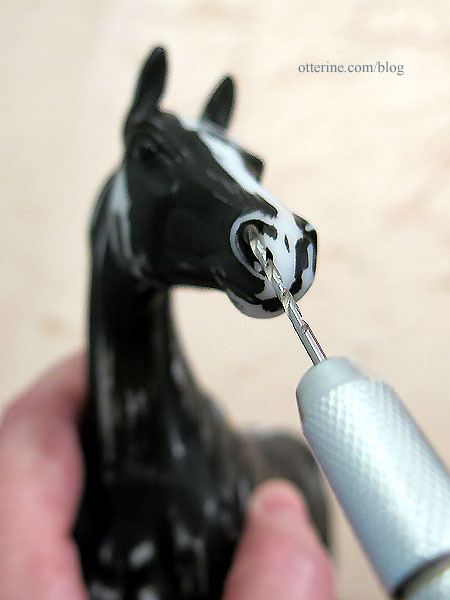
I drilled holes in the nostrils with a pin vise.
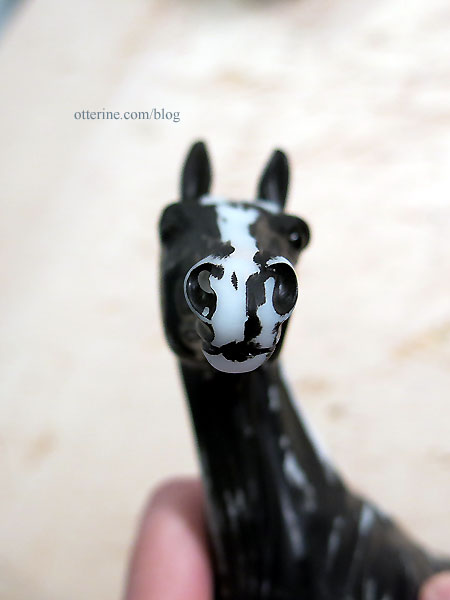
The one on the left has been drilled and the one on the right is original. You can already see a difference in the realism.
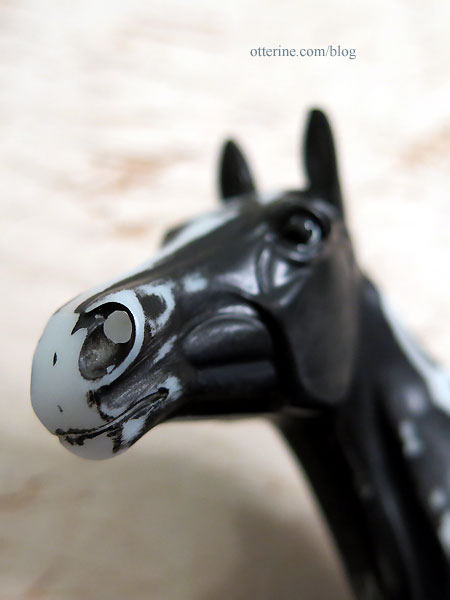
I fine-tuned the mouth with an X-Acto blade.
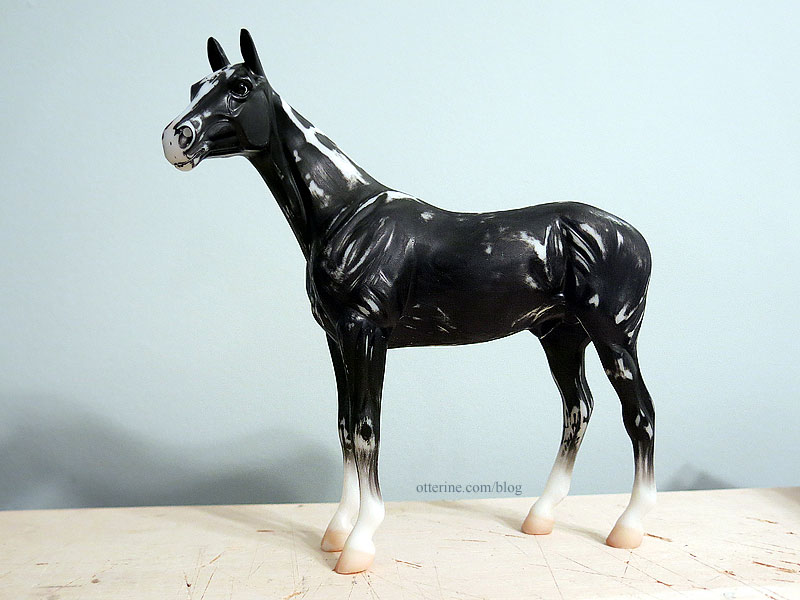
I sanded the few bad places from the deconstruction and then wet sanded the whole horse by hand with 320 grit. The finish on the plastic was very smooth and I wanted to make sure I had a good grip for the primer. I also removed the molded copyright from the inner thigh, random mold lines, and any other imperfections in the manufacturing process.
Categories: Animals and birds, Ivy Hollow RFD
February 11, 2019 | 0 commentsMaking a 1/12 scale horse – part 1
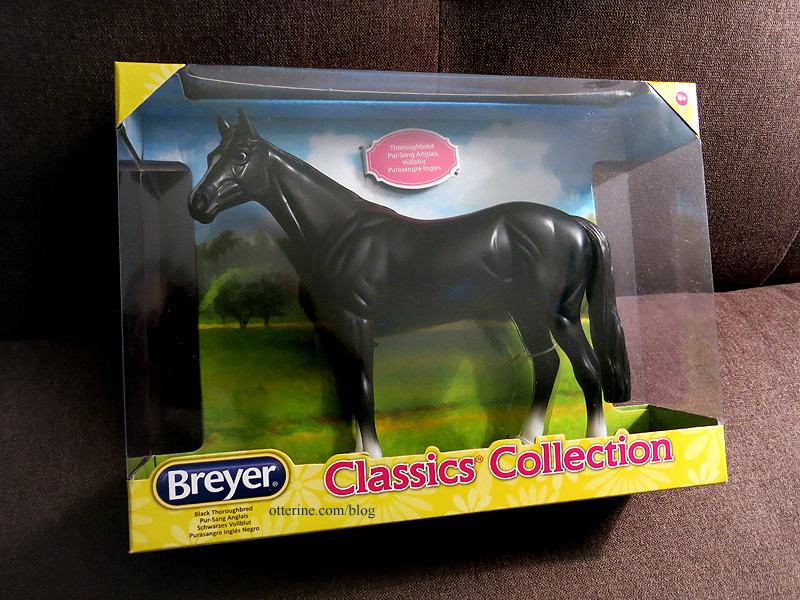
I’ll be starting with a 1:12 scale Breyer Thoroughbred. Adding flocking or fur adds bulk, so I thought I would start with the leanest horse model available. Of course, you can scrape down a model before flocking as well but I’d rather keep it as simple as possible.
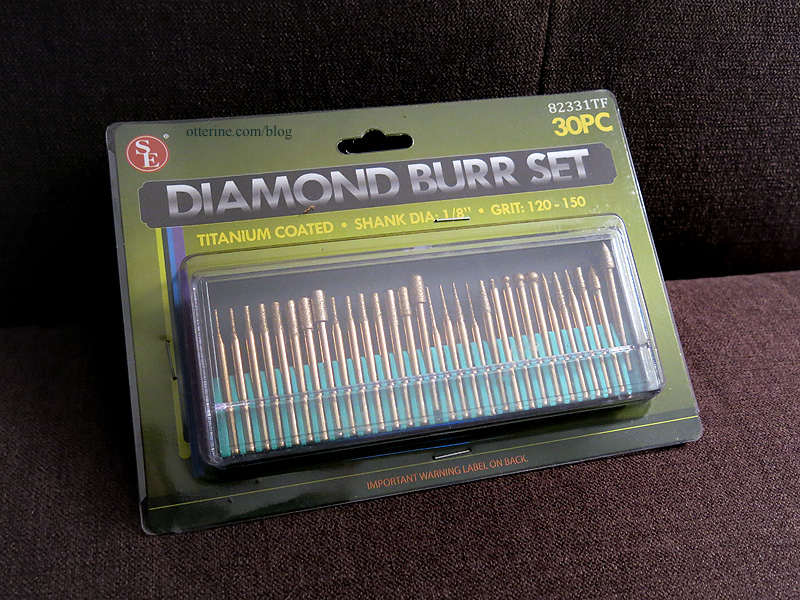
I picked up a set of diamond burrs for my Dremel to help with the deconstruction (as an Amazon Associate, I earn from qualifying purchases).
I found a great tutorial about removing the tail and building up with Apoxie Sculpt, so I picked that up as well even though I plan on having a mohair mane and tail (as an Amazon Associate, I earn from qualifying purchases).
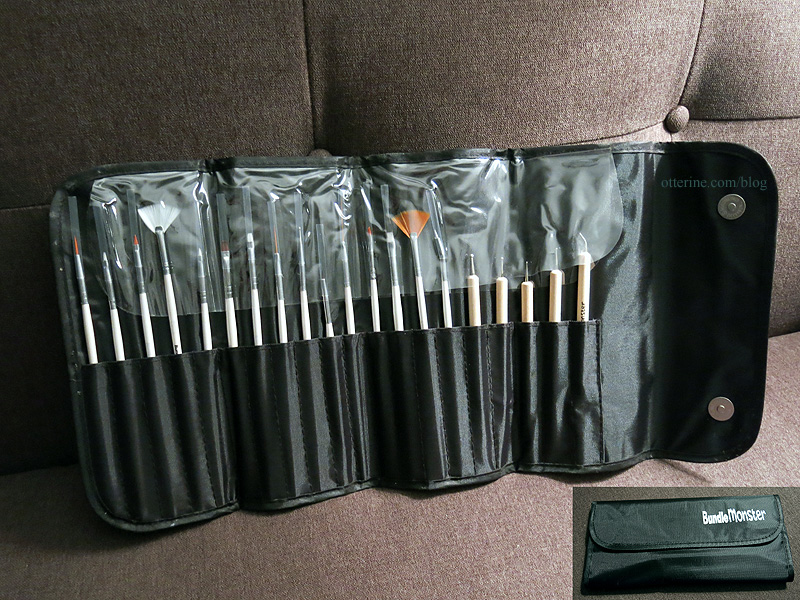
After the deconstruction and any necessary remodeling, I will begin with painting. I’ve always had a fondness for roan horses, so I might give that a go. A friend sent me a fabulous set of brushes and clay tools called a Bundle Monster that will be invaluable here.
In the time since I bought the horse, the plastic mane had lifted from the neck. It made it easier to wedge in some pliers to pry off the mane.
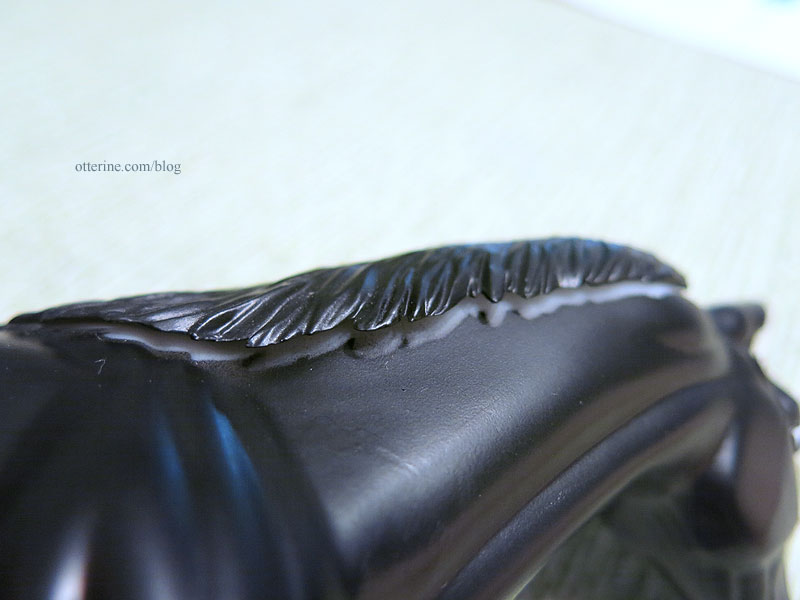
One thing I didn’t like about the plastic mane from the beginning was that it was formed on the side away from the direction of the horse’s gaze. Removing it for a mohair mane means I can style the hair toward the side I prefer.
The nostrils might benefit from drilling in a deeper hole and the mouth could use some fine-tuning. I’ll need to sand the mold line on the tip of the snout.
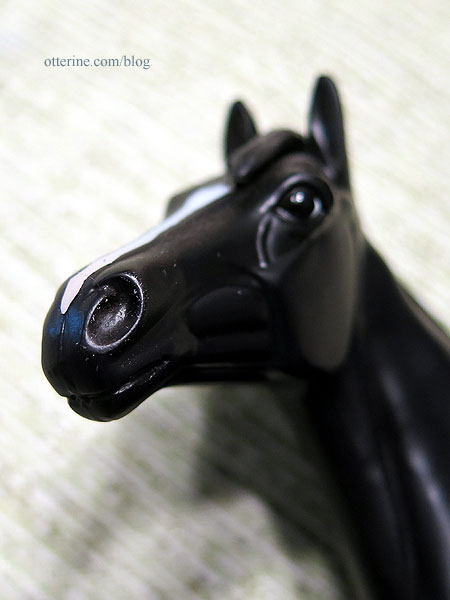
The eyes are great, so I will take care not to paint over those. The front mane has come detached from the small contact points as well.
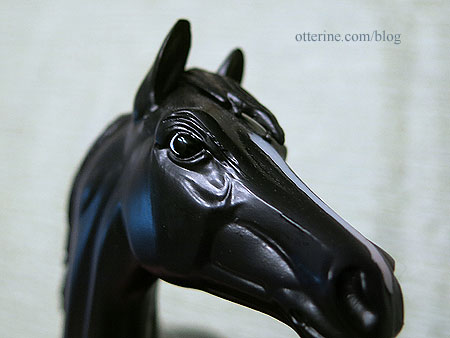
I cleaned up the spine with a utility blade and will fine tune by sanding. The gap will need to be filled, though it might be a good way to add the mane more securely. I’ll think on that a bit. I need to replace the putty I bought three years ago since I don’t want to take the chance that it has gone bad.
The tail was easy enough to lift and break off since it had no contact points with the legs. I’ll need the Dremel to cut away the remaining excess, but that’s for another day.
Categories: Animals and birds, Ivy Hollow RFD
February 4, 2019 | 0 commentsNot all ghosts are scary…
I’m feeling sentimental this Halloween, and this lovely kitty cat has a lot to do with it. Halo is a beautiful creation by Maya Schippl.
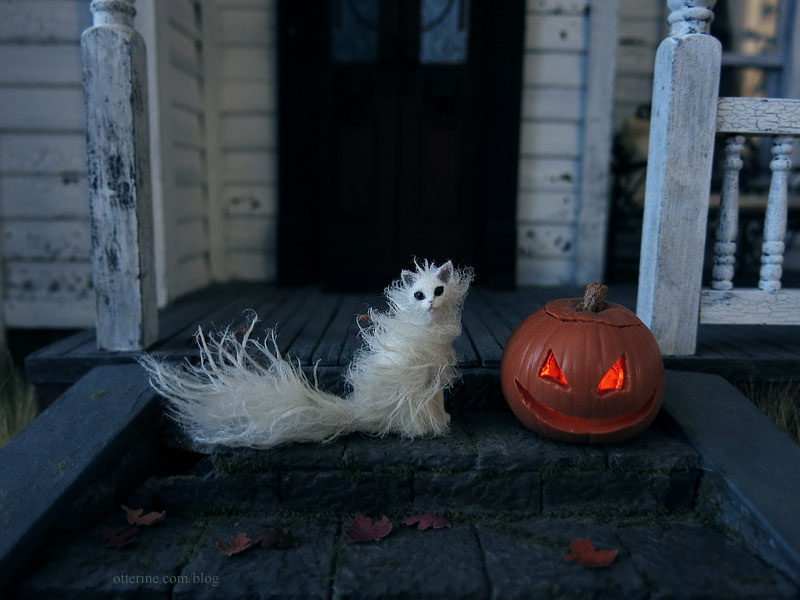
Halo reminds me not only of cats from my past, but all the precious pets that have come and gone, each special in their own way. Perhaps this Halloween we will each be granted a visit from our beloved animals who live on in our hearts, and the treats we enjoy will remind us of sweet memories. :] Happy Halloween!

Categories: Animals and birds
October 31, 2018 | 0 commentsFinn
This adorable meow is Finn. He apparently wandered into Half Clocked and fell asleep when work ceased for the evening. :D
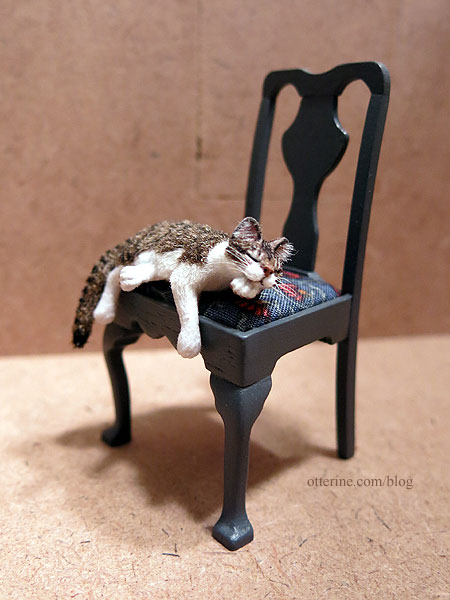
He is made by JMDS.

I won’t wake him right now, but this evening he will have to move so I can continue my work. zzzzzzzzzzzzzz

Categories: Animals and birds
August 2, 2018 | 0 commentsHappy Groundhog Day 2018
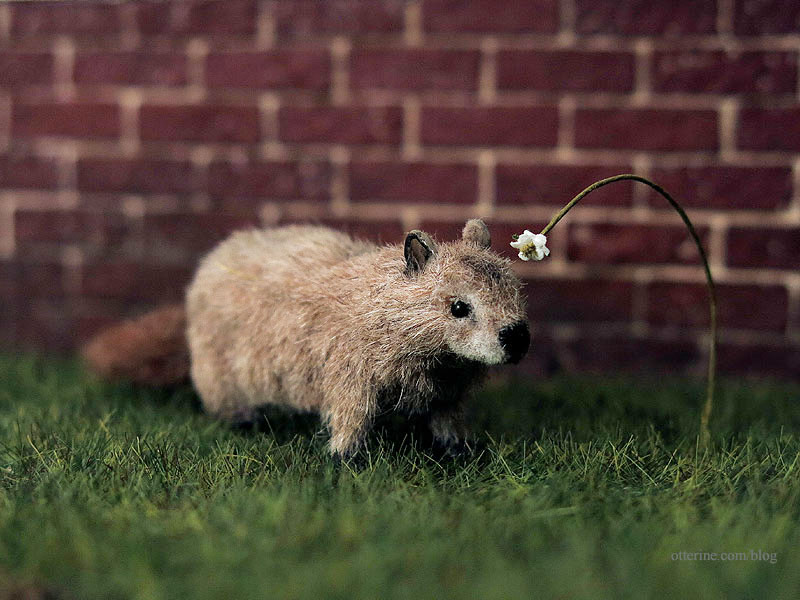
Woodrow is busy looking for signs of spring on this cold Groundhog Day, and I think he’s found something! Fingers crossed for an early Spring!!! Actually, I’d even settle for a temperature consistently out of the holy-crap-it’s-bitter range. :\
Categories: Animals and birds
February 2, 2018 | 0 commentsAuguste
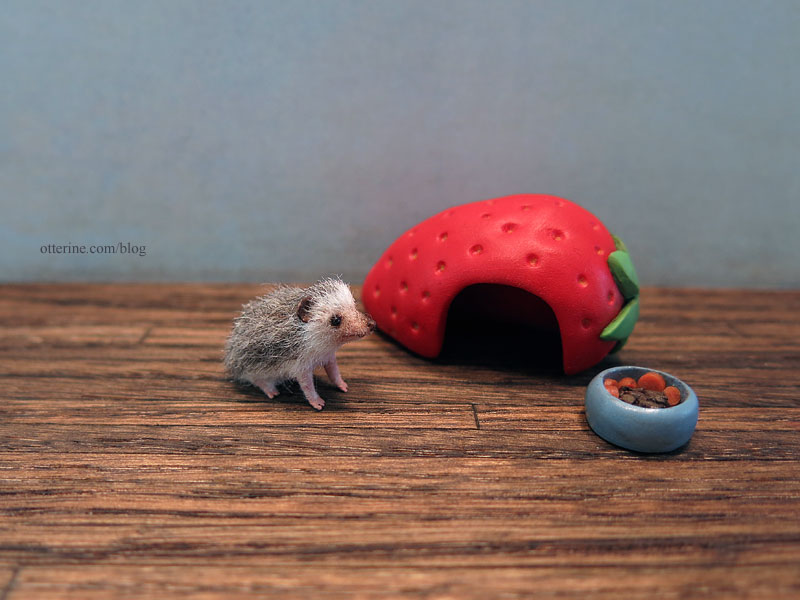
This is Auguste, and he is as cute as a button. :D
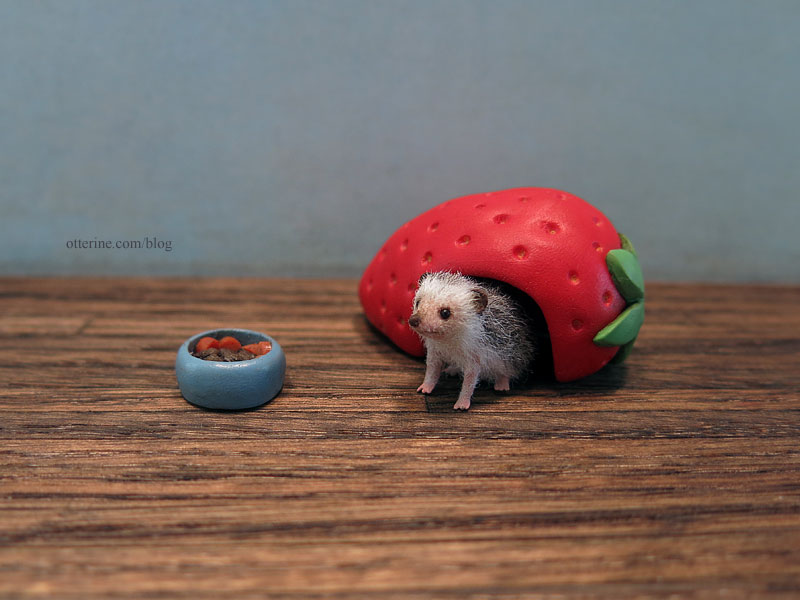
Auguste is a clever hedgehog made by A. Gabriela Z. Rodriguez of agzr*studios.
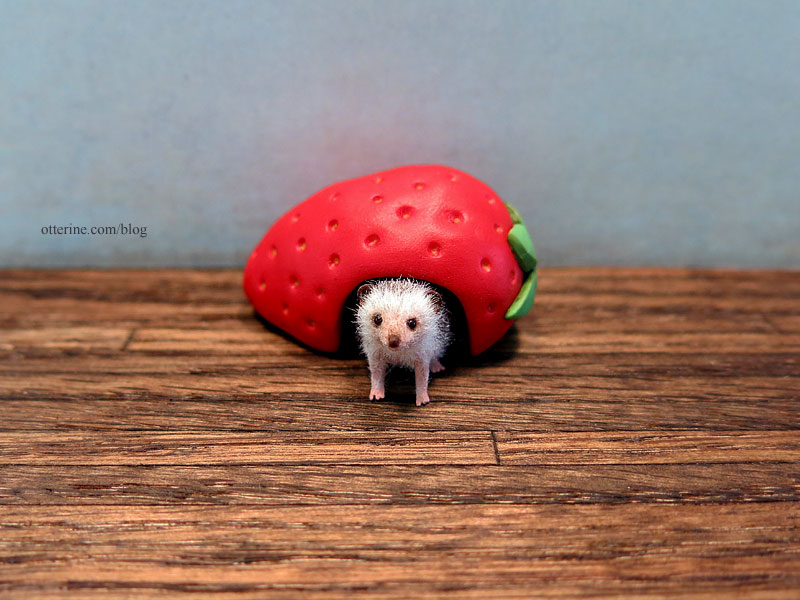
She included a strawberry house and food bowl. I love the strawberry especially. It’s the perfect hideout and makes me want to build a blanket fort for myself! :D
Categories: Animals and birds
August 1, 2017 | 0 commentsHappy Groundhog Day 2017
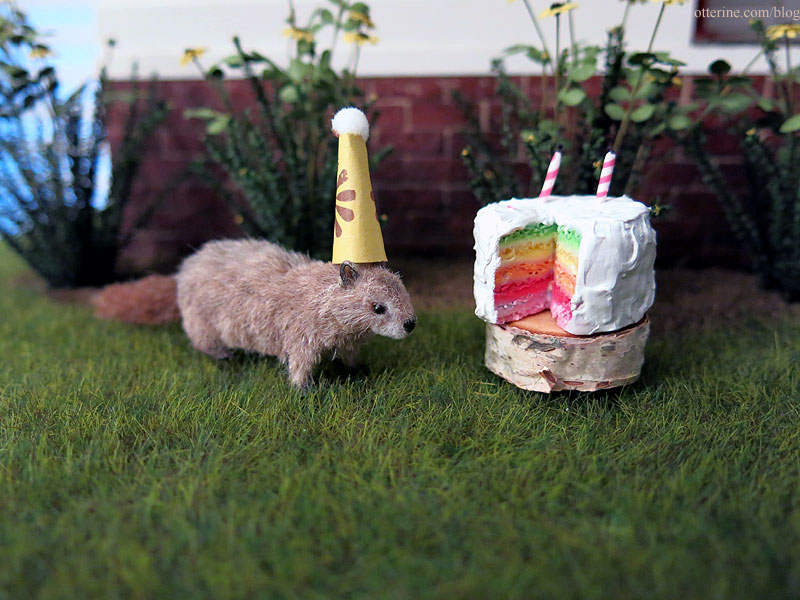
According to legend, if the groundhog sees his shadow on this day, there will be six more weeks of winter. If he doesn’t, then there will be an early spring. Since it’s a bright sunny morning here, I am distracting Woodrow with cake! :D Happy Groundhog Day!
Categories: Animals and birds
February 2, 2017 | 0 commentsGrover
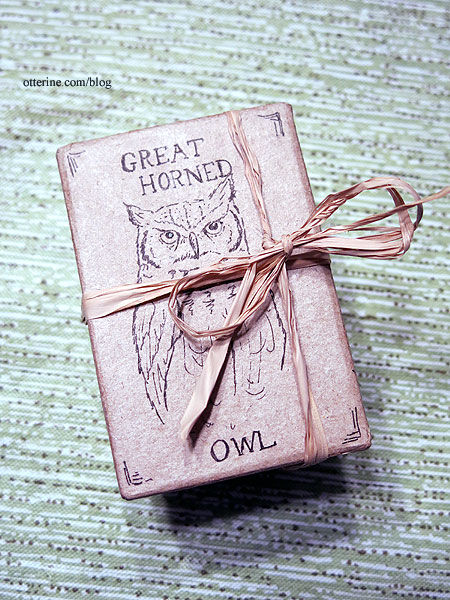
There’s a new bird in my collection. :D It’s becoming rather a zoo around here. This is Grover, and he is a Great Horned Owl made by tmd_art on eBay.
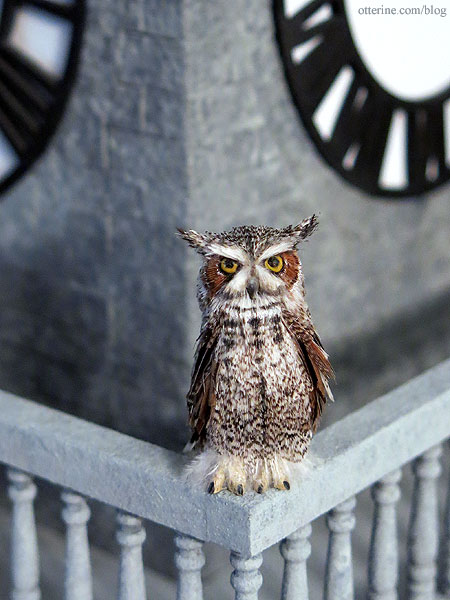
The feathers are so well done and true to life. Looks like he’s found a rather good perch on the railing of Roland’s Retreat.
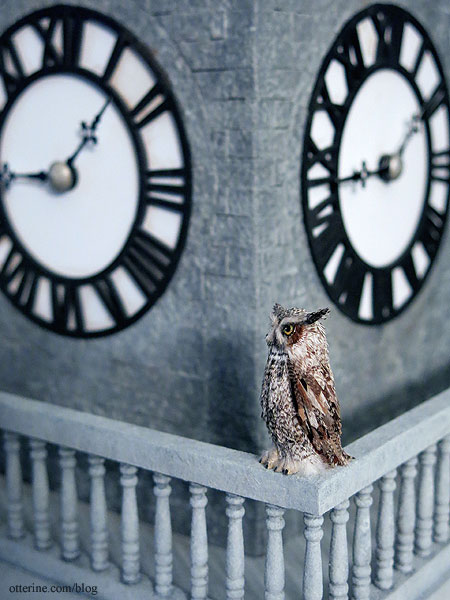
Even the box he came in is a work of art. :D
Categories: Animals and birds
December 1, 2016 | 0 commentsLucius and Igraine
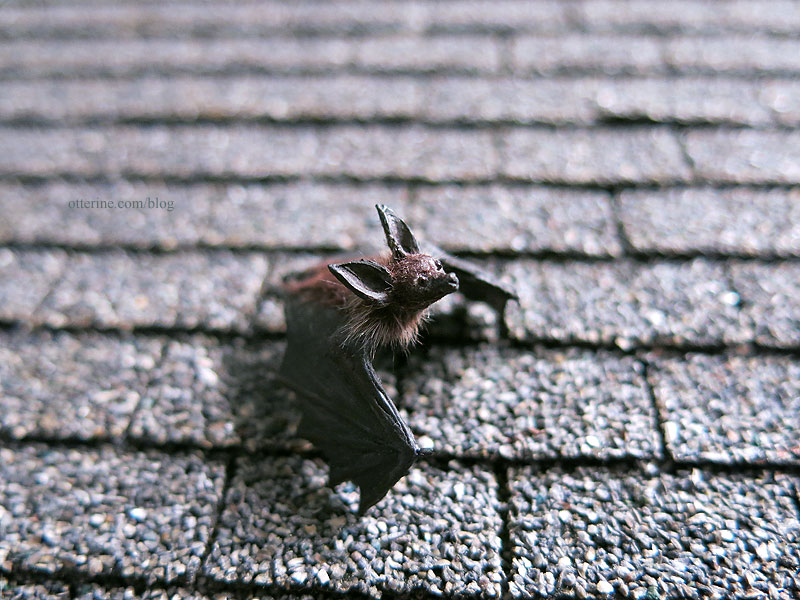
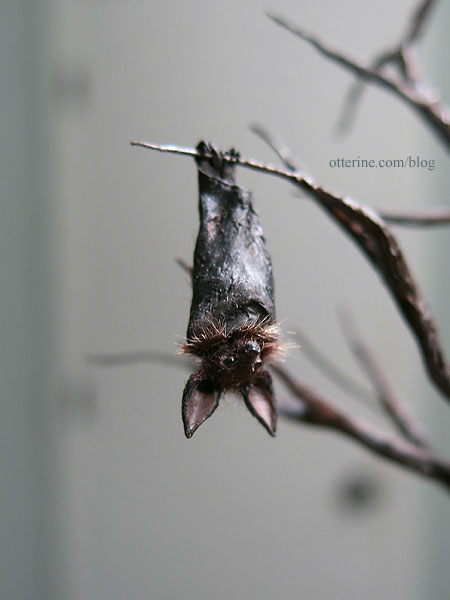
These lovely bats arrived with their own Halloween tree.

These adorable bats and tree are the work of Olga Proshina. Igraine has open wings.
Lucius is wrapped up tight. :] Both have super cute expressions and are removable from the tree, so they can be used in other scenes.
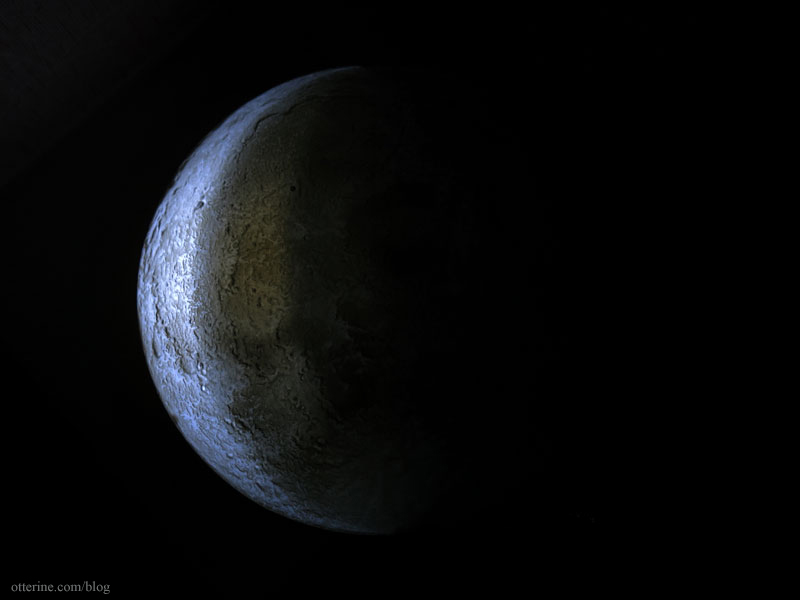
The moon is Uncle Milton’s Moon in My Room.
Categories: Animals and birds
October 30, 2016 | 0 commentsBird perches
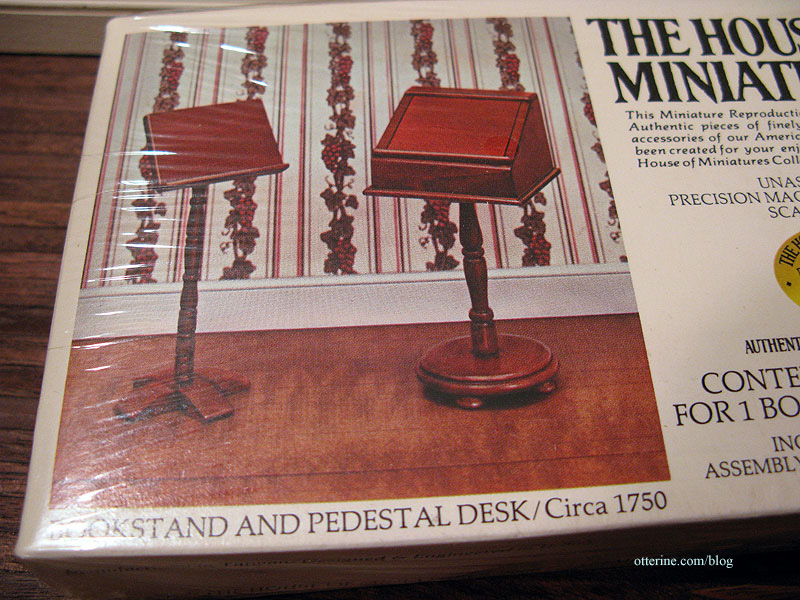
I re-purposed two House of Miniatures kits for Clyde and Sam — a bookstand and pedestal desk. I’ve kept the tops for other uses.
I finished them in dark walnut with a satin varnish. Pretty birdies!

To make the perches, I used pieces from the old tree branch I used in The Artist’s Studio. The wood is stained to match.
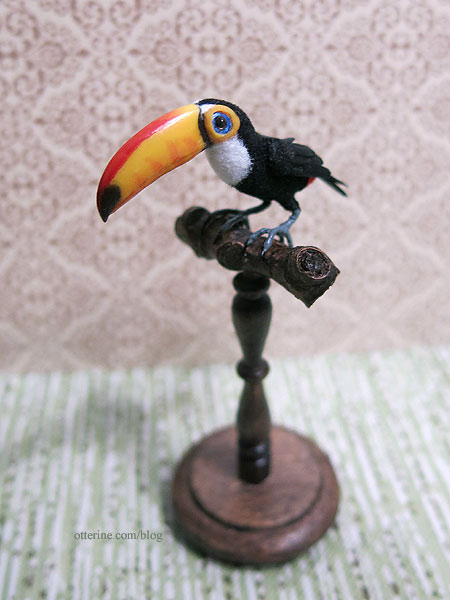
Now I can have them on the bookshelf instead of packed away in their boxes. :D
Categories: Animals and birds, Furniture
October 13, 2016 | 0 commentsSkeleton flamingos
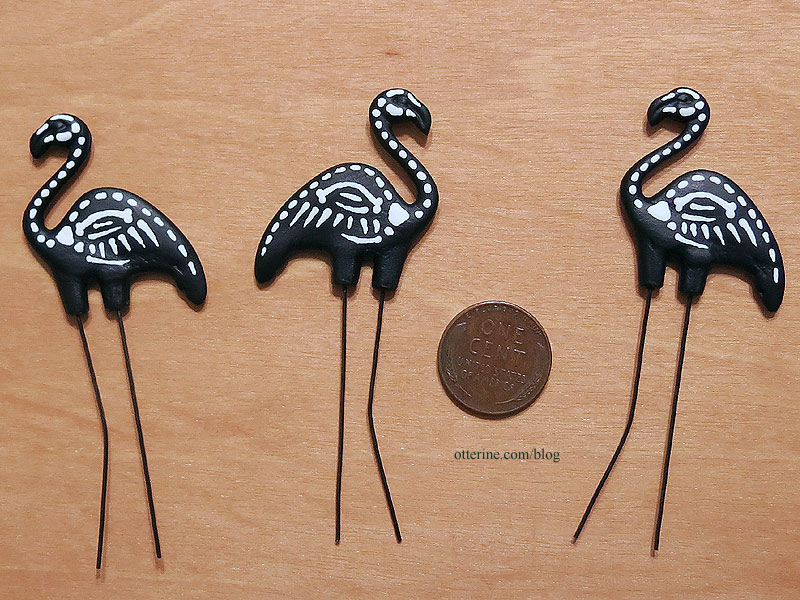
Who doesn’t love a kitschy lawn ornament or three? :]
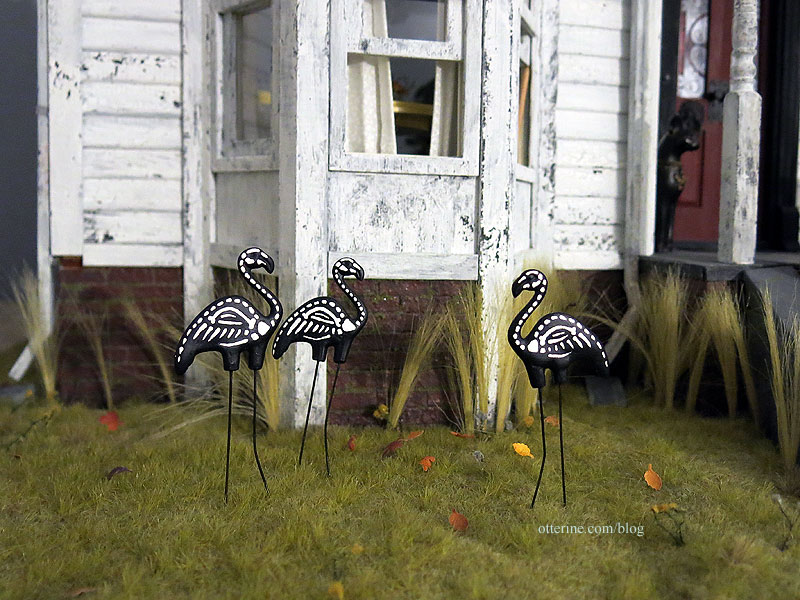
These flamingos spend their undead existence meandering across the Haunted Heritage lawn.

I usually have these listed in my etsy shop year round. :]
Categories: Animals and birds, Miniatures
October 6, 2016 | 0 comments
NOTE: All content on otterine.com is copyrighted and may not be reproduced in part or in whole. It takes a lot of time and effort to write and photograph for my blog. Please ask permission before reproducing any of my content. (More on copyright)

Bishop Show April 2022
First time since 2019!!! So good to be there and see so many people again. Chicago International is running through tomorrow so there is still time to shop if you’re in the Chicagoland area.
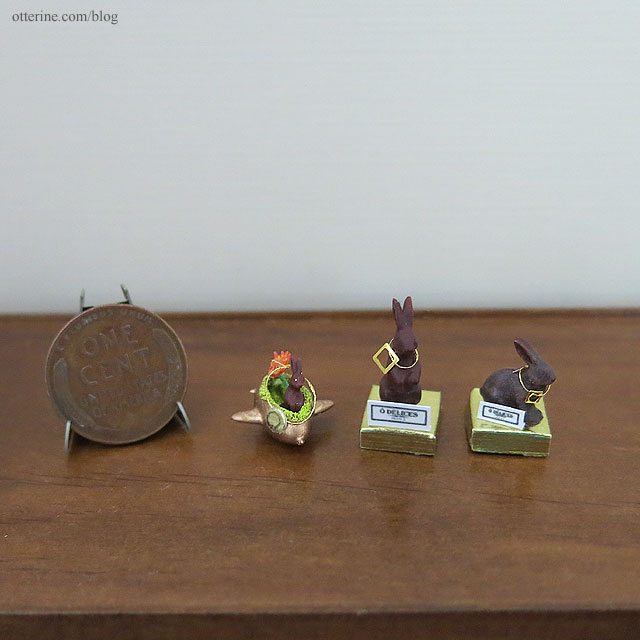
Lamis Minis. I hopped right up to Pia’s table first, because I wanted bunnies! I was second in line, so after the first person shopped (not for bunnies), I was able to go just a bit bonkers.
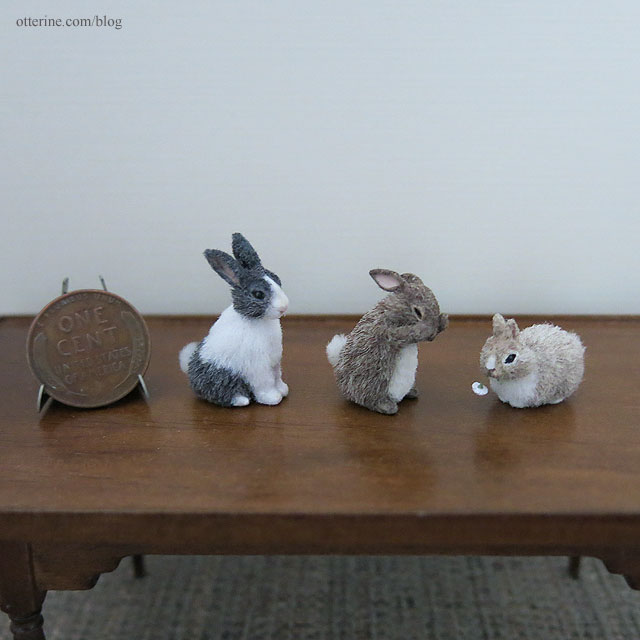
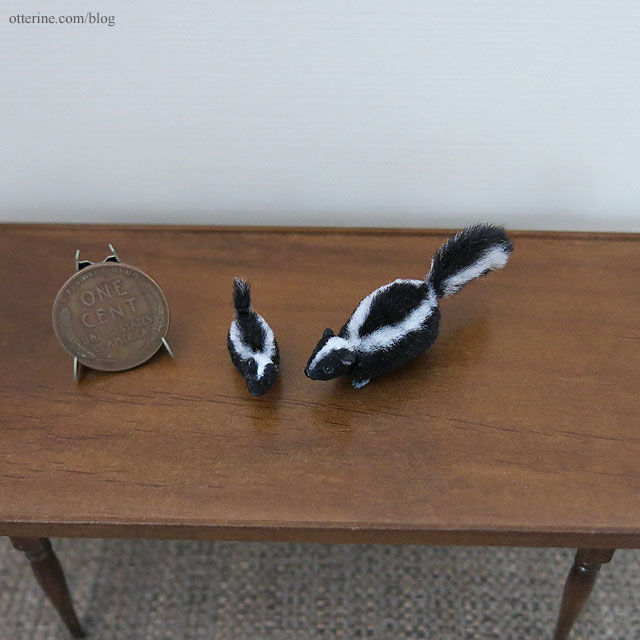
I picked up another skunk not shown here for a friend who could not attend the show and got the mom and baby for myself.
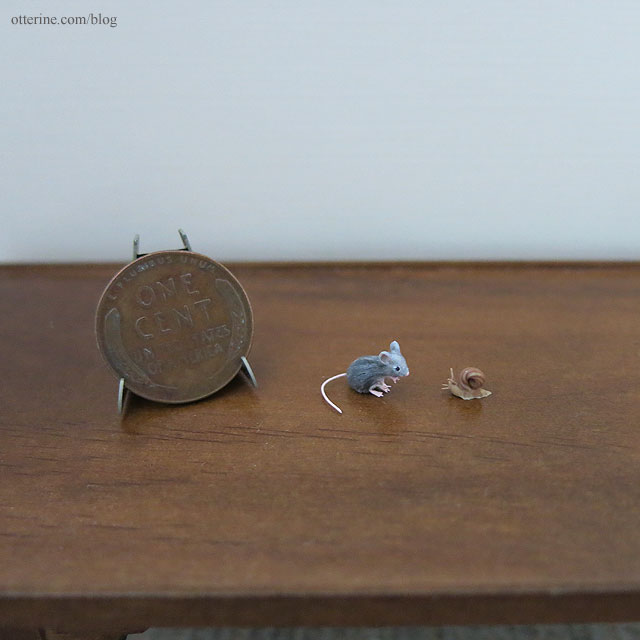
I also picked up a snail for another friend and got a mouse and a snail for myself. Poor Pia had to do a lot of rearranging after all that.
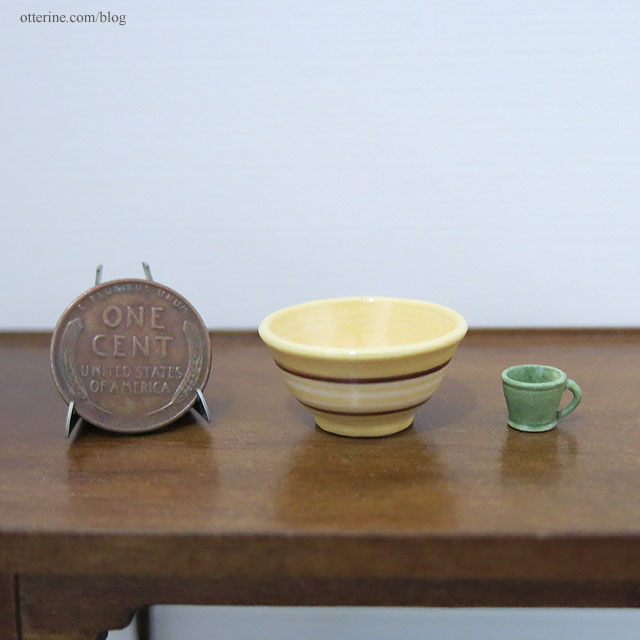
Jane Graber. I usually visit Jane’s table right away as well, but this time it was three people deep and all the way across. The booth looked like locusts had swept through. I did go back and was able to pick one bowl and mug.
Puppenstübchen. Last time, they had a great deal more kits.
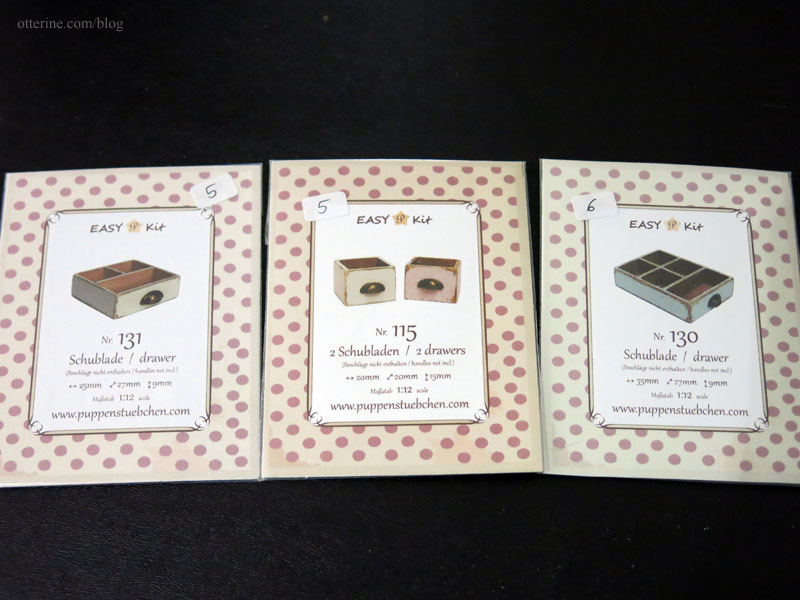
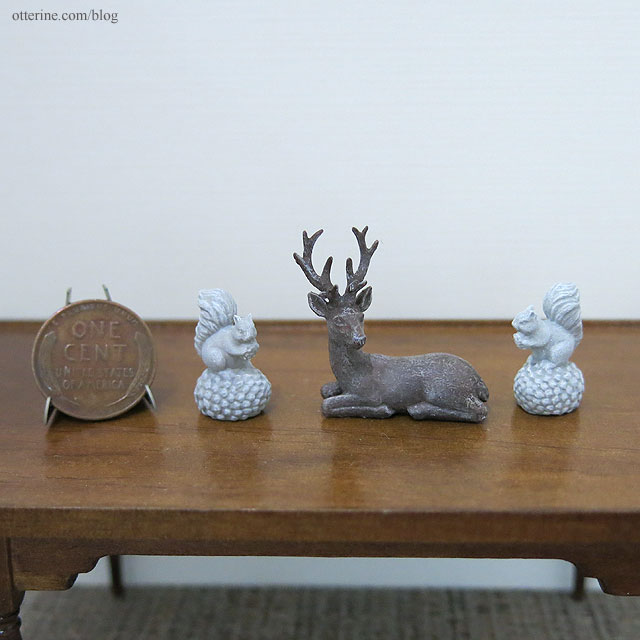
But, their finished accessories and furnishings are also lovely.
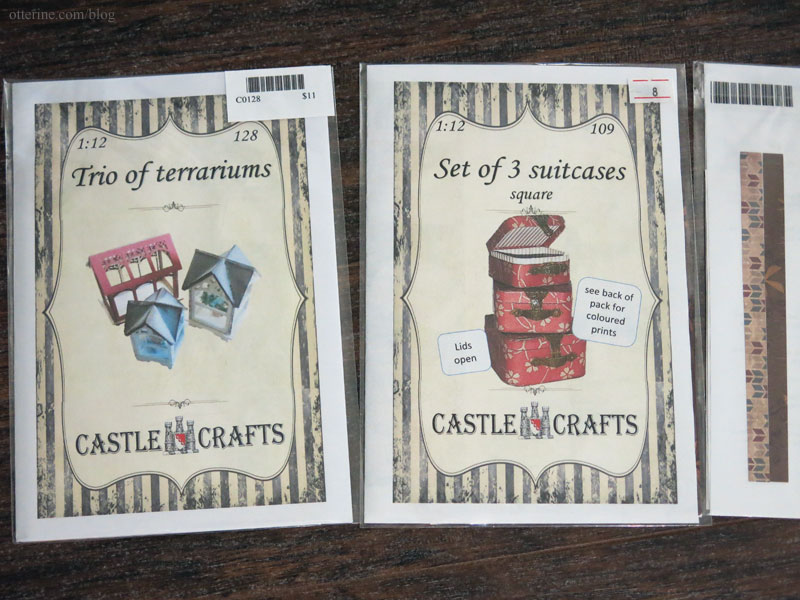
Castle Crafts. New kits here, but I also picked up some that I didn’t already have. The suitcases came in different colors, and the papers included were shown on the back. Very easy to go through and see what you’d like.
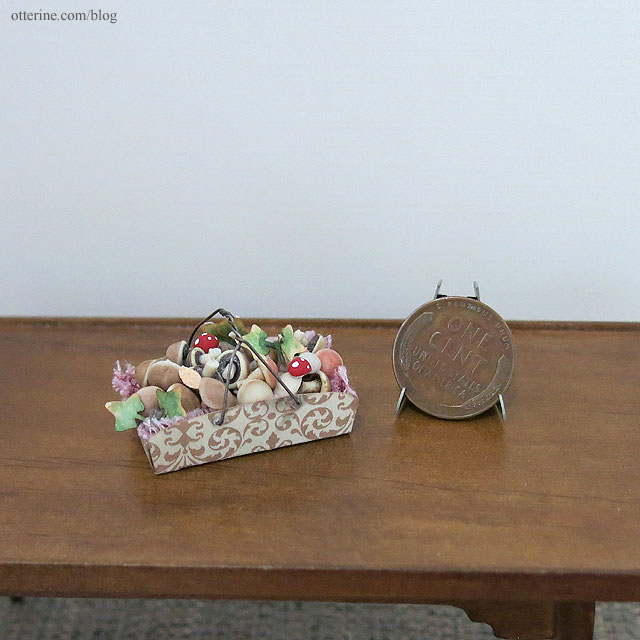
They also had these lovely baskets of mushrooms.
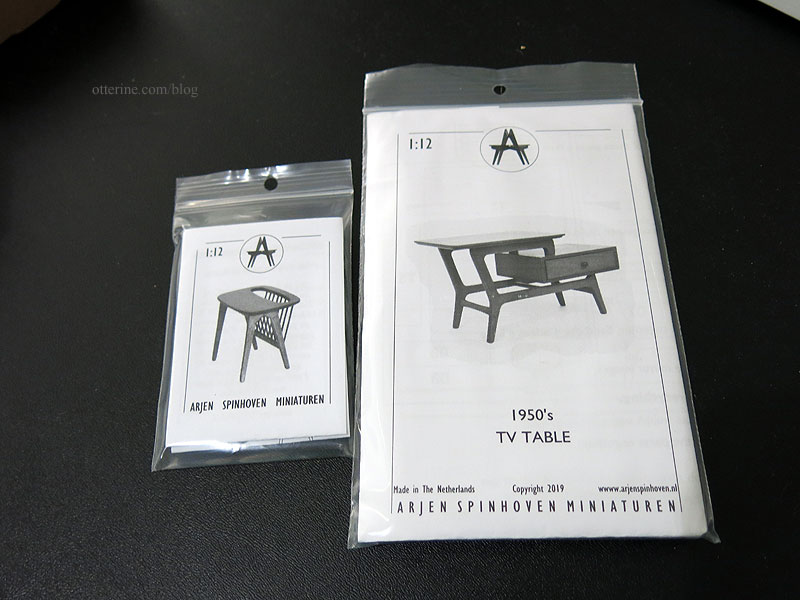
Arjen Spinhoven. I always enjoy seeing Arjen, and I believe this was his first time at the Bishop Show. I was happy to see his table was very busy every time I passed by.
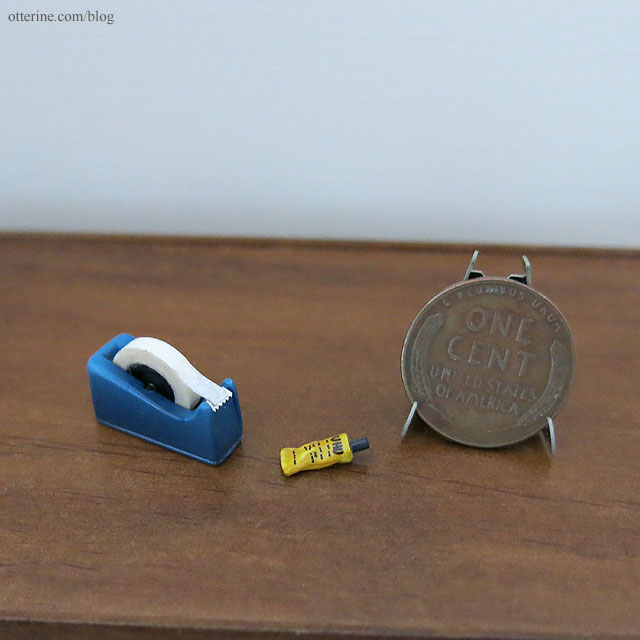
Ulus Miniaturas. Considering my real life purchase not long ago, the tape dispenser made the most sense. And where there’s tape, there’s glue.
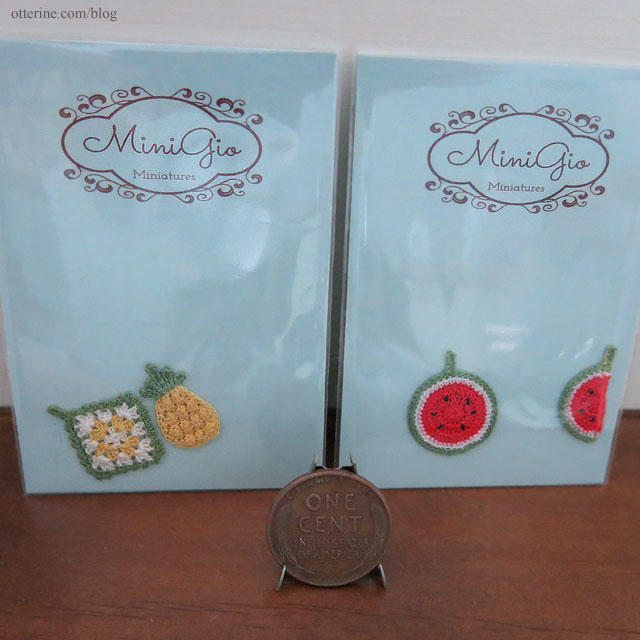
MiniGio. I bought the pineapple set awhile back but bought the watermelon set at the show.
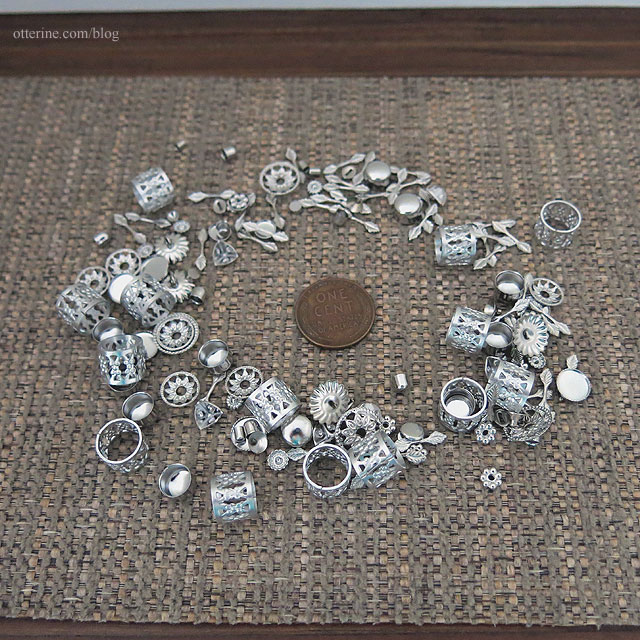
Bindels Ornaments. Another vendor I always enjoy seeing. They have the best selection of bits and bobs as well as packaged kits and lots of examples on what you can make.
Oiseau deNim. I have known Peiwen through blogging for years, but this was the first time we’ve met in person. We giggled and hugged, and it was so wonderful! :D She makes the most amazingly detailed tiny miniatures and sells molds for you to make things yourself.
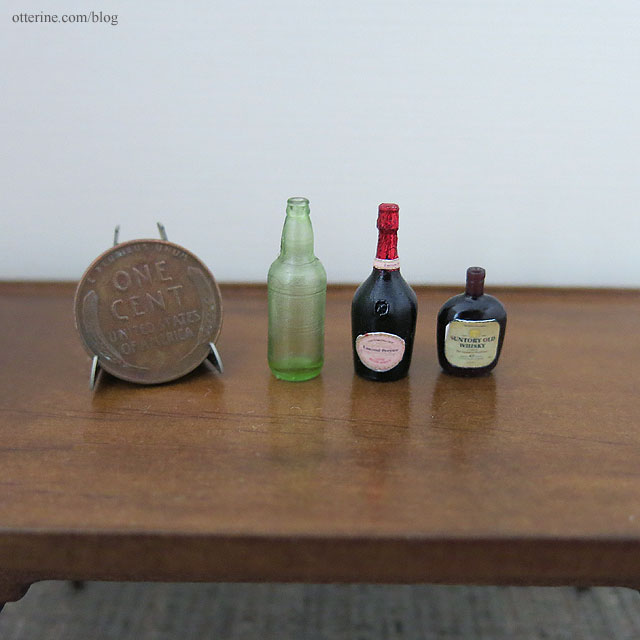
Creations by Lynette. Lynette is not only a talented ceramics maker but was a delight to meet!
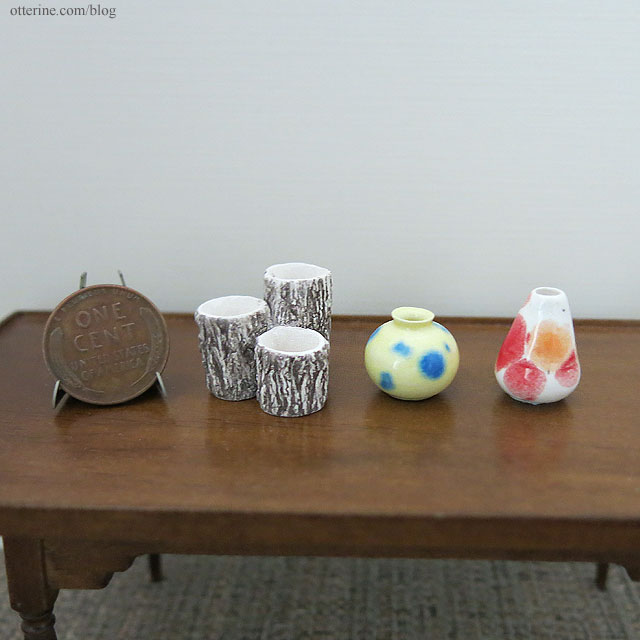
Chris Toledo Miniatures. Seeing photographs of his work is one thing, but if you ever can get to a show where he has his roomboxes, you must go. The attention to detail and wonderful finishes are top notch! What’s especially wonderful is you can purchase some of his fixtures as DIY. :D
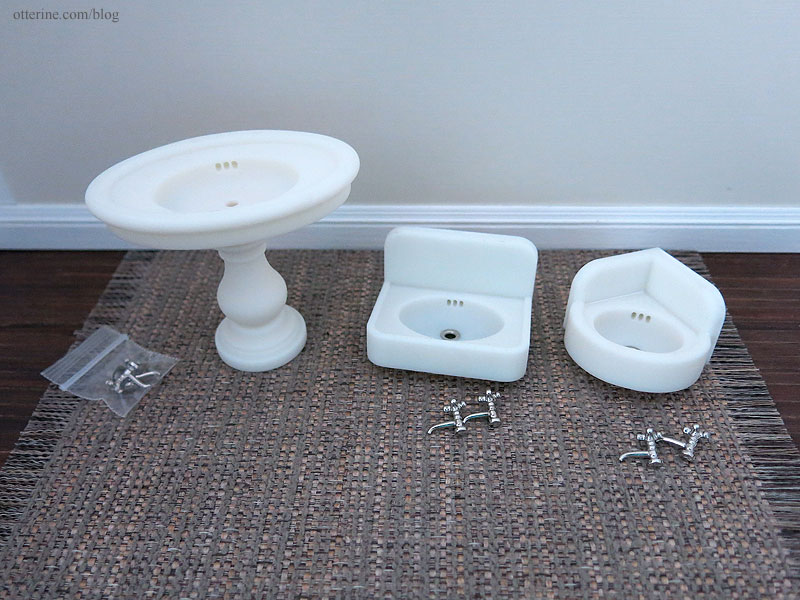
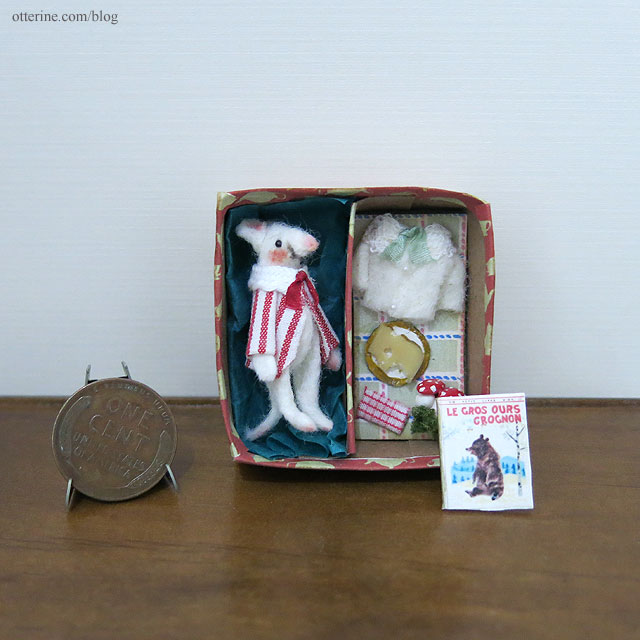
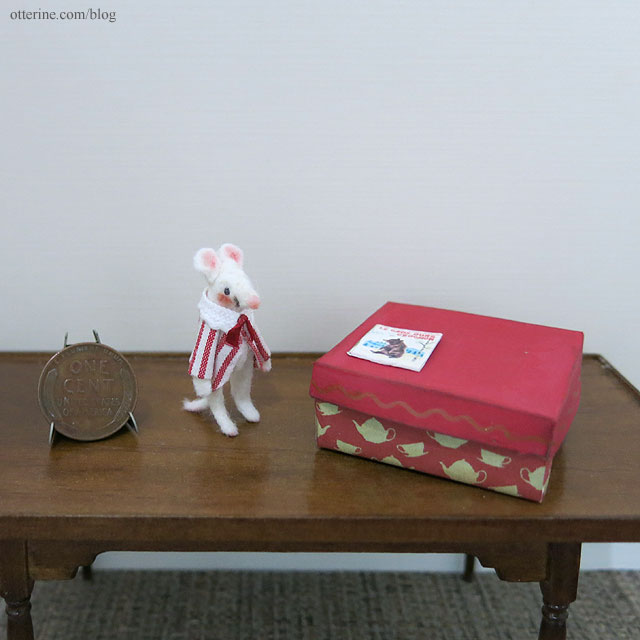
Véronique Lux. I love her storybook animals. :D
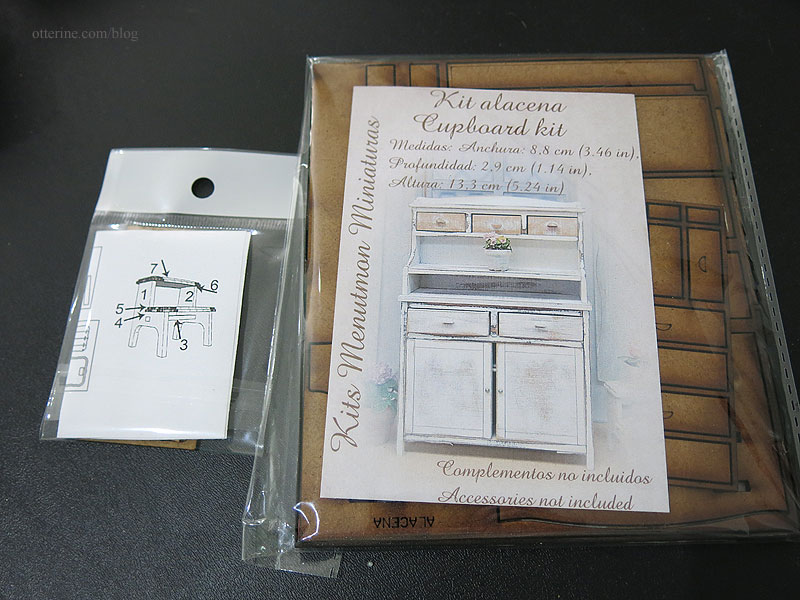
Menutmon Kits. They didn’t have many kits with them, though they are available on the website.
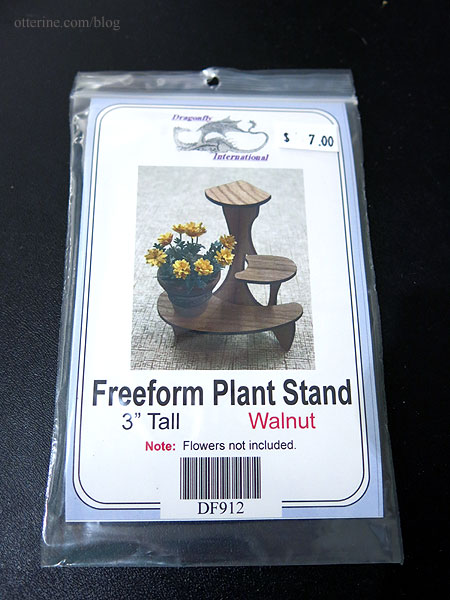
Dragonfly International. I always find goodies at this table.
Categories: Animals and birds, Miniature Shows and Shops
April 30, 2022 | 0 commentsHappy Halloween from Bert and Halo
Happy Halloween from the Haunted Heritage! Bert is reading Edgar Allan Poe to Halo and waiting on trick or treaters.
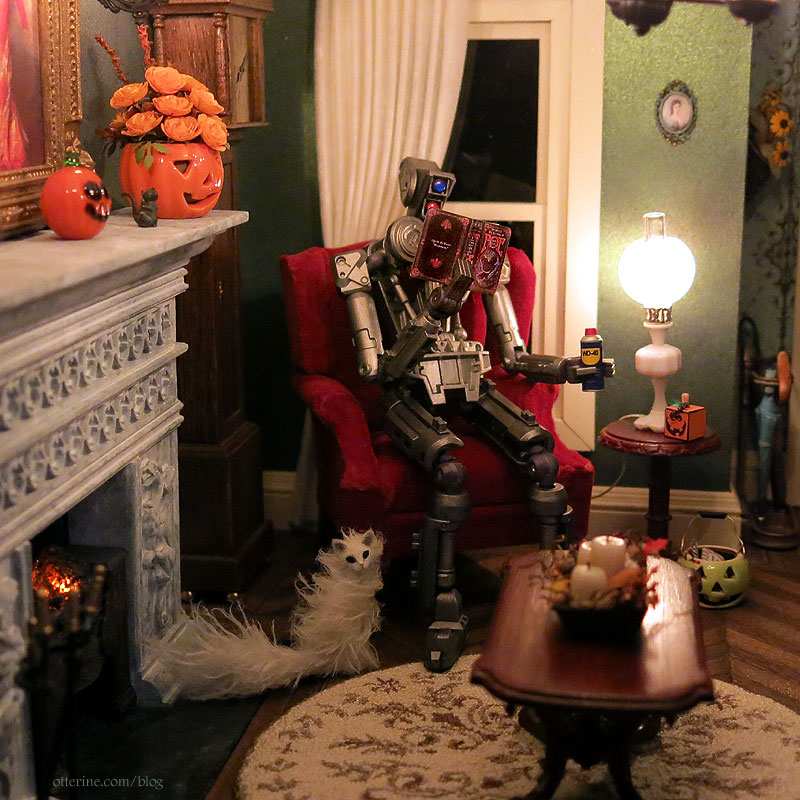
Bert is enjoying a refreshing cocktail.

Halo is waiting for her favorite story…The Raven.
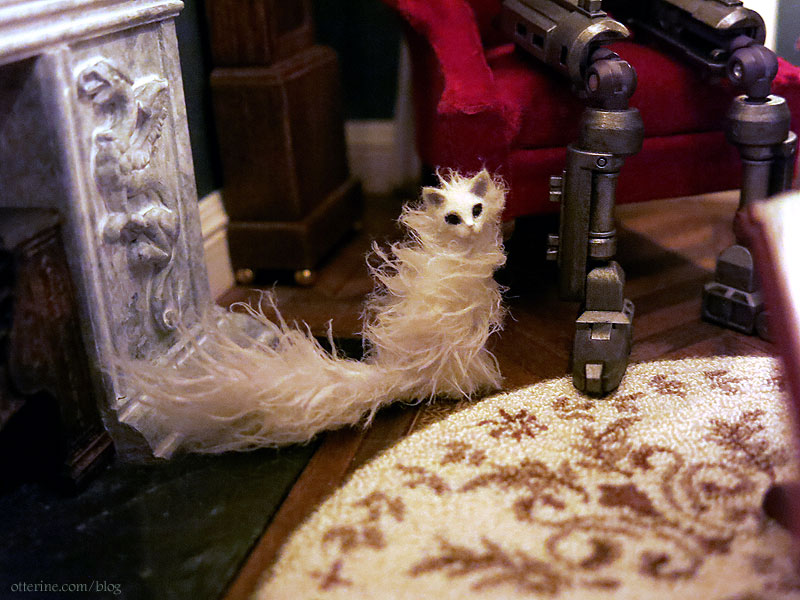
There’s a pumpkin bucket of full size candy bars if anyone comes around for a scare.

———
Halo by by Maya Schippl; ceramic pumpkin by Alex Meiklejohn; coffee table centerpiece by MiniFanaticus.Categories: Animals and birds, Droids and Robots
October 31, 2020 | 0 commentsGroundhog Day 2020
The best way to keep Woodrow from seeing his shadow is to keep him out late the night before! Come on early Spring! :D
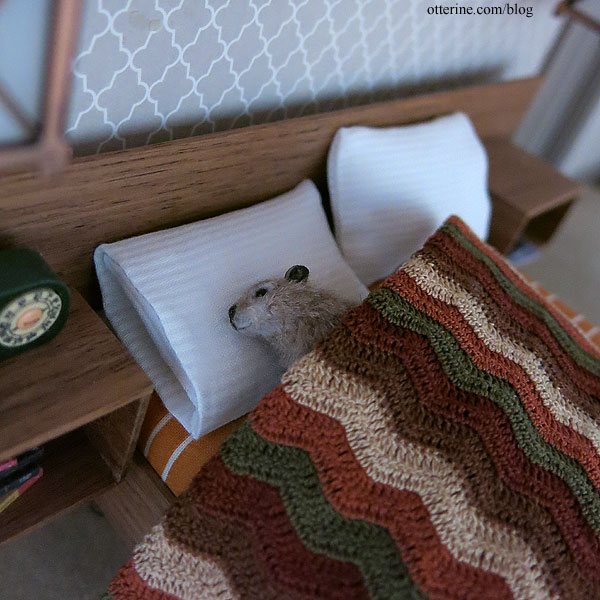
Oops, sorry, Woodrow…I’ll keep it down. Sleep is the best remedy, little buddy.
Categories: Animals and birds
February 2, 2020 | 0 commentsIvy Hollow – tiny stamps and a postal cat
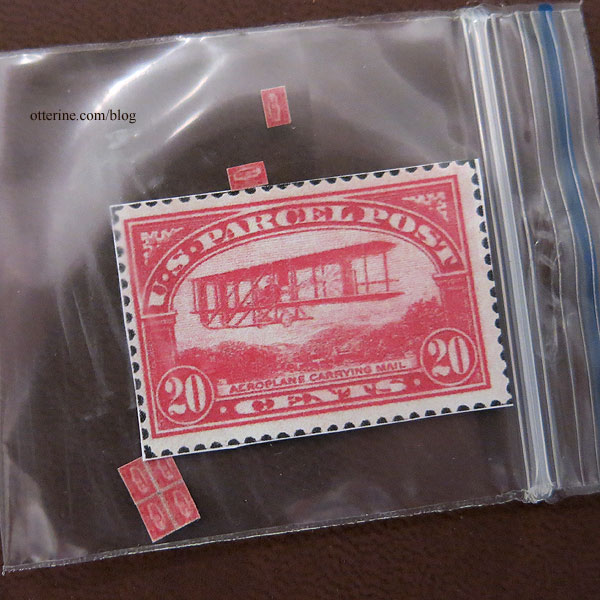
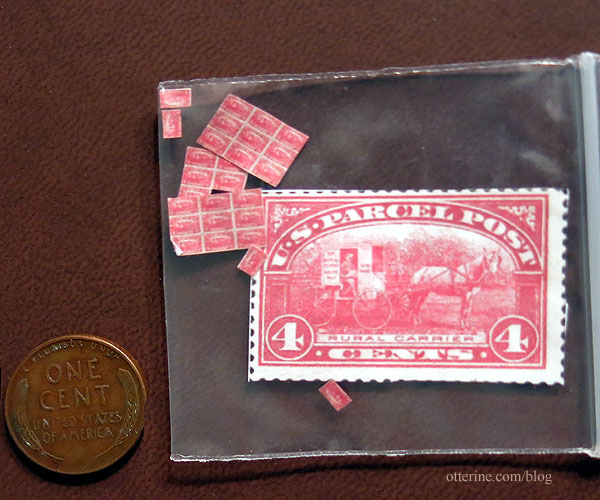
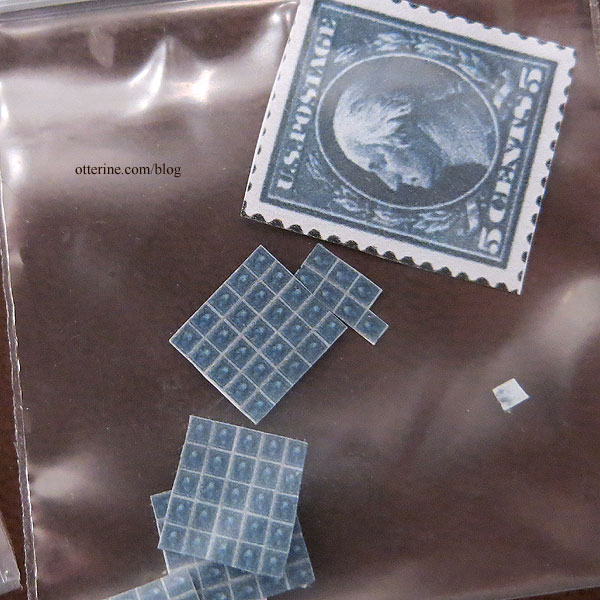
As I was building, the delightfully talented Anna sent me some mini stamps she made. She included real life size prints of the original inspirations as well.
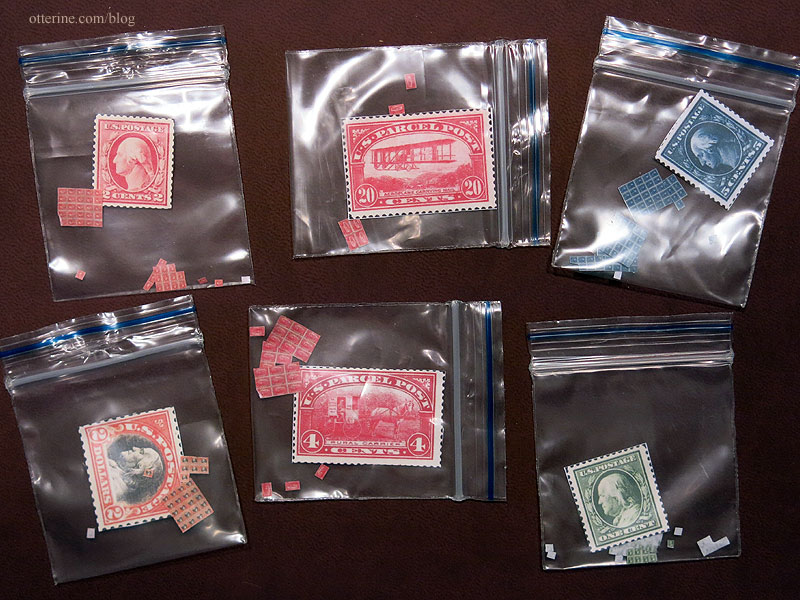
One has a biplane in honor of The Aero Squadron Lounge.
Another has an RFD wagon.
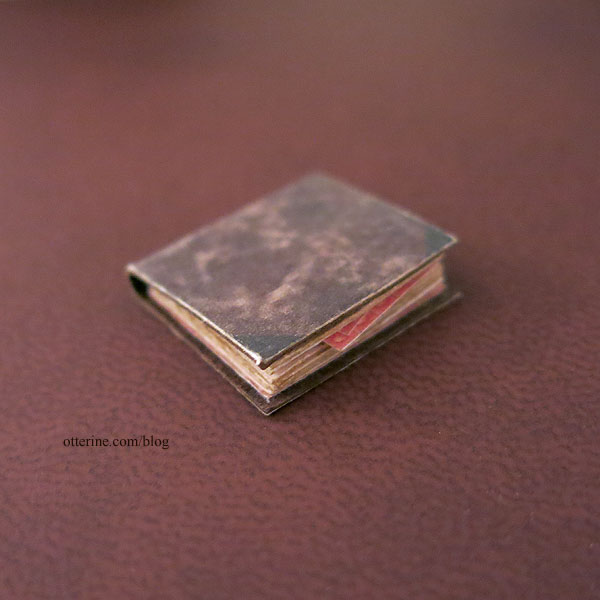
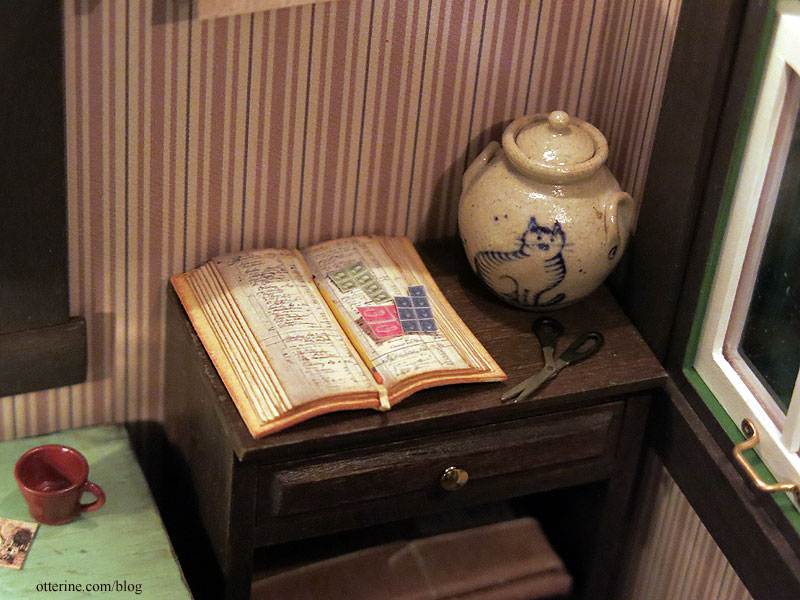
There’s even a book to keep them organized for the postmaster. :D
Thank you, Anna, for your wonderful and generous gift!
I’ve set a few on the ledger from Looking Glass Miniature. There’s also a cat food jar by Jane Graber for when Chester gets the munchies.
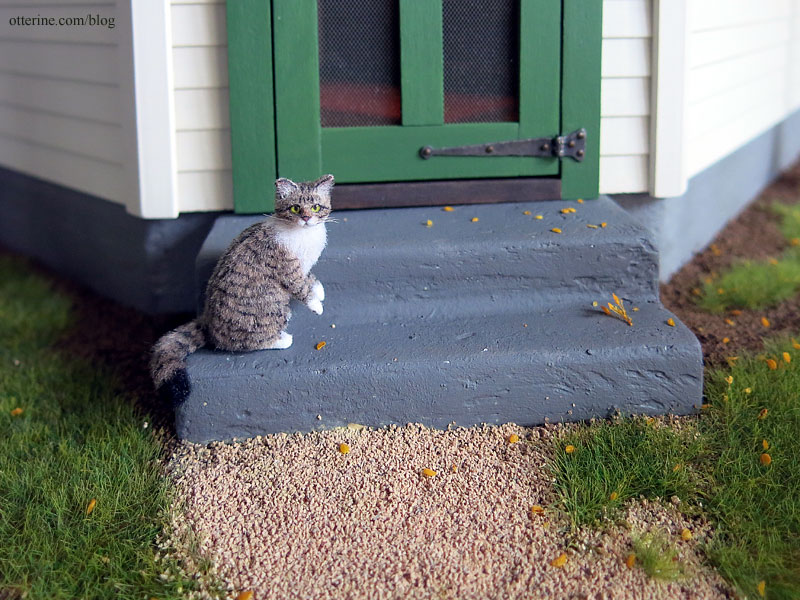
And, you know cats do! Chester was made by 2014erok. I had so much fun playing in the mini dirt this time around – the landscaping got to be a lot less manicured.
Categories: Animals and birds, Ivy Hollow RFD
December 19, 2019 | 0 commentsMaking a 1/12 scale horse – part 5
Continuing work on the 1/12 scale model horse. After the initial primer coat, I fine-tuned the body and then did a final primer coat.
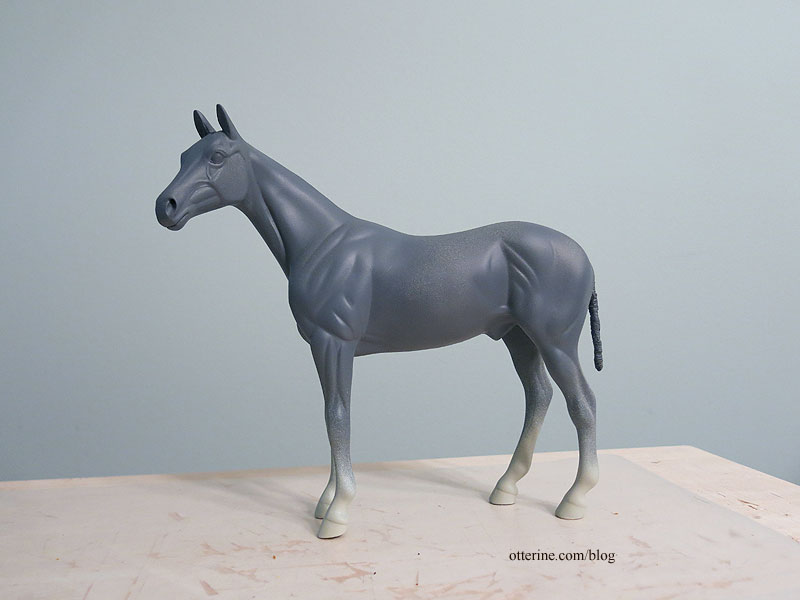
I started the final paint with some shadowing. I thought he looked like Batman right here.
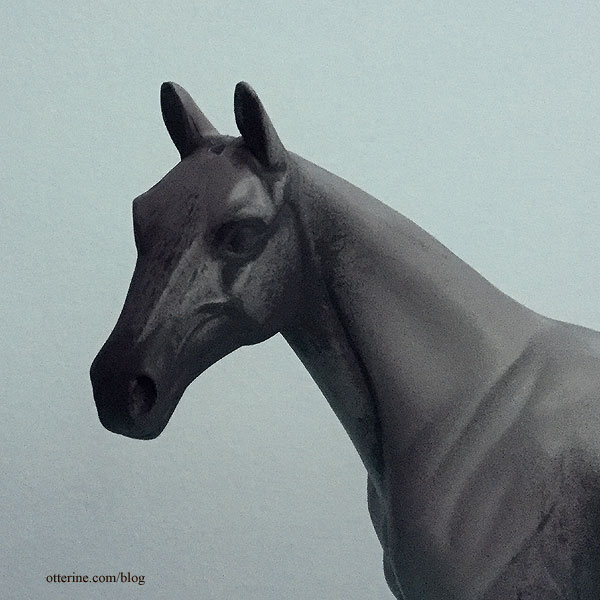
The hair was accomplished with multiple layers of paint using small and large brushes. I made a lot of it up as I went.
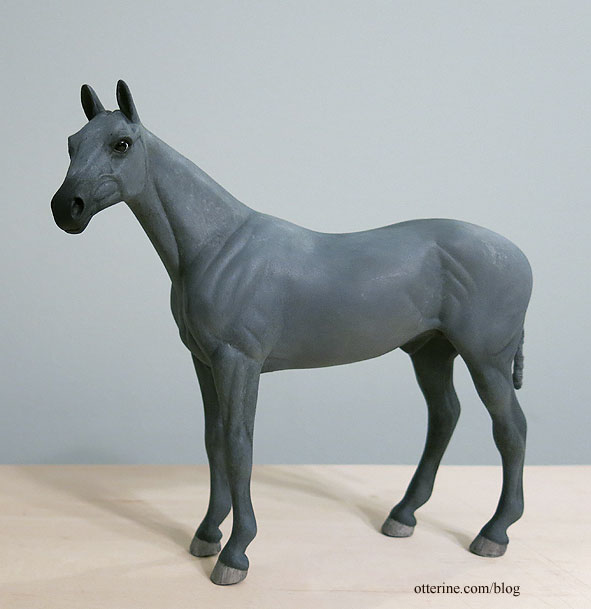
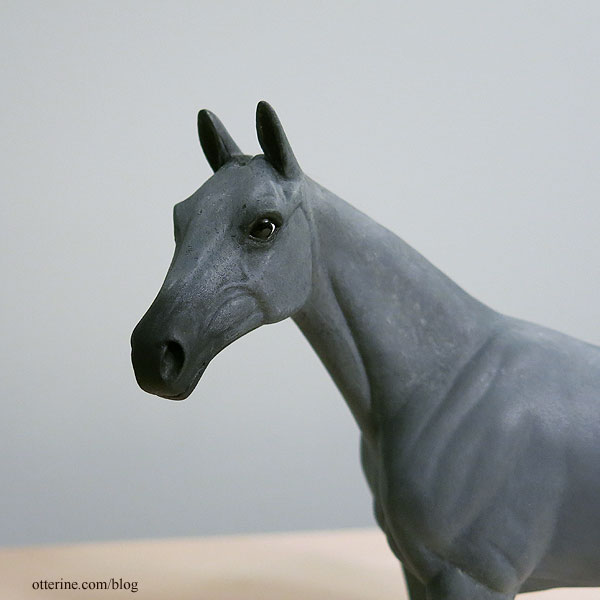
Some areas on the body turned out better than others, and I can always rework later…but I was pleased enough to move on. I do really like the face.
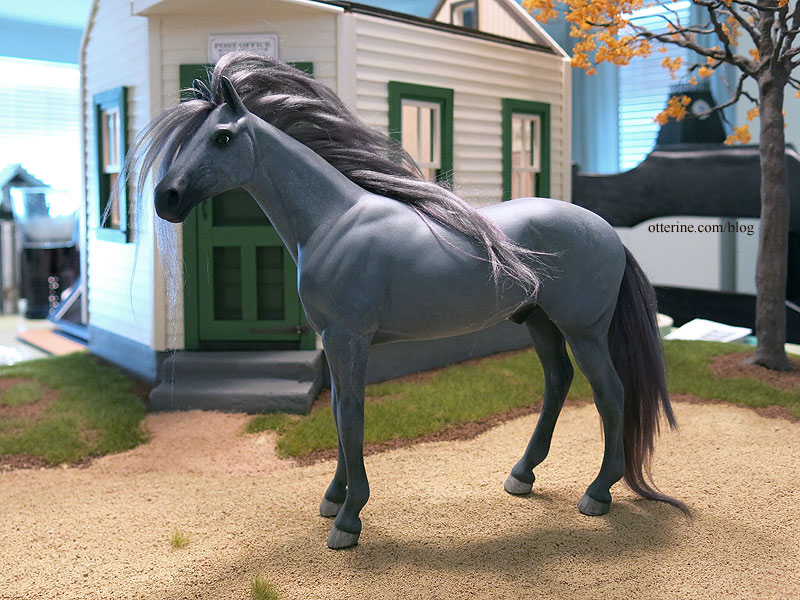
The mohair I bought photographs as muted purple, but it looks charcoal grey in person. Even with the mismatched color, I can see just how having the mane will transform the look overall.
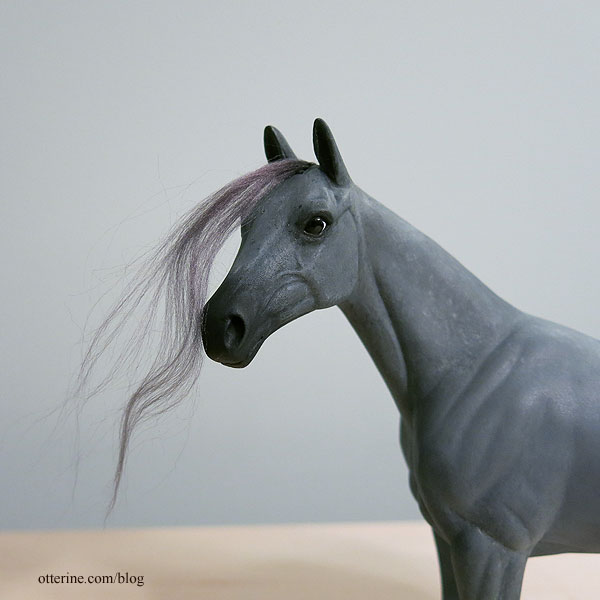
Since I was on a tight deadline, I completed Jebediah with the purple grey mohair, but I can always redo the mane and tail in the future. Here’s what he looked like right after the hair was applied.
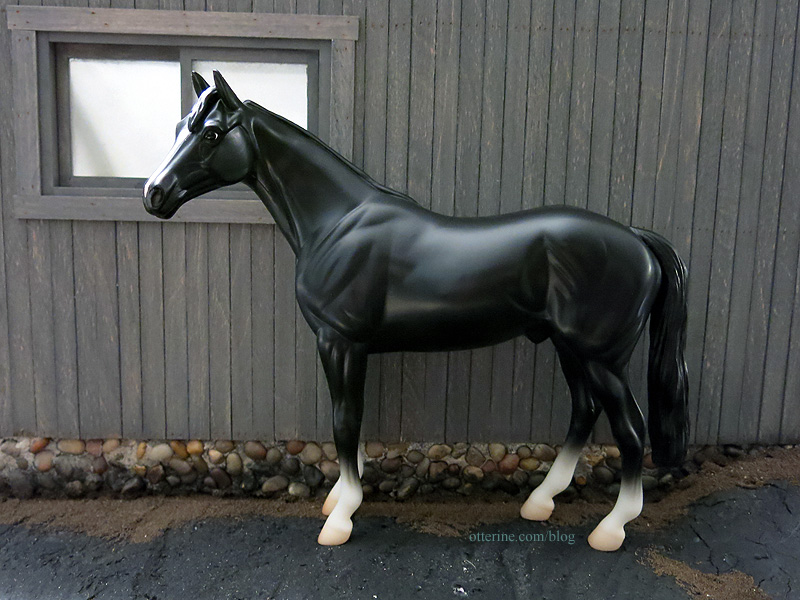
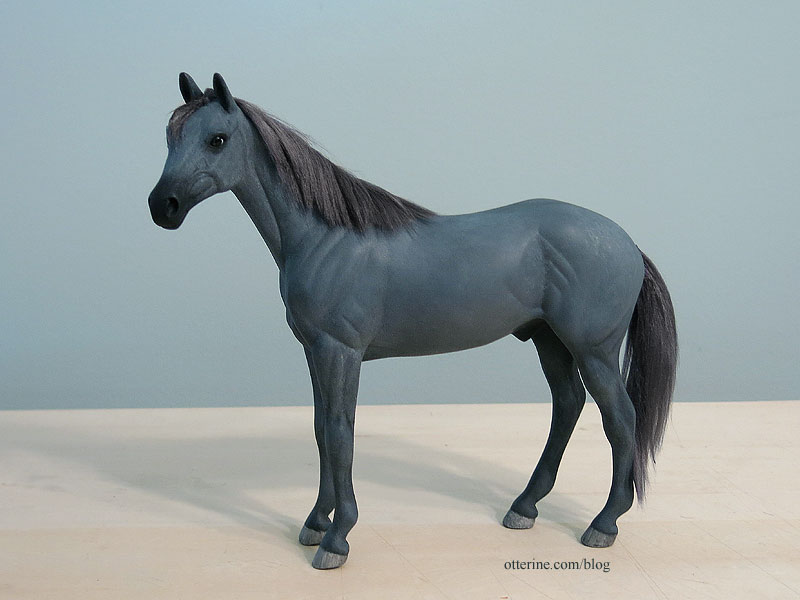
As a reminder, this is where I started – a 1:12 scale Breyer Thoroughbred.

The fibers curled a little when I wet them for styling and cutting, but they flattened out as it dried. It’s less wispy and artificial than it looked out of the package. I’m not a fan of the purple hue of the hair (below I’ve color corrected in PhotoShop, which is a pain), and I think a darker hair would look better overall. This was my first time hairing a horse, and I think it turned out pretty well. :]
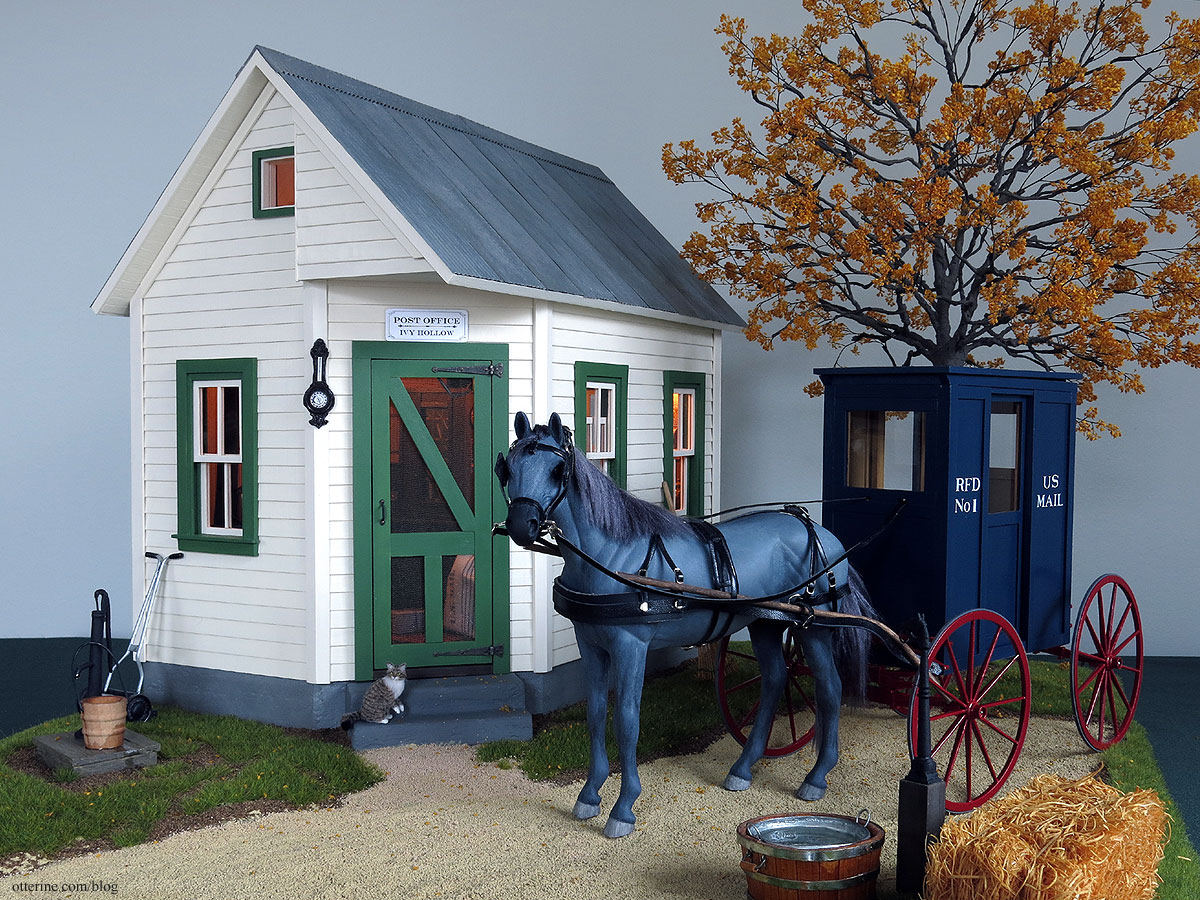
Modeled with a driving harness by Tiki from Kulp Model Horse Store. I would like to make my own harness someday, but it is definitely an art that requires a good deal of study and practice.
Categories: Animals and birds, Ivy Hollow RFD
December 15, 2019 | 0 comments
NOTE: All content on otterine.com is copyrighted and may not be reproduced in part or in whole. It takes a lot of time and effort to write and photograph for my blog. Please ask permission before reproducing any of my content. (More on copyright)


