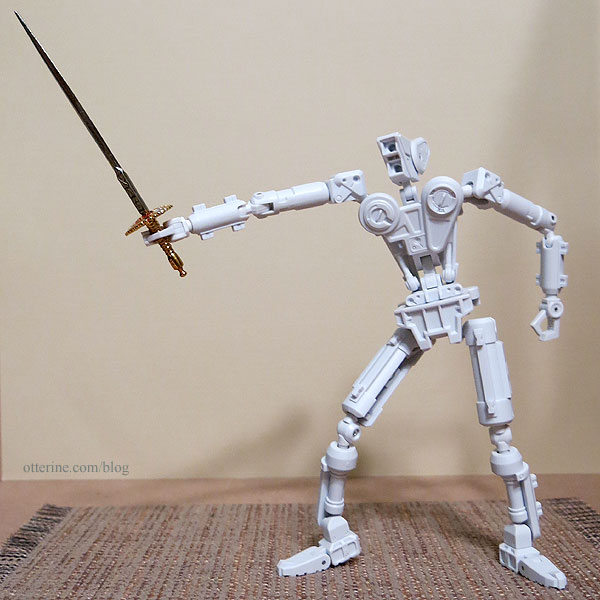
Even though you’ve likely seen Bert (my transformed Robox) in scenes here and there, I’ve not documented the process after dying the plastic. He’s also not been “finished” until this weekend when I was able to complete the final paint washes and add some other detailing. Here’s where we started: a Robox Canvas White action figure by 1000toys that I named Bert. :D
After dying the plastic, he ended up grey-purple, grey-brown and dark grey. Overall, the results were a great middle color for me to work on from there. In an unexpected but promising turn, the joints turned darker than the body and that would save me time trying to detail those. I ended up permanently gluing the chest plate in place on the torso since it would no longer stay in place. Bert will never revert to his folded up self, but I wouldn’t want to risk damaging the paint in the end anyway.

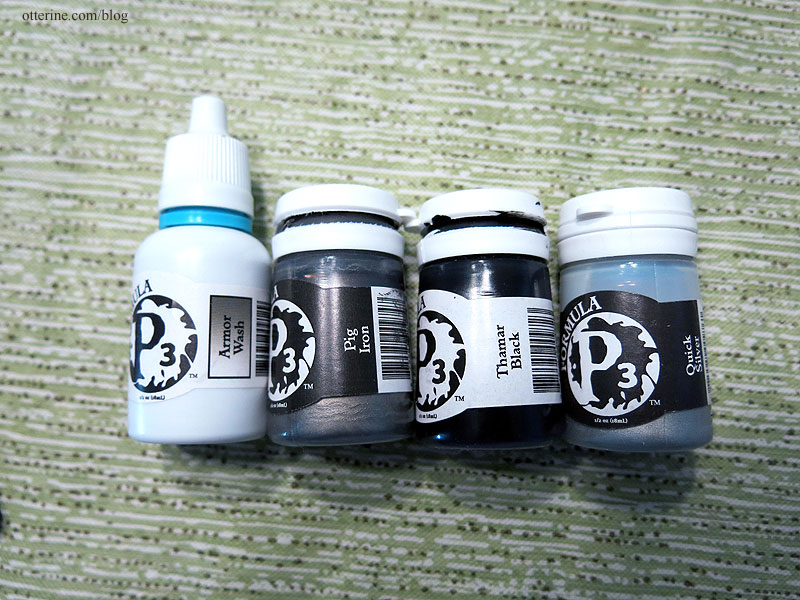
Next up, I used Privateer Press Formula P3 paint in Pig Iron, Thamar Black and Quick Silver, as well as their Armor Wash. From my research, this brand of paint was recommended by artists who repaint action figures. It’s not as durable as a spray paint, but there’s no way I would have been able to spray paint Bert effectively given that he was a fully assembled figure. There were places to separate the parts, but there were also rivets permanently keeping some areas together.
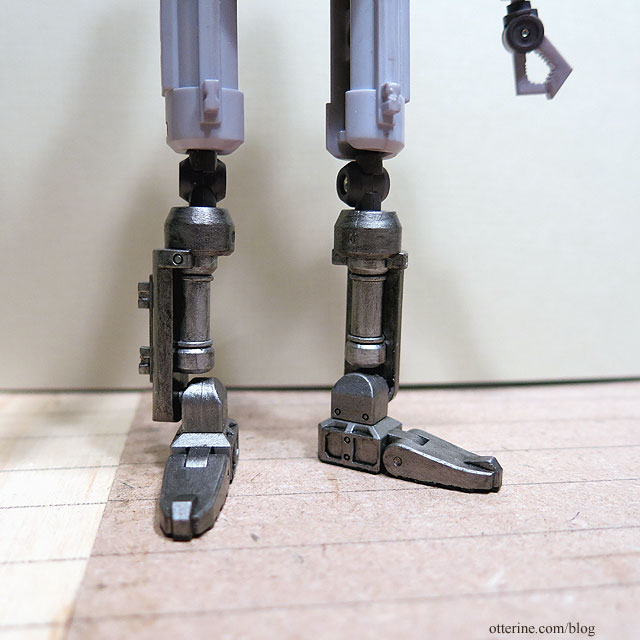
I started with the feet and worked my way up. The only place I used black was for the tread on the bottom of the feet. The rest is all Pig Iron except for the bars in the main body which are Quick Silver. I then used the Armor Wash over the top of the Pig Iron to give him a more aged appearance. It also settles into and emphasizes any detail lines.
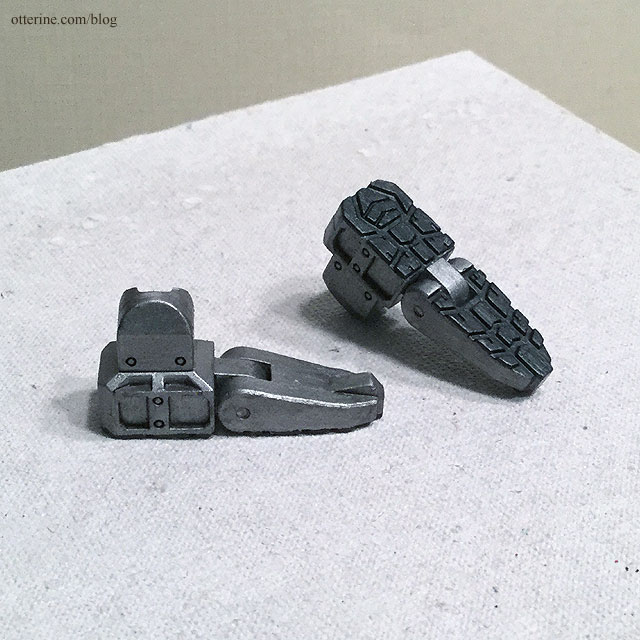
The metallic sheen of the Pig Iron is really nice, and the Armor Wash just darkens it a bit without removing the metallic sheen. Here you can see the difference from the plain dyed plastic to the aged metal.
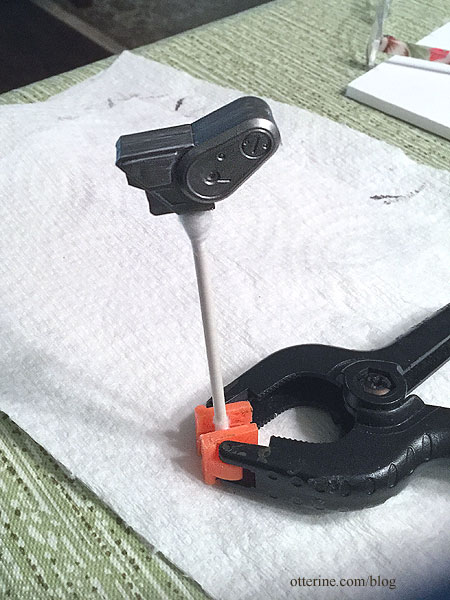
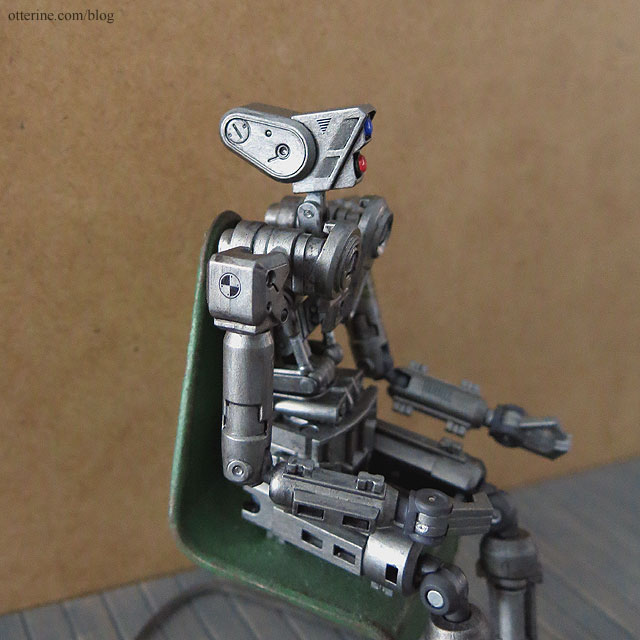
Bert’s head had a moving back, which was a nice feature, but paint would never have survived the movement. I ended up permanently gluing that portion of the figure.
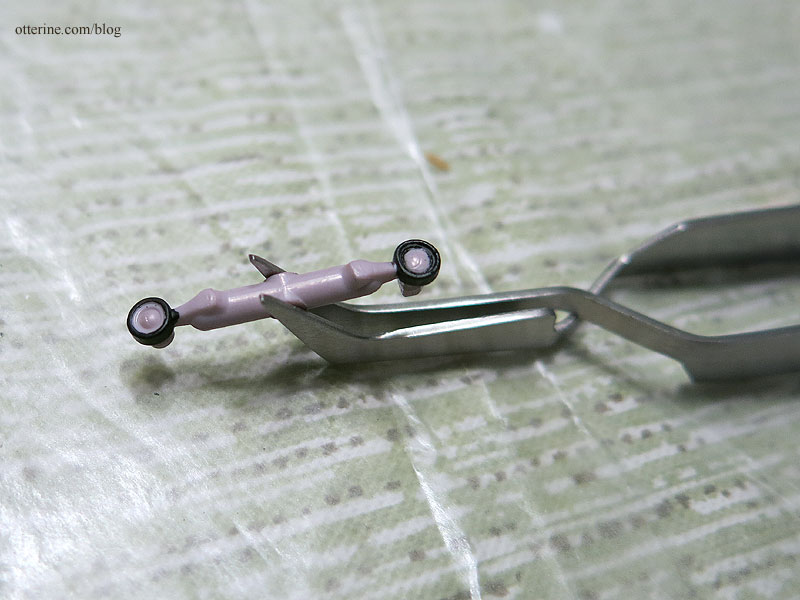
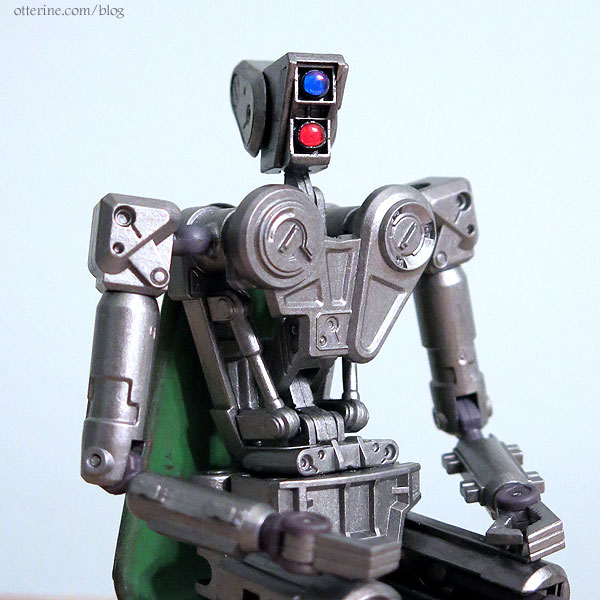
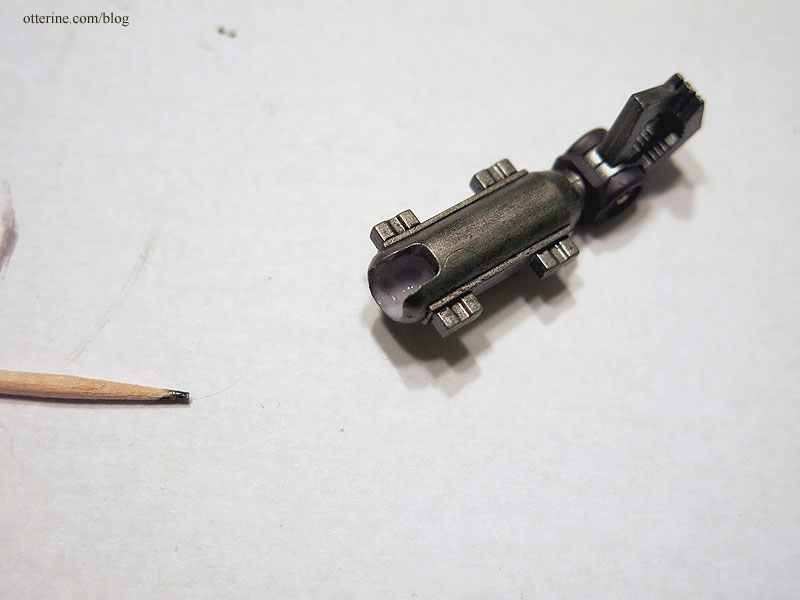
The “eyes” for the Robox were separate parts, which made them easier to customize. Well, I think one was an eye and the other a mouth, but I just refer to them as eyes and figure the speakers for talking are built in. :D I painted the outer rims black, leaving them on the sprue until I was ready to glue them in place.
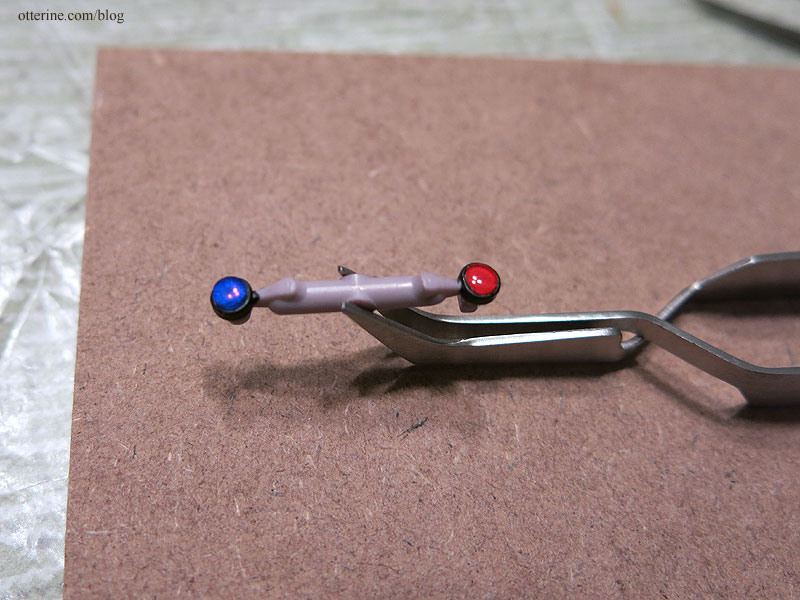
I had leftover parts from the RX-7 build, so I used some clear lamp covers to serve as lenses. I colored the backs and fronts with Sharpie markers to get saturated but transparent red and blue.
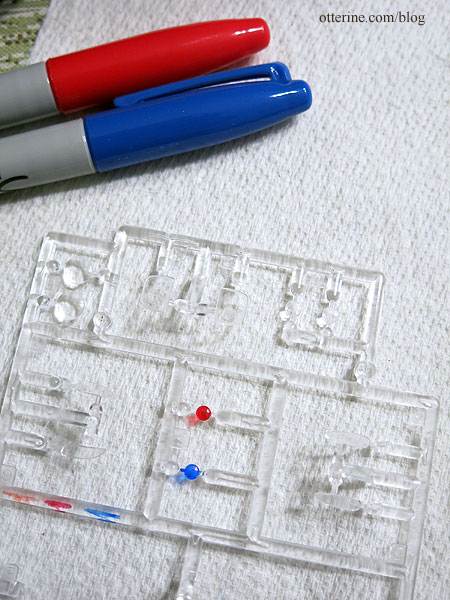
I painted the inner portion of the base with white to help sell the idea of there being light behind the colored lenses.
I think they suit him well. (Just as an aside, the head has the Armor Wash but the arms and torso do not in this picture.)
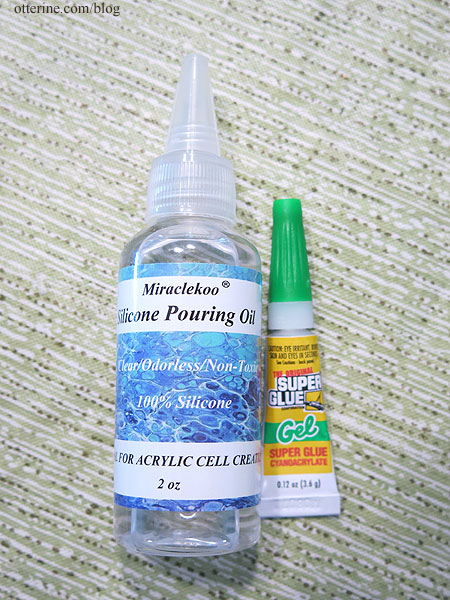
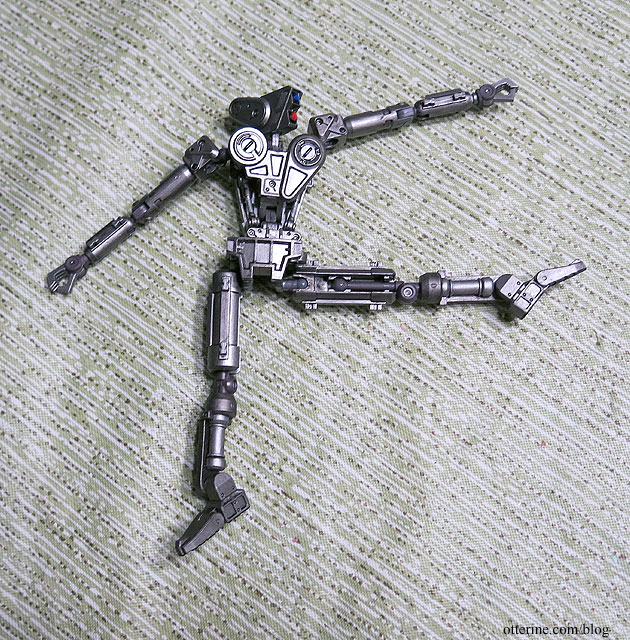
After getting the rest of Bert finished with the Armor Wash, it was time to address the joints. The dying process impacted the functionality slightly in that the ball joints ended up very tight (I suspect the heat impacted the two types of plastic differently). The rod connections ended up a little loose. So, enter Miraclekoo Silicone Pouring Oil and super glue gel.
The head was the only ball joint that was loose. Not wanting to overdo the correction, I added some mini hold wax to the joint. It allows for more stable positioning of the head and can be replaced as needed without permanently altering the joint.
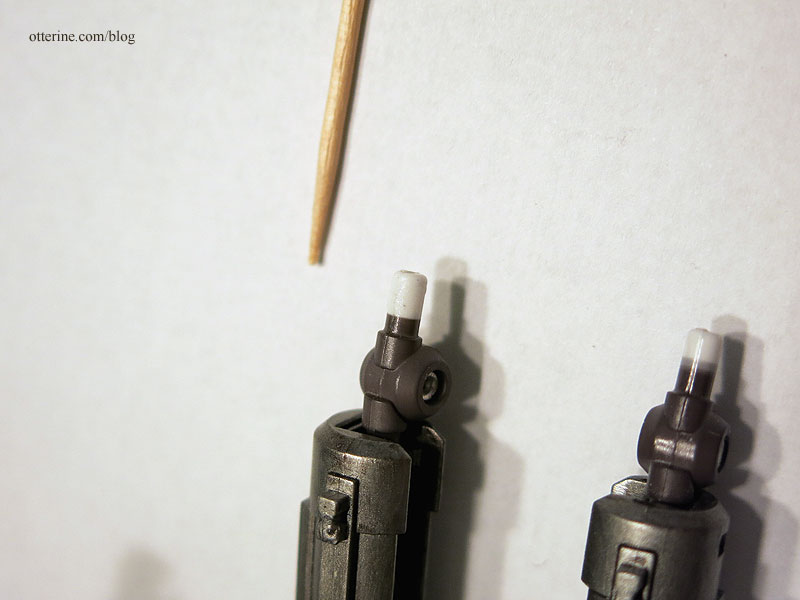
For the loose rod connections at the wrists and lower legs, I added a thin layer of super glue gel to the rod. You have to let this dry completely before testing the fit so you don’t super glue the part in place. Once dry, I sanded the excess until the joints moved smoothly. Now the lower legs now stay in place better.
For the tight connections at the shoulders, elbows, hips, and inner thigh (these move the knees), I used a small amount of the silicone oil. I chose silicone oil so that it wouldn’t degrade the plastic over time. Still, I will be mindful of having Bert come in contact with any fabric furnishings going forward.
The joints aren’t as loose as they were before dying the plastic, but they are better and I no longer feel like they will break if I twist too hard.
Bert’s already dashing, but let’s add some edge. Tattoos! :D The Robox did come with decals.
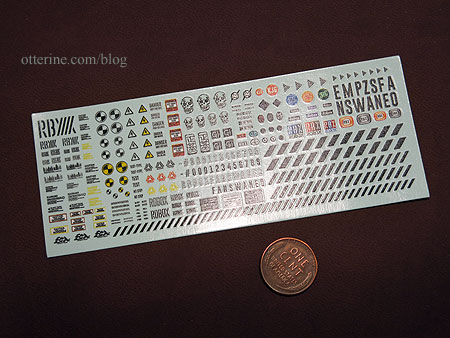
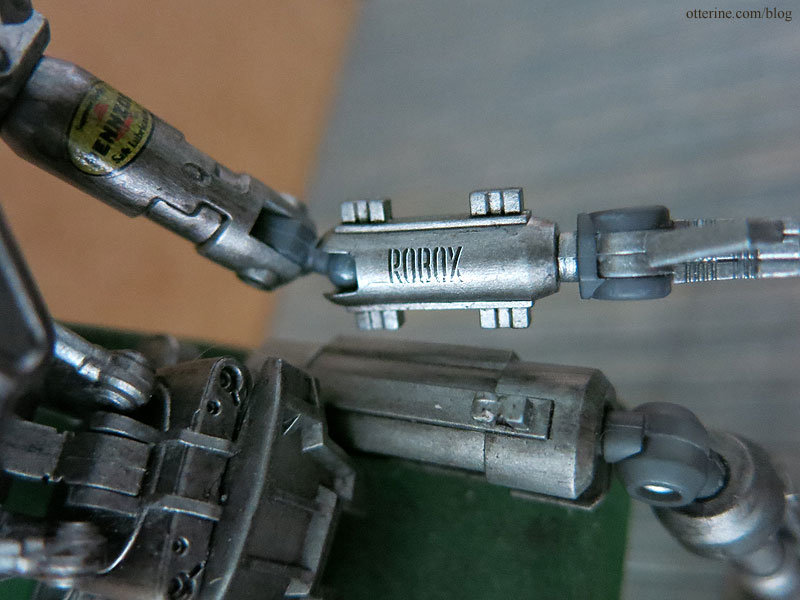
I also have a bunch of leftover decals from my years of building model cars. I opted for one Pennzoil decal since Bert is a fan.
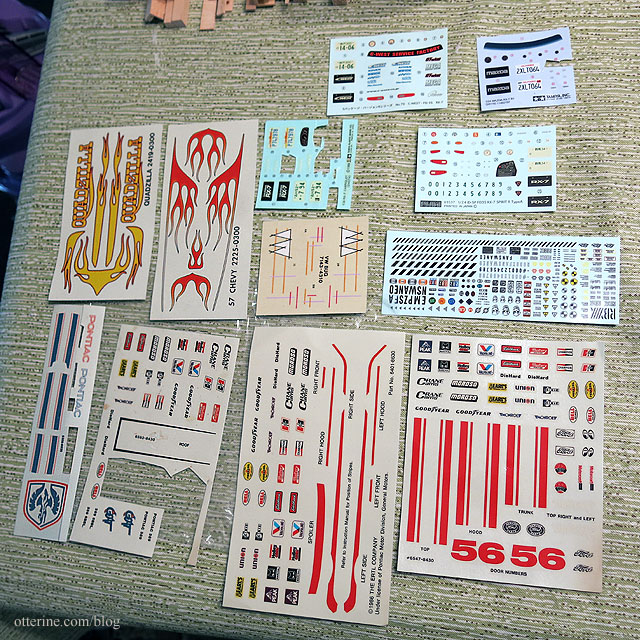
Only a few spoke to me, so I will keep an eye out for anything interesting in the future. The open spaces are minimal, but there is room for a few more. Here you see the one on the shoulder and the side of the head.
I used one of the Robox decals on the forearm, a number 8 on the chest and the Pennzoil on the bicep.
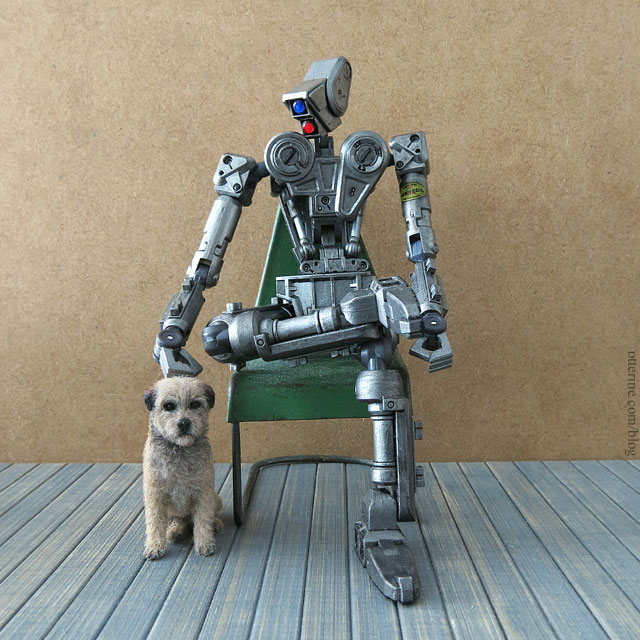
Gus thinks Bert is good at head pats. :D
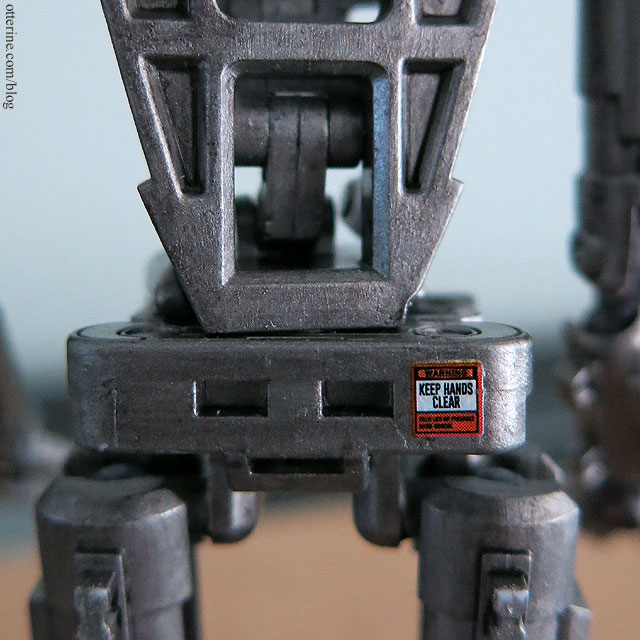
Added a bit of humor in Bert’s decal placement.
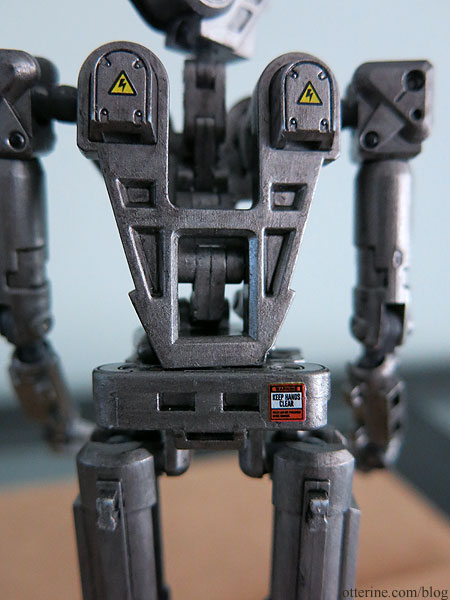
Keep those hands clear of Bert’s backside! :D