
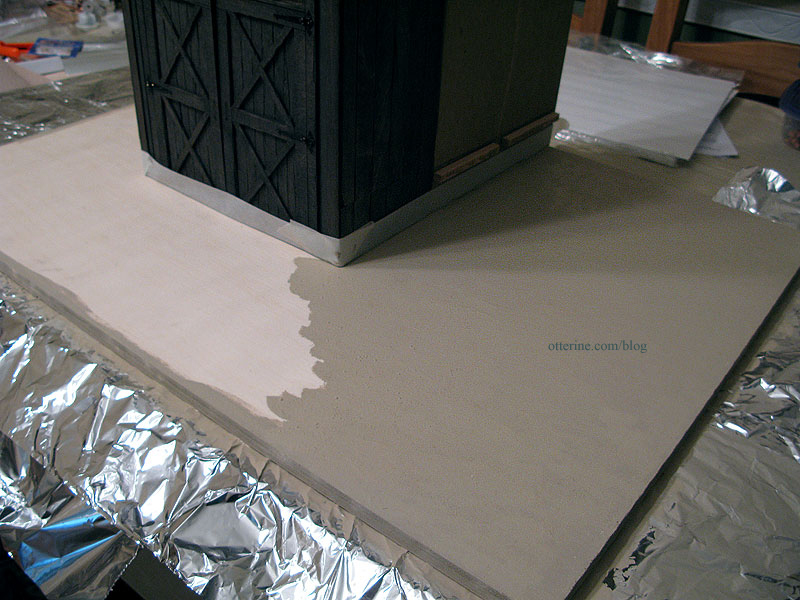
I mounted the structure on a 20″ x 28″ piece of 1/2″ plywood and sealed it with a base coat of beige house paint I had on hand.
I did a test patch of landscaping on a piece of scrap plywood since it was my first time working with Woodland Scenics materials. I used Aleene’s clear gel tacky glue, brushing it on thickly and pouring the ballast over the wet glue. I then tipped the board to remove the excess. I used the same process on the ground cover. The natural field grass was glued on in clumps afterwards. The grass wasn’t the easiest to work with, so I planned to try a few more methods of adhering it before working on the actual base board.
The landscaping process was quicker and easier than I thought it would be. I loosely taped the bottom edges of the structure to keep from getting glue on the outer walls. I poured on the glue and then used a large brush to spread it around, keeping it thick and uneven for a more realistic ground texture.
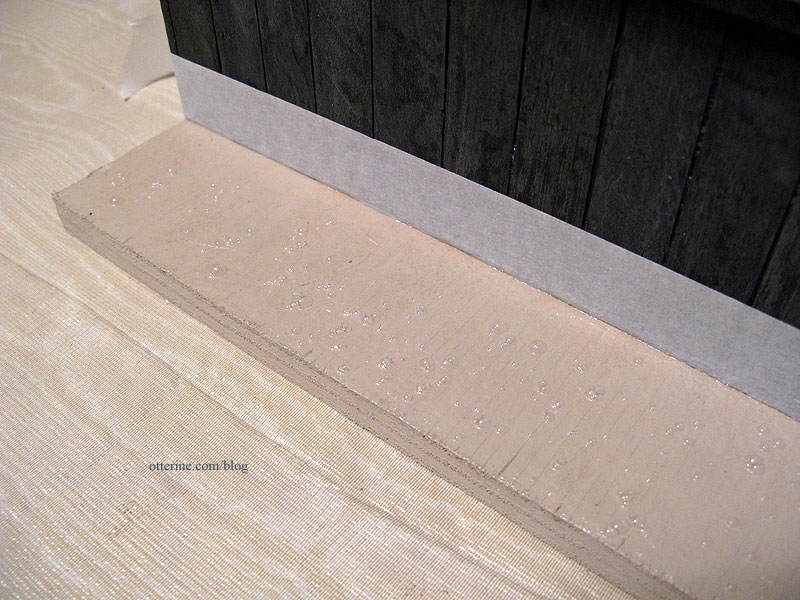
I used a spoon to generously apply the ballast, letting it set a bit before brushing off the excess back into the bowl. Here it is after application but before removing the excess.

Once completely dry, I vacuumed the excess from the board. Wherever there were blank spaces, I brushed on glue and applied the ground cover. After it dried completely, I brushed what excess I could from the board into a bowl and then vacuumed the remaining loose pieces just as I had done with the ballast.
The last part of the landscaping was the field grass. I did a bit of sleuthing online and found that many people prepared the grass material by securing small clumps of it with a bead of glue at the end.
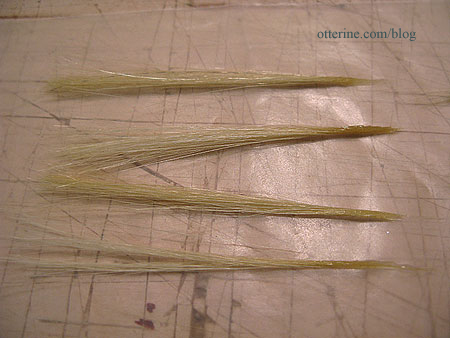
I did a test sample this way. Once dry, I drilled a small hole in the base board and glued the clump in place, adding ballast and ground cover around the bottom to disguise the hole. Much easier, faster process and better results.
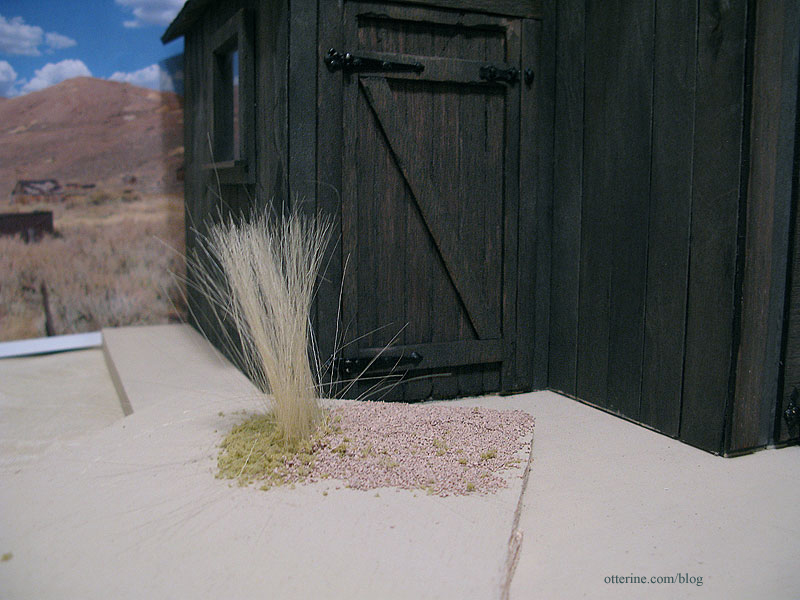
After adding the forty or so tufts of field grass I had made the first time around, I decided I liked it so much I made seventy more – using up the rest of the package. After the glue dried, I vacuumed again and then I glued more ground cover at the bases of the grass tufts to hide the holes. The Woodland Scenics materials were awesome to work with, and I highly recommend them.
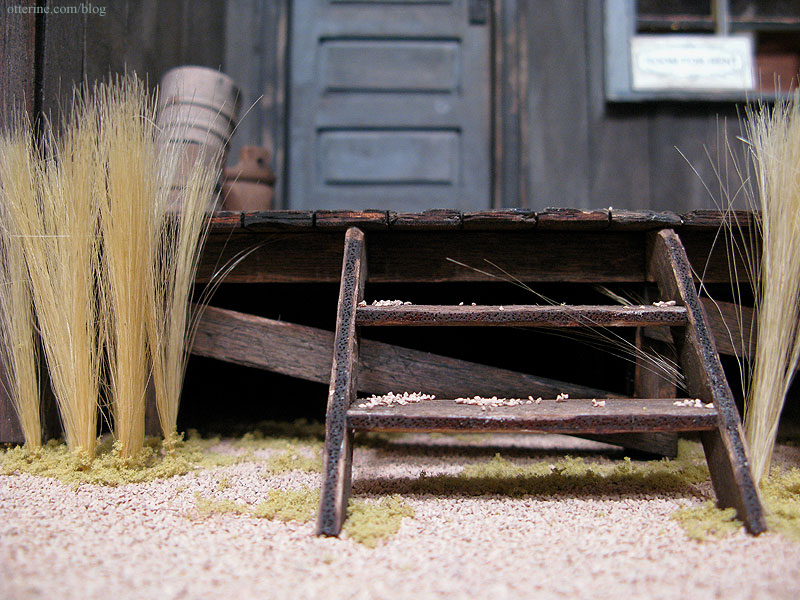
I didn’t want to clutter the front of the barn too much, but I had bought a few unpainted metal miniatures that I thought would add to the overall feel. These I painted with Testors flat black and then “rusted” with various acrylics.
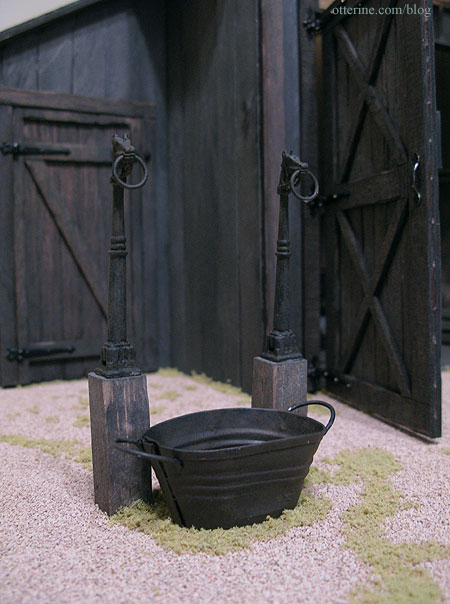
I aged some balsa scraps with the same paint wash as the exterior and glued the metal hitching posts on top. I glued them a bit askew to make it look like they’ve been there awhile and tugged on a bit by ornery horses. The metal tub was silver, but I beat it up to dent it and then painted it to make it look old and rusted (here is a photo before the field grass was added).
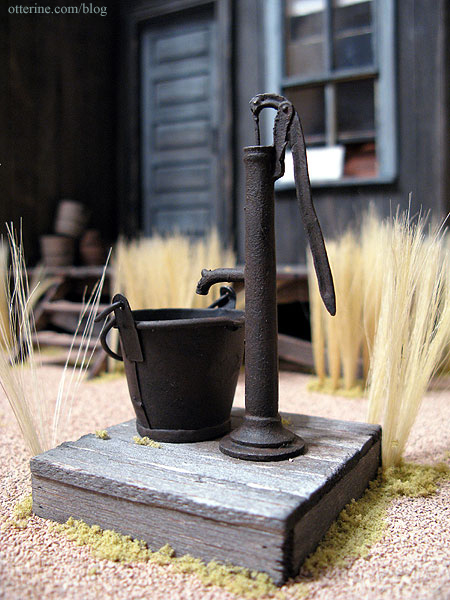
The other piece I added was the water pump. I made the base from balsa, battering the edges of the wood slats and using my awl to add nail holes before aging it with a paint wash. I glued a bit of the ground cover material to make it look as though plants were growing through the boards. The metal bucket was silver metal when I bought it.
This was my first time landscaping, and I had a lot of fun with it.


