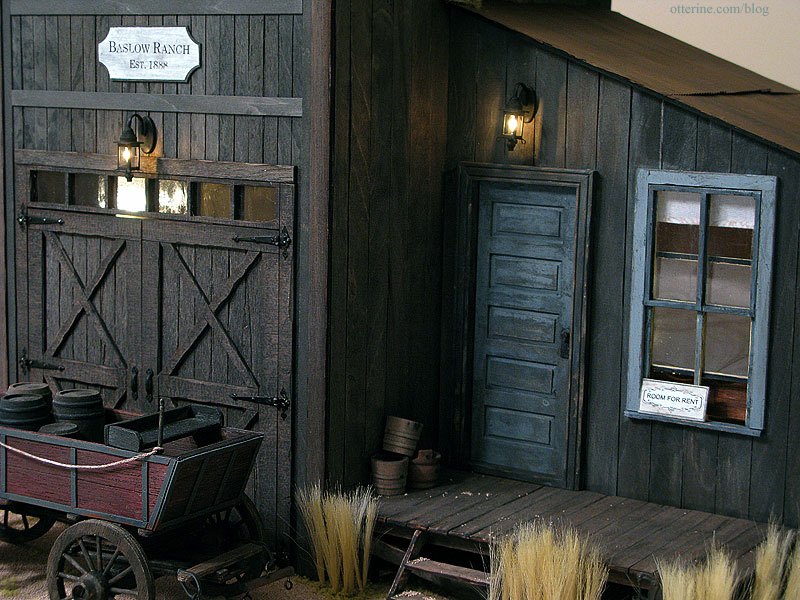
The doors and windows provided with the original kit offered some nice details but I wanted to go a step further. I found an image of a fraternity house in the ghost town of Elkhorn, Montana that had some very nice lines on the front. I used cardboard and a large circle punch to create similar arches and cut strip wood to complement the design. I used the punch to create the sign, too.
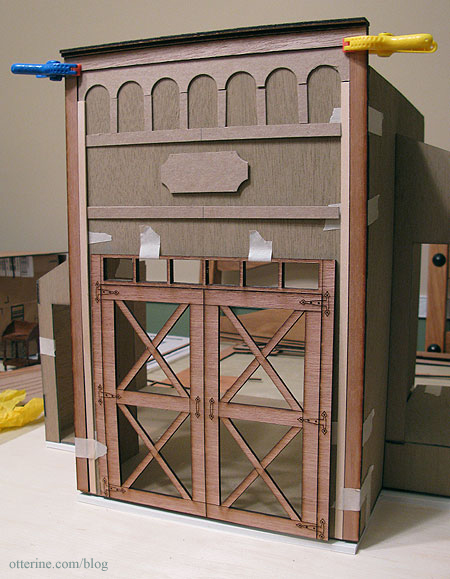
Once I had the layout I wanted, I used the cardboard pieces as patterns to cut pieces from bass wood. In the end, it turned out just as I had hoped.

The siding application was an involved process. I first primed all the plywood pieces with black acrylic paint, pressing the pieces under weights to keep them flat. I glued on 3/4″ birch siding strips by Corona Concepts, leaving a little give between the planks. I pressed the boards again as the glue dried. I used Aleene’s quick dry tacky glue and was careful not to get any on the faces of the boards since I planned to stain them.
For the exterior walls, I used a wash of black, brown and grey paint – heavy on the black. For the interior, I used a wash of black and brown – heavy on the brown. I wanted the exterior to look more weathered. I had to press the walls each time I added a wash.
For the main facade, I cut the 3/4″ strips in half lengthwise to better accent the arch trim I had made.
It might not be the way to normally assemble a kit, but I prepared all of the walls first and then assembled the structure. I kept dry fitting during the siding and staining process to make sure I had the siding adhered in a way that wouldn’t interfere with the tab and slot assembly. I also had to prepare the walls in groups since I had limited space for pressing.
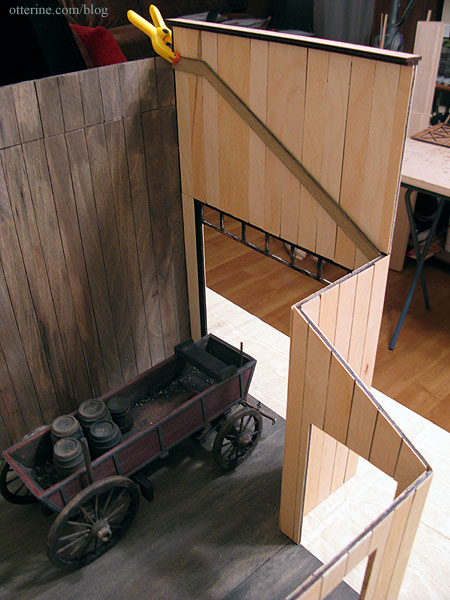
I tried the siding/painting process start to finish on the side room first, figuring if it ended up being a disaster, I could still use and assemble the garage kit on its own.

Here are some of the pieces during the siding process:

I replaced the two side windows with Houseworks dormer windows and used a Houseworks five panel interior door for the front door. All required very little adjustment to the size of the openings, but they had too much depth for the 1/8″ thick plywood walls. For the front door, I used the outer trim that came with the kit to line the doorway, cutting away the excess to sit flush along the edges of the Houseworks door. I also flipped the opening direction of the door (see my earlier blog entry). For both windows, I created a frame using 1/8″ strip wood under the outer frame.

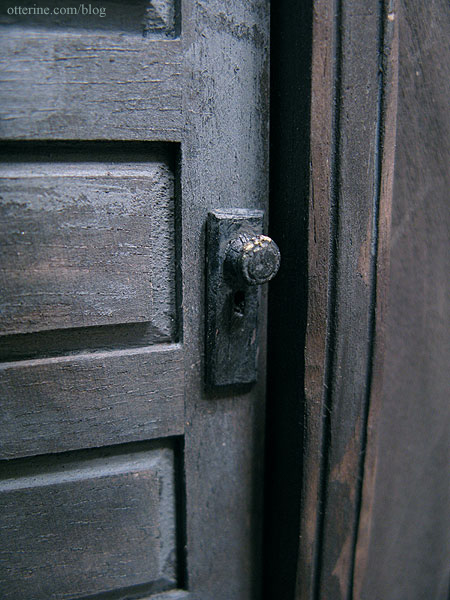
To create the aged front door and window trim, I kept washing on Slate Grey paint by Americana, wiping it off, using crackle medium and repeating until it looked the way I wanted.

The doorknob is an unfinished pewter piece that I painted to match the door.
For the garage main doors and side door, I did an extensive amount of cutting, scoring and general beating the tar out of the wood with whatever tools I had within reach. I even put in a wide gap between the mock boards of the left door. Forgive the dirty nails – that’s what spending a week using black and brown paint washes will do to your hands!
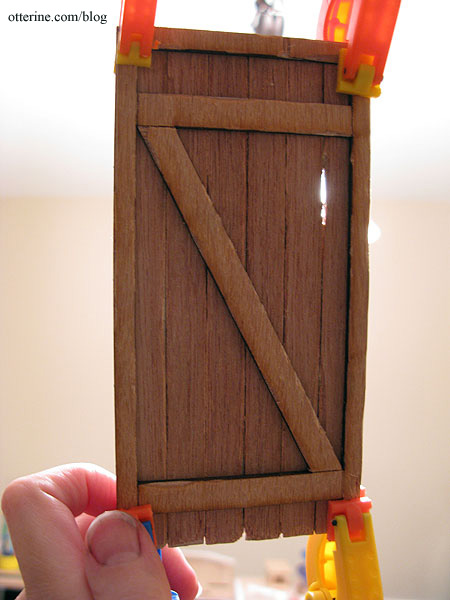
Though only the exteriors of the doors were laser scored in the original kit, I measured and carried that pattern over to the reverse sides.

I used working hinges for the garage doors, dabbing black paint to cover the brass nails. I also used black paint to color in the original laser etched hinges since my working hinges didn’t cover them completely.
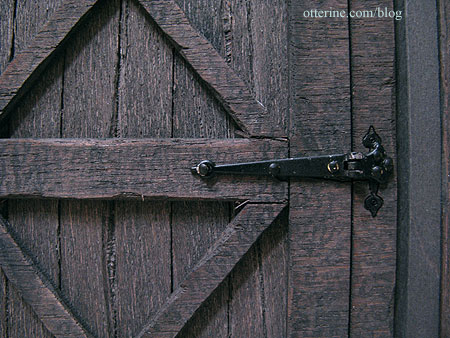
I attached the metal hinges before the walls were assembled so I could lay them flat and get the proper fit. I had to do some altering of the lower edges of the doors and the front edges of the floor after assembling the structure, but it worked out better in the long run.
To get a firm fit when attaching the room addition to the main structure, I glued strip wood to act as a brace under the floor and to support the ceiling board to create an attic. I left space between the boards to run wiring (you can see the channel I made with my rotary tool).

The porch construction was exceptionally easy and might be one of my favorite parts of the kit. I again cut and pounded the boards to create an aged look.

I used an awl to puncture nail holes along the boards and a tiny drill to simulate bolts on the lower support beams.

I especially beat up the edges of the boards and exaggerated the laser scored lines and cuts along the front edge.
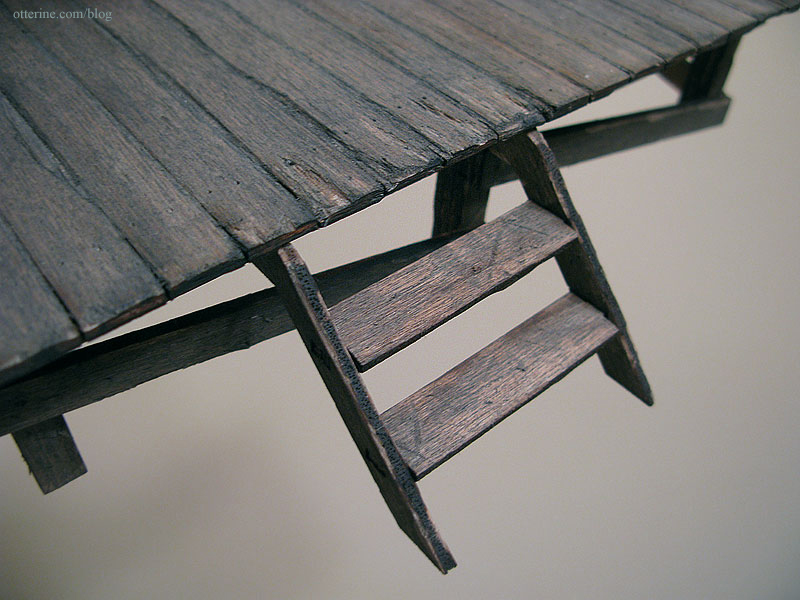
This created a really nice walking wear pattern at the top of the stairs.

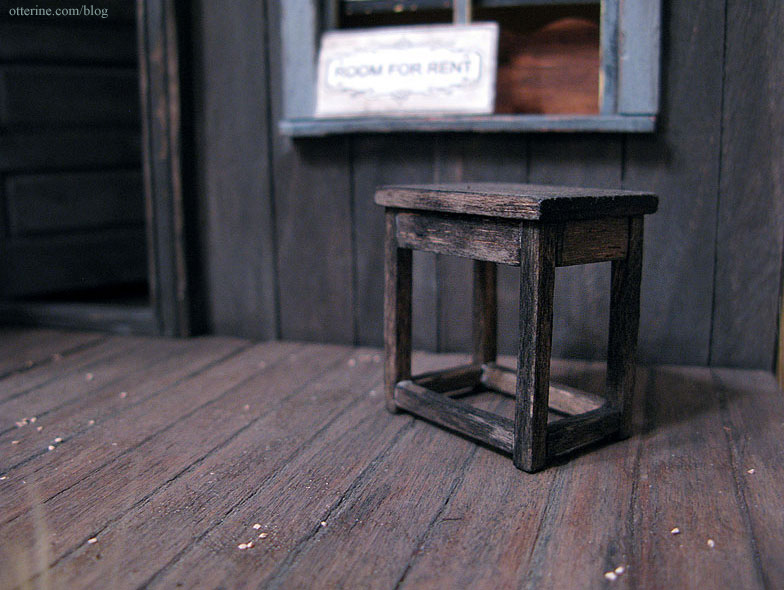
I made the stool using a pattern in the book Finishing Touches by Jane Harrop. It, too, was aged with the black and brown paint wash.
