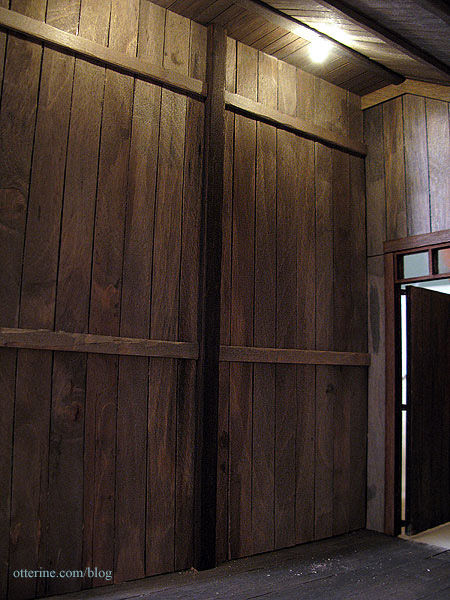
I covered the interior roof panels with the 3/4″ siding used for the walls, only cut in half lengthwise. Here are the pieces after the wash, just before putting weights on them to dry. You can see how the siding would lift and create gaps. Once pressed and dry, however, they were perfectly flat.
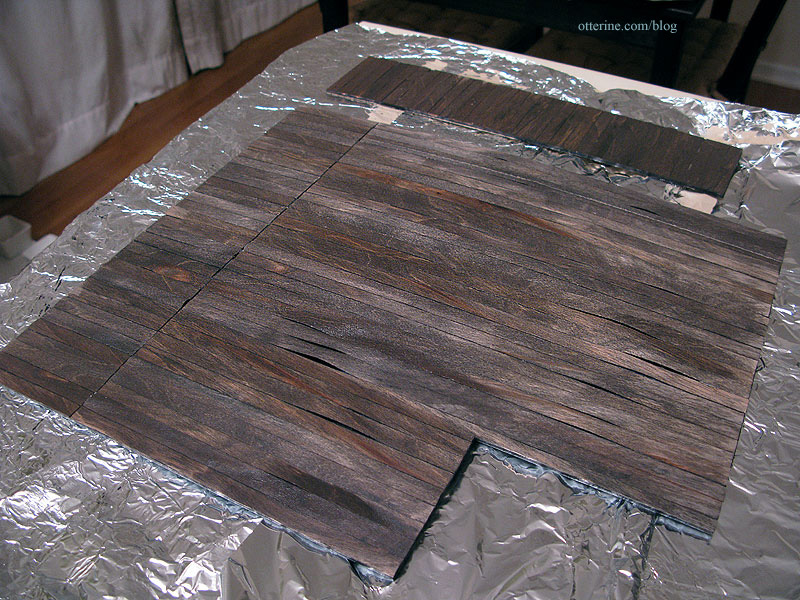
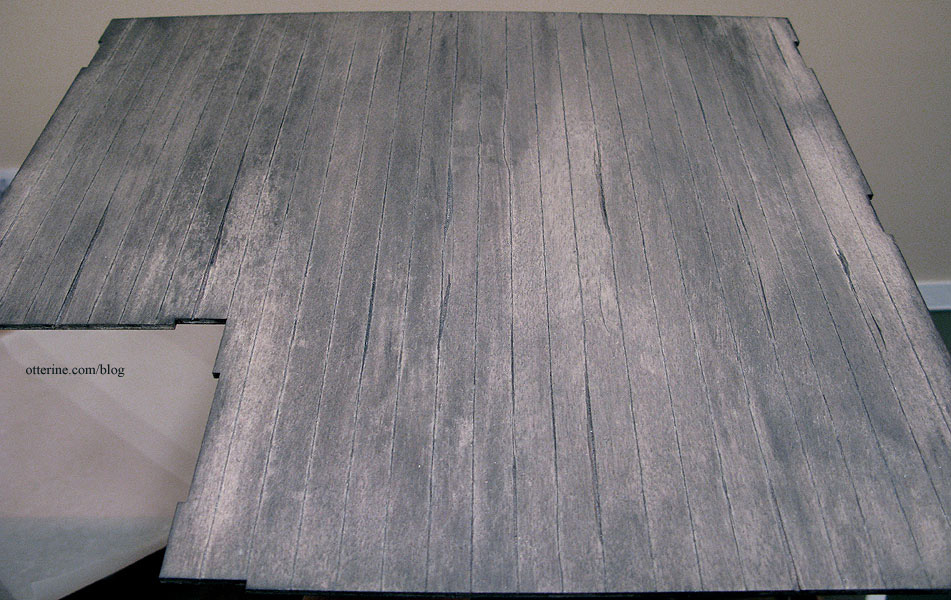
I scored the kit floor piece to simulate plank flooring. Using an X-Acto blade, I cut out some sections along the lines to create broken and worn boards. I then used a paint wash on them to bring out the grain.
I added some strip wood at regular intervals to simulate support beams; these were cut and pounded to weather them. Most of my wiring ran from on top of the garage roof to the underside of the side room.
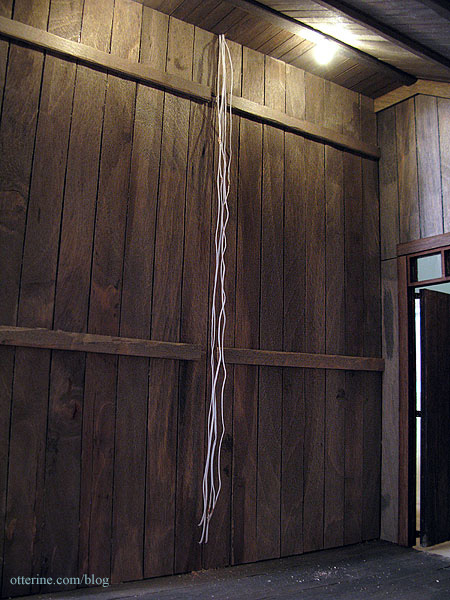
I used channel molding to hide the wires. It has a drop of glue holding it flat against the boards, but it can be easily removed for access to the wires. The power strip resides under the room addition.
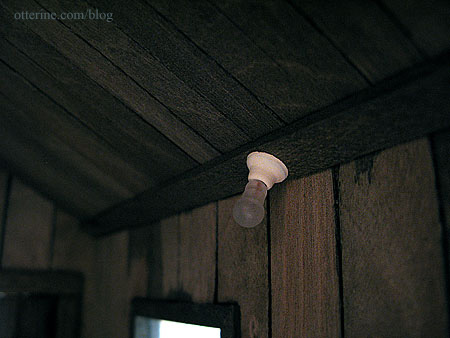
The light fixtures are frosted bare bulbs. Though the bases were molded in white plastic, I painted them with Tapioca paint by Folk Art to give them a more opaque finish.
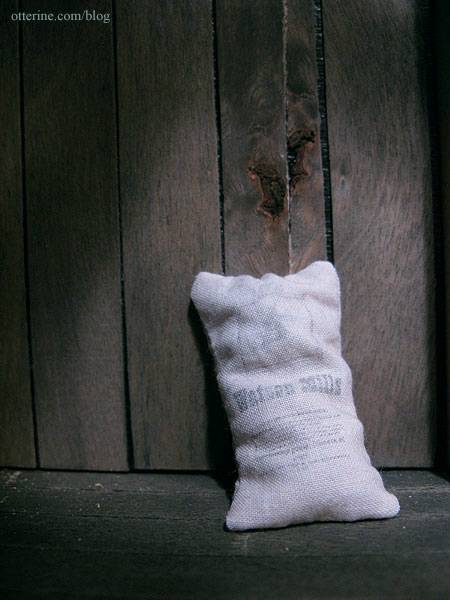
The feed and flour sacks have my own custom made designs printed on fabric. The horse and cow are rubber stamp images I found online; the sunflower is clipart. I designed the text and layout in Word. Since water will ruin the printed images, I first ran the fabric through the printer using a tea-stain color. I then printed my images on that darkened and aged background. I left the bottom half of the fabric sheet plain so I would have excess for the backs.

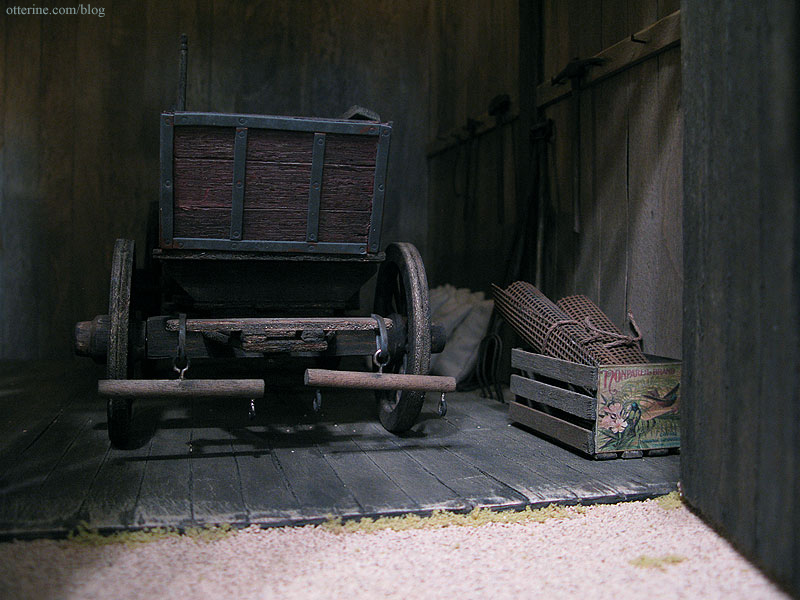
I filled the bags with beads to make them easier to position. I have no idea if these are historically accurate, but I just love the way they look! I also love the knot in the plank – I just had to use that piece when I found it.
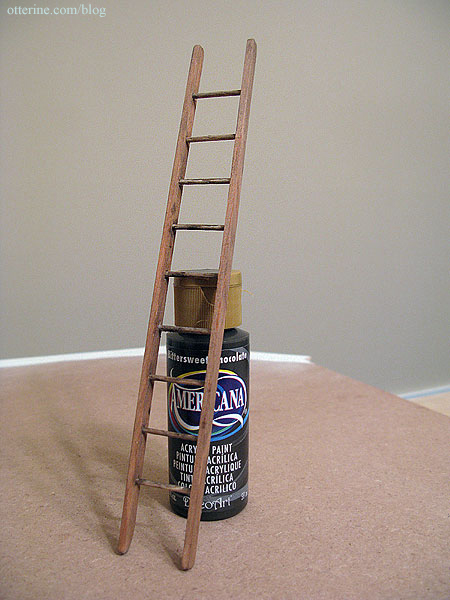
I made a ladder based on a pattern from Making Miniature Gardens by Freida Gray.
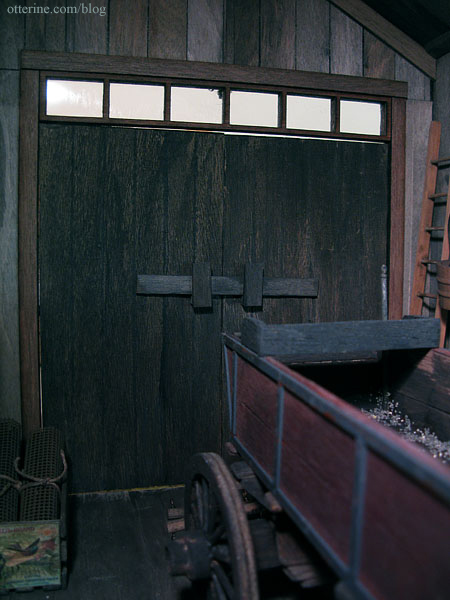
I used a scratch built board latch on the inside of the main door; the small metal latch I had used on the side door wasn’t substantial enough.
The crates are made from strip wood and skinny sticks, aged with a black and brown paint wash. I found these vintage labels online and printed them on parchment paper. They, too, have a light wash of black and brown paint to age the paper. I had planned to make more of these, but with all of the other things in the barn, I didn’t need a lot. The Blue Goose image is from thelabelman.com; I don’t recall where I got the other.

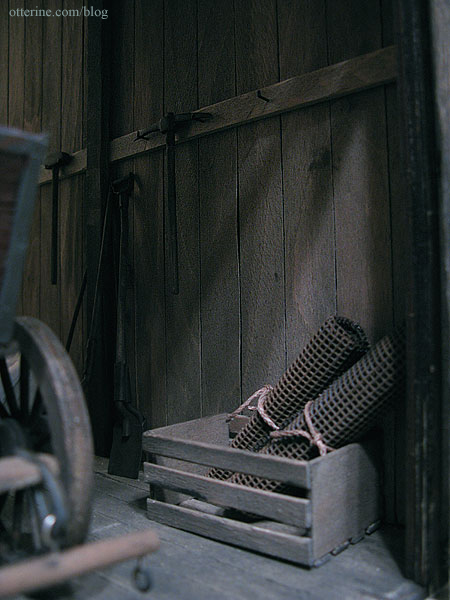
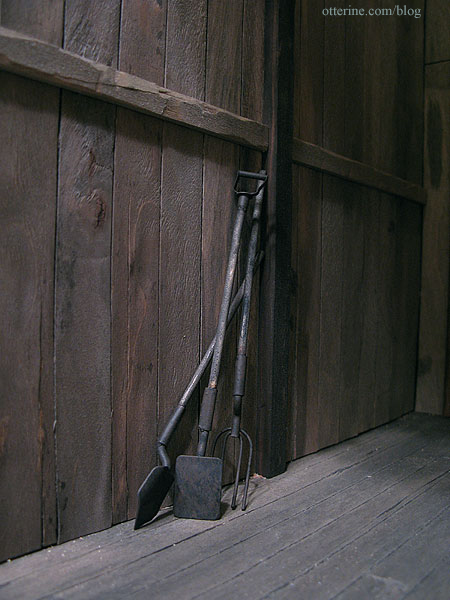
Most of the metal tools and accessories were made from unpainted pewter miniatures. I first sprayed them with a coat of Testors flat black and then used regular acrylics to detail them. To hang the tools along the beam, I found something I never knew existed. I was looking for scale railroad spikes on the internet and found these Mini RR Spikes for 5th String Capo meant for banjos. Who knew?!

I’m not sure if they are exact to scale, but they work wonderfully and don’t look out of place. I drilled pilot holes into the beam and then pressed the spikes in place. They worked perfectly for holding tools on the wall. The rolled up fencing is actually a piece of flat metal mesh called Hannah’s Helper scour screen that I found in the cleaning aisle of Jewel. I painted it brown, cut it in half and tied the rolls with leftover rope from the bed kit.
These tools were originally shiny silver with red metal accents.
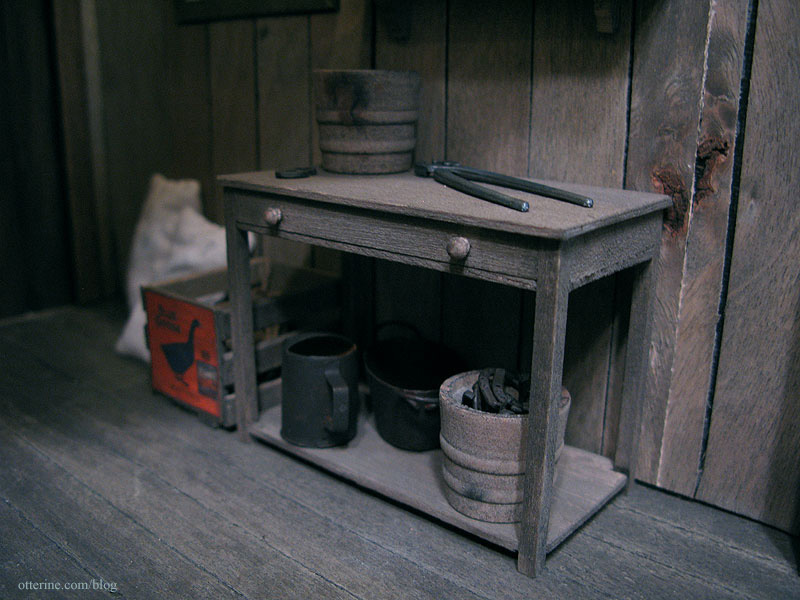
The table was based on a pattern in the book Finishing Touches by Jane Harrop, though I made mine a bit larger to fit the space in the barn better. The shelf above it was made from pieces in my scrap wood bag.
I made a false back wall from black foam core board and applied the same aged birch siding used throughout the build to this board. When propped up behind the open back, the structure looks whole when the front doors are open.